One Year Later, I'm Already Having to Replace the Peel-and-Stick Tiles I Tried on My Kitchen Floor — Here's 5 Things I Wish I Knew First
It's not the hardest of DIYs, but to make your tiles have lasting power, you may want to heed this advice

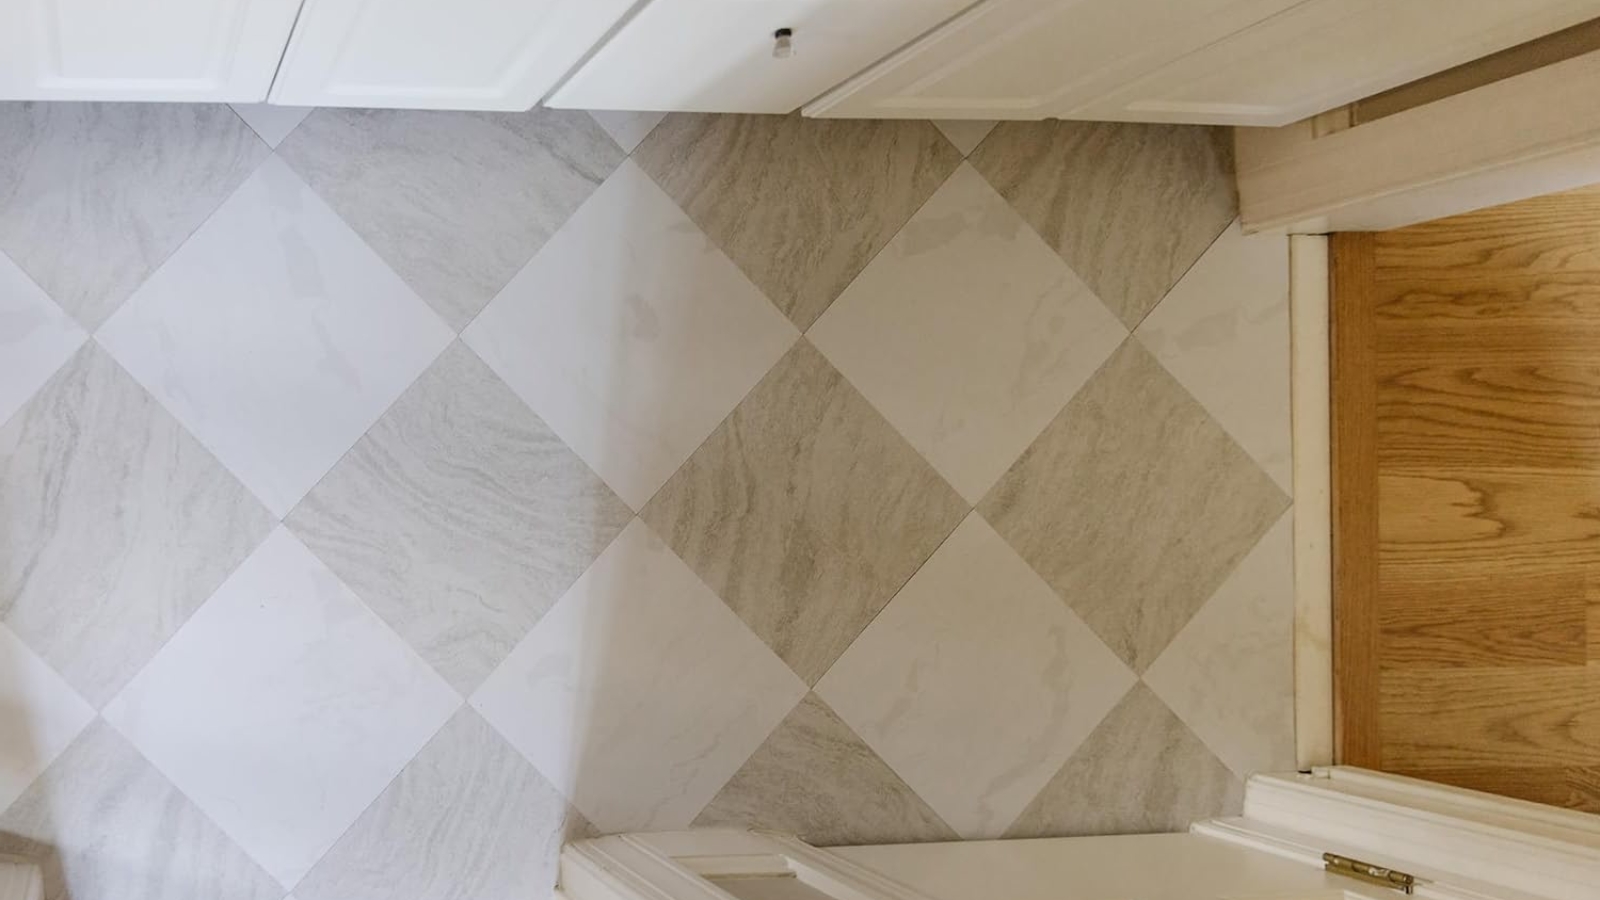
One of the downsides of being a design writer is spending many of your days writing about clever people's successful home DIYs and convincing yourself you could easily do the same thing in your own home. When I moved into my apartment and saw its worn-out black flooring in both the kitchen and bathroom, you bet I shrugged it off with a single thought: peel-and-stick tiles can fix that.
And I wasn't wrong — but I definitely underestimated it. Now the flooring wasn't horrible, but it could certainly have been better. Having "studied" many a saved Instagram reel of hacks and design-forward DIYs, I was ready to give one a go. A quick Amazon order and a free weekend later, my flooring was made anew. However, after living with peel-and-stick floor tiles for a little over a year now, I can't say I'm still quite as bedazzled by them.
Maybe it was poor preparation on my part, or perhaps the pre-existing floors were not the best base, but whatever the case may be, there are more than a few lessons I could share on this easy kitchen DIY — the things I wish I knew, did differently, or didn't do at all. So below, I've done just that.
1. Don't Underestimate the Power of Prep
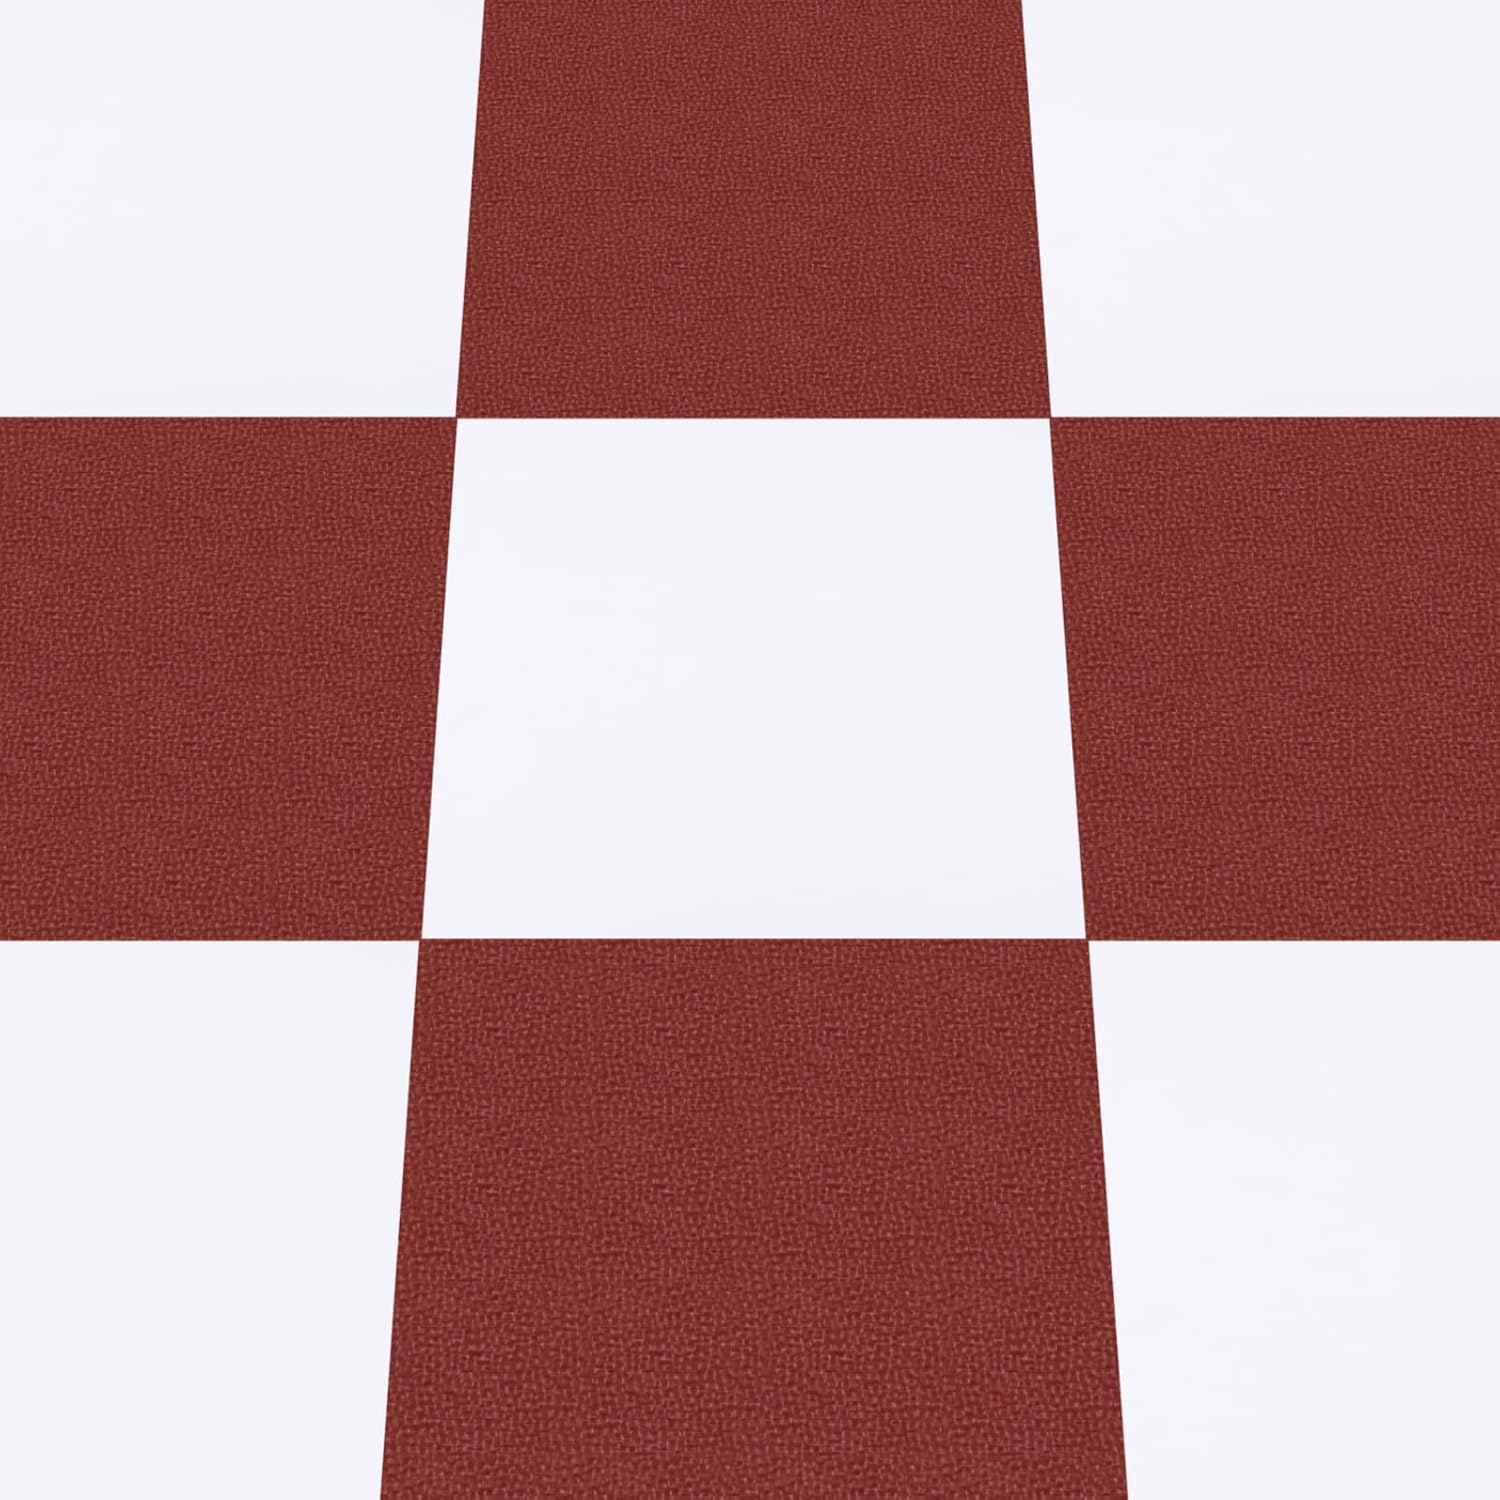
As with any DIY, proper preparation is absolutely key here. You need clean, dry floors to get the best 'stick' from your peel-and-stick tiles (I used these red-and-white checked adhesive tiles from Amazon, by the way). Yes, dusting, vacuuming, and mopping are all necessary (or look for the best way to clean your floor type).
"The key to peel and stick is making sure the floor’s super clean and smooth before you stick any tile down," says Louisiana-based realtor and home renovation expert, Erin Hybart. Scrub down the floors really well, and get rid of any dust, oil, dirt, old glue, or leftover adhesive from prior tile.
However, it's not just how clean your floor is, but what state it's in, too. Danny Niemela, a professional home remodeler and contractor, explains, "The adhesive on peel-and-stick floor tiles requires a smooth and flat surface. If the subfloor creaks, flexes, or dips at all, even in the slightest, then it’s not a good fit."
So, safe to say, when working with imperfect floors like mine, you can still attempt this DIY, but you might have to go the extra mile to get it into a condition that's going to work best (or accept that the adhesive might not be as durable).
The Livingetc newsletters are your inside source for what’s shaping interiors now - and what’s next. Discover trend forecasts, smart style ideas, and curated shopping inspiration that brings design to life. Subscribe today and stay ahead of the curve.
Since becoming a licensed real estate agent in 2017, Erin has developed an expertise in home flipping, home design consulting, and investment strategy, and focusing on long-term value. Erin is also leading Tiny Home Real Estate Agent by pushing for legislative changes that make tiny homes and ADUs (Accessory Dwelling Units) more accessible.
2. Climate Can Affect How Long Peel-and-Stick Lasts
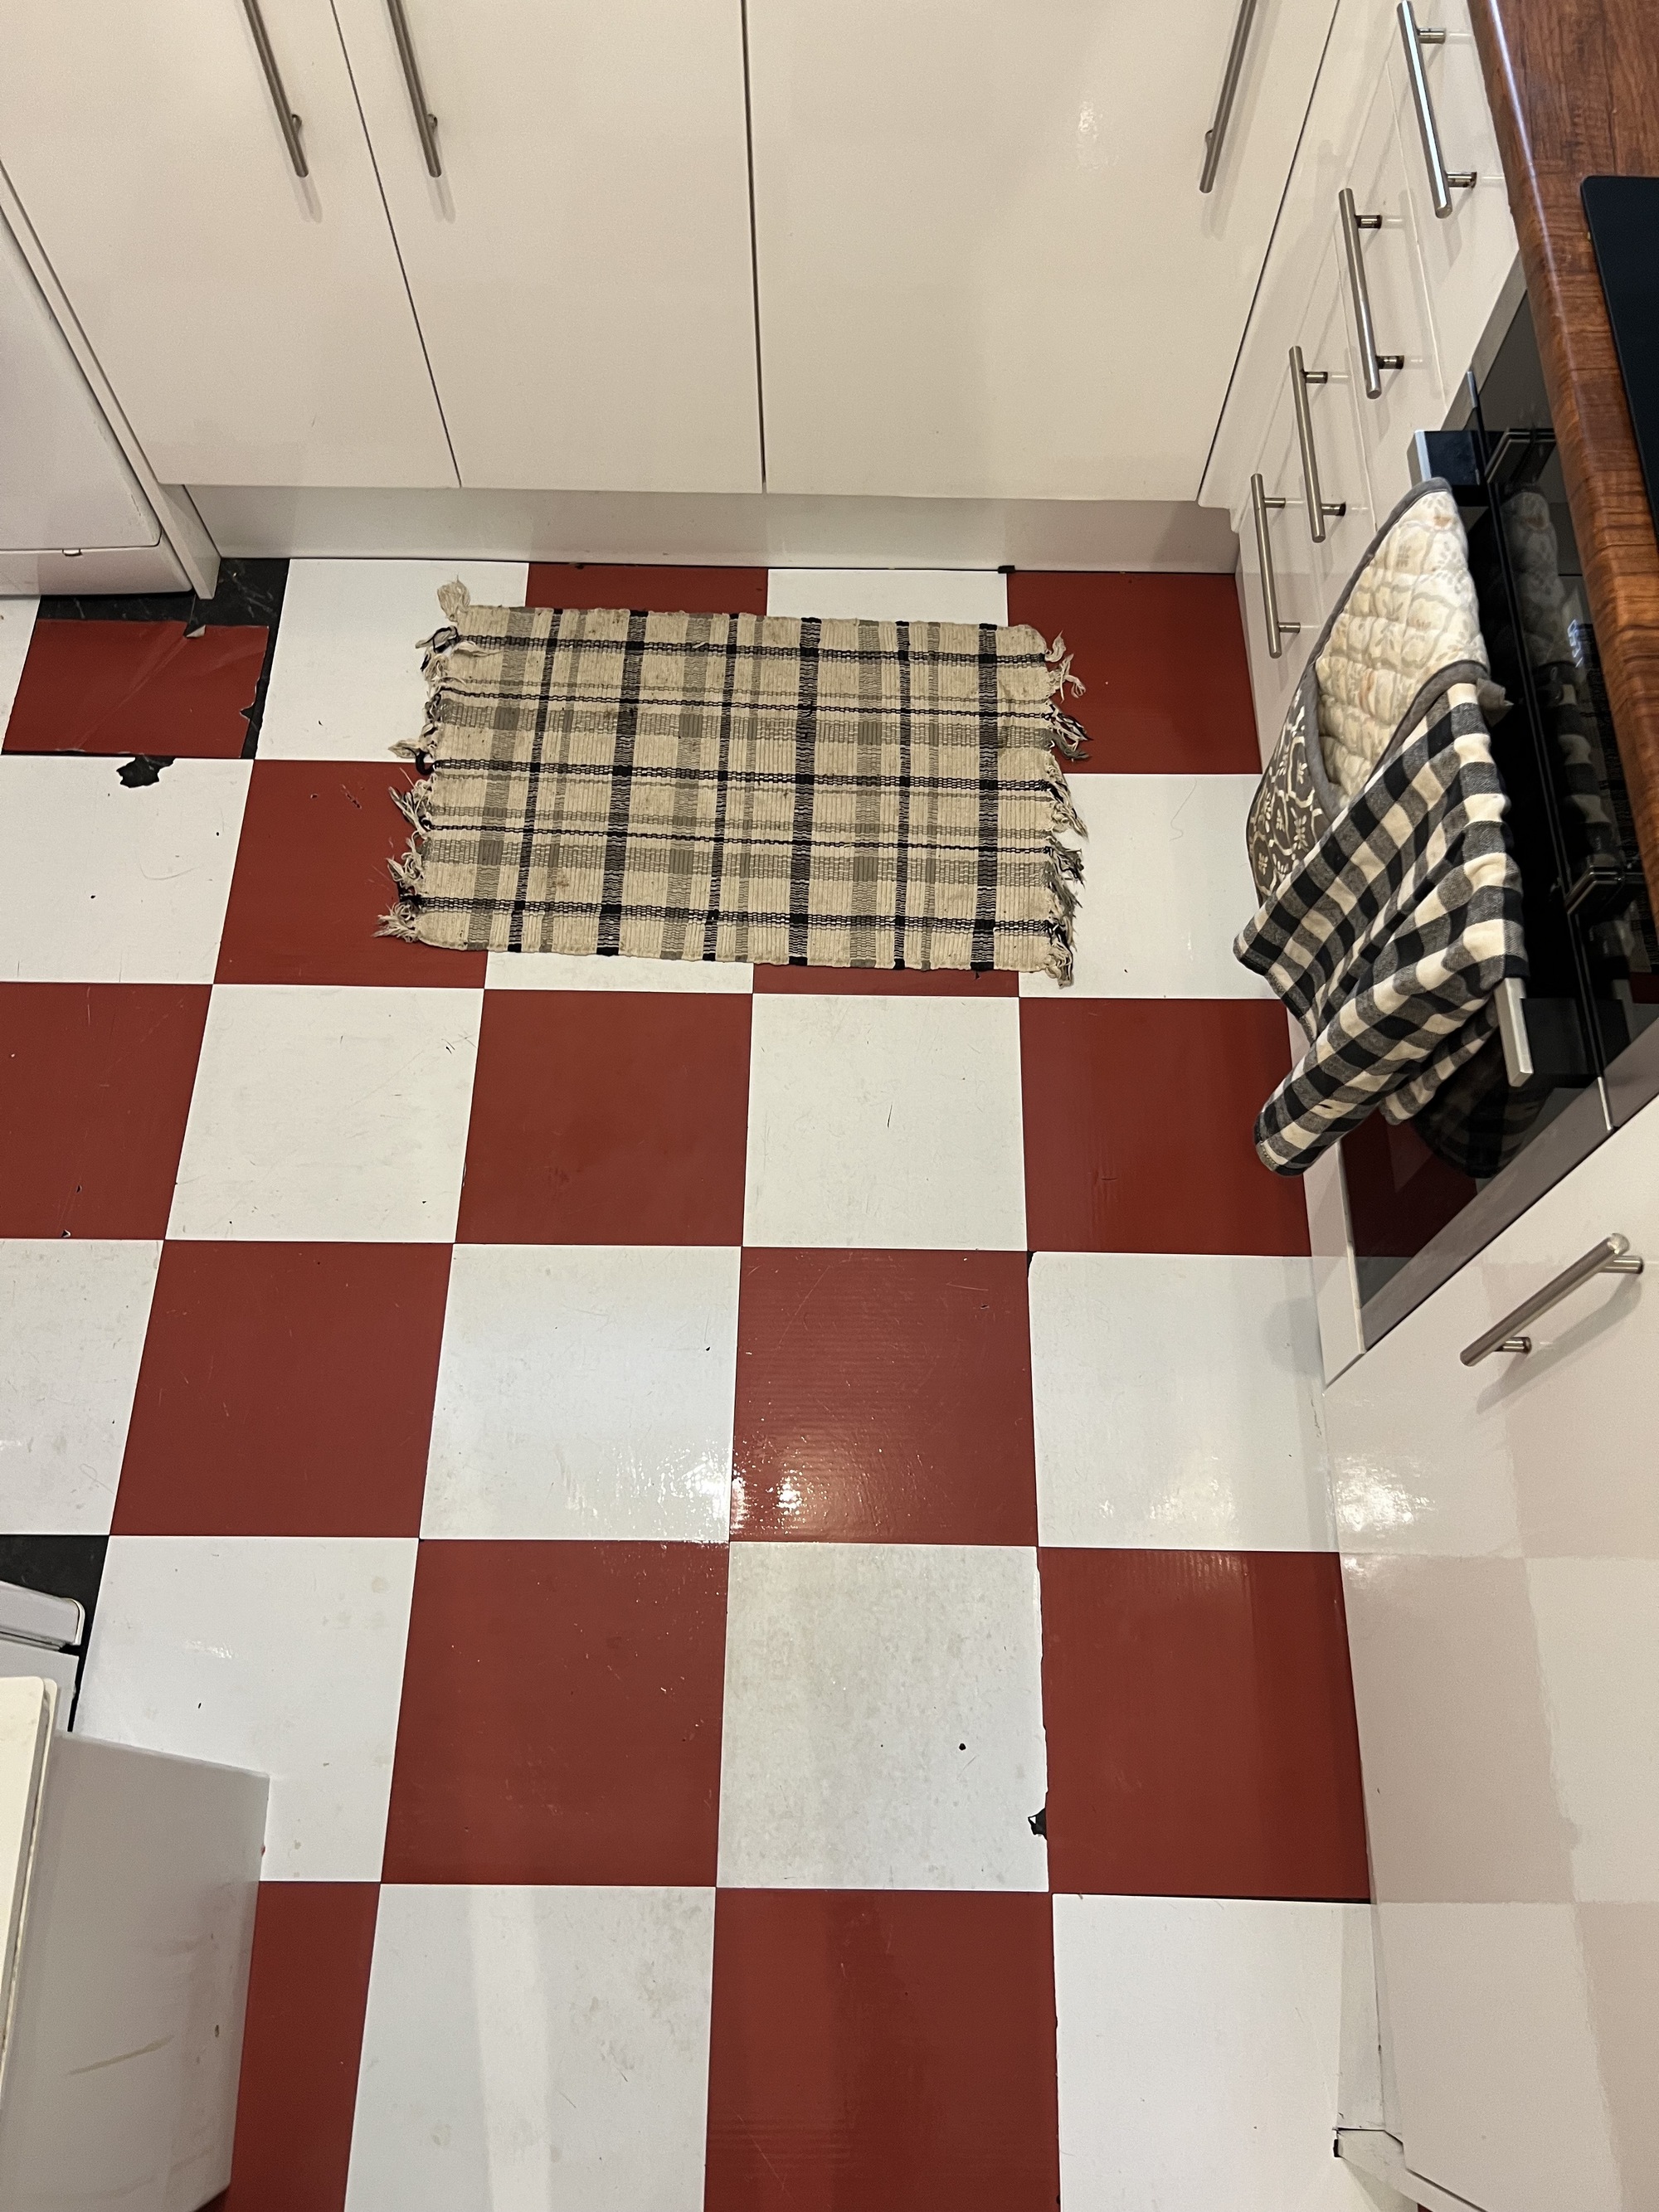
Now I'm not blaming the short lifespan of my peel-and-stick tiles on the weather (maybe I am a little bit), but it turns out factors like humidity can impact longevity.
"Peel-and-stick tile is most appropriate for dry, climate-controlled environments with light foot traffic, as these tiles are not heat-resistant, cannot bear weight or moisture over an extended period of time," says Danny.
Erin adds, "I would caution anyone wanting to install them in a space with poor insulation as well. The temperature changes can impact the adhesive and cause parts to peel up." So, in hindsight, my high-humidity London kitchen and bathroom may not have been the best places for peel-and-stick tiles.
That said, the tile in my bathroom has actually done better than the tile in the kitchen. And there are two reasons for that: less foot traffic (I love to host, and the kitchen gets a lot of wear and tear), and the bathroom has more humidity-control technology than my kitchen (which is an old extension and opens to our garden).
So, before you lay down your peel-and-stick, consider if the room is right for it. But of course, you can always take steps to reduce humidity in your kitchen or apartment as well.
Danny Niemela is the Vice President and CFO at ArDan Construction, a luxury home remodeling company in Scottsdale, Arizona. Danny is a contractor as well as being an expert in all things to do with home renovation. ArDan Construction has earned back-to-back “Contractor of the Year” awards from the National Association of the Remodeling Industry (NARI) and was recently voted Best in Phoenix by Phoenix Home & Garden readers.
3. Choose Your Color and Design Wisely
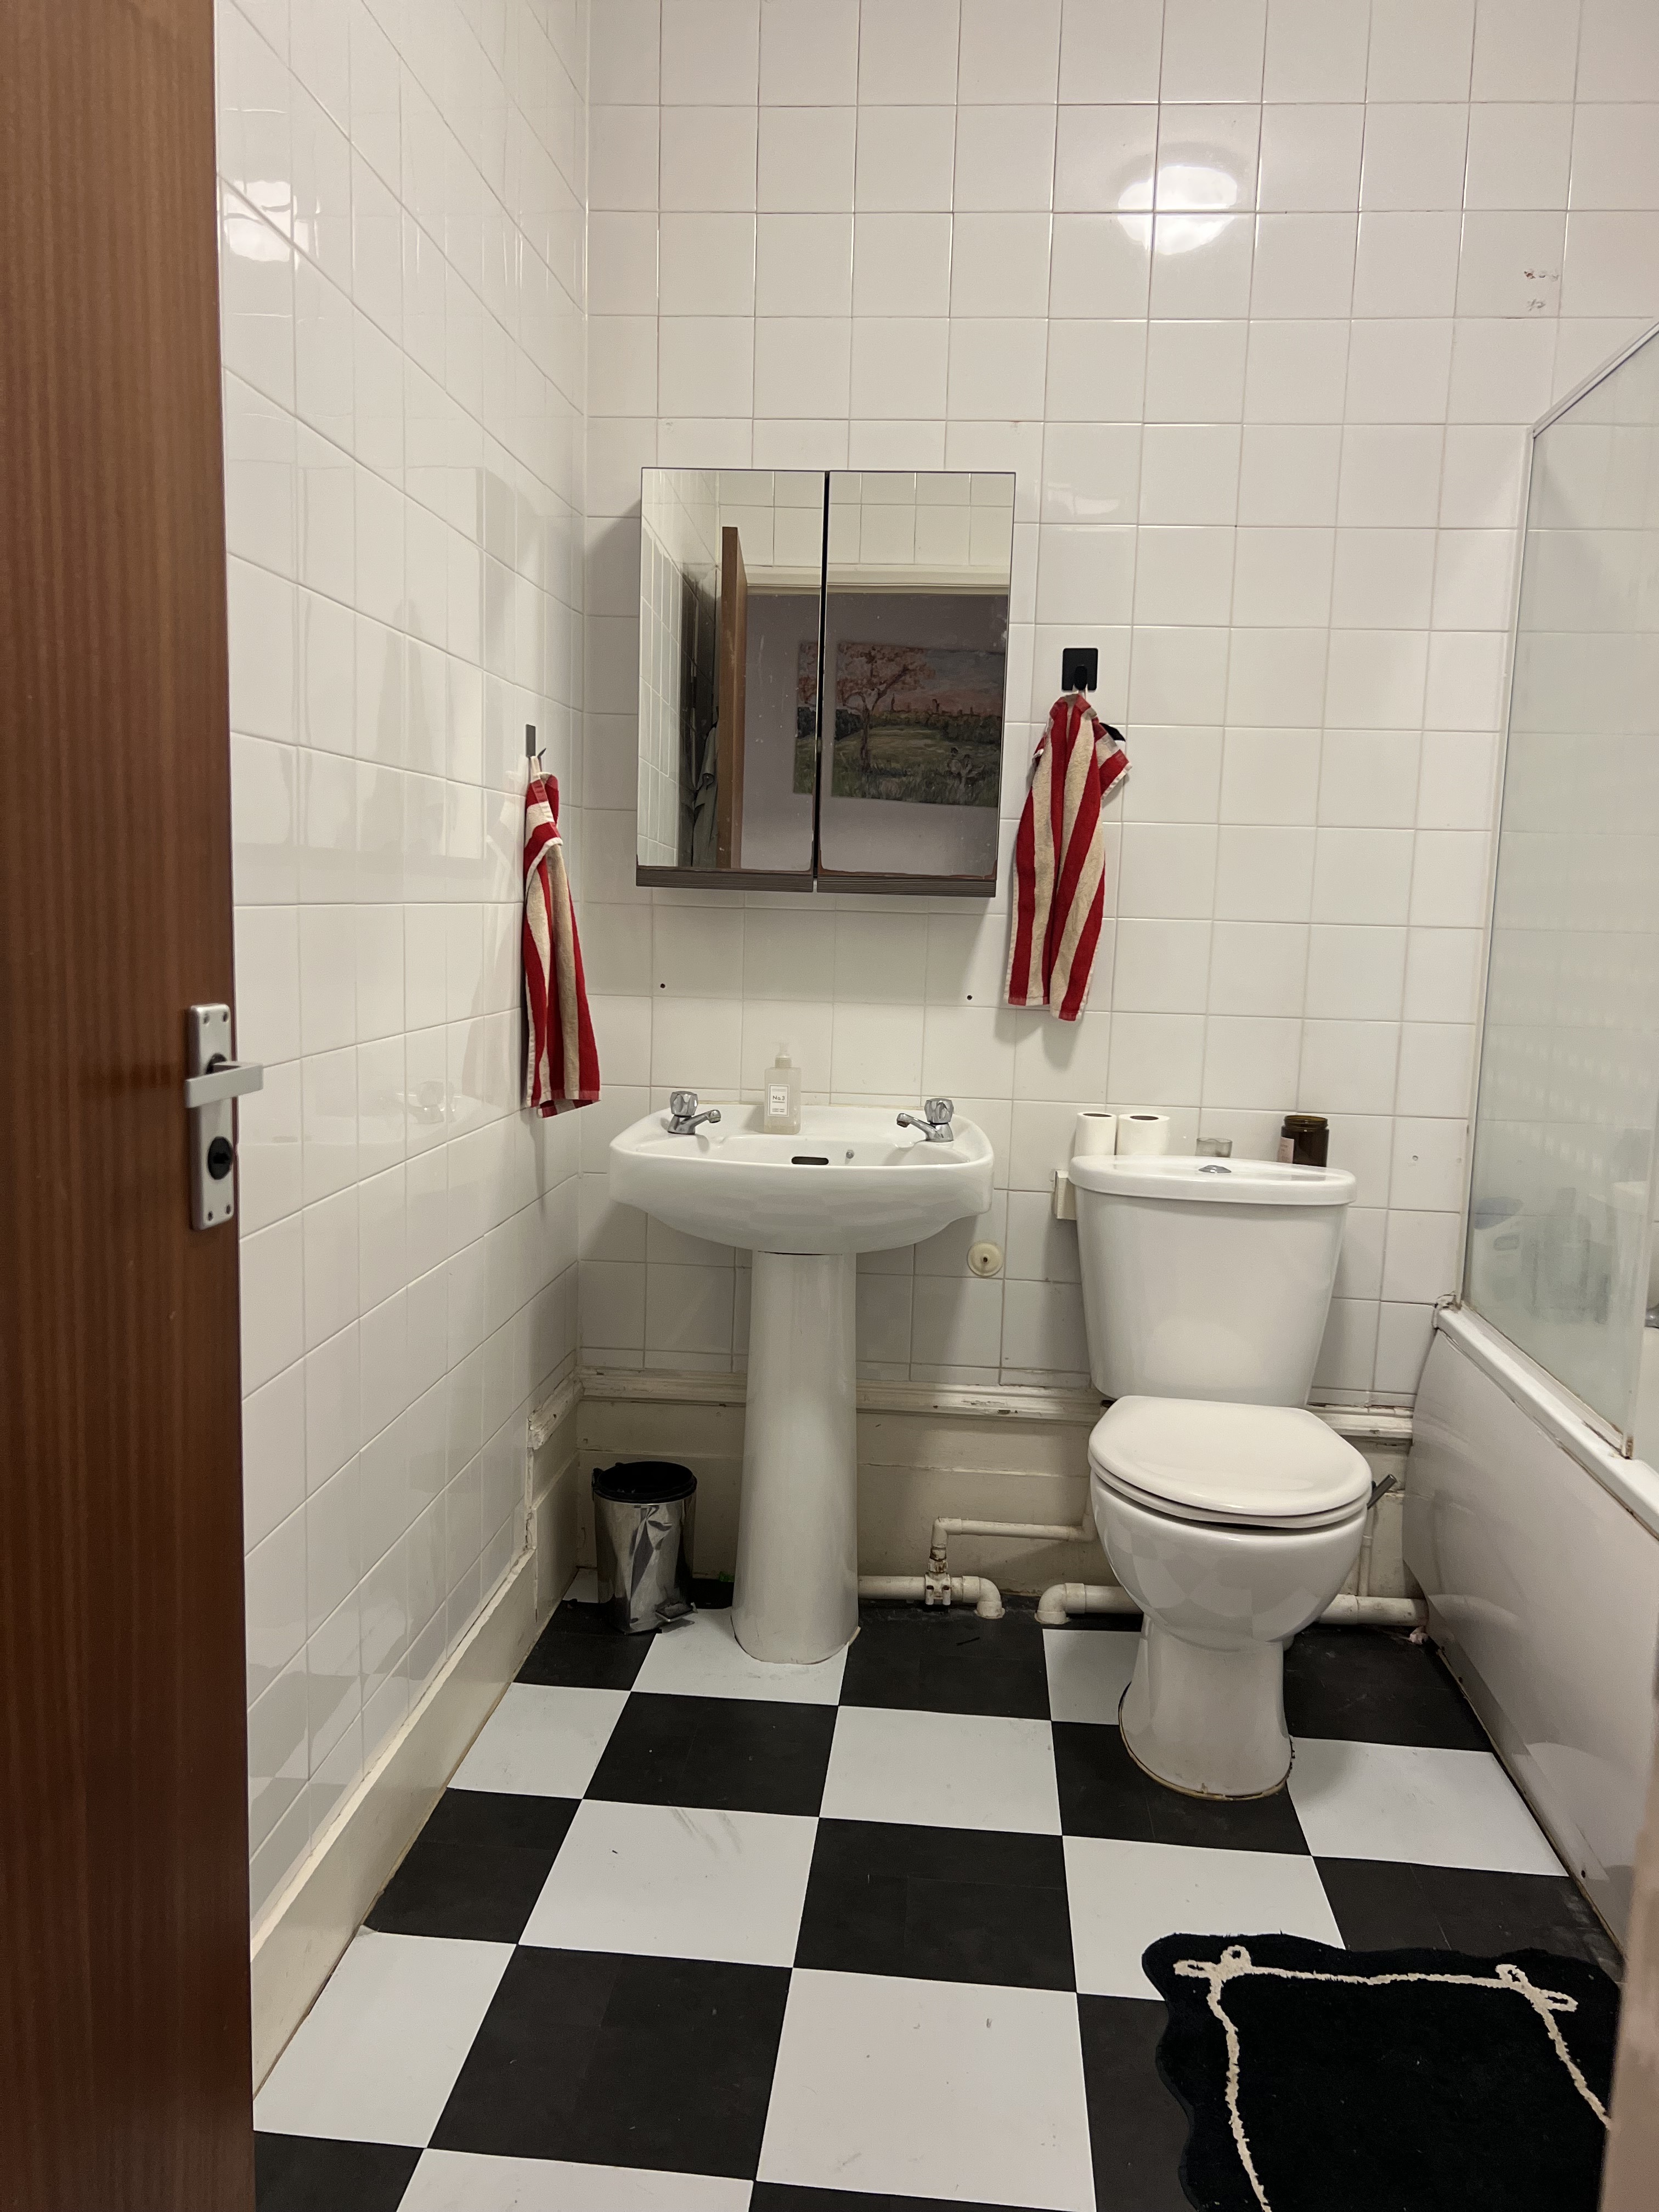
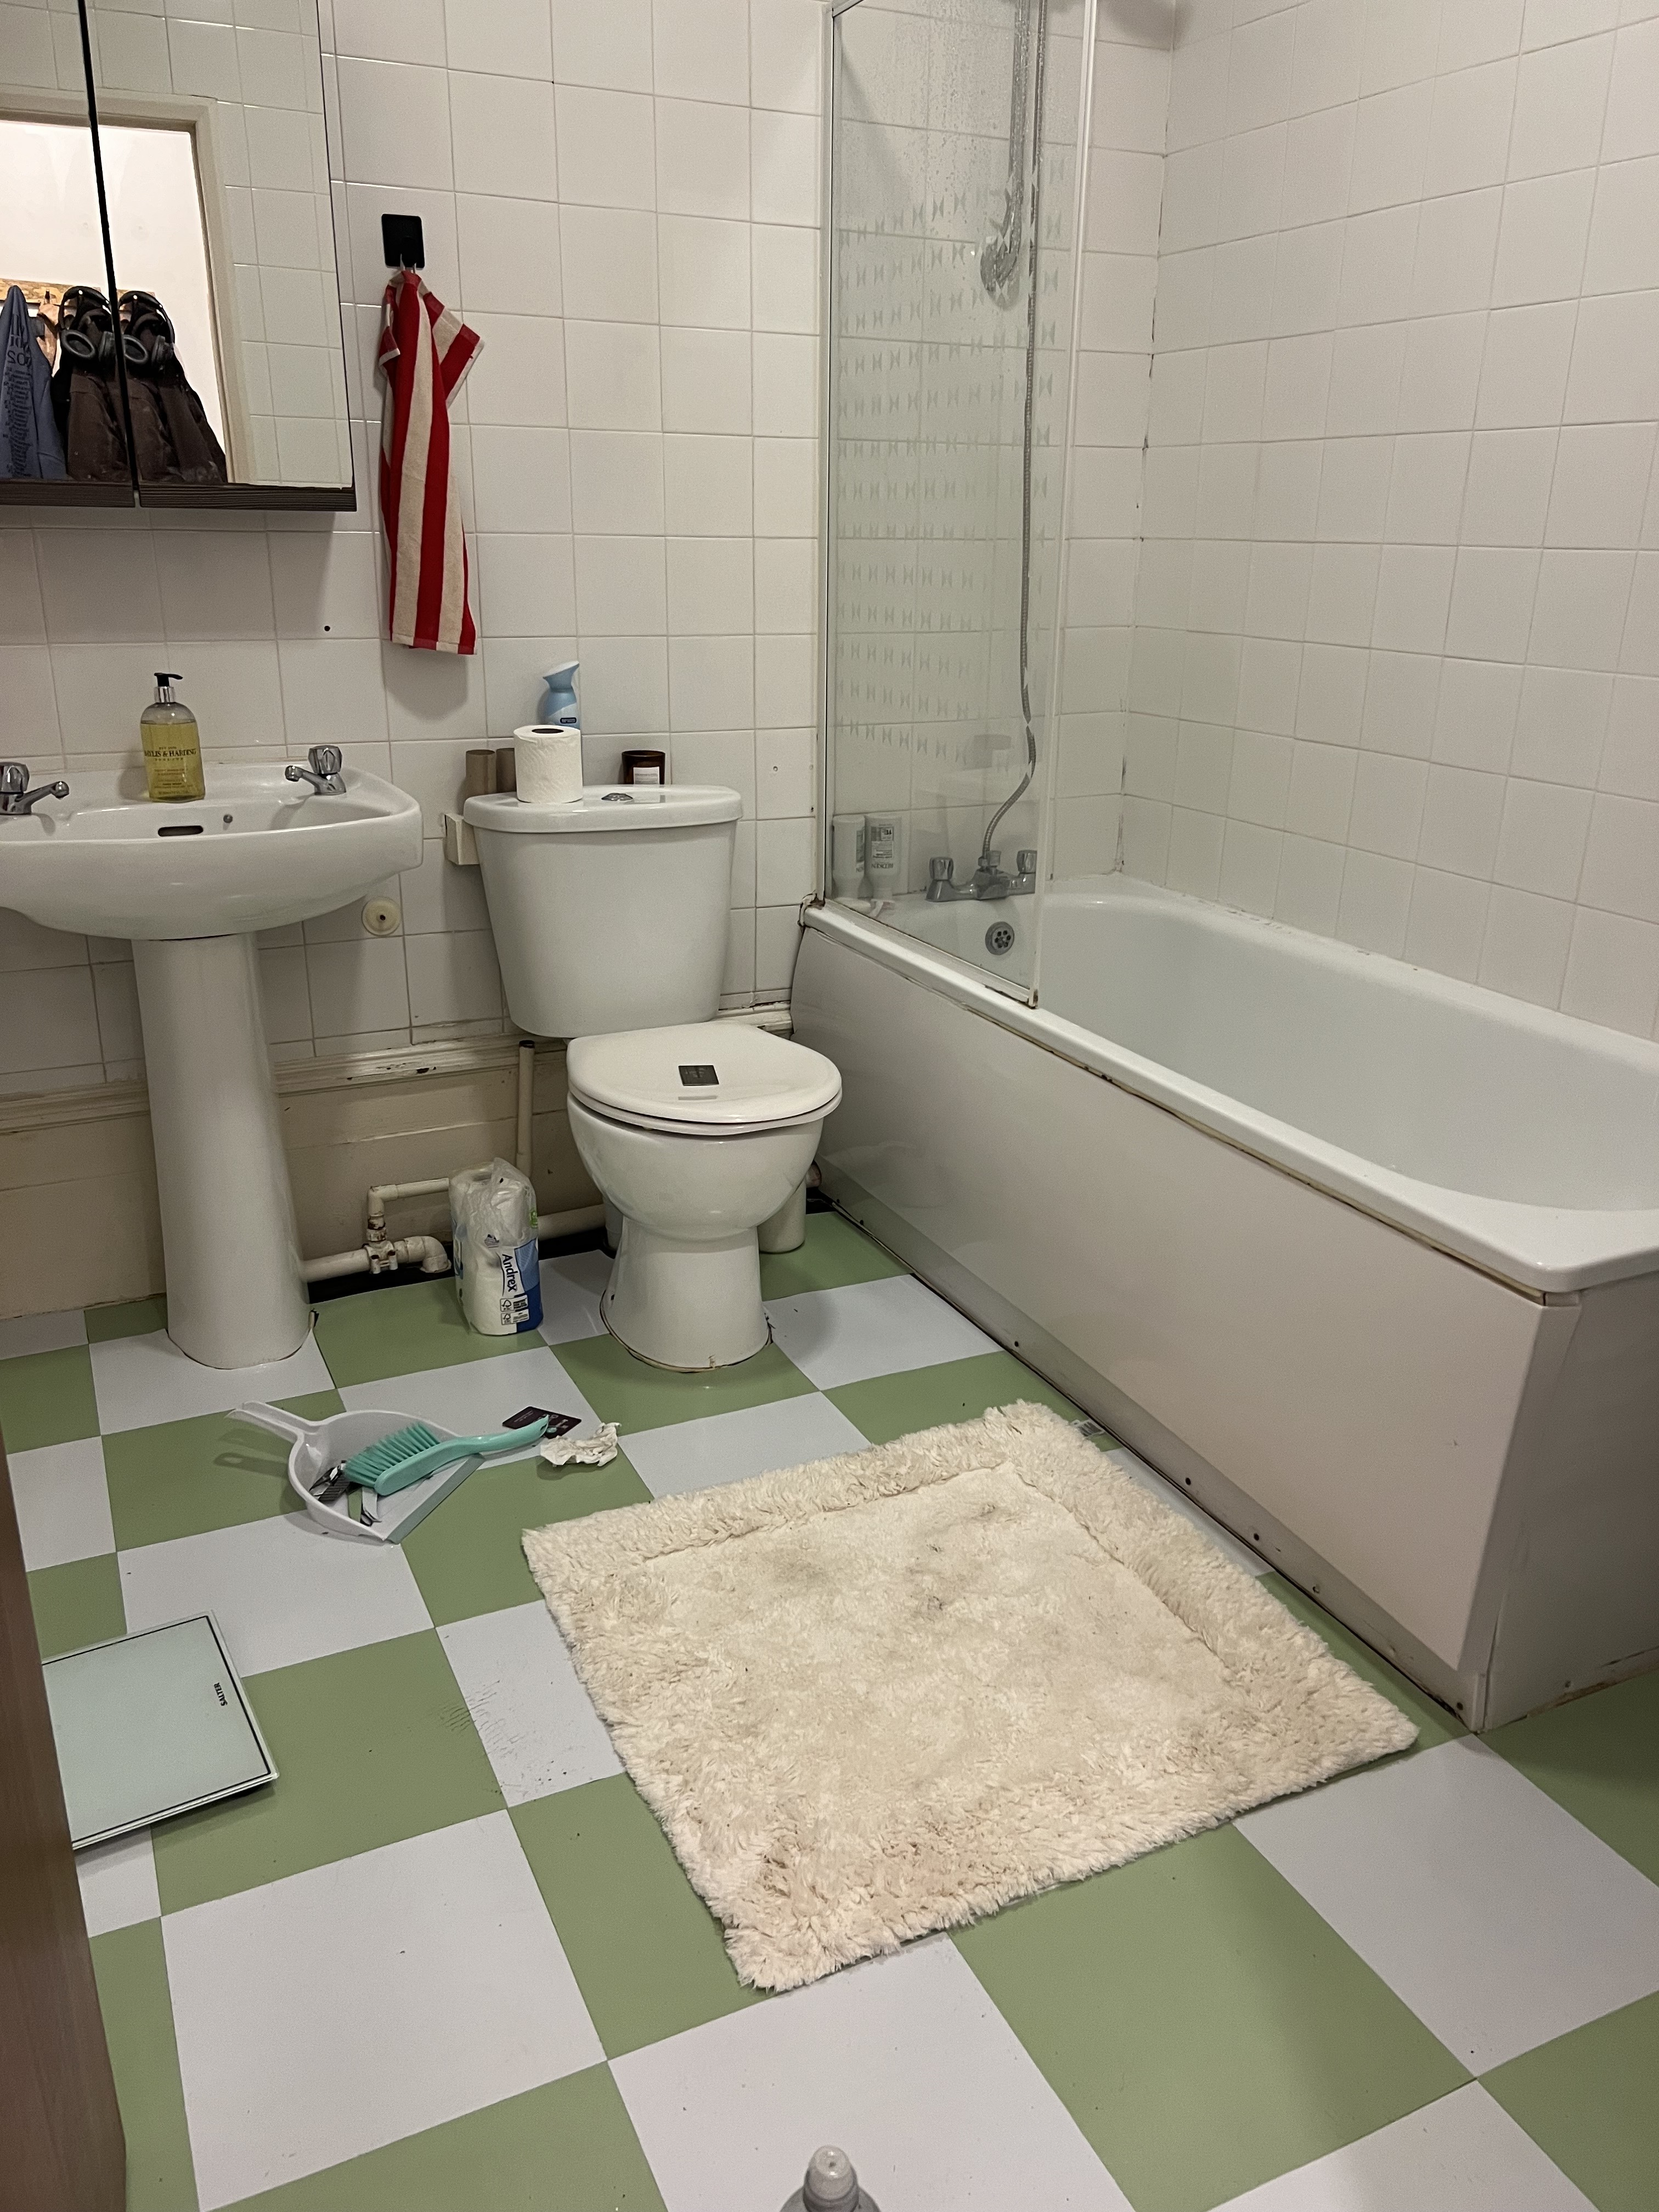
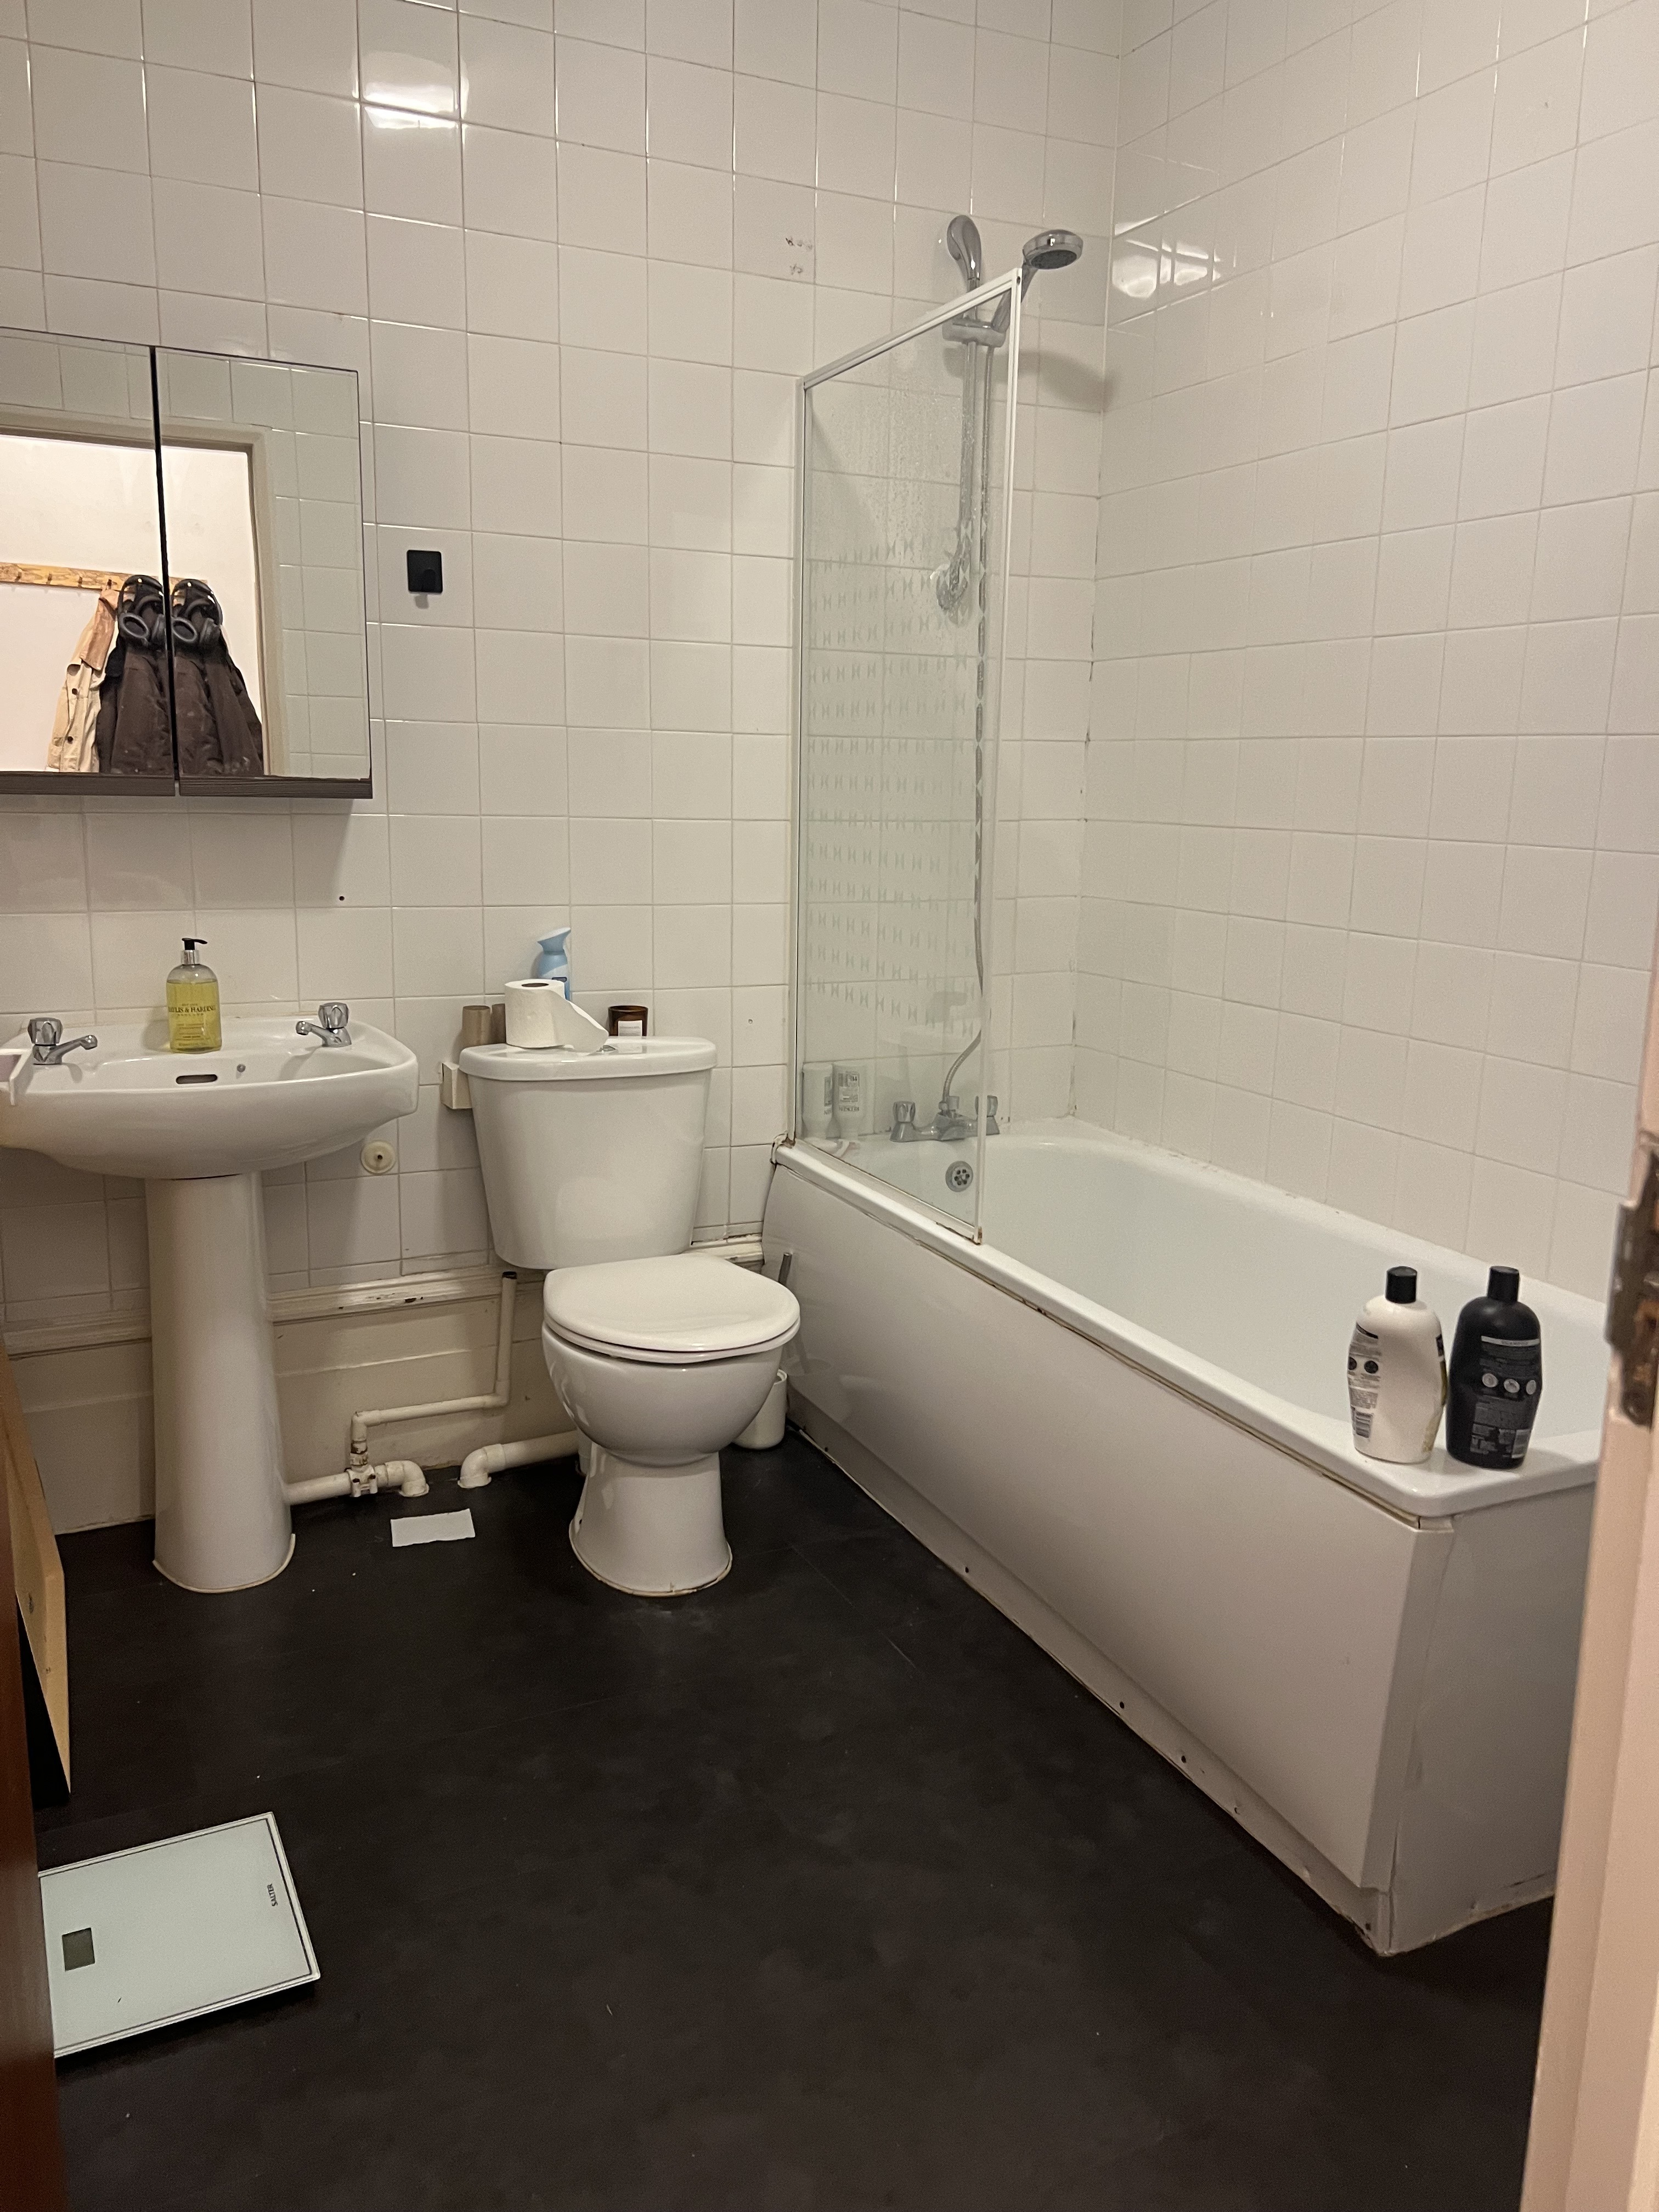
Part of fore-planning is considering the color and layout of the peel-and-stick floor tiles and how they will relate to the rest of the room's design. I had a clear vision for the kitchen (red and white tiles with faux wooden countertops), but the bathroom tiles were more of an afterthought — and I ended up having to change them.
Though I wasn't a fan of the black floors in the bathroom, they provided an essential contrast in the design of the space, something that was lost in the too-light green-and-white checkerboard style.
To fix this, I had to remove the green tiles and clean off the adhesive. In retrospect, I would suggest dry-fitting the tile in different arrangements before peeling and sticking to avoid having to backtrack, but more on that below.
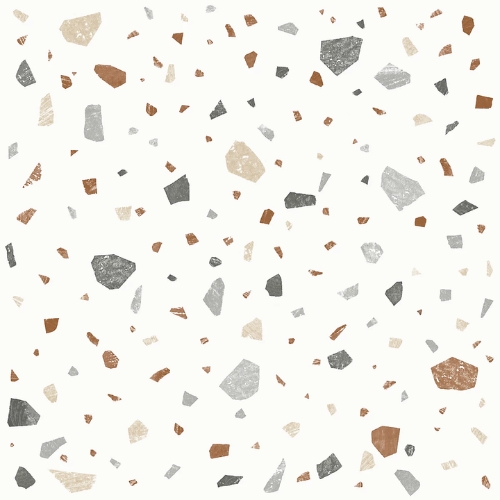
I like the idea of trying a faux terrazzo tile, as it's been a bit trend this year. I'd start in a smaller space, like a bathroom, before a kitchen (to test the quality).
4. Take the Time to Lay Them Properly
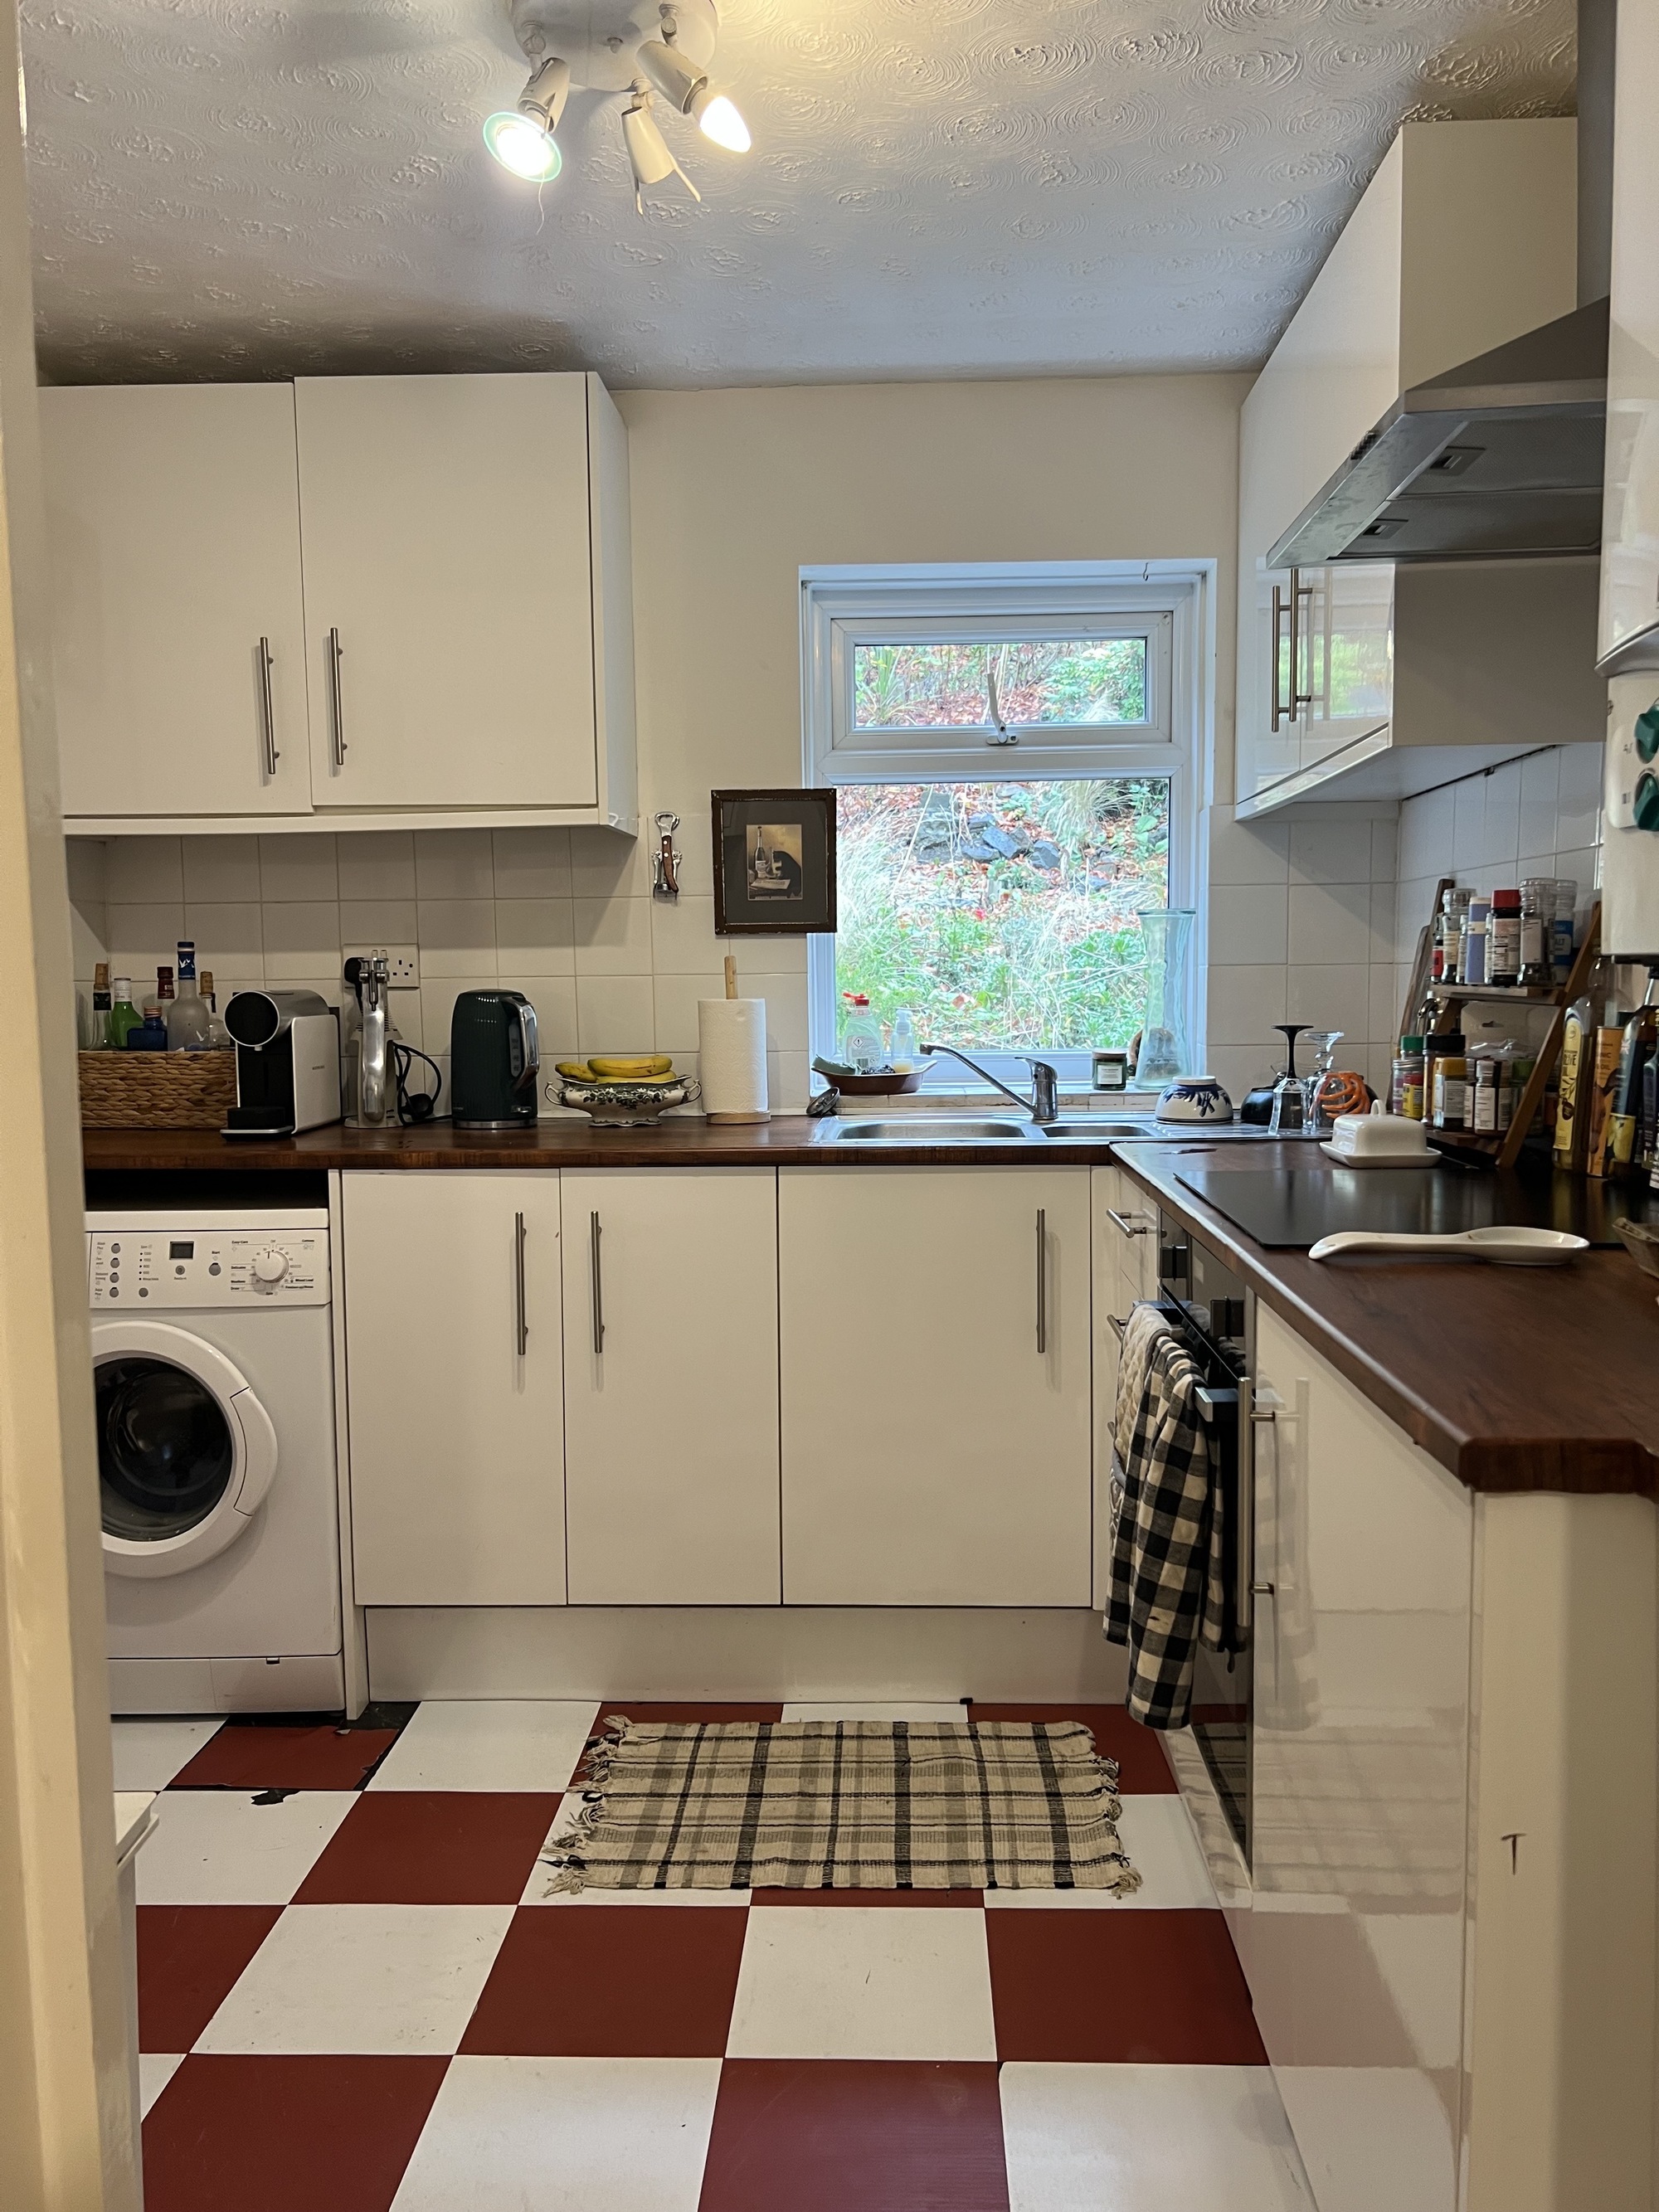
And lastly, always plan the layout before you start. "The cuts and edges are the trickiest," says Erin. "I’ll sketch it out just to see where cuts need to go." Try dry-fitting 10 to 15 tiles first, as this allows you to identify the problem areas before anything becomes too permanent.
For this process, Danny recommends, "Measuring and marking a center line down the length of the room, then working out from the middle to help keep the layout symmetrical." The devil is in the details of these first few rows. "Alignment errors of even 1/16-inch will magnify into uneven rows that are readily apparent," says Danny.
Once you are ready to stick the tiles down, make sure to have a little roller (like this one from Amazon) to help ensure a smooth finish. "I roll over it several times to make sure the entire tile has a chance to stick," says Erin. This technique is more effective than just hand-pressing the tiles — it helps to eliminate air bubbles and ensures even adhesion.
Pro tip: If you preheat the tiles with a heat gun or hair dryer, they will bond more tightly to the subfloor, "which is particularly important in colder climates," says Danny.
Aesthetically, I still love the way my peel-and-stick floor tiles turned out. What I don't love is that after only a year, I will have to replace a majority of the tiles.
With care and maintenance, "a well-laid peel-and-stick floor should last 5-7 years before noticeable wear becomes visible," says Danny. Plan carefully and don't rush the process; these tips are just as applicable to any DIY you undertake — something I should have known when I painted my IKEA Billy Bookshelves.

Olivia Wolfe is a Design Writer at Livingetc. She recently graduated from University of the Arts London, London College of Communication with a Masters Degree in Arts and Lifestyle Journalism. In her previous experience, she has worked with multiple multimedia publications in both London and the United States covering a range of culture-related topics, with an expertise in art and design. At the weekends she can be found working on her oil paintings, reading, or antique shopping at one of London's many vintage markets.
