I Made This Trending Fruit Centerpiece as a Last-Minute, Easy Idea That Will Make My Christmas Table Look Amazing — Here's How
A cone, some cocktail sticks, and your choice of festive fruit is all is required for this year's trendiest Christmas table centerpiece


There's something in the air this year when it comes to Christmas decor, and things are taking a nostalgic turn. In some instances, this means a throwback to the 80s, or 90s, or whenever your childhood Christmases took place, but in others, we're taking it way, way back.
Emerging trends like fruit or vegetable centerpieces acting as Christmas table decor appeal to that sense of 'history' that's permeating festive aesthetics this year, and I've spotted one idea over all others that creates a Dickensian Christmas feast feel that's just right for 2025 — the orange tree.
It is what it sounds like — a stack of festive oranges in the conical shape of your Christmas fir tree — and makes for a dramatic, theatrical centerpiece for your table. I can't find an exact historical reference point for this styling trick, but it looks the part, doesn't it?

And, the best thing about it? At this time of year, when decorations start to sell out (well, the good ones at least), you can largely make it last-minute with a trip to a market or grocery store, if you get a few things in order ahead of time. I tried my hand at making one, to see exactly how easy it is (and it's pretty easy), but there are a few things I wish I'd known from the beginning.
How to Make a Orange Tree Centerpiece

This centerpiece has been a particularly big trend this season.
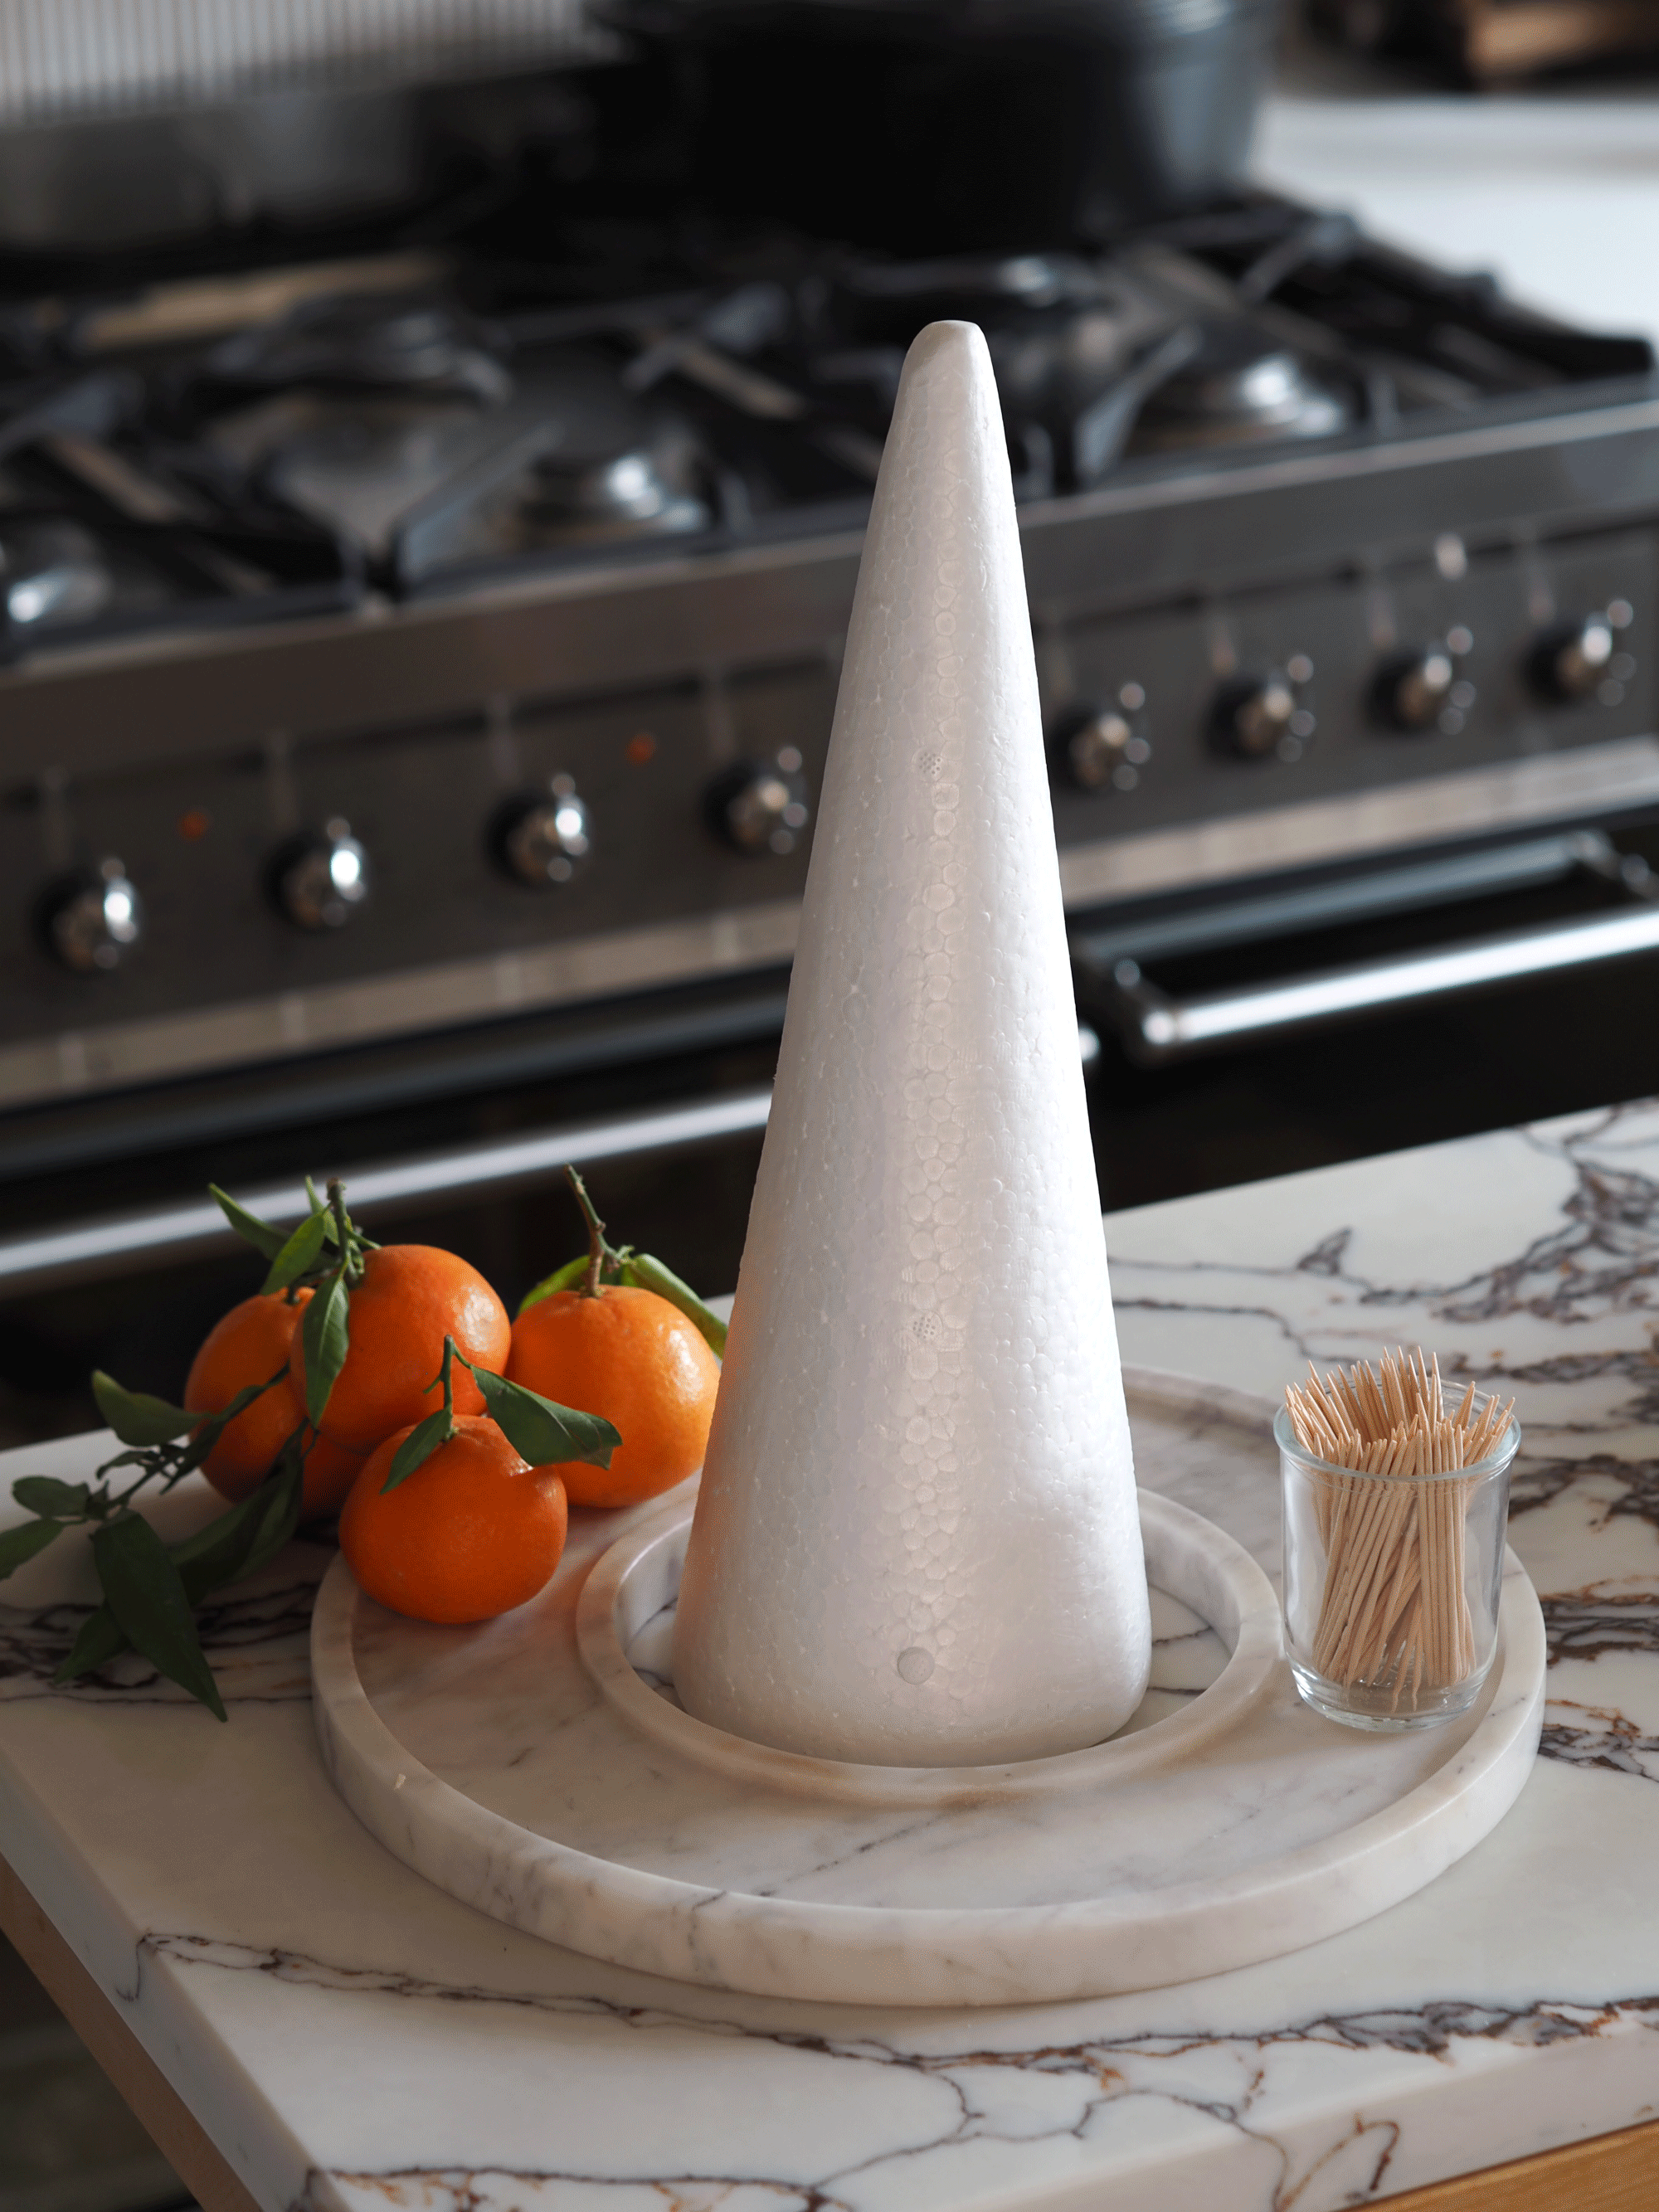
You'll need:
- A polystyrene or floral foam cone, I got these ones from Amazon, which still deliver before Christmas.
- Basic wooden cocktail sticks, like these from Amazon
- Oranges (I used 44 that came with leaves) or any other fruit or vegetables you can stick a skewer through.
- Foliage, cranberries, or pinecones, to fill gaps if necessary.
It's a simple as skewering the fruit to the foam cone.
1. Arrange Your Oranges by Size
The likelihood of all of your oranges being the exact same size is small if, like me, you buy them in boxes. Too much size differentiation might cause you problems, but a small amount will actually help your tree in the end.
It's worth arranging them in size order from the outset. You'll want to use the larger oranges at the base, and the smaller oranges towards the top.
2. Fix Into Place With Cocktail Sticks
The method for fixing the oranges into place is to simply push a cocktail stick into the bottom of the orange and then into the foam cone. You'll need to hold the cocktail stick between your fingers firmly when pushing into the foam, to stop it sliding too far through the orange and out the other side.
It's important to note that because you're piercing the skin of the orange, these aren't going to last as long as they would have otherwise (though they'll smell amazing), but it's a good excuse for friends and family to actually eat them from your Christmas table centerpiece after your meal is done.
3. Spacing Is Tricky
Because you can't perfectly measure how many oranges will fit around your cone, spacing can be a bit tricky, and you may end up with some gaps. If one side of your cone ends up having a bit more of a 'seam' where the oranges join than the other side, don't worry, we'll make a design feature of that later on when we fill the gaps.
4. Build Up to the Top
Simply go around level by level until you get to the top of the cone. Using the smallest oranges you have, create a level of four oranges around the very top of the tree. You may have to angle the cocktail sticks slightly more downwards, rather than straight into the foam, as you get higher and the foam gets less wide.
Pick a pretty orange for the top level, preferably with a stalk, as you may want to tie a ribbon around it as though it's a tree topper.
5. Fill in the Gaps
It's inevitable that you're going to see some foam through the gaps between the oranges, and some will be more noticeable than others. Here's where you've got a bit of choice: you could choose to fill just the gaps that show the most, or do something in each gap, a little more uniformly.
I chose to use oranges that came with foliage attached, so I used spare bits that had fallen off some of them to plug up the holes. I've seen other examples using other fresh foliage, herbs, cloves (as though the oranges are Christmas pomanders), or even cascades of fresh cranberries, which all feel like very festive finishing touches.

You can use the stalks to fill any holes left behind between the oranges.
And there you have it. I love this idea because it's a way to bring height to the table, and a flat tablescape is a cardinal Christmas table styling mistake. This centerpiece has a sense of abundance that feels so perfectly apt for your Christmas feast.
