6 Candle Burning Mistakes That Are Making Your Home Fragrance Less Effective, and Might Even Cause Damage to Your Walls
Read this before you break in your next glass candle to make the absolute most of it in both scenting and aesthetics

Believe it or not, there's a way to burn your candles properly. And this candle etiquette, shall we say, dictates that it's not as easy as swiping a match or clicking a lighter and catching the wick.
Whether you're choosing scented candles for a dinner party or lighting a few as a reward for knocking off all your chores, there are a couple of common faux pas to steer clear of.
To make the most of your scented candles and keep them looking as fresh as day one, here are some subtle mistakes to look out for. And if you've unknowingly committed a couple, don't worry. We've also included advice on how to fix them for better performance.
1. Forgetting to Trim the Wick Before Each Burn

If, like me, you love to inspire your home with the latest fragrance trends in the form of wax candles, then you're probably keen to get them lit and scenting at the first chance. But Karen Larochelle, founder of Fig & Fire, tells me that you shouldn't be quite so fast.
"A long or mushroomed wick creates a large, uneven flame that burns too hot. This leads to soot buildup on the jar, wasted wax, and potential fire hazards," says Karen.
"As for what to do instead, I recommend trimming your candle's wick to about ¼ inch or 6 mm before lighting. This will help your candle burn cleaner, more evenly, and last much longer."
Karen Larochelle is the founder of Fig & Fire, a candle brand. She believes that scent plays a key part in home experiences. Alongside her team, she creates scents that are made to connect and conjure meaningful memories.
2. Ignoring Candle Placement

Let's be honest. When you pick your candles, you want them to do more than just make your home smell good. You're likely keen on having them beautify your space, too.
The Livingetc newsletters are your inside source for what’s shaping interiors now - and what’s next. Discover trend forecasts, smart style ideas, and curated shopping inspiration that brings design to life. Subscribe today and stay ahead of the curve.
But Karen explains that where you place your candles is more than just making a good design choice. She explains that candles placed on uneven, unstable, or flammable surfaces can tip or overheat materials underneath.
"This is why it's important to always burn candles on a heat-resistant, stable surface — away from curtains, bedding, or anything that can catch fire," she advises.
"A flickering flame caused by moving air can create uneven melting, soot, and even cause the flame to flare or smoke. Alternatively, you should burn candles in a draft-free space, away from fans, open windows, or air conditioners."
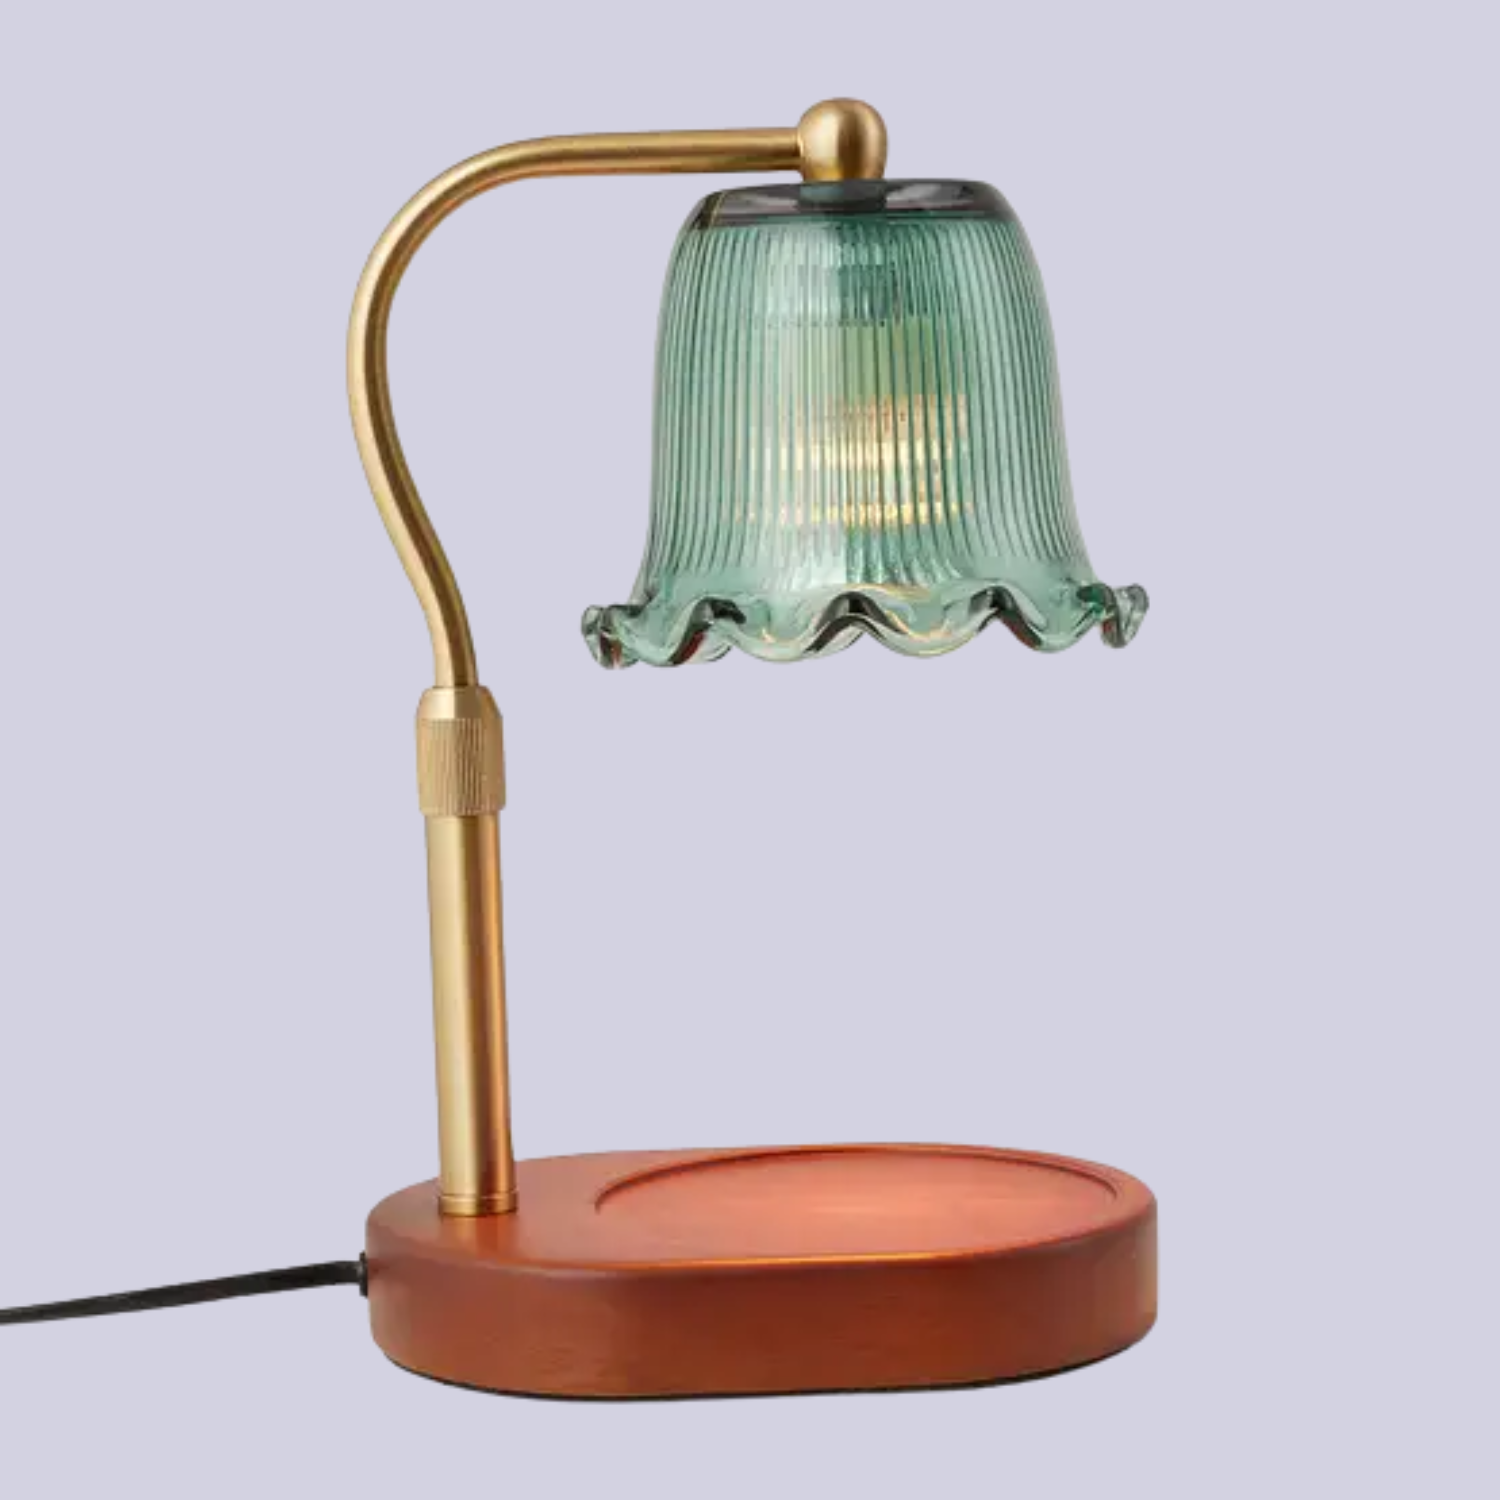
Color: Green
If you're worried about the flames and stressing over placement, candle warmer lamps like this will make your worries a thing of the past.
3. Blowing Out Your Candle Too Early
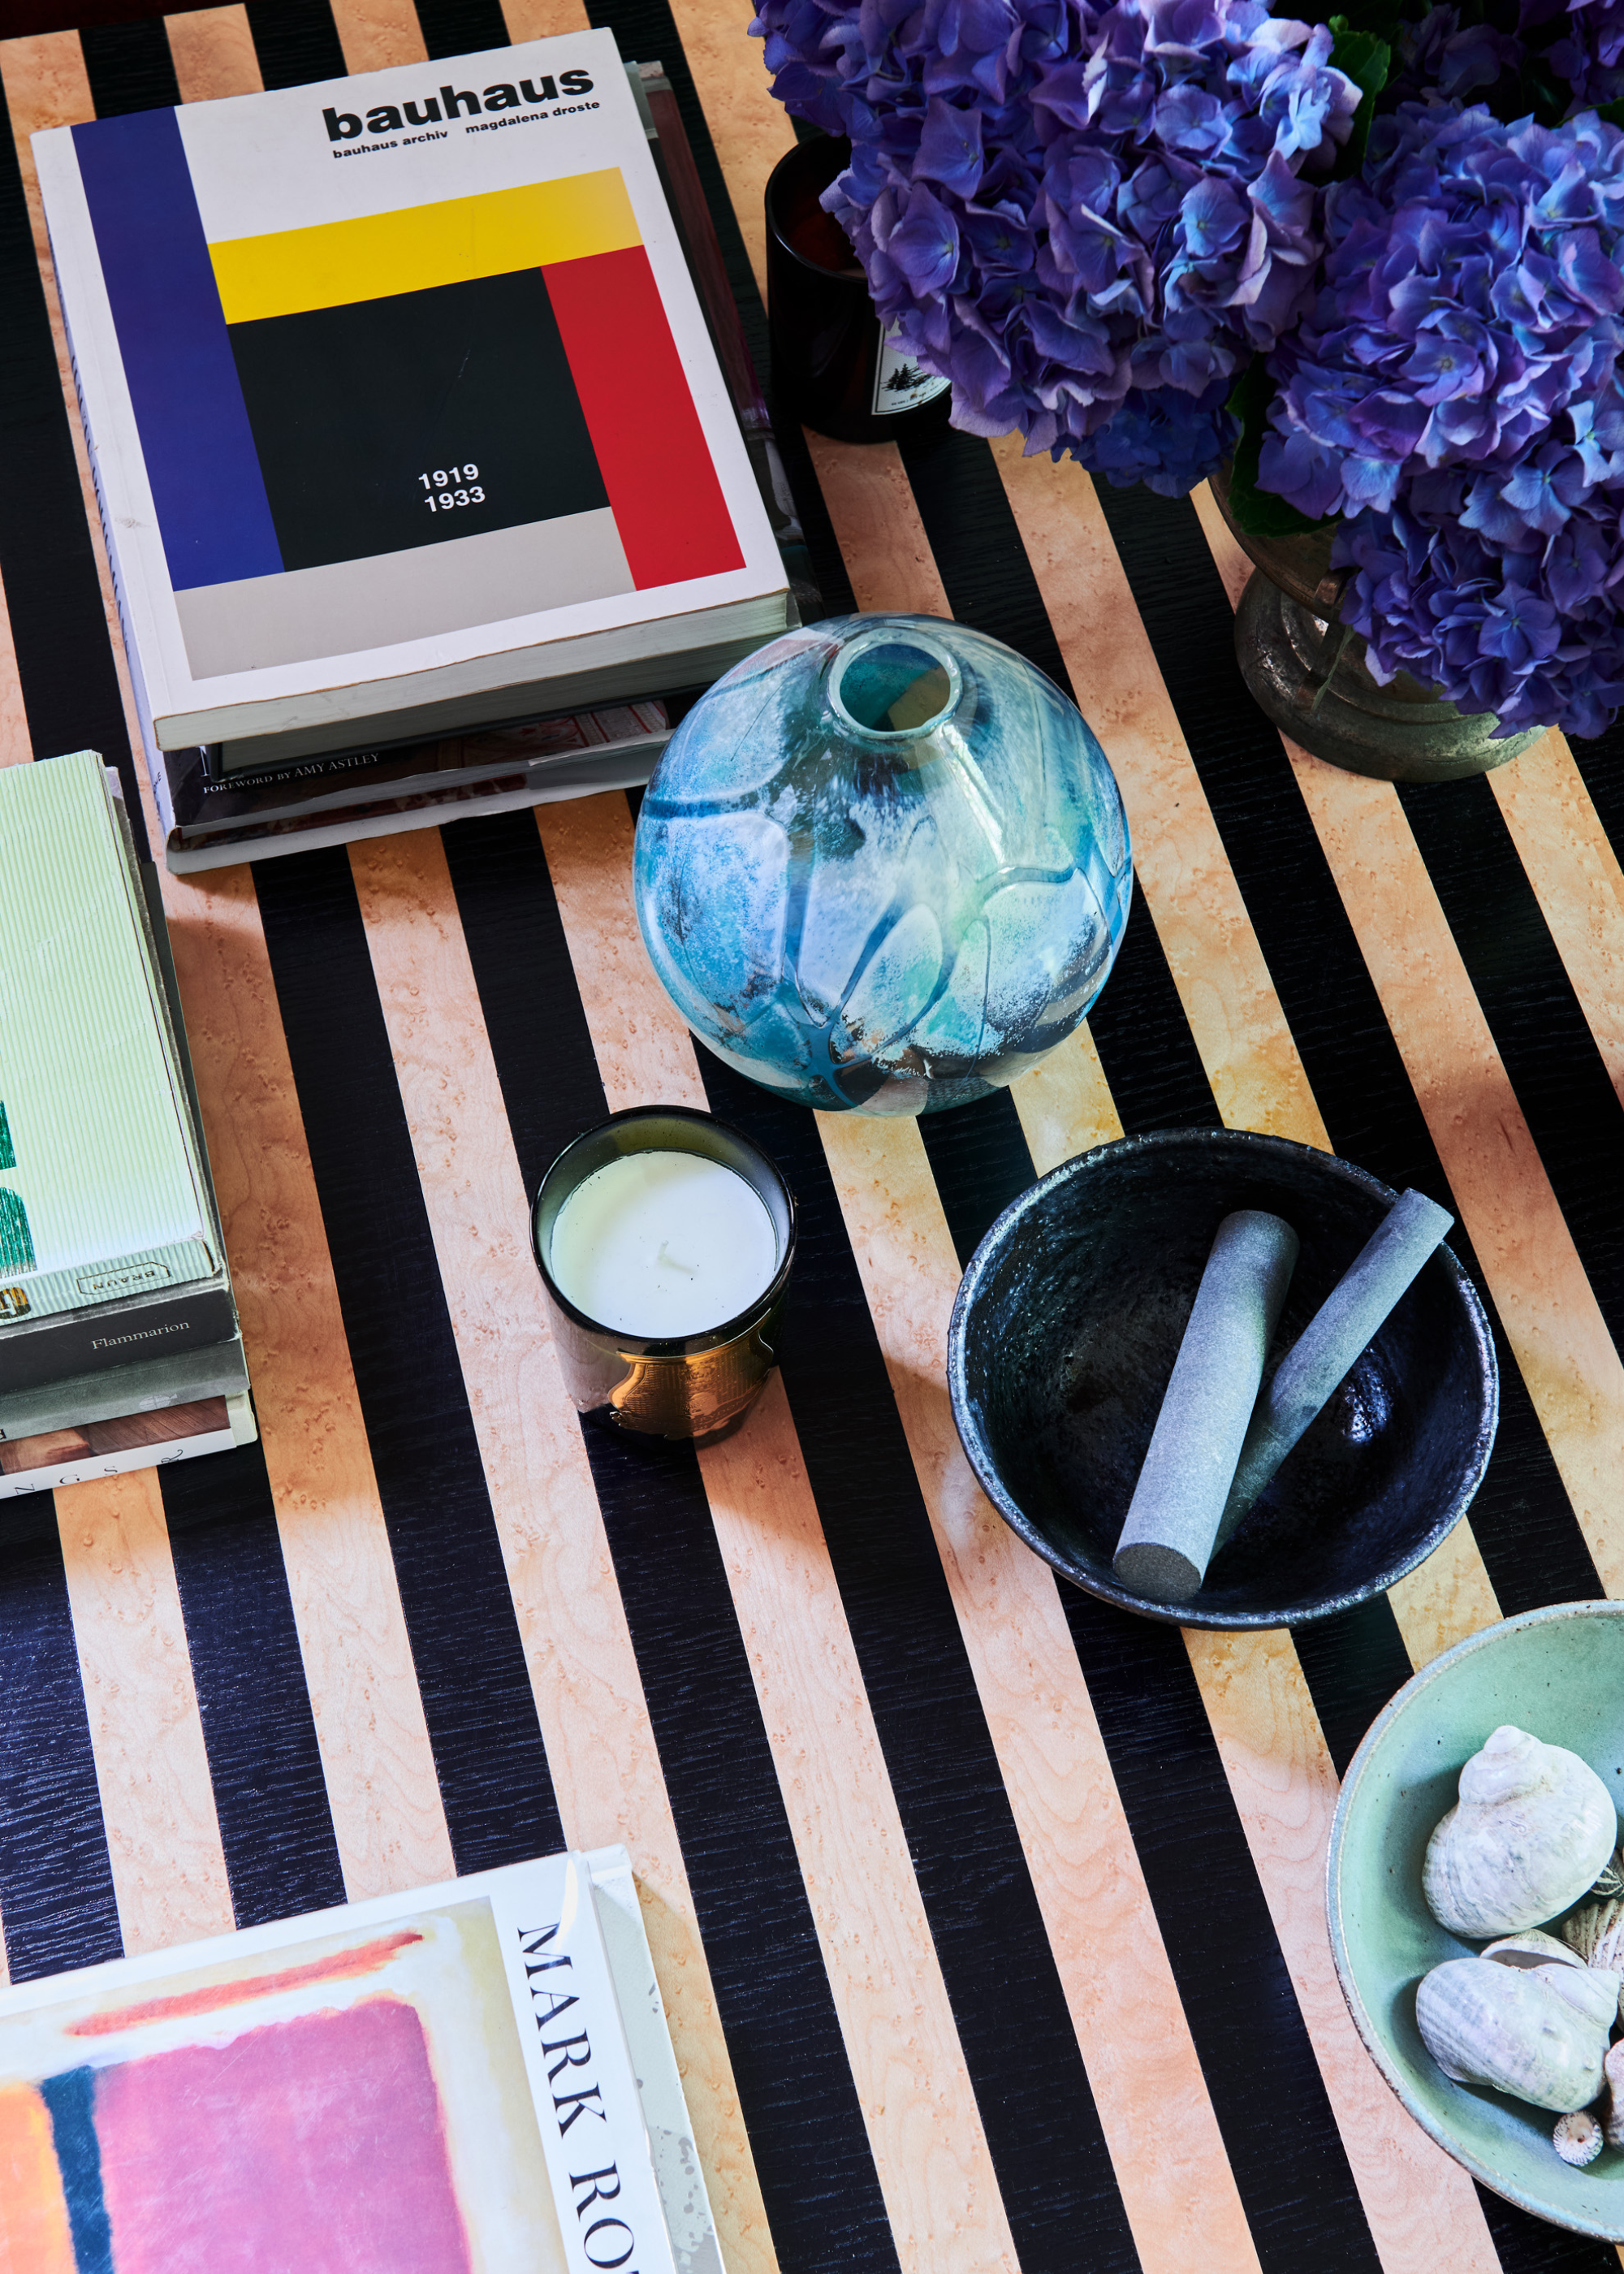
Aimee Lauren, founder of RinkyDink Candles, tells me that blowing out the wick early on is a very common candle-burning mistake. And admittedly, I've been guilty of extinguishing my best candles a touch too soon in the past, only to pay the price later.
"How many of us have lit a candle and suddenly realized they need to pop out? If you put the wicks out before the wax has begun to fully melt, you’ll see the candle wax 'tunnel' down the jar every time you burn it after," she notes.
"On the first burn, you need to ensure you have a full melt pool that spans most of the candles’ width. Then, every burn after should be nice and clean. Tunneling occurs when you blow out the candle too soon and don’t allow a full melt pool to occur first."
Aimee Lauren is the founder of RinkyDink Candles. She began handmaking candles in Leeds after starting her brand during the pandemic in 2020. Since then, she has had viral moments on TikTok, with her candles being seen by millions of viewers, been featured on BBC Radio, and interviewed on podcasts.
4. Burning Your Candle for Too Long

On the other hand, you're not supposed to burn your candle for too long either. "Have you ever noticed that candle instructions often have a recommended burn time (for example, a maximum burn time of 3-4 hours)?" says Aimee.
"There are many reasons for this, but one that often catches people out is 'mushrooming' wicks. When wicks burn for excessive periods of time, they can gather a small amount of soot at the top, creating a 'mushroom' appearance."
She finds that this causes the wick to become top-heavy, making it tumble into the wax and extinguish itself. "Before you know it, you’ll be checking on your candle, and it’s entirely solidified with the wick nowhere to be found," she says. "All because it’s sitting at the bottom of the jar after drowning."
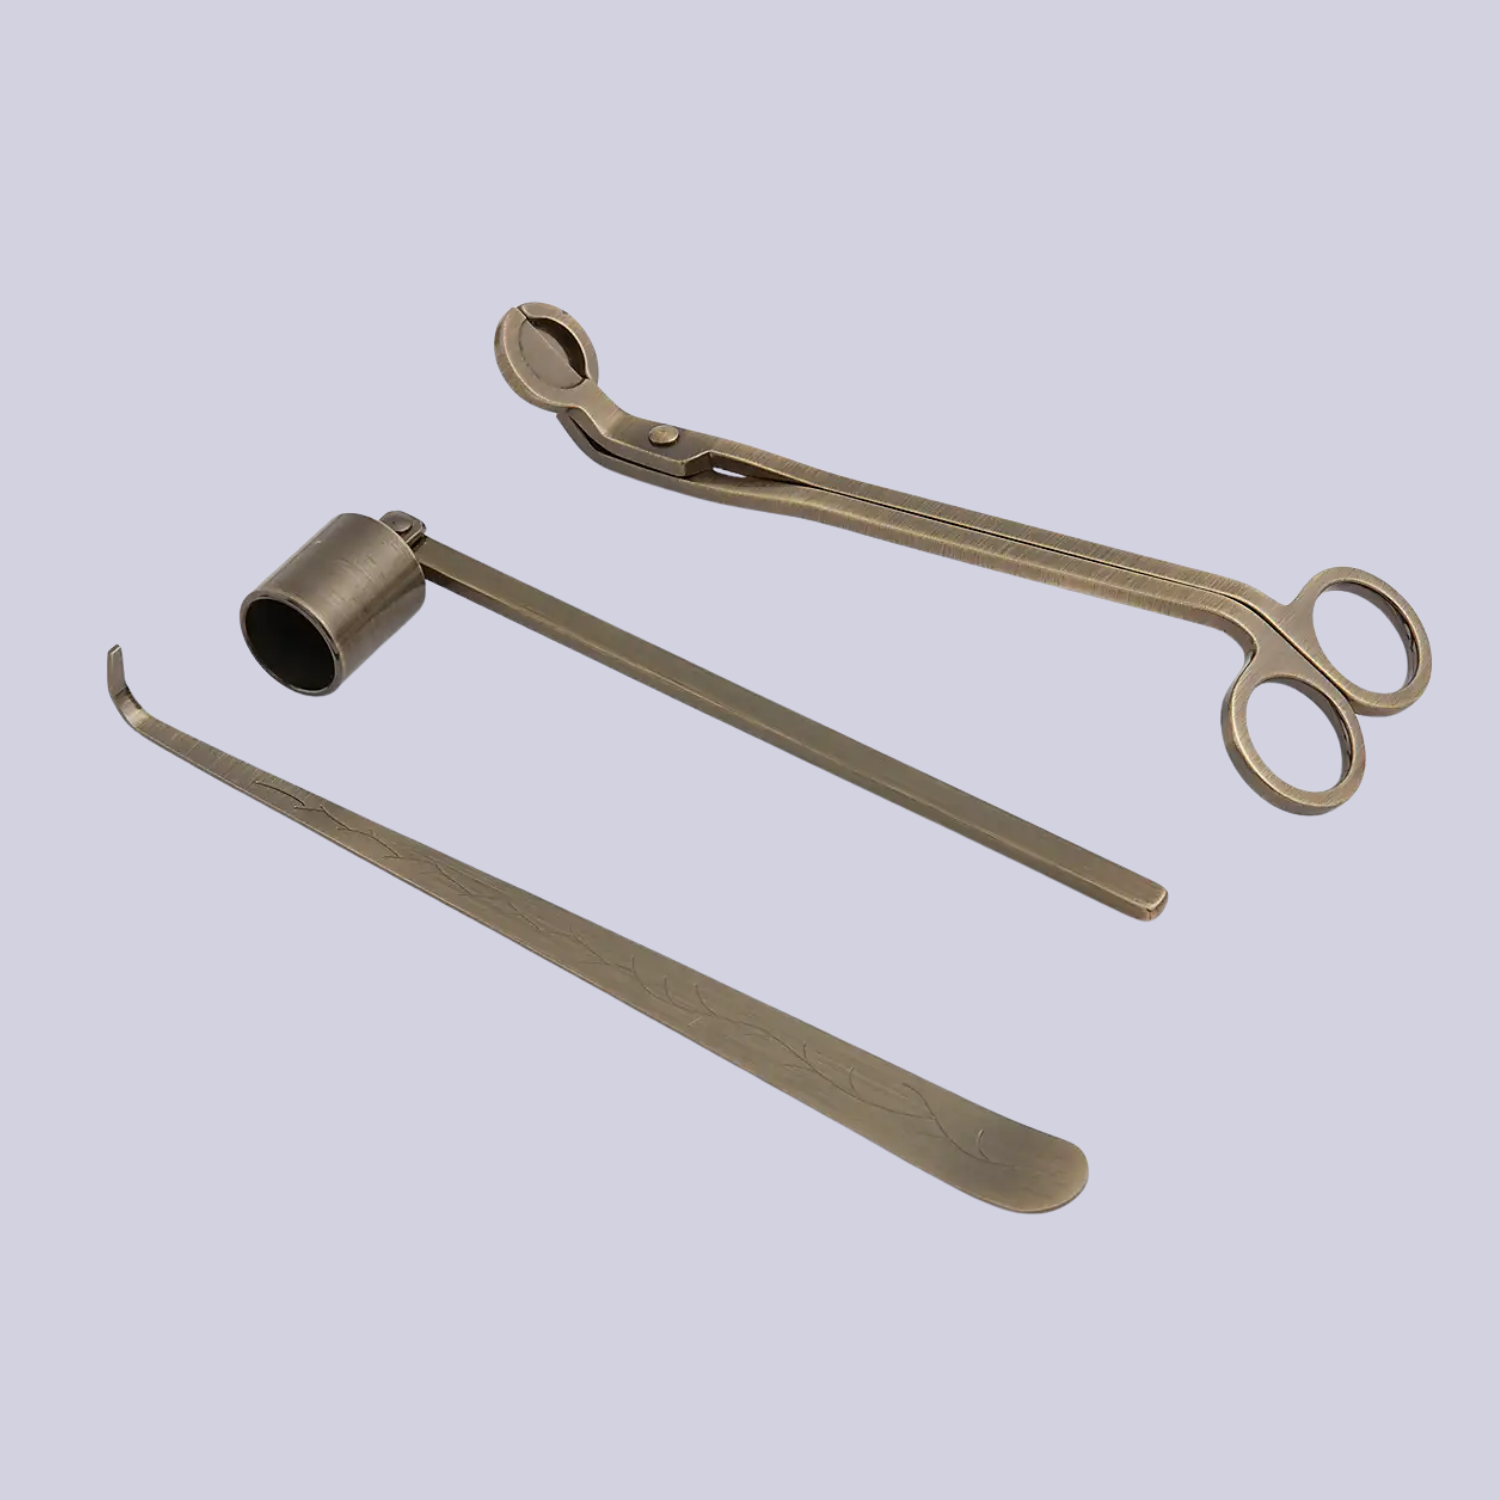
So when you're burning your own, remember to keep candle accessories nearby to properly put out the flame before your wick gets lost in the wax.
5. Not Recentering the Wick After Every Burn

If you've ever made your own candles at home, then you're probably familiar with the concept of centering your wick with a pair of skewers or popsicle sticks. But Rachel tells me that it's not just an important aspect when DIYing, it's just as important during the burning process, too.
"If the wick drifts off-center while burning, it can overheat one side of the glass or create uneven melting," she explains. "Instead, after extinguishing, and while the wax is still soft, gently nudge the wick back to center with a tool or tweezers."
This will help your wick stay centered and ready to light the next time you reach for your favorite scented candle of the season. But if you're wary of consistently caring for your wick, candle sand is a low-maintenance alternative that's just as endearing.
6. Incorrectly Extinguishing Your Candle
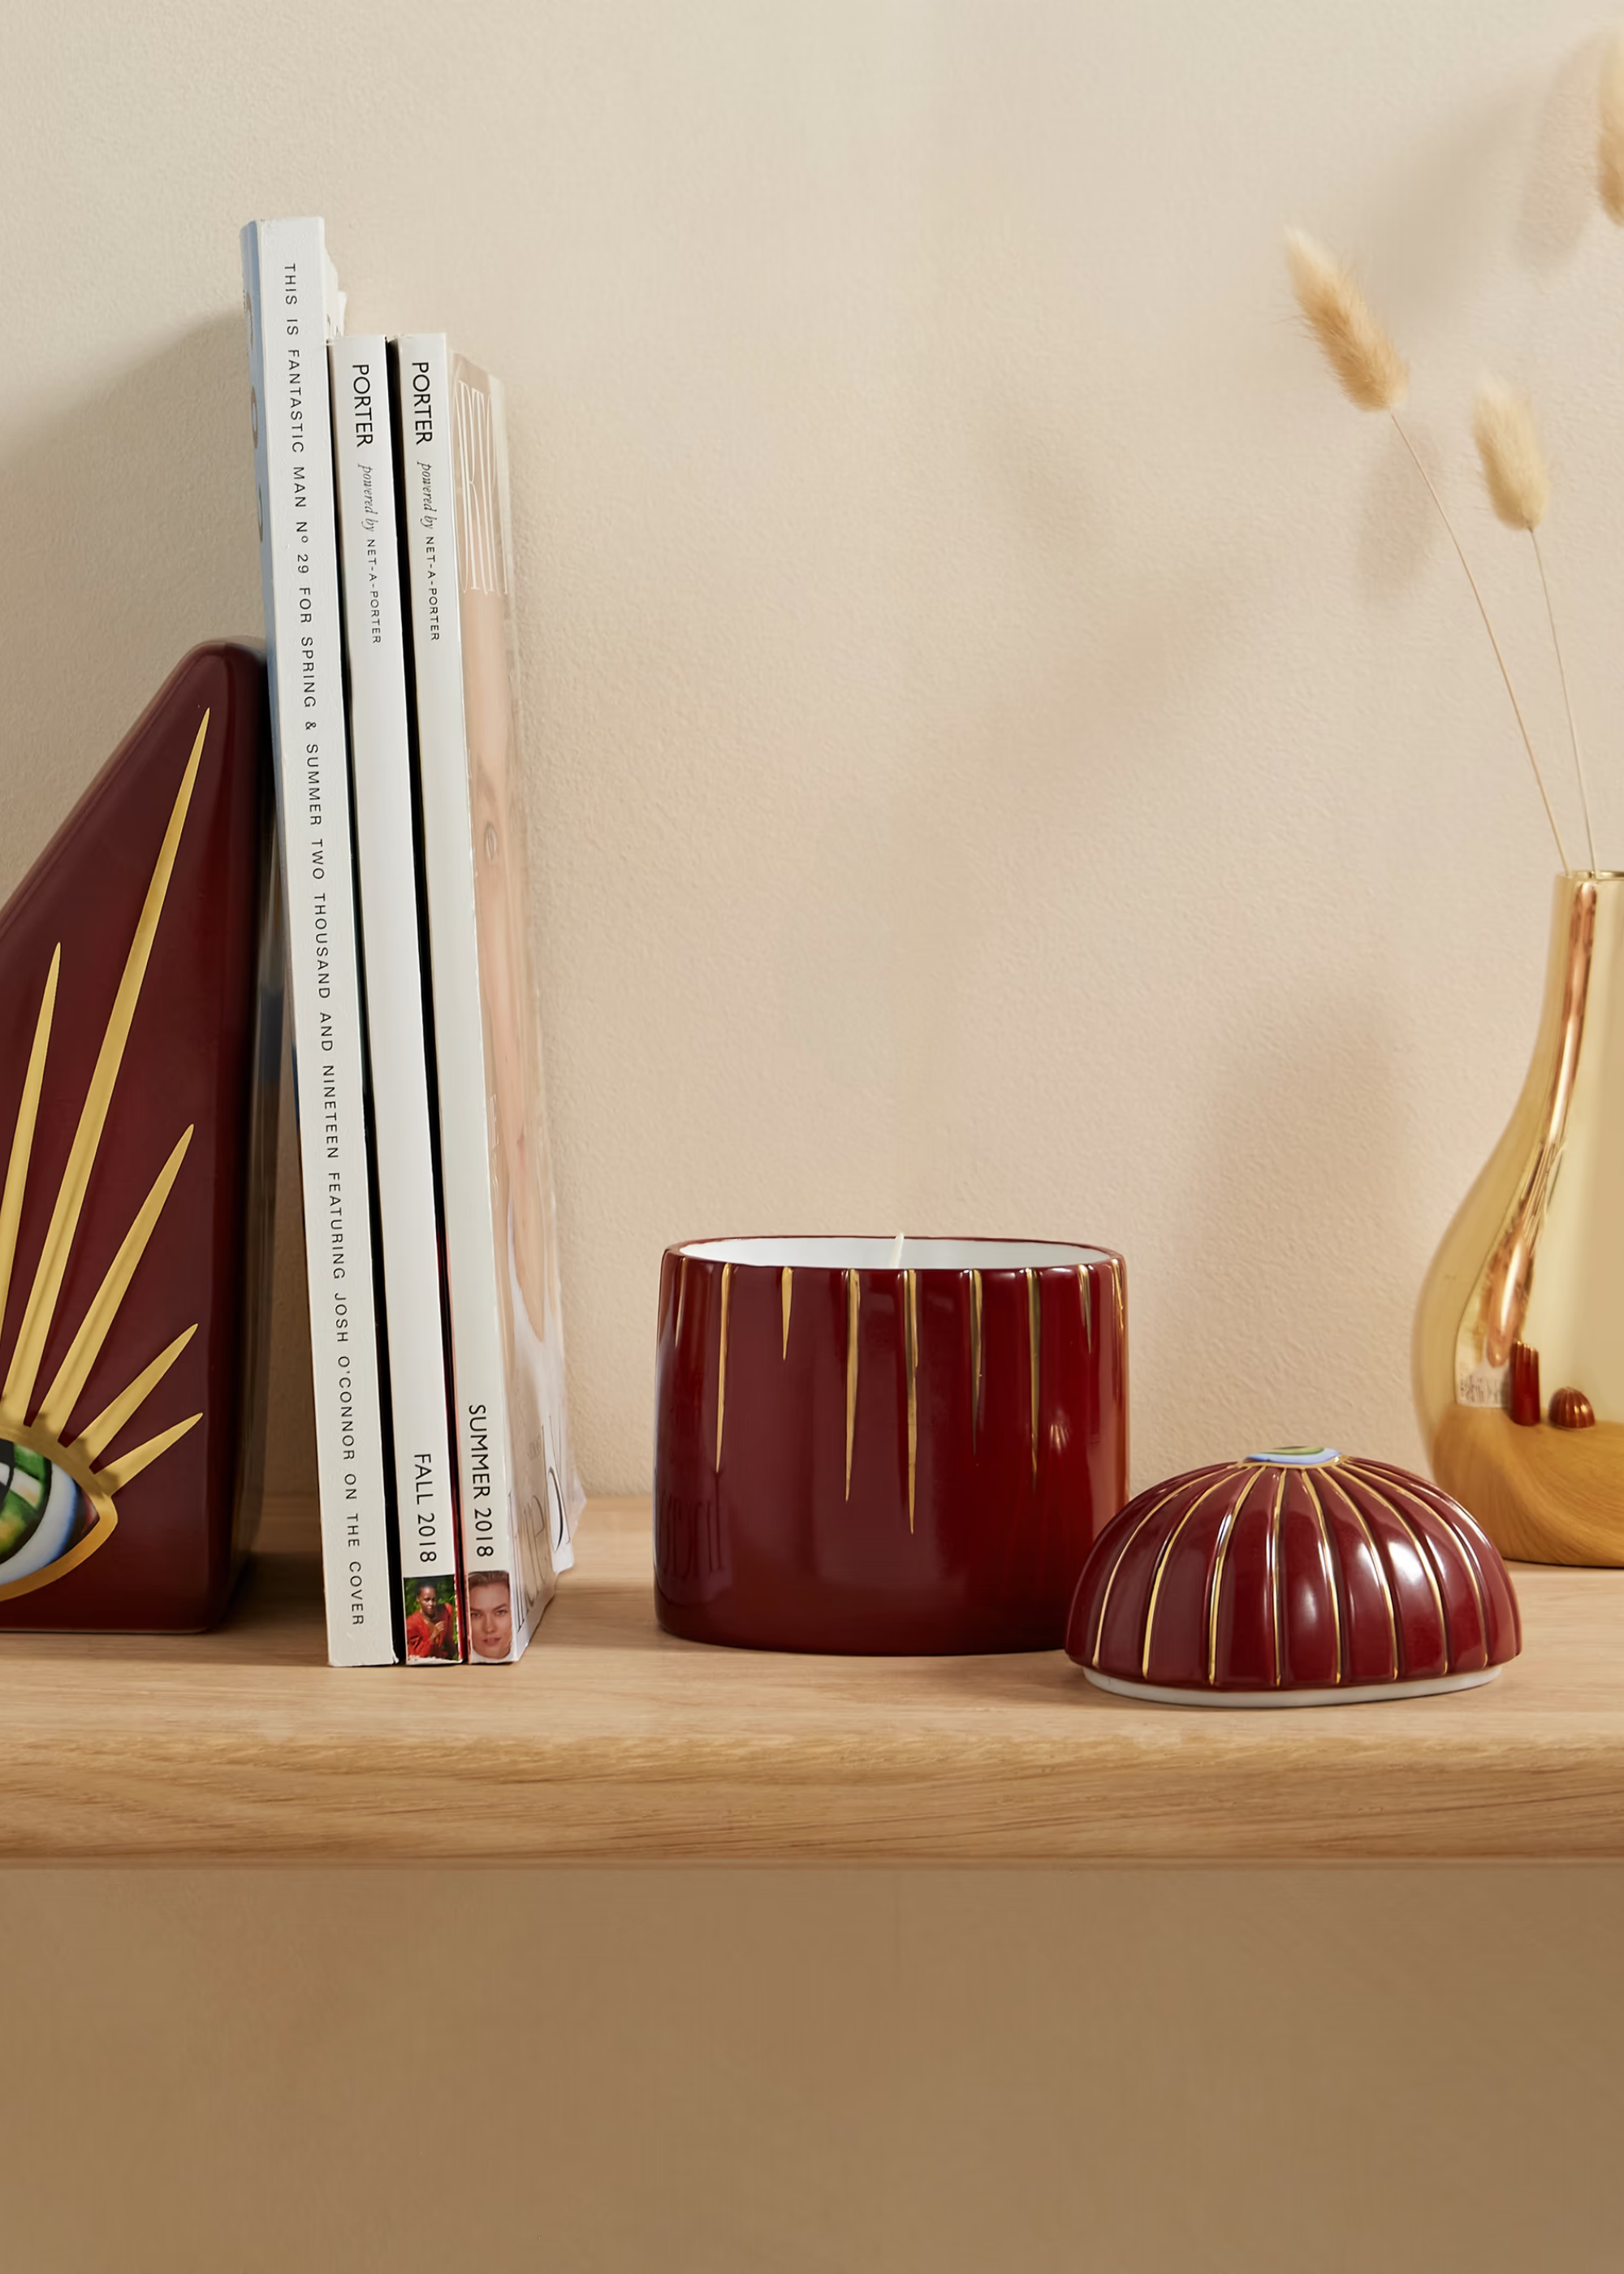
Rachel tells me that incorrectly extinguishing your wick is another candle-burning mistake best avoided. "Blowing creates smoke and soot, and putting the lid on while it’s still flaming can trap heat and cause cracks," she notes.
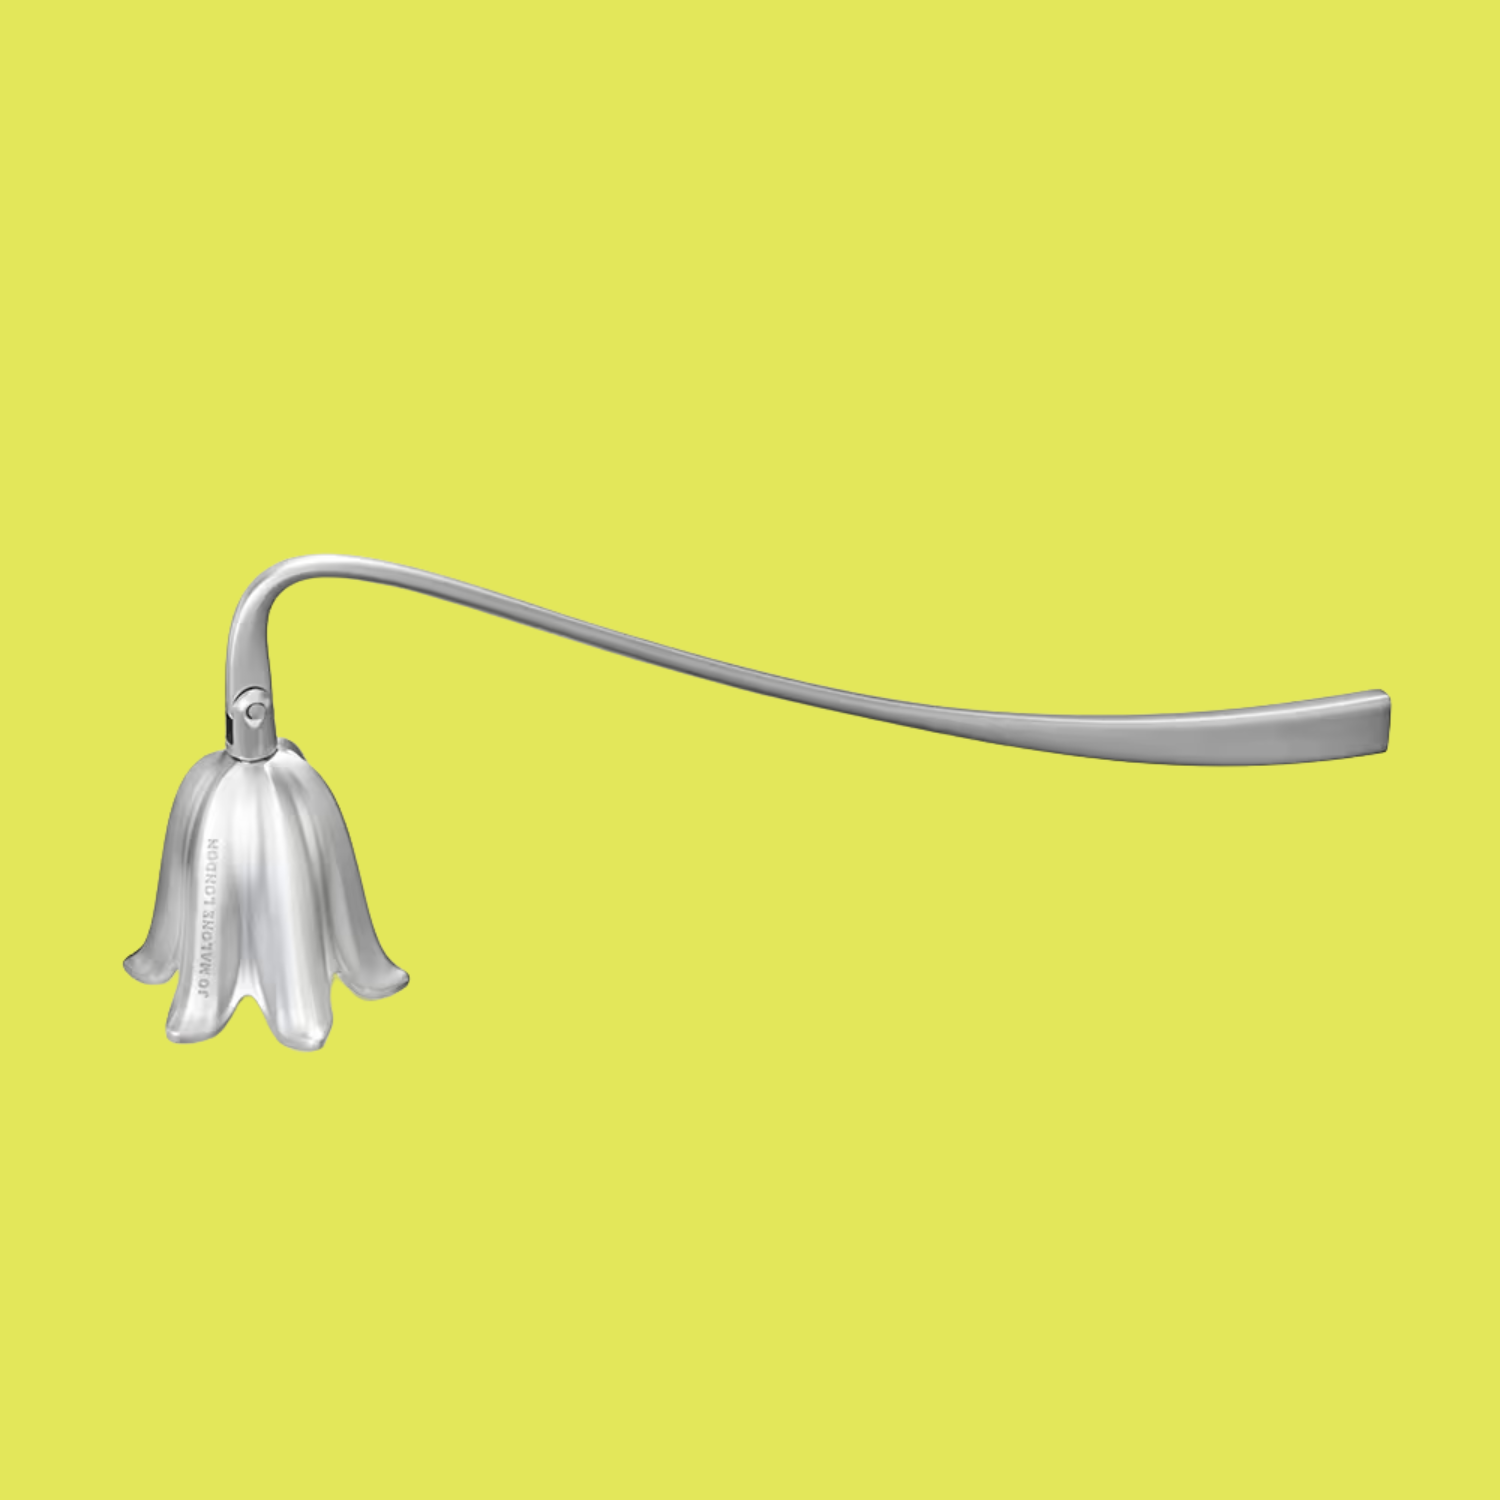
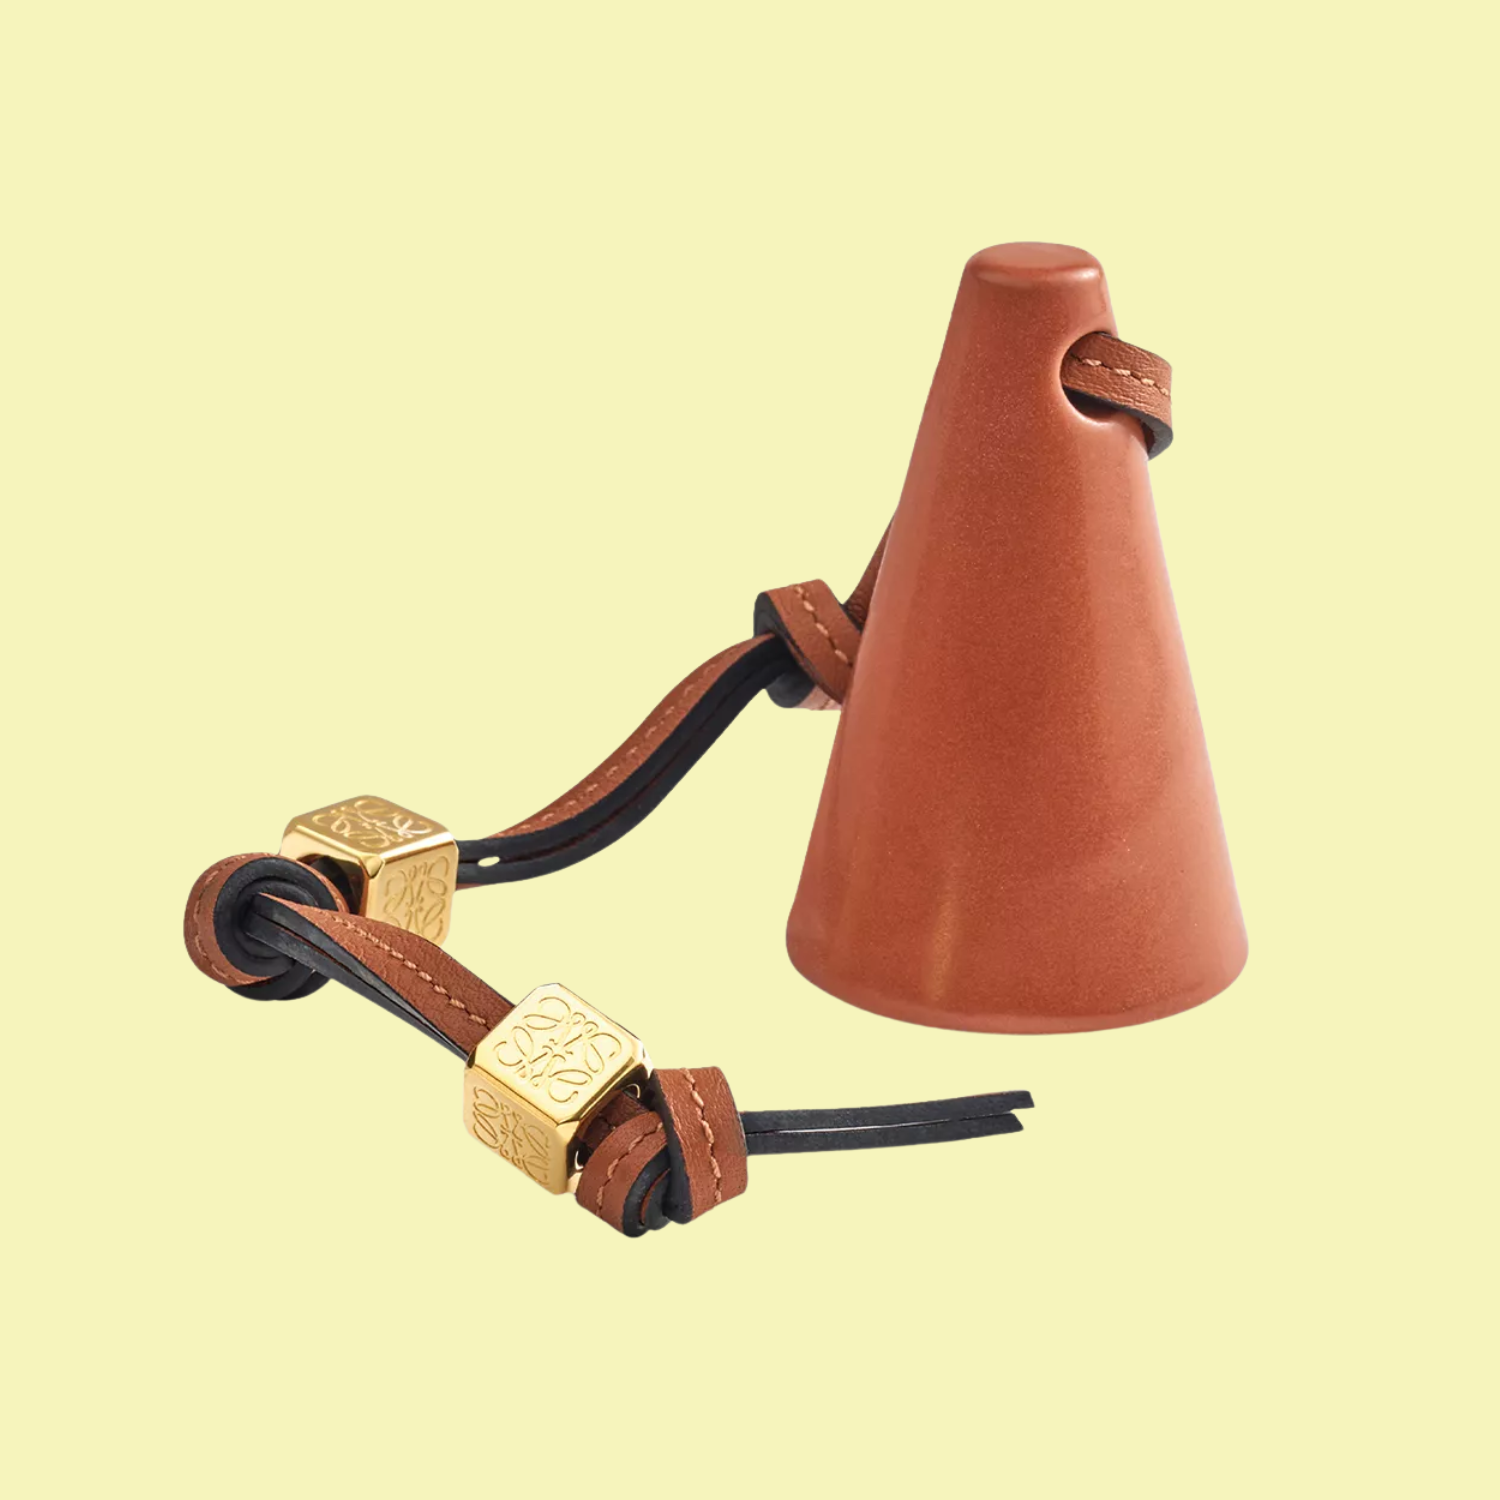
"Instead, I recommend using a cute candle snuffer or wick dipper to extinguish the flame cleanly. This will help you preserve scent quality on your candles and the wick life, too."
Another mistake that's less common but more dangerous is blowing out the flame towards the end of your candle's life. "Candle manufacturers will often tell you to extinguish the flame while there is still about 1cm of wax left in the bottom of the jar," says Aimee.
"As a wick reaches the end of the jar, it begins to absorb more oxygen from the air, as it has less wax to heat. This can result in the wick flame growing larger quickly and shattering or cracking the glass jar. It makes a big mess and can be tough to clean candle wax, so make sure to extinguish flames in time."
In the debate of candles vs diffusers, you might now feel like diffusers are an easier choice. Although I'm biased to mixing both formats throughout my home. And I've since learned that there's a right way to fragrance with diffusers, too. And our guide on how reed diffusers work will teach you all you need to know.

Amiya is a Home Wellness Writer at Livingetc. She recently graduated with a Masters Degree in Magazine Journalism from City, University of London, and has lent her words to beauty, fashion, and health sections of lifestyle publications including Harper’s Bazaar and Women’s Health. Her experience as a research analyst has equipped her with an eye for emerging trends. When she’s off the clock, she can be found reading, listening to music, or overanalyzing her latest Co-Star update.

