5 Easy and Elegant Kitchen DIYs That Will Instantly Transform Your Space — No Contractor Required
If you are itching for a fresh new look for your cooking space, these little changes can make a big impact

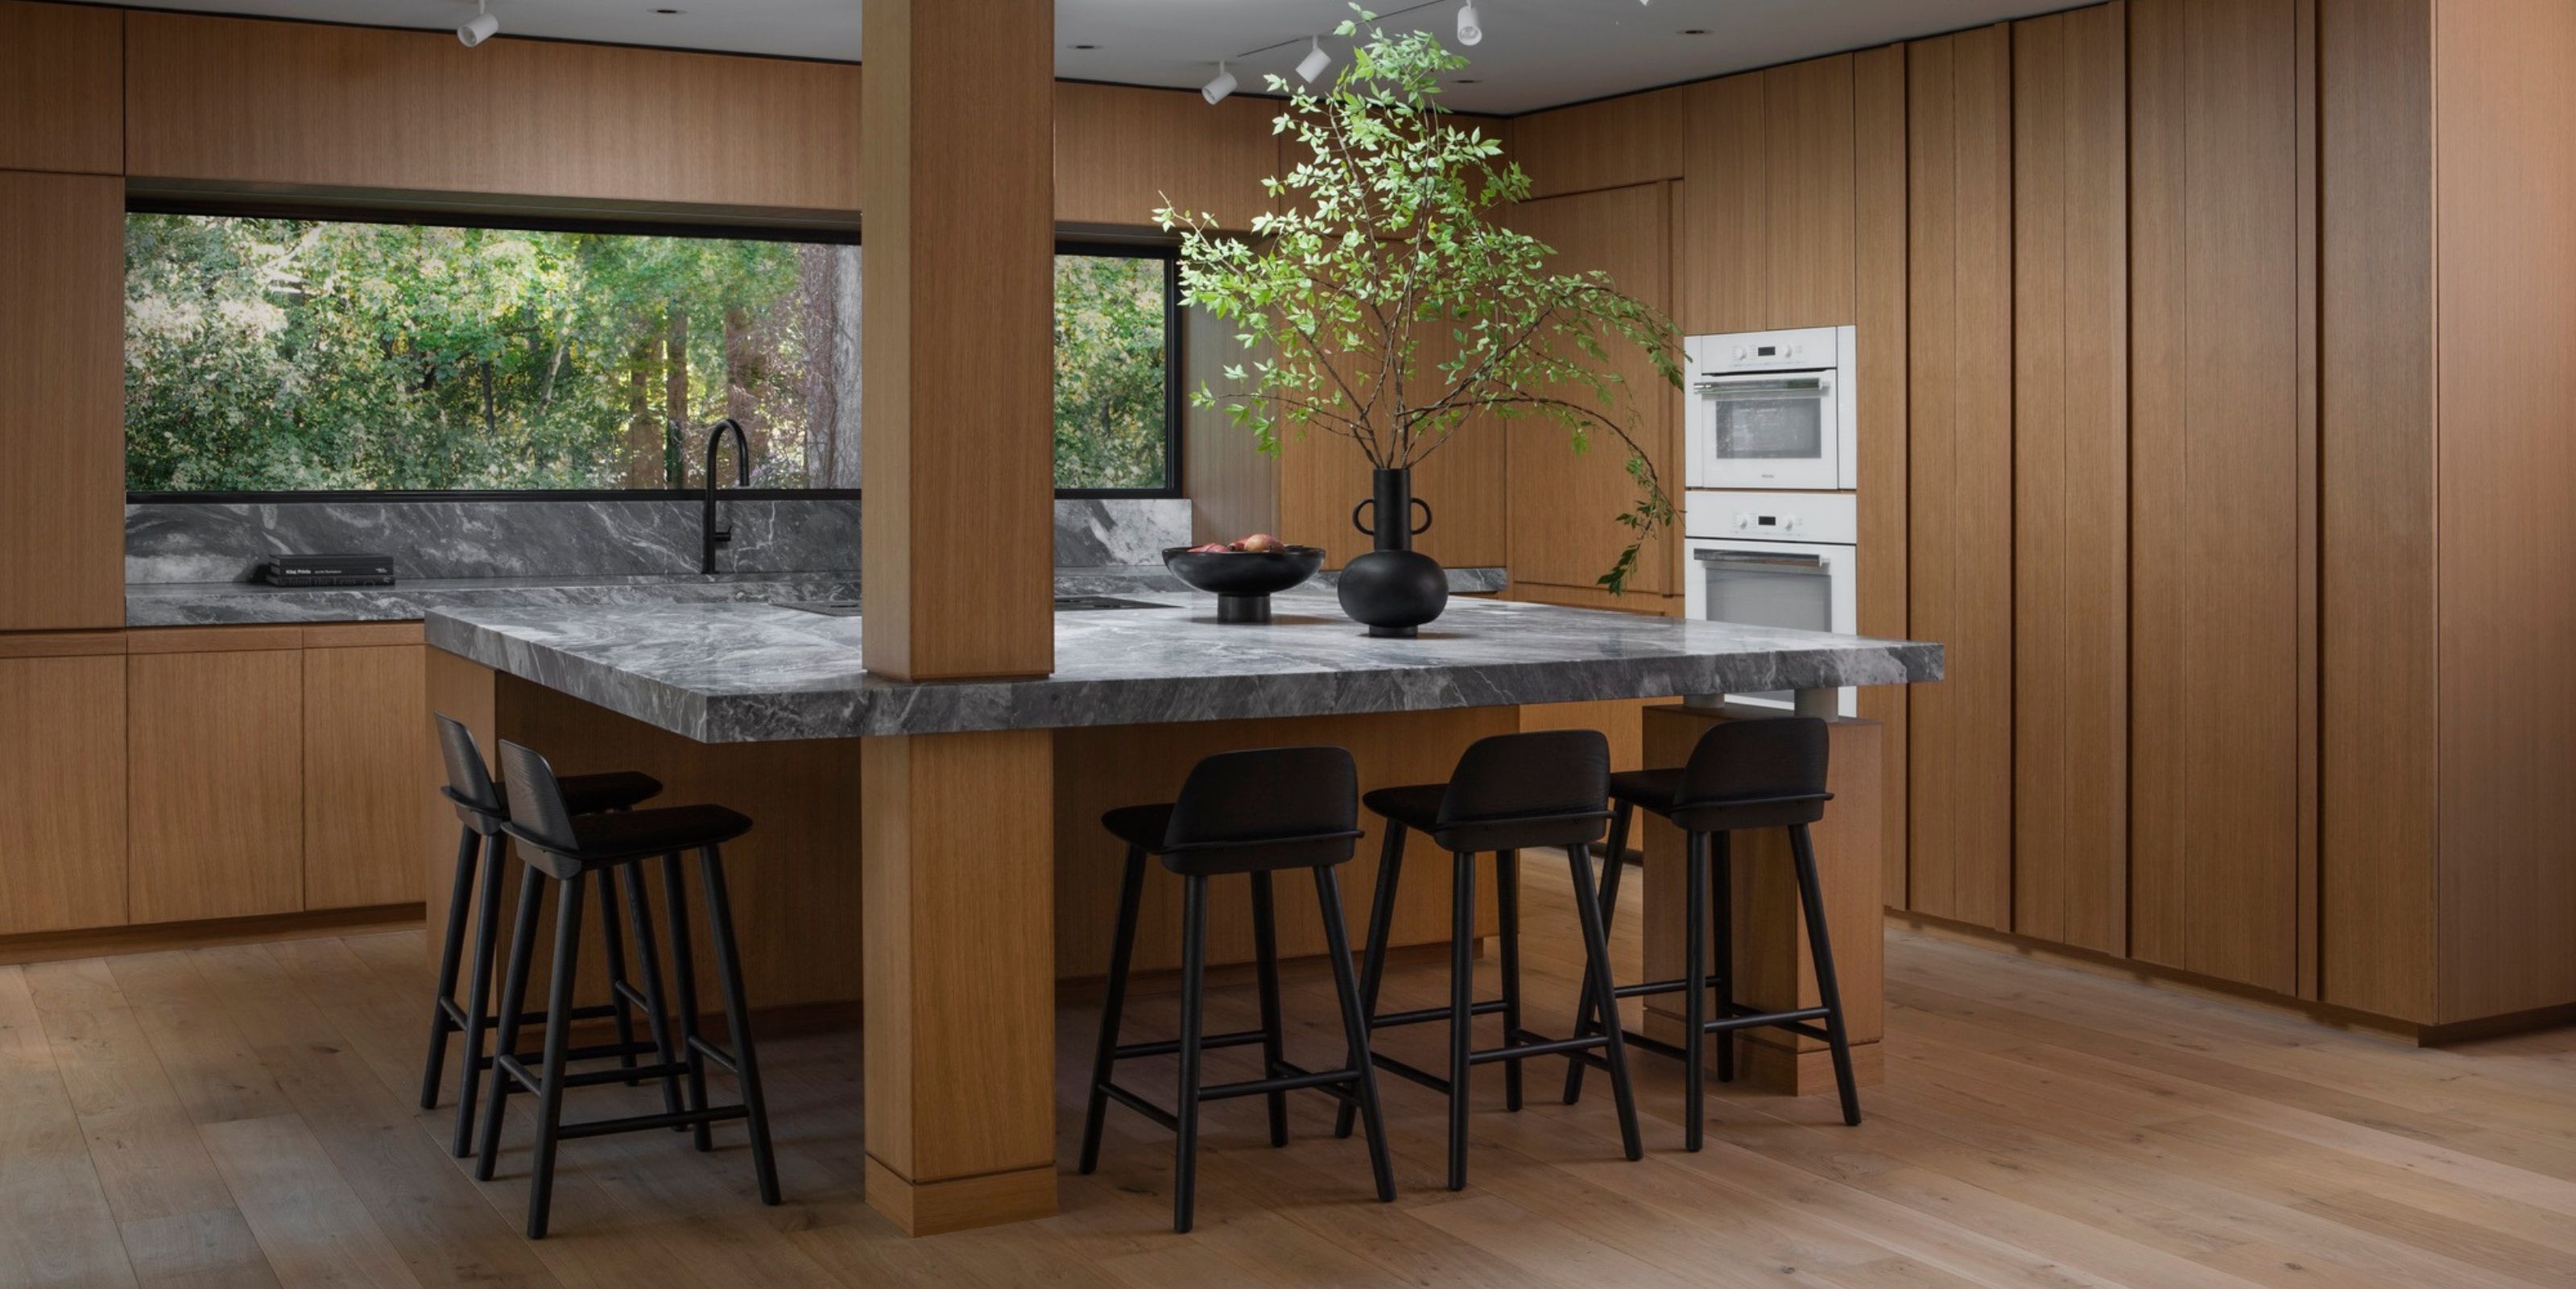
As one of the most functional spaces in the home, it can be challenging to find ways to add a bit of personality and flair to your kitchen. But, with a bit of imagination, it can often be the little touches that make the biggest impact — and plenty of them are easy to DIY.
If you're looking for modern kitchen ideas that don't require are complete renovation, and won't drain your bank account, Laura Styles, the resident style advisor at Yester Home, a kitchen hardware and homeware company, says to start with the little details. "Keeping your kitchen feeling fresh with small changes will help you to avoid any expensive and unnecessary renovations," she says. "If you are thinking of imbuing your kitchen with new life, start with some beginner DIY tasks which can make a big impact."
Incorporating the latest kitchen trends doesn't have to mean a whole new look. To prove the point, I've found five easy DIYs that will instantly elevate your kitchen.
1. Add Gallery Railing
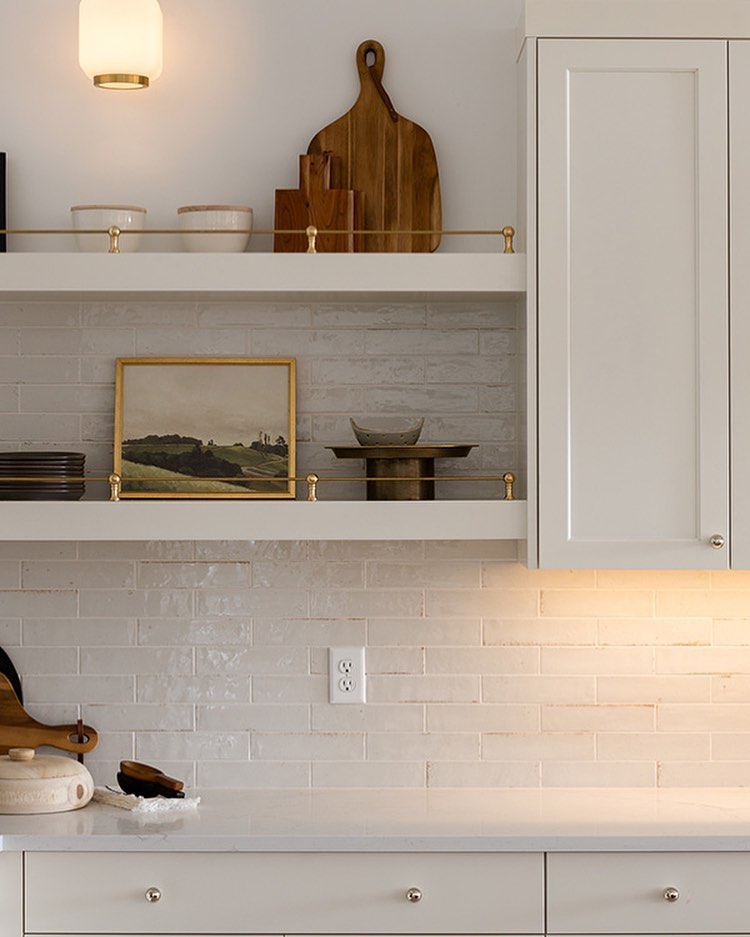
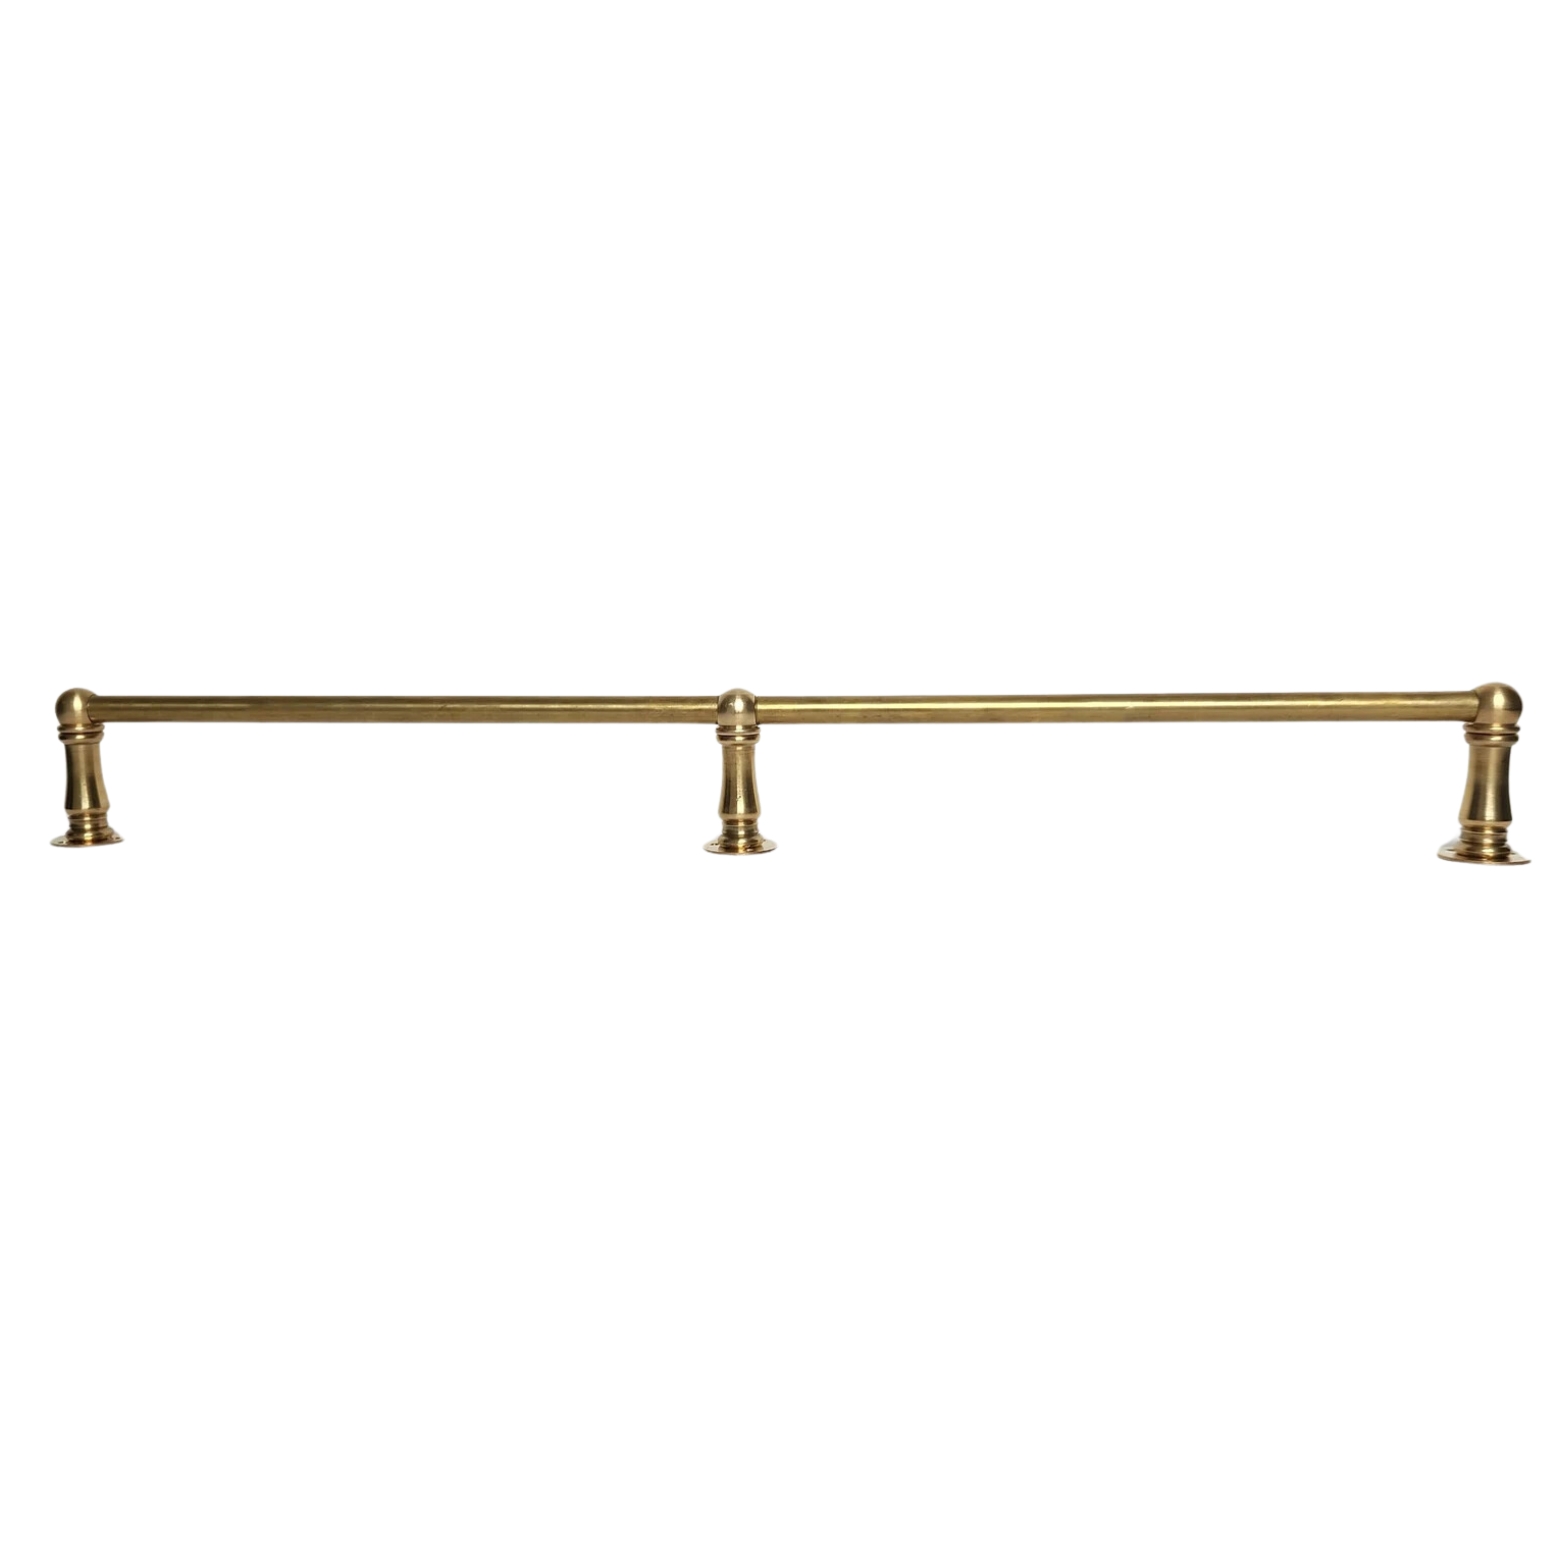
“When it comes to giving your kitchen an instant upgrade, it’s all about the finer details,” says Yester Home's Laura Styles. Gallery rails had a viral moment in our interiors last year with the rising popularity of vintage and traditional touches. Whether adding a finishing flourish to wall units or securing your kitchenware on exposed shelving, gallery rails are an amazing solution as they instantly make your space feel bespoke.
"They are super versatile and easy to assemble, meaning that if you tire of the look in your kitchen, you can simply dissemble your rails and refit them in another part of your home," adds Laura.
As for styling this look, you can utilize vertical space within your kitchen by adding floating shelves that include a gallery rail for extra security. This quick trick adds visual interest to your space while maximizing your kitchen storage without adding extra cabinets.
"If you are looking to get the designer kitchen look for less, gallery rails will certainly help you to achieve a polished look which feels stylish and conscious, rather than pulled straight from a catalogue," says Laura. Once you have a stylish guard rail in place, then you can have fun mixing décor into your shelves.
The Livingetc newsletters are your inside source for what’s shaping interiors now - and what’s next. Discover trend forecasts, smart style ideas, and curated shopping inspiration that brings design to life. Subscribe today and stay ahead of the curve.
Shop Gallery Rail Styles
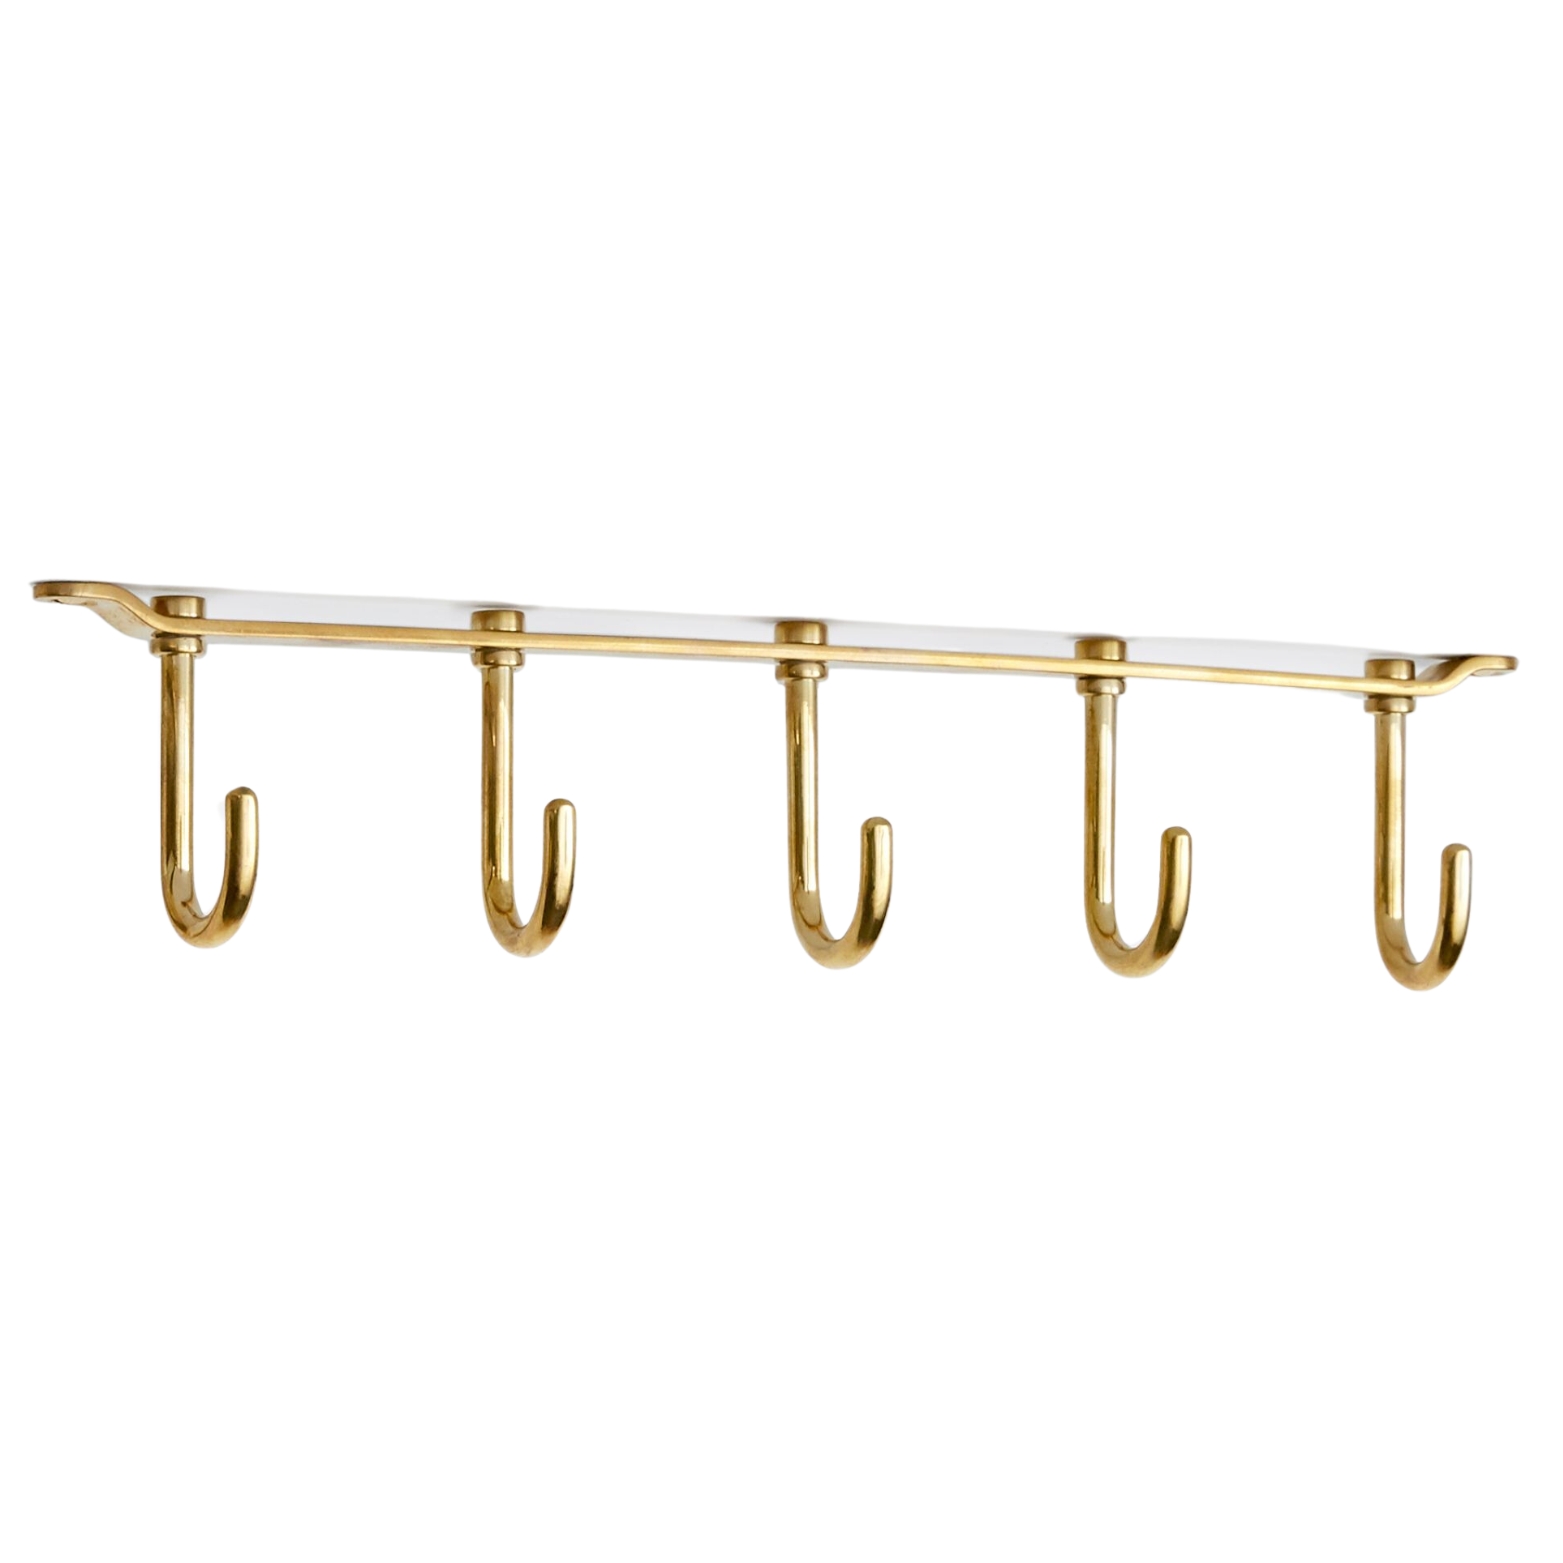
2. Add Stylish Hooks and Rails
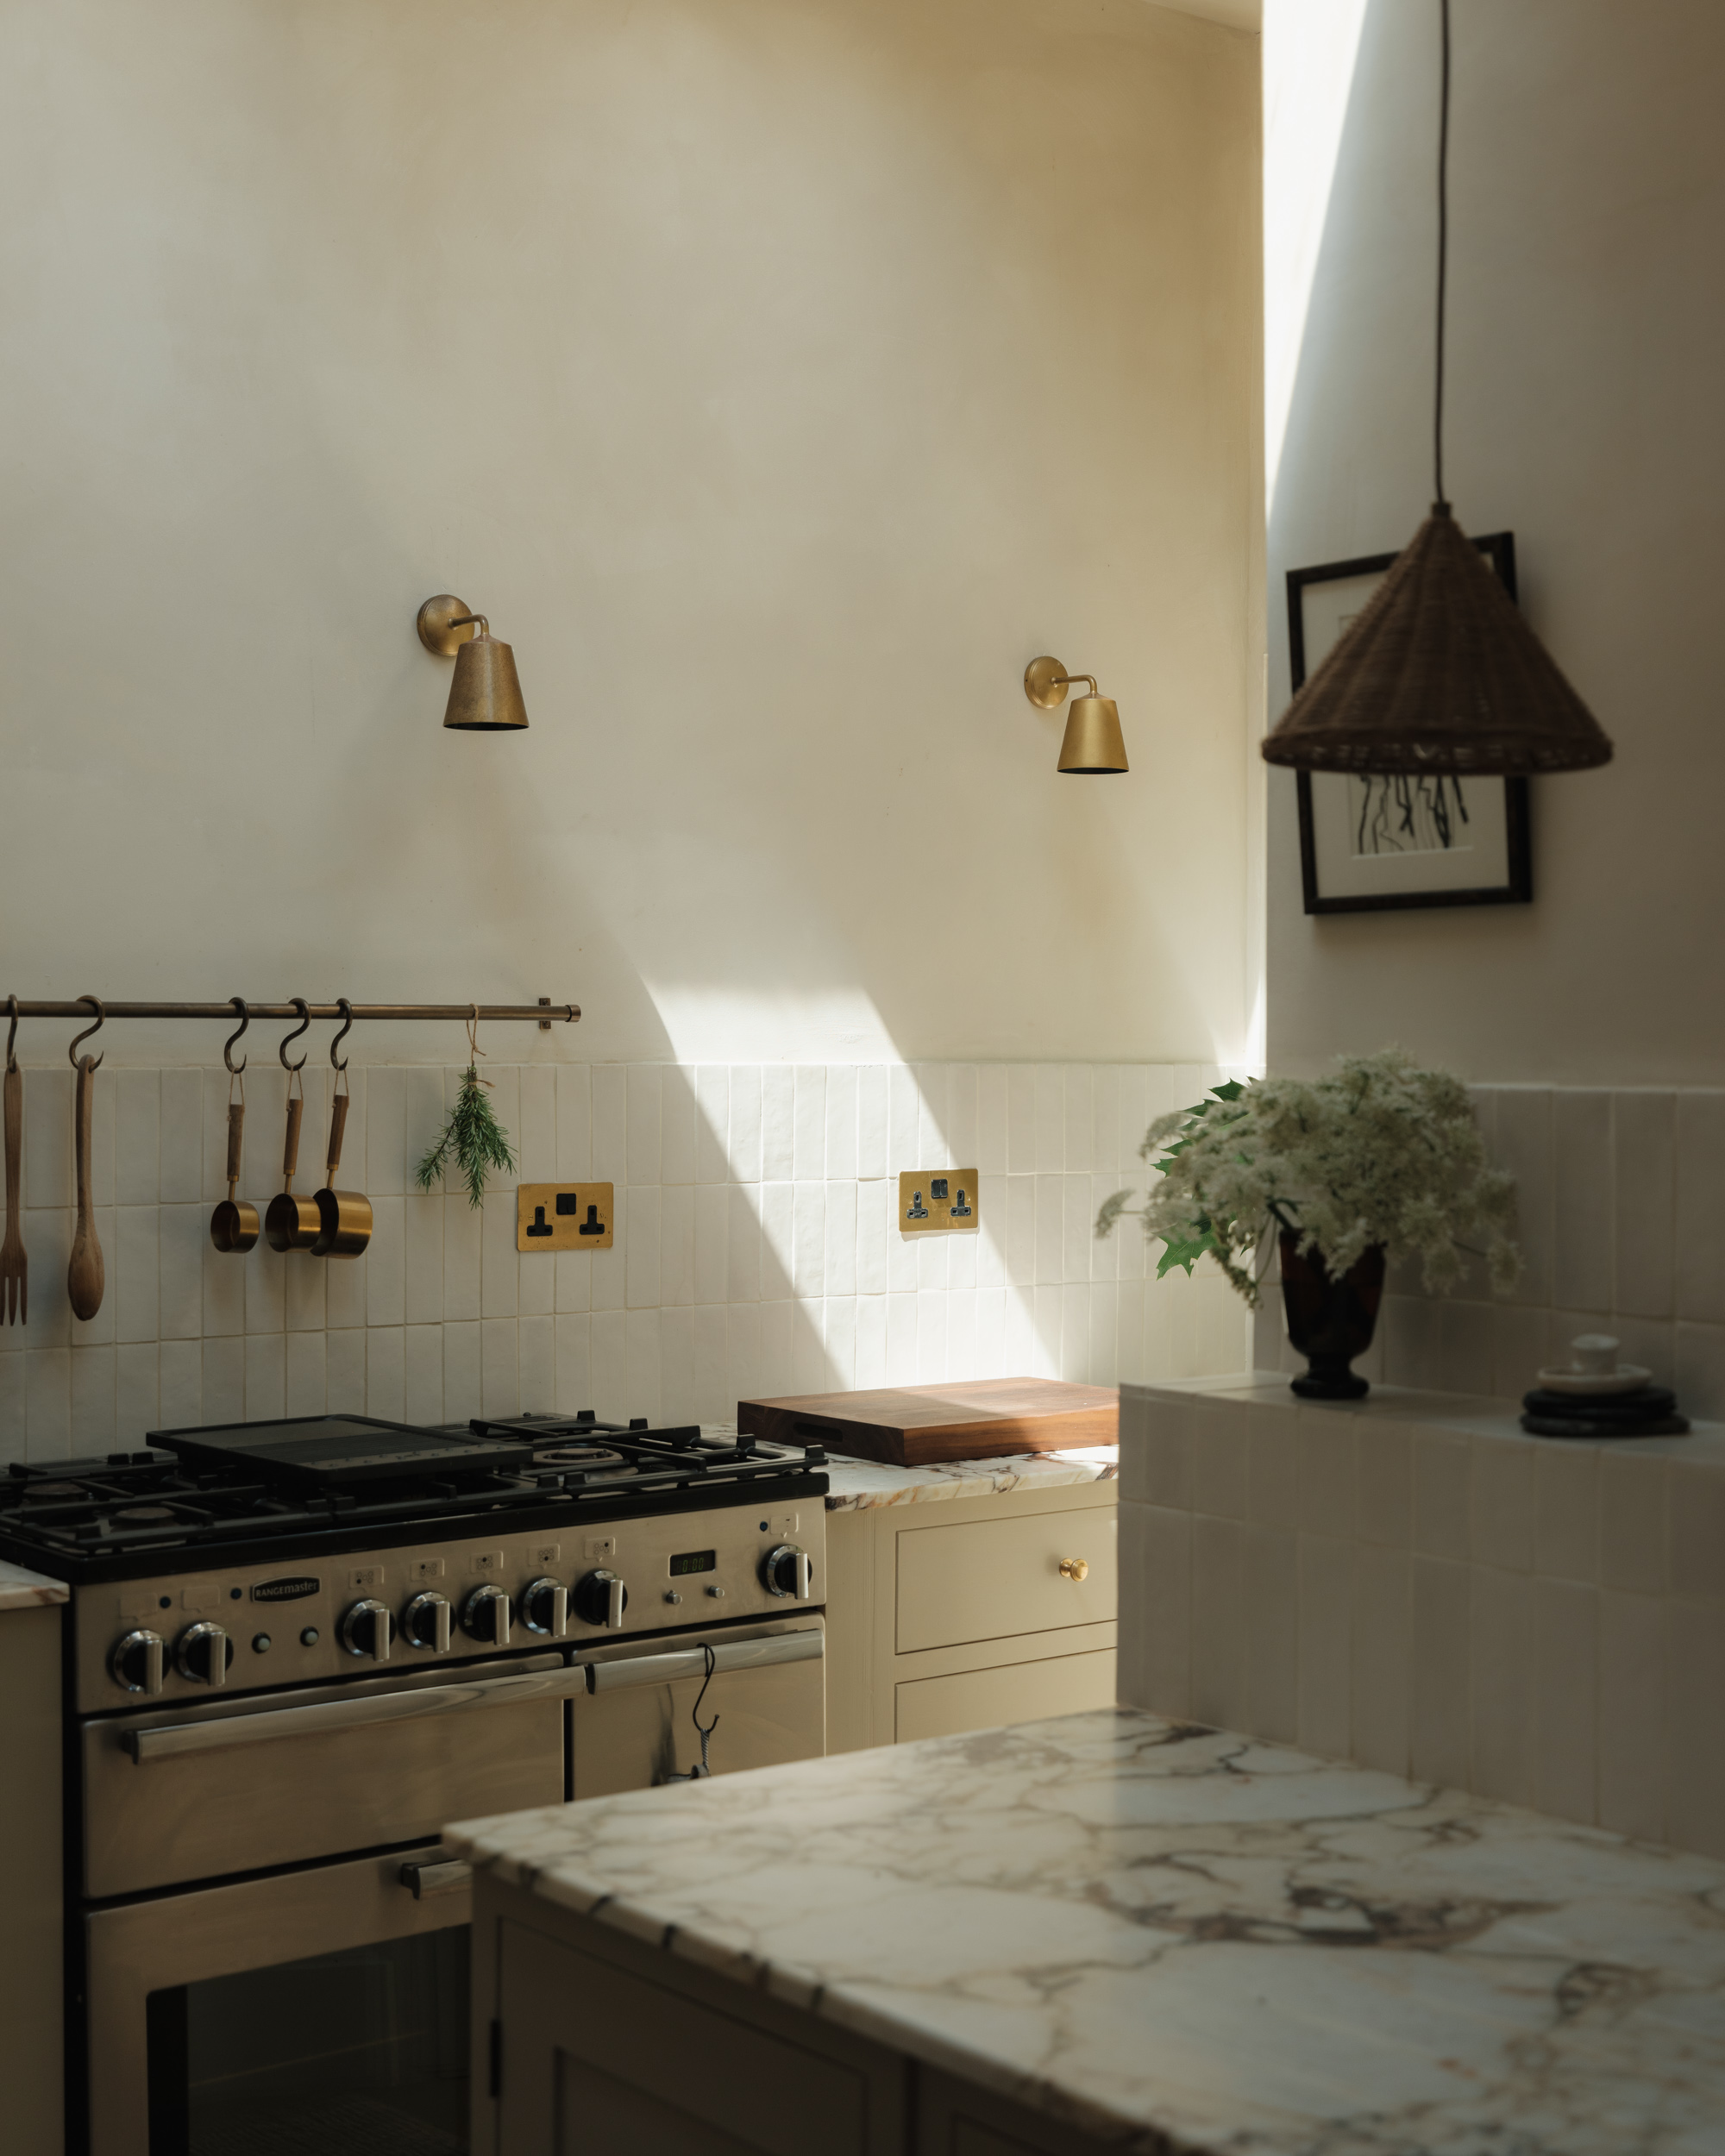
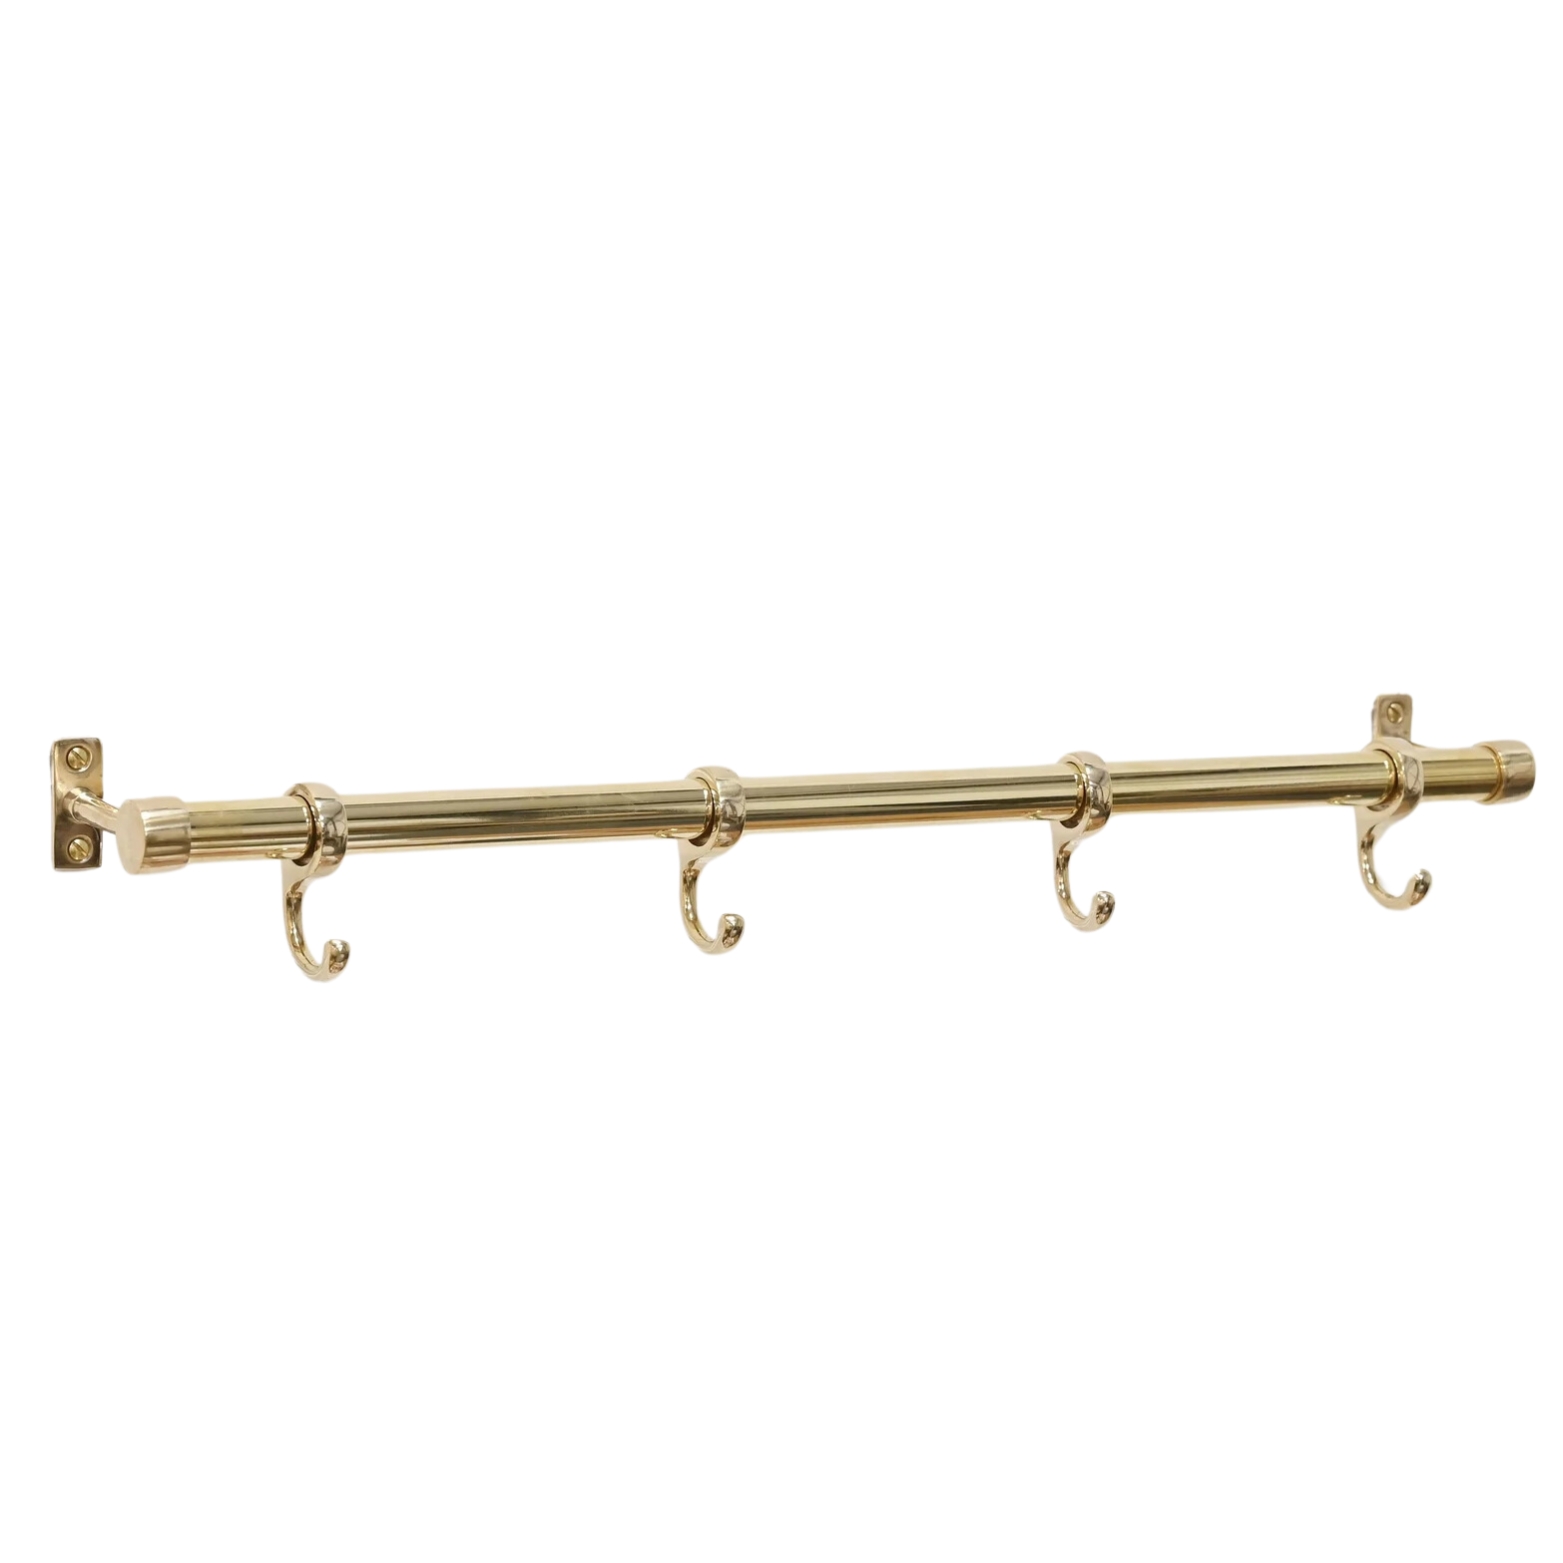
While I am on the topic of chic kitchen railing, hanging rails and hooks are also simple details that capitalize on both form and function. This small but genius addition helps maximize storage space in small kitchens as well as making elements like open shelving look more organized and chic. And who doesn't want that?
"Hanging rails and hooks are a great way to showcase your personal style and elevate your kitchen," says Laura. "Whether fitted underneath a cabinet or attached to the kitchen island, adorn them with kitchen utensils for easy access or decorative items."
You can even swap out these touches seasonally or whenever you want to refresh the space. "After all, when space is at a premium, your kitchen design has to work hard, and look good," adds Laura. You may have more pots and pans than you know what to do with, but that doesn't mean your kitchen pan organization can't be stylish!
Shop Chic Hooks and Rails
3. Strategically-Placed Artwork
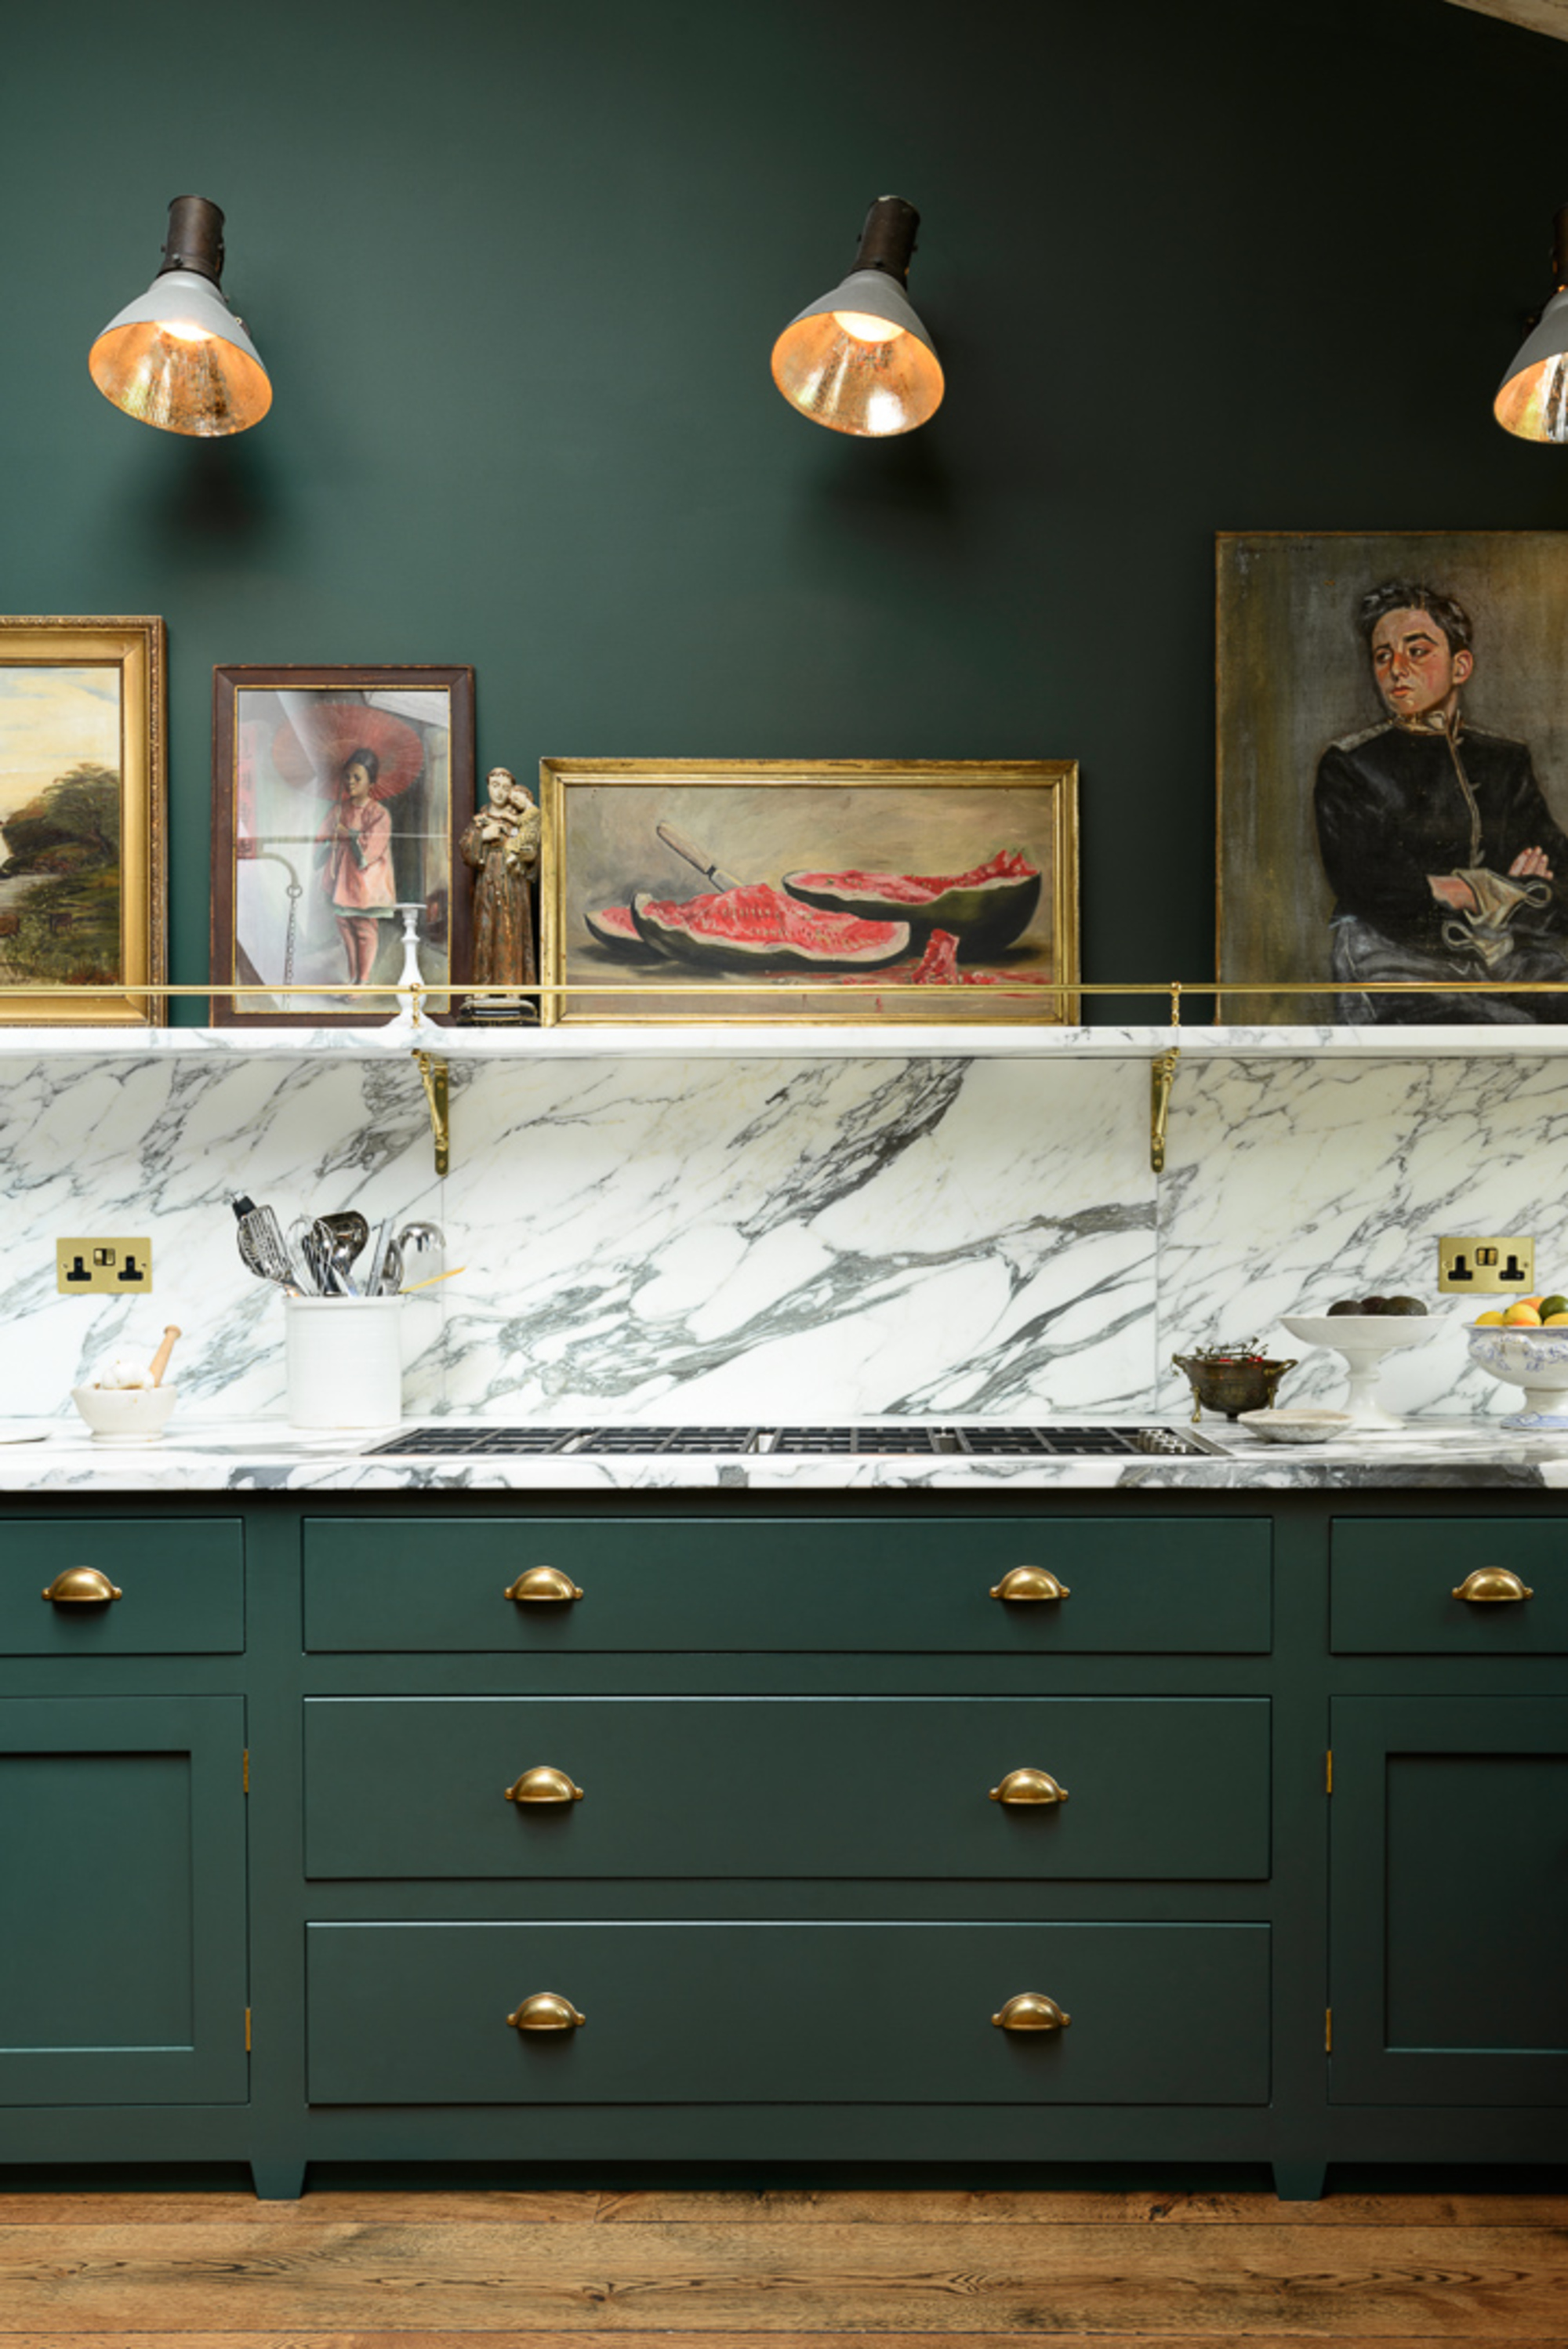
As a functional space, people often overlook kitchen wall decor ideas like hanging artwork, but a well-placed piece of art can completely transform your kitchen from a space that feels stark and impersonal, into one that oozes style and personal taste.
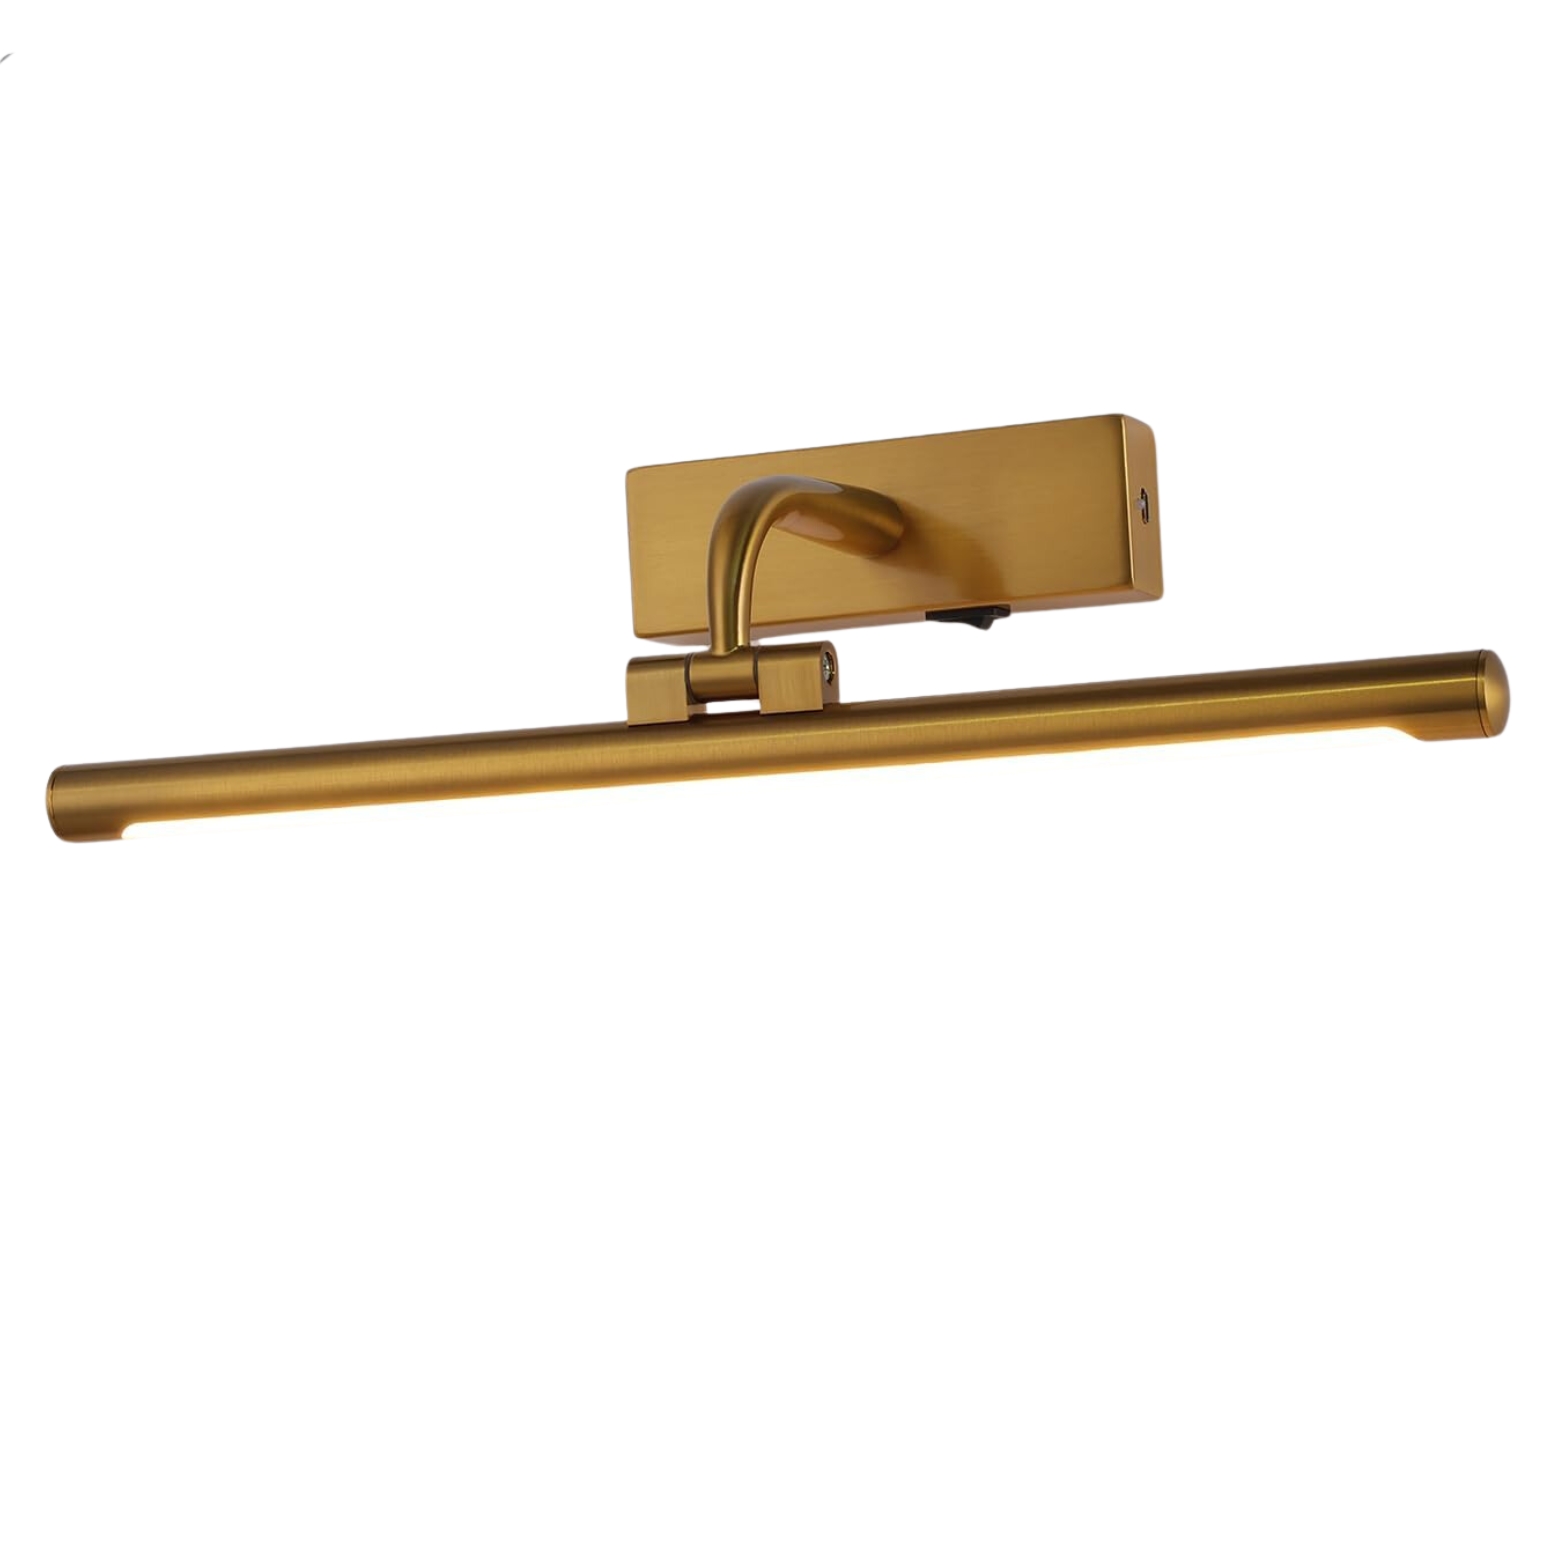
And my favorite way to emphasize any artwork in your kitchen is to highlight it with a pretty picture light. This kitchen lighting idea will give your artwork a designated moment to shine, and ensures your piece becomes a feature in the space.
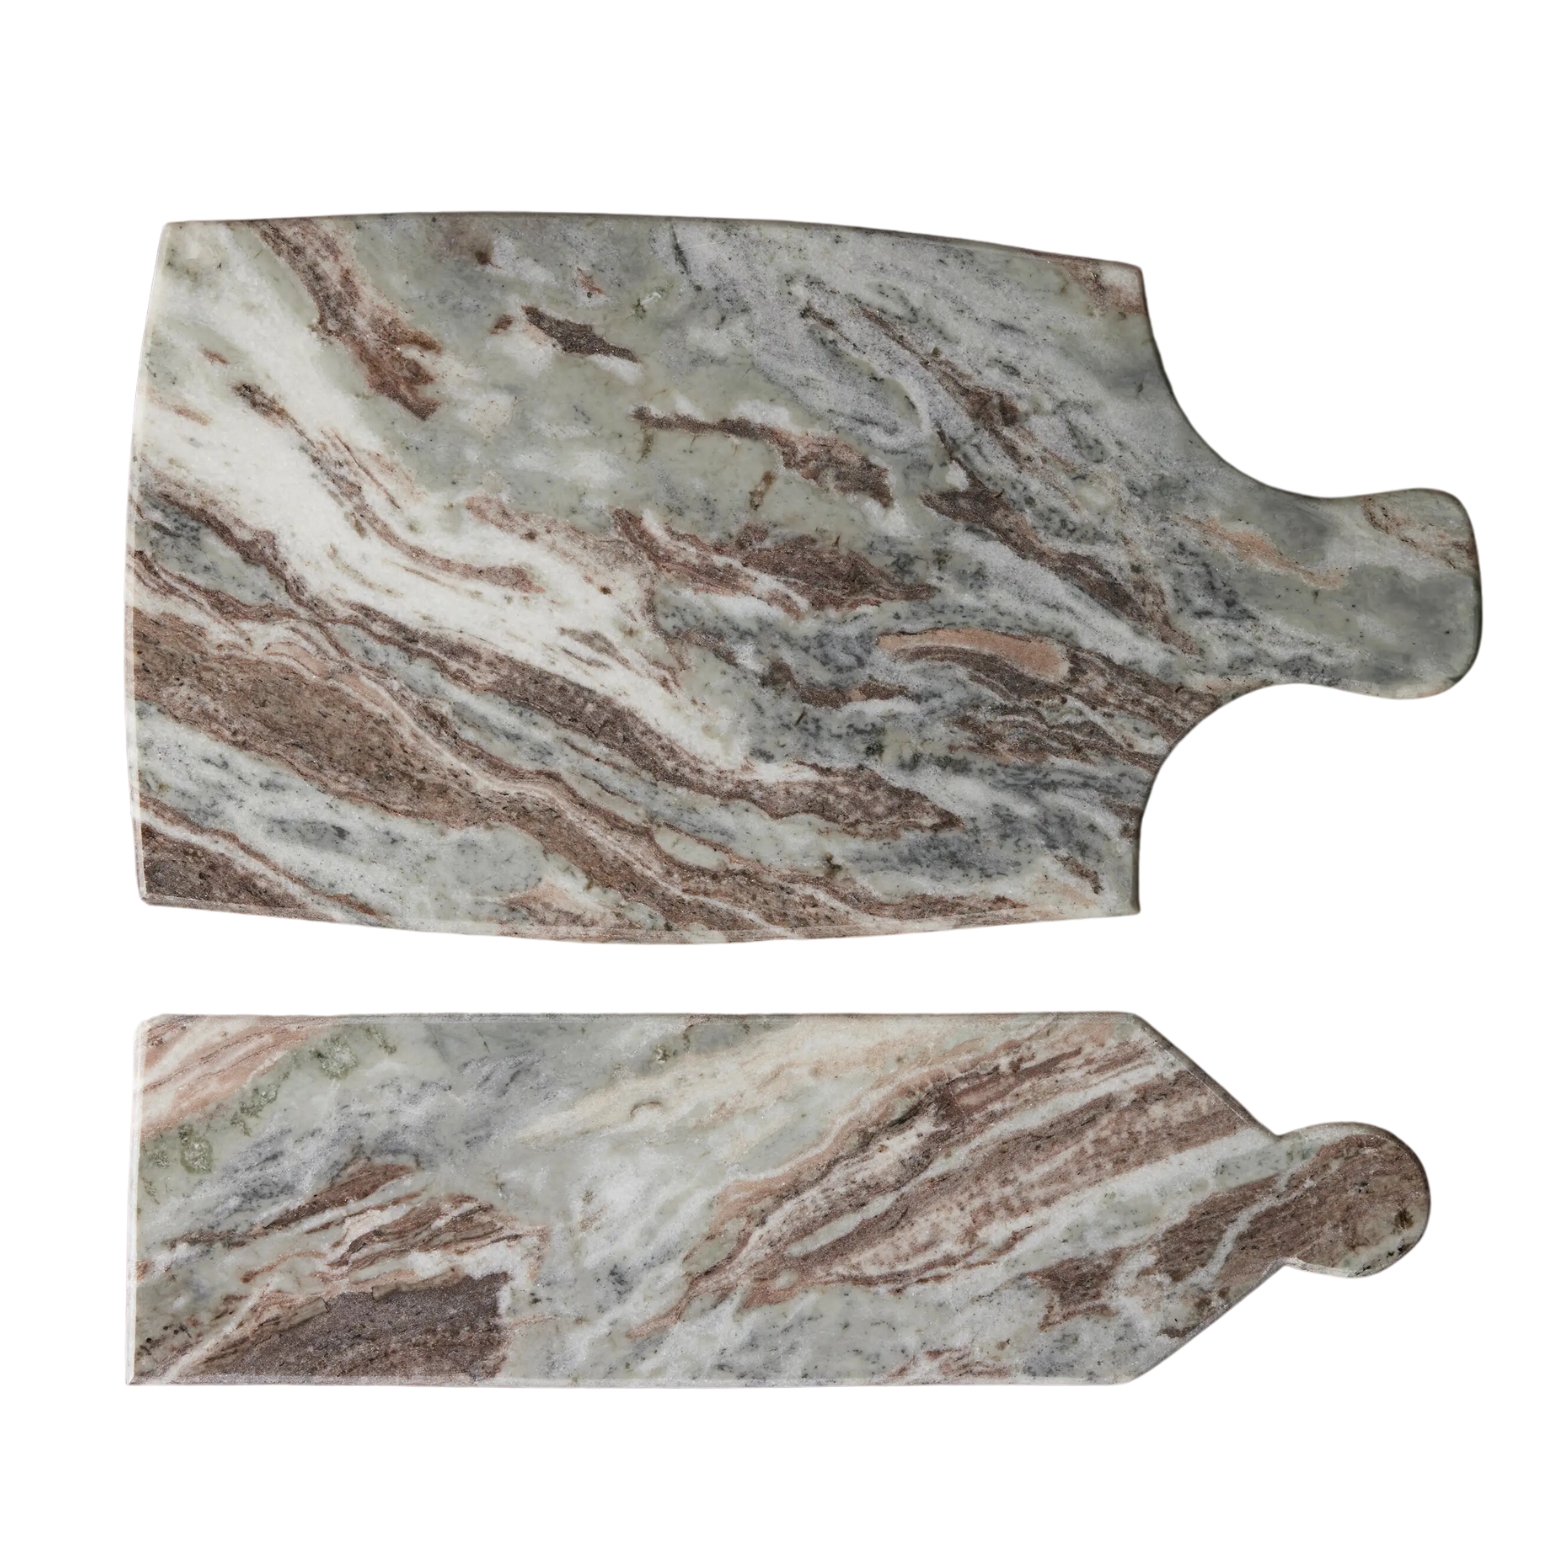
But, if you don't have the wall space to hang art in your kitchen, you can also lean it against your backsplash, place smaller pieces on open shelving, or use items like stylish cutting boards and colorful cookbooks to double as a decorative and artistic moment.
Shop Kitchen Art
4. Peel-and-Stick Tiles
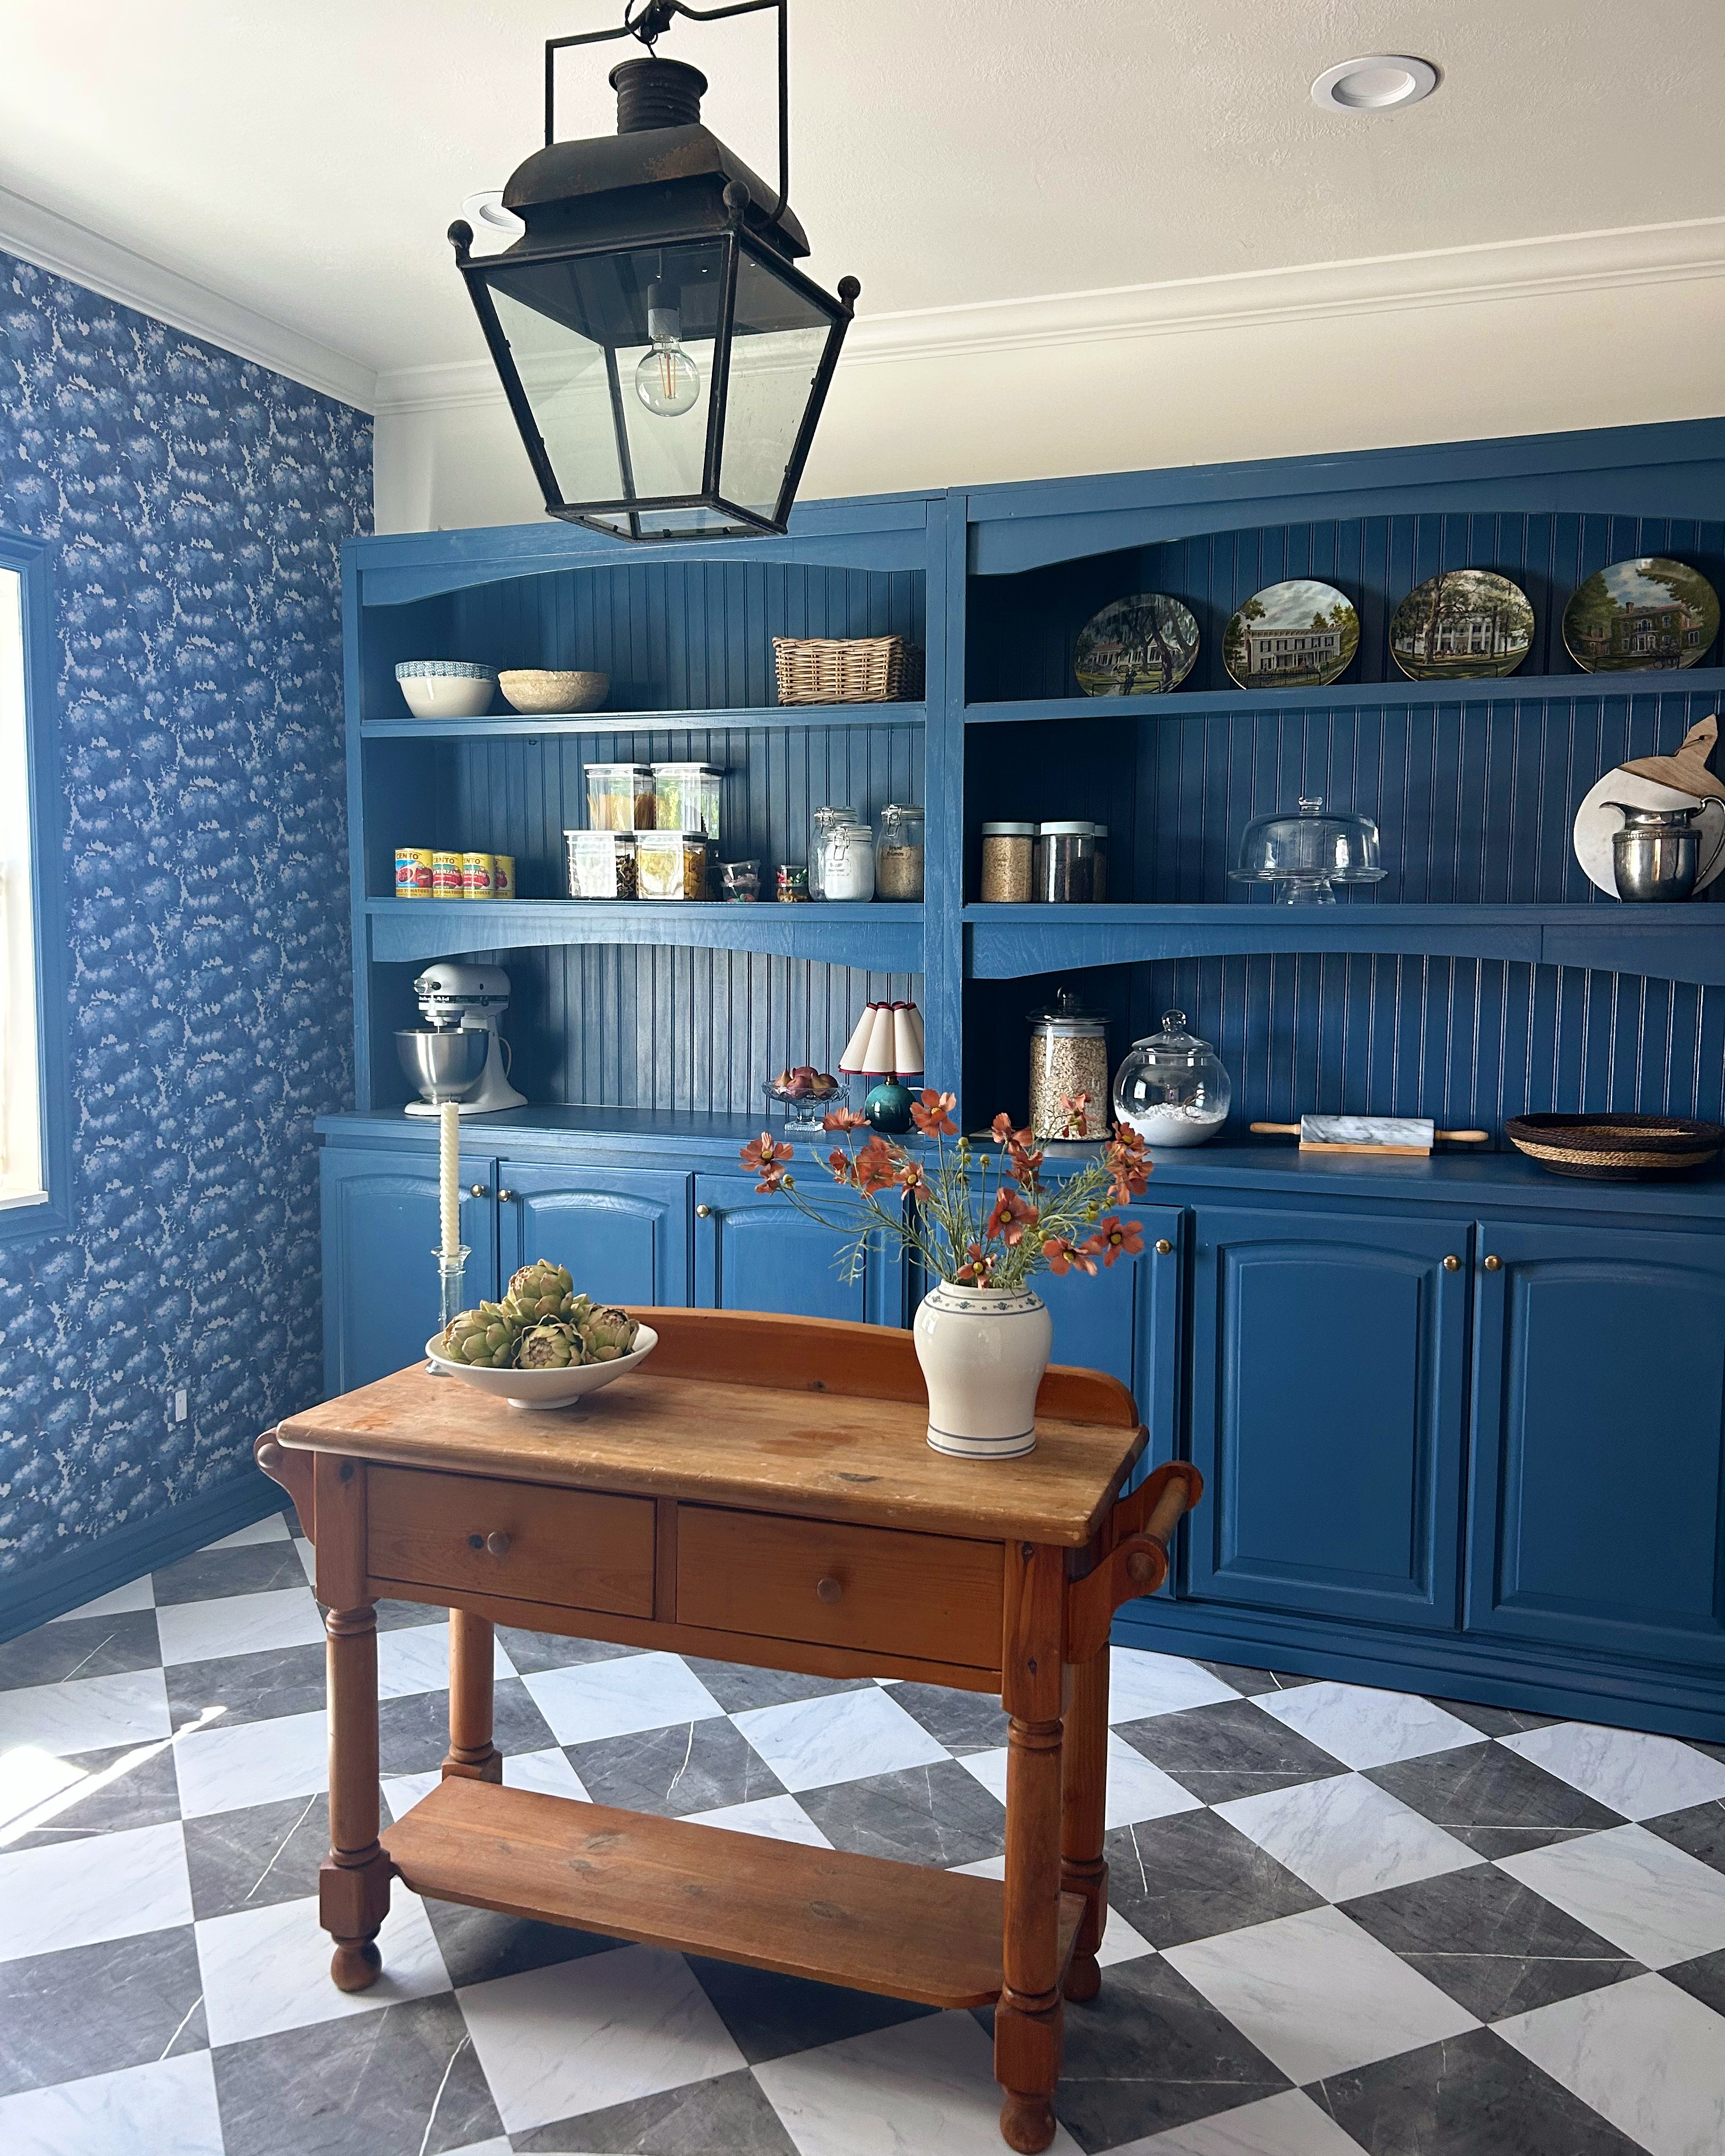
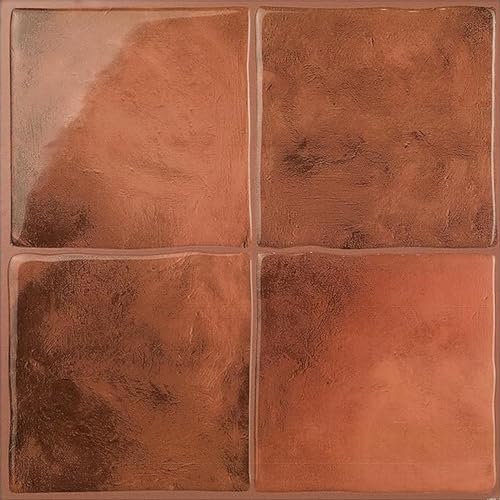
Peel-and-stick flooring products are a game changer when it comes to personalizing a rented apartment. Take it from me — I just finished remodeling my own rental apartment kitchen and peel-and-stick tiles made the biggest difference in the space.
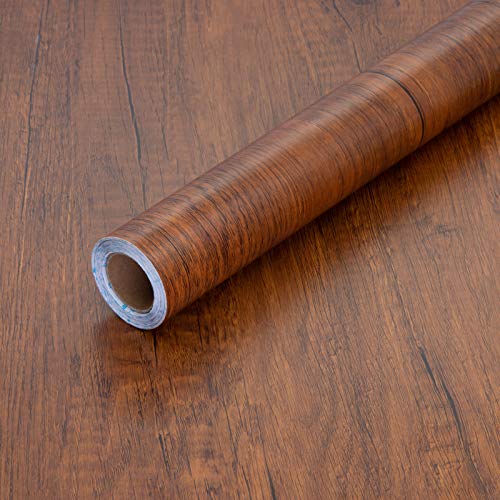
My kitchen had dull black vinyl flooring with countertops in the same material, and it felt lacking and uninspiring. Then I remembered Insta-famous interior DIYer Marco Zamora's renter-friendly kitchen makeover where he covered his countertops in a wood-patterned peel-and-stick vinyl, and put red and white checkered tiles on the floor.
Digital creator and DIY expert, Andrea Sanchez, explains that while renovating her family's "fixer-upper", peel-and-stick tiles were a solution that was affordable while still looking high-end.
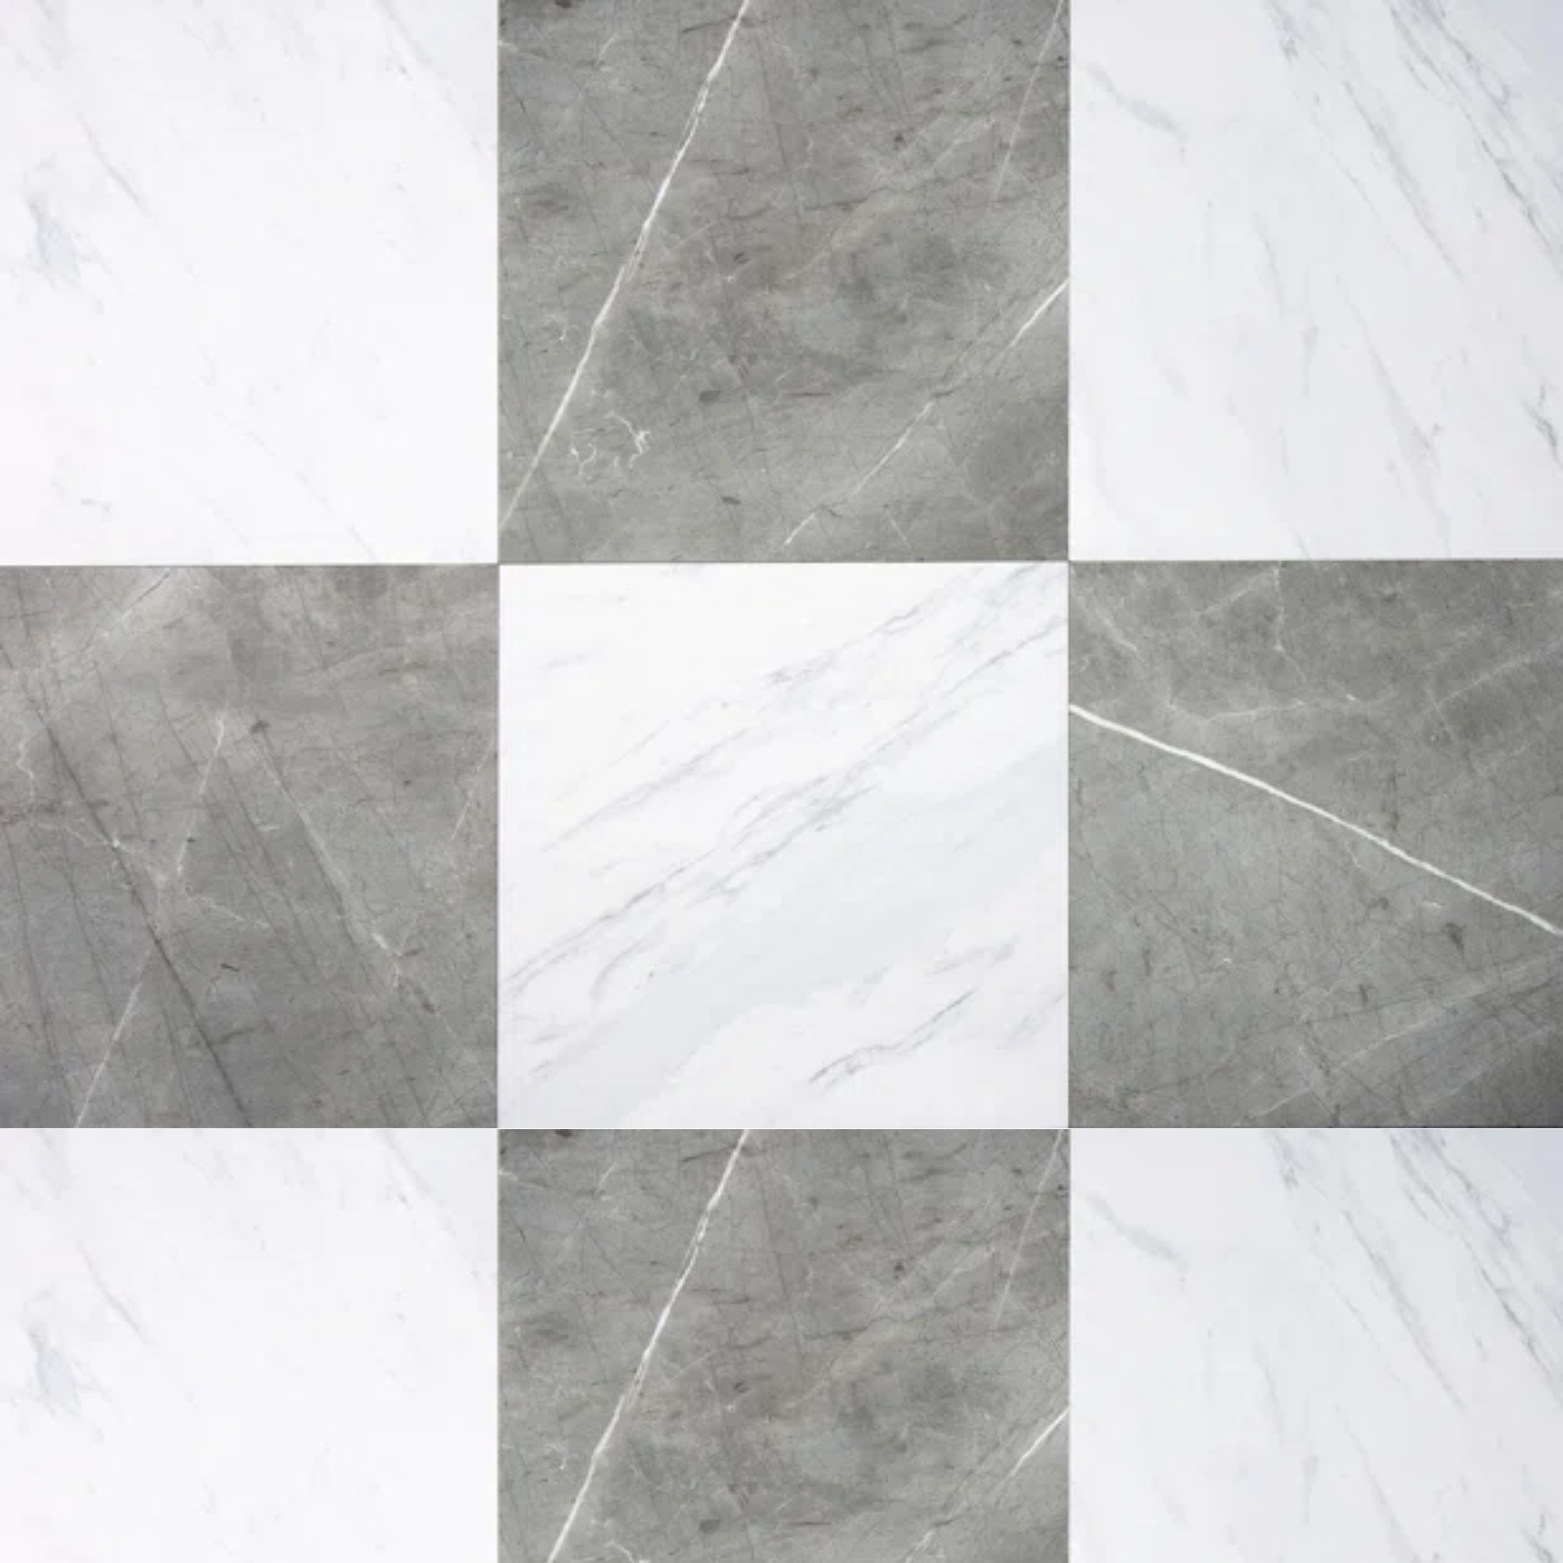
"Classic checkerboard marble tiles were unfortunately not in the budget for our kitchen makeover," says Andrea. In her kitchen (featured in the image above), Andrea used these tiles from Amazon, and "they have been amazing in this high-traffic room for us. We used a blade to make the necessary cuts and a rolling pin to really smooth and press the tiles down. Adding trim along the edges of the room helped hide any cuts that were not perfect," says Andrea.
And there are plenty of different styles of peel-and-stick finishes to choose from (Jeremiah Brent just released a wallpaper range with Tempaper), making it a great starting point for kitchen DIYs. Kitchens with zellige tile backsplashes, marble countertops, farmhouse-inspired checkerboard tiles — if you can dream it, I am willing to bet there is a peel-and-stick version of it.
Shop Peel-and-Stick Tiles
5. Switching Out Your Hardware
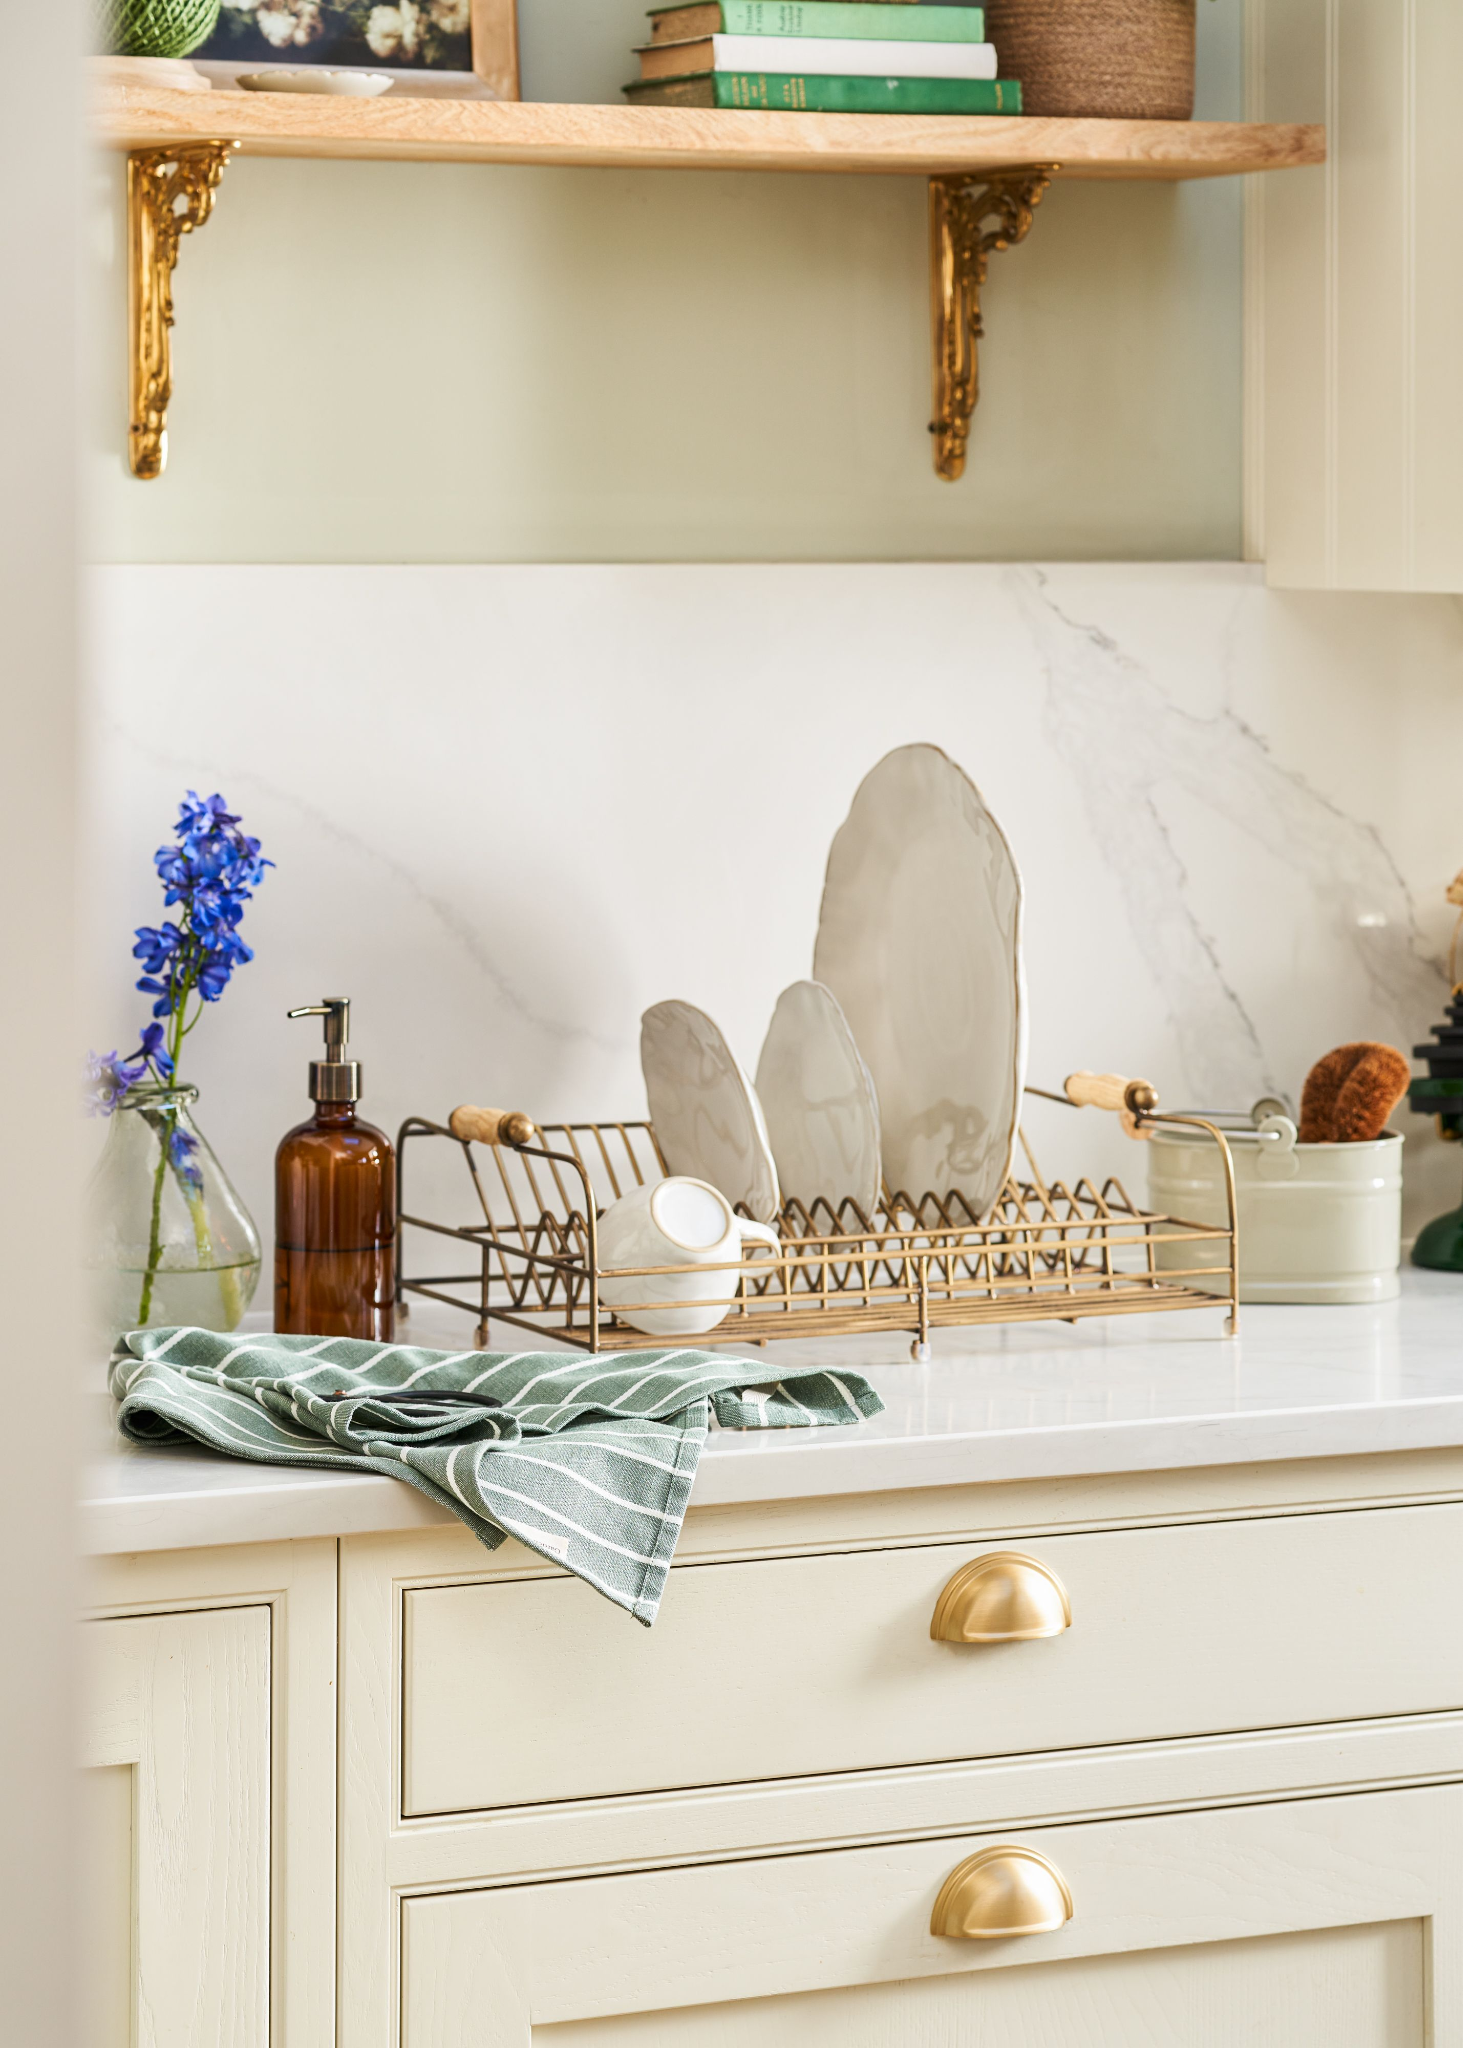
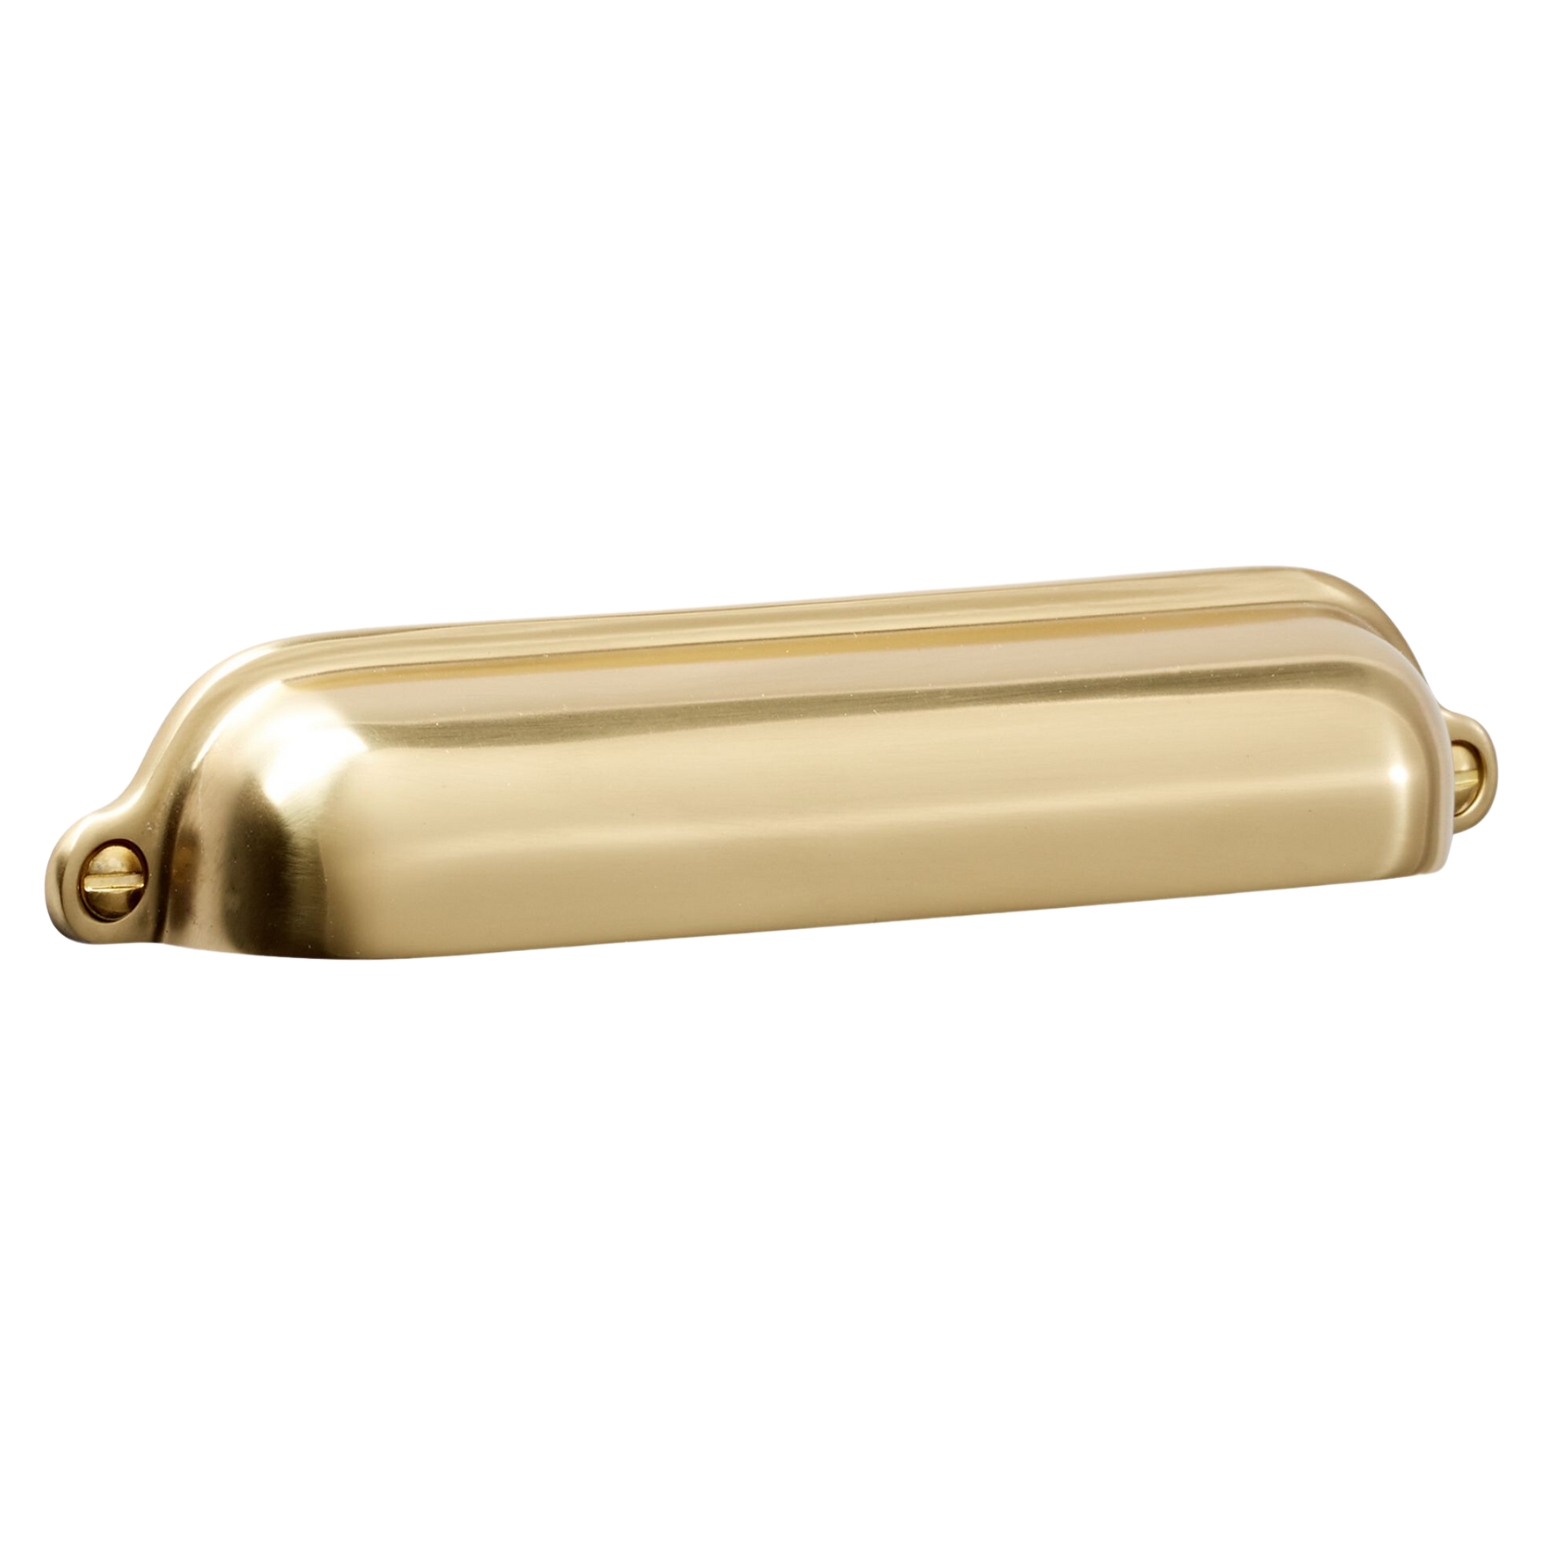
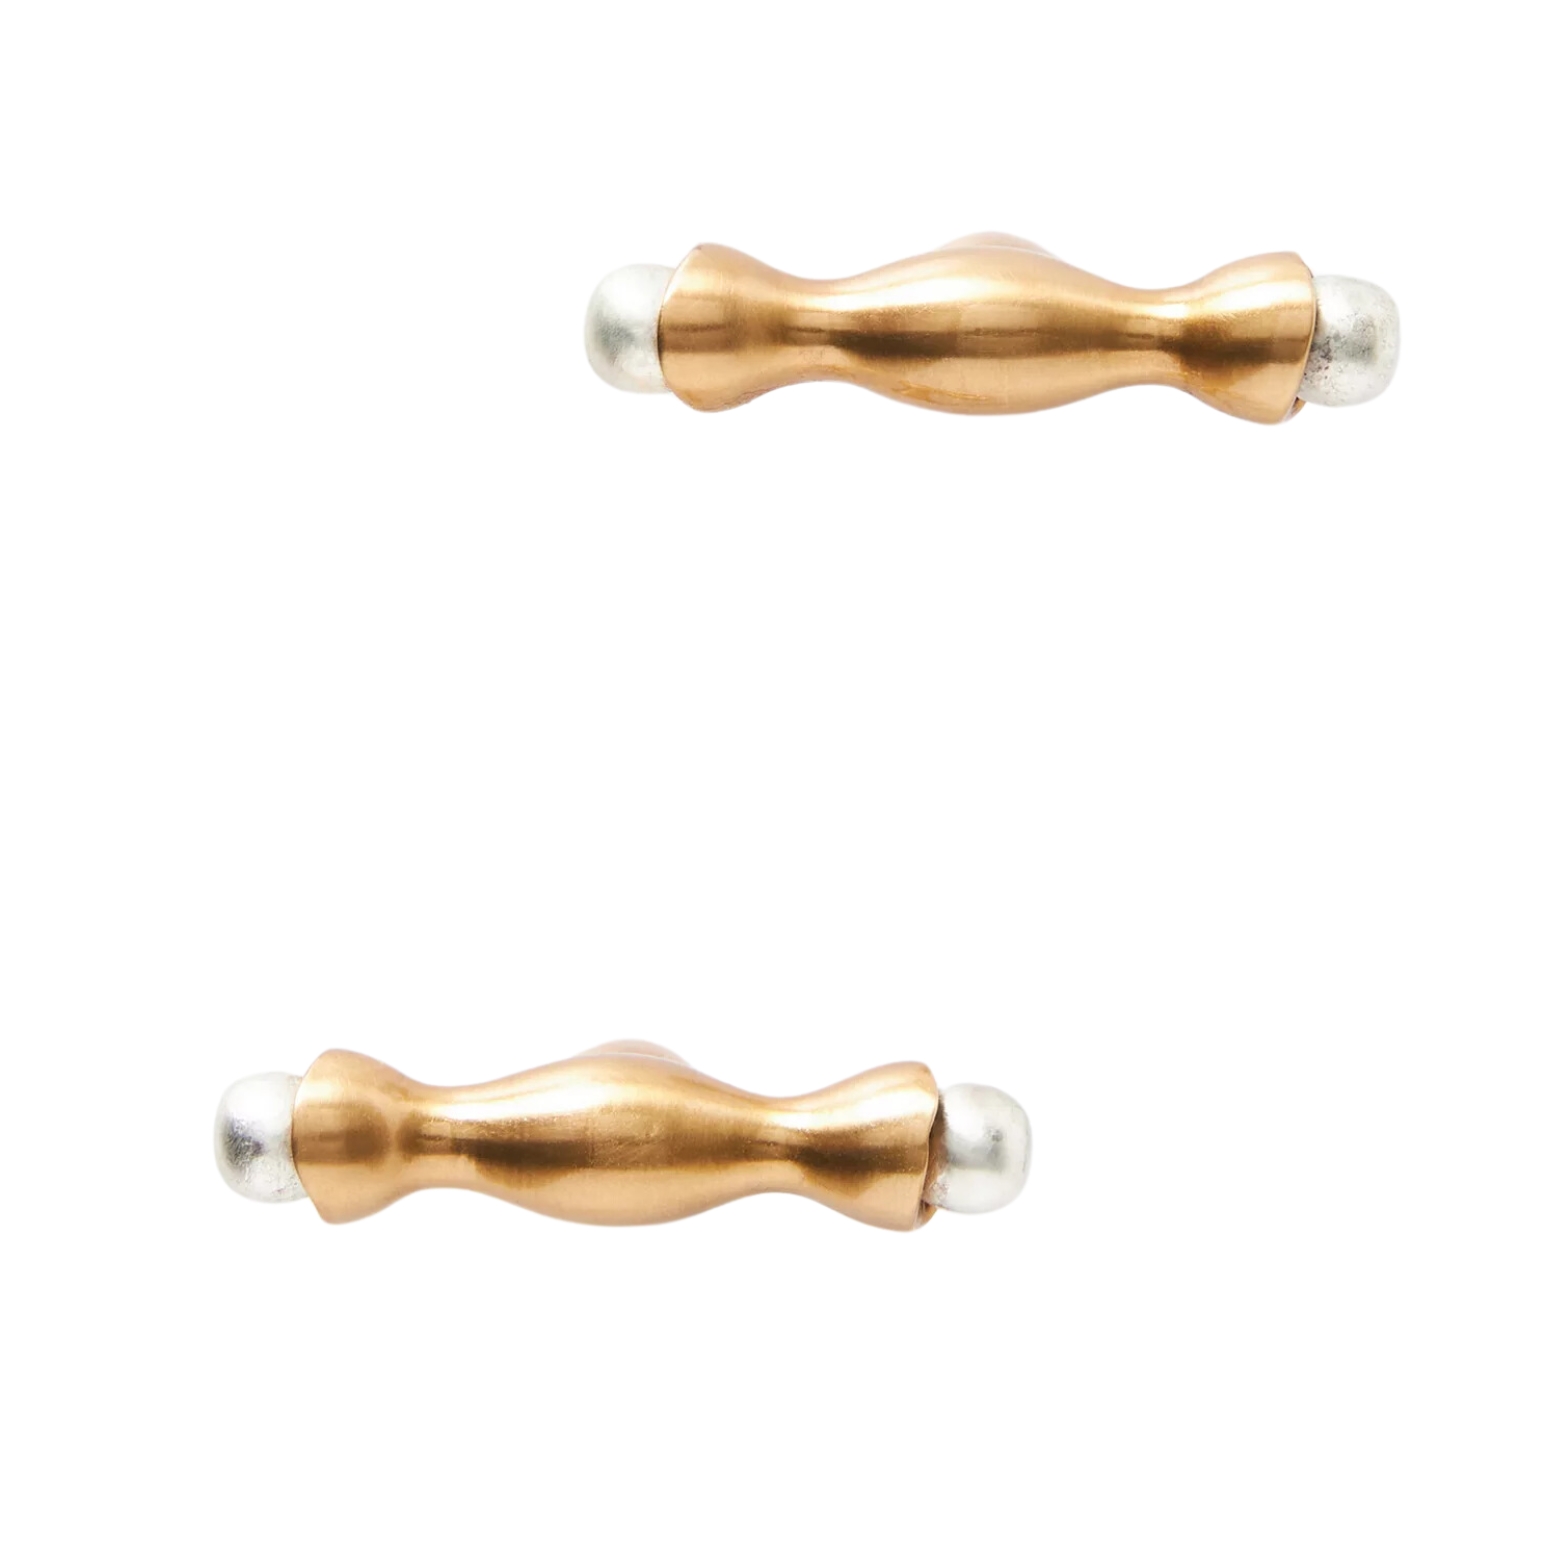
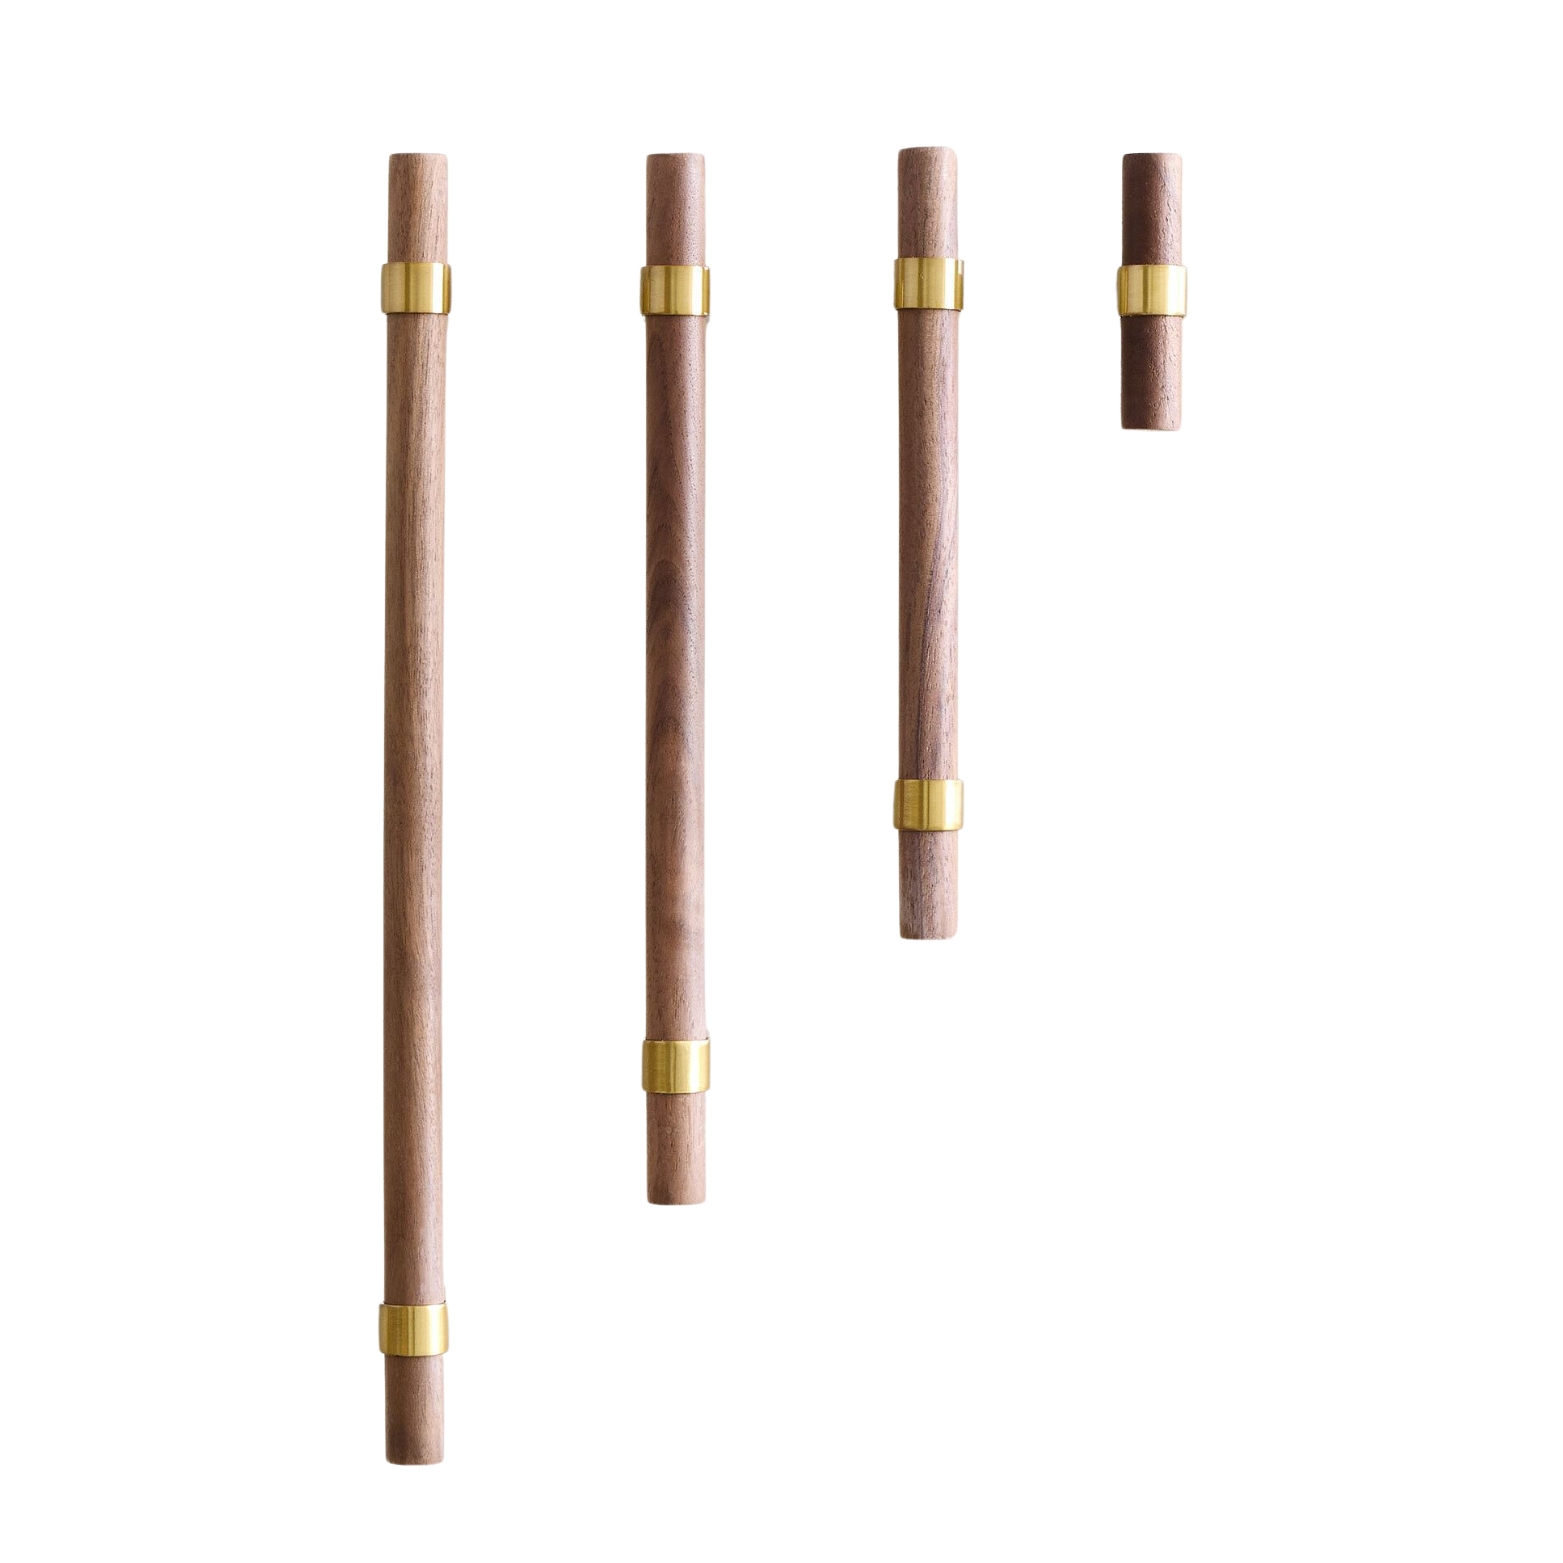
DIY does not always mean taking on a huge project. Swapping your cabinet hardware is one of the easiest and most effective way to make a quick change in your cooking space. "Switching out your hardware can make a huge difference and completely change the feel of your space," says Laura.
Just like all interior décor, trends for cabinet pulls change throughout the years, and you'd be amazed what a big difference this can make in your space. For beige kitchen ideas you can opt for kitchen pulls that pair well with minimalist kitchen cabinets. Or if you are craving something a little more playful, consider the color palettes and design schemes of your kitchen.
"Polished brass will add instant warmth, especially when paired with a cool color scheme, such as stark white, whereas nickel handles create a striking contrast against deep, bold hues, such as forest green," says Laura. "Opt for the same finish across your kitchen, including handles, brackets and hooks to ensure a polished and cohesive final look.”
Shop the Look
With a little time on your hands and a desire to dive into the details, your kitchen can take on a whole new look with a few easy tricks.

Olivia Wolfe is a Design Writer at Livingetc. She recently graduated from University of the Arts London, London College of Communication with a Masters Degree in Arts and Lifestyle Journalism. In her previous experience, she has worked with multiple multimedia publications in both London and the United States covering a range of culture-related topics, with an expertise in art and design. At the weekends she can be found working on her oil paintings, reading, or antique shopping at one of London's many vintage markets.
