This unbelievable IKEA hack sees a bamboo fruit bowl turned into a designer-inspired side table
Find out how this DIY guru turned a classic $25 IKEA fruit bowl into a stylish table with the help of a few power tools

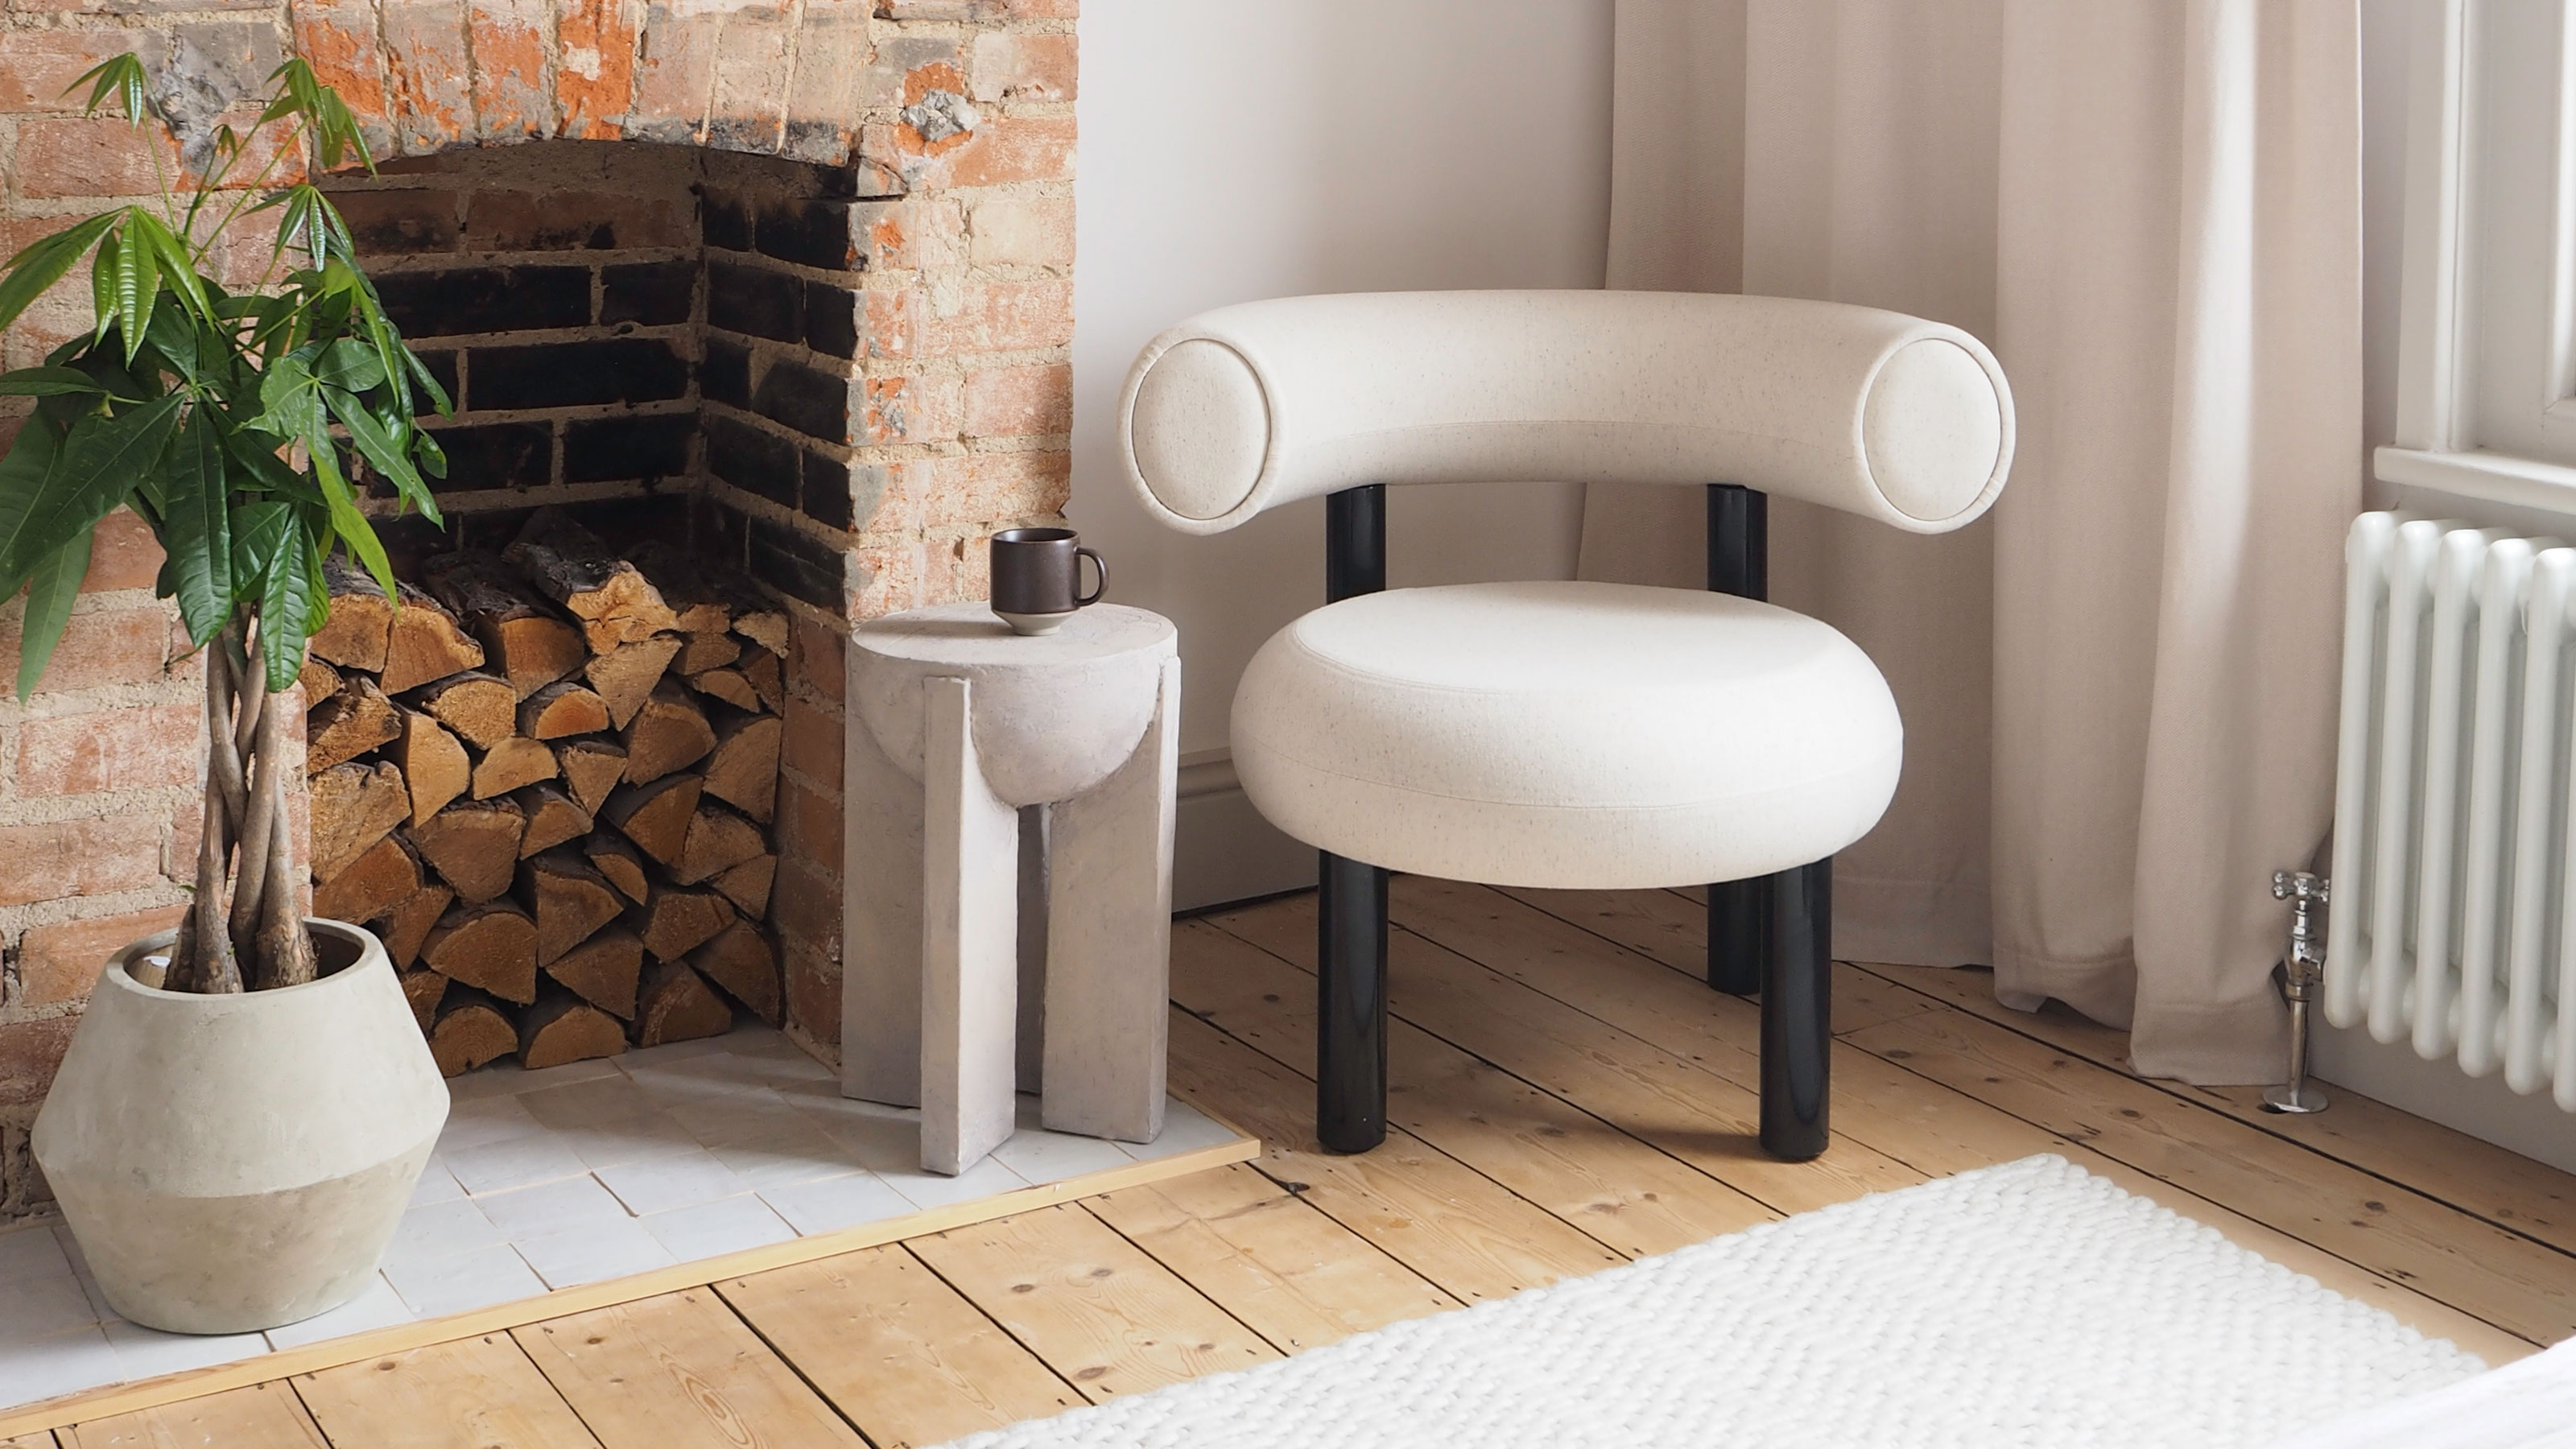
If you're an IKEA fan, you'll undoubtedly recognize the Blanda serving bowl. It's a top-seller and a bit of an IKEA classic, after all.
'Hasn't everyone owned one of these fruit bowls at some point in their life?' asks interior stylist and Livingetc contributor Luke Arthur Wells. But, after renovating his kitchen, and left with an old Blanda he no longer wanted, he saw the potential to upcycle this bamboo bowl into something a little bit different.
With his trusty power tools and some DIY tricks and tips up his sleeve, he set about on an unusual IKEA hack, transforming the fruit bowl into a stone-effect side table.
Here, Luke Arthur Wells shows Livingetc the process and shares his top advice if you're considering trying this project for yourself.
Before and after - how to hack an IKEA blanda bowl into a side table
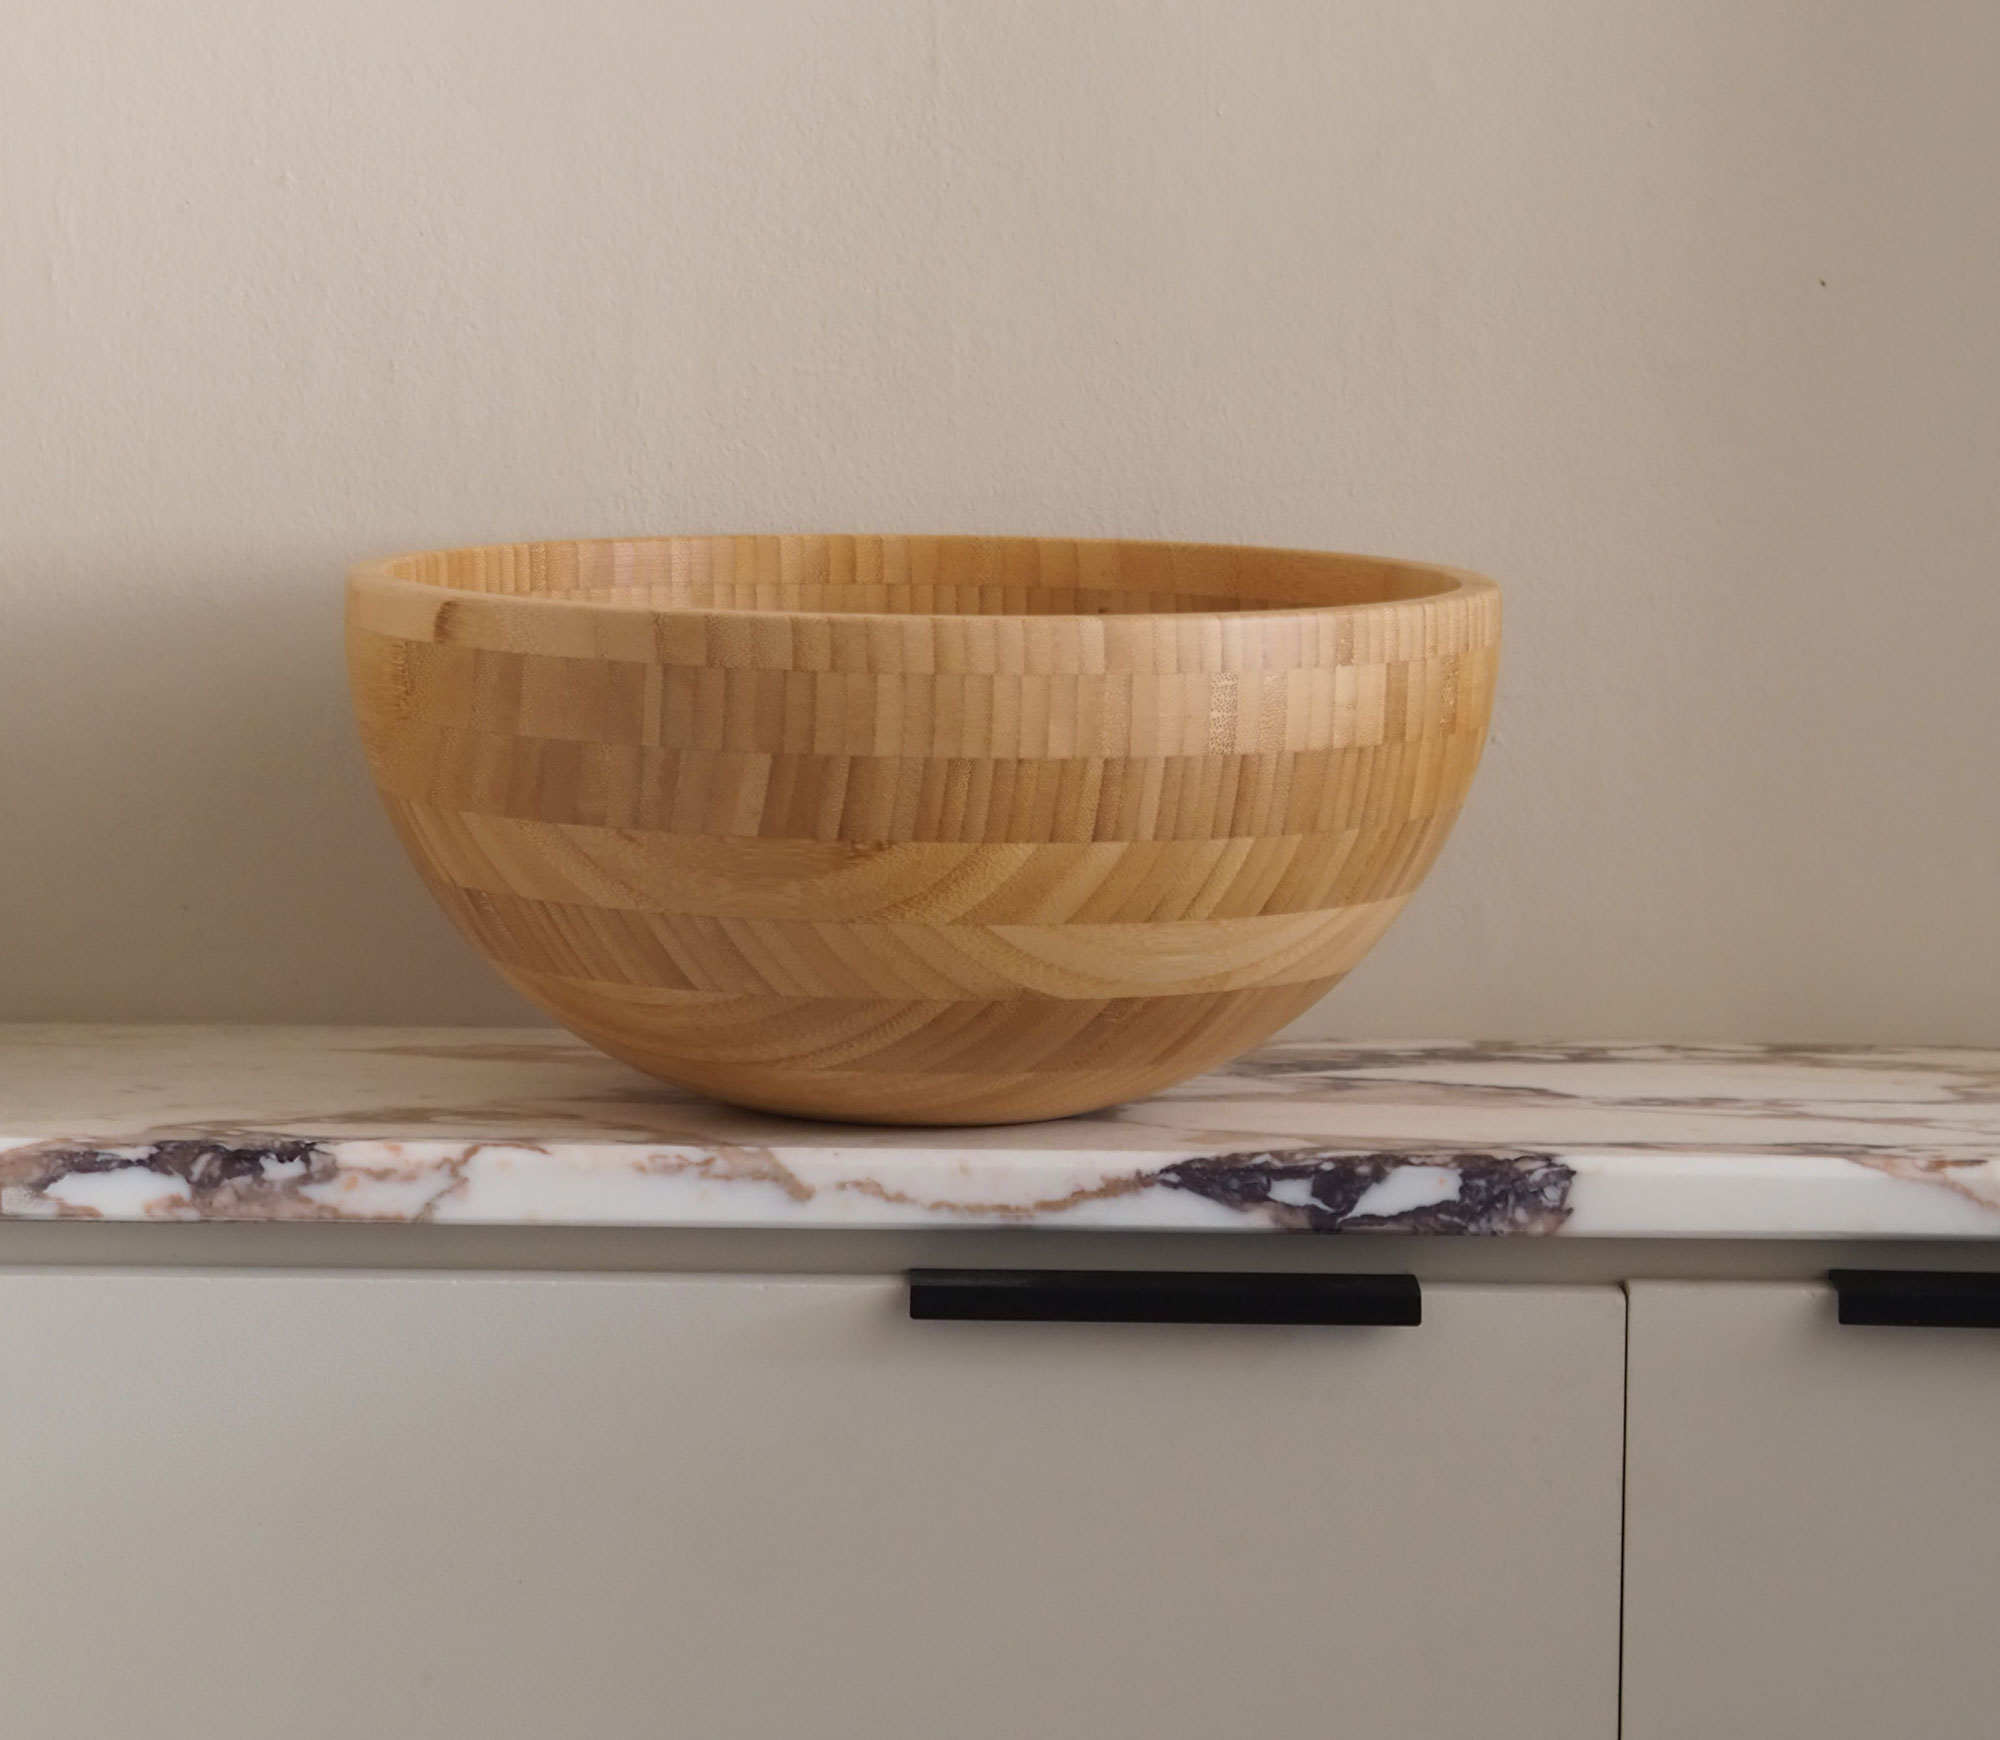
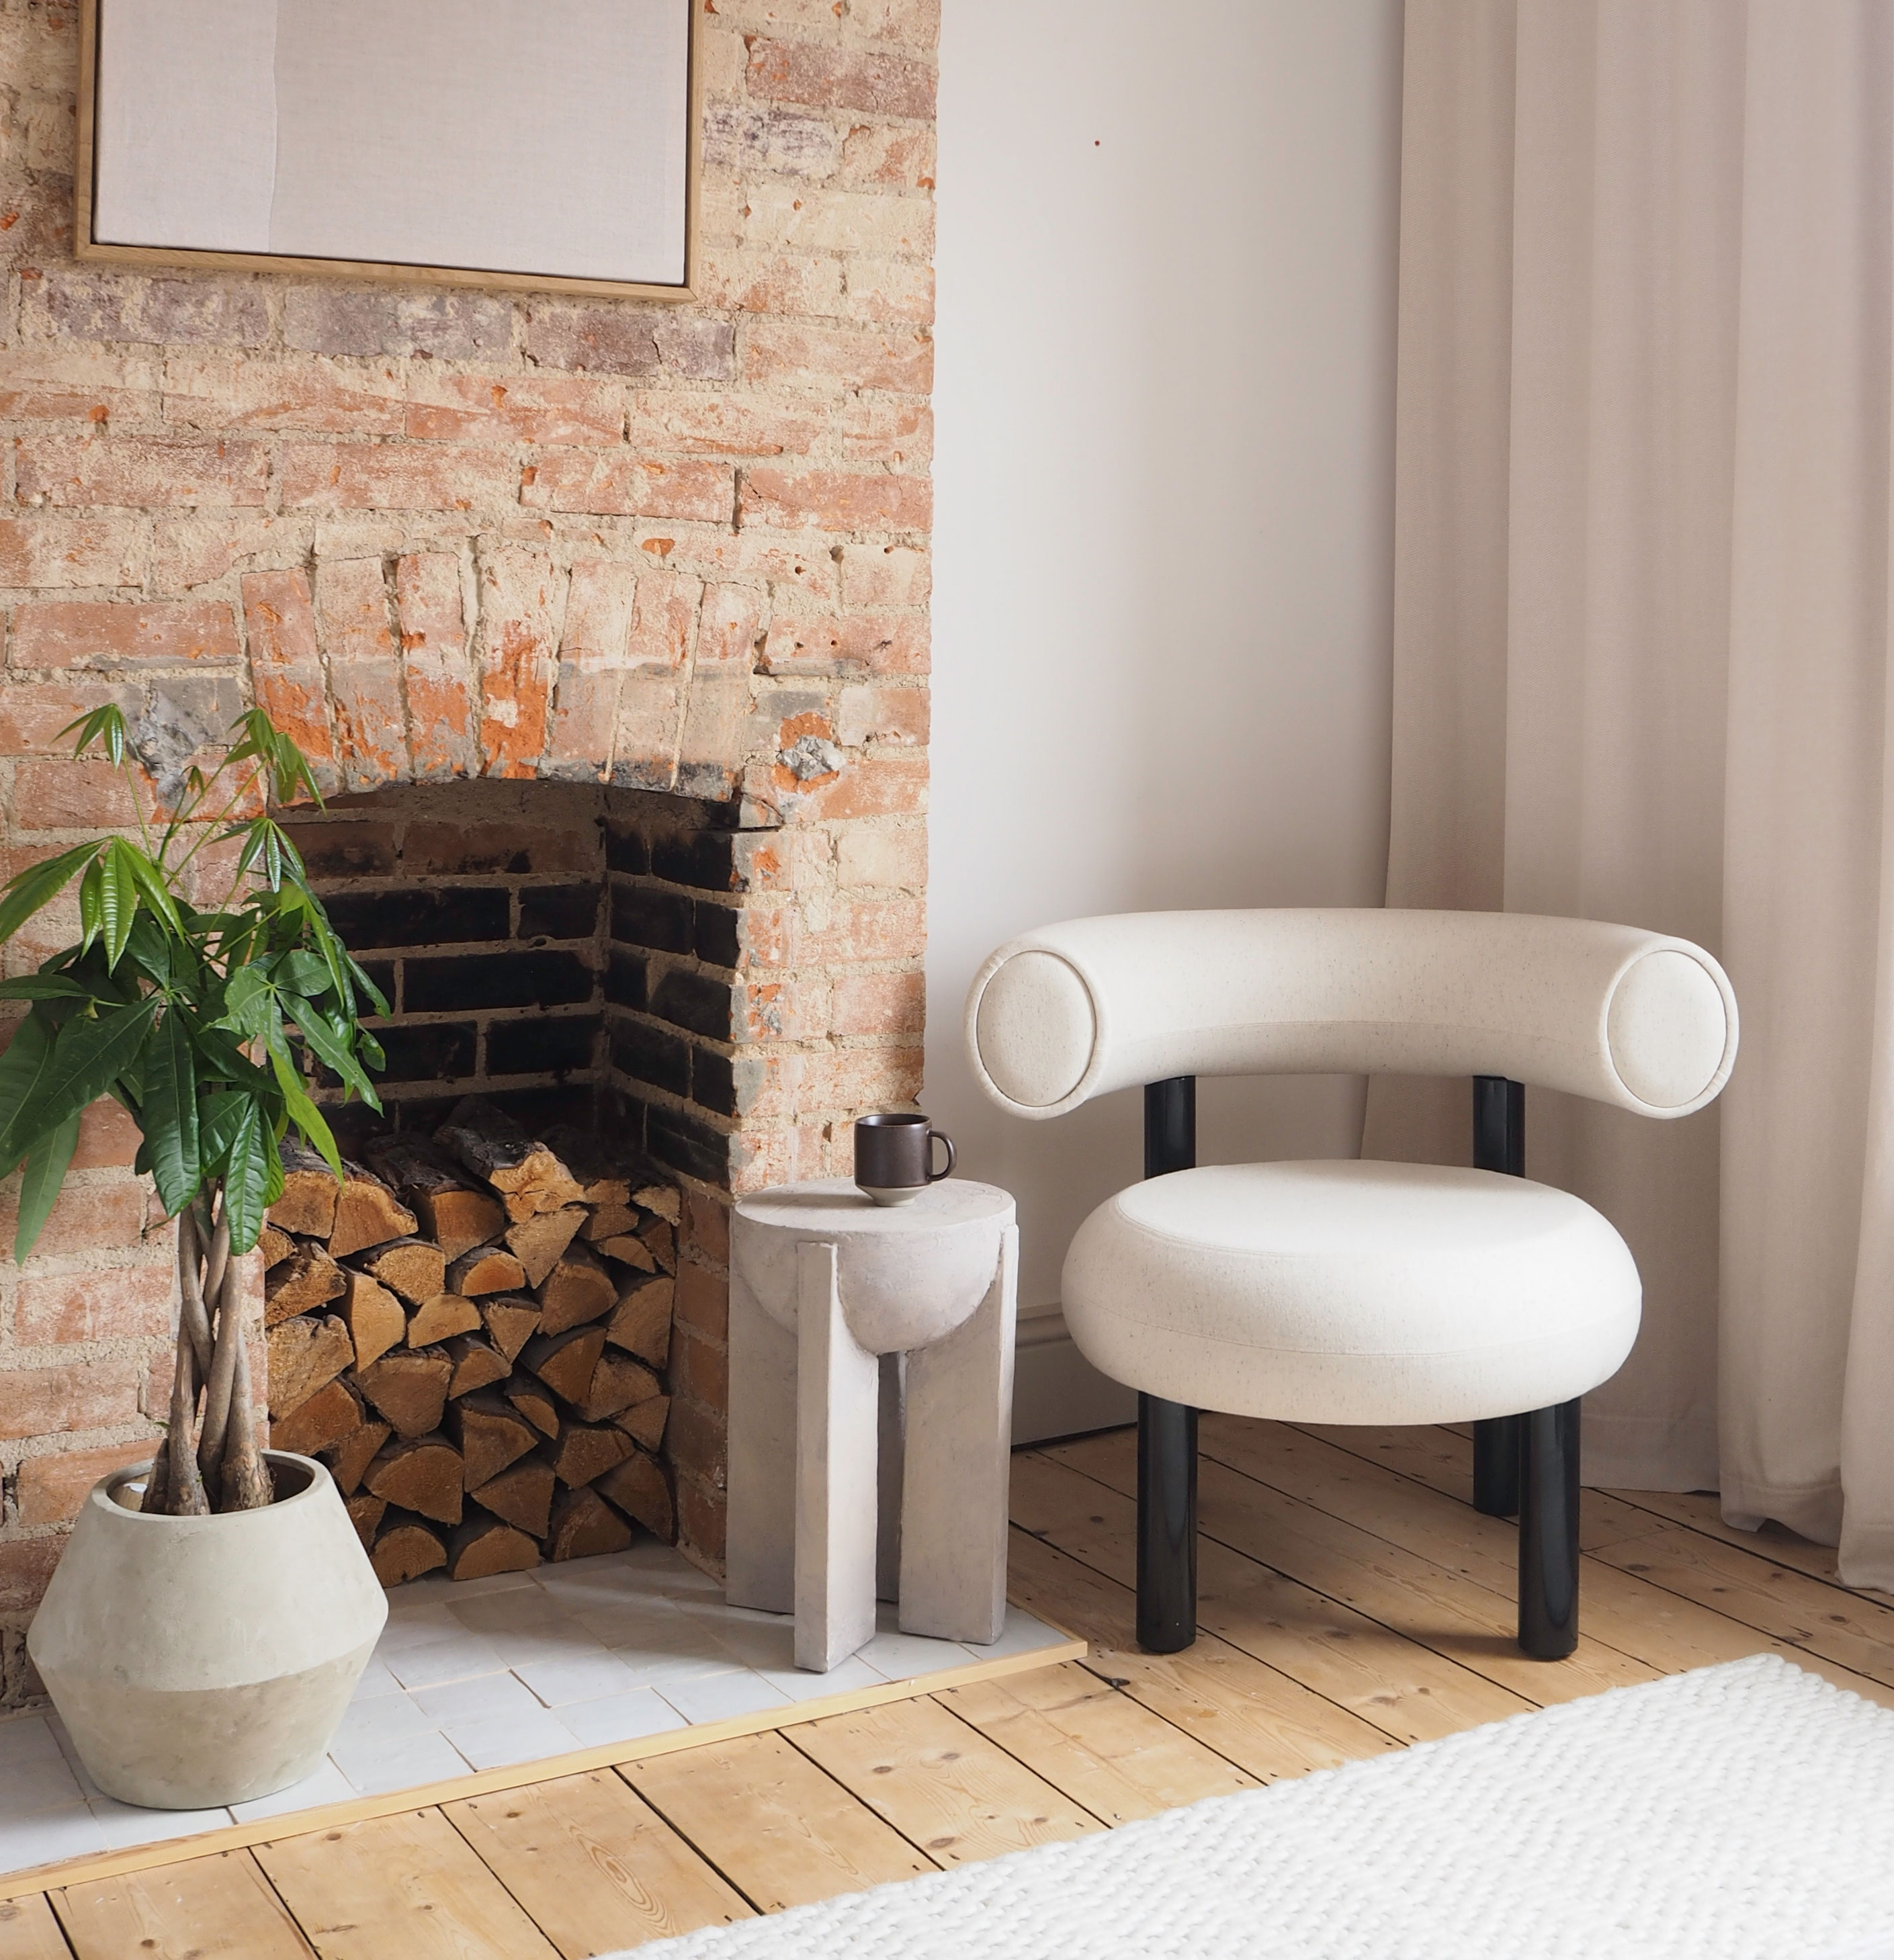
1. Cut a lid for the top of the table
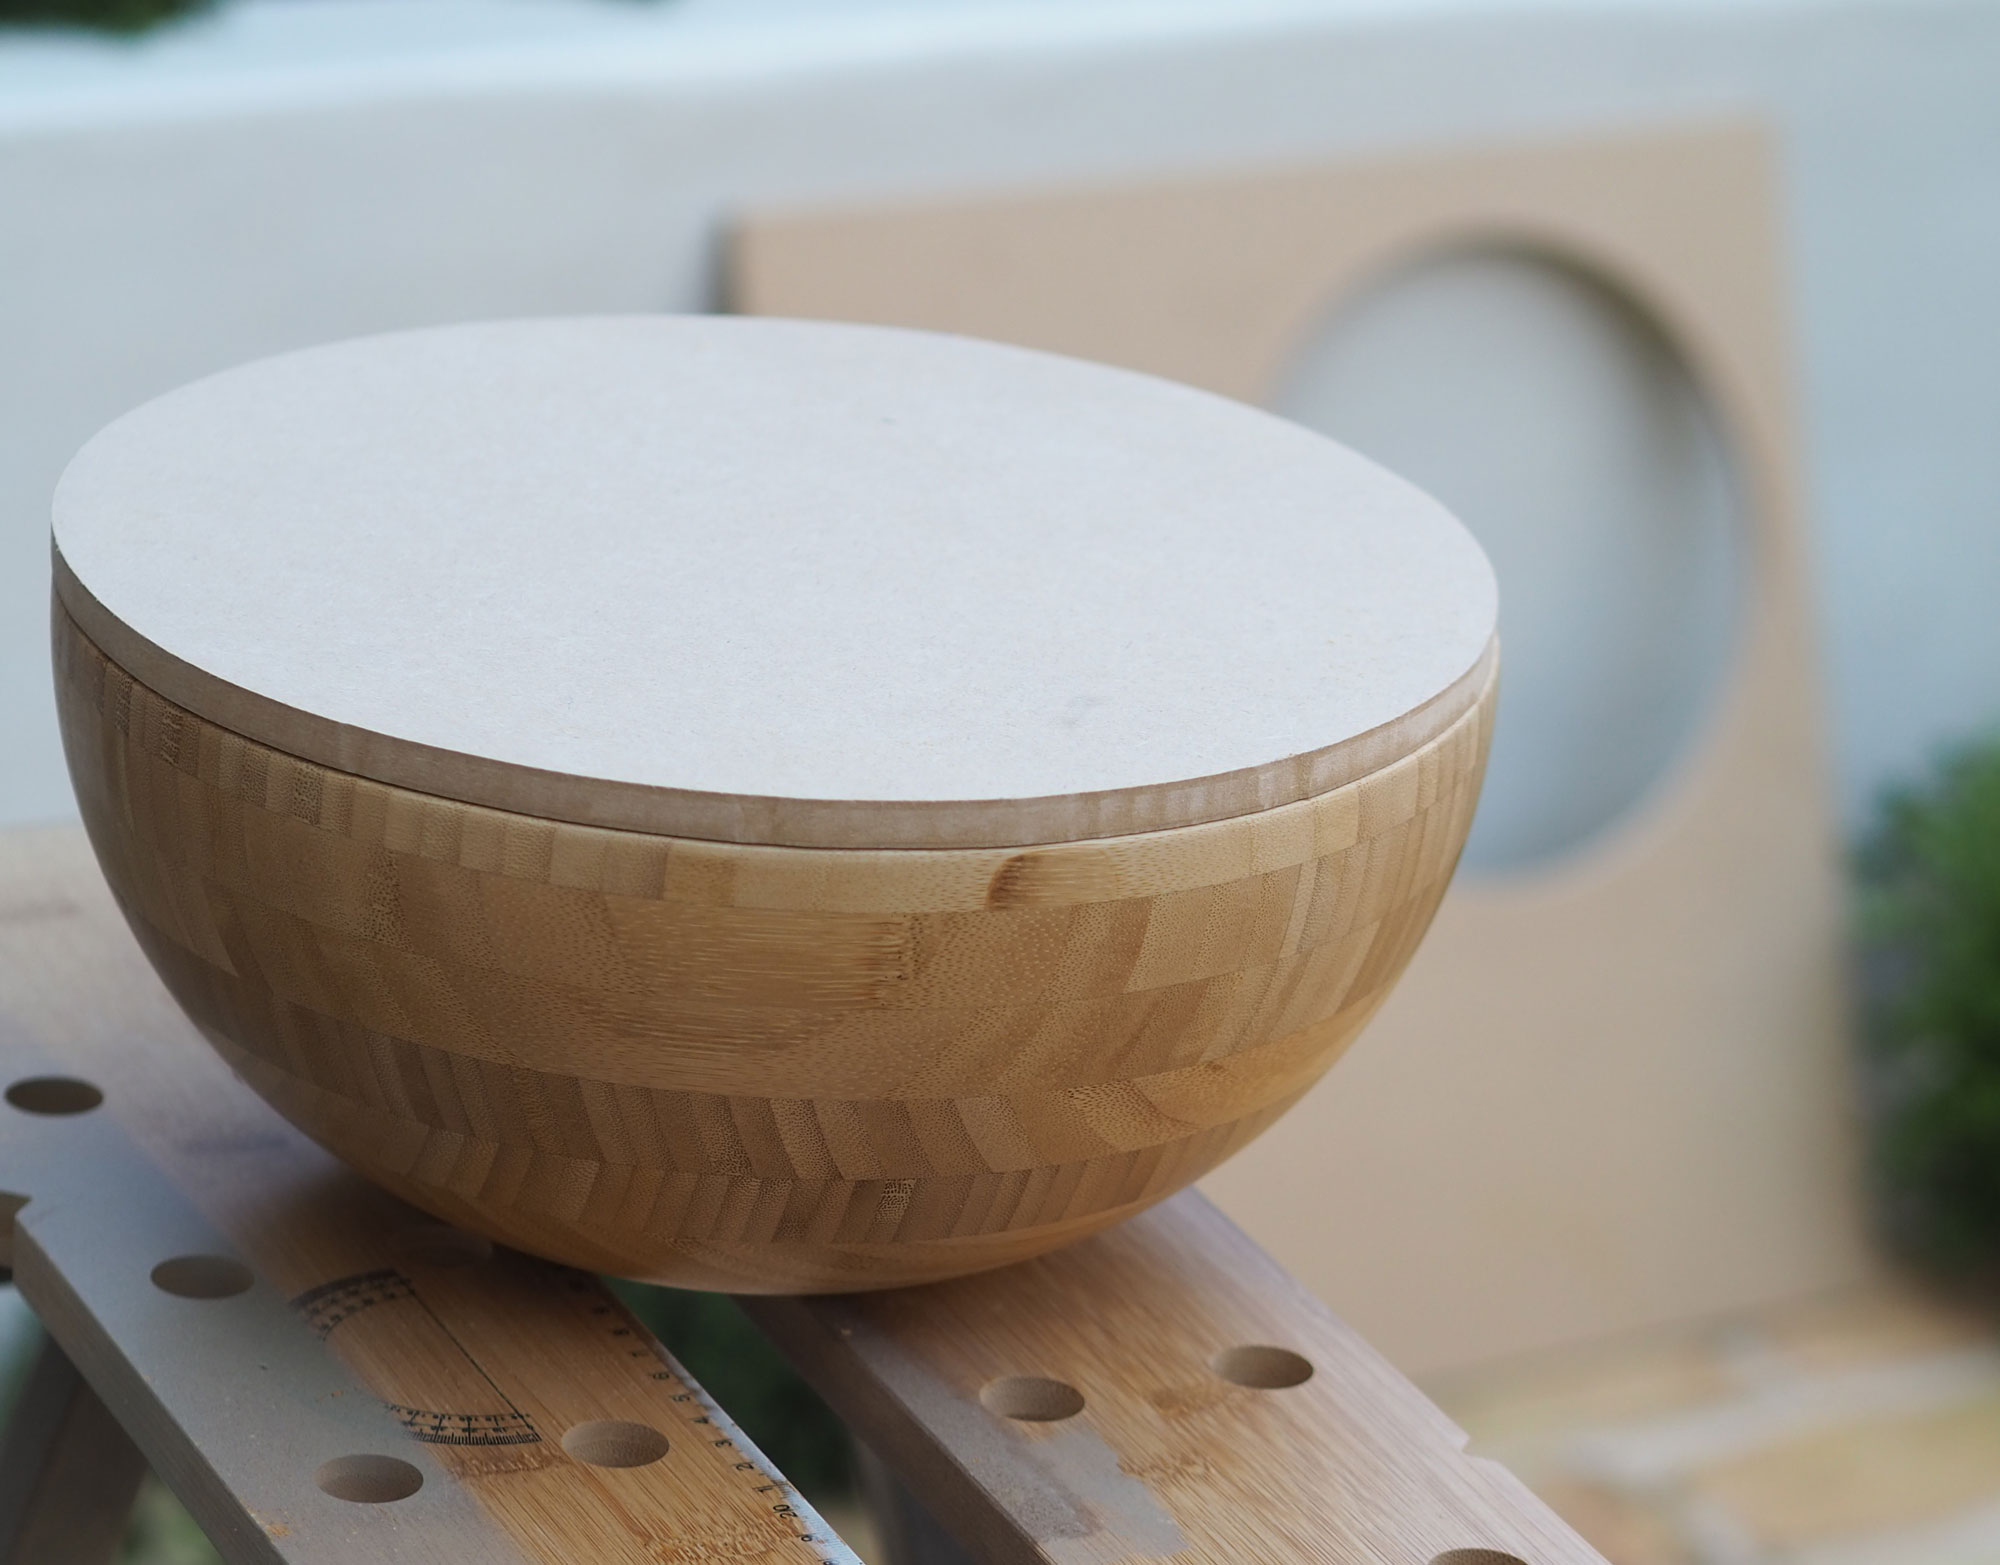
Start by drawing around the bowl on a piece of MDF. Cut out with a jigsaw. However, you won't be sticking this down yet.
2. Make the legs
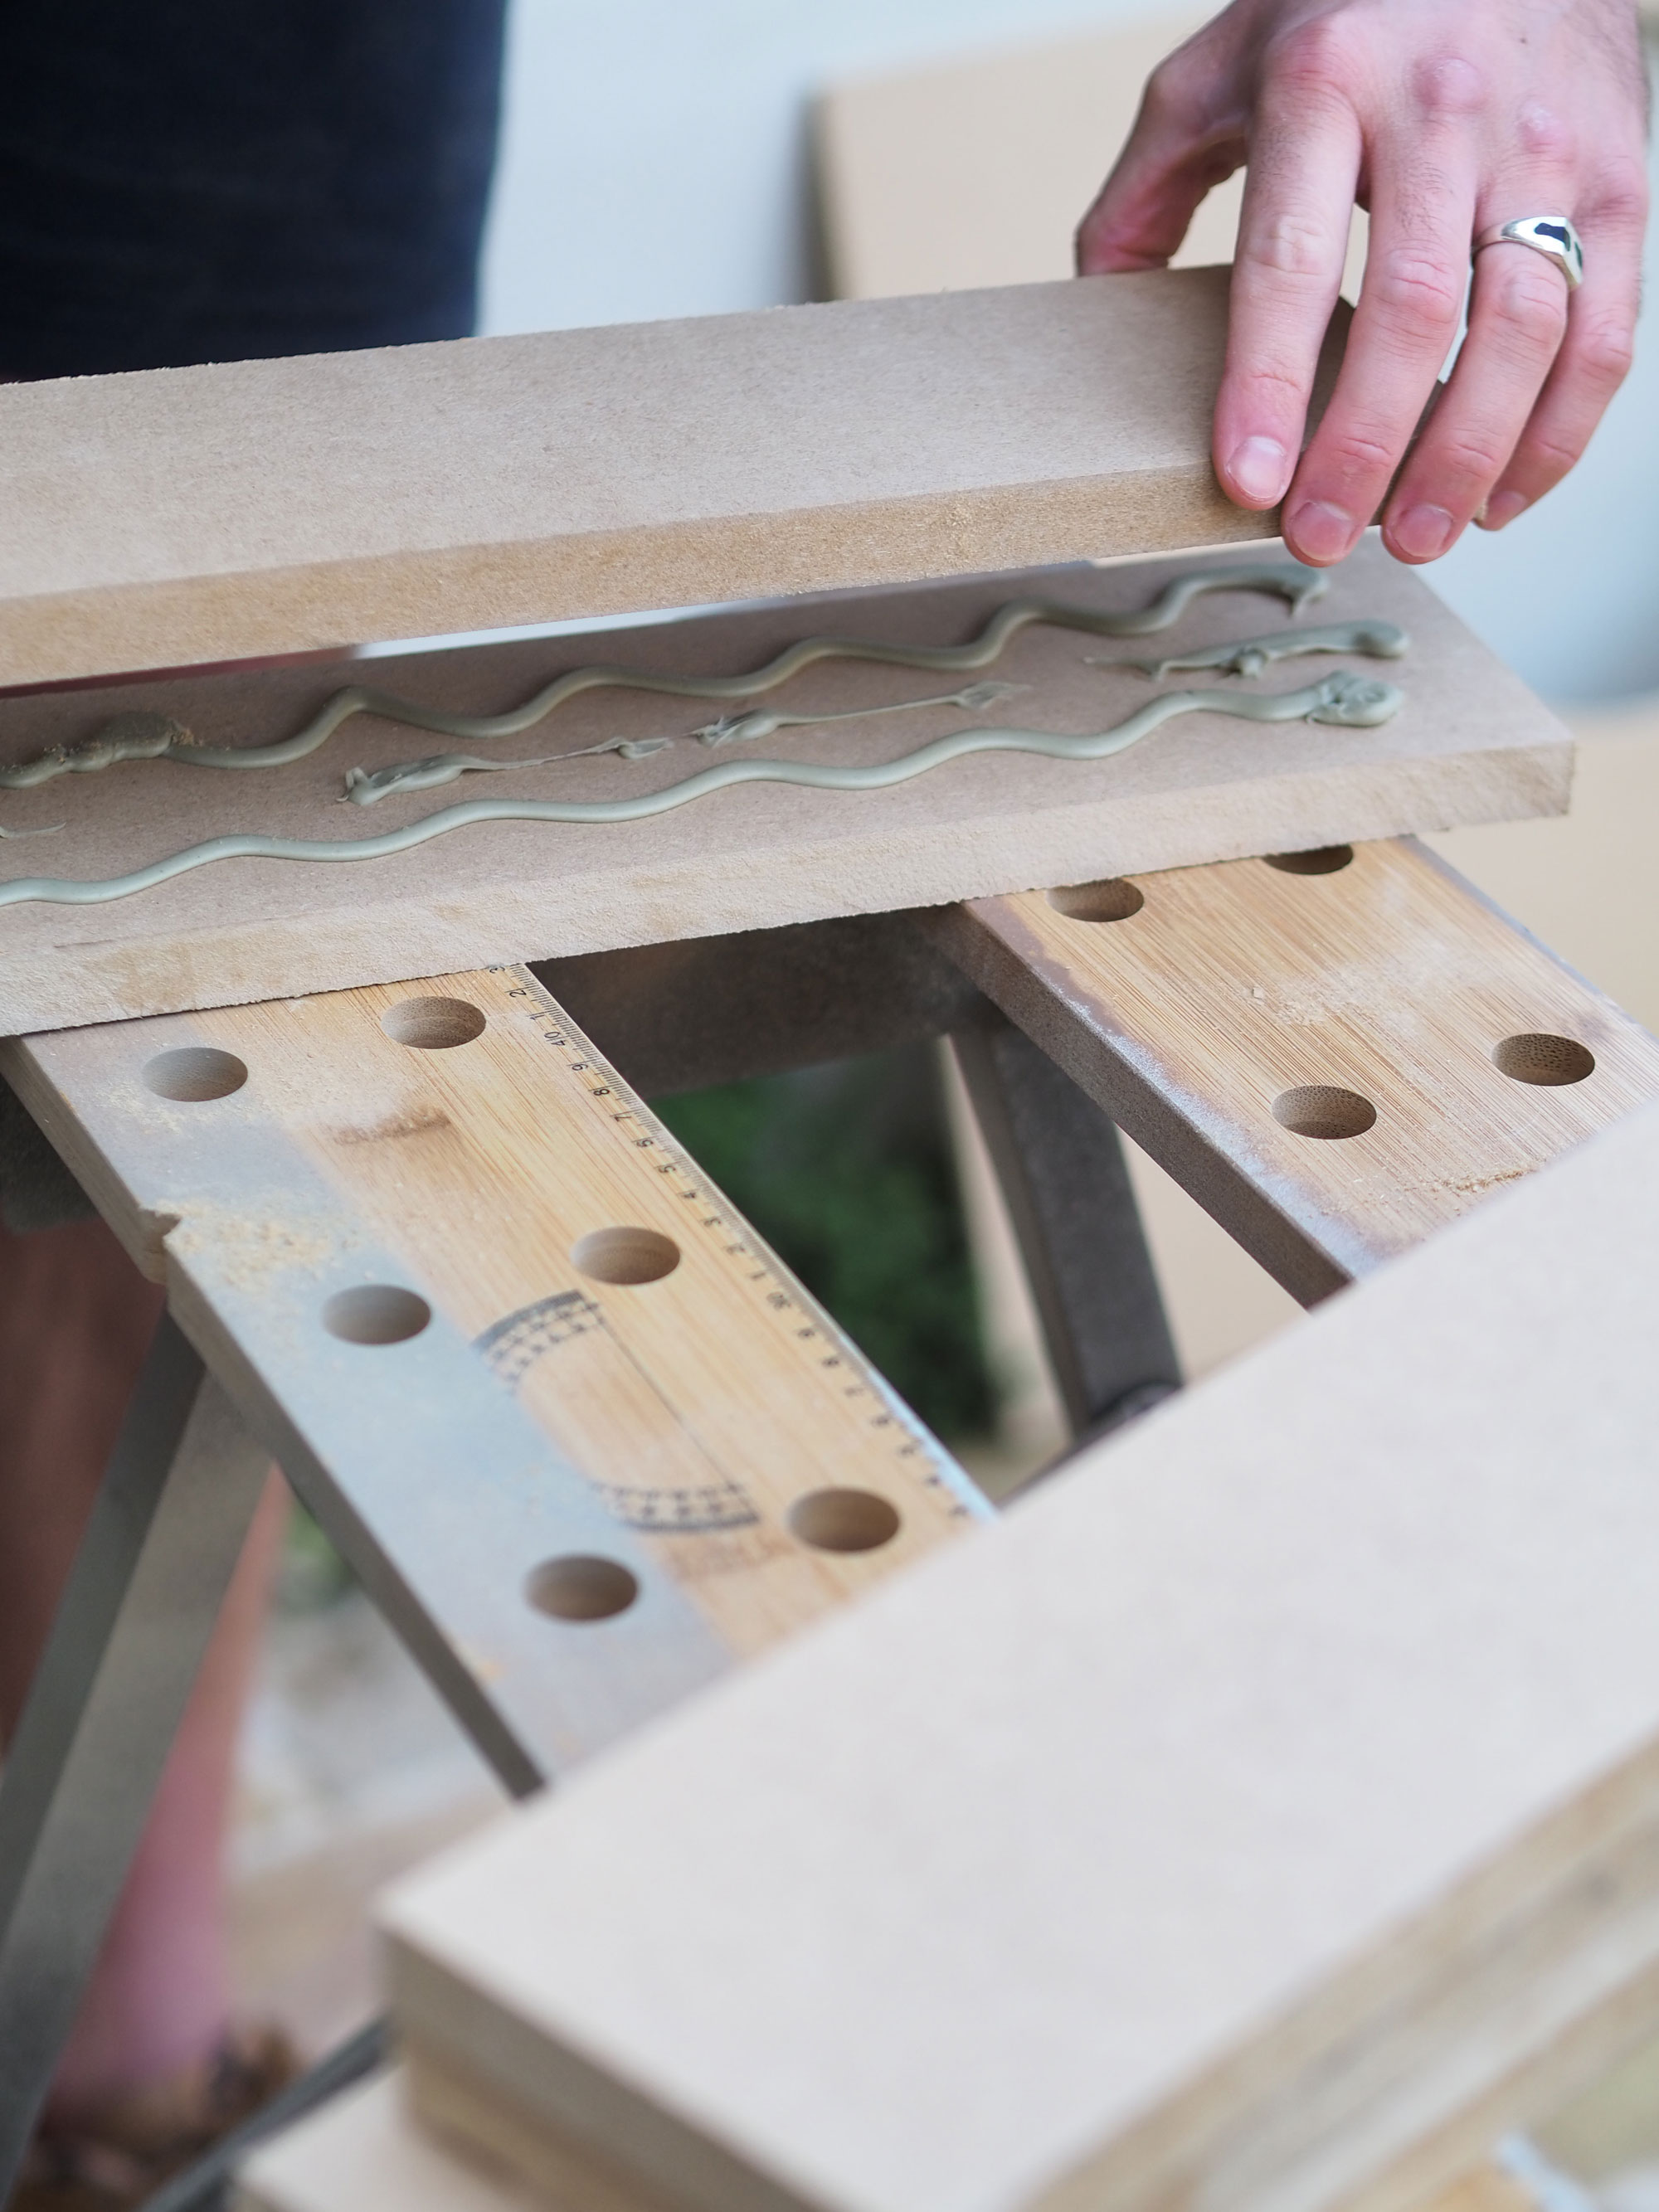
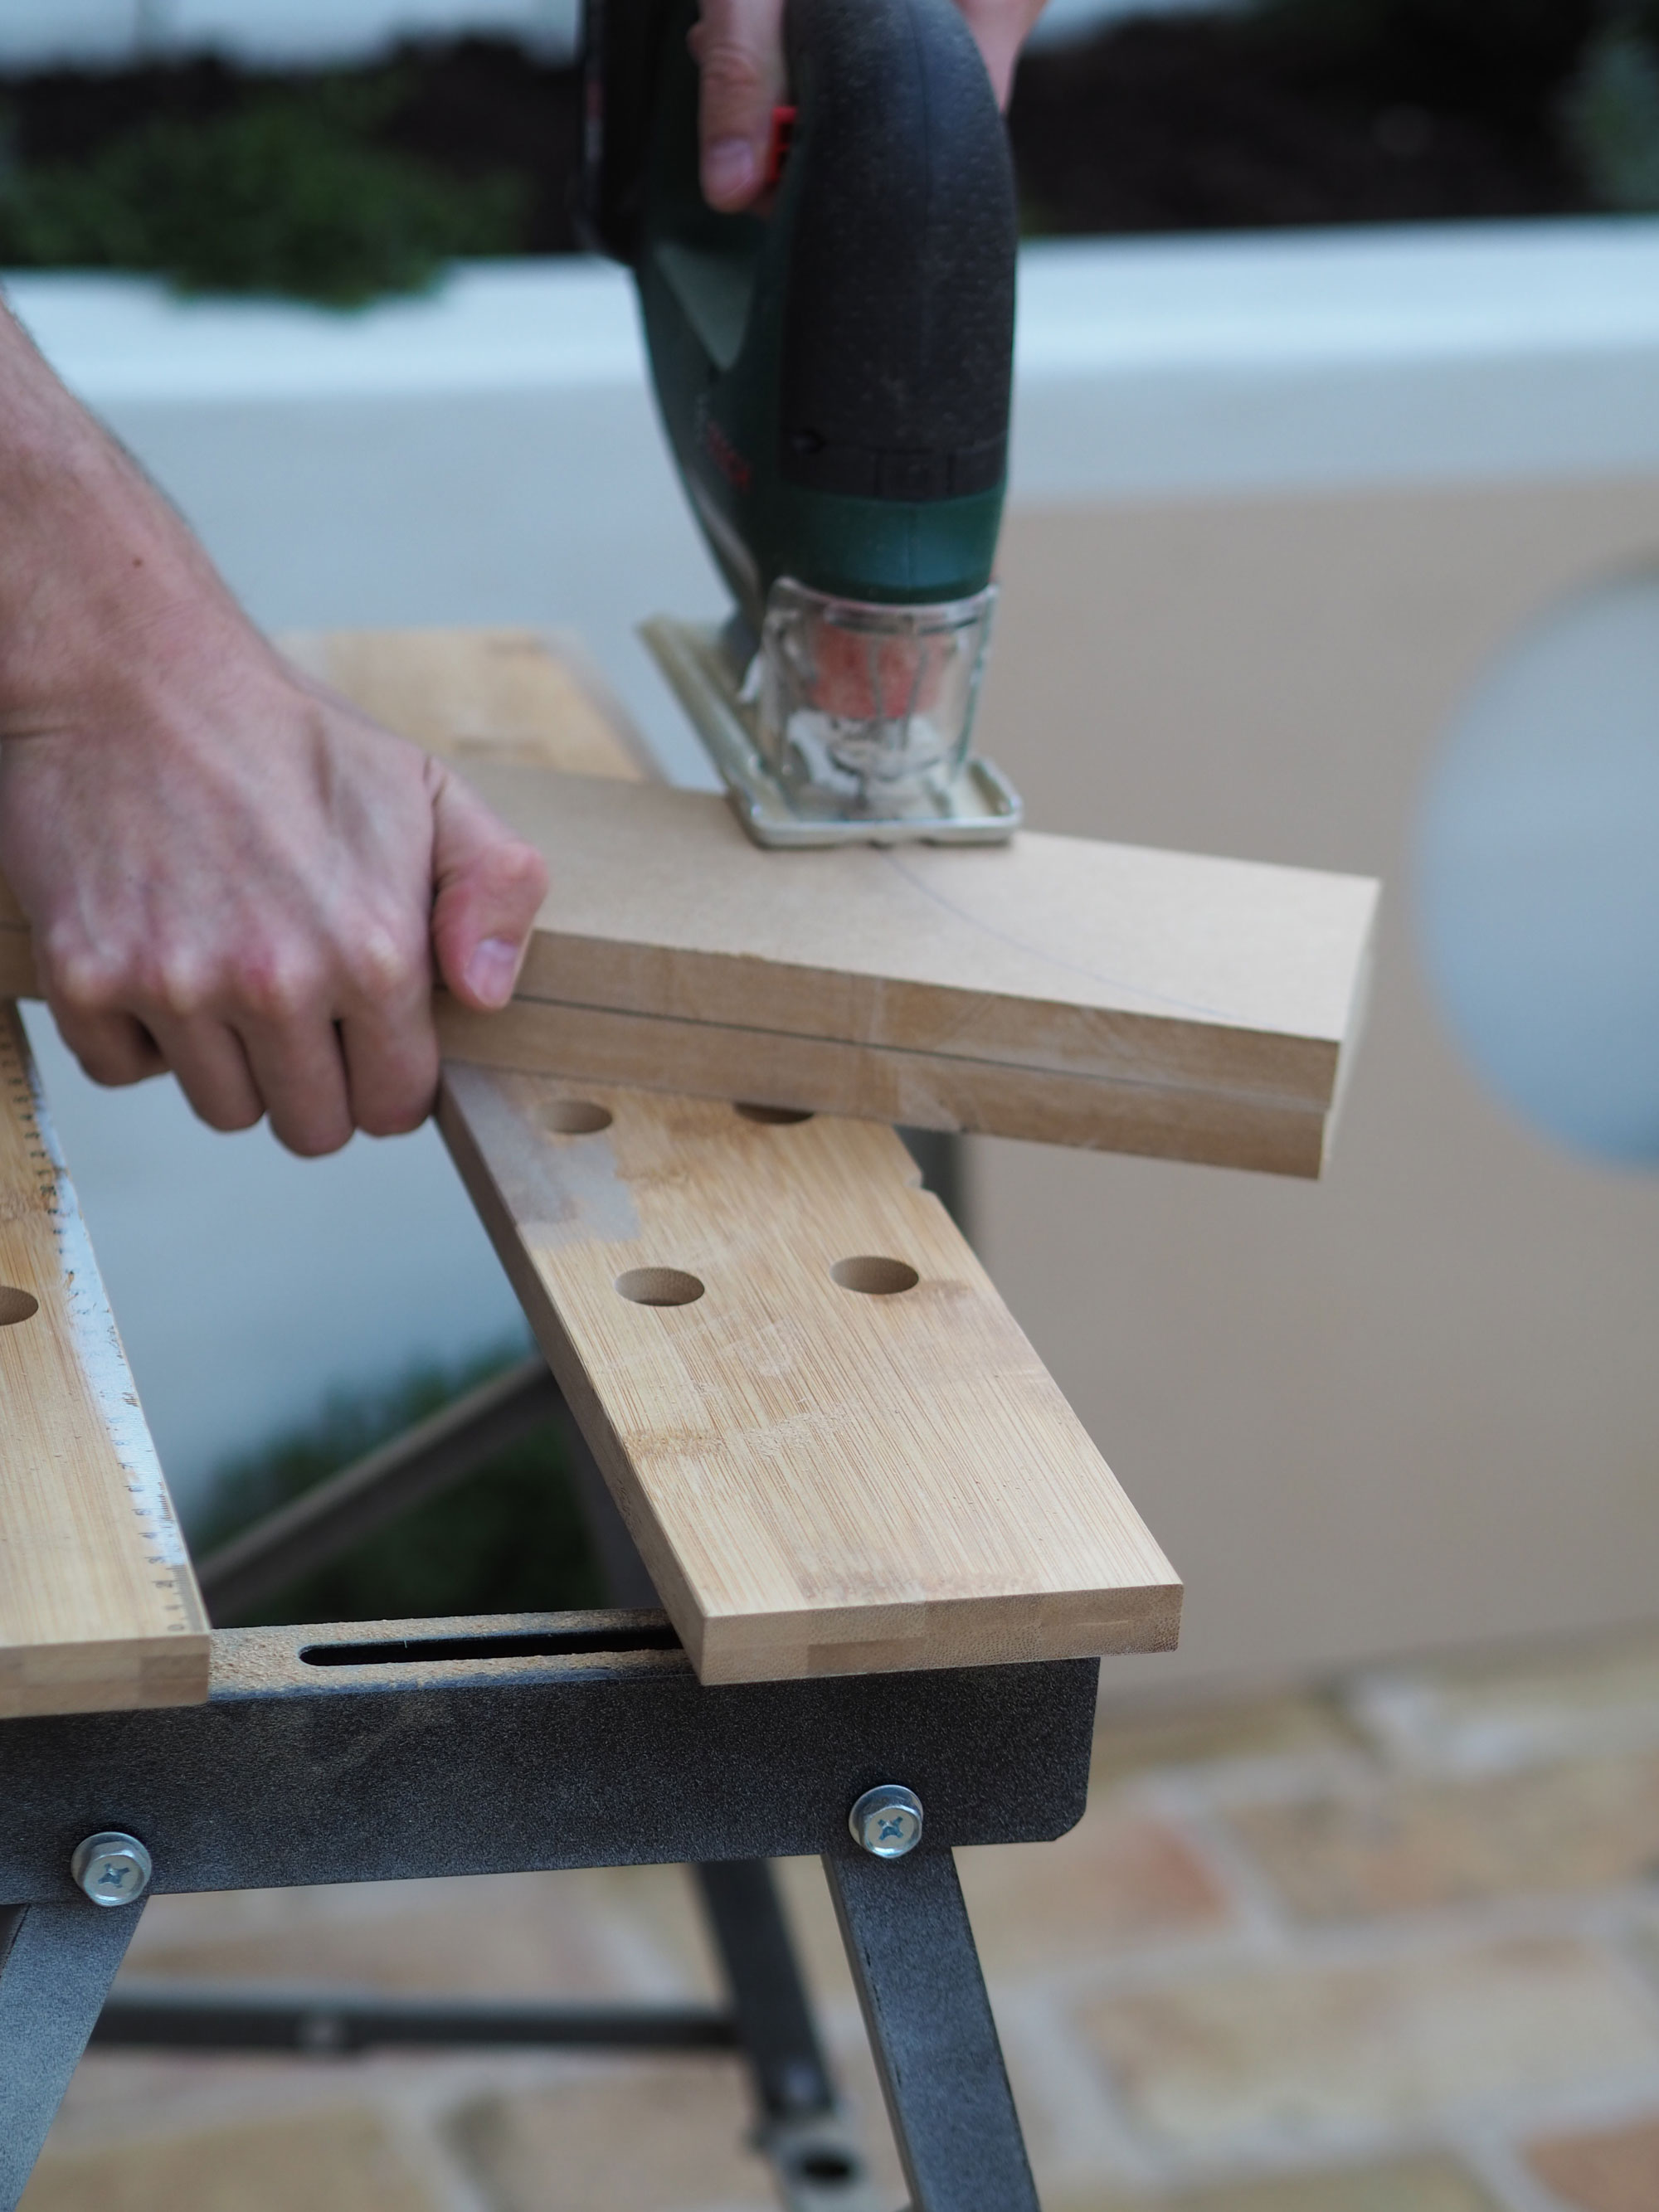
You want suitably thick legs for your table, so consider sticking to pieces of MDF together with adhesive. Once dry, draw around the edge of the bowl and cut this line out with the jigsaw too.
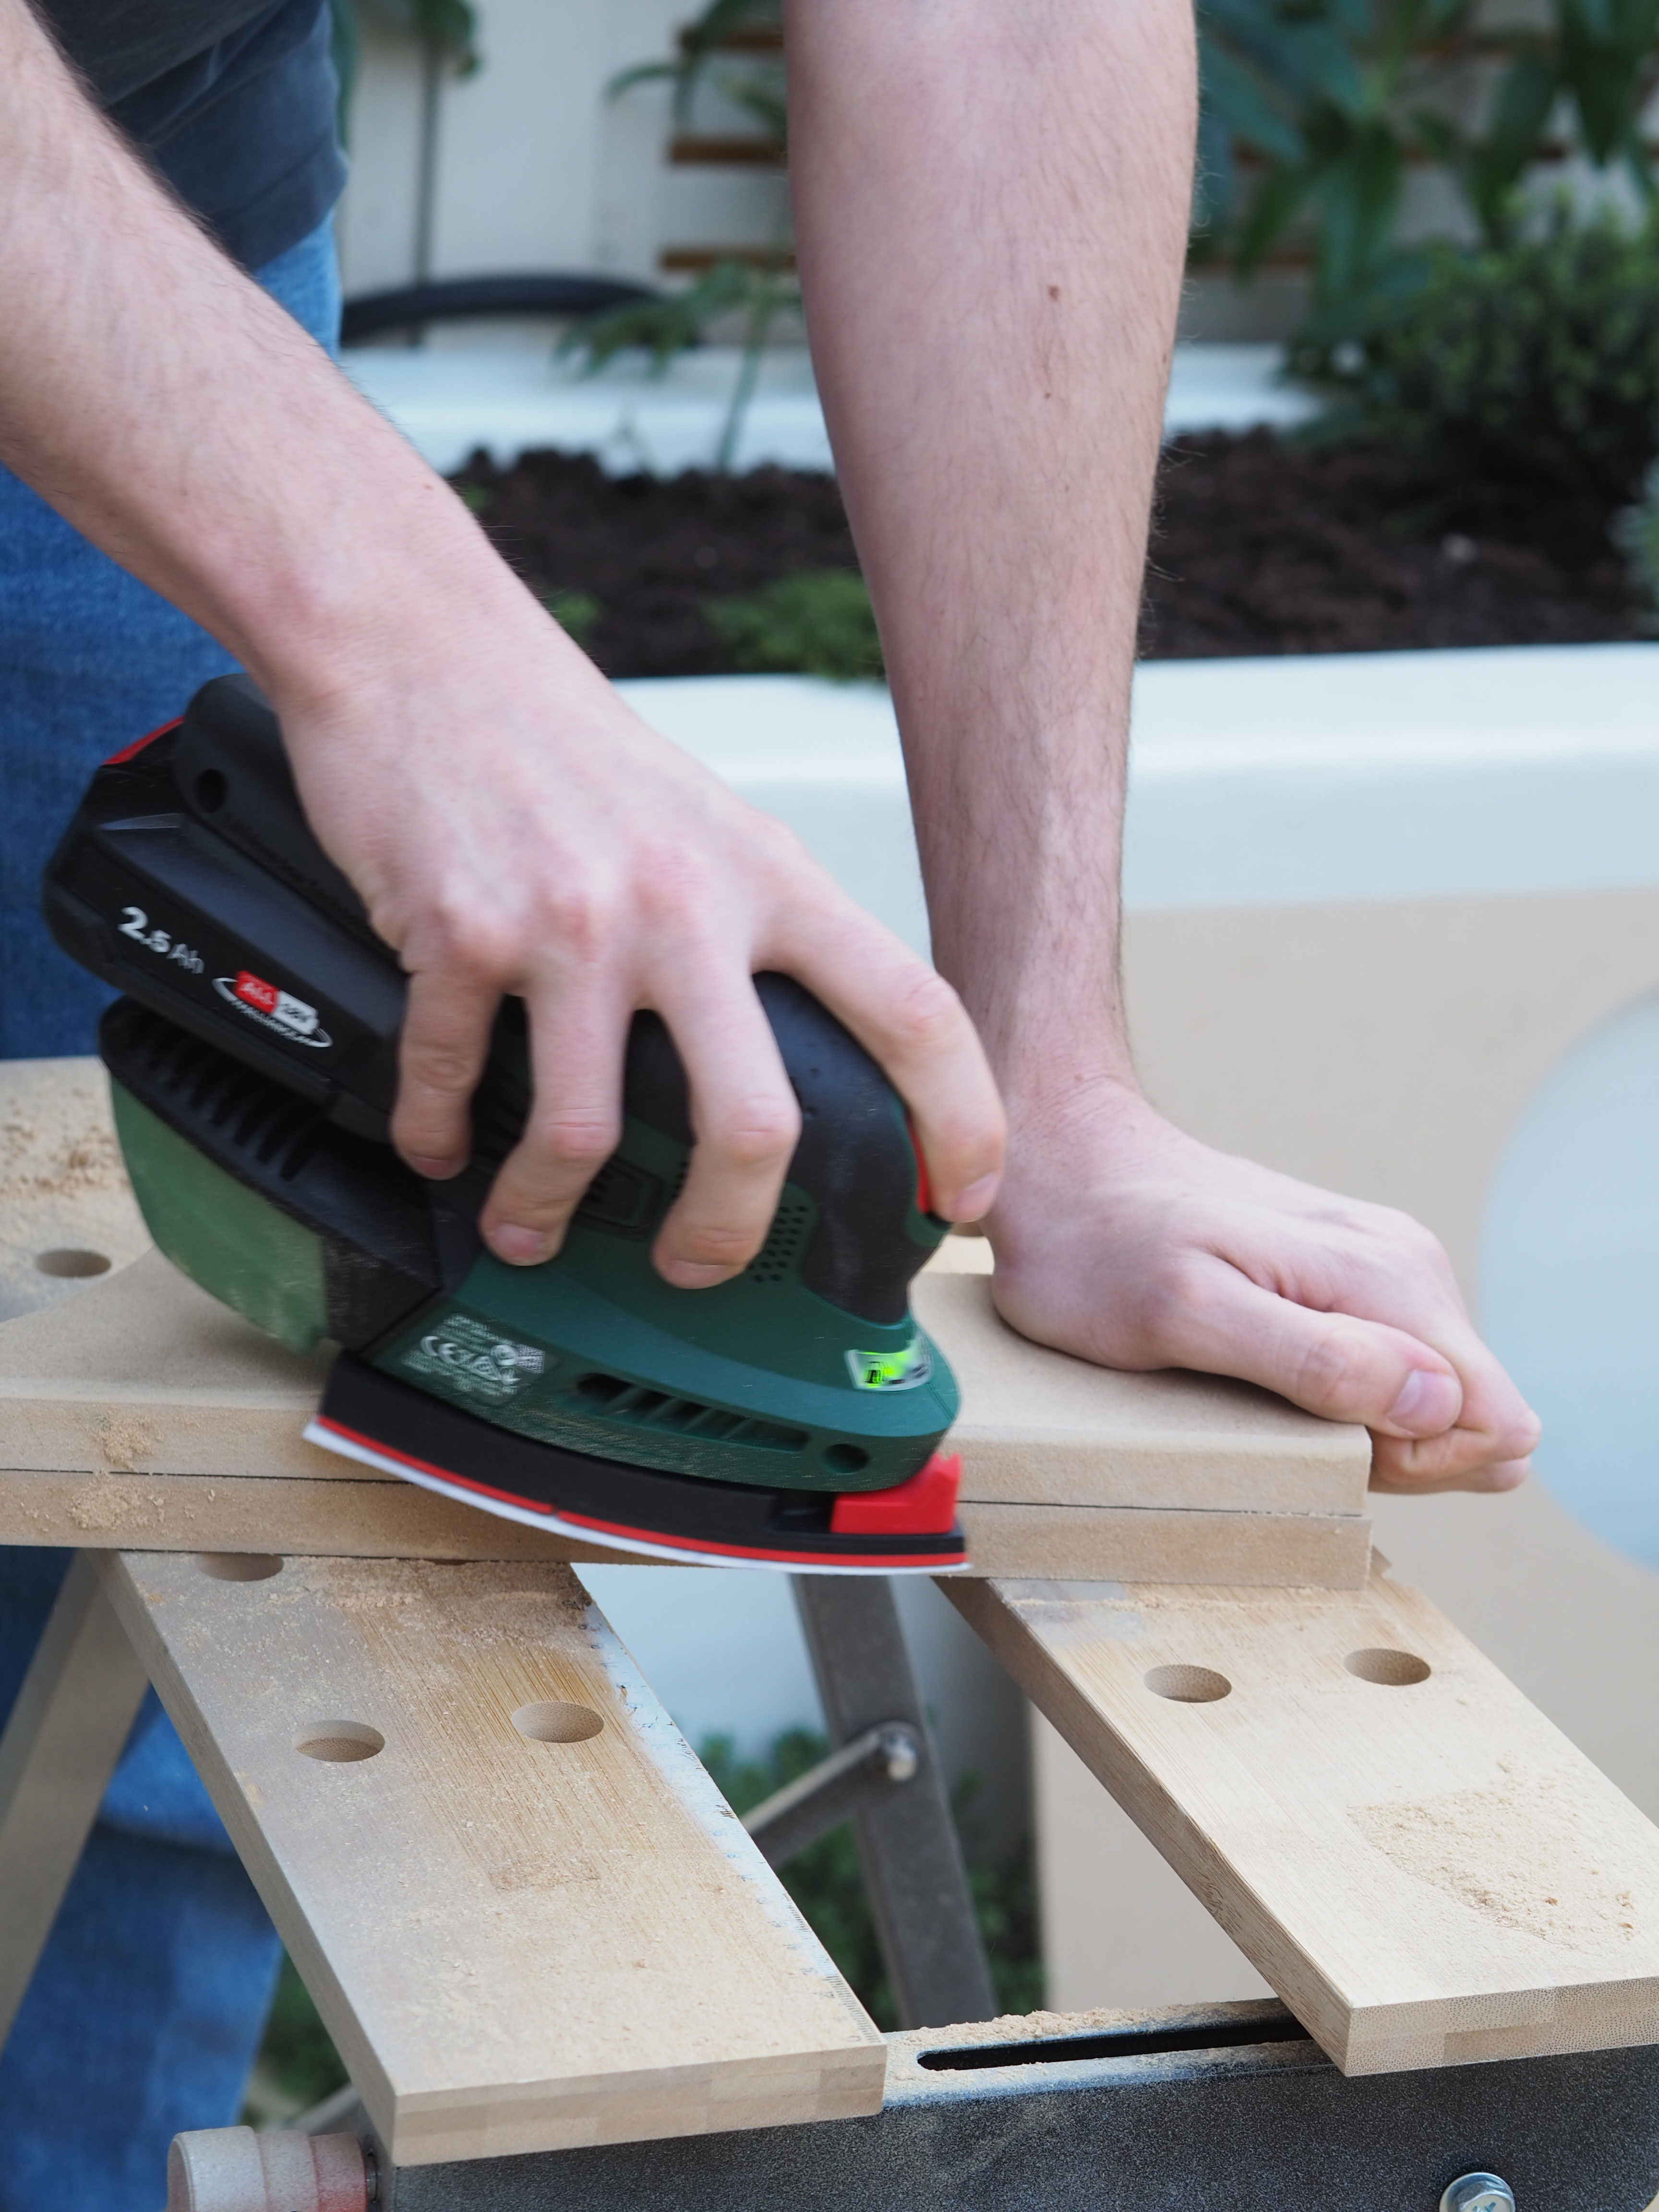
Sand the edges with a mouse sander for a more rounded, organic finish.
The Livingetc newsletters are your inside source for what’s shaping interiors now - and what’s next. Discover trend forecasts, smart style ideas, and curated shopping inspiration that brings design to life. Subscribe today and stay ahead of the curve.
3. Fix the legs to the table top
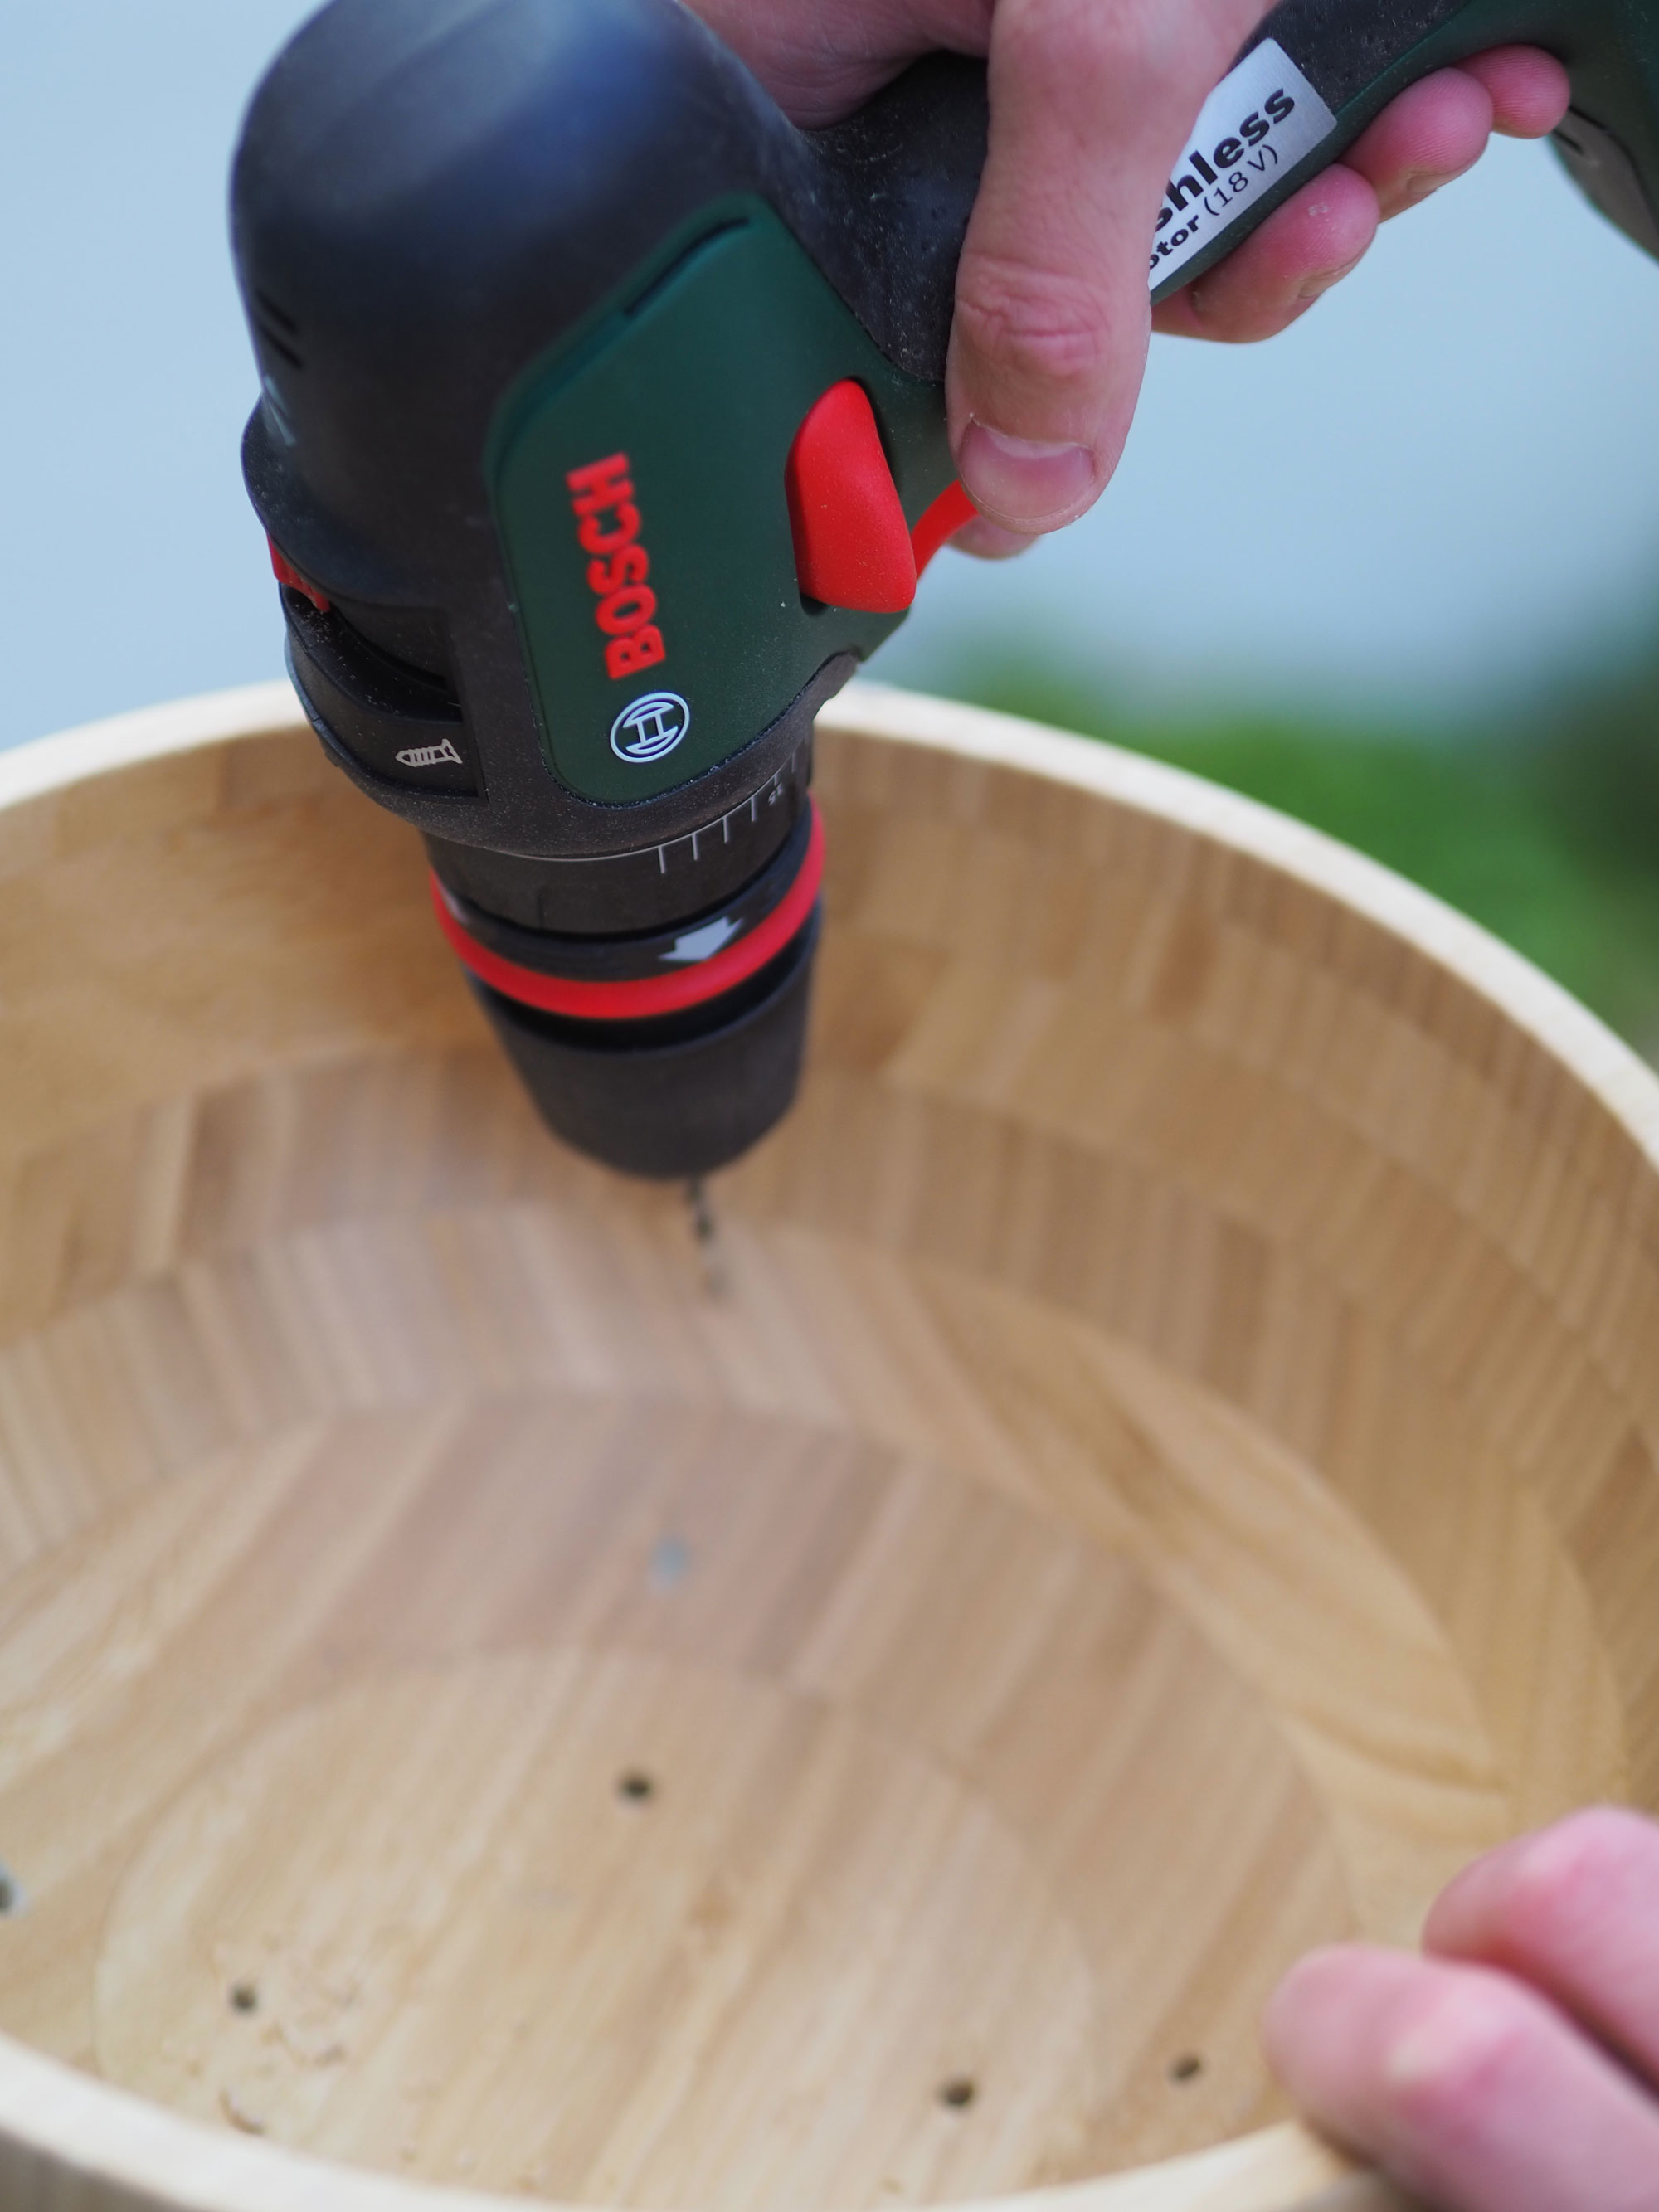
Drill eight holes in a cross across the Blanda bowl with a thin drillbit. Turn the bowl over, and on the inside, drive a screw through into the top of the legs with an electric screwdriver. Complete this across all the legs.
To make the legs super secure, apply an expanding glue before attaching the screws.
4. Plaster the table with skim
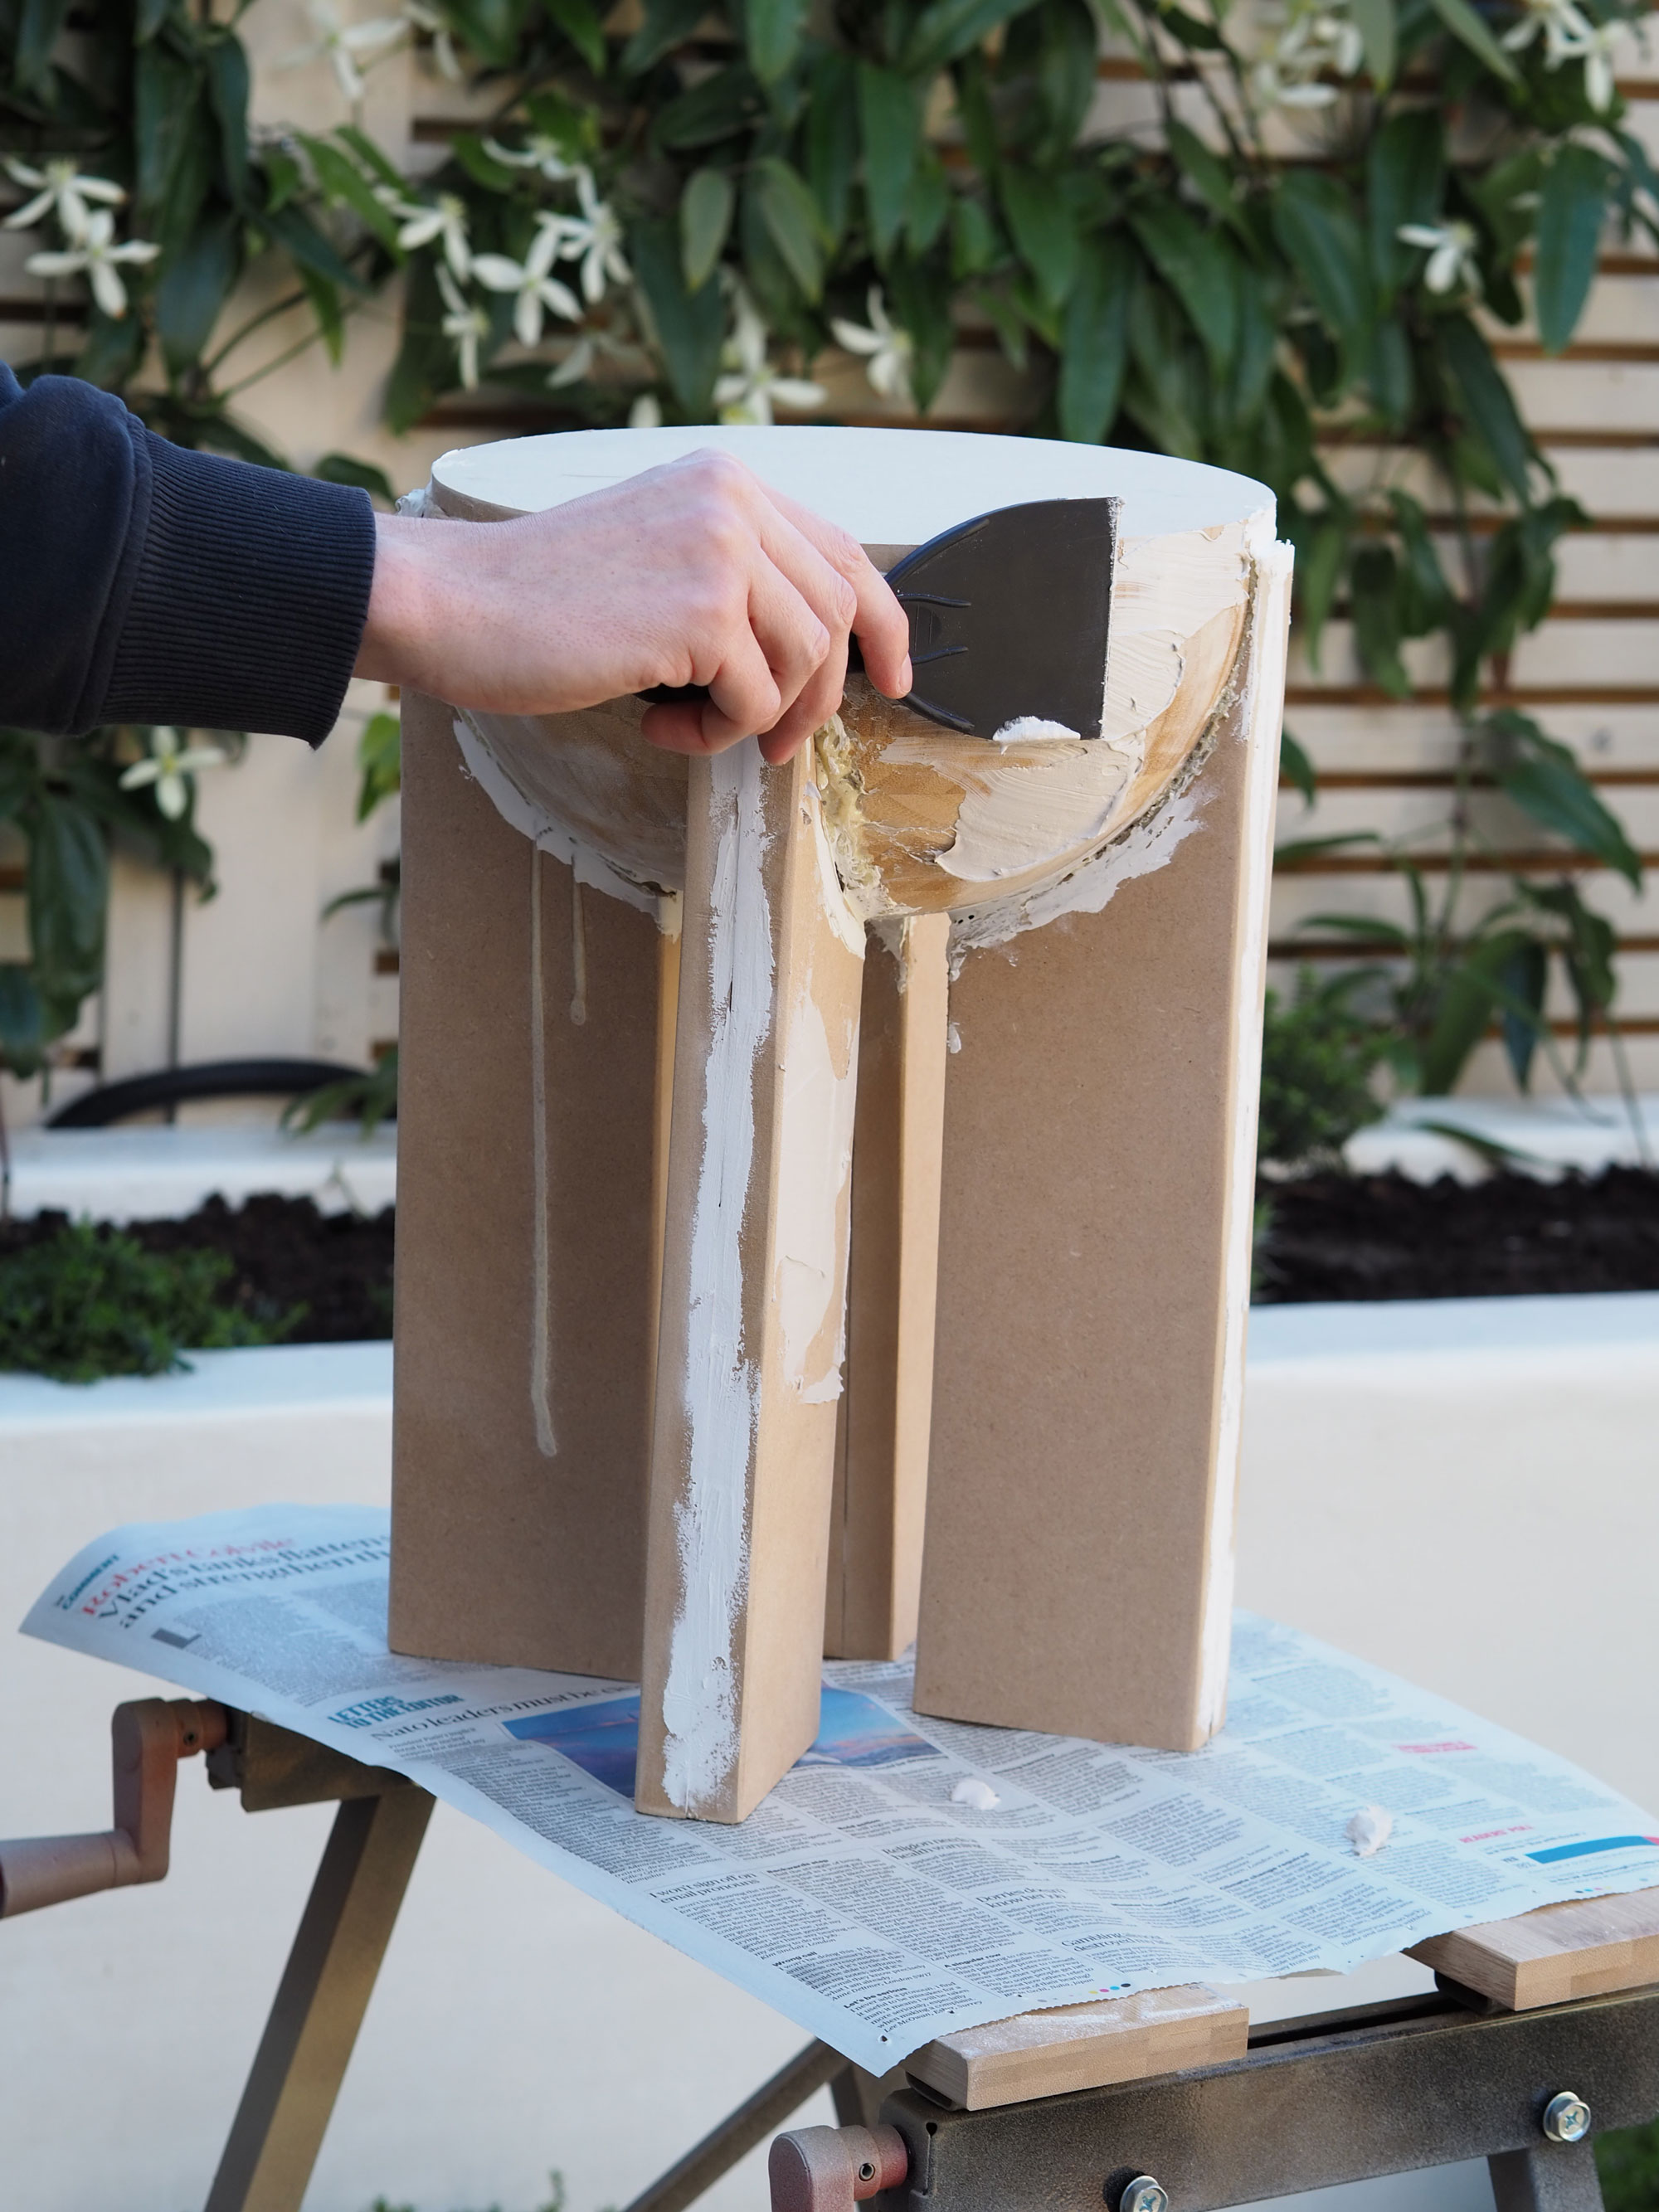
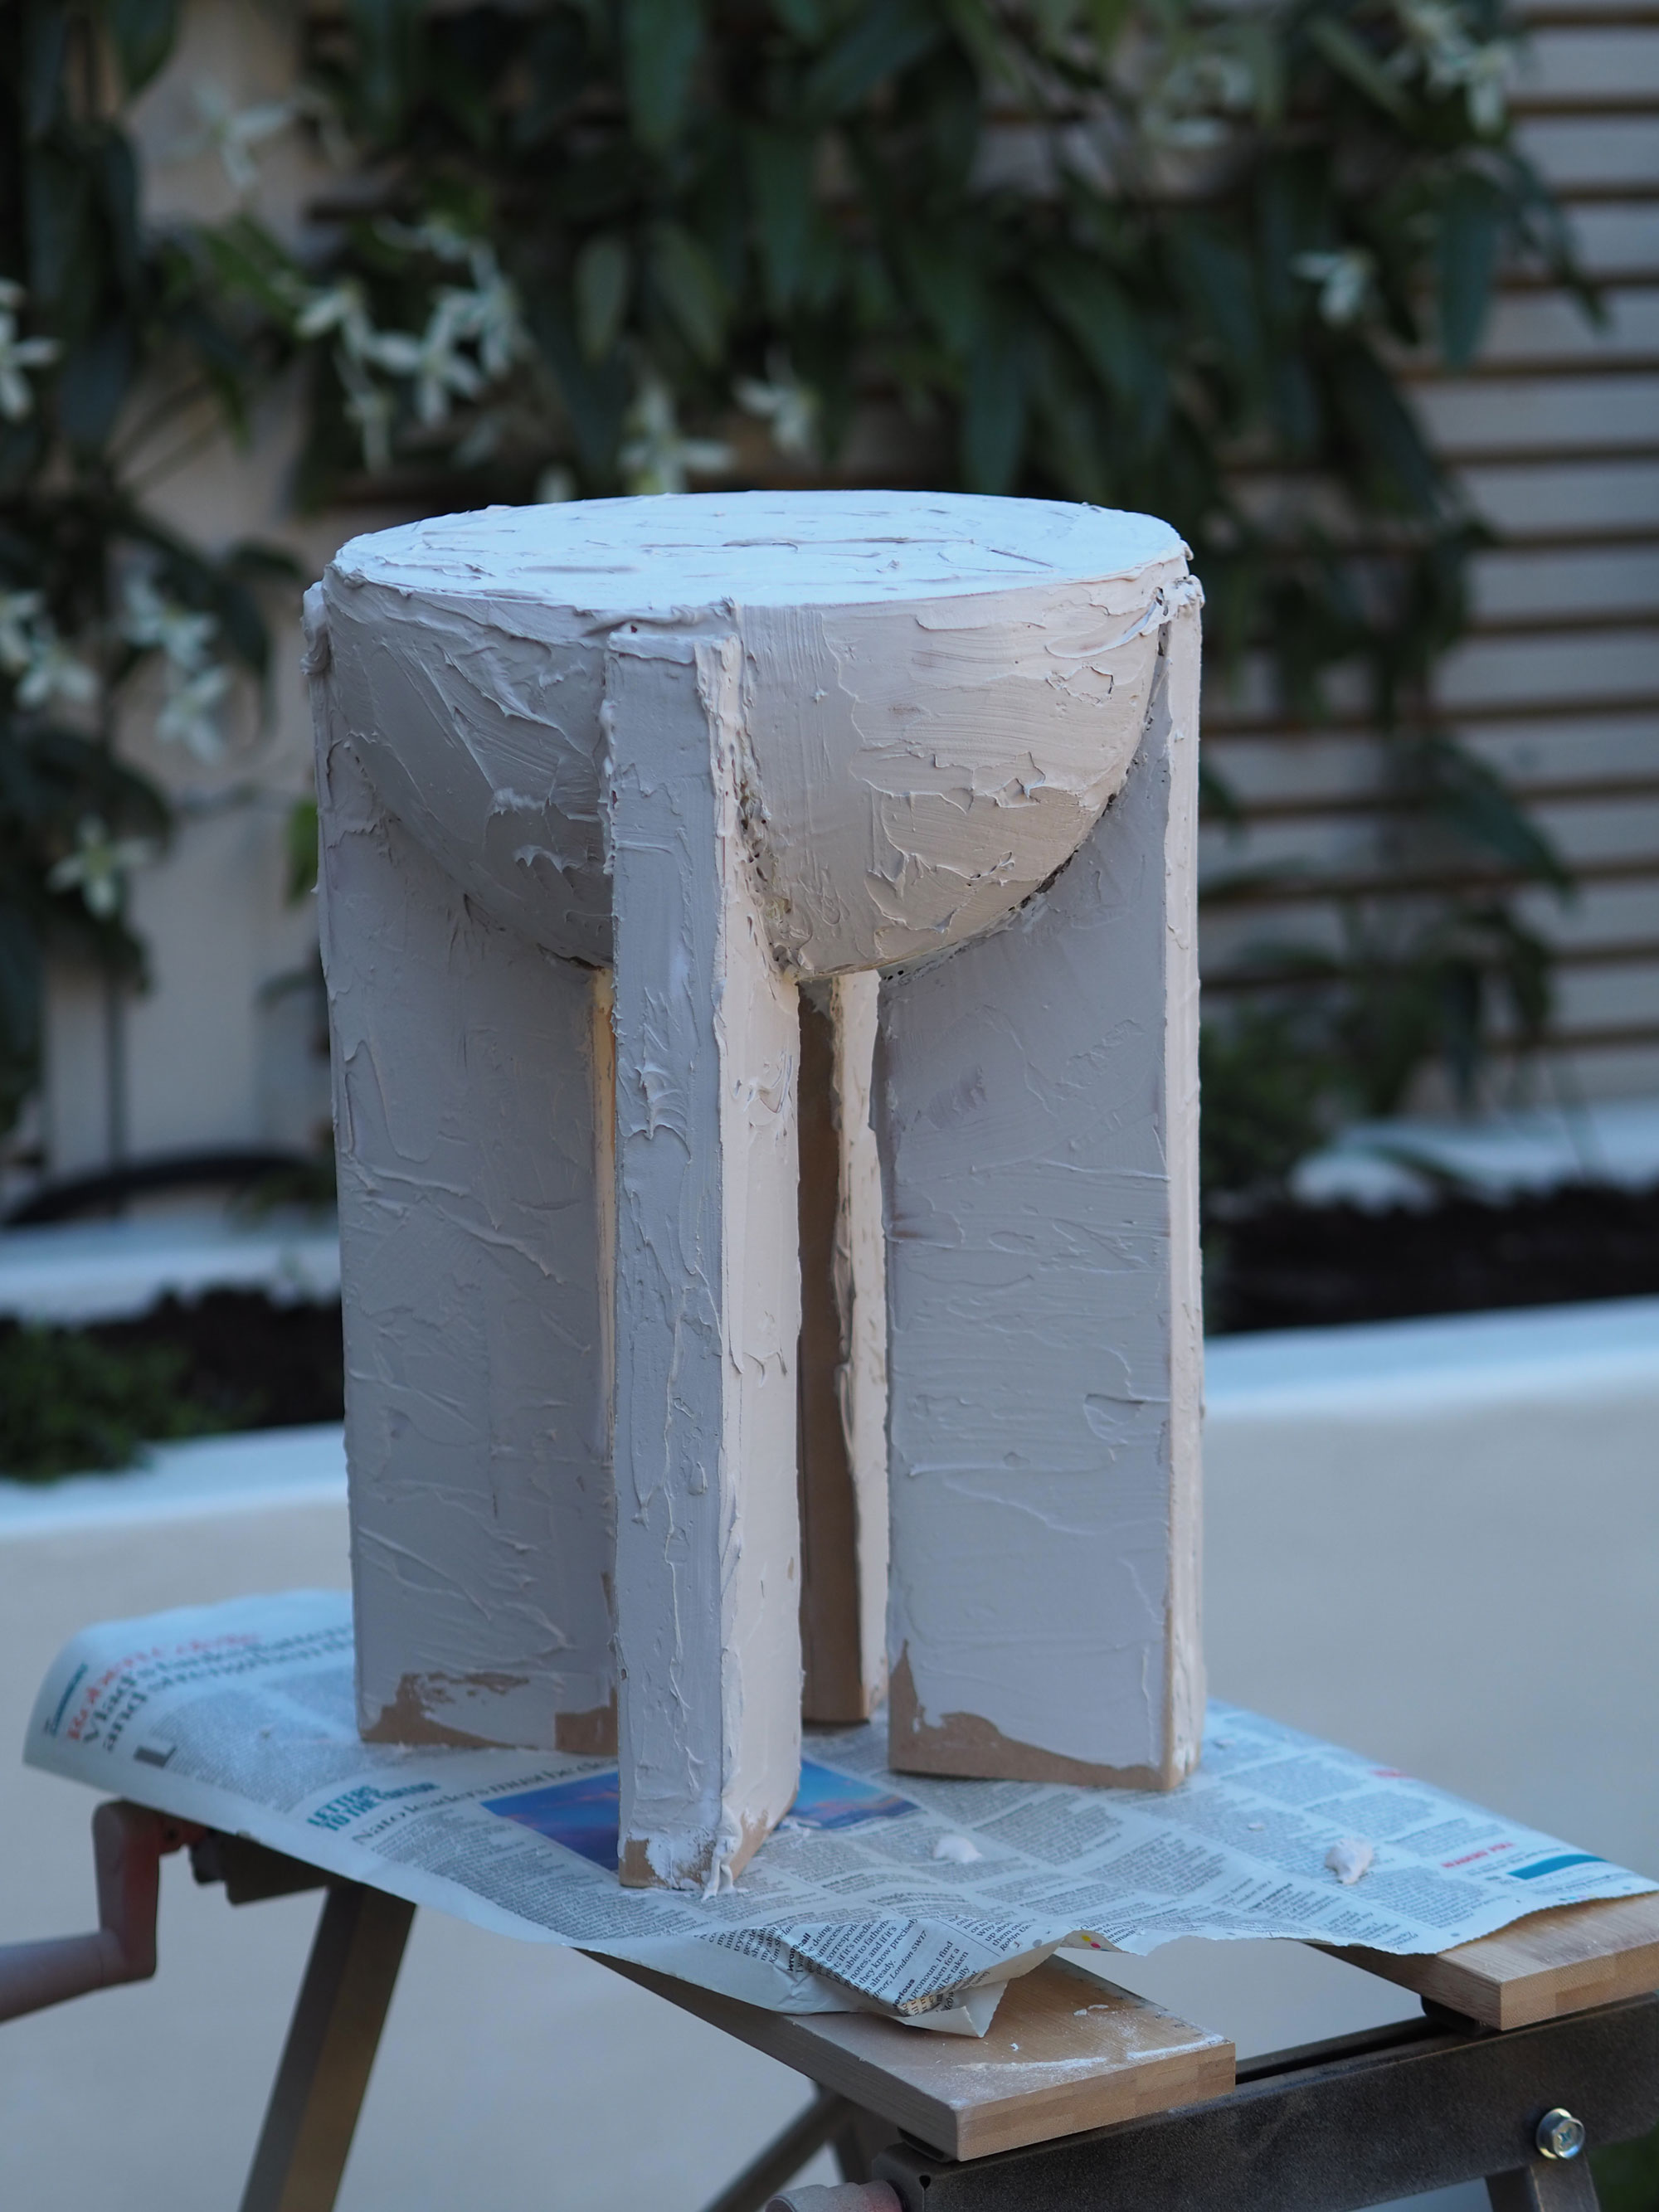
Apply a skimming plaster over the table and allow to dry. It doesn't need to be very neat, as you'll be sanding it after.
Using a mouse sander or sandpaper, sand down the high peaks on the skimming plaster for a smoother finish. If there are any large holes, reapply plaster as required.
6. Paint with a stone-effect paint
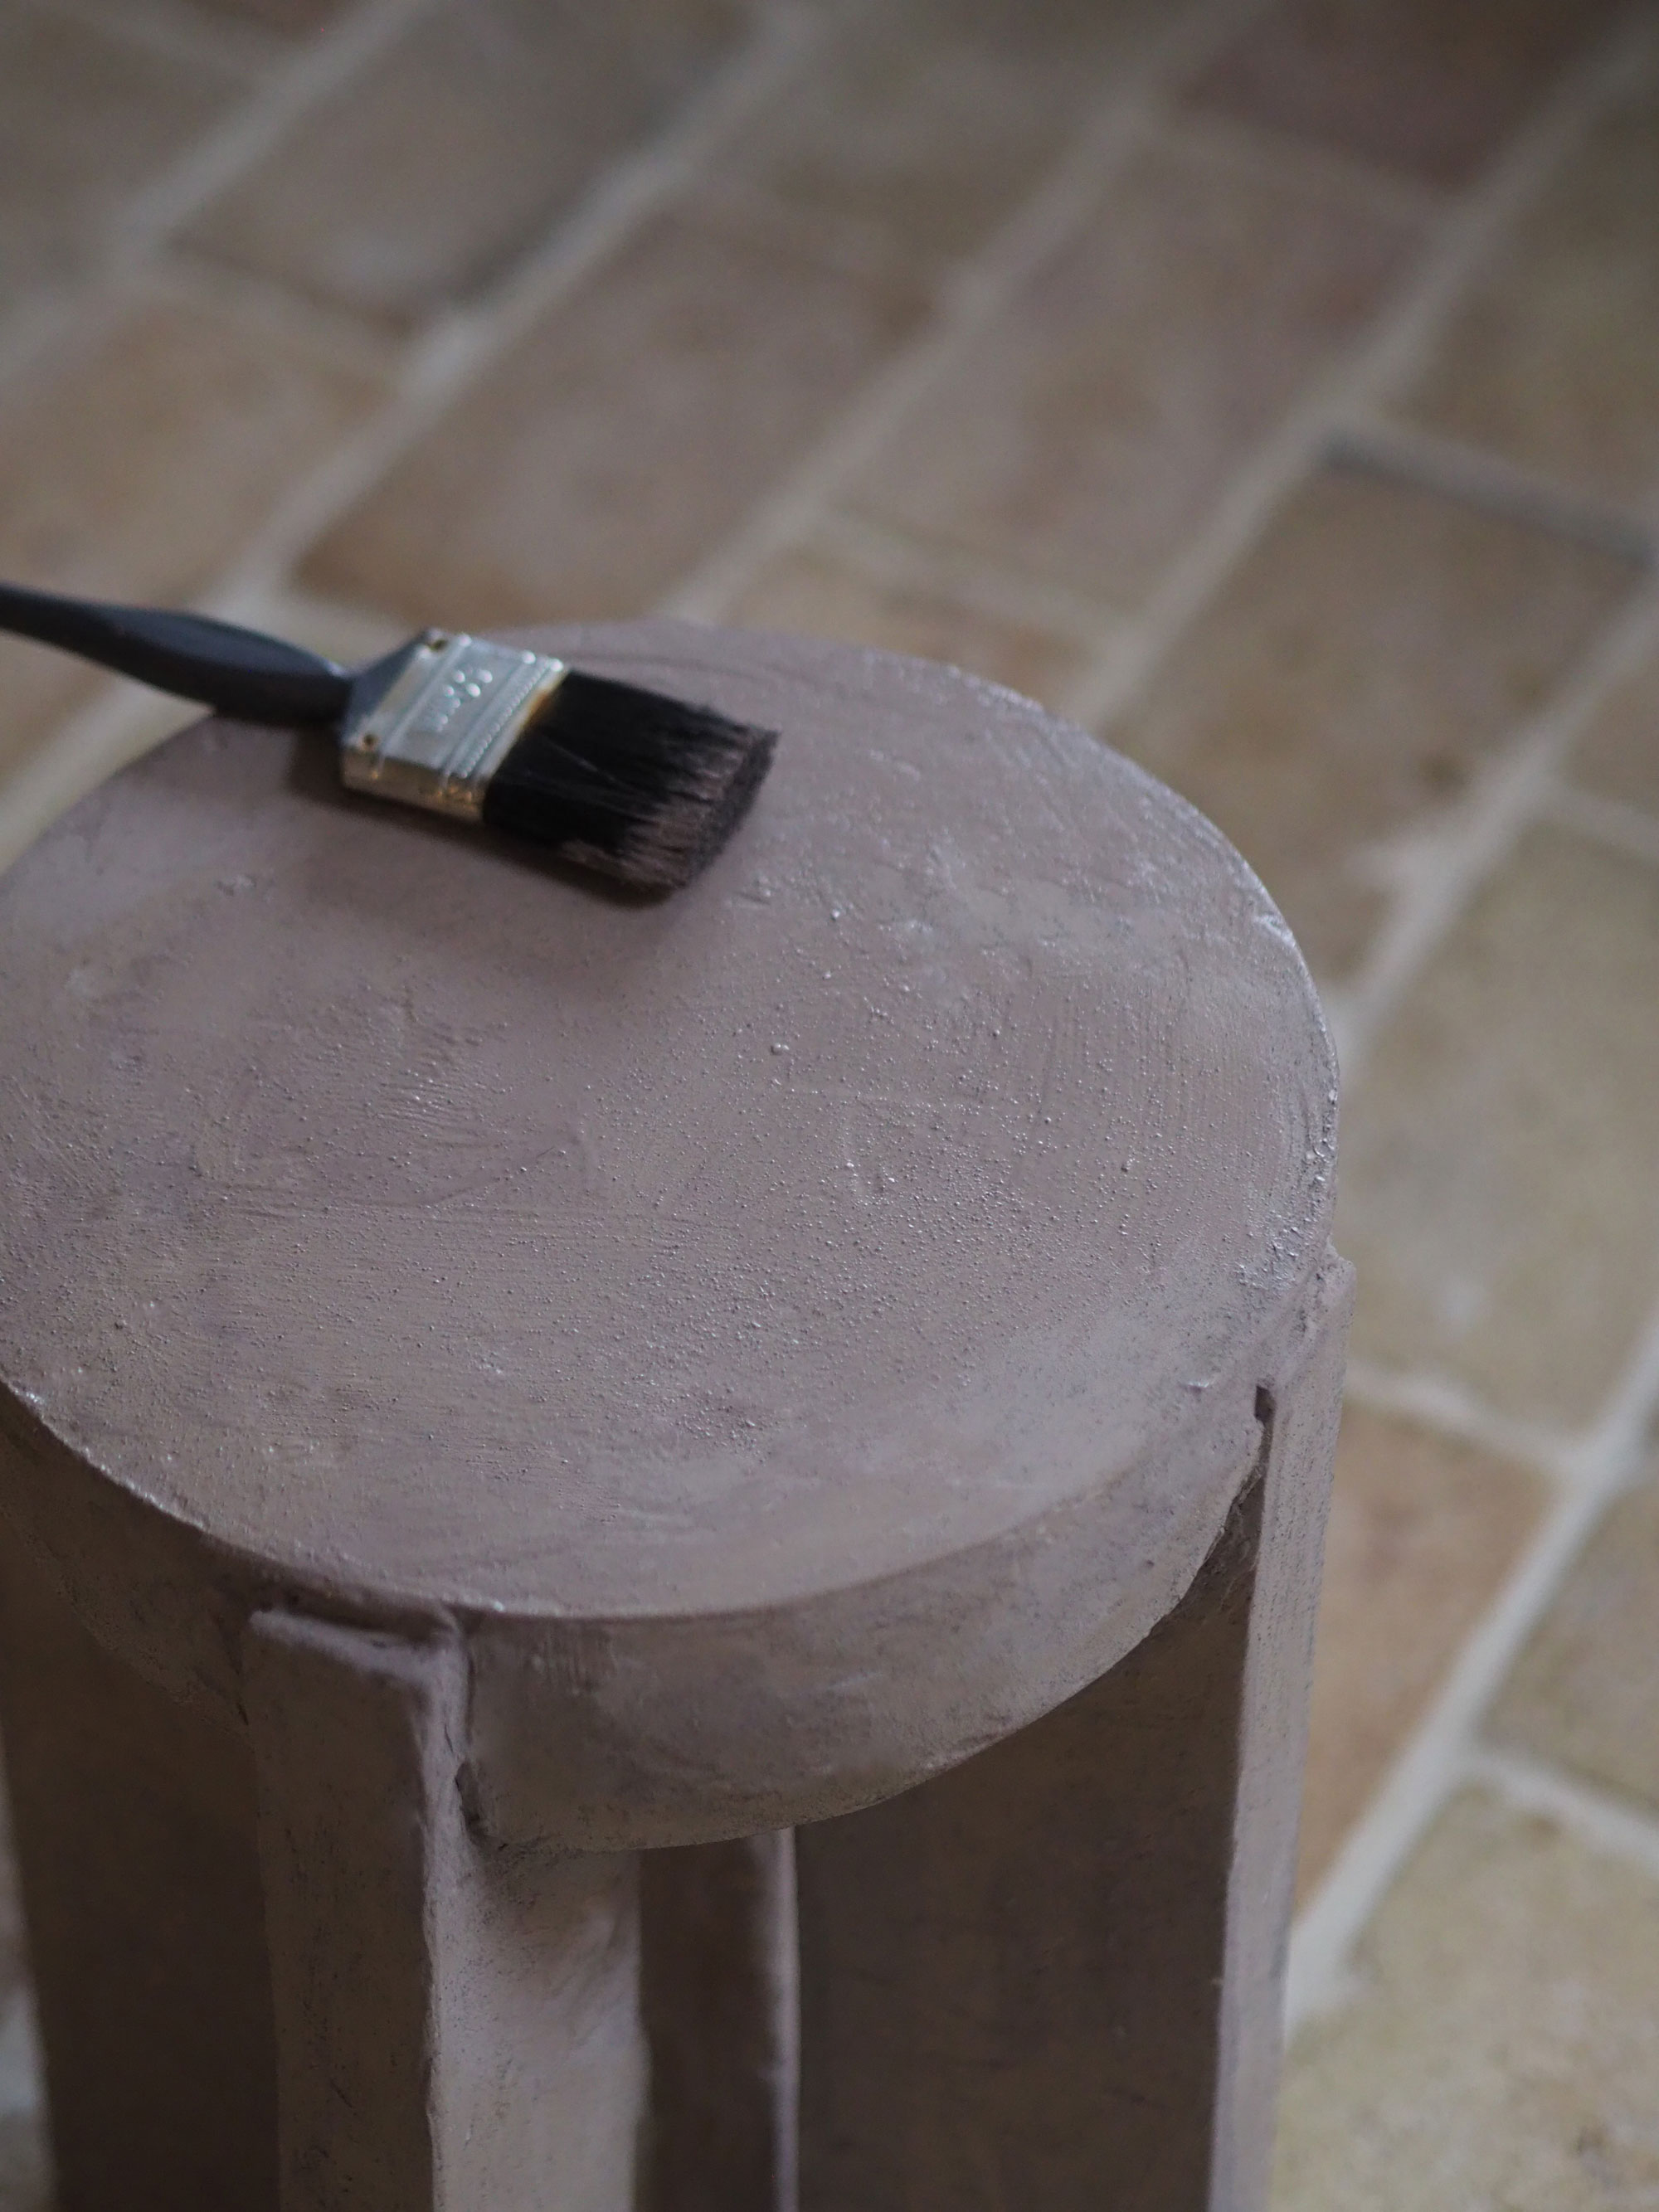
This table is painted with a stone-effect paint with a little grit in it to create texture, using a paint brush. Give two coats, and then use a clear, matt sealer over the top for a more durable finish.

Hugh is Livingetc.com’s editor. With 8 years in the interiors industry under his belt, he has the nose for what people want to know about re-decorating their homes. He prides himself as an expert trend forecaster, visiting design fairs, showrooms and keeping an eye out for emerging designers to hone his eye. He joined Livingetc back in 2022 as a content editor, as a long-time reader of the print magazine, before becoming its online editor. Hugh has previously spent time as an editor for a kitchen and bathroom magazine, and has written for “hands-on” home brands such as Homebuilding & Renovating and Grand Designs magazine, so his knowledge of what it takes to create a home goes beyond the surface, too. Though not a trained interior designer, Hugh has cut his design teeth by managing several major interior design projects to date, each for private clients. He's also a keen DIYer — he's done everything from laying his own patio and building an integrated cooker hood from scratch, to undertaking plenty of creative IKEA hacks to help achieve the luxurious look he loves in design, when his budget doesn't always stretch that far.