Two Simple Hacks to Fix a Tunneled Candle — and Make Your Home Feel More Luxe at the Same Time
These candle makers explain how to fix a tunneled candle using household items you almost certainly have lying around


The Livingetc newsletters are your inside source for what’s shaping interiors now - and what’s next. Discover trend forecasts, smart style ideas, and curated shopping inspiration that brings design to life. Subscribe today and stay ahead of the curve.
You are now subscribed
Your newsletter sign-up was successful
It's the little things in life that bring the greatest happiness, which is why I'll always appreciate a candle. From small scented tealights and votives to large three-wick jars and colorful pillar candles, there isn't a waxy wick in the world that doesn't bring me joy, which is why there's no greater tragedy than when they tunnel.
Even if you don't know what I mean by a tunneled candle, the chances are you've unknowingly tunneled one yourself. Tunneling, also known as a memory ring, happens when only a small portion of the wax around the wick melts while your candle is burning rather than melting evenly to the edge, and it happens to even the best candles. The result is a vertical tunnel shape as your wick burns down. Sound familiar?
Not only is a tunneled candle frustratingly hard to light as your wick bores deeper into this chasm, but it means your candle inevitably burns quicker and doesn't last as long. Before you know it, your luxury candle is nothing but a hollowed out lump of wax. To learn how to fix a tunneled candle (and prevent one in the first place) we spoke with some expert candle makers - because if a candle burns for longer in a better way you get to enjoy the sense of luxury it brings for longer, too. Below, they share their best candle-fixing hacks, and the best part is, they use household items I can almost guarantee you own. Here's how it's done.

Lilith is an expert at following news and trends across the world of interior design. She's committed to helping readers make the best choices in their homes through sharing practical tips and hacks that make their money go further. In this article she speaks to candle manufacturers for their advice on how to fix and prevent a tunnelled candle for a longer lasting burn time.
What is a tunnelled candle?

Tunneling happens when the wax of a container or pillar candle doesn't burn evenly to the edges, leaving a hole - or 'tunnel' - in the center. It usually occurs in container candles but can also happen to pillar candles too. Taper candles and tealights however won't share the problem due to having a smaller diameter.
'It's usually caused by a candle that is either not wicked properly or isn't left to burn long enough for the melt pool to reach the edges of the vessel,' explains Patrick Jones, candle maker and owner of Outdoor Fellow. 'This can result in reduced fragrance throw, uneven burning, and a shorter overall burn time.'
Sometimes tunneling can be a result of a cheaply manufactured candle, too. 'Tunneling can occur if the flame is not strong enough to heat the surrounding wax,' explains Raffi Arslanian, founder of Thompson Ferrier. 'In some cases, manufacturers may opt for a less aggressive flame when using certain essential oils to avoid sudden ignition, which can lead to tunneling.'
How to fix a tunnelled candle
1. The aluminum foil hack
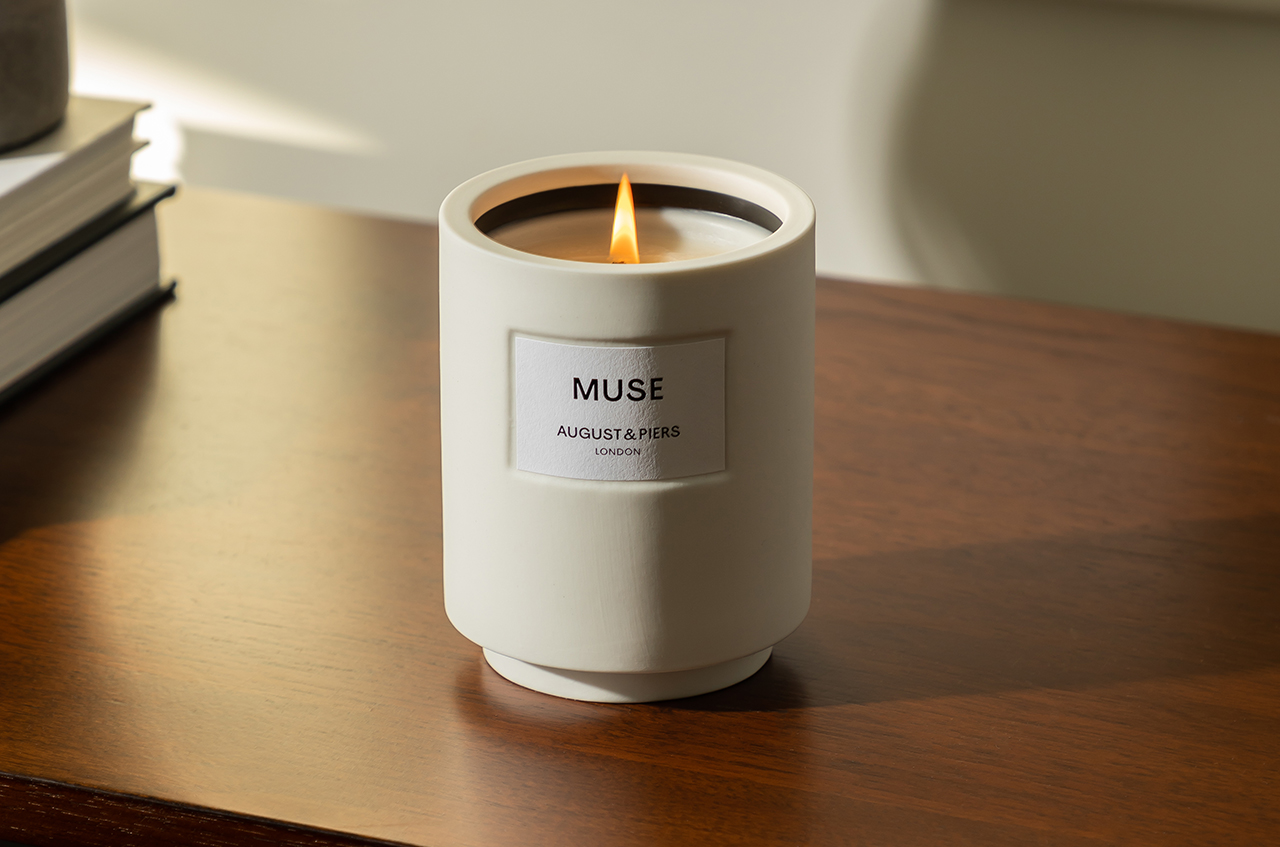
It might seem like the end of the world if your candle tunnels, but it's not all doom and gloom. There are a few simple hacks that can resurrect it by evening out the wax, and one of those involves using aluminum foil. This hack works by containing the heat within your candle to help the wax around the edge melt, and all you need is a piece of foil which you'll almost certainly have in the cupboard.
The Livingetc newsletters are your inside source for what’s shaping interiors now - and what’s next. Discover trend forecasts, smart style ideas, and curated shopping inspiration that brings design to life. Subscribe today and stay ahead of the curve.
'The best way to fix a tunnelled candle is by using a piece of aluminum foil and wrapping it around the neck of the candle vessel whilst keeping a small opening to stop the flame dying out,' explains August Campbell, co-founder of luxury candle brand, August & Piers. 'The heat from the flame reflects onto the foil and then onto the wax and melts away any tunnelling – and voilà, after an hour or so your candle will be saved.'
Bear in mind that because you need a structure to wrap the foil around, this hack will only work with container candles, not pillars. Unusual-shaped candles will also prove trickier, too.
2. The hair dryer hack

If scent-scaping is your thing, you'll want to make sure your candles last as long as possible, so fixing a tunneled candle is a must. If you don't have any foil lying around however, fear not - it's also possible to fix a tunneled candle using a hairdryer or heat gun (but there's unlikely you have the latter knocking around your cupboards...).
For this method, all you need to do is use your hairdryer on the highest setting to melt the surrounding wax around the edge of your wick so that the candle is level again. This will "reset the memory" of the wax so that it burns evenly.
This hack is a lot quicker than using aluminum foil since it relies on an external heat source rather than just the heat from the candle, plus it can also be used on a pillar candle. A word of warning though: it can get quite messy. Make sure to wear old clothes and lay old newspaper or a dust cloth underneath your candle to prevent any wax spills. You should also direct your hairdryer closer to the candle to prevent blowing wax across the room (but don't get too close or you could ruin its shape completely).
How do you prevent a candle from tunnelling in the first place?

Preventing a candle from tunneling won't only make a candle last longer, but it will make it look more presentable, too. In most cases, tunneled candles happen when you don't let your candle burn long enough, particularly the first time you light it. This might be for convenience or safety reasons, or just because you were unaware of how tunneling is caused.
'The best way to prevent a candle from tunneling is to always allow the entire surface of the wax to fully melt before extinguishing,' says August. 'Tunneling occurs because the wick is blown out before this has happened.' It's especially important to do this on the very first burn since this will determine the wax's burn 'memory', generally marking the point to which the wax will melt in the future.
'The time needed to wait for the wax to melt to the edge of the vessel will vary depending on the diameter of the candle, but the manufacturer usually has a recommendation for how long you should burn your particular candle,' explains Patrick. 'You should always trim your wick before every burn as well to ensure you get an even, efficient burn every single time and extend your candle's lifespan.'
Finally, it's worth noting that certain types of wax burn at different rates. 'Candles made from soy wax are much less susceptible to tunneling than those made from lower-quality materials like paraffin wax,' explains August. This is because natural waxes like soy, coconut or beeswax will generally burn more gradually and evenly.
3 of our favorite scented candles
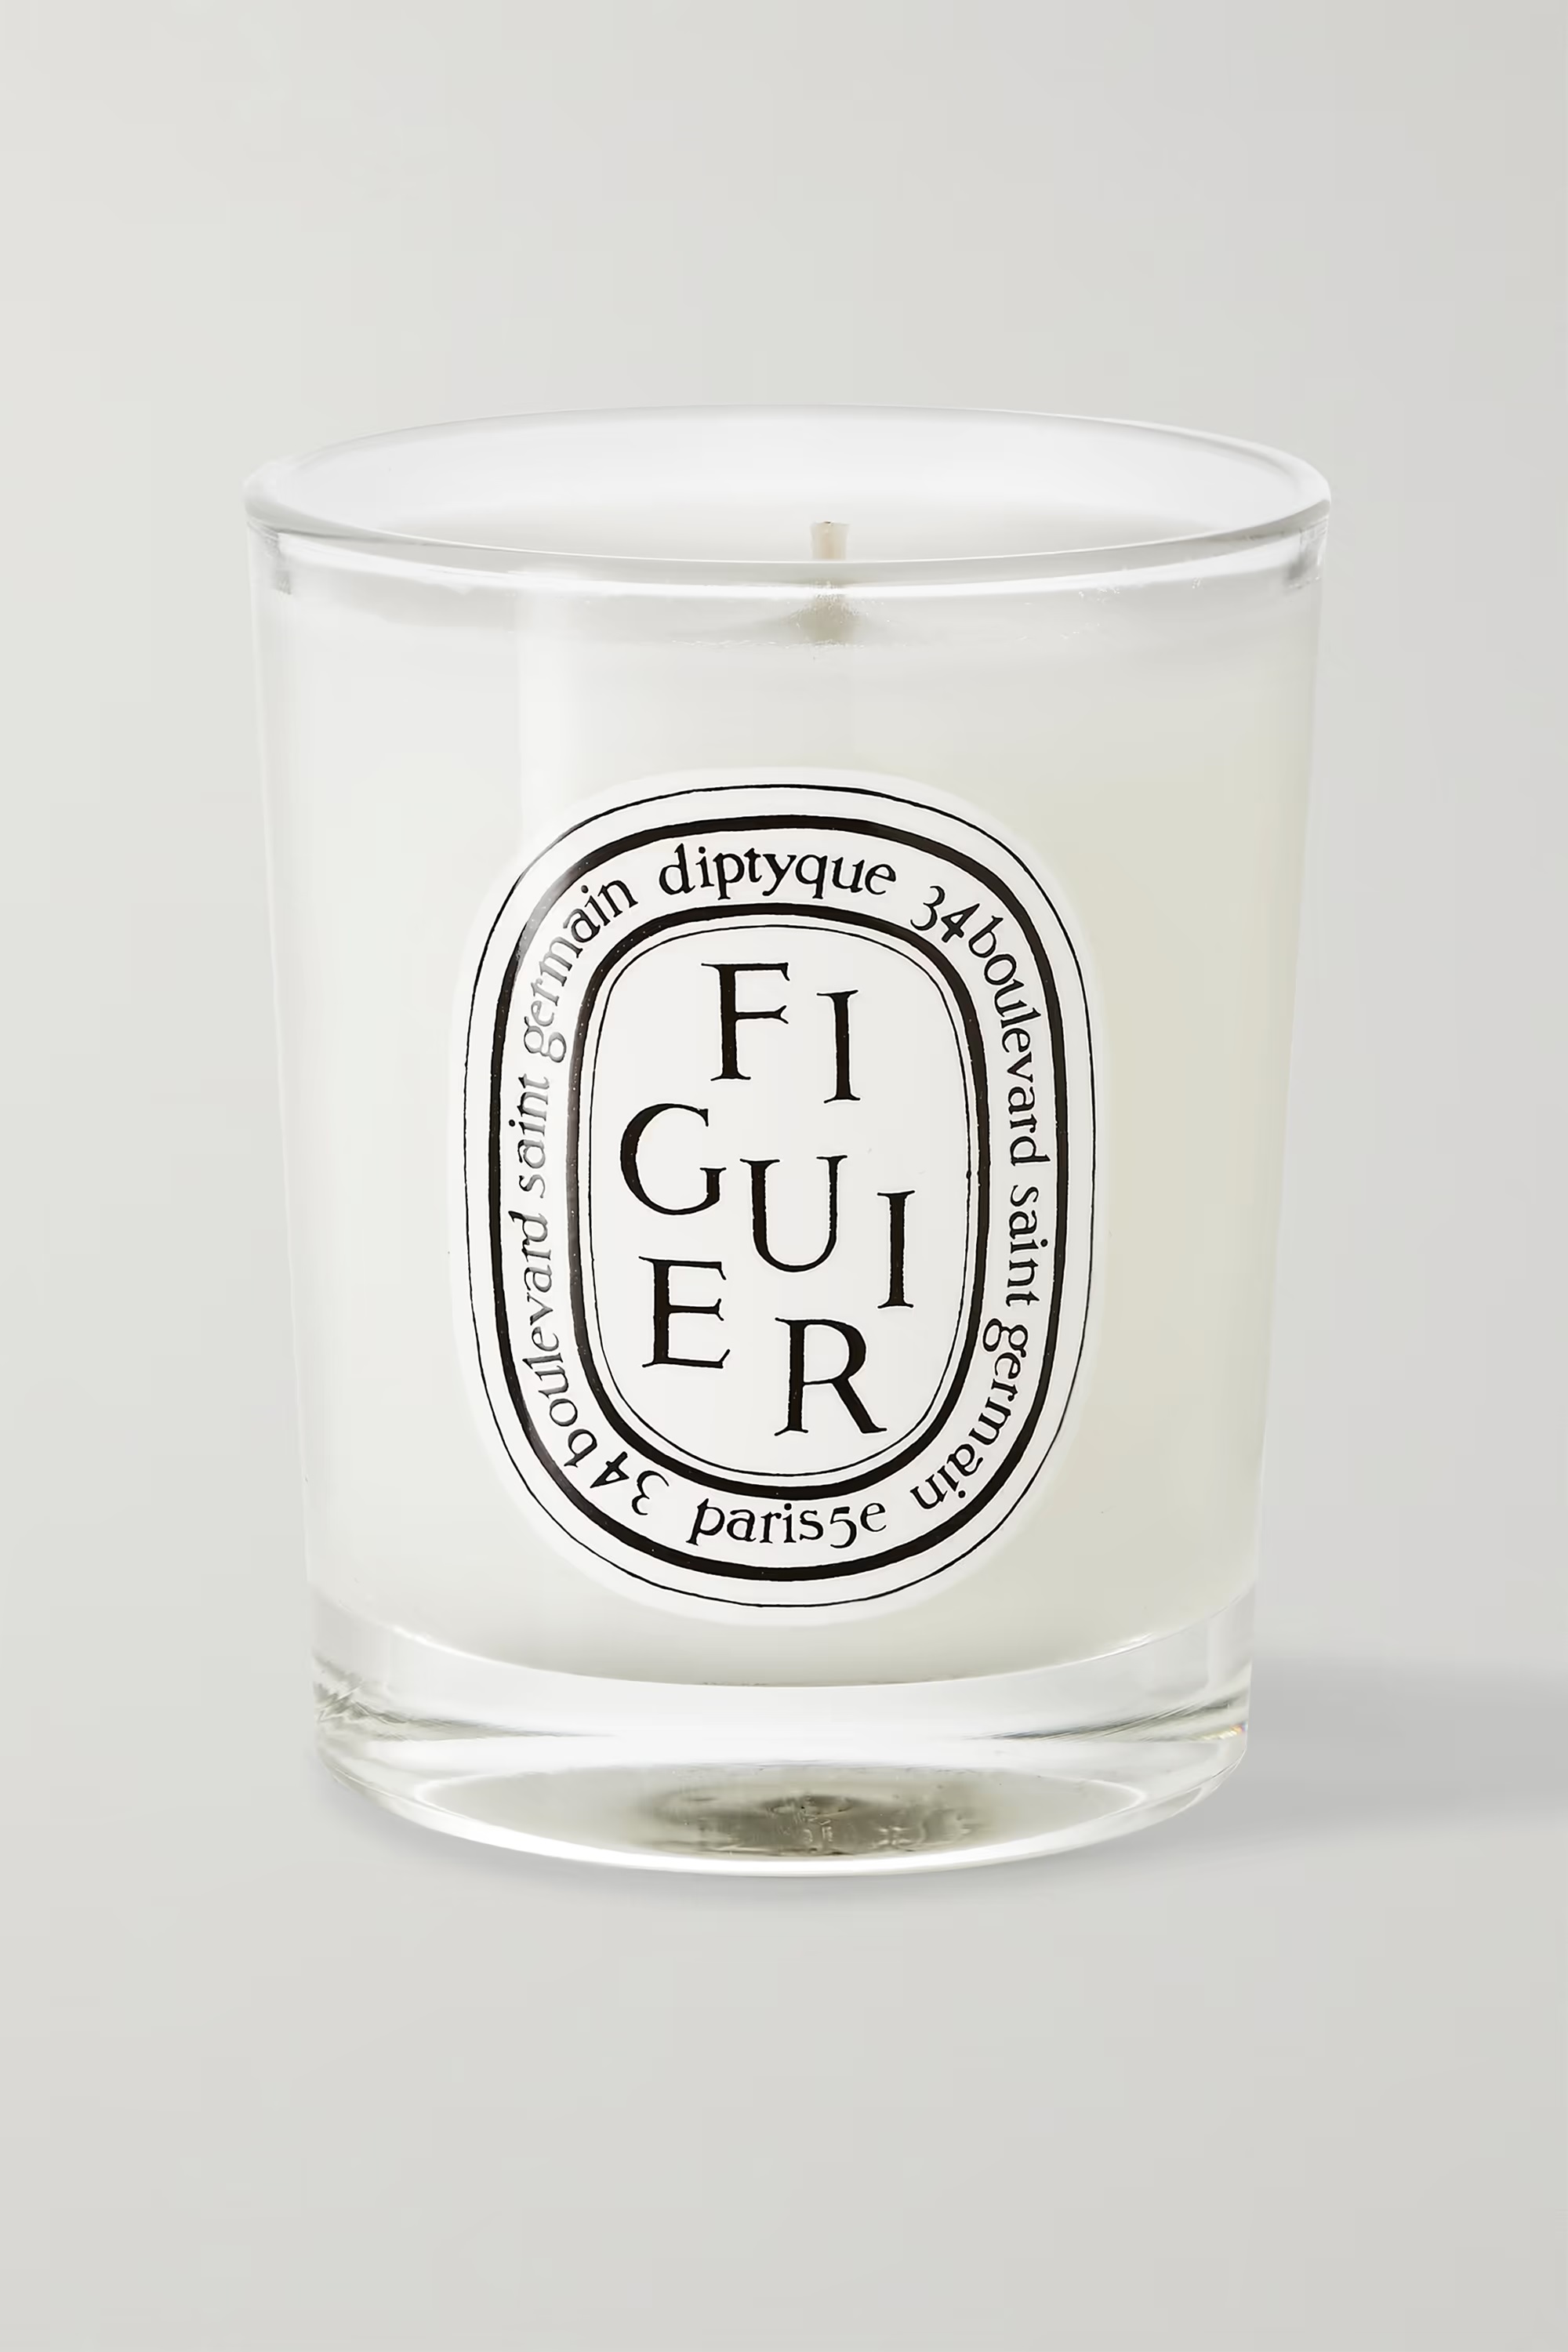
It's hard to find a more luxurious and comforting scent than Diptyque's figuier, available at Net-A-Porter. Capturing the essence of the fig tree, it perfectly balances the woodiness of the bark and the freshness of the leaves, while the iconic votive looks right at home in a soft, neutrally decorated space.
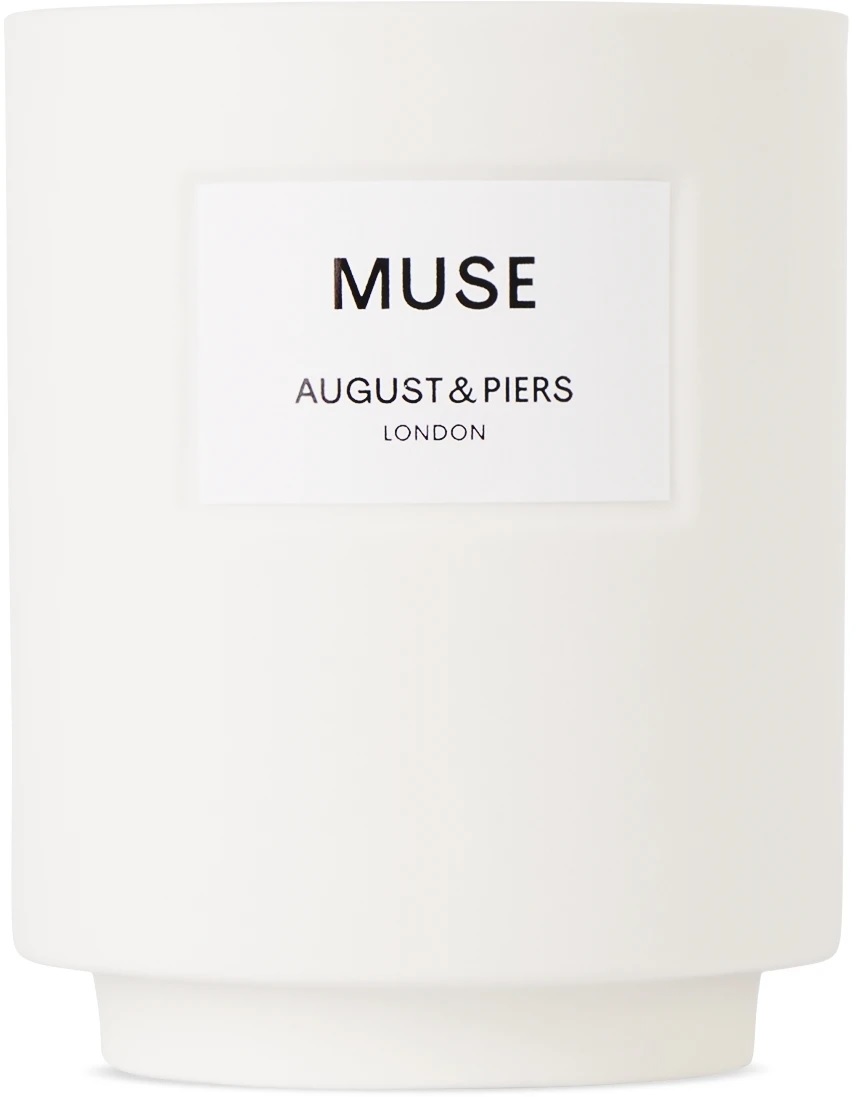
If luxury is what you're after, look no further than August & Piers. Their paraffin-free scented candles are made alongside perfumers for a truly sumptuous scent. The Muse candle, available at SSENSE, features top notes of lemon and bergamot, heart notes of geranium and labdanum, and base notes of vanilla, benzoin, and musk.

If one wick isn't enough, try this three-wick candle from Threshold, available at Target. Made with soy wax, paraffin wax and coconut oil, this candle promises to burn for 20 hours while a mix of amber, orange blossom and orange scents instil calm. The neutral ceramic jar will sit pretty on your shelf or side table, too.

Lilith Hudson is a freelance writer and regular contributor to Livingetc. She holds an MA in Magazine Journalism from City, University of London, and has written for various titles including Homes & Gardens, House Beautiful, Advnture, the Saturday Times Magazine, Evening Standard, DJ Mag, Metro, and The Simple Things Magazine.
Prior to going freelance, Lilith was the News and Trends Editor at Livingetc. It was a role that helped her develop a keen eye for spotting all the latest micro-trends, interior hacks, and viral decor must-haves you need in your home. With a constant ear to the ground on the design scene, she's ahead of the curve when it comes to the latest color that's sweeping interiors or the hot new style to decorate our homes.