How to set up a Ring doorbell: an upgraded front door in no time at all
We explain how to install a Ring doorbell, whether you've opted for a wired or wireless option

The Livingetc newsletters are your inside source for what’s shaping interiors now - and what’s next. Discover trend forecasts, smart style ideas, and curated shopping inspiration that brings design to life. Subscribe today and stay ahead of the curve.
You are now subscribed
Your newsletter sign-up was successful
If you're not totally confident installing smart devices in the home or are just new to the world of Ring Video Doorbells, you may be wondering where to start with the device. We know that many of the instructions that come with smart home gadgets can be somewhat vague or confusing, so we've attempted to cut through the problem with a step-by-step guide.
Still, the best video doorbells all differ slightly, and even Ring models include both wired and wireless models. But the basics are the same, and we have detailed below what you should do depending on which type of doorbell you have. You also need to consider the surface you want to install it on.
Keep reading to see how simple it is to get up and running with a new Ring Video Doorbell.
How to set up the Ring app

1. Download the Ring app
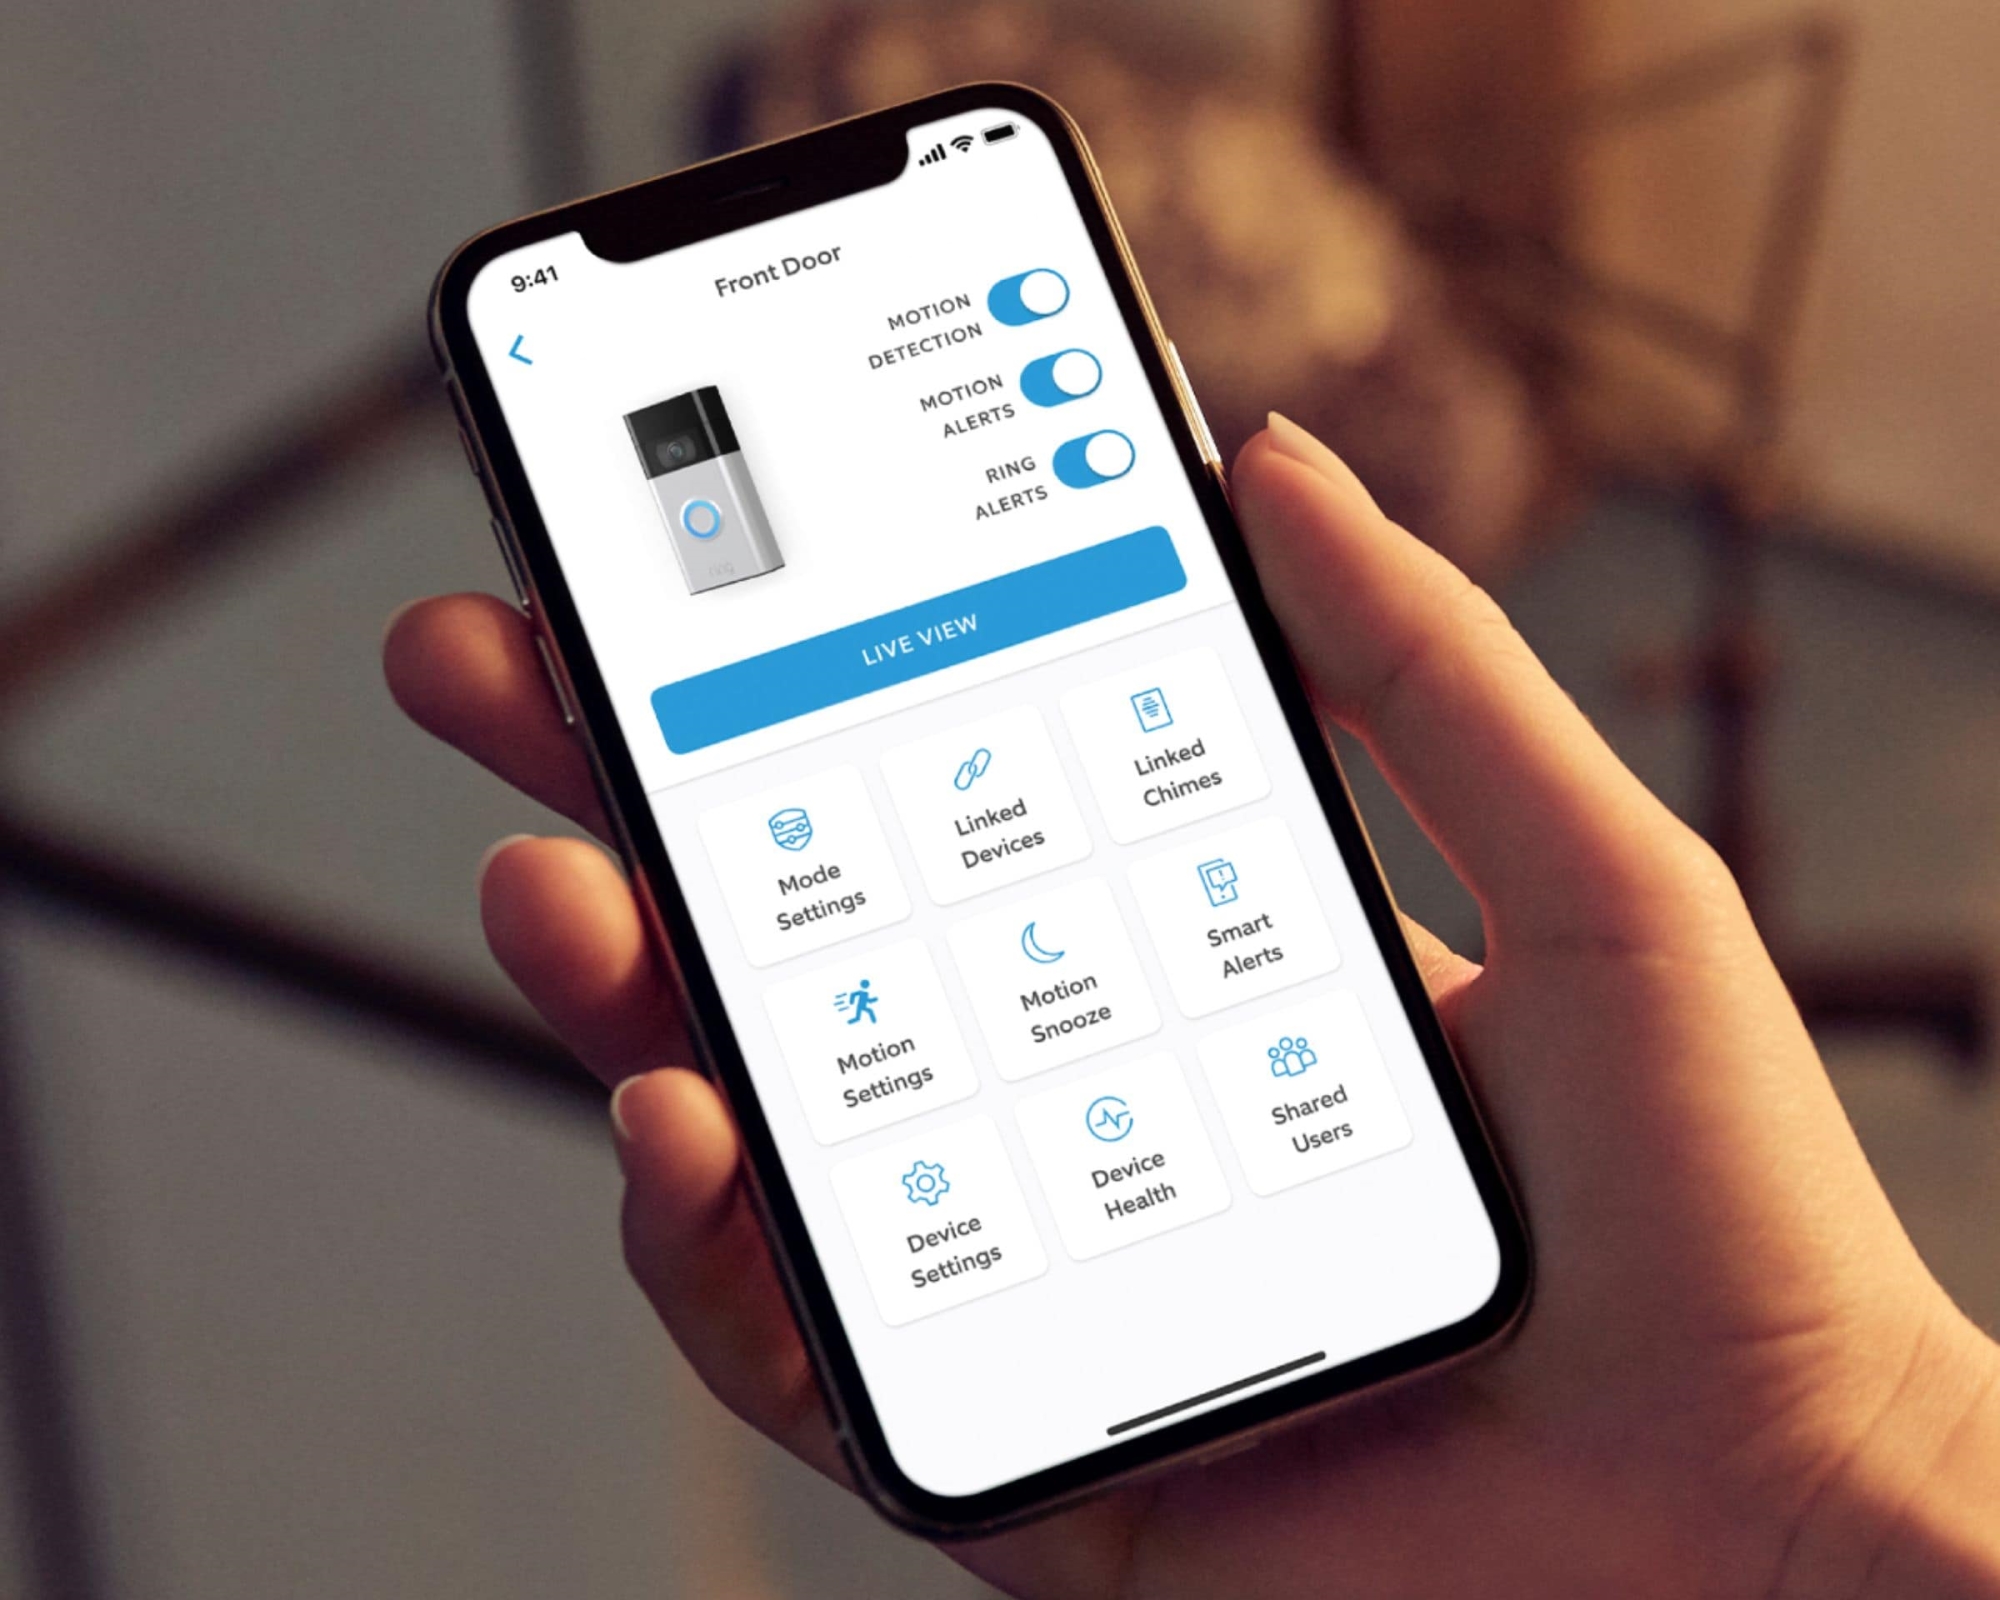
As you might expect for a smart doorbell, before you get to the physical installation stage, you should download the Ring app to your mobile device. If you haven't already created an account, do this first. This account will be where you add all Ring devices, including doorbells, security cameras, and alarms.
Once you have created your own login, you can select 'set up a device,' and you will be asked to scan a QR code. You'll find this on the back of the doorbell above the barcode. If you can't find it, it's also on the Quick Start guide. Scan this with your phone's camera, and the app will take you to the next step.
You'll now be asked to set a location for your Ring doorbell, which unlocks some features (motion scheduling, Ring Protect, and more) that are unusable otherwise.
2. Set-up your Ring Doorbell
You will find an orange button on the back of your Ring Doorbell, which you need to press to put the device in set up mode. Press and hold it and a spinning white light should appear around the button.
The Livingetc newsletters are your inside source for what’s shaping interiors now - and what’s next. Discover trend forecasts, smart style ideas, and curated shopping inspiration that brings design to life. Subscribe today and stay ahead of the curve.
The app will then ask to connect to the Ring's WiFi network, which should happen automatically. If not, just hop into settings and do so manually. You can then connect to your home's network. You'll need your WiFi password.
How to install a wireless or wired Ring Video Doorbell

3a. Charge the battery
- Wireless Ring Video Doorbells include the Ring Video Doorbell (2nd Gen), Ring Video Doorbell 3, and Ring Video Doorbell 4.
- Wired Ring Video Doorbells include the Ring Video Doorbell Pro, Ring Video Doorbell Pro 2, Ring Video Doorbell Wired, and Ring Video Doorbell Elite.
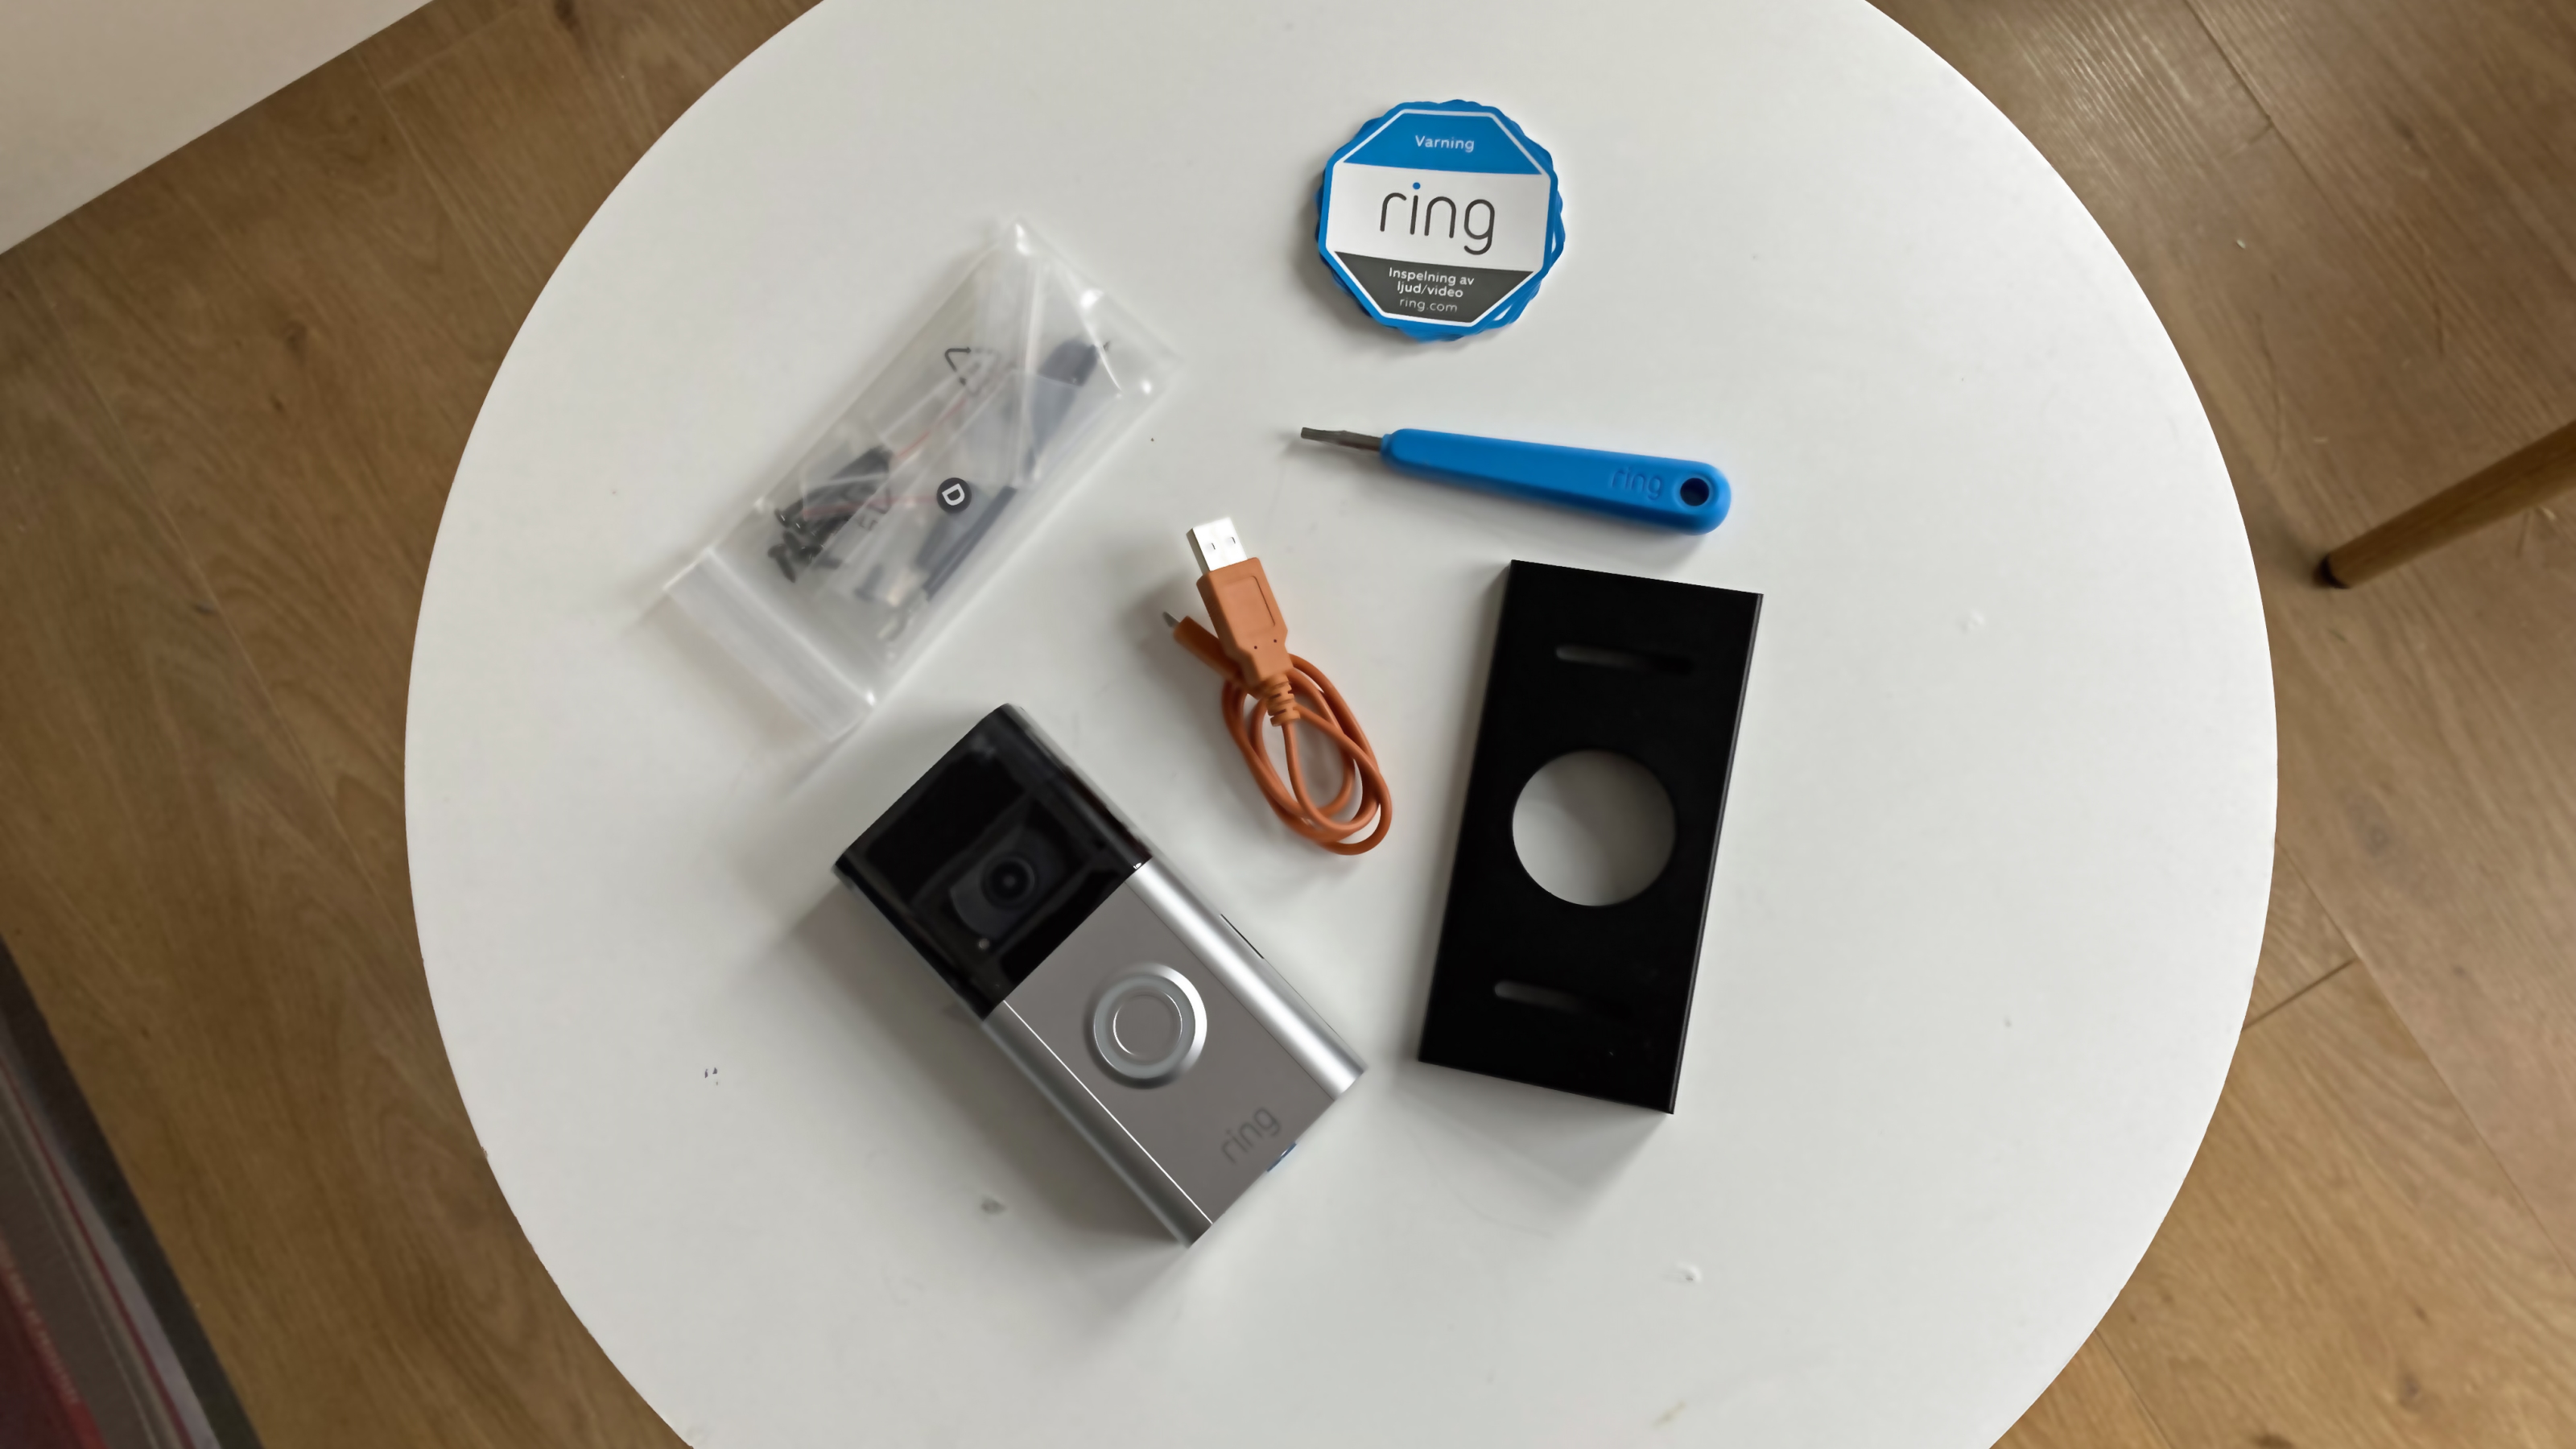
If you have a newer model, such as the Ring Video Doorbell 3 or 4, the battery pack will be removable. This means that, in the future, you can recharge the battery without physically removing the doorbell from the door. The Ring Video Doorbell (2nd Gen) does have this feature, so you will need to charge the entire doorbell with the cable provided.
In either case, a green light will appear when the device is fully charged and ready to be used. For newer models, you should re-insert the battery into the bottom of the doorbell.
3b. Find the perfect place for your doorbell
Whether you're hardwiring your doorbell or using the battery, you will want to find the perfect place to mount it. It will be difficult (though not impossible) to move once you have used the screws provided, so it's best to obey the old adage of measuring twice beforehand.
You should have a level tool included in the box, and you can use this to make sure everything's straight. It's recommended that you place the doorbell about 1.2m from the ground, but try a few heights and positions until you're happy with where the camera is pointing. You can also use angle mounts if your porch is not the typical shape or your front door is higher than the street.

4. Install the doorbell
- Note: Make sure you have turned your existing wired doorbell's power off before installing your Ring device.
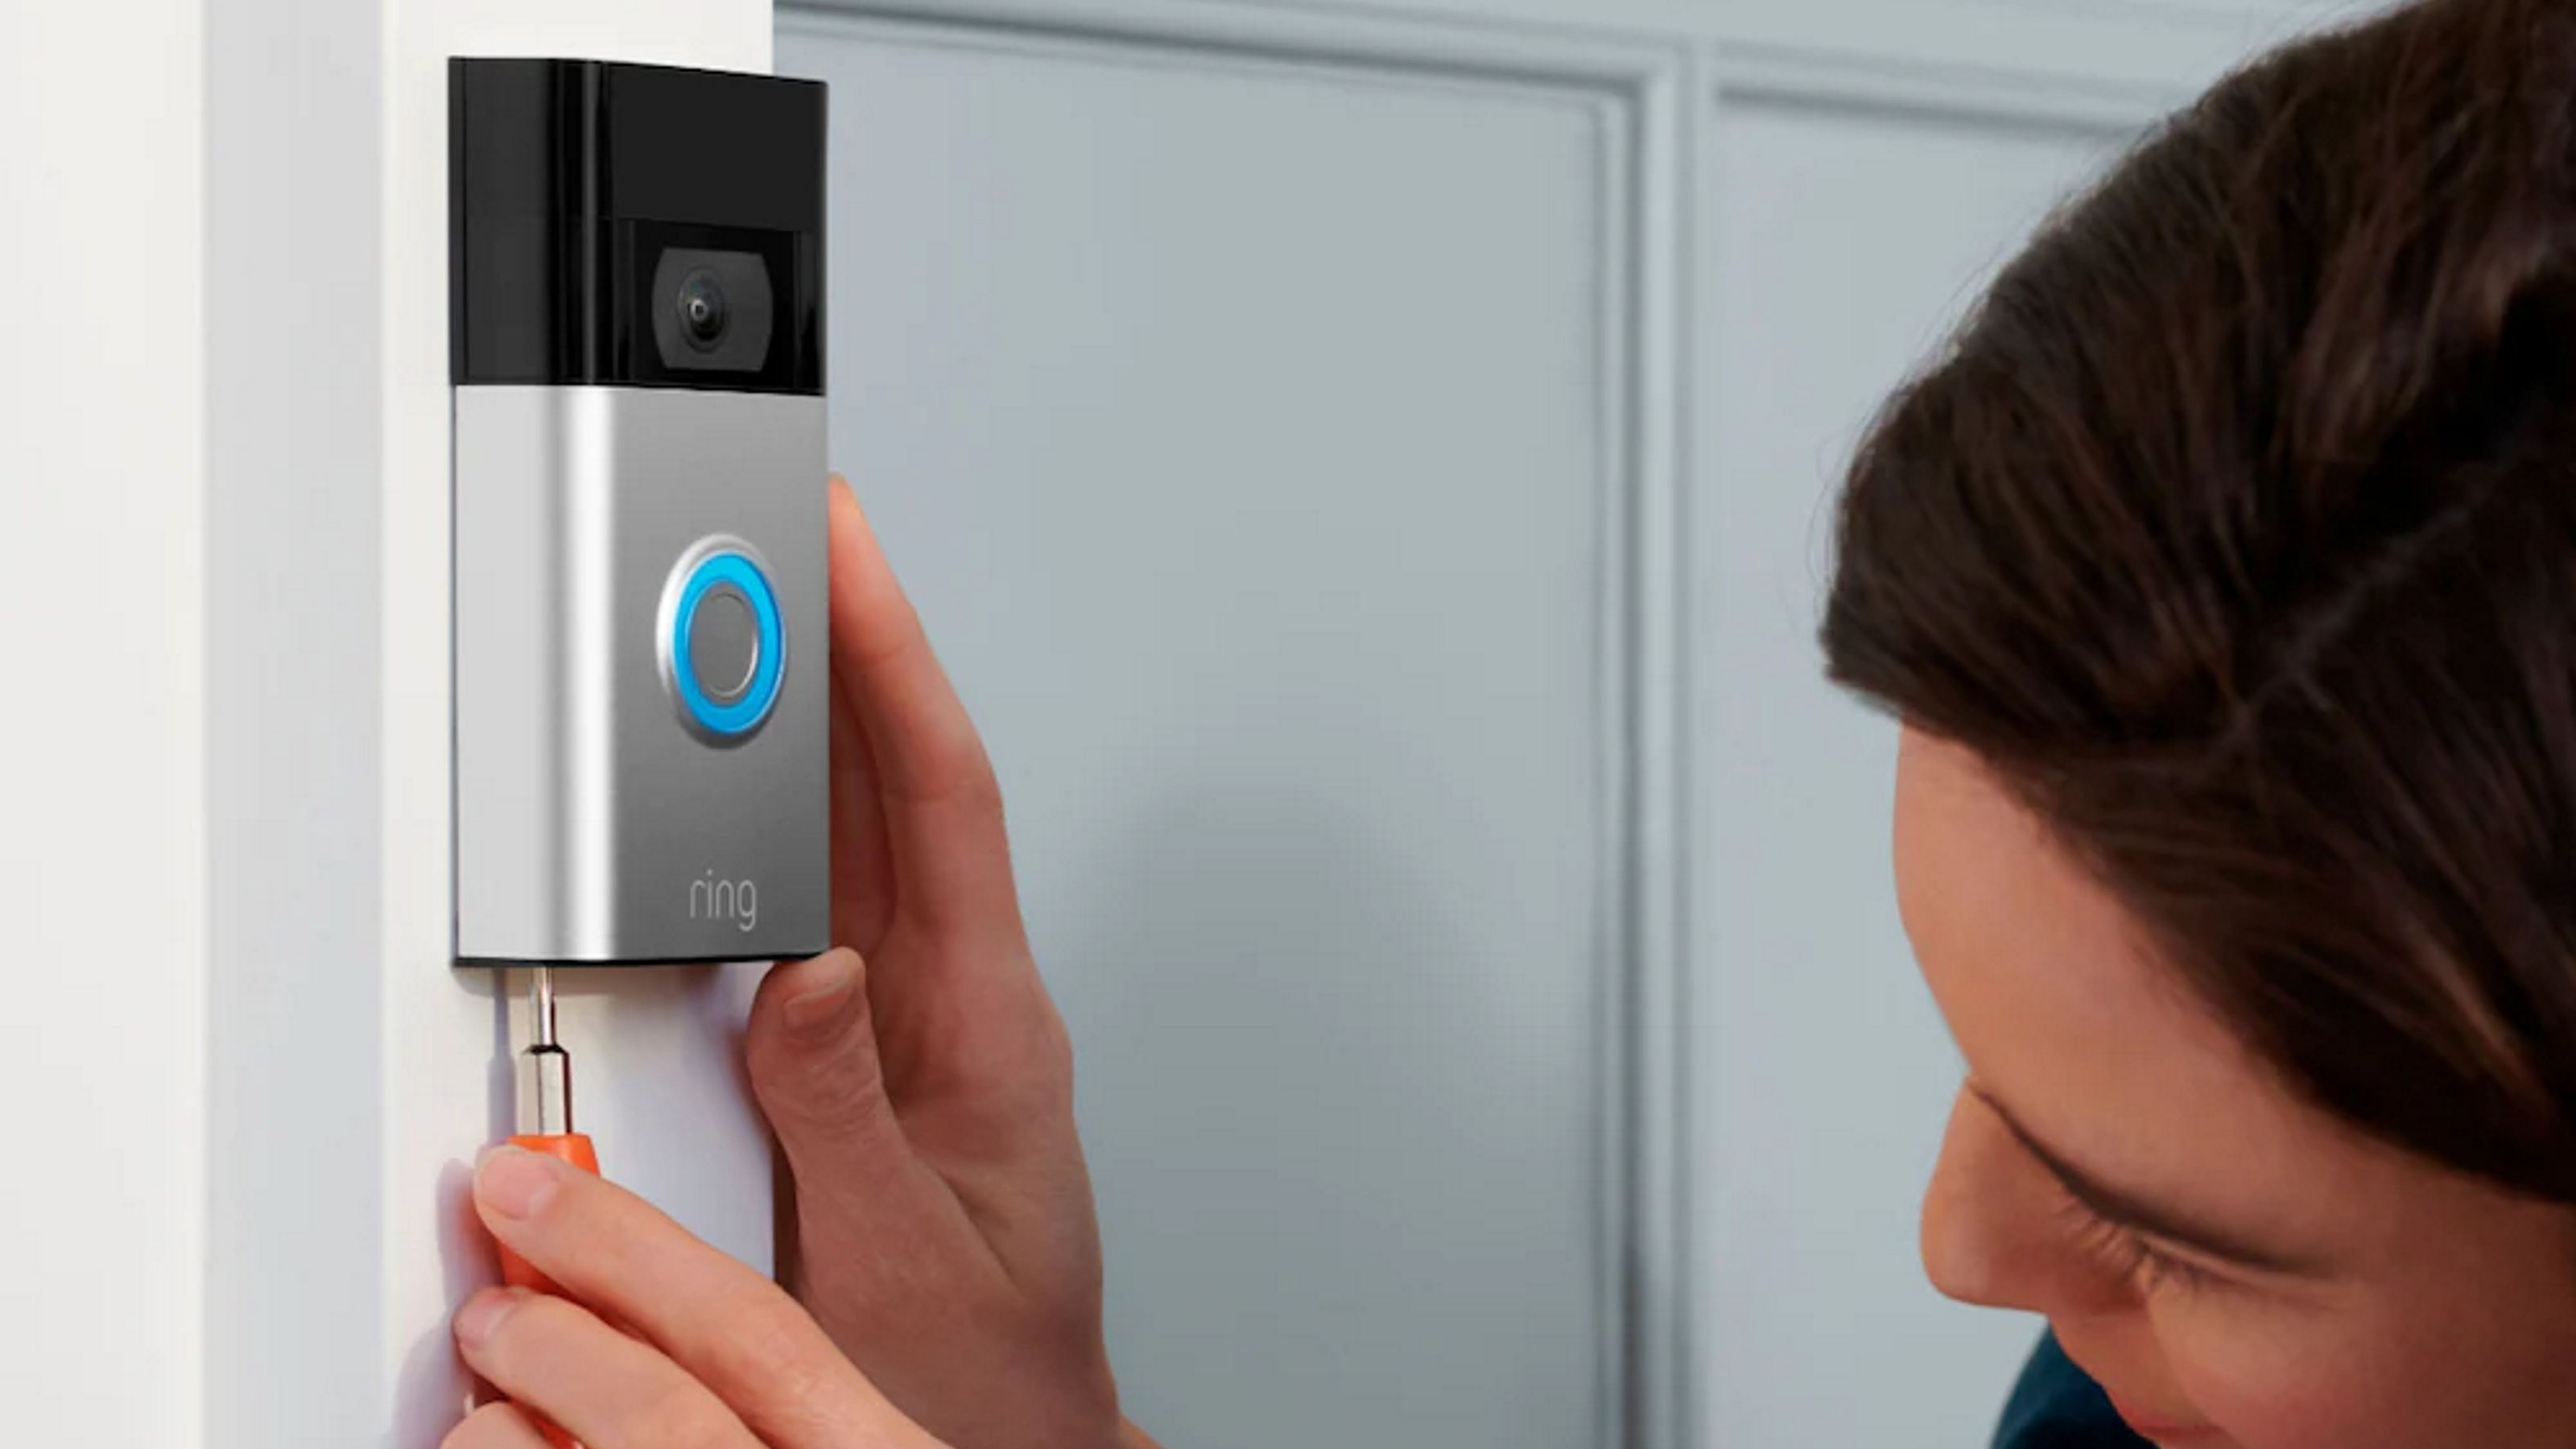
Once you have found your ideal position, mark on the wall where you want the holes to go and line up your doorbell. If you are installing on wood or vinyl, you can go straight in with a drill and the screws provided. If you are installing on brick, concrete, or stucco, you should also use plastic anchors.
If you are using a wired model, you also need to connect everything at this point. You can do this with existing doorbell wiring (you may also need an additional transformer, depending on the model) or a plug-in adapter. If you're unsure, we recommend calling out for professional installation.
Once your doorbell is secure, place the faceplate back on and test that everything is working. For wireless models (other than the Ring Video Doorbell (2nd Gen), ensure the battery is securely installed and insert the screw into the bottom.
And that's it! As said, details may vary slightly depending on which model you have chosen but, put simply, you just need to make sure that your doorbell is connected and mounted securely and that it is able to communicate with the app.
Caroline was formerly smart home ecommerce editor for Livingetc, covering everything tech for the home, from smart speakers to air purifiers and everything in between. She is passionate about technology and smart devices and their role in daily life, enhancing the home without sacrificing personal style and carefully chosen interiors. In her spare time, she can be found tinkering with bulbs, soundbars, and video doorbells in an effort to automate every part of her small home. Previously, she lent her expertise to the likes of Expert Reviews, IT Pro, Coach, The Week, and more.