How to paint wooden floorboards – an easy project to give any room a rustic vibe
Find out how to paint wooden floorboards in just a few simple steps and a give tired-looking space a total refresh


The Livingetc newsletters are your inside source for what’s shaping interiors now - and what’s next. Discover trend forecasts, smart style ideas, and curated shopping inspiration that brings design to life. Subscribe today and stay ahead of the curve.
You are now subscribed
Your newsletter sign-up was successful
Hands up who has pulled up a carpet? Our hands are definitely up and we bet a whole lot of yours are too. Now we aren't against carpet, in fact, they are making a bit of a comeback in the world of interiors, but that's not to say we aren't still met with the urge to rip them up in the hope of discovering beautiful wooden floorboards beneath. Which is why knowing how to paint wooden floorboards is something to add to your DIY armory.
Painting floorboards is a surprisingly easy DIY – it's an affordable update too and can totally transform a space in just a few hours. It's also a great way to cover up floorboards that might not be looking their best and need a few... imperfections disguising. And we are also seeing so many clever paint ideas when it comes to wooden flooring – from stripes to checkerboard, so have thrown in a few tips if you want to get a bit more creative.
How to paint floorboards
You will need:
- Wood filler (for any repairs)
- Hand sander
- Vacuum/dustpan and brush
- A mask
- Paint
- Masking tape
- Paintbrush
- Roller and tray
1. Prep your floorboards
As with any paint job, the results are all in the prep. You want to ensure your floorboards are looking their best before you go near the paint. So first repair any really glaring issues like boards that need to be nailed down or any obvious holes, dents, or scratches that need filling with wood filler.
Then you'll need to sand down your floorboards. Don't attempt this by hand, you'll need an electric handheld sander which are surprisingly affordable and come in handy for loads of DIY jobs. Lightly sand the entire area and then clean away any sawdust using a vacuum or a dustpan and brush for any finer dust.
Paint expert Annie Sloan adds, 'Before you start painting, it’s important to test how the paint performs on your flooring. Floorboards are often old with no previous known history of exposure to varnishes, spillages or stains. When you apply Chalk Paint™ Lacquer to a surface, it can draw out old stains from through the paint and create marks in your finish.'

2. Start at the edges
Then you can get into painting. Start at the edges with a small paintbrush as a roller won't get into corners and if you need to tape off the skirting boards. As when cutting in painting a wall, paint a few inches into the room.
'Before you start painting, make sure your floors are clean by using warm soapy water and a sponge.' suggests Annie. 'Start by painting the edges of the room, applying paint with a brush along all the sides and corners, cutting in a few centimeters.'
The Livingetc newsletters are your inside source for what’s shaping interiors now - and what’s next. Discover trend forecasts, smart style ideas, and curated shopping inspiration that brings design to life. Subscribe today and stay ahead of the curve.
3. Paint the rest of the floor
Bring the roller out for this as you can work faster and get a more even finish. Paint your way out of the room, so start at the furthest corner from the door and work from there. Go over the whole floor once, you'll probably need two or three coats depending on the color of the wood underneath and the color paint you are using, so let each coat dry in between – check the manufacturer's instructions for how long is best to leave between each.

4. Experiment with pattern
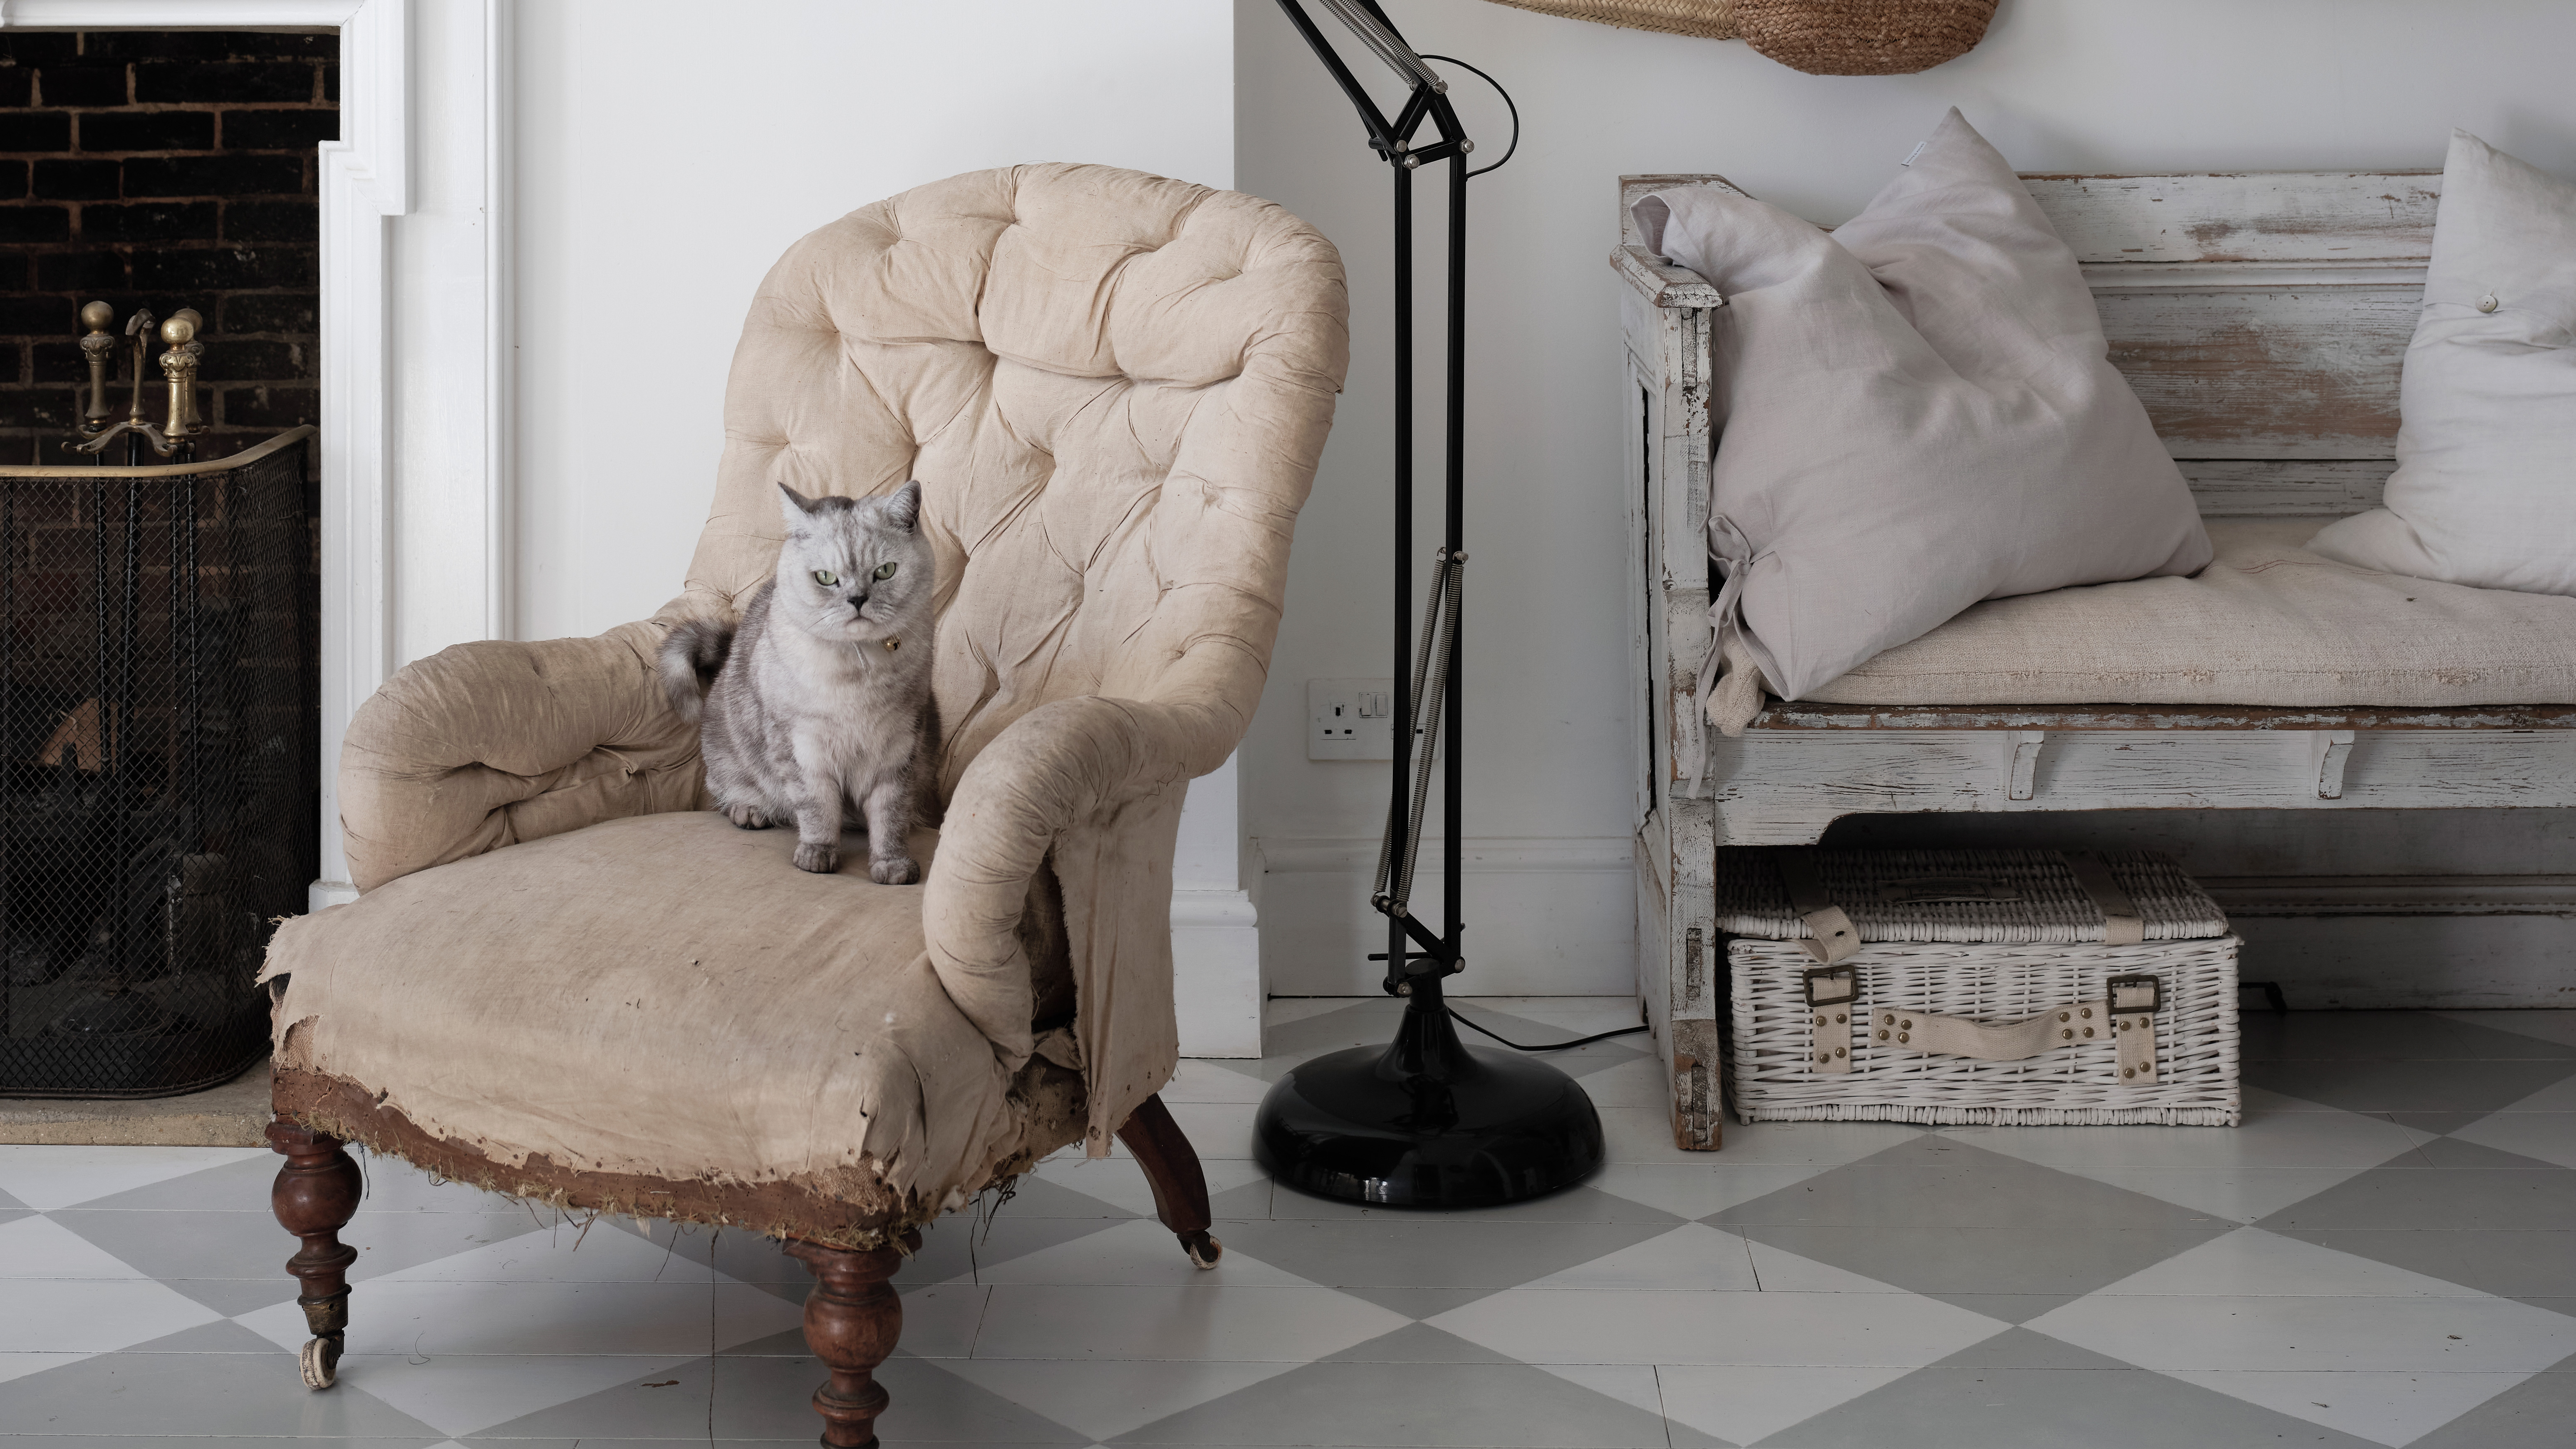
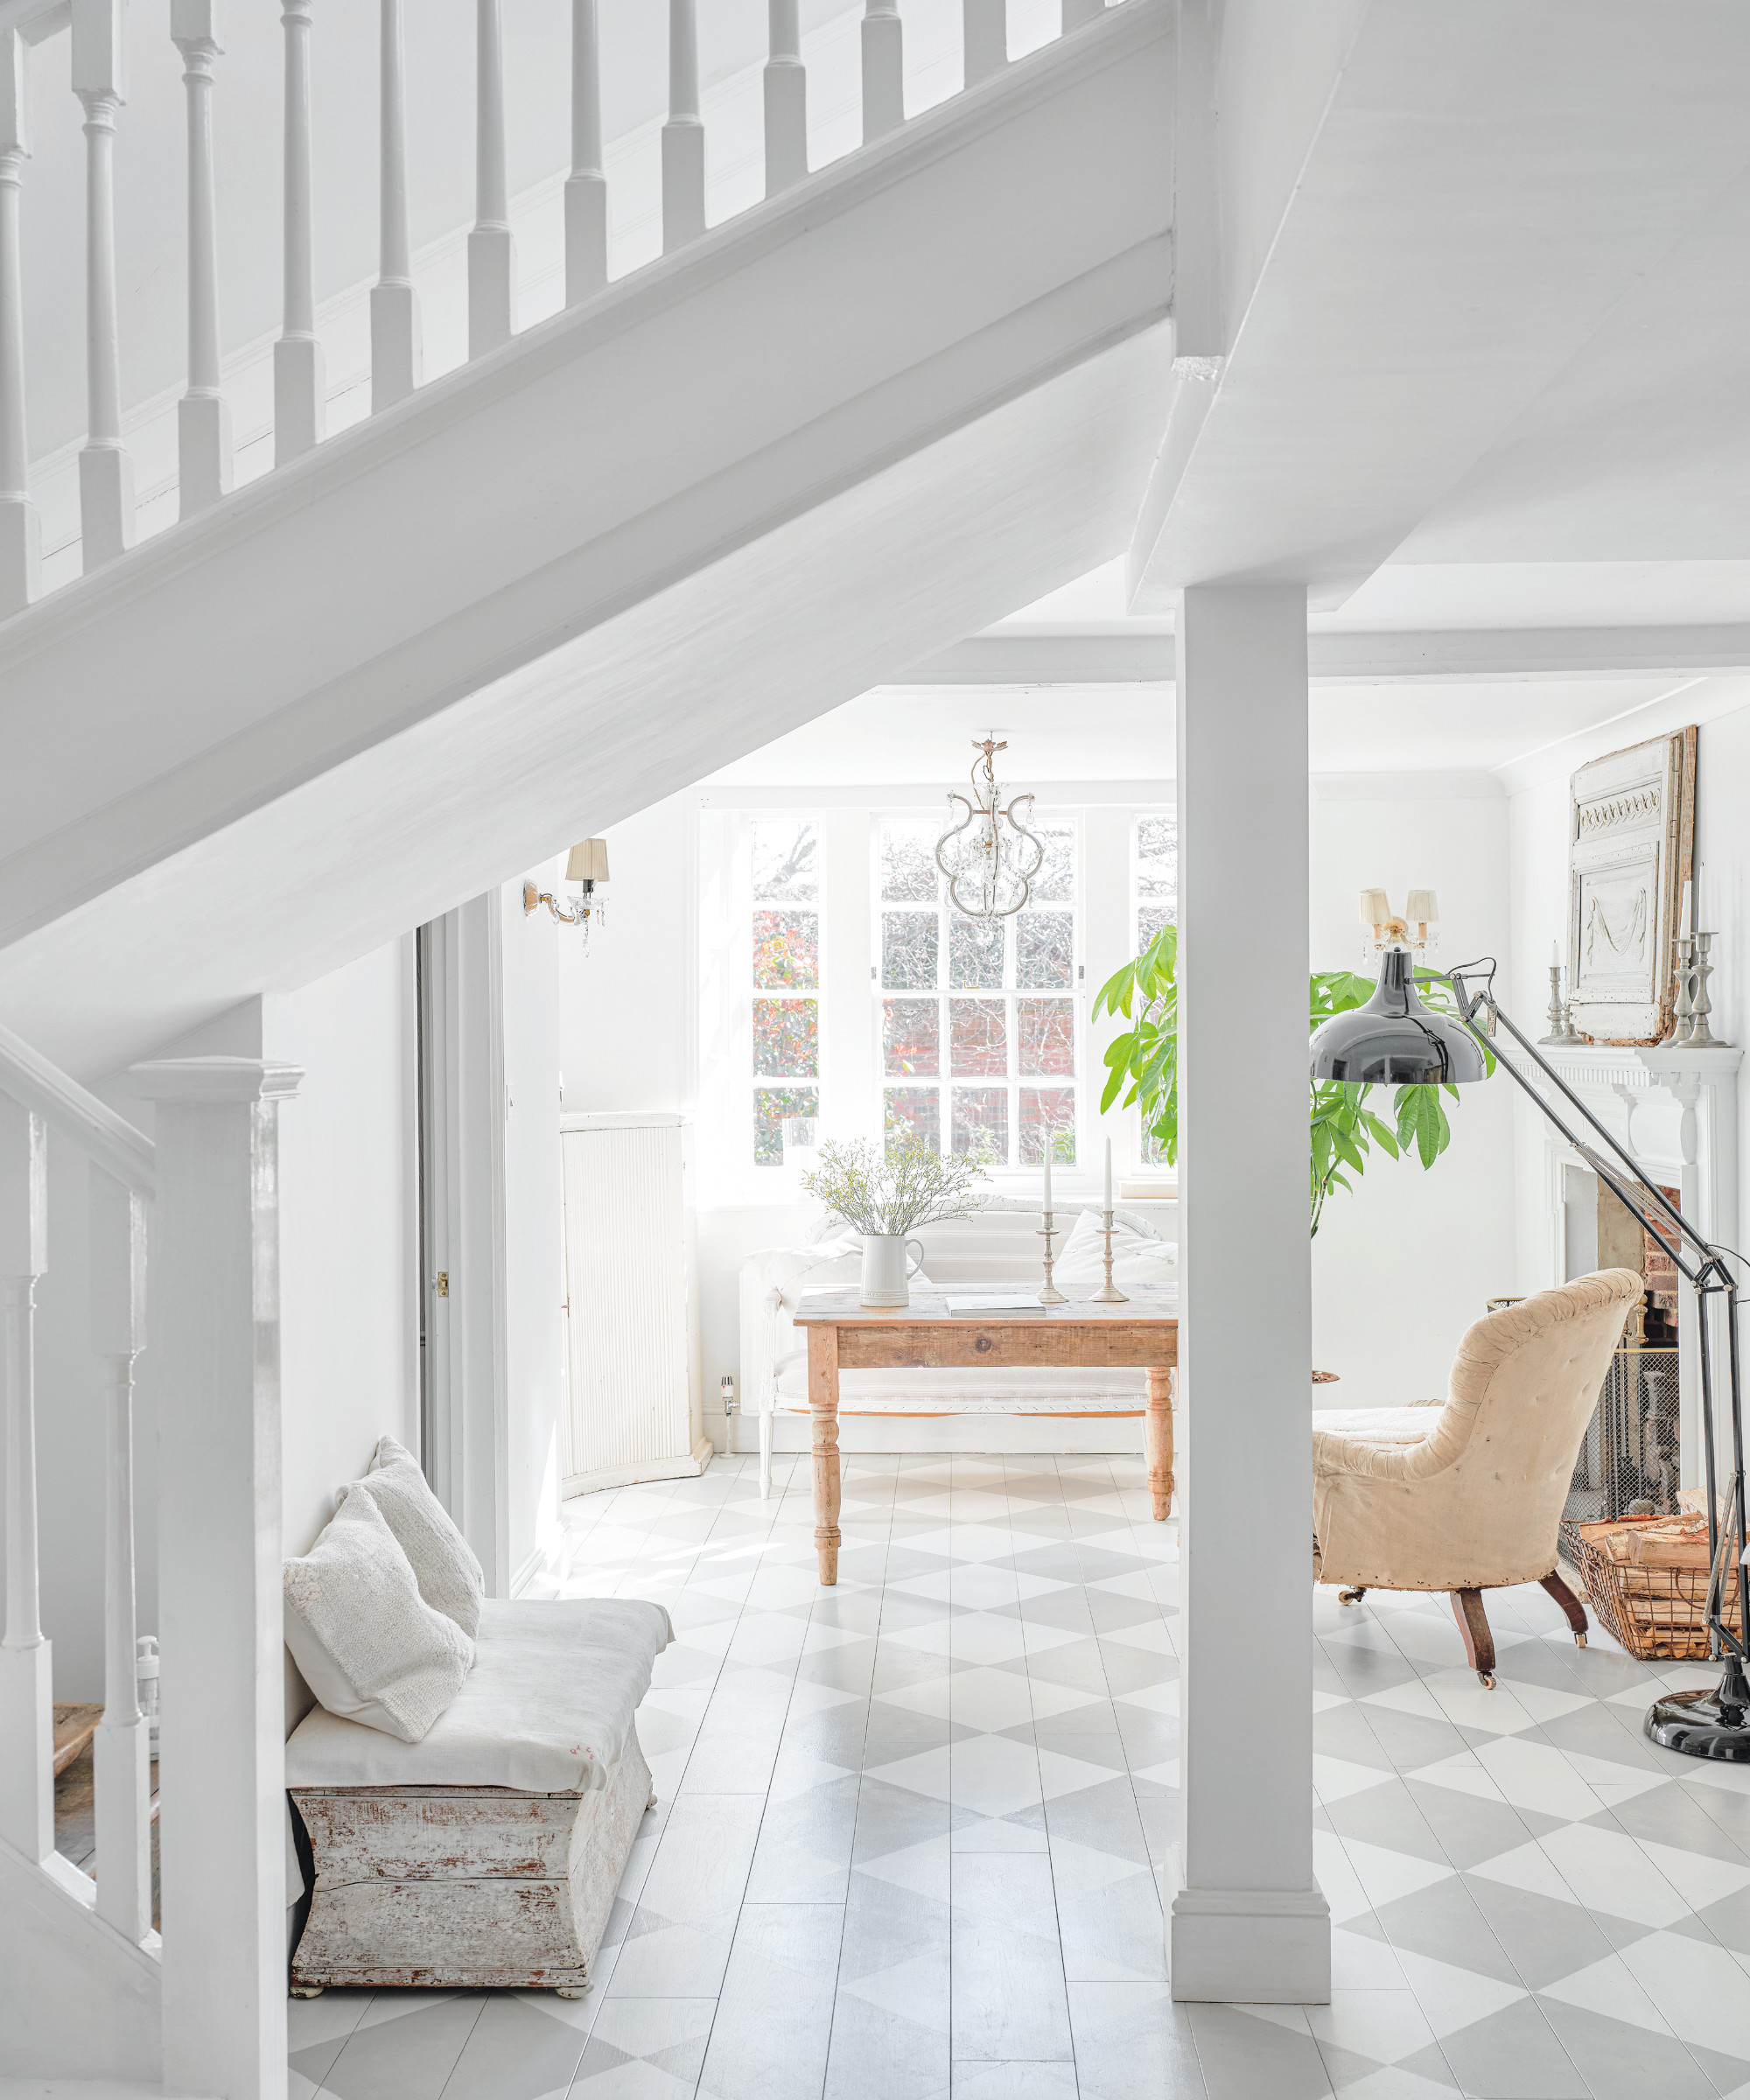
So you can leave it there with one solid color, or you can embrace the flooring trend for patterned wooden flooring. Our favorite looks are the most simple – stripes and checkerboard. Stripes can work wonders in tiny spaces – making a small living room look bigger, or instantly adding character to a powder room.
And really all you need to create these looks are masking tape. For a striped effect, it's simple – paint alternate floorboards. For the checkerboard effect it's a tad more complex, but still really achievable.
You'll want to create a square template so you can create your grid design with masking tape. Use cardboard to cut out the size square you want and then start from the center of the room, using the cardboard square as a stencil for your masking tape. Now you can either tape the whole room (a long job but you'll be able to see all the squares look in place) or you can tape and paint the squares as you go.
What is the best paint for floorboards?
You can actually buy floor paint that's designed for this specific DIY, but really any good quality wood paint will do the job. Floors are of course high traffic areas so your choice of paint needs to be tough and durable – plus you want it to be stain-resistant and wipeable too.

What is the best color to paint a floor?
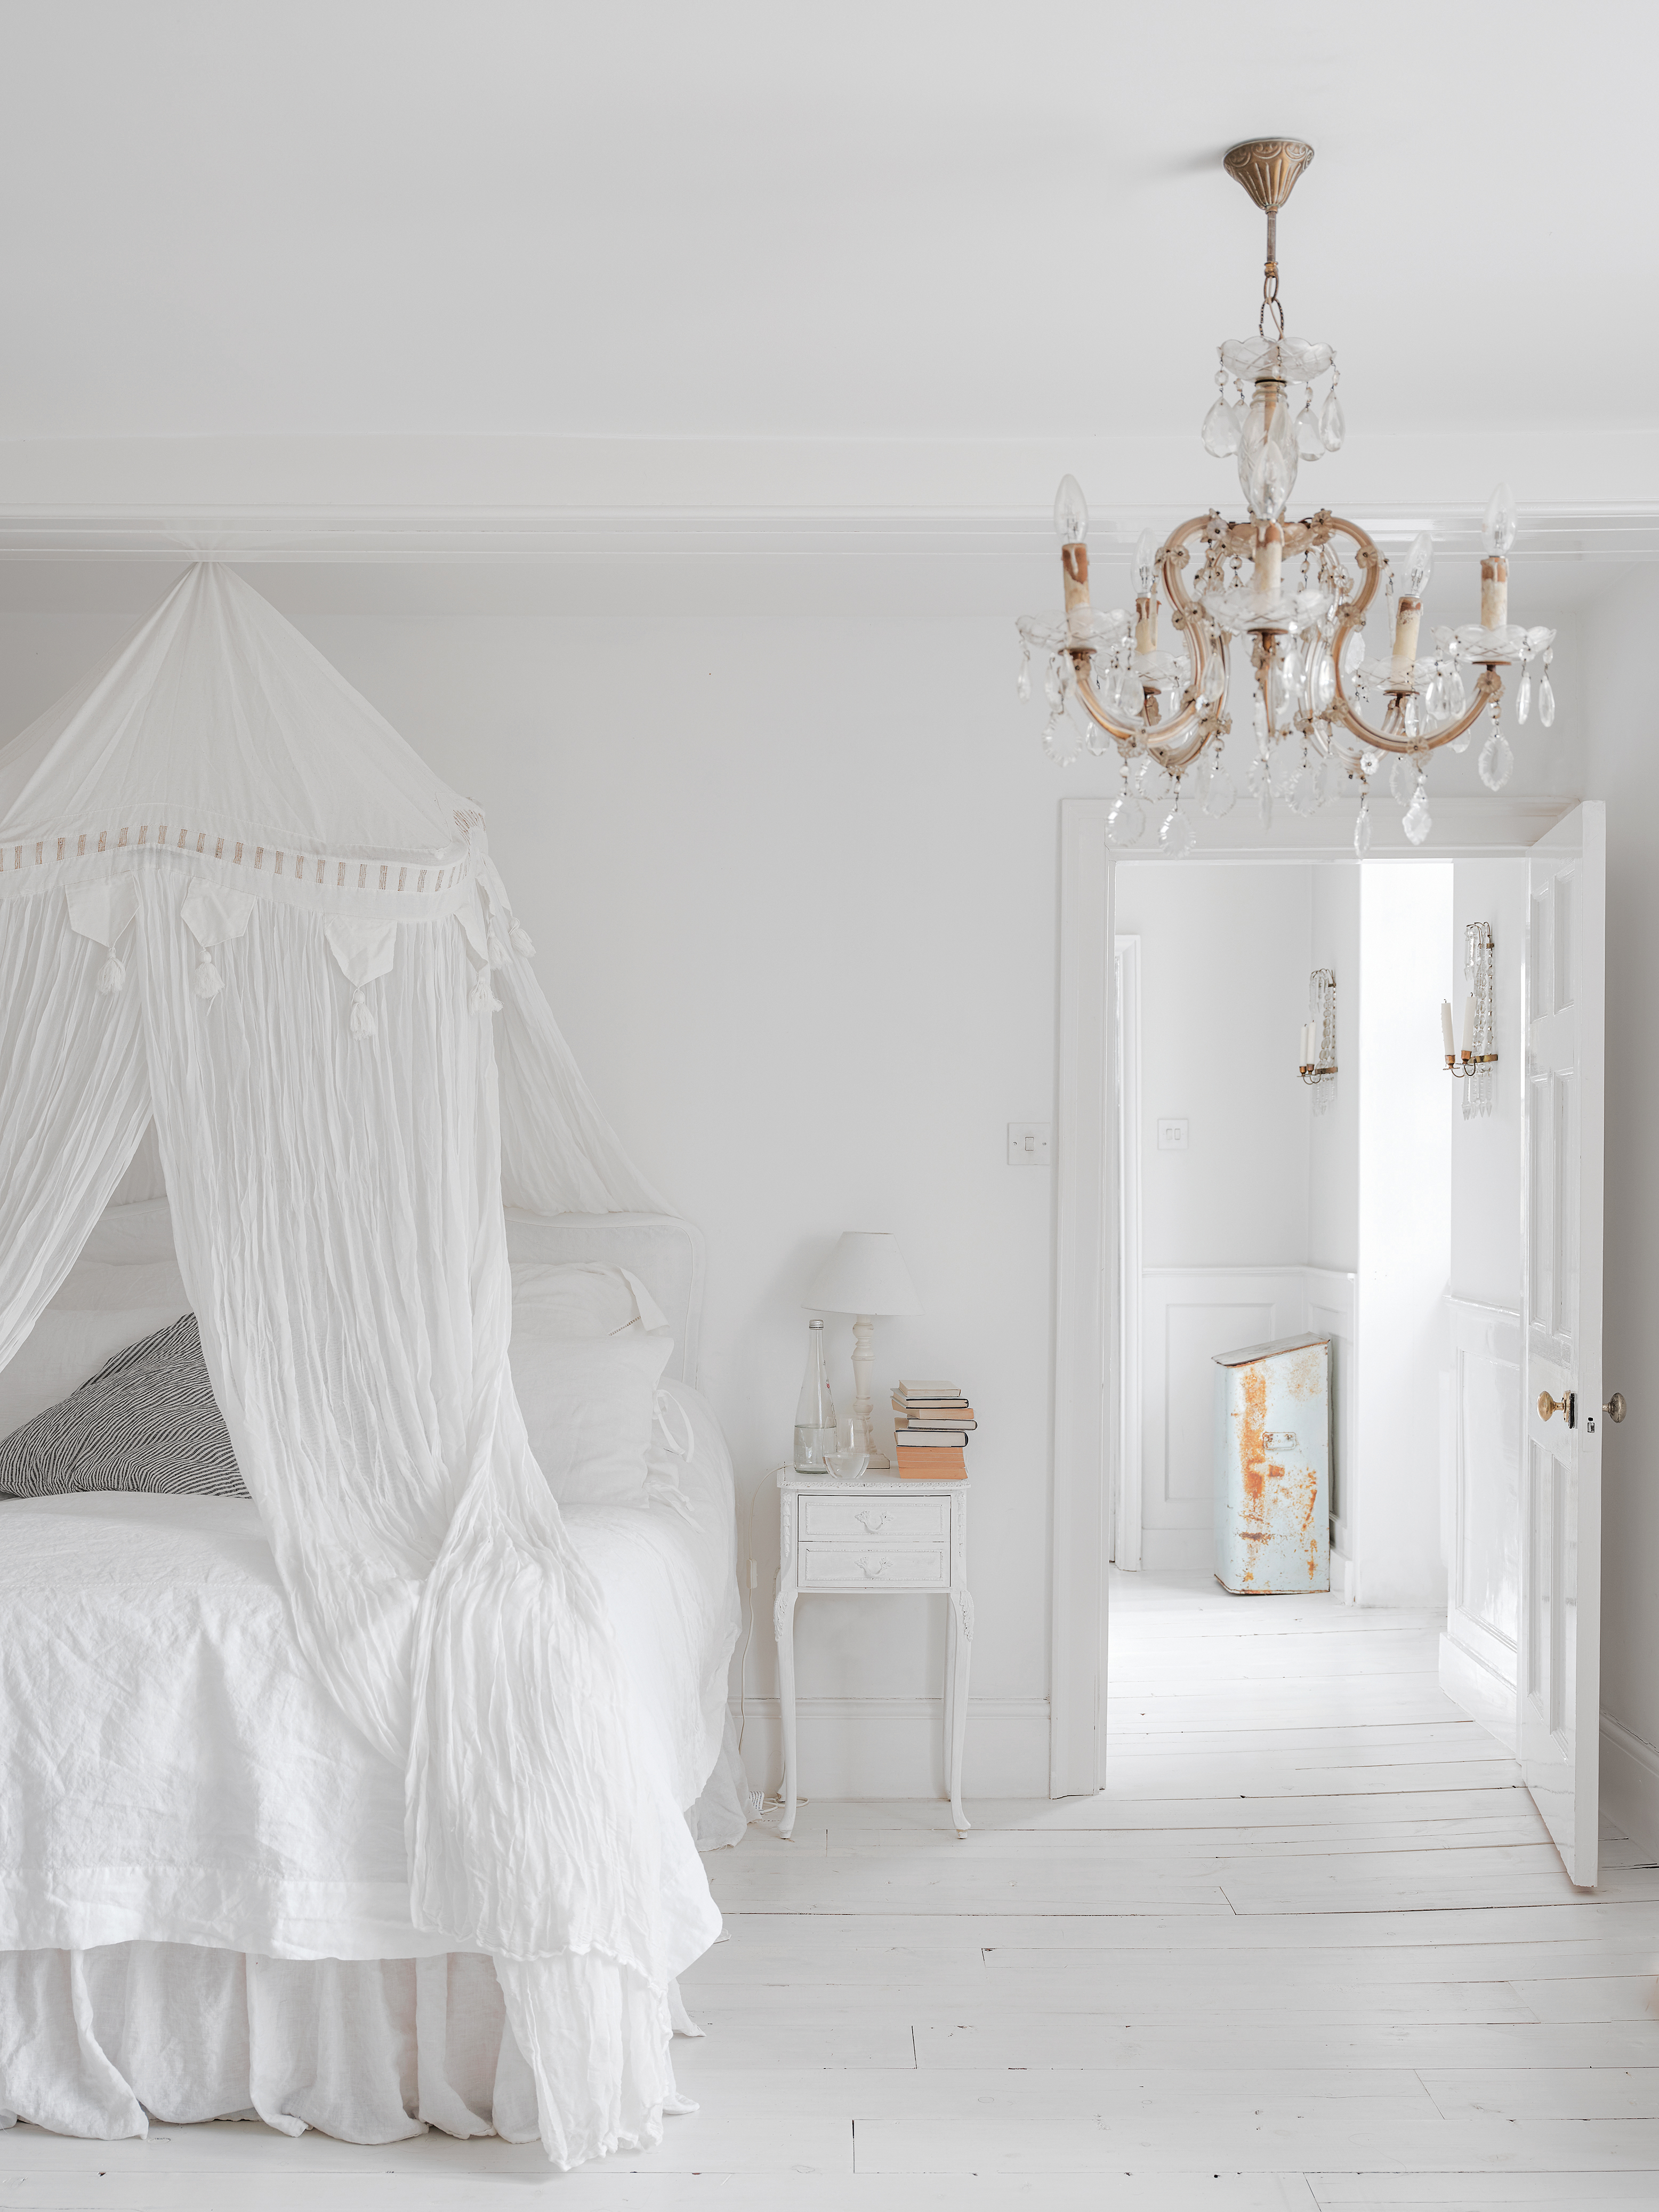
The best color for floor paint ideas will depend on the room and your personal style. Despite its seeming impracticality, thanks to our obsession with Scandinavian interior design white floorboards are a huge trend. They of course look gorgeous and are an absolute classic, but avoid white floorboards in really high traffic areas like hallways or kitchens, you'll find you spend your life worried about scuffs and spills and will end up having to repaint every month. Bedrooms and even bathrooms are the places to go white with your flooring.
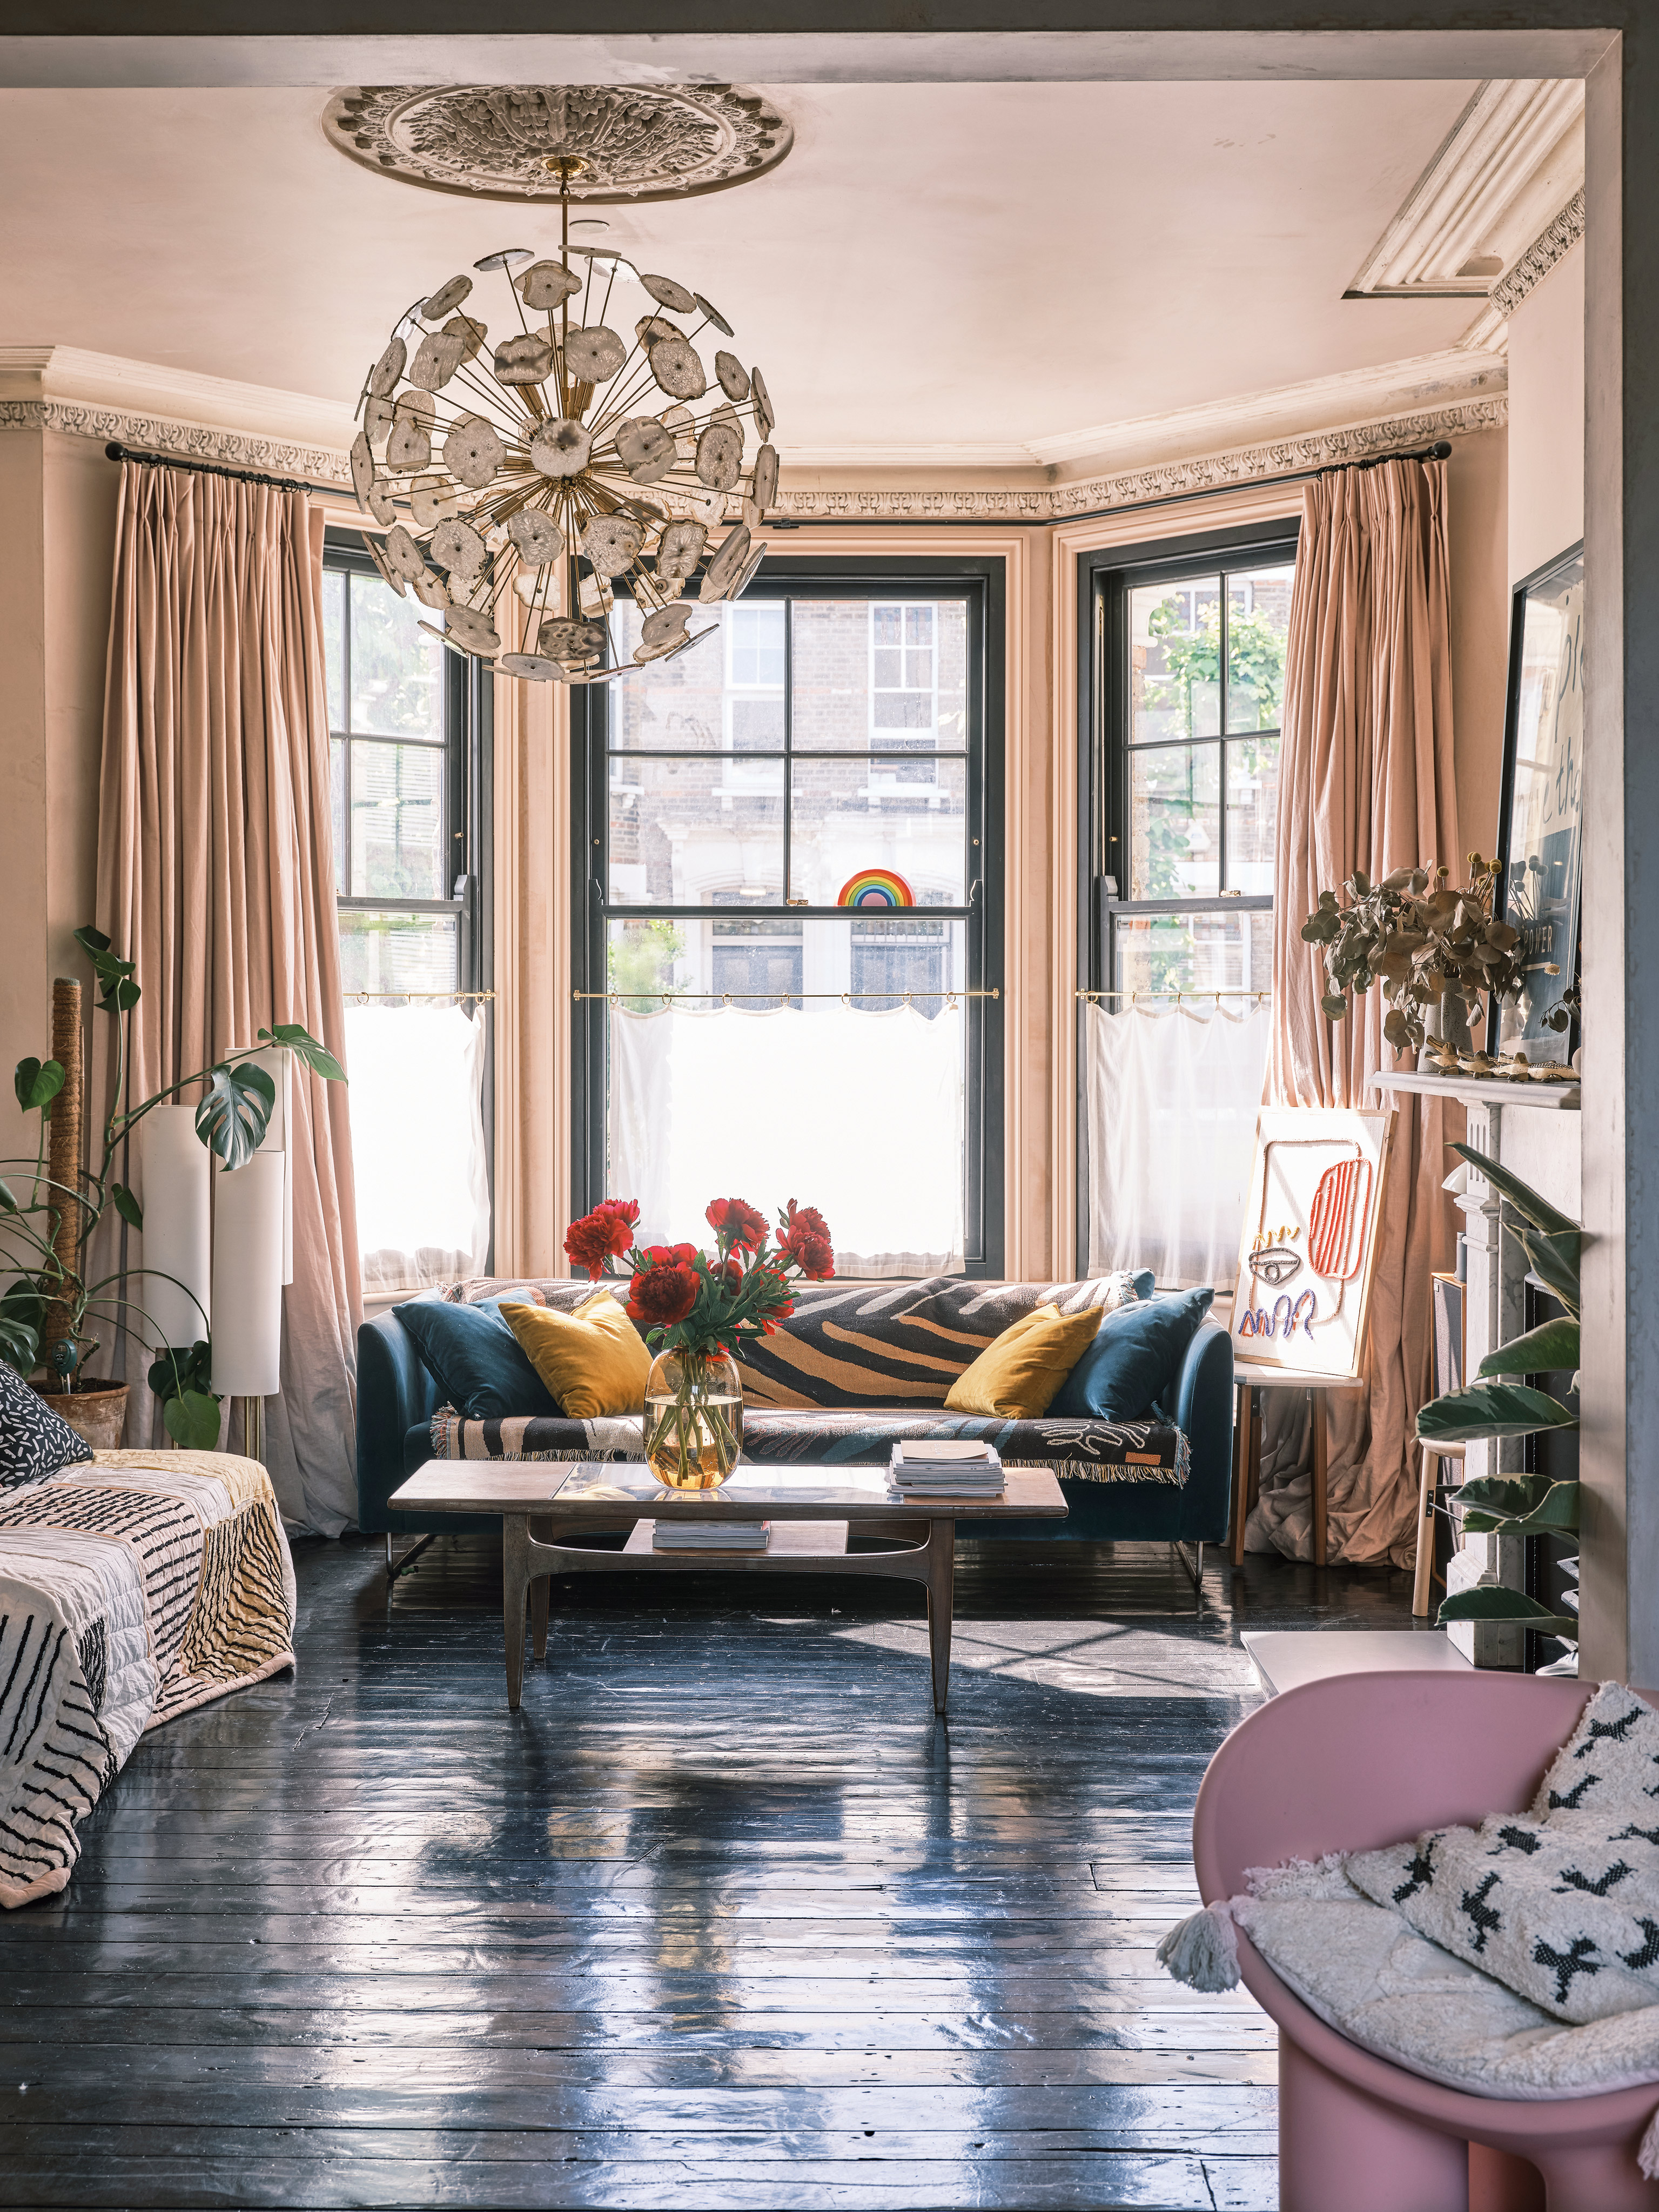
Darker hues work wonderfully as they cover all manner of sins – experiment with the trend for high-gloss and be bold with a glossy black or dark grey floor. Covers dirt of looks super chic.

Formerly the Digital Editor of Livingetc, Hebe is currently the Head of Interiors at sister site Homes & Gardens; she has a background in lifestyle and interior journalism and a passion for renovating small spaces. You'll usually find her attempting DIY, whether it's spray painting her whole kitchen, don't try that at home, or ever-changing the wallpaper in her entryway. She loves being able to help others make decisions when decorating their own homes. A couple of years ago she moved from renting to owning her first teeny tiny Edwardian flat in London with her whippet Willow (who yes she chose to match her interiors...) and is already on the lookout for her next project.