This simple IKEA hack has gone viral, giving you wall panelling for just $30
This beginner-friendly IKEA hack makes your walls look high-end without the cost


The Livingetc newsletters are your inside source for what’s shaping interiors now - and what’s next. Discover trend forecasts, smart style ideas, and curated shopping inspiration that brings design to life. Subscribe today and stay ahead of the curve.
You are now subscribed
Your newsletter sign-up was successful
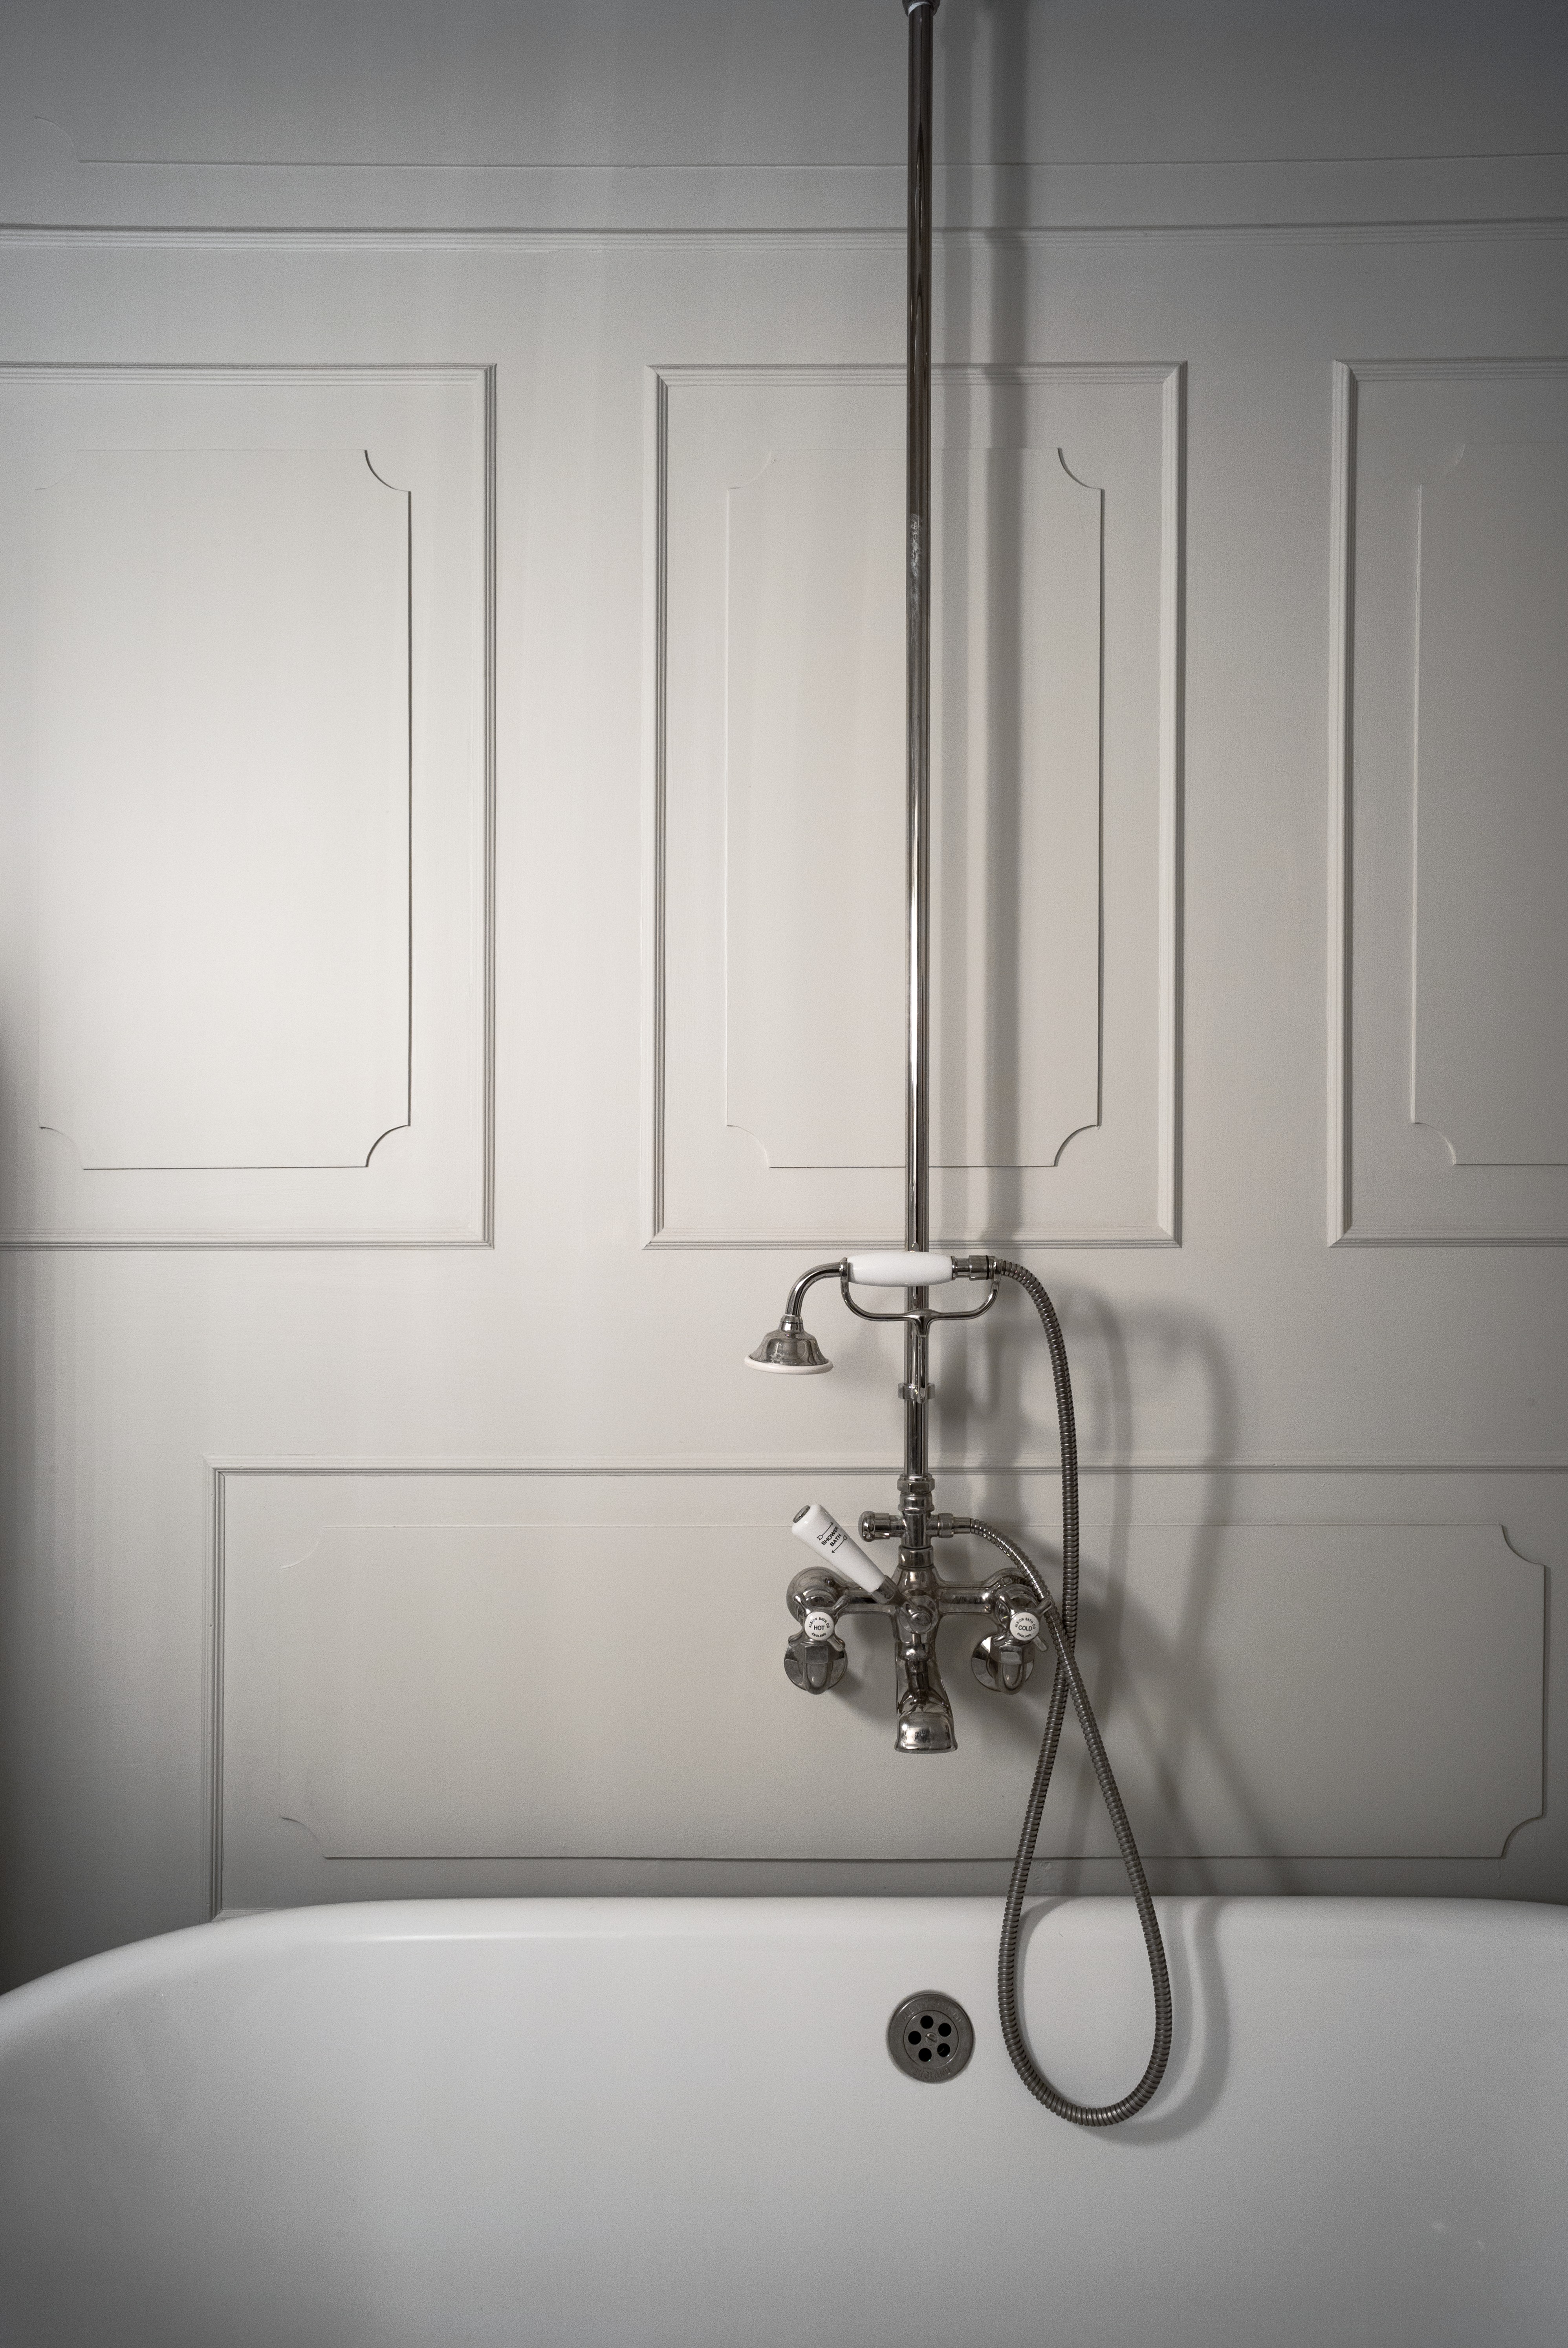
When you're renovating on a strict budget, you can always rely on an IKEA hack to make your space look high-end without splashing the cash. What better way to do just that than by making DIY wainscoting using $30 picture frames?
We're totally smitten with this super simple IKEA hack, and the internet is going crazy for it too. The best part is, you don't have to be a DIY buff to complete it. All it involves is painting several frames and attaching them to your wall, instantly elevating your room by creating a more luxe look. Here, we take a closer look at how it's done.

Lilith is an expert at following news and trends across the world of interior design. A personal fan of the Scandi-inspired interior, her job entails keeping up with everything there is to know about the Swedish powerhouse IKEA. Paired with her insight into the latest home renovation projects, she regularly shares IKEA hacks with readers to inspire their own DIY projects in home design.
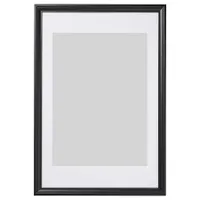
A tutorial on how to complete this genius wall-paneling idea was shared by home improvement blogger Filiz (@filiz.interiors) in a TikTok video that's now racked up over 1.5 million views. In it, she uses six of IKEA's EDSBRUK black stained frames measuring 24 x 35 ¾" and costing just $35 each to imitate wainscoting in her bedroom. It's the perfect example of working smarter, not harder.
The EDSBRUK frames were presumably chosen for their detailed molding design that looks akin to traditional boiserie, but you could use KNOPPÄNG or HOVSTA frames for a more minimalist paneling idea.
Black EDSBRUK Frame, 24 x 35 ¾ ", IKEA
This traditional decorative frame is the perfect size for DIY wainscoting, and it can be hung horizontally or vertically to fit in the space available. It's available in a whole range of sizes too, so you can find one that fits perfectly in your space.
Filiz begins by removing the metal picture hooks and sanding the frames so it's easier for paint to adhere to the surface. You can buy the frame in white if you wanted to skip the priming step, but the dimensions only go up to 16 x 20" so your paneling will look smaller.
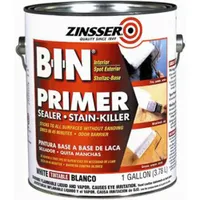
After applying a coat of primer (we recommend the Zinsser B-I-N primer for IKEA materials) she glues the frames to the walls at equal intervals, leaving around 5 inches of space in between. (That's right, no tools required!) Be sure to measure out the length of your own wall and calculate how many frames you'll need to buy to fit the space, allowing for a three to eight inch gap in between. Of course, this will differ depending on the size of your room.
Once the frames are fixed and the glue has dried, it's just a case of painting them in the same color used on the rest of your walls (unless you decide to use a different paint idea on the lower half of your walls). Filiz also installs a shelf to cap her wainscoting idea for a more contemporary transitional style, but this is completely optional. If you wanted to divide the lower portion of your wall you could add a dado rail instead, or highlight your paneling with paint.
The Livingetc newsletters are your inside source for what’s shaping interiors now - and what’s next. Discover trend forecasts, smart style ideas, and curated shopping inspiration that brings design to life. Subscribe today and stay ahead of the curve.
Zinsser Shellac Primer, Home Depot
There's a reason Zinsser's B-I-N shellac-base primer is an industry favorite. Use their white primer before painting to help make your color pop and prolong its life. The best part? It sticks to any surface without sanding making it perfect for IKEA hacks and furniture painting.

That's really all there is to it. It's the sort of hack that can easily be completed within a day and the best part is there are no power tools or sawing required, as is the case with traditional wainscoting.
If you're feeling experimental, you can adapt the idea to your space, too. You might want to extend your paneling to the ceiling using a variety of different sized frames for a palatial, boiserie look. For a more budget friendly idea, you could paint the frames a different color to the shade on your walls to make them stand out. To make a real statement, use a metallic finish for a gilded look.
This DIY idea can even be used to decorate a rental. Rather than permanently gluing the frames to wall, you could attach them using adhesive strips, like these ones from Amazon. There's nothing stopping your from painting the frames either. This way you can brighten the bland walls in your lackluster rental without taking a brush to them and risking your deposit.
Who knew picture frames from the world's most famous budget home store could be transformed into beautiful boiserie? And that's your next weekend project covered.

Lilith Hudson is a freelance writer and regular contributor to Livingetc. She holds an MA in Magazine Journalism from City, University of London, and has written for various titles including Homes & Gardens, House Beautiful, Advnture, the Saturday Times Magazine, Evening Standard, DJ Mag, Metro, and The Simple Things Magazine.
Prior to going freelance, Lilith was the News and Trends Editor at Livingetc. It was a role that helped her develop a keen eye for spotting all the latest micro-trends, interior hacks, and viral decor must-haves you need in your home. With a constant ear to the ground on the design scene, she's ahead of the curve when it comes to the latest color that's sweeping interiors or the hot new style to decorate our homes.

