This genius IKEA hack for your backyard turns an unlikely furniture leftover into a modern planter with a climbing trellis
A trellis, a lick of paint, and some old IKEA bed slats are all it took to create this stylish vertical garden support

The Livingetc newsletters are your inside source for what’s shaping interiors now - and what’s next. Discover trend forecasts, smart style ideas, and curated shopping inspiration that brings design to life. Subscribe today and stay ahead of the curve.
You are now subscribed
Your newsletter sign-up was successful
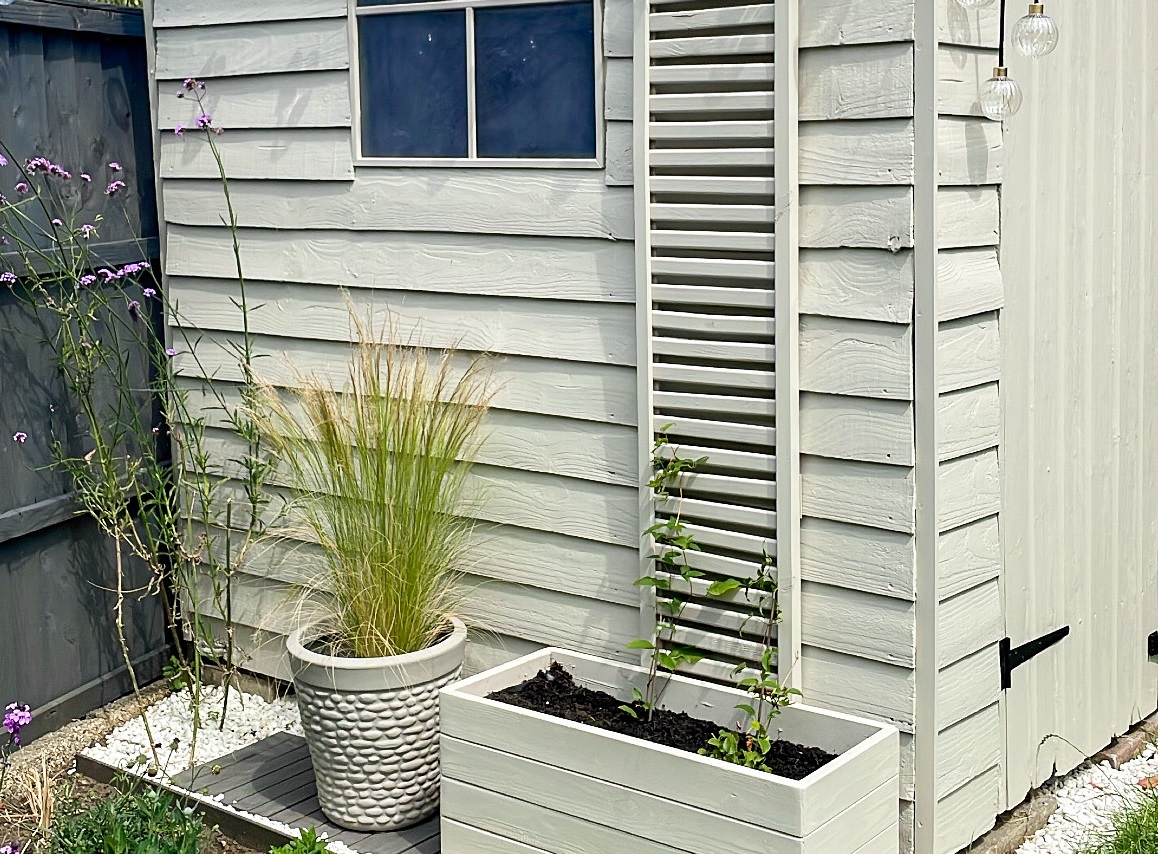
Vertical planting is one of the hottest gardening trends to grace our backyards in recent years. Creating support systems for climbing plants is one of the best ways to introduce greenery to a small garden or add a burst of color to lackluster walls, fences, or - in this case - sheds. That's exactly what this genius IKEA hack does, making use of an unlikely piece of disused furniture to make a vertical planter for this shed, and it's one of the most accessible, budget-friendly DIYs we've yet to see.
The idea is all down to the work of seasoned DIYer Deborah Stubbington (@bangonstyle) who shared her thrifty project over on her Instagram page. With a store bought trellis, a lick of paint, and some old IKEA bed slats (plus a generous helping of ingenuity) she's turned this tired-looking corner of her yard into a stylish contemporary oasis, and we're obsessed. Here, she talks us through the steps she took to make her inventive IKEA hack.
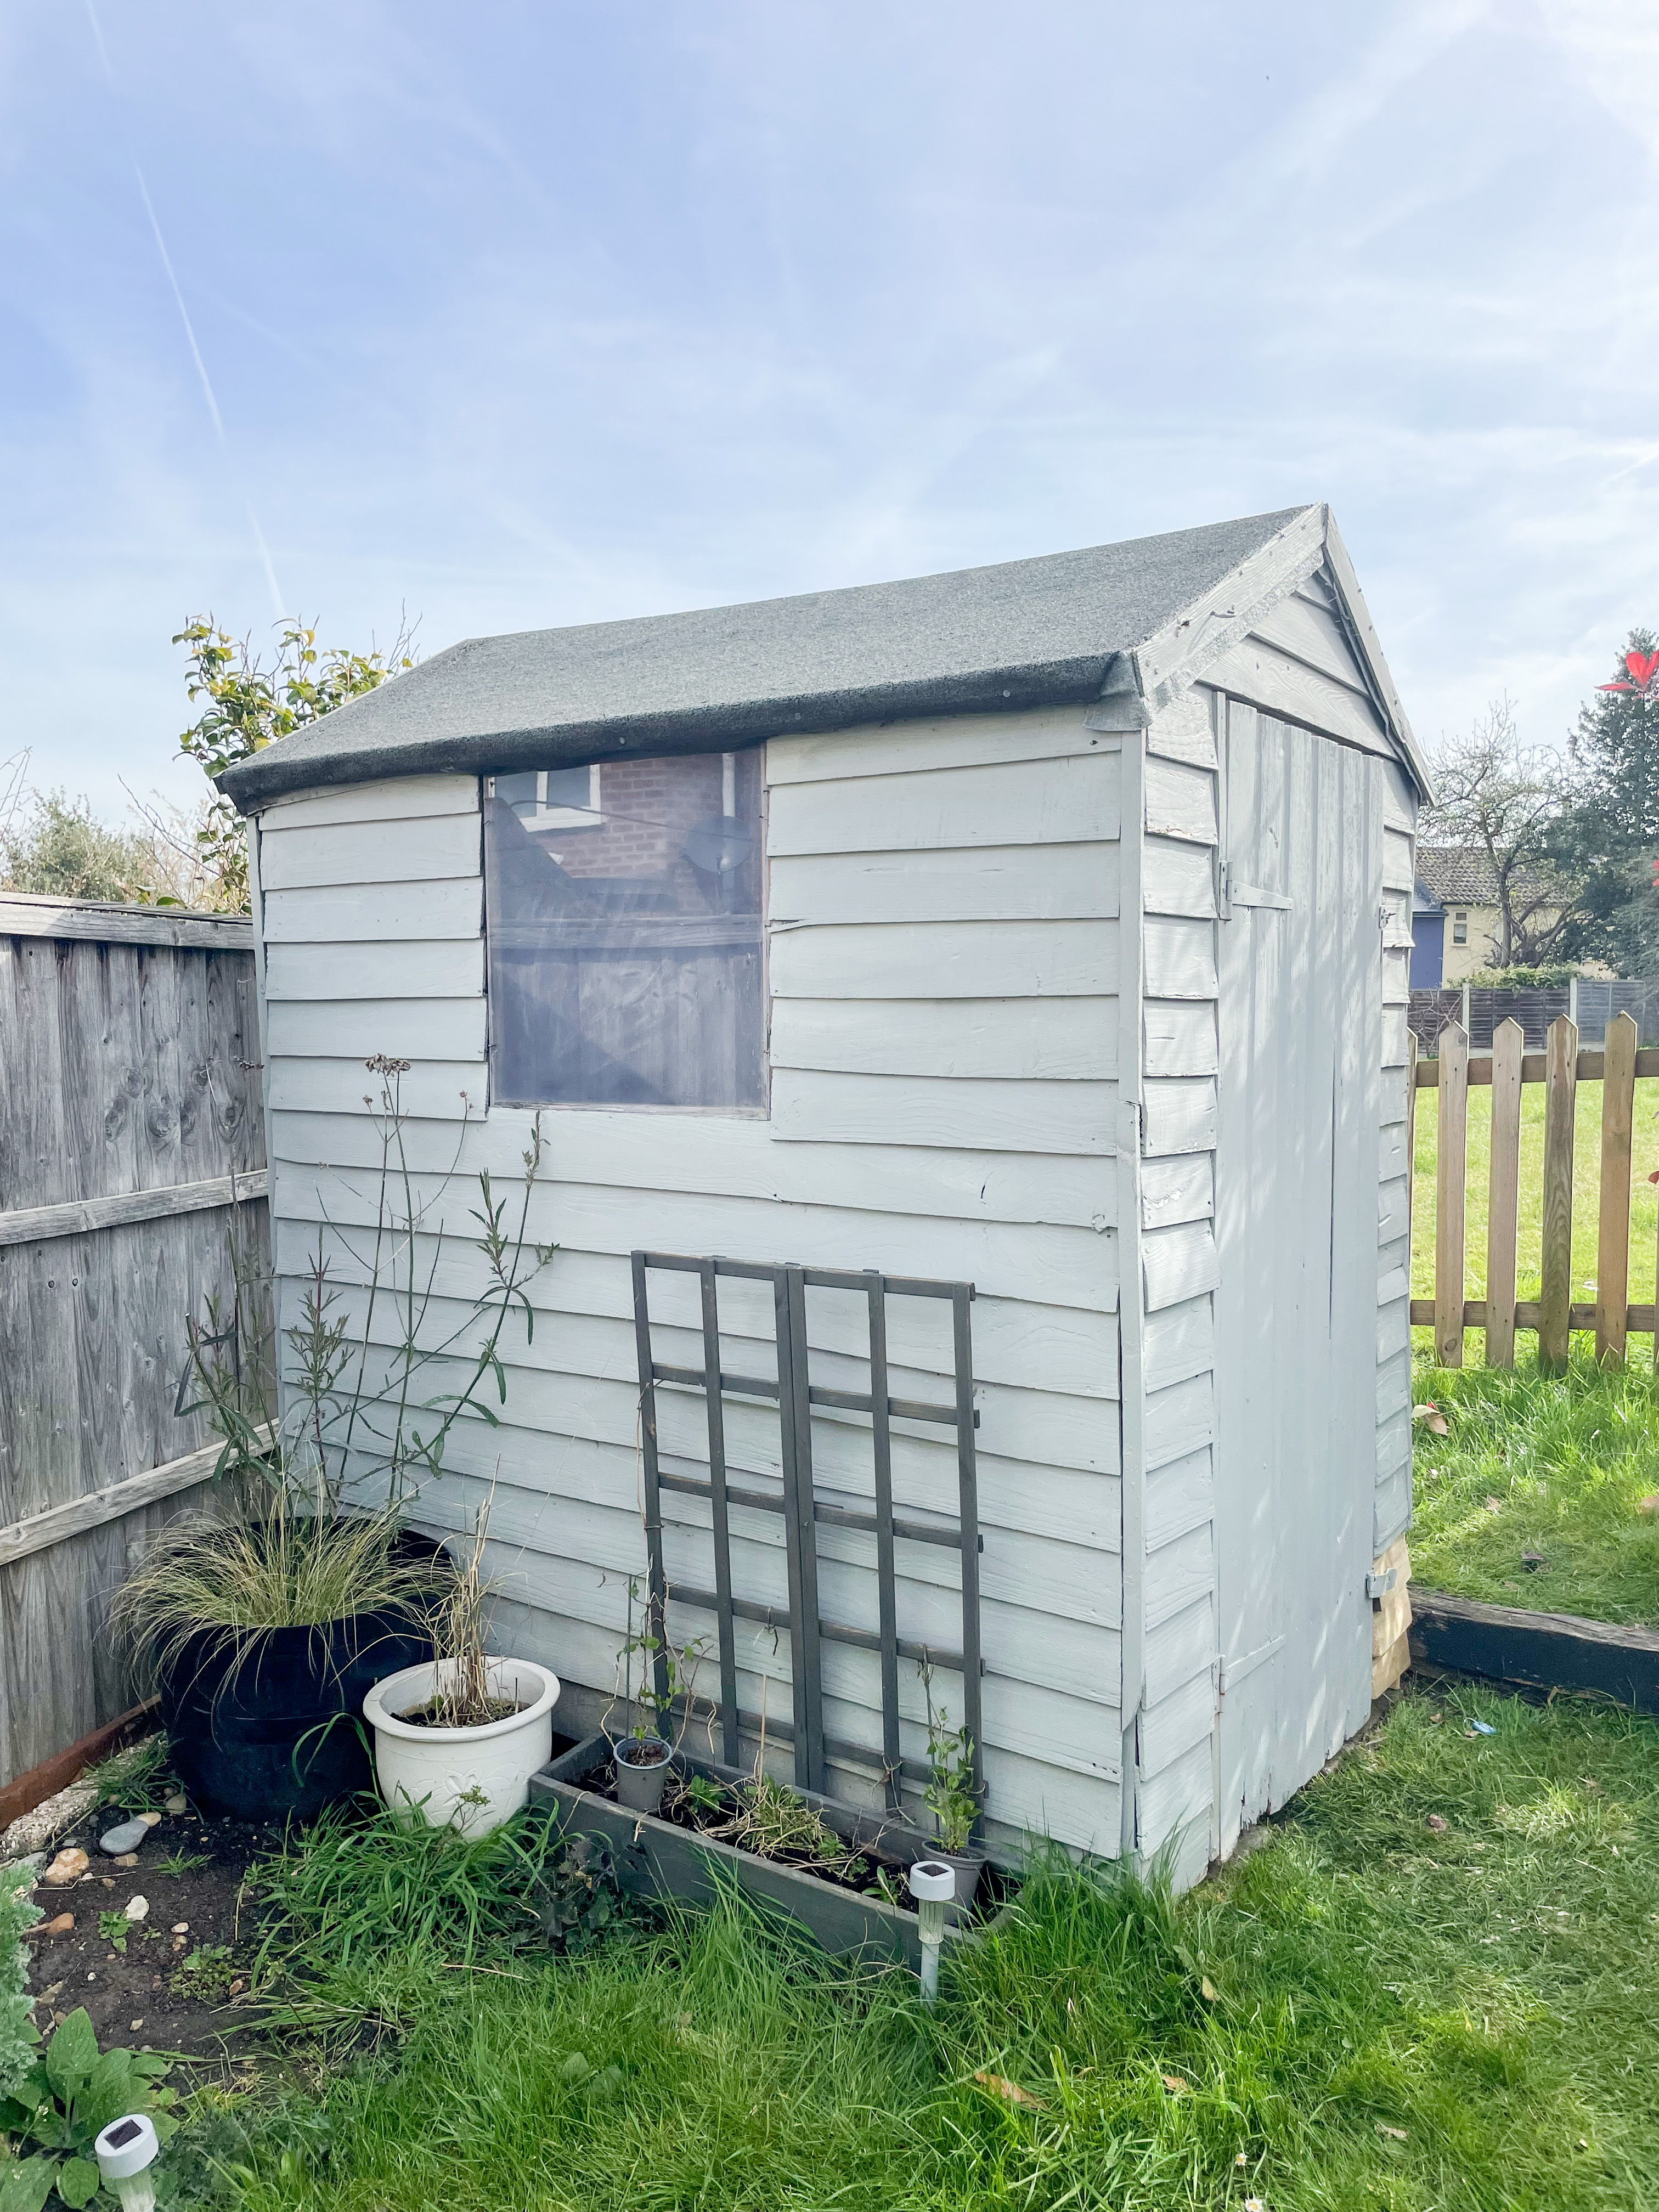
It's safe to say that Deborah's backyard was crying out for a bit of TLC before she got to work with her IKEA hack. The side of her shed already housed some potted plants and a small trellis, but it lacked any cohesive style and generally looked a little worse for wear. 'I knew I wanted a new wooden planter for my garden, so, to keep costs down, I decided to try and make it myself,' Deborah explains.
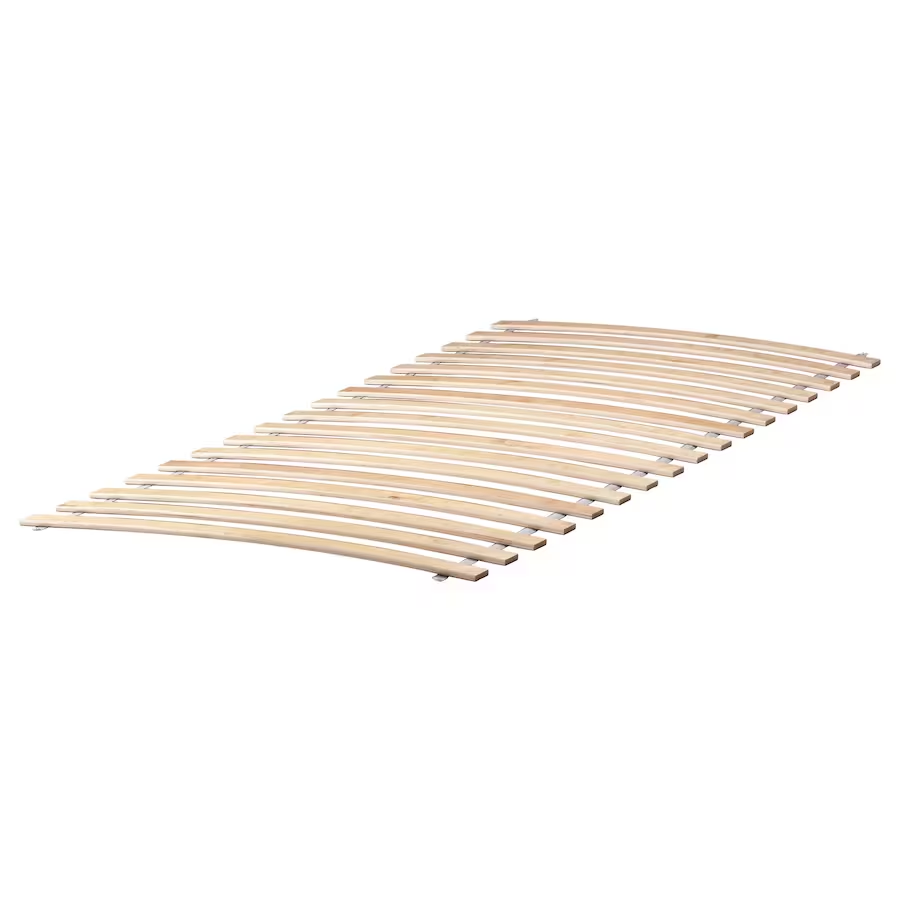
Being the type of person who hangs on to everything just in case it might come in handy for a DIY project (a handy ethos to live by!) she'd kept hold of a load of wooden IKEA bed slats when dismantling her old bed. Now, Deborah was presented with the perfect opportunity to put them to good use. 'I hate anything going to waste and always thought they would be great for a DIY project,' she says. 'I had to strip off all the webbing and the staples but once I’d done that, they were the perfect length for a planter.'
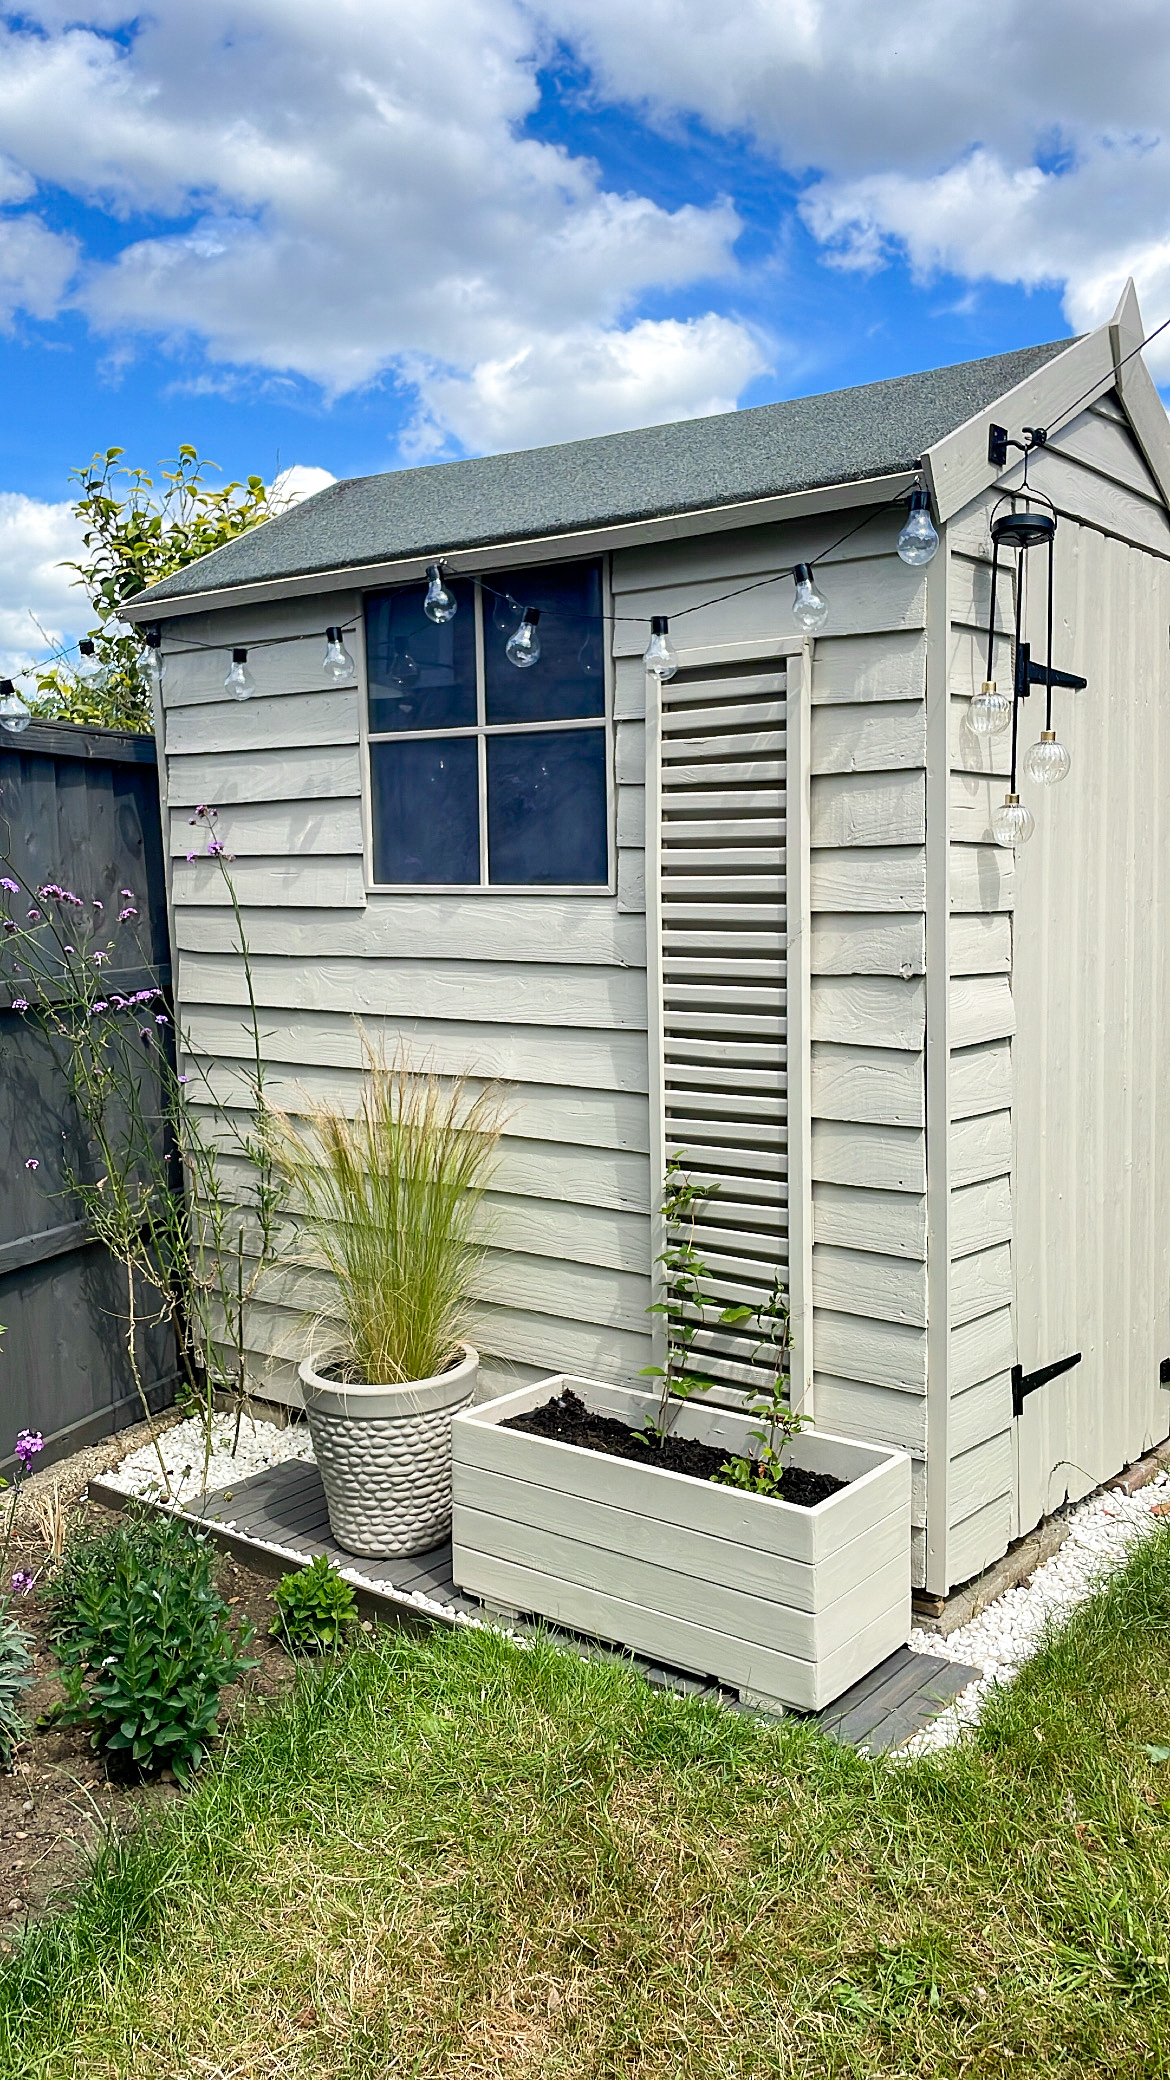
Once she'd removed the staples and webbing, Deborah got to work using her miter saw to cut the ends of each bed slat. 'I did this to cut the edges and create a neat corner which did make the DIY a little tricker, but for a simplified version you could leave the edges straight and just overlap them,' she notes.
For the long sides of her vertical garden planter, Deborah then assembled slats in rows of four using wooden battens and screws to fix them together. She created the end panels in exactly the same way, just with slats cut to a slightly smaller size to make the rectangular shape. You can adapt these measurements to your liking depending on the size of the space you want your planter to fill. Once she had the four panels to make up the planter, Deborah screwed them all together to form the sides.
Next, she needed to create a base. To do this, Deborah bought some wider wooden slats from the hardware store, arranging them on one end of her planter and leaving gaps in between for drainage. 'An important step for any outdoor planter is to add drainage holes to the bottom and to line the planter in plastic to contain your soil and stop the wood rotting,' she explains. 'I also added feet to the base of my planter using two offcuts of bed slats to raise it up off the floor.'
The Livingetc newsletters are your inside source for what’s shaping interiors now - and what’s next. Discover trend forecasts, smart style ideas, and curated shopping inspiration that brings design to life. Subscribe today and stay ahead of the curve.
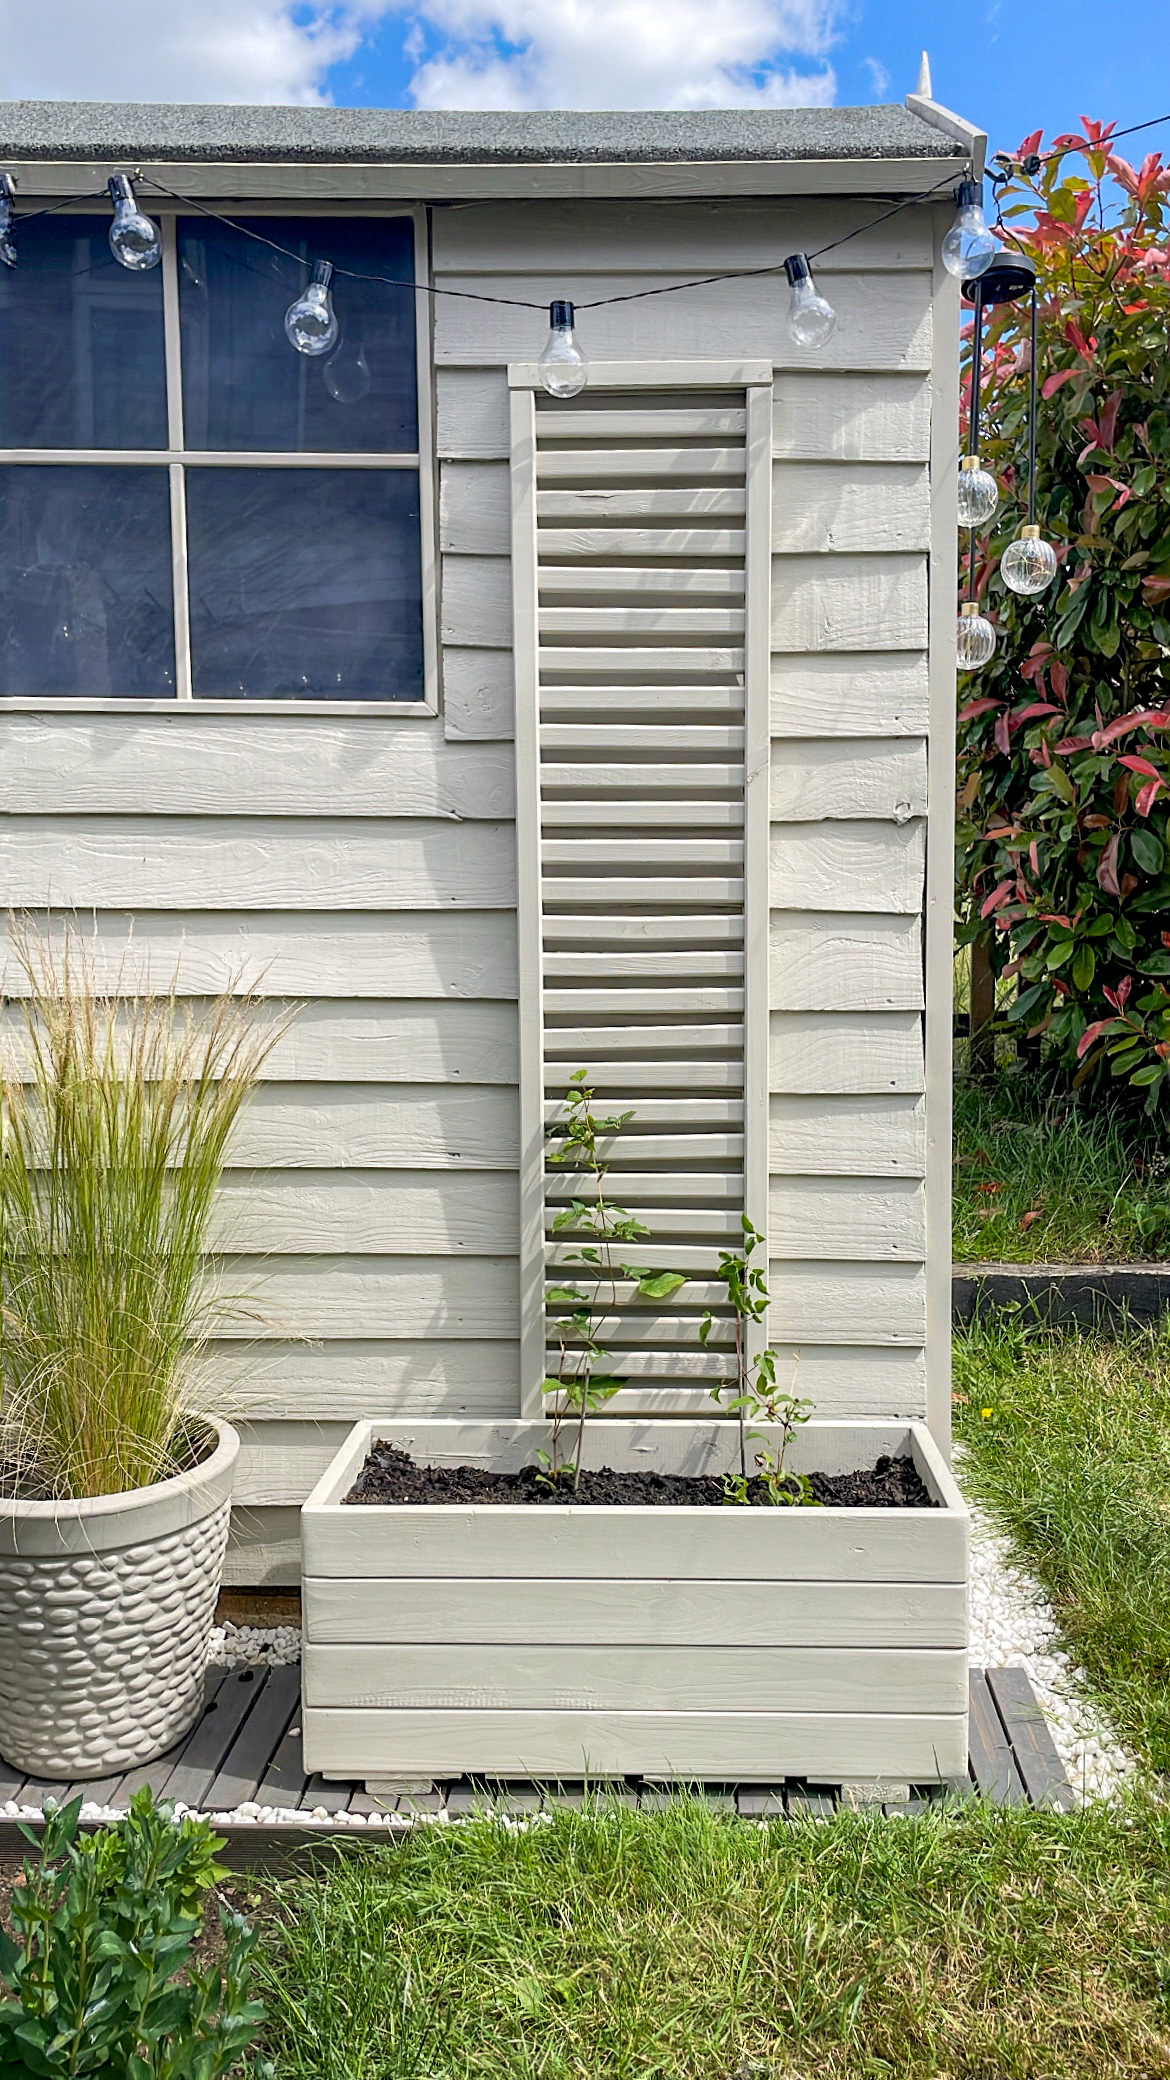
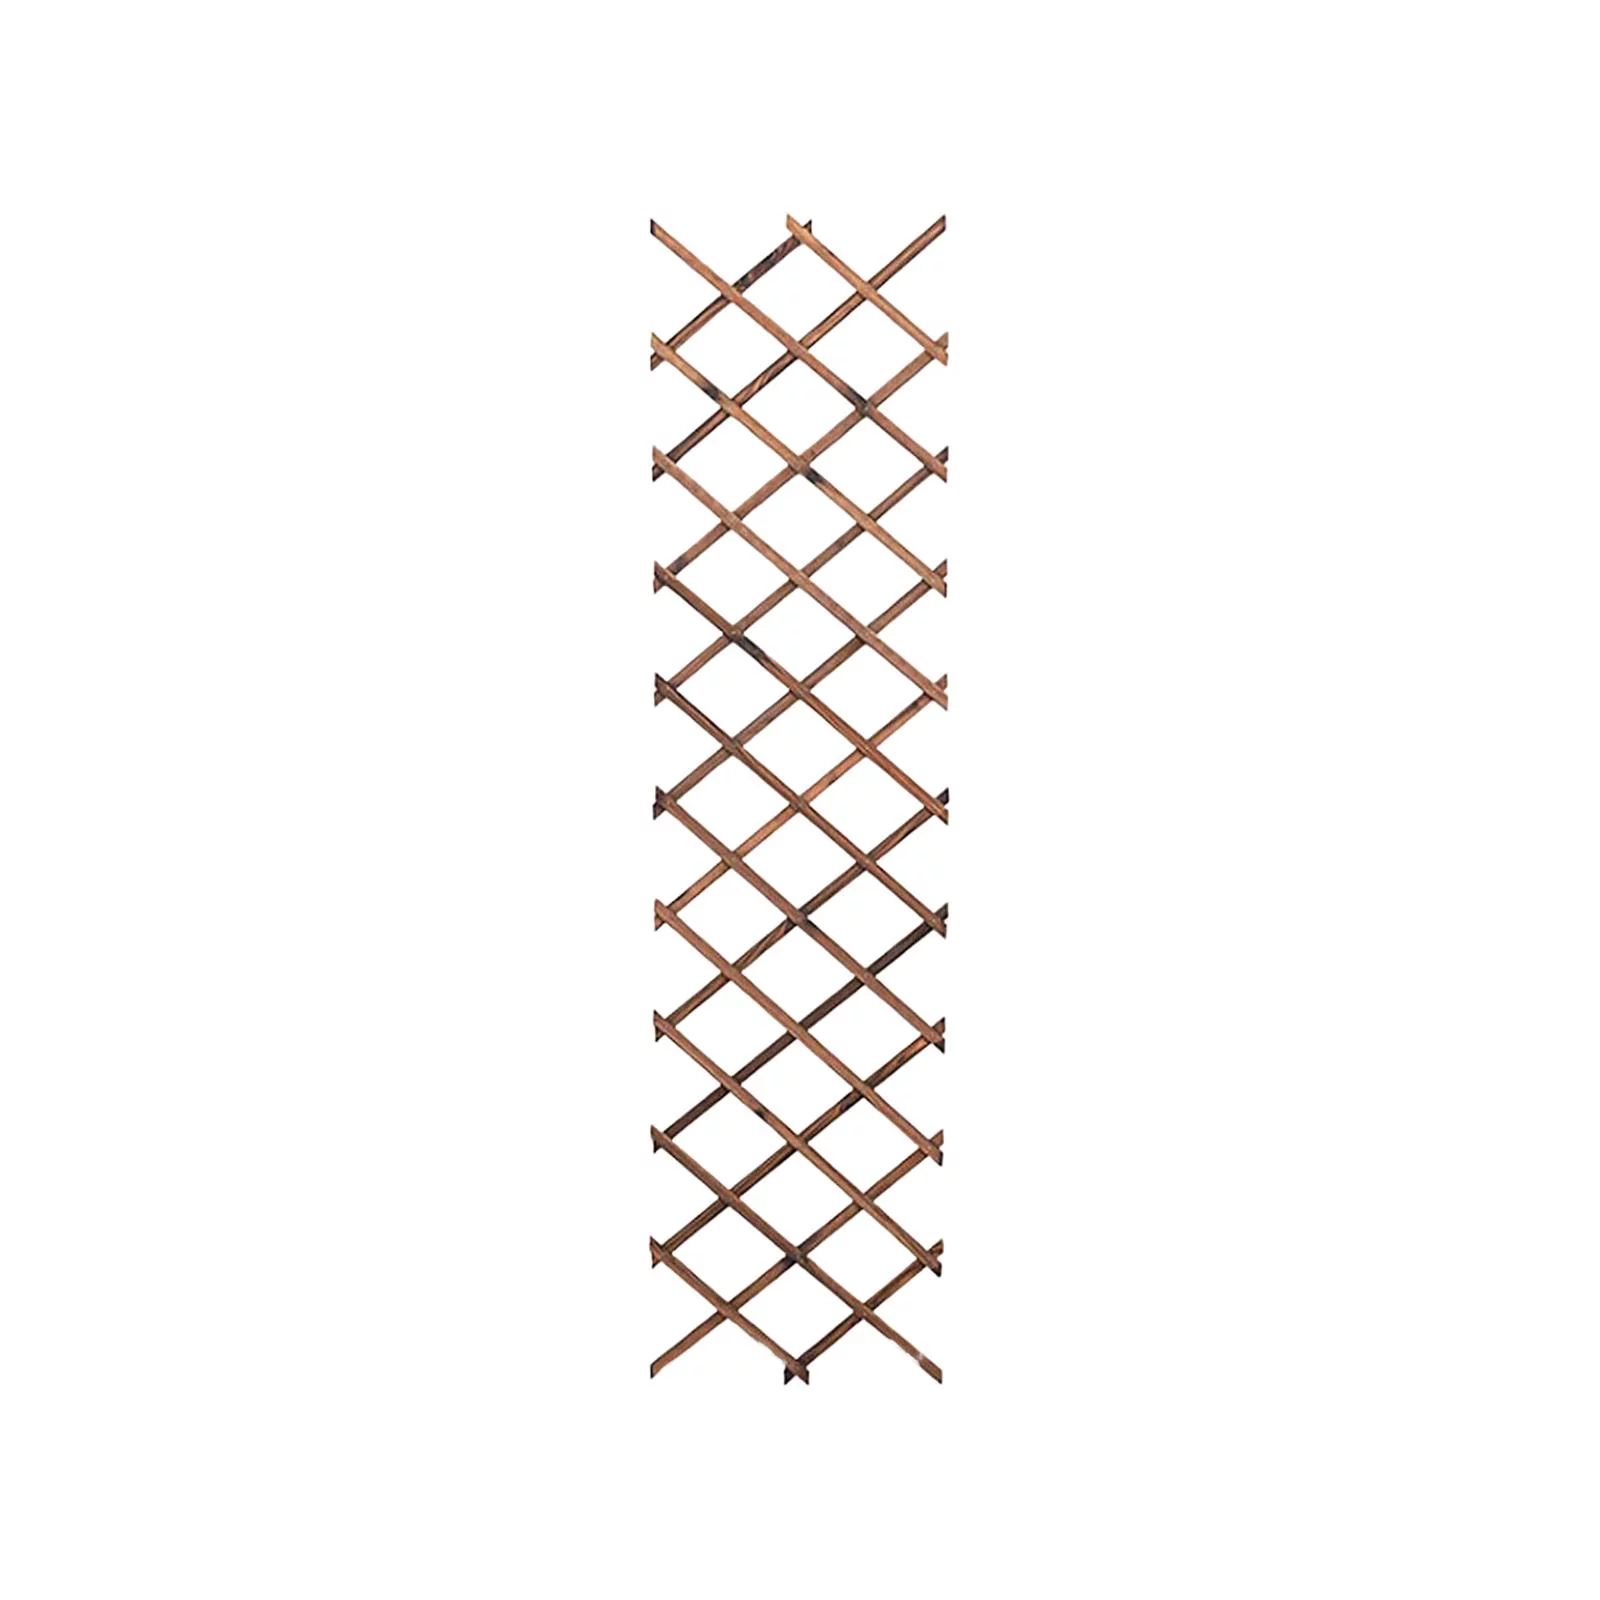
After filling any holes with wood filler and sanding for a smooth finish, Deborah screwed a wooden ladder trellis to the back of her planter for her plants to climb up. To complete the look, she then painted. 'The whole thing was painted in an outdoor specific garden paint to seal it all in and protect it from the weather,' says Deborah. 'I used the same soft stone color as my shed for a really sleek, bright, and modern look.'
Deborah's planter has since given this once-tired corner of her small garden the elevated makeover it so desperately needed. 'Two years later and it's still going strong,' she says. 'It currently houses a climbing clematis which looks absolutely beautiful.' Ready to give this weekend project a go? Finally, you have an excuse to dismantle that old bed!
A post shared by DEBORAH STUBBINGTON (@bangonstyle)
A photo posted by on
Get the look

Lilith Hudson is a freelance writer and regular contributor to Livingetc. She holds an MA in Magazine Journalism from City, University of London, and has written for various titles including Homes & Gardens, House Beautiful, Advnture, the Saturday Times Magazine, Evening Standard, DJ Mag, Metro, and The Simple Things Magazine.
Prior to going freelance, Lilith was the News and Trends Editor at Livingetc. It was a role that helped her develop a keen eye for spotting all the latest micro-trends, interior hacks, and viral decor must-haves you need in your home. With a constant ear to the ground on the design scene, she's ahead of the curve when it comes to the latest color that's sweeping interiors or the hot new style to decorate our homes.
