This designer's countertop hack is a brilliantly inexpensive way to elevate a kitchen sink
Faced with budget restrictions on a dream feature for this kitchen, interior designer Danielle Palm used a clever trick to make the scheme feel more expensive


The Livingetc newsletters are your inside source for what’s shaping interiors now - and what’s next. Discover trend forecasts, smart style ideas, and curated shopping inspiration that brings design to life. Subscribe today and stay ahead of the curve.
You are now subscribed
Your newsletter sign-up was successful
When it comes to a kitchen remodel, unless you've got unlimited funds, there's always going to be compromises. Weighing up how to stretch your budget to get exactly what you want can be tough, but a good designer can help you balance the books.
And sometimes, like in the case of this beautiful modern kitchen, a designer can also help you get what you want with a clever design hack. 'Initially, we wanted to do a full integrated marble sink,' explains Danielle Palm, the interior designer of this space and founder of RockRose918. 'However, after we found out the cost, it wasn’t in the budget.'
Danielle's clever design for the sink uses a kitchen countertop offcut to recreate the look. Here's how it was done.
How to elevate an undermount sink

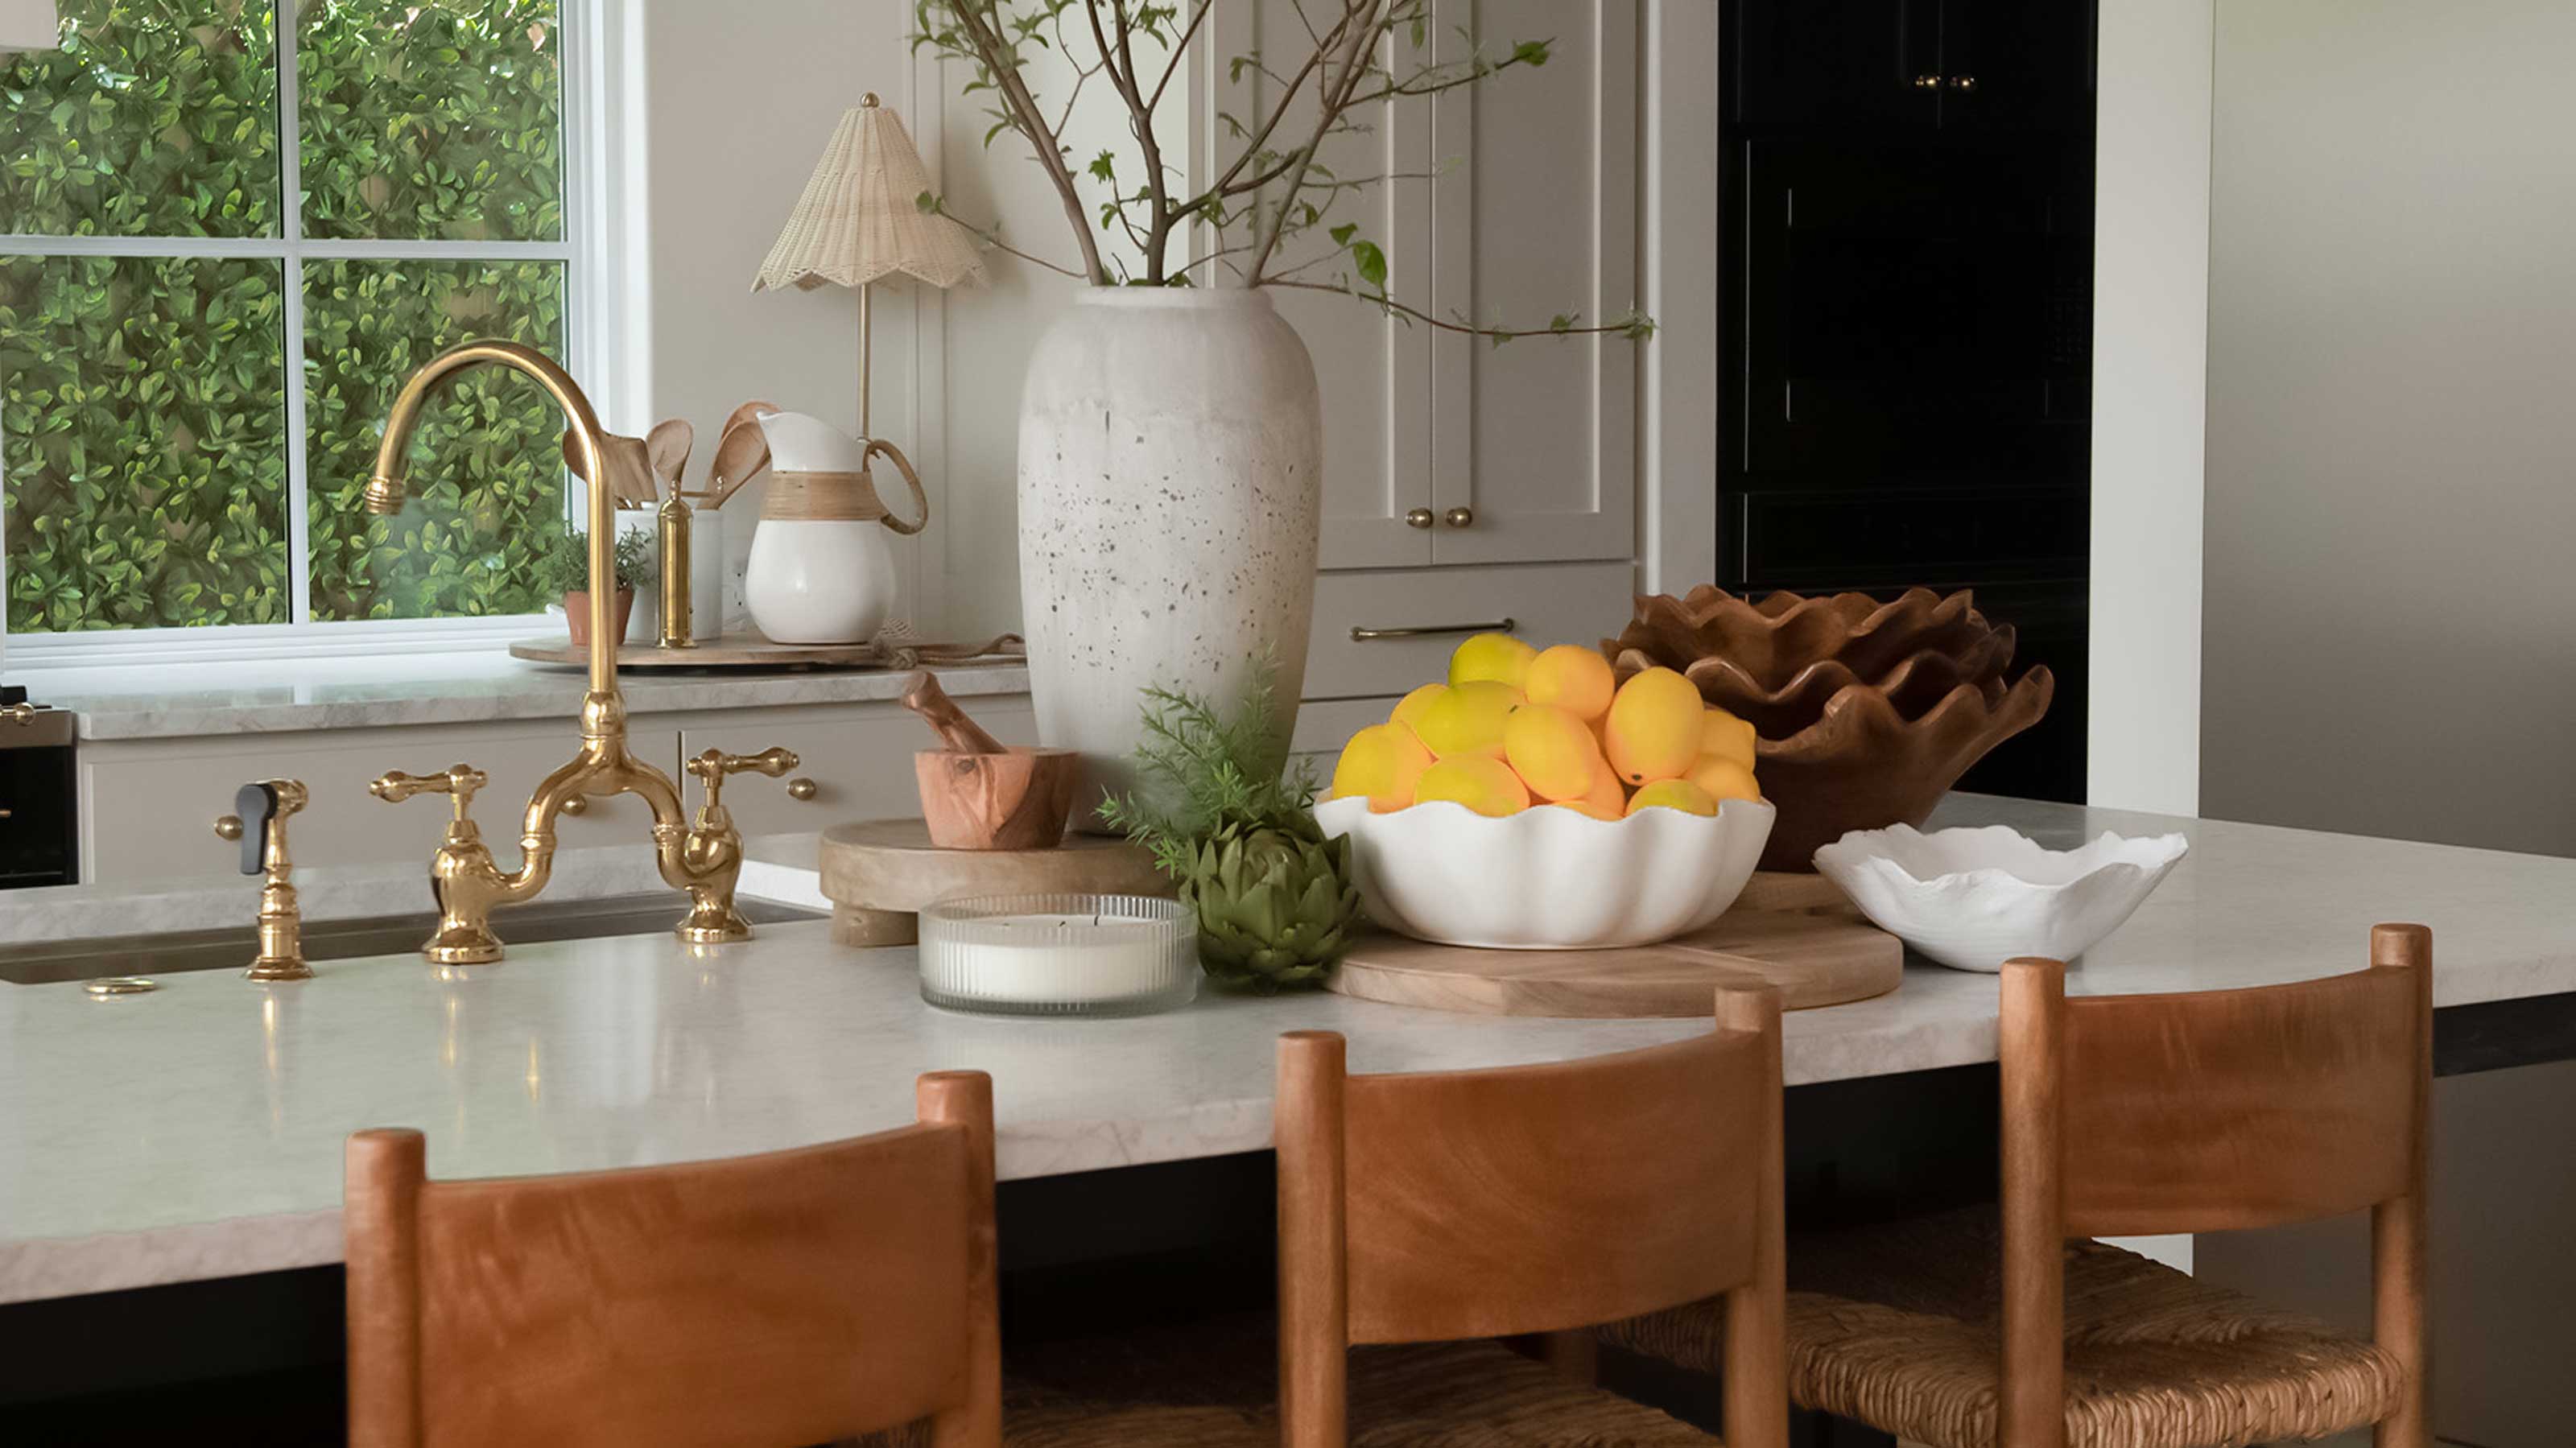
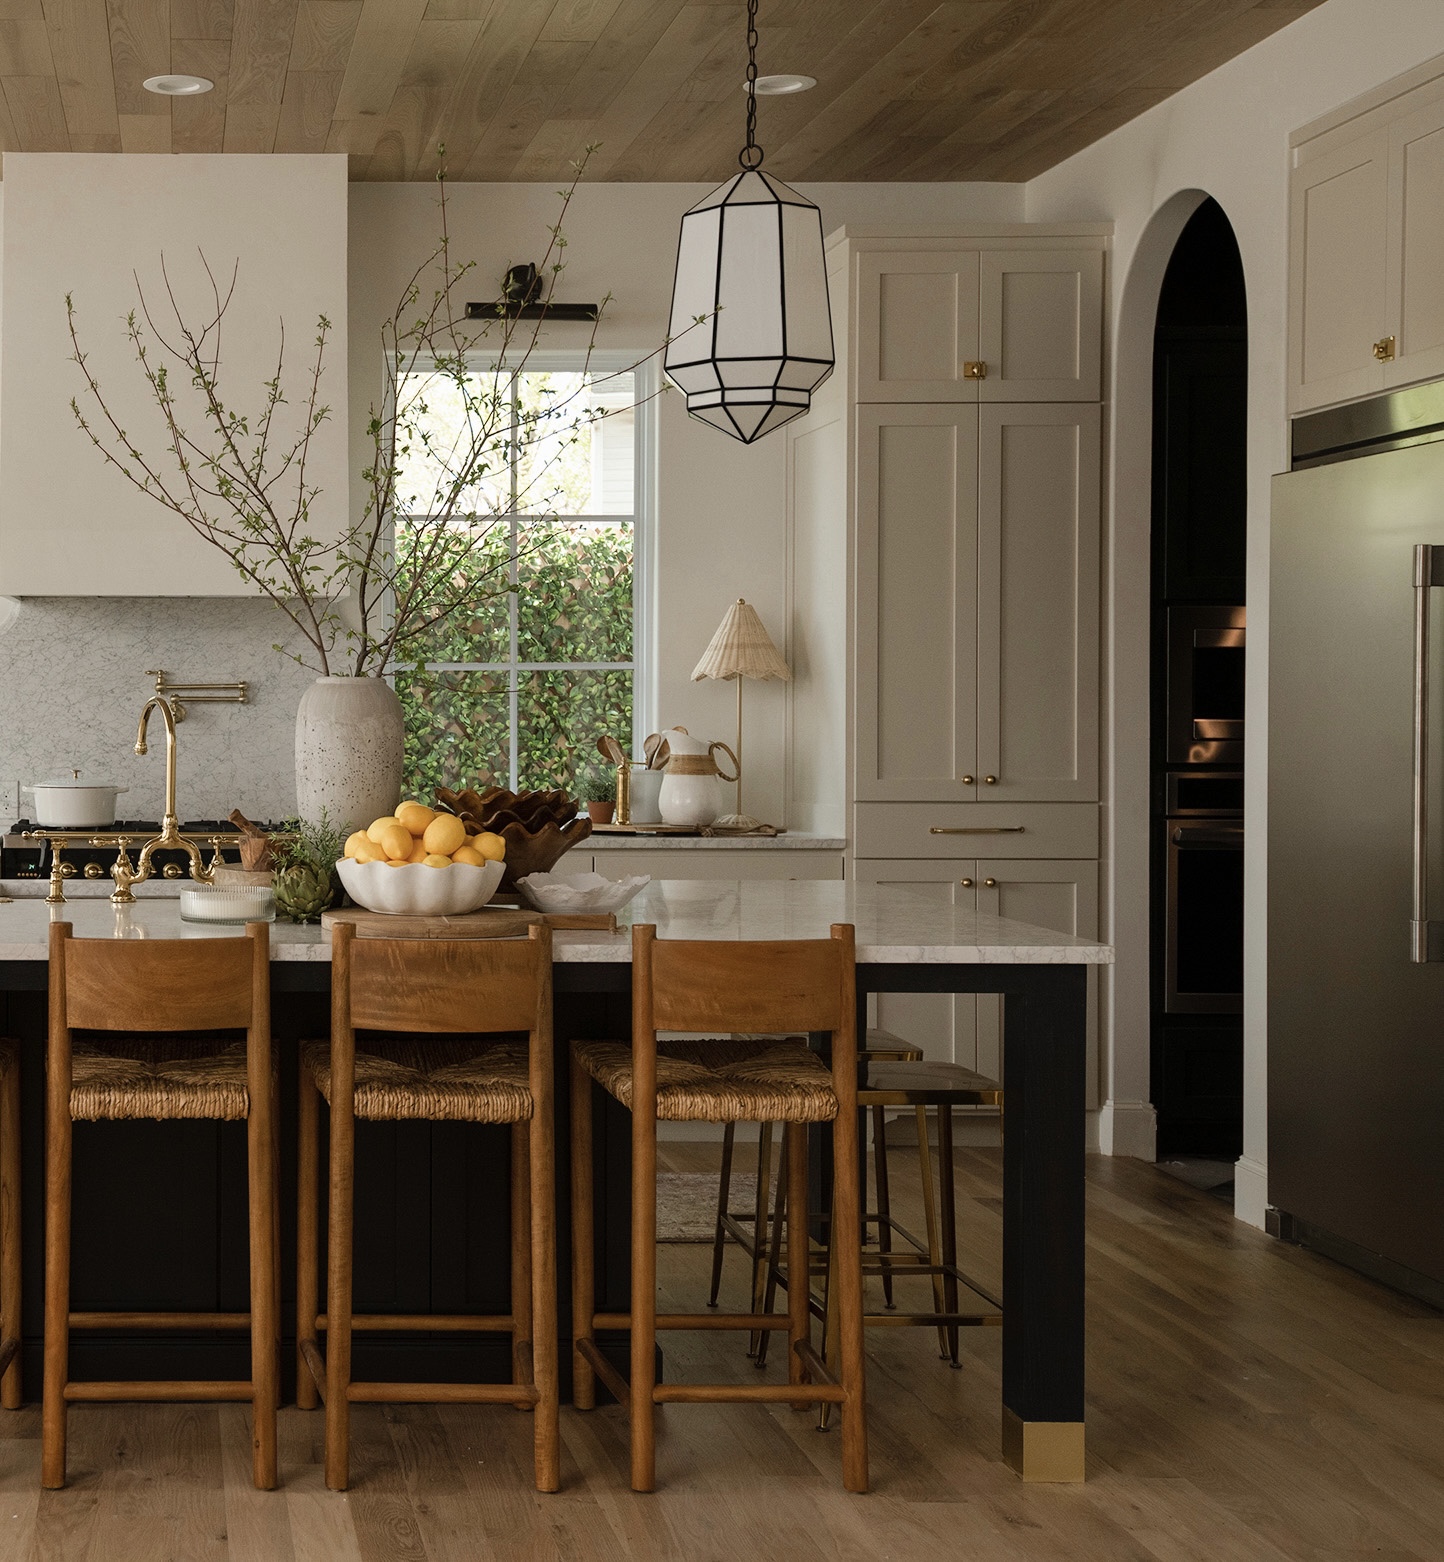
So what was the solution to creating the look of a marble kitchen sink? 'Adding a marble front to the kitchen sink killed two birds with one “stone”,' Danielle says. 'The marble, mitered apron front gave us this look without the high expense.'
'Visually, we feel it enhanced the aesthetics and overall appeal of the kitchen,' Danielle adds. 'It adds a touch of classic sophistication to the space and it’s a stunning focal point. It also creates a cohesive and unified look.'
But, it's an idea that's more than just about good looks. 'By installing a marble or stone front, you can protect the sink cabinet from potential water damage, and other wear and tear, ensuring its longevity,' Danielle tells us.
A post shared by R O S E R O C K 9 1 8 (@roserock918)
A photo posted by on
It's an idea that offers the best of both worlds, even if your budget could stretch to a marble. 'It’s also less maintenance than having a full marble sink that would be very susceptible to stains and etching,' Danielle says.
The Livingetc newsletters are your inside source for what’s shaping interiors now - and what’s next. Discover trend forecasts, smart style ideas, and curated shopping inspiration that brings design to life. Subscribe today and stay ahead of the curve.
'We love the function and material options of an undermount sink. With no rim or lip on the kitchen countertop surface, cleaning the countertop around is more efficient. We chose a workstation-style stainless sink that included integrated components that are designed to fit into the sink basin like cutting boards, colanders, drying racks, drain grids, and other accessories that can be used to customize the sink for specific tasks,' she adds.
What was the price difference?

Okay, let's get down to what we really want to know - how much did it save in this kitchen remodel? 'It all depends on which undermount sink you choose,' Danielle says. 'Workstation sinks can range in cost from a few hundred to thousands of dollars (brand and style dependent). We chose a relatively simple stainless design to keep costs down.'
'While stunning, to do an integrated marble sink would be very expensive,' Danielle says. 'The cost of the marble (we didn’t have enough leftover from our slab) and the skilled craftsmanship required to perfectly install without seams made it out of our very strict budget.'
For this project, the cost of this feature represented a very small portion of the budget. 'Always discuss the installation costs up front,' Danielle advises. 'We used a piece leftover from our slab so the material was included. Our fabricator only charged us for his time to cut the piece which was only $150.'
How can I recreate this idea?
This idea would need to be communicated to your countertop fabricators and installers ahead of time when remodeling a kitchen, and you'll need to be thorough in your explanation. 'When communicating with a marble fabricator about installing an apron front marble sink, you want to be as detailed as possible,' Danielle tells us. 'We pulled several inspiration photos from Pinterest for examples. We explained that this is basically a mitered apron front installation.'
Similar to a bathroom vanity with an apron front, the cuts should be at a 45-degree angle to create the mitered edges,' she adds. 'Our installer used a marble adhesive to the backside of the mitered edge then aligned the mitered edges with the corners of the cabinet. Then filled and smoothed gaps and seams.'

Hugh is Livingetc.com’s editor. With 8 years in the interiors industry under his belt, he has the nose for what people want to know about re-decorating their homes. He prides himself as an expert trend forecaster, visiting design fairs, showrooms and keeping an eye out for emerging designers to hone his eye. He joined Livingetc back in 2022 as a content editor, as a long-time reader of the print magazine, before becoming its online editor. Hugh has previously spent time as an editor for a kitchen and bathroom magazine, and has written for “hands-on” home brands such as Homebuilding & Renovating and Grand Designs magazine, so his knowledge of what it takes to create a home goes beyond the surface, too. Though not a trained interior designer, Hugh has cut his design teeth by managing several major interior design projects to date, each for private clients. He's also a keen DIYer — he's done everything from laying his own patio and building an integrated cooker hood from scratch, to undertaking plenty of creative IKEA hacks to help achieve the luxurious look he loves in design, when his budget doesn't always stretch that far.
