How to paint kitchen cabinets – an easy DIY to totally transform your kitchen
Learning how to paint kitchen cabinets will mean you can change the look of your space in just a weekend – just follow our easy step-by-step
The Livingetc newsletters are your inside source for what’s shaping interiors now - and what’s next. Discover trend forecasts, smart style ideas, and curated shopping inspiration that brings design to life. Subscribe today and stay ahead of the curve.
You are now subscribed
Your newsletter sign-up was successful
We love a kitchen overhaul as much as the next person, but there's no denying that redecorating a kitchen is one of the most expensive home renovation projects you can do. It's not realistic to re-do a kitchen every few years, and yet it's totally realistic that within a few years you might want a bit of a change, so if you are looking for revamp rather than a complete makeover, discovering how to paint kitchen cabinets could be all you need to make your kitchen feel brand new.
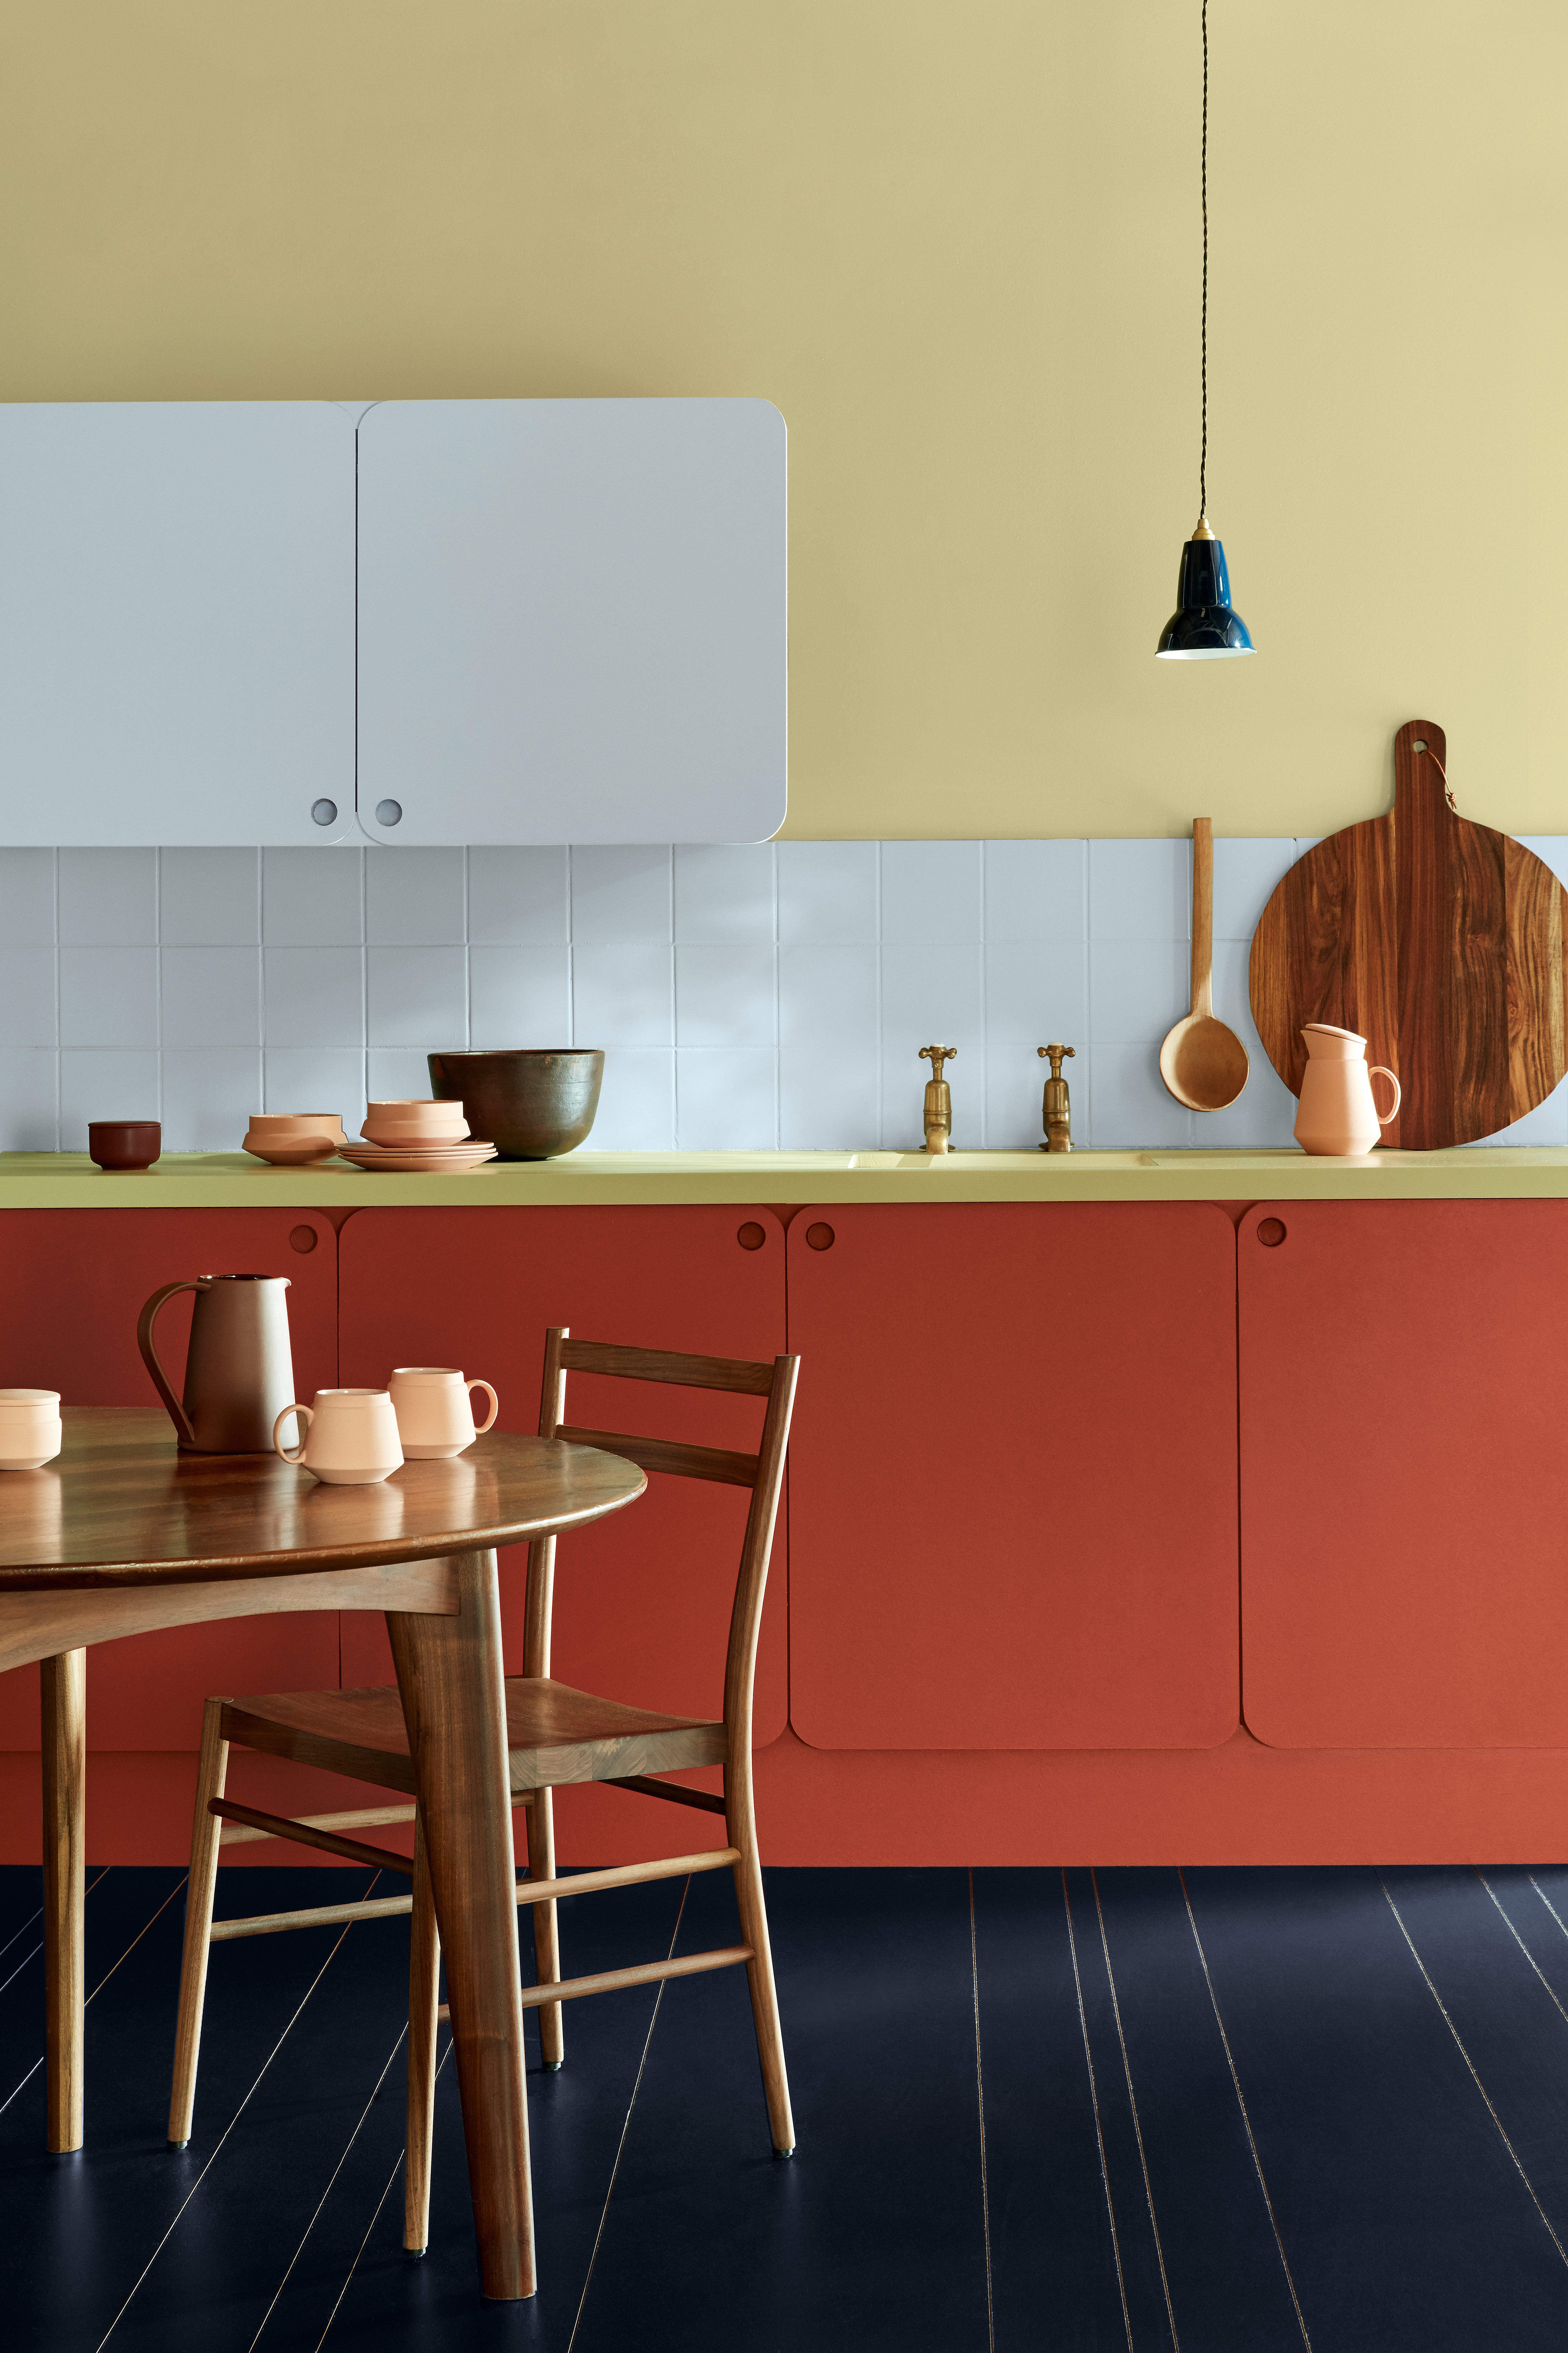
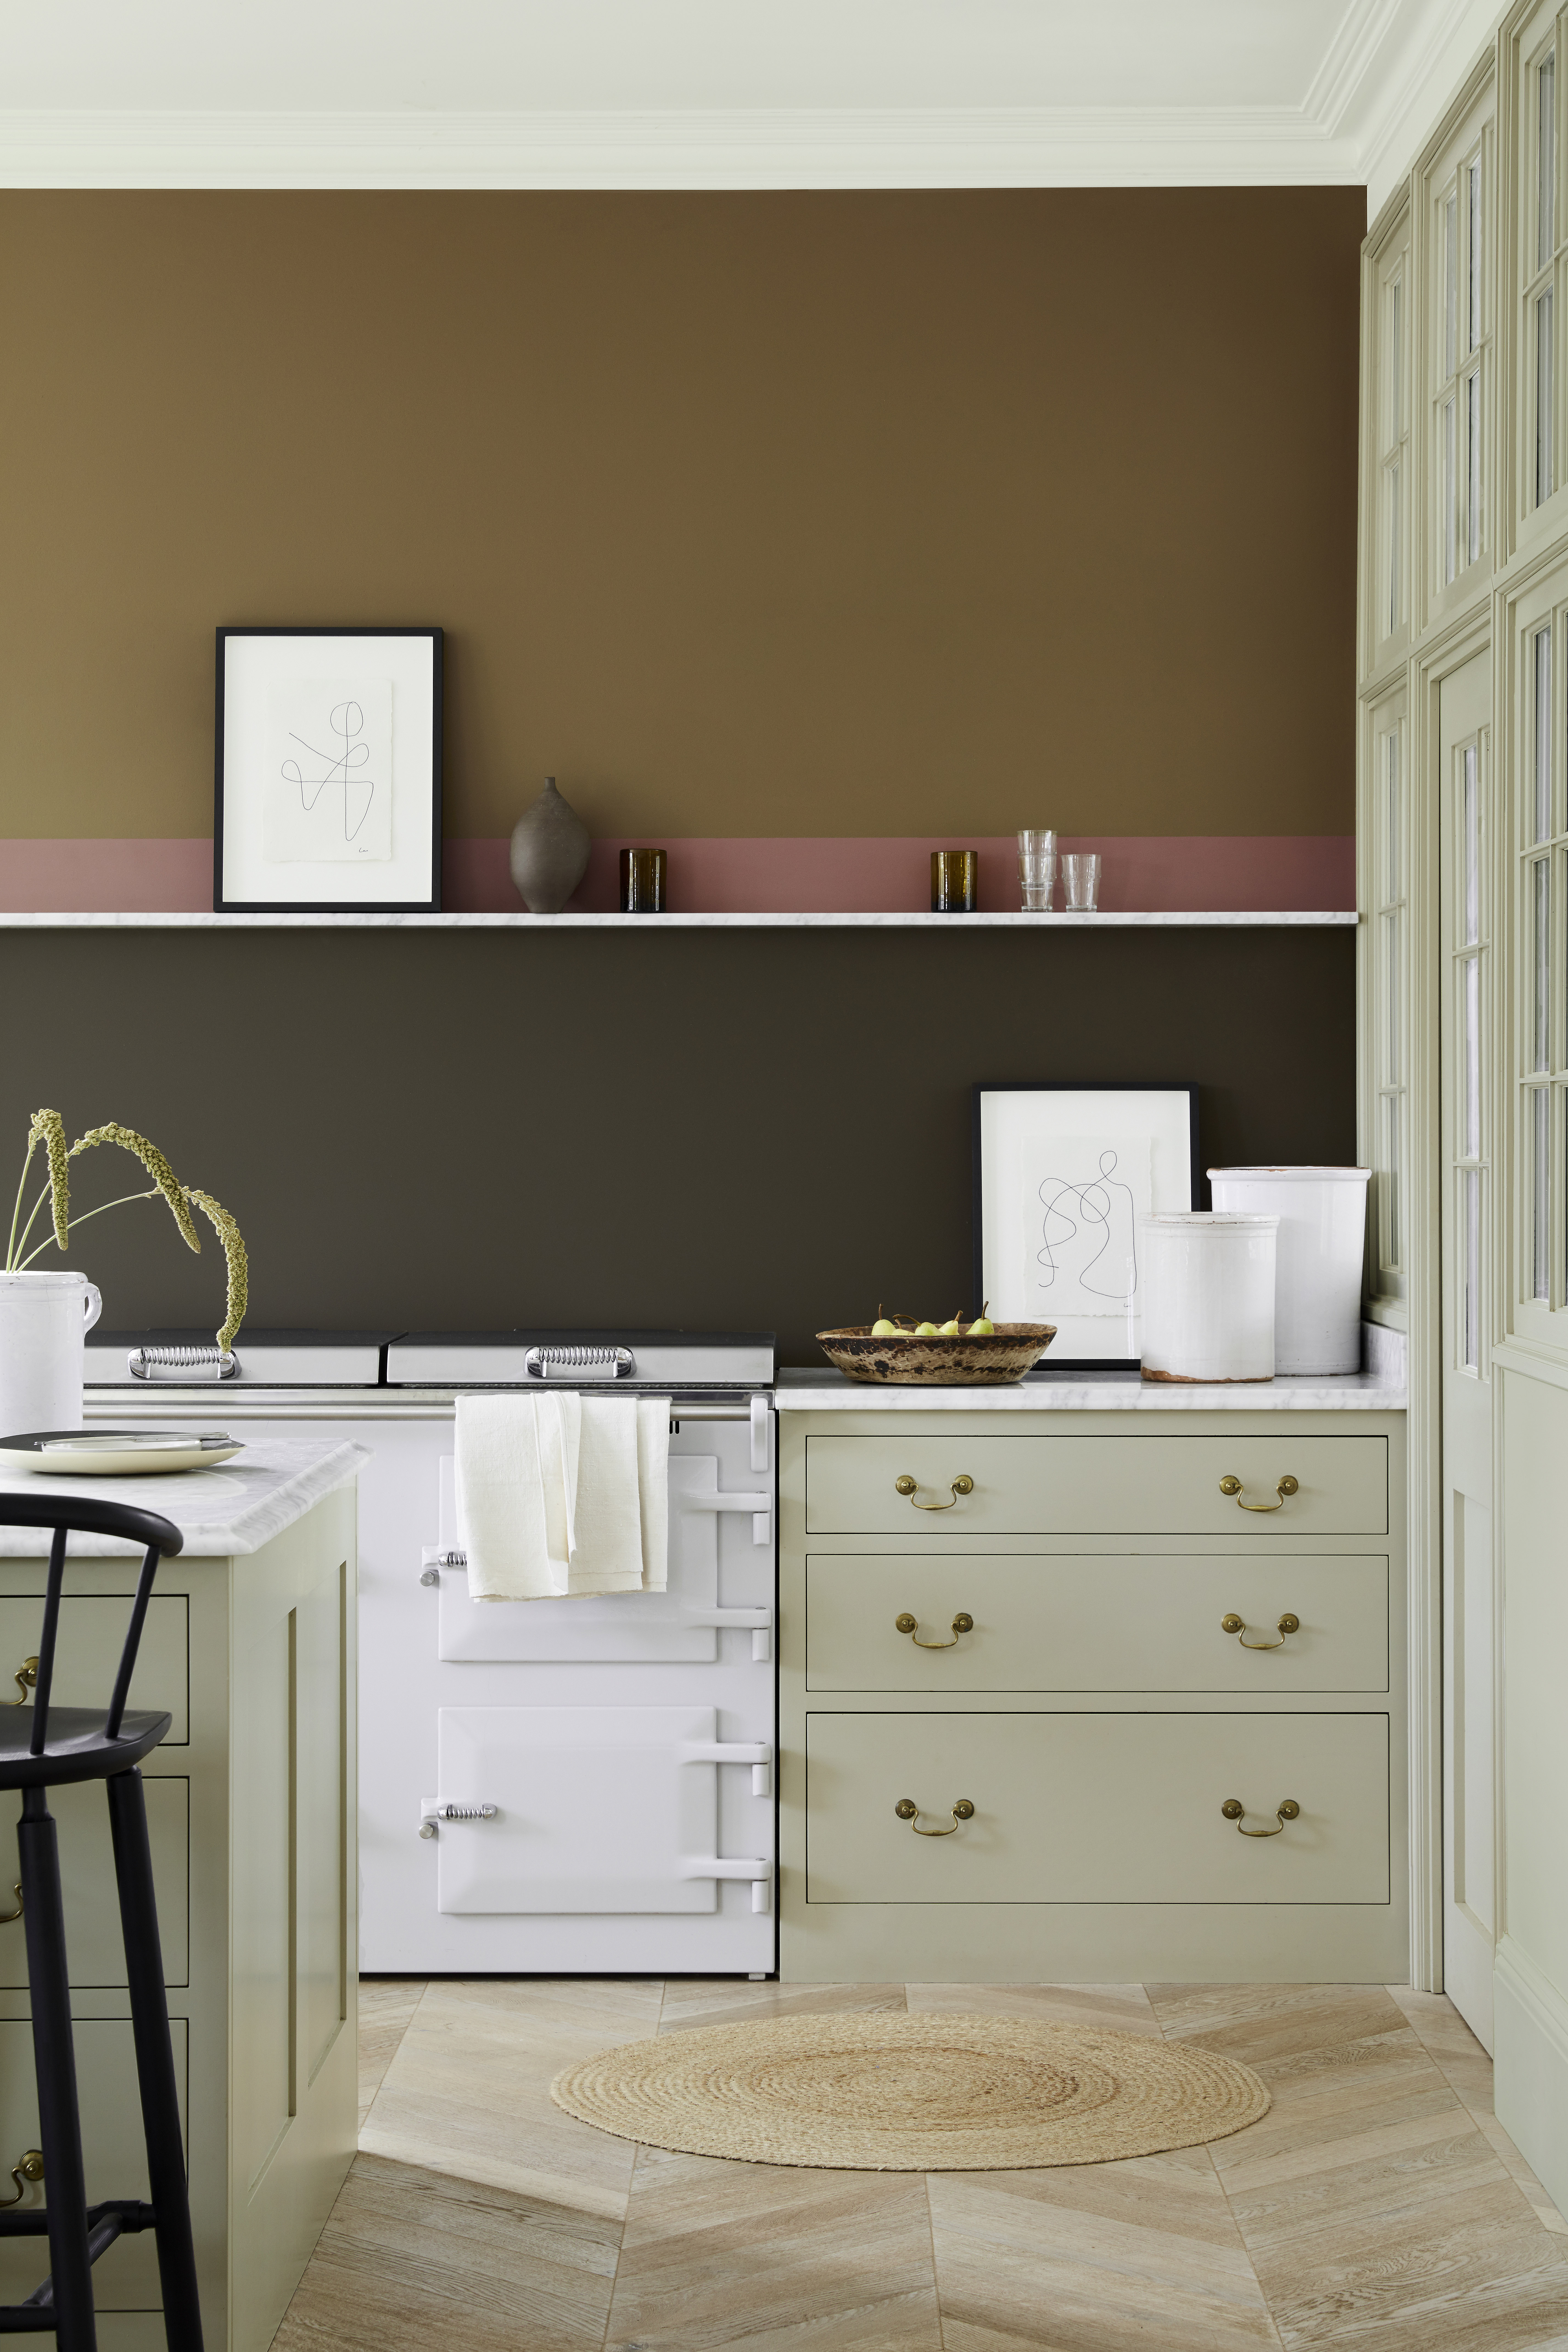
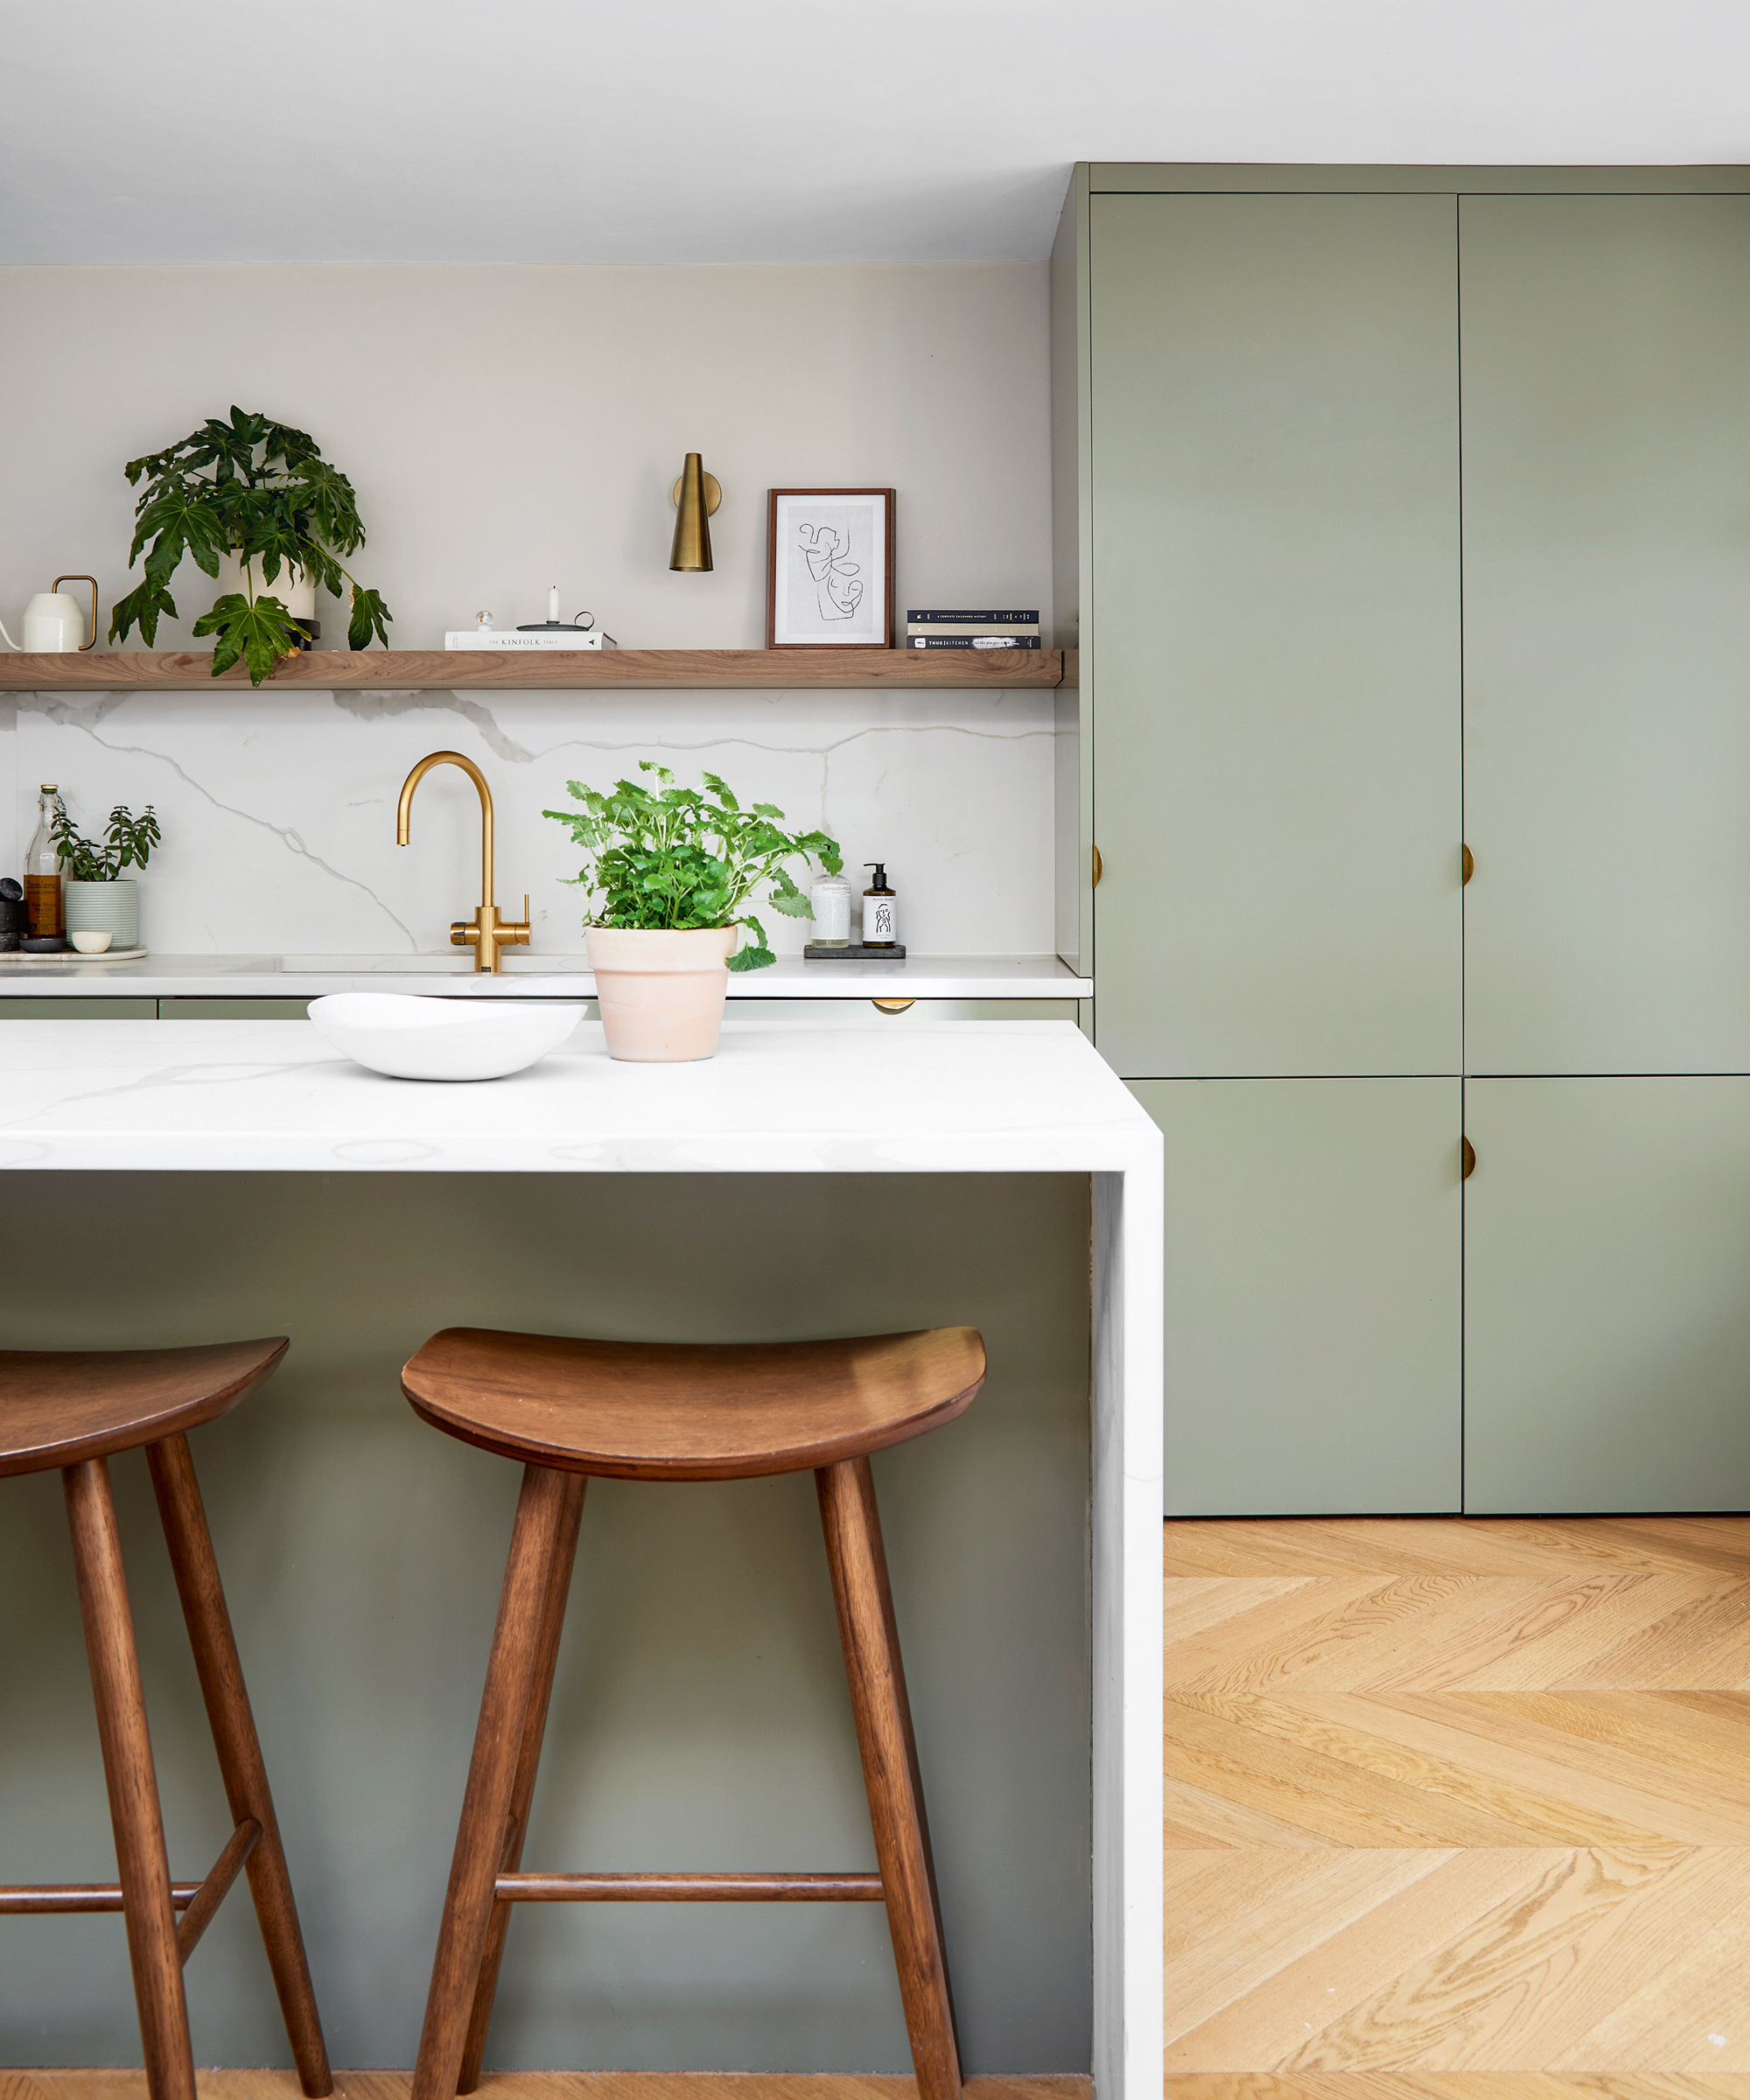
From crisp white to a pop of the latest color trends – like yellow, earthy greens, or even ‘greige’ – painting your kitchen cabinets will inject new life into your cooking space. This is not the quickest task, and you should ensure you have the time – and patience – before committing to repainting your kitchen cabinets, but compared to stripping out your kitchen and starting again it's a breeze. And as Annie Sloan points out, ‘With a partner and no interruptions, you could do your kitchen cabinets in a weekend. It’s a satisfying project and perfect to do over a rainy weekend.'
We've pulled together a really easy to follow step by step on how to paint kitchen cabinets, plus plenty of kitchen cabinet color ideas to get you inspired...
How to paint kitchen cabinets
You will need
- Your paint of choice
- Primer
- Good quality 3-4-inch-wide square brushes
- Paint roller
- Sand paper
- Masking tape
- Screw driver
- Degreaser
1. Prepare the room
Empty your kitchen cabinets, clear your counter tops, and move any appliances, tables and furniture out of the room or well away from the painting area.
Cover your countertops and flooring with rosin paper or paint sheets, and mark off the wall around the cabinets with masking tape.
2. Remove the cabinet doors, drawers and shelves
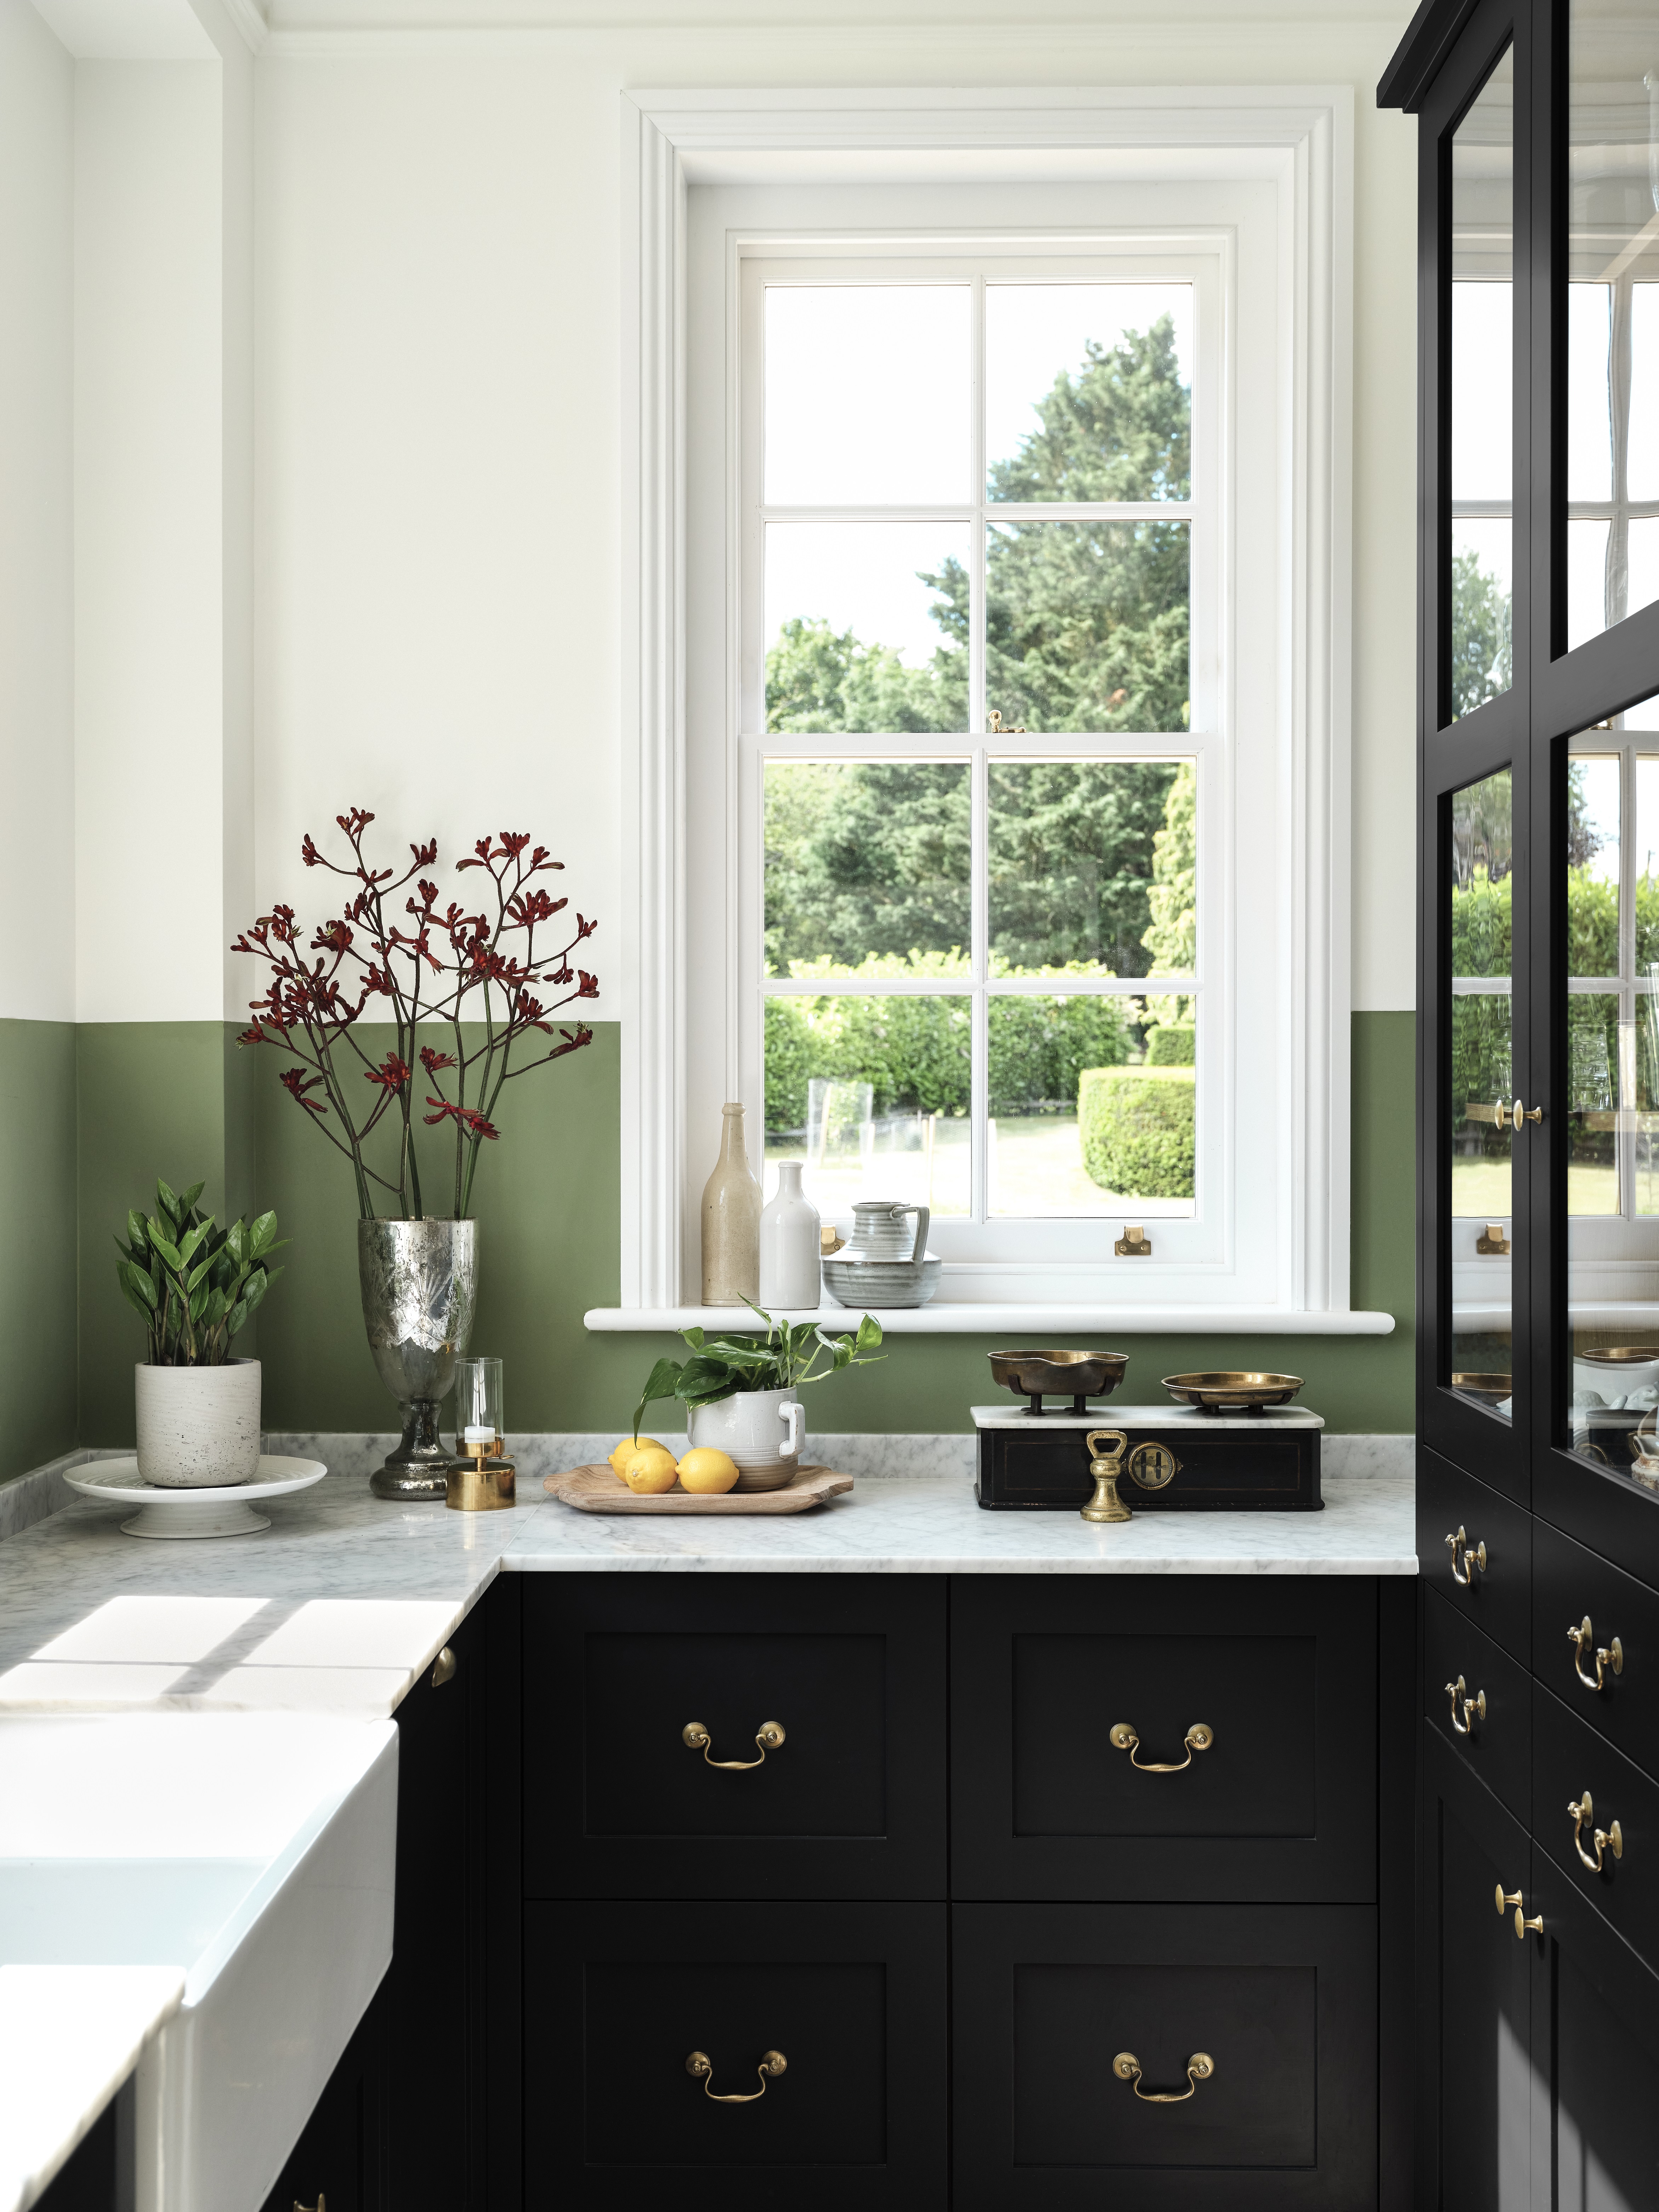
Cathryn Sanders, head of creative at Earthborn, says: ‘It seems tempting but don’t paint your kitchen cupboards whilst they on their hinges. Unscrew and lay them flat ensuring to remove any hardware too. This will make it easier to paint, avoid any drips forming and give you a nice clean finish.'
Label each item with a numbered piece of masking tape, so you know which door or drawer matches which cabinet.
The Livingetc newsletters are your inside source for what’s shaping interiors now - and what’s next. Discover trend forecasts, smart style ideas, and curated shopping inspiration that brings design to life. Subscribe today and stay ahead of the curve.
If you are lacking space or struggling to remove your doors, however, you can still paint your cabinets. Cover the hinges with masking tape, and be careful when painting around them.
3. Remove all hardware
Remove all screws and hardware from every item, and set aside. Take the time to label everything properly to make putting back together easier – you could use small ziplock bags to do this.
This is also a good opportunity to give your hardware a good clean. Soak the hardware from each item in a bowl of warm water and dish soap, scrubbing with a sponge or brush where necessary. Then dry and store in labeled bags.
4. Clean your kitchen cabinets
‘Most important of all is to ensure the cabinets are clean and free from grease before you start painting,’ says Annie Sloan. ‘You don’t want any oily stains coming through. Just use soapy water and a wire brush to give them a clean and ensure they’re fully dry before you start painting.’
Spray your cabinets with a degreaser and wipe down with a rag to remove any oil or grease that has built up over time. If a degreaser does not do the trick, try TSP – although you should make sure to follow the safety instructions carefully.
Once your cabinets are clean, rinse them thoroughly with water and leave to dry completely.
5. Removing old paint
Little Greene recommends: ‘When painting kitchen cabinets that are already painted, you should remove all loose and flaking paintwork.
‘Rub the existing surface down thoroughly, using a medium grade sandpaper to provide a key for the new finish. Make good any repairs or surface imperfections, sand and apply a primer to the exposed surface.'
If you choose to paint over old paint, you should be wary of paint combinations. If your cabinets are oil painted and you use latex paint on top, for example, the paint is likely to peel off and need repainting.
Alternatively, cover the cabinet with an oil-based primer (see below) and apply latex paint on top.
6. Sand the kitchen cabinets
Lightly sand the surface of your cabinets, and use a damp cloth to remove any dust and debris that is created.
Take this time to assess your cabinets and look for any cracks and crevices – fill with wood filler, and allow to dry.
7. Prime the kitchen cabinets
Kathryn Lloyd recommends: ‘Take time to prepare the cabinets prior to painting. Sanding the surface will make sure the products adhere better, and a primer will prevent knots, flakes, and blemishes showing through.’
Pour your primer into a paint tray, and apply to the cabinet. Use a paint roller or large square brush on larger, flat surfaces and a smaller angled brush on any tighter spots.
Once the cabinet is covered with primer, leave to dry thoroughly.
8. Prime all doors, drawers and shelves
Repeat step 7 for all doors, drawers and shelves while you wait for the cabinet shells to dry. You should do this on a covered table and, if possible, in a different room that is well ventilated.
Avoid drips as much as possible, and wipe them up as you go to avoid lap marks around the edges.
9. Sand the cabinets and drawers, doors and shelves
Once the primer is completely dry, lightly sand all flat surfaces with grit paper between 180-220 until smooth. Profiled surfaces should be sanded with a medium-grit sanding sponge.
Wipe up and remove all dust that is created.
10. Start painting
It is finally time to paint!
Start with your cabinet boxes. Pour your paint into a paint tray, then use a brush to cut in the edges of your cabinet. Use a roller for the larger areas.
Paint two to three thin coats to build up durability; one thick coat of paint is much more susceptible to chipping than multiple thin coats.
Leave to dry completely between coats. Check the paint instructions on the tin for how long you should wait for the paint to dry completely. To prevent your brushes from hardening, put them in a plastic bag while you wait for the paint to dry between coats.
While you wait for the cabinet boxes to dry, paint all drawers, doors and shelves – again, painting in thin coats to build up durability.
You should also lightly sand the cabinets between coats of paint to keep them smooth. Make sure to remove all dust that is created.
If you use a matte paint, you should apply varnish once your final layer of paint is dry to create a wipeable surface.
11. Putting it all back together
Once the final layer of paint is dry, it is time to start piecing your cabinets back together. At this step, it is crucial that your paint is completely dry. Generally, you should wait 48 hours after your final layer of paint before reattaching your cabinet doors and hardware.
If you are happy that the paint is completely dry, reattach all doors and drawer fronts, referring to the labels you made at the beginning to match the correct pieces to their shells.
Reattach all draw pulls and cupboard handles, or take this opportunity to replace your hardware with new pieces to go with your fresh lick of paint.
Should I replace my cabinets or can I paint them?
A fresh lick of paint can work wonders on cabinets, but if your cabinets are growing frail with age, a coat of paint might not be enough to save them.
Before you start painting, you should assess the condition of your cabinets. If layers of laminate are peeling off, the cabinet bottoms are beginning to sag or break, hanging rails are coming loose, or the wood is in an otherwise imperfect condition, it might be more useful to replace the cabinets entirely.
What is the best paint for kitchen cabinets?
Choosing the best paint for kitchen cabinets, is as important as choose the color. But which type of paint should you consider?
Latex paints are more user-friendly than oil paints, as they dry more quickly and clean up with water if you make a mess. However, oil paints provide a harder, more durable, and smoother surface than latex paints. Oil paints also cure more quickly than latex paints, with some latex paints taking up to three weeks to cure.
Curing is the process of hardening and the paint bonding to the cabinet surface; once cured, your painted cabinets are washable and more resistant to scratches.
Though you do not have to wait for the paint to fully cure before using your kitchen cabinets, they are more susceptible to damage in the meantime and so should be used with caution. Read the instructions on the paint tin for specific guidance on how long your paint will take to cure.
If you opt for latex paint, make sure it is 100% acrylic, as this is more durable and adhesive than vinyl acrylic paints.
You should also make sure to match your paint to your brushes: latex paint should be applied with a synthetic bristle brush that does not absorb water; oil paint should be applied with a natural bristle brush.
Which paint finish should I use on my kitchen cabinets?
‘There are many types of paint that can be used on interior woodwork, but when selecting a paint for kitchen cupboards it needs to be durable, wipeable, and scratch-resistant,’ says Cathryn Sanders.
Matte and chalk paints offer a rustic feel, but they are more susceptible to chipping and staining. To make matte and chalk paints wipeable, you would need to add a top coat or varnish.
Gloss, semi-gloss, and satin paints create wipeable surfaces, and are less susceptible to staining from kitchen grease and cooking fumes.
Kathryn Lloyd suggests: ‘The type of paint you use depends on the cabinetry material and your desired finish. For wooden kitchen cabinetry, make sure you opt for a multi-surface paint specifically designed for wood.’
If your cabinets are laminate, use multipurpose paint designed for wood, melamine, or MDF. If your cupboards are already painted, use eggshell or interior wood paint.
How can I make sure the paint on my kitchen cabinets lasts?
The best way to ensure the paint on your kitchen cabinets lasts is to take your time: clean your cabinets, prime them properly, paint in thin layers and leave each layer to dry thoroughly.
Anna Hill recommends: ‘Once painted, as kitchens get a fair amount of use, we recommend treating the cupboards with care to allow the surface time to fully harden.’
How long should I leave paint to dry when painting kitchen cabinets?
When you leave your paint to dry, you should consult the instructions on the paint tin. Paint may feel dry to the touch after a few hours, but it can sometimes take several hours – or even days – to dry completely.
How much does it cost to paint kitchen cabinets?
Painting your kitchen cabinets is very affordable. You only need to purchase paint, primer, brushes and rollers – and you might own these materials already. This being said, painting your kitchen cabinets takes a considerable about of time, so you should consider the difficulty of this task before you get stuck in.
Olivia Emily is one of the most exciting new talents in consumer lifestyle journalism. Currently finishing off a Masters in Journalism at the City University, London, she has quickly proved herself at being adept on reporting on new interiors trends. A regular contributor to Livingetc, she is brilliant at being able to decode information for our audience.