These DIY coffered ceilings could save you over $10,000 compared to a professional install
We've spotted DIY coffered ceiling tutorials popping up all over the place, but are they as easy as they look? We ask the experts...


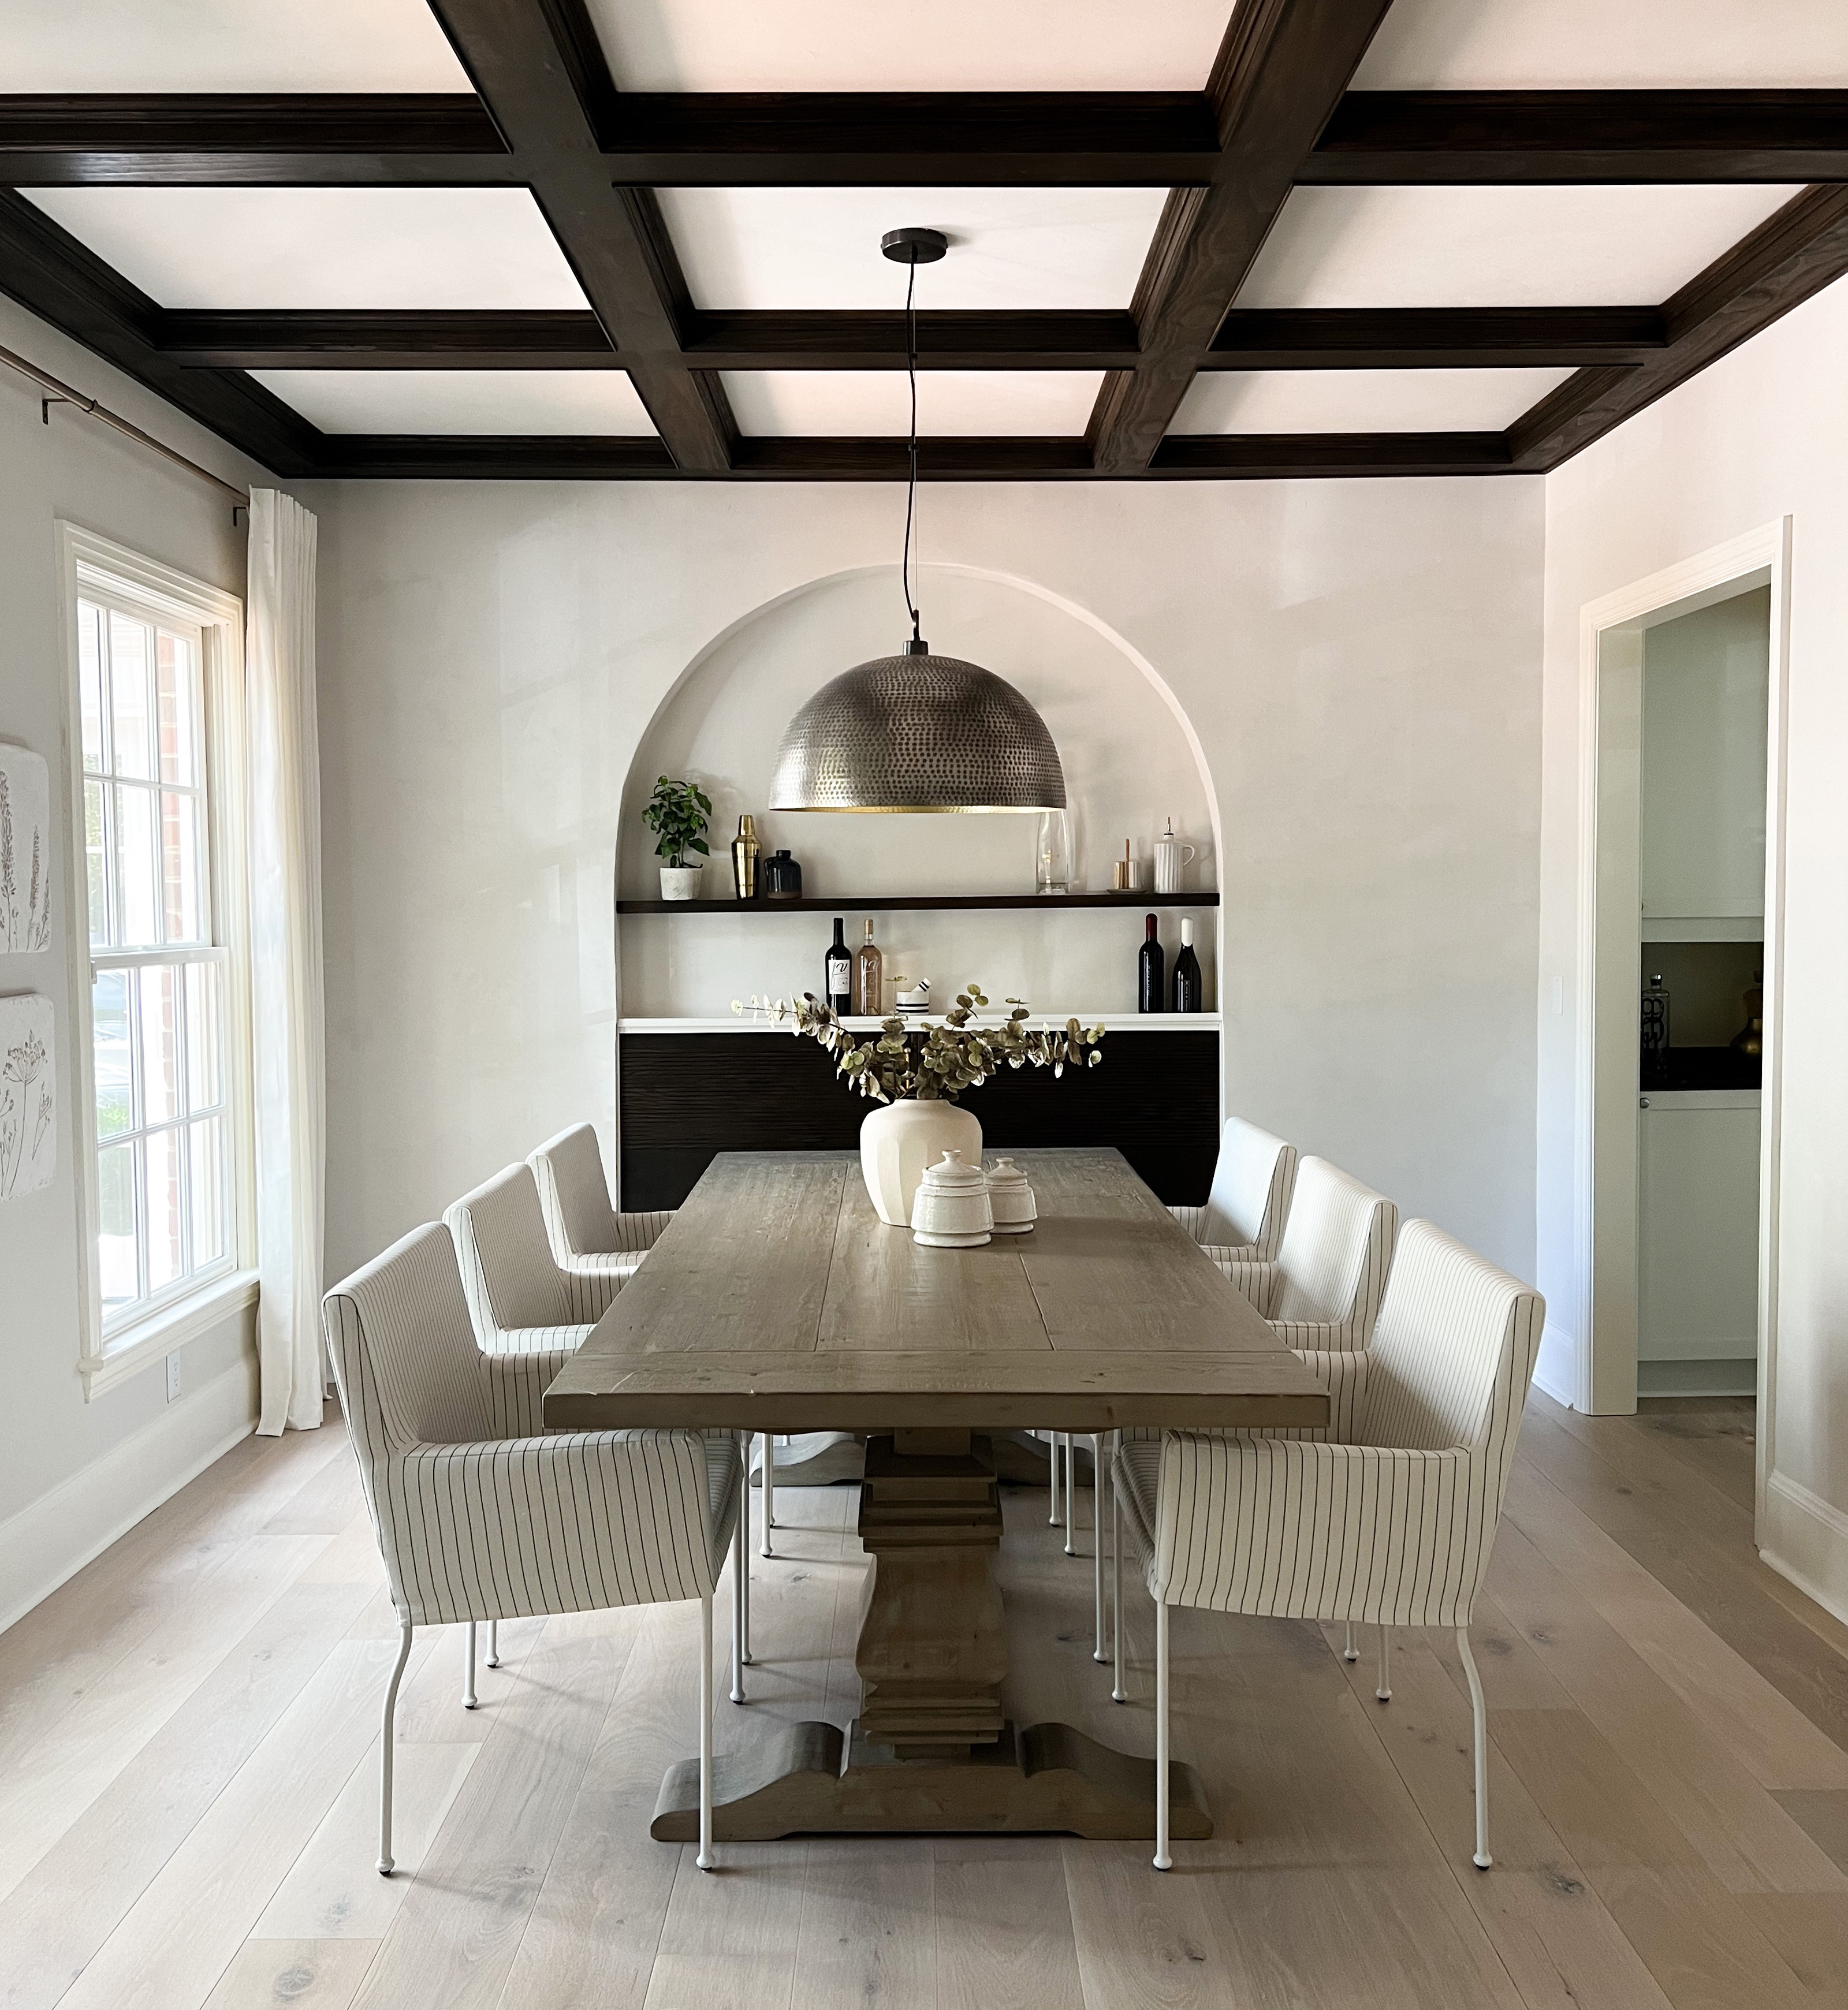
What can I say about coffered ceilings that hasn't already been said? This beautiful grid-like ceiling treatment has an incredible elegance about it that can make even the most humble abode feel grand. And, you'll be pleased to know, if you've got a longing for coffered ceilings like me, they might not be as out-of-reach as they look.
Like any of my heart's most secret desires, Instagram's algorithm somehow already seems to know how I feel about coffered ceilings. Scrolling through my feed, I've been confronted with video after video of coffered ceiling installations. And while most of them are from amazingly talented carpenters, there's a growing number of have-a-go heroes that are tackling this grand project, too.
After watching a 60-second Instagram reel, I feel empowered that I, too, could create an amazing coffered ceiling of my own. However, while I'm a relatively competent DIYer, the scale of this project makes me a little nervous. How easy is it and how long does it take to build a coffered ceiling from scratch? I have a feeling it's a little longer than a weekend project.
Here, two DIYers already on the other side of a DIY coffered ceiling explain the potential pitfalls and what they learned from their projects.
Are DIY coffered ceilings suitable for beginners?
In architecture, a coffer refers to a sunken panel, but there are two versions of a coffered ceiling you might see - one that's almost completely flat, and one with proper, sizeable indentations. As you can imagine, one is much easier than the other.
'There are ways to make a 'faux' coffered ceiling that are beginner friendly,' says interiors blogger Morgan Nelson of Palmetto Highway, 'but this is not a beginner-friendly project. I have been DIYing various home renovations for years and this is still one of the hardest projects that I have ever done.'
A post shared by Morgan | DIY Home Renovator (@palmettohighway)
A photo posted by on
DIY blogger Annie Champagne of Champagne.Chaos found it daunting too, as she, like Morgan, was opting to go for a stained version of this interior design trend. 'If you’re painting, this project gets a little easier since you can use caulk and wood filler to hide any mistakes,' Annie tells us.
The Livingetc newsletters are your inside source for what’s shaping interiors now - and what’s next. Discover trend forecasts, smart style ideas, and curated shopping inspiration that brings design to life. Subscribe today and stay ahead of the curve.
Yes, not only does a painted version not only hide imperfections better, but you don't have to worry about matching stains, too. 'Stain is always a weak spot for me,' Morgan explains. 'I knew that the trim, the crown molding, the 1/4" plywood, and the 1x6s would all take stain differently. To combat this, I bleached all the wood then layered multiple stains.'
So, a painted version may be much easier, but could you resist the extra character Annie and Morgan's timber versions bring to the space?
How do you build a coffered ceiling?
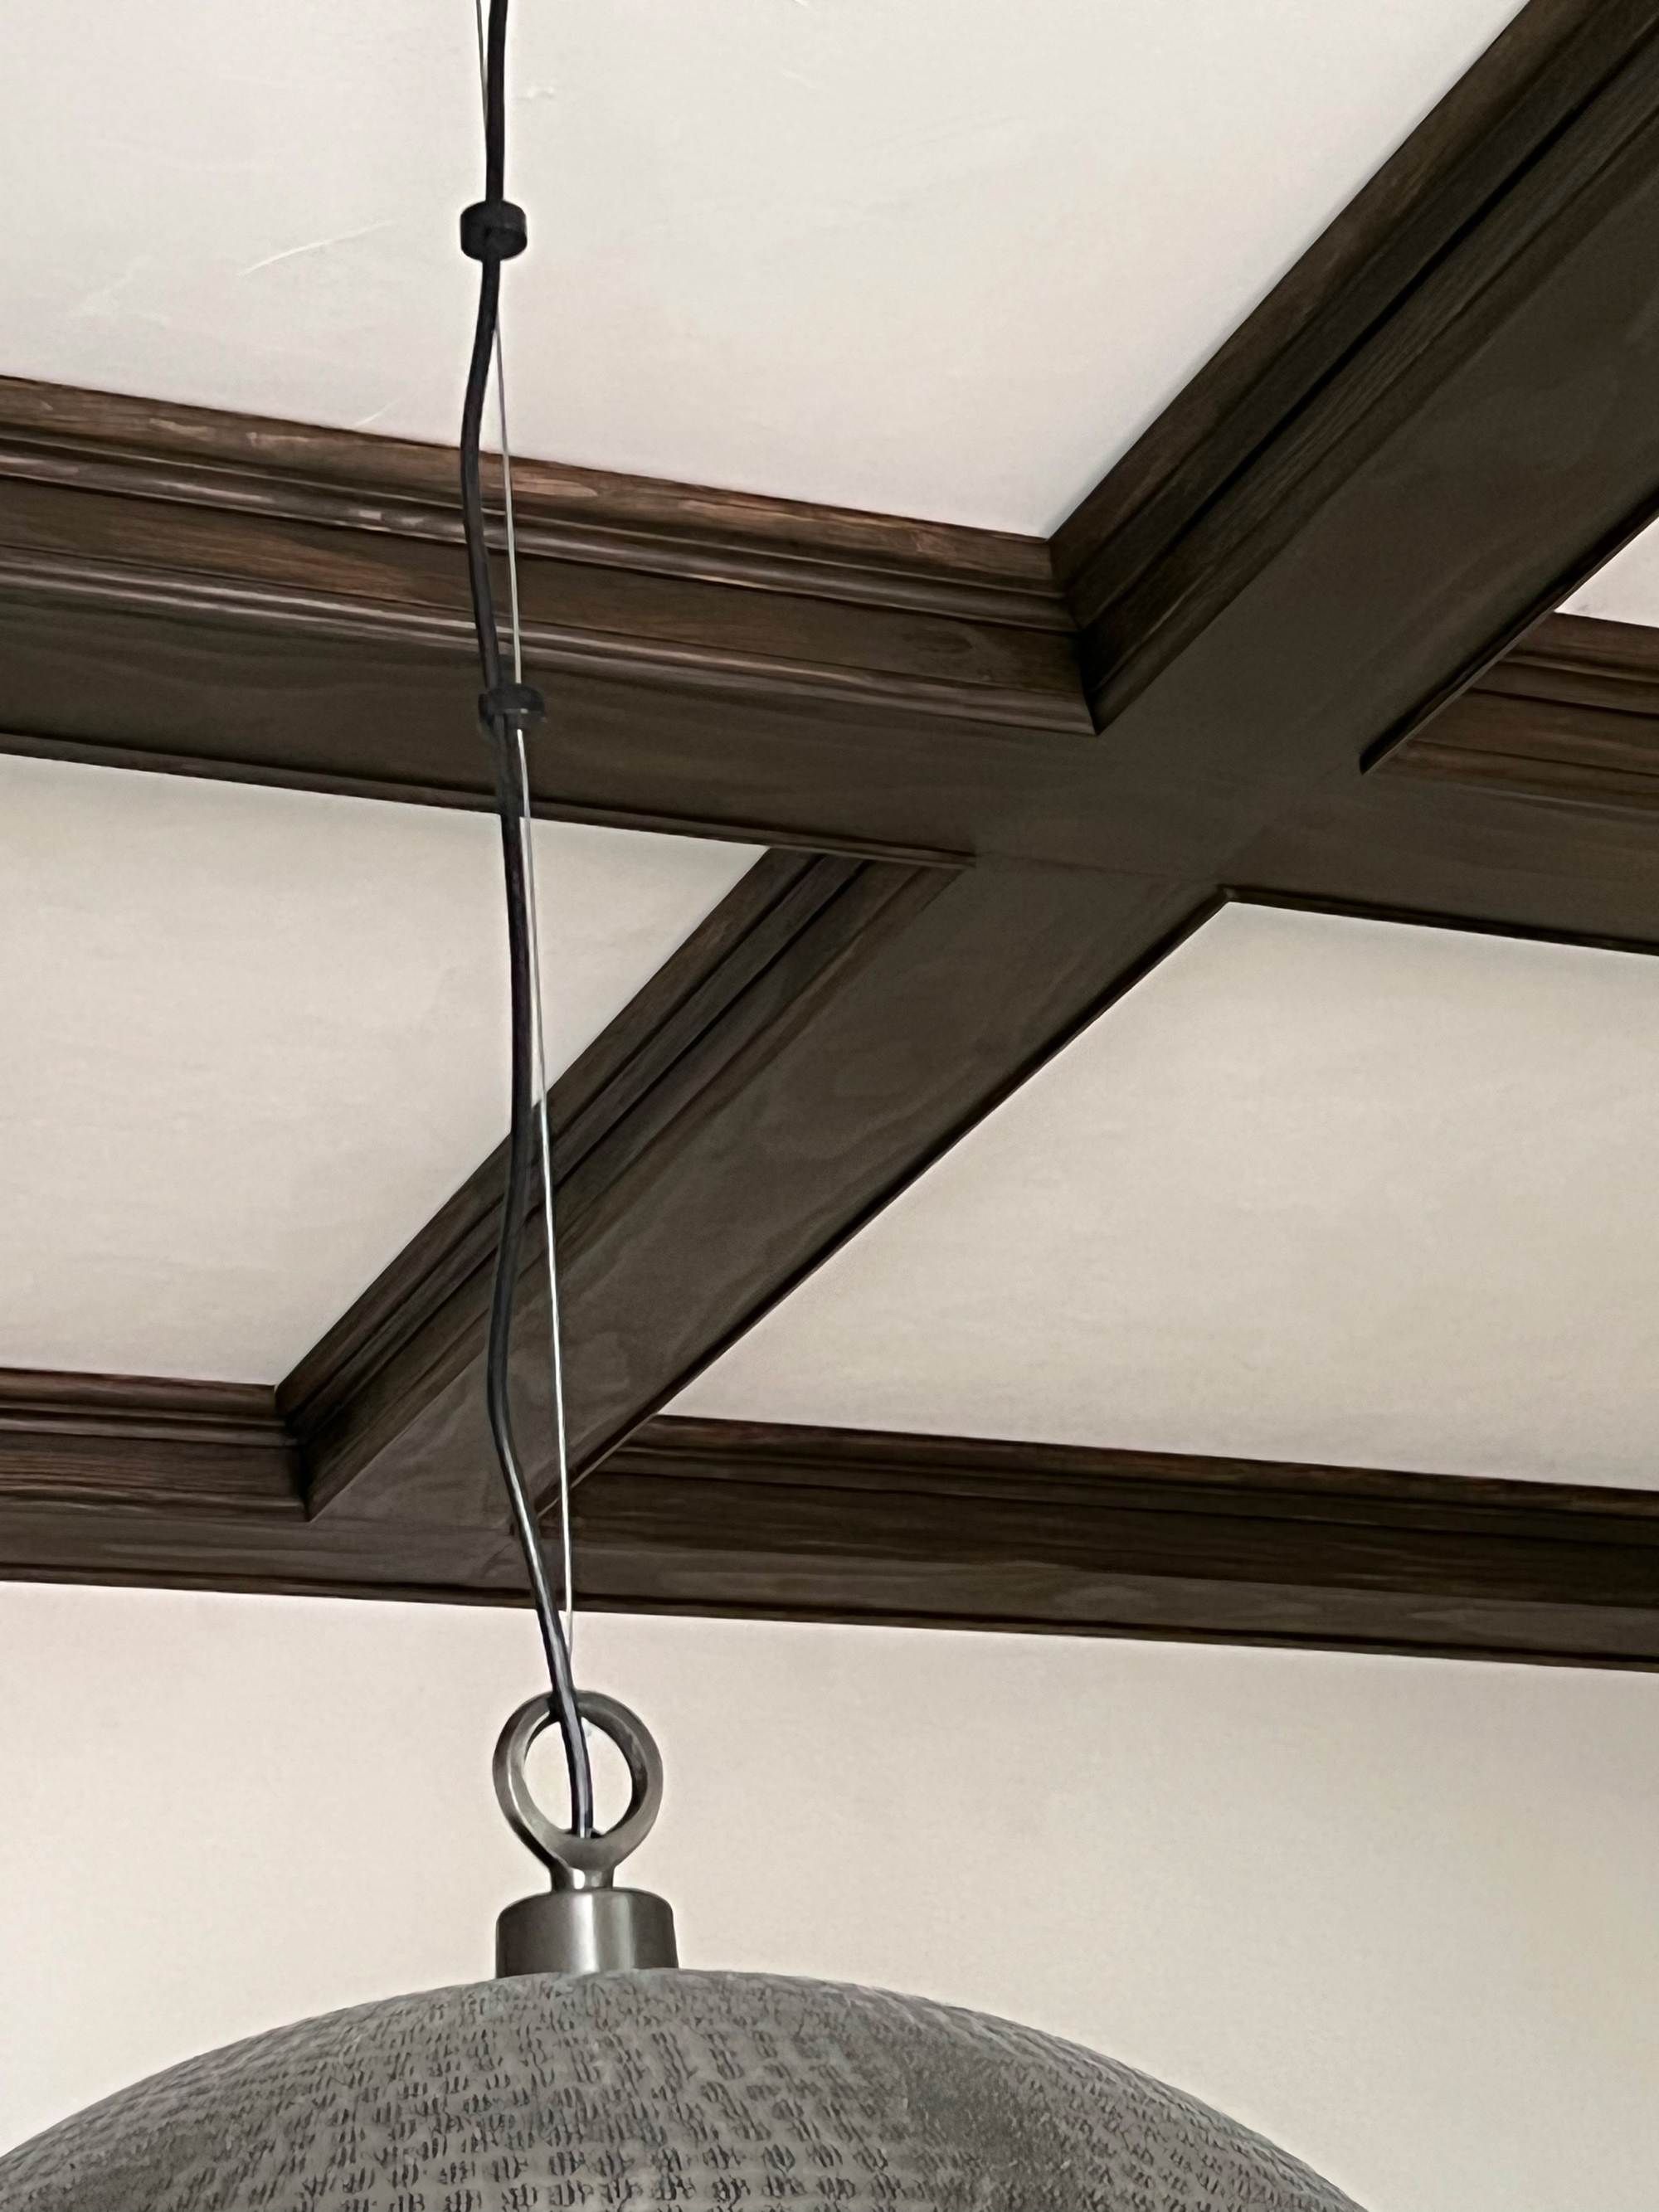
Coffered ceilings are made by building out blocking in a grid, before cladding it with timber. This blocking needs to be affixed to the ceiling properly for obvious reasons, so will require you to know which way your joists go.
So what skillset do you need to take on this ceiling decorating idea? 'The number one skill you need for a project like this is patience,' says Morgan. 'This coffered ceiling required a decent amount of precision and taking your time and having patience with yourself is important to get the final result you want.'
More practically, experience with woodworking tools is a must. However, it may be possible using just a small number of power tools. 'It was helpful to have a lot of experience with the miter saw because precise measurements are what allowed me to use stain,' says Annie. 'The massive amount of cuts on the miter saw was definitely a challenge though. There was a ton of back and forth, shaving a tiny sliver off each time. For so many squares, it took awhile and took a lot of patience.'
Another challenge comes if you're retrofitting a coffered ceiling into an existing home, rather than working it into a new build. 'It's tough dealing with uneven ceilings and walls… they’re never perfectly square,' Annie says. 'It takes additional time and thought to get things as straight as possible.'
'It required a lot of patience and neck strength - I had to break for a few days here and there for my sanity...'
Annie Champagne, Champagne.Chaos
The solution if your coffer blocks don't line up? Shims. 'Use shims when putting the outside 1x6 boards up help with seams,' Annie tells us. 'Shims are needed because ceilings are never perfectly flat. My ceiling wasn’t terrible, so I was able to use toothpicks as my shims to get the boards flush with each other.'
'The other thing that helped was when trimming out the inside of each square, I didn’t fully secure each piece until all four pieces were cut,' she adds. 'This allowed me to remove a few pieces that I realized weren’t quite right when the remaining pieces went in.'
Both Annie and Morgan finished the insides of their coffers with decorative crown moldings, too, for a more luxurious look.

How much does a DIY coffered ceiling cost?
Of course, the main benefit of putting in the hard work required for a DIY coffered ceiling is the cost.
'I've had various contractors come through the house and say that a professional would have quoted me $5,000-$12,000 for a project like this,' says Morgan. 'Total, I spent $1,200 on wood.'
It depends on the size of the space you're renovating, and the type of timber you're using. Annie Champagne spent $675 on the timber for her project.
'If you wanted to do a painted coffered ceiling, you could really save money by using alternative materials like MDF,' says Morgan. 'You would save money on stains and wood bleach too.'

Luke Arthur Wells is a freelance design writer, award-winning interiors blogger and stylist, known for neutral, textural spaces with a luxury twist. He's worked with some of the UK's top design brands, counting the likes of Tom Dixon Studio as regular collaborators and his work has been featured in print and online in publications ranging from Domino Magazine to The Sunday Times. He's a hands-on type of interiors expert too, contributing practical renovation advice and DIY tutorials to a number of magazines, as well as to his own readers and followers via his blog and social media. He might currently be renovating a small Victorian house in England, but he dreams of light, spacious, neutral homes on the West Coast.