What sandpaper grit should I use when painting a room? These are decorators' golden rules for the very best finish
Picking the proper sandpaper grit grade really can make all the difference to your paint project

The Livingetc newsletters are your inside source for what’s shaping interiors now - and what’s next. Discover trend forecasts, smart style ideas, and curated shopping inspiration that brings design to life. Subscribe today and stay ahead of the curve.
You are now subscribed
Your newsletter sign-up was successful
If you want the most professional-worthy paint job possible, sanding your walls really is a must. Not only does it smooth out your surface for an even application, but it helps your paint to adhere properly for a longer-lasting finish. Something we often fail to consider, however, is what grade of sandpaper grit is best for the task.
For a less experienced DIYer, the hardware store's sandpaper aisle can be an overwhelming place, with numerous different grit scales to wrap your head around. Picking the right type depends on a variety of factors, such as the type of surface you're sanding and whether you want a light or heavy sand, and it really can be the difference between a decent paint project and a shoddy one.
If you want to do your paint ideas justice, choosing the proper sandpaper grit level is one of the first steps. To help you decide which is right for your upcoming project, these experts are on hand to help.
What sandpaper grit should you use when sanding a painted wall?
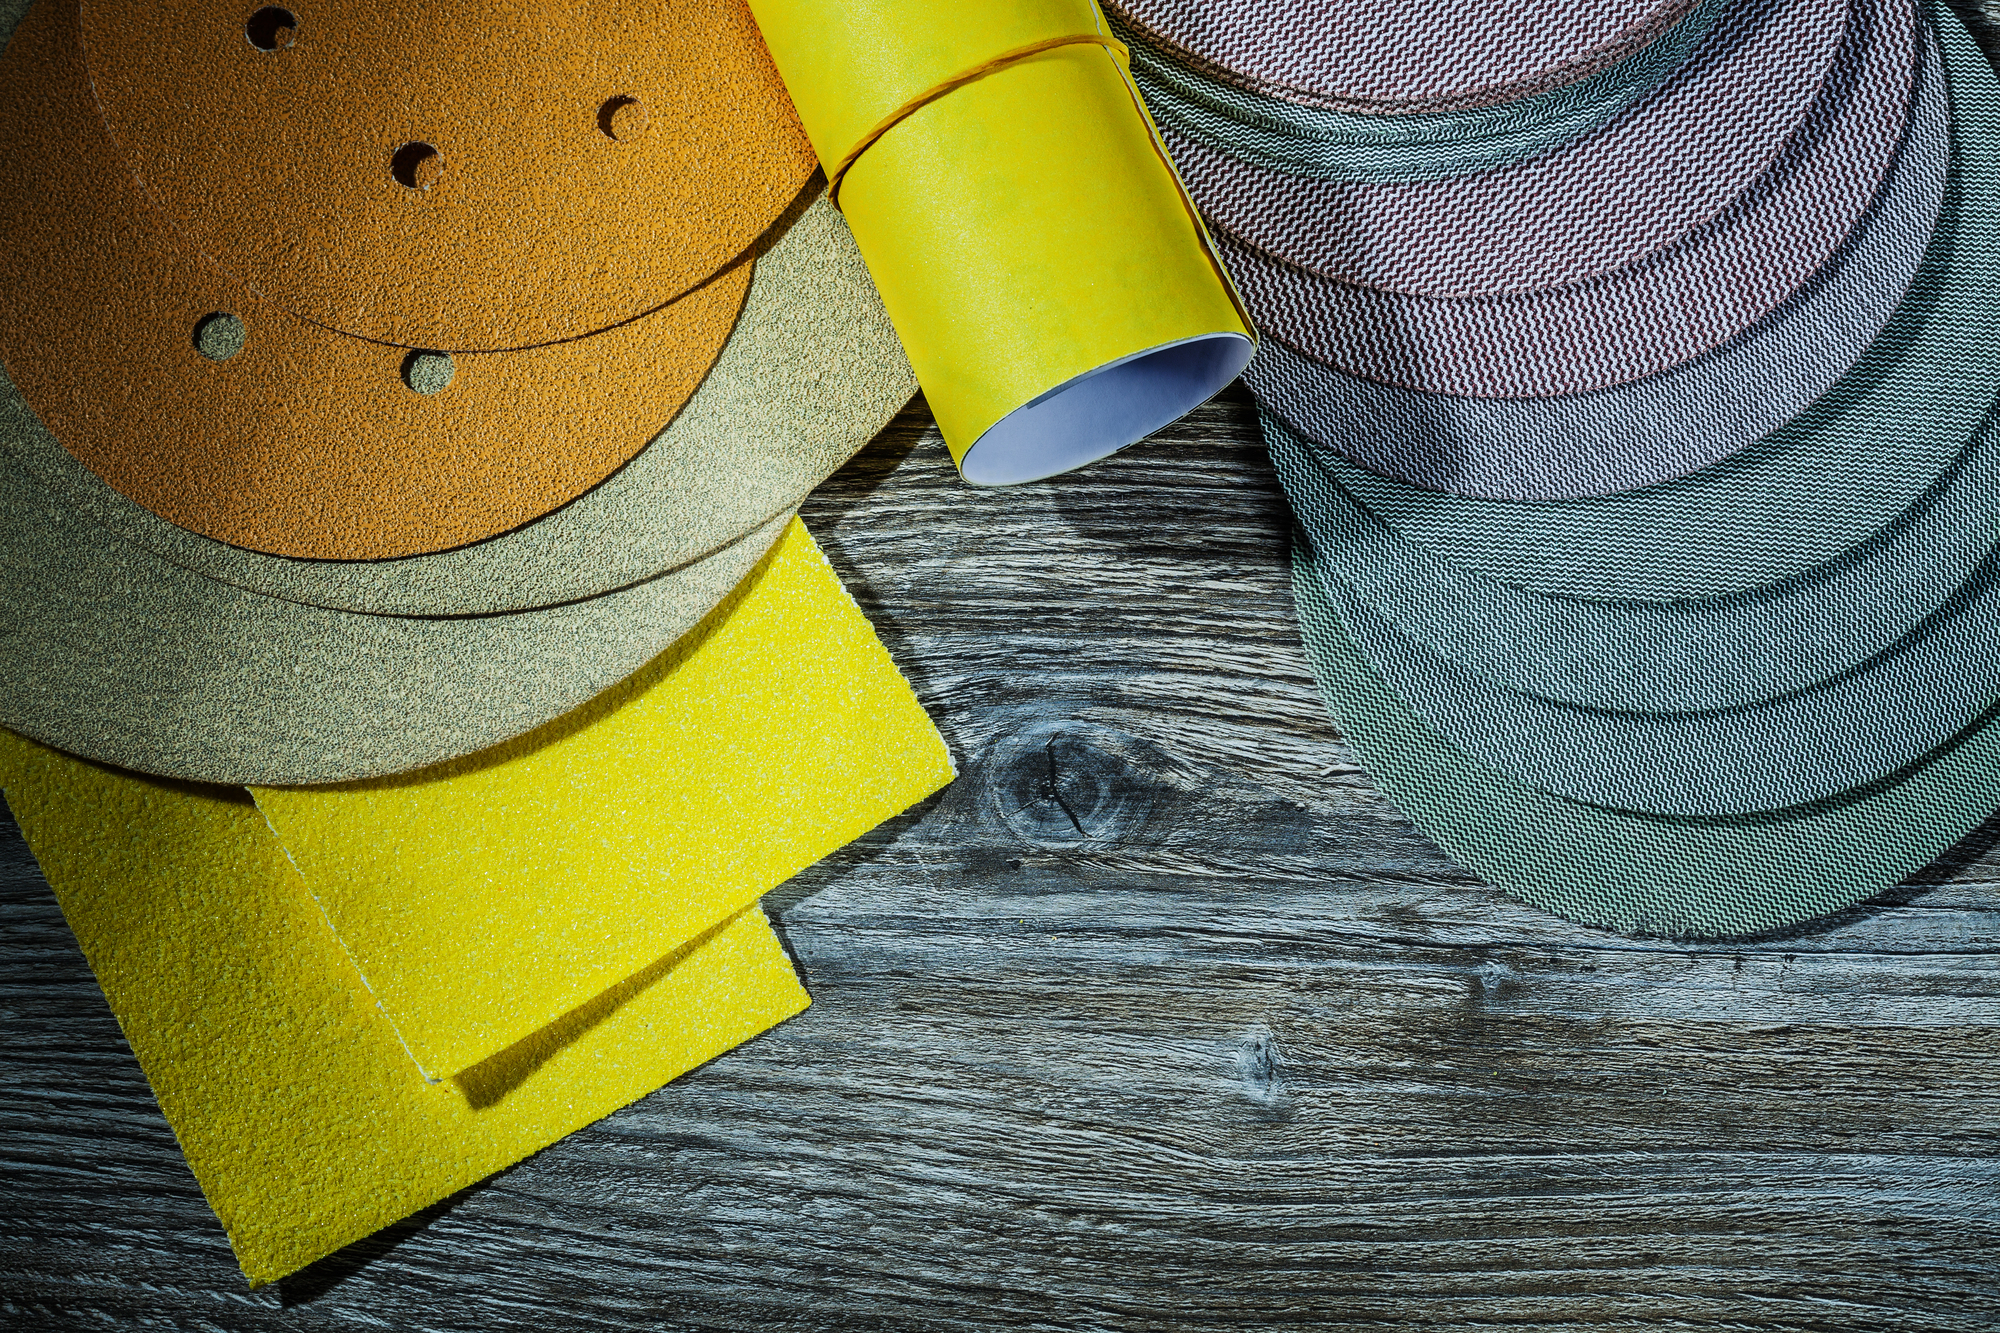
If you're not even sure what we're talking about, grit grades refer to the coarseness of your sandpaper. The scale ranges from 40 to 400 plus (40 being coarse) and those numbers refer to the number of holes per square inch in the screens used for sieving the abrasive grains during the manufacturing process.
Put simply, the more intense sanding you want to do, the lower the grit grade should be. If you're stripping a wall completely, opt for abrasive sandpaper between 40 and 60 on the scale, while medium grit is best for more general purposes to gently sand surfaces. Ultra-fine sandpaper on the higher end of the scale tends to only be reserved for fine sanding between coats, or for wet sanding (more on that later).
'When sanding painted walls you don’t want to use anything too rough that could leave scratches in the finish, so it’s important to use a lesser grit paper,' explains Anthony Kulikowski, paint expert at Five Star Painting of South Bend. 'We typically use a 120 or a 150. Keep in mind the goal for sanding a wall is to promote adhesion of the next coat and to remove any contaminants that may have been left behind from the previous coat.'
Of course, if you're planning to paint trim, furniture, or an exterior wall, the grit grade you need will differ. 'I use 220 (-400 on occasion) for trim prep, post-spray railings, and doors,' says Tila Lee, paint expert and owner of Pretty in Paint School. 'For wall prep I use 120, and I use 80-100 for exterior prep. We like to keep things trim on the tool side, so we generally keep those on rotation. One for rough surfaces, one for very smooth surfaces, and one for somewhere in the middle!'
The Livingetc newsletters are your inside source for what’s shaping interiors now - and what’s next. Discover trend forecasts, smart style ideas, and curated shopping inspiration that brings design to life. Subscribe today and stay ahead of the curve.
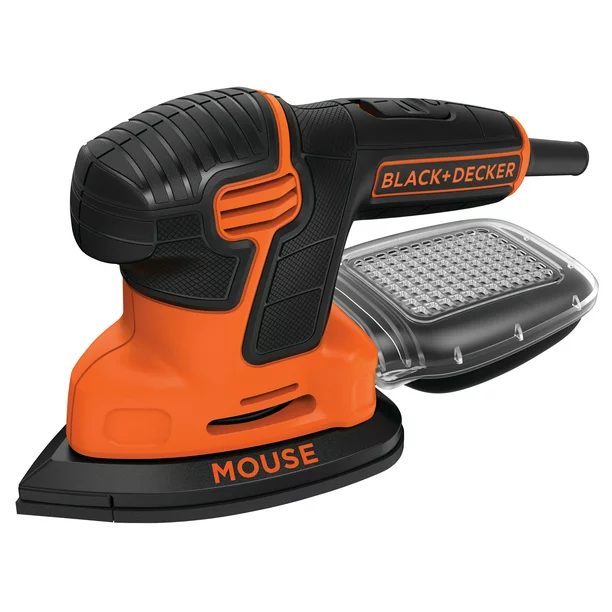
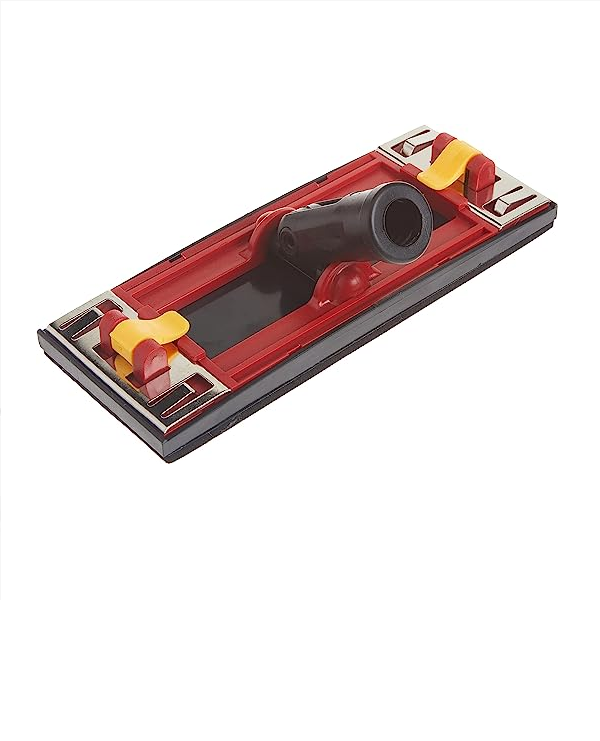
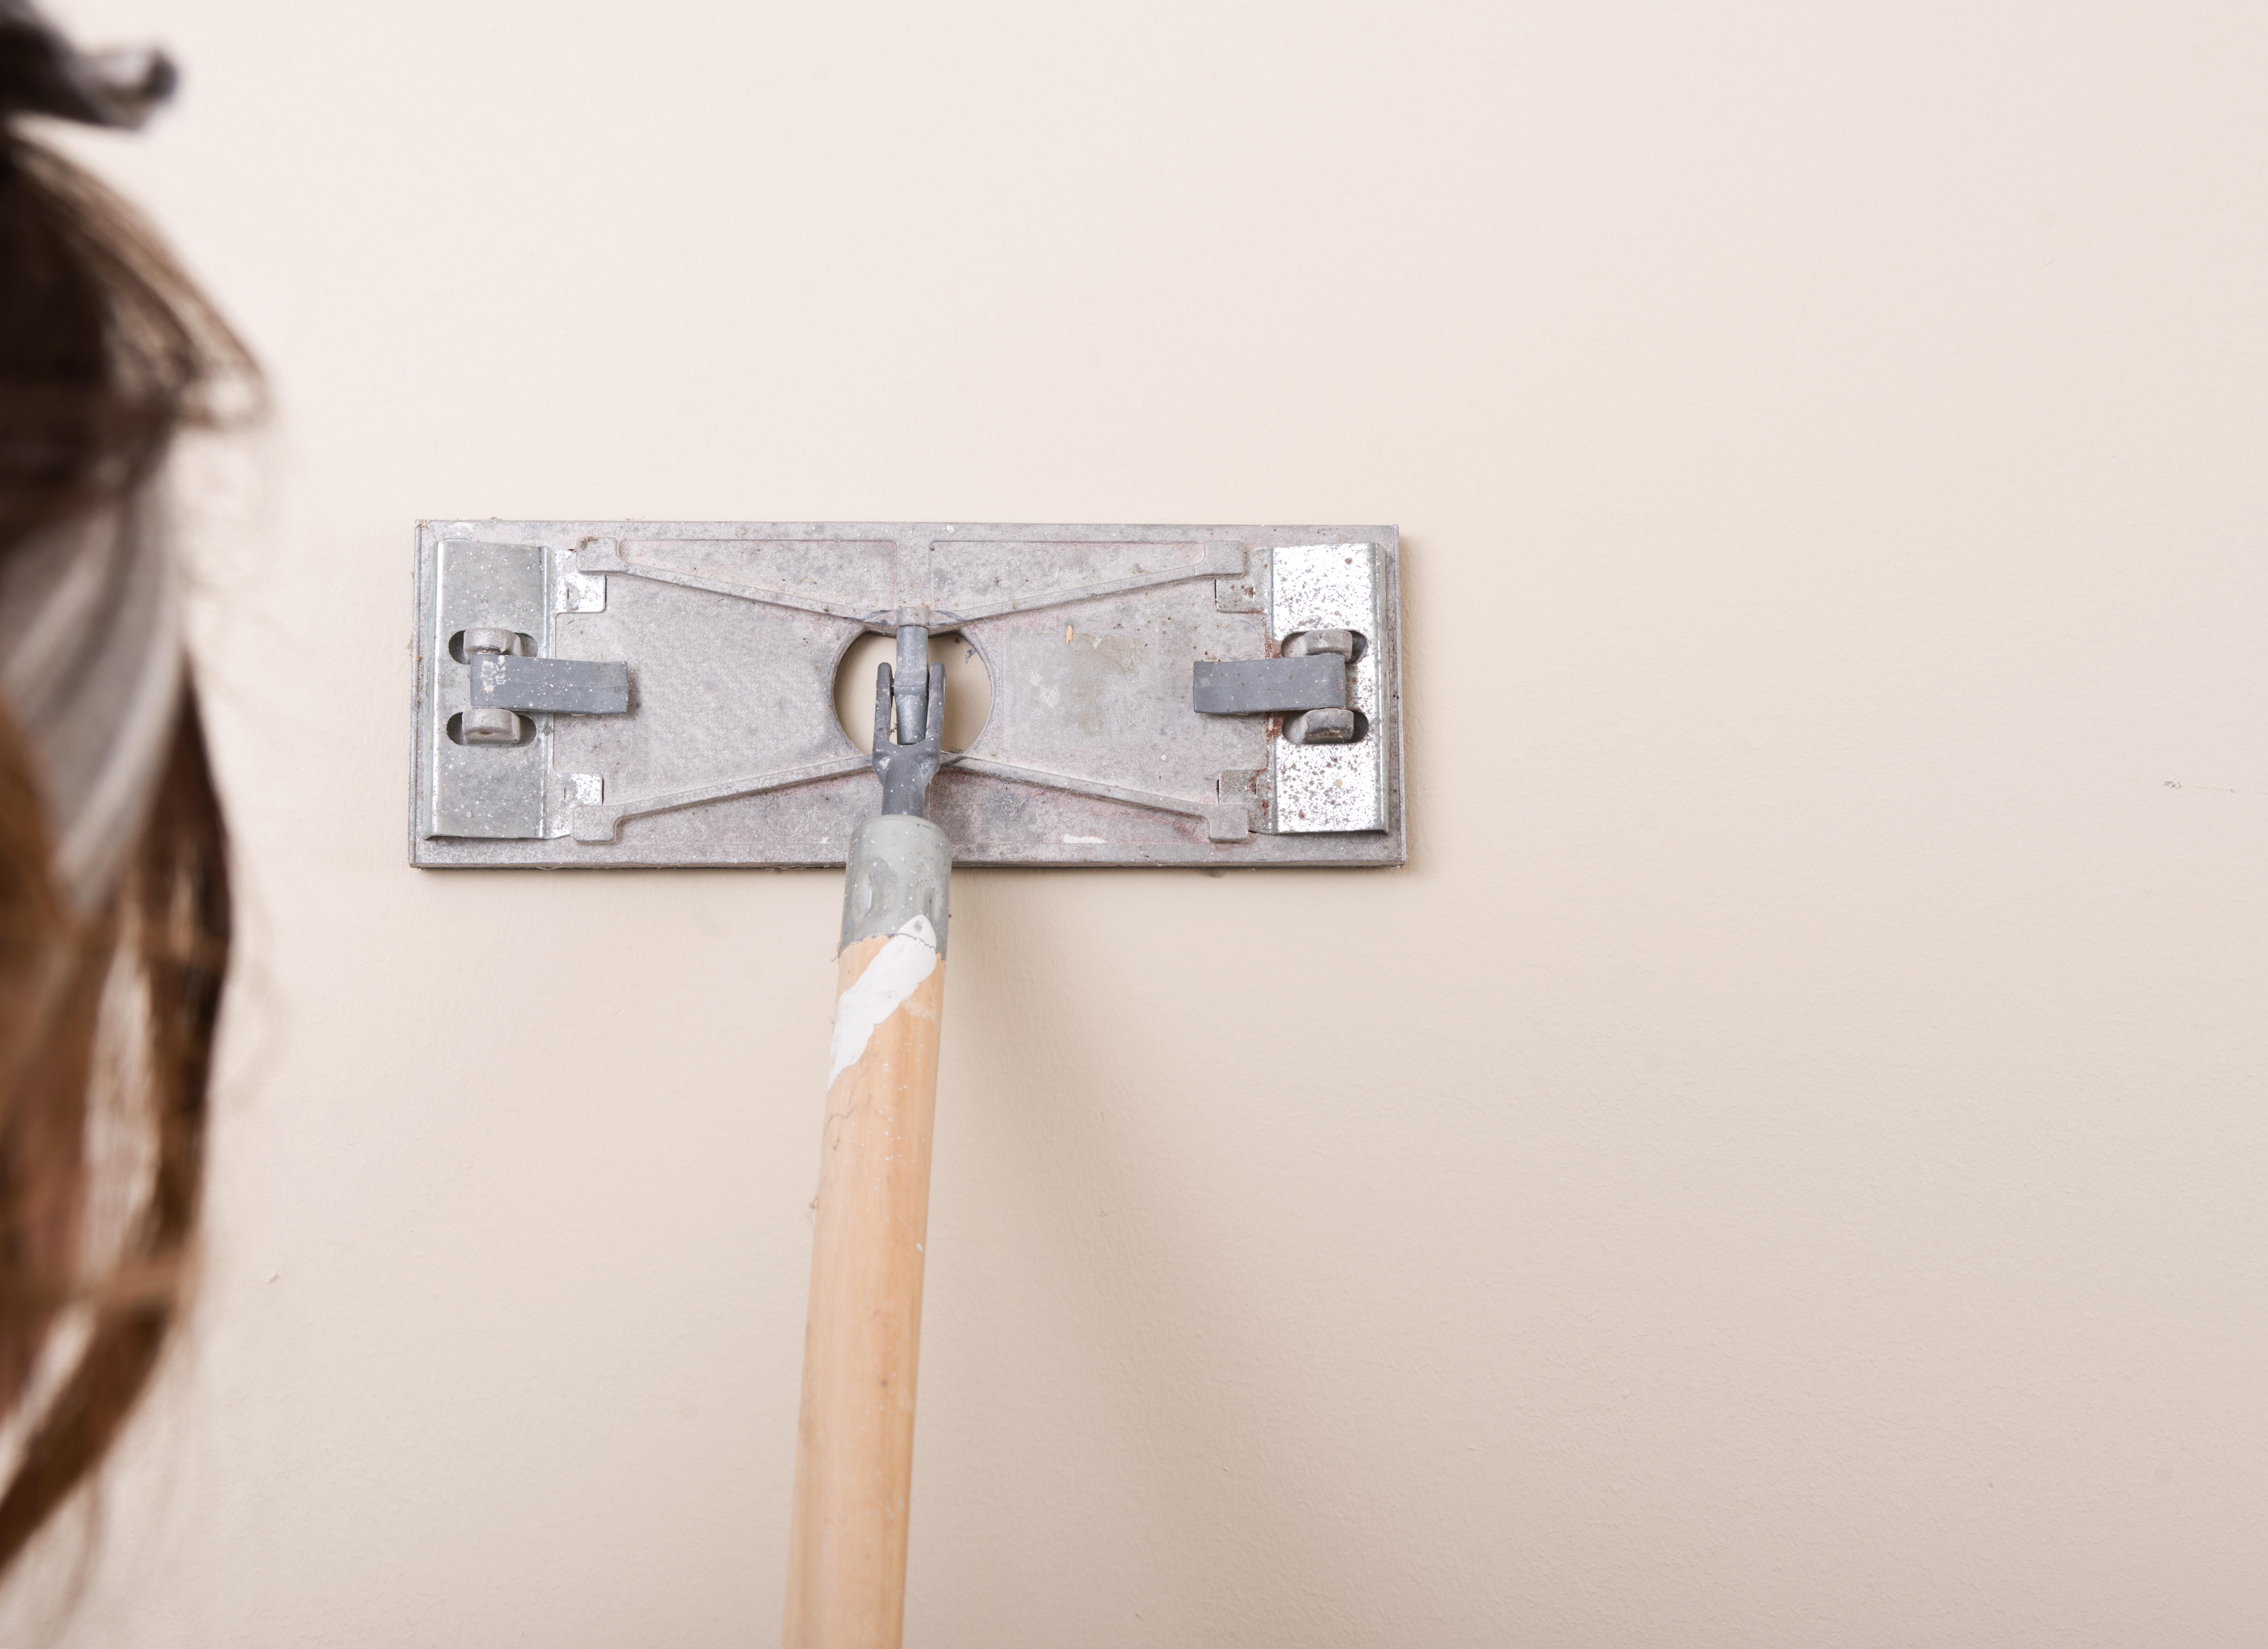
When it comes to sanding itself, the best tool to use for walls is a pole sander with a large round head. 'These will help you reach higher and lower places while also helping to complete the job faster,' says Tila. Alternatively, a sanding block will do (but bear in mind it will make the task longer).
What sandpaper grit should you use on oil-based paint?
If you've painted with oil-based paint before, you'll know that the thicker consistency and oily texture make it a lot more durable. It's often used for a glossier paint finish on the likes of door and window trim, but the downside is that it's much more difficult to sand down.
For the most part, you can still use a medium-grade sandpaper grit. 'We would use anything from a 120 grit up to a 220 grit paper for these areas,' says Anthony. 'It’s also important to note that if you’re applying a water-based coating over a surface previously painted with oil-based paint, a primer is recommended to promote better adhesion.'
That said, if you're trying to decide between two grit levels, Tila would recommend erring on the side of caution by choosing the coarser one. As she notes: 'Old oil paint can be very hard so, depending on the surface, if you’re considering 80 or 100, you might want to choose the 80!'
Should you use a different grade of sandpaper when painting furniture?
If you're wondering how to paint furniture, it really depends on the type of surface you're working with. Laminate surfaces (like lots of IKEA furniture) won't need much sanding but a good shellac-based primer is recommended. For wooden furniture, however, sanding is a must.
Since you don't want to cause any damage to your furniture, opt for a medium to fine sandpaper grade. 'Being that most furniture is more on the smooth side, generally a 120-220 grit does the job,' says Tila. 'This might even fall somewhere in the middle (150-180) depending on the piece.'
Anthony's advice is to always start with a finer grade, moving to a medium if needed. 'With furniture, you’ll usually want to keep in the fine to very fine categories of sandpaper,' he says. 'For most projects, 150-220 will be what you’d need. Specialty projects could require 320-400 and 600 grit depending on what you're trying to achieve.'
For the ultimate smooth surface, finish with a wet sand
If you really want to step things up a gear, finish your sanding job with a wet sand. 'This is used to smooth out a surface that may have some particles built up on it,' explains Tila. 'We're usually doing this after a spray finish where some dust or overspray has built up on the surface.'
Using a very fine grit paper (220-400), ensure your paper stays consistently wet. 'If you are doing a large area, I recommend keeping a little pail with you so you can continually dunk the paper in it,' Tila suggests. 'High-quality paper works best for this specific task.'
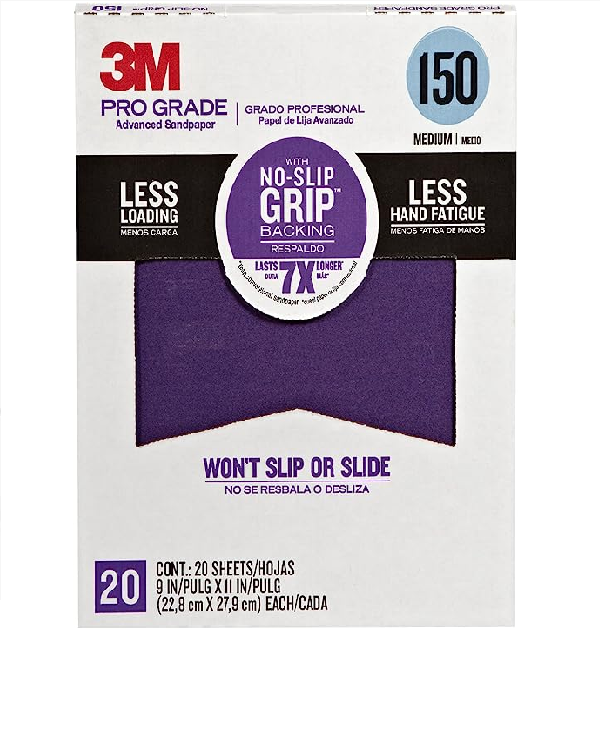
To that end, you should also be prepared to pay more for better-quality sandpaper if you want the best results. 'You get what you pay for,' Tila says. 'We use the purple 3M sandpaper that is meant to last longer than a usual piece and although it's more pricey, a piece can last up to a month or more. The same goes when using sanders, too. Higher quality papers for sanders are usually less of a paper, and more of a mesh-type substance.'

Lilith Hudson is a freelance writer and regular contributor to Livingetc. She holds an MA in Magazine Journalism from City, University of London, and has written for various titles including Homes & Gardens, House Beautiful, Advnture, the Saturday Times Magazine, Evening Standard, DJ Mag, Metro, and The Simple Things Magazine.
Prior to going freelance, Lilith was the News and Trends Editor at Livingetc. It was a role that helped her develop a keen eye for spotting all the latest micro-trends, interior hacks, and viral decor must-haves you need in your home. With a constant ear to the ground on the design scene, she's ahead of the curve when it comes to the latest color that's sweeping interiors or the hot new style to decorate our homes.
