I use this one-minute decorating cheat to ensure the perfect perky Christmas tree topper year after year
If your tree's branches aren't sturdy enough to support your topper, try this simple hack that will make it the star (quite literally) of your decorating scheme

The Livingetc newsletters are your inside source for what’s shaping interiors now - and what’s next. Discover trend forecasts, smart style ideas, and curated shopping inspiration that brings design to life. Subscribe today and stay ahead of the curve.
You are now subscribed
Your newsletter sign-up was successful
We've all been there – the Christmas tree is decorated in all its finery, with just the tree topper the crowning glory. But when you go to place your tree topper you've opted for this year, it's not quite the guiding star you'd imagined.
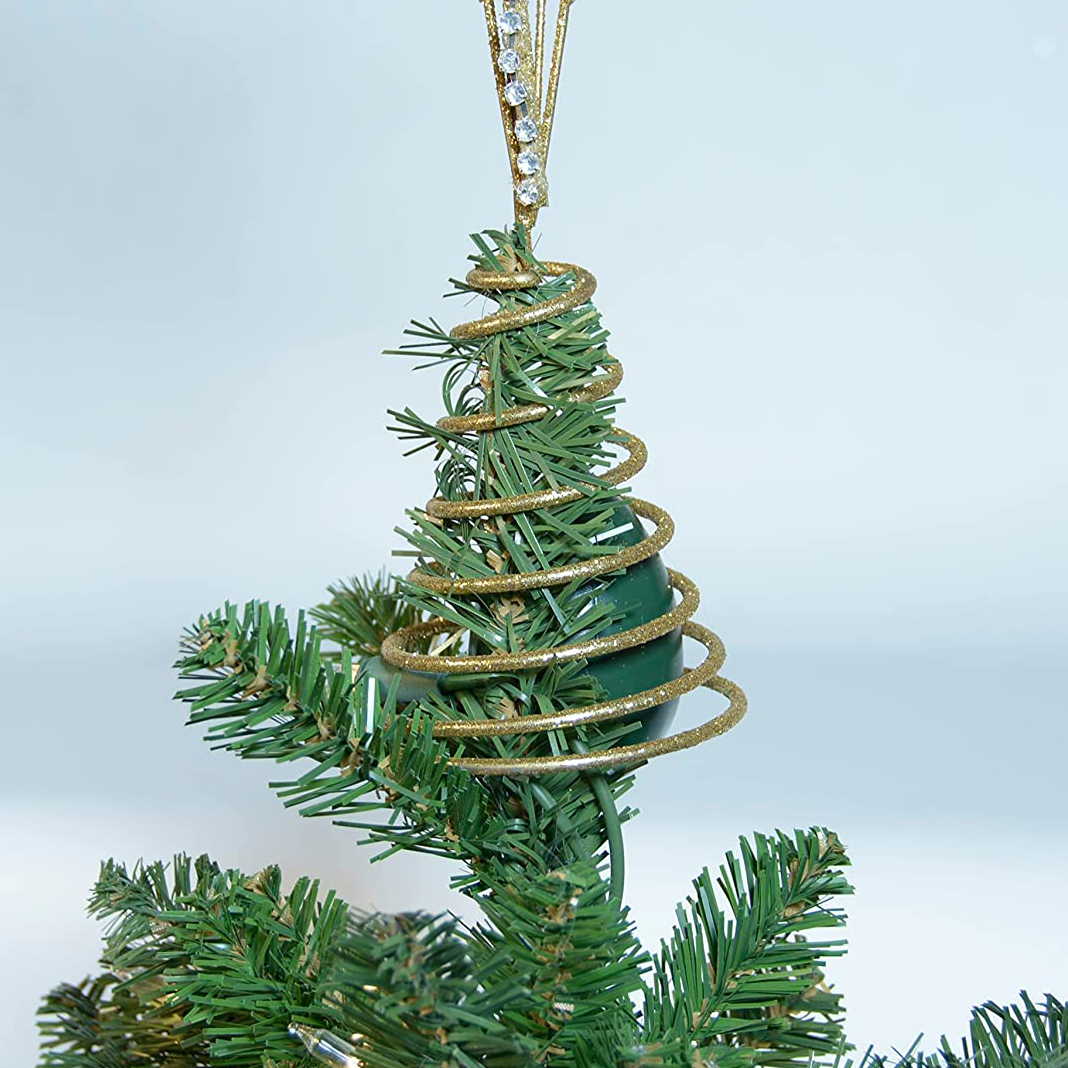
Over the years as an interiors journalist, I've styled dozens and dozens of Christmas trees – real and faux, budget and (sometimes quite shockingly) expensive, but the very top of the tree is almost always a problem area. For the most dramatic tree toppers, these branches just aren't up to the task, meaning they'll bend and you'll have a rather deflated-looking Christmas tree. It's a term I'm coining 'topper flop', and it's probably the most frustrating thing that can happen when decorating your tree.
Thankfully, I've picked up a few Christmas decorating tricks in my time, but one, in particular, is my go-to for a perky and perfect tree topper. Plus, it's an idea that also means you can use a standard decoration for a topper, too, which is ideal if you haven't found the perfect one to crown your tree so far.
Here's what you need to know.

How to get a perky Christmas tree topper
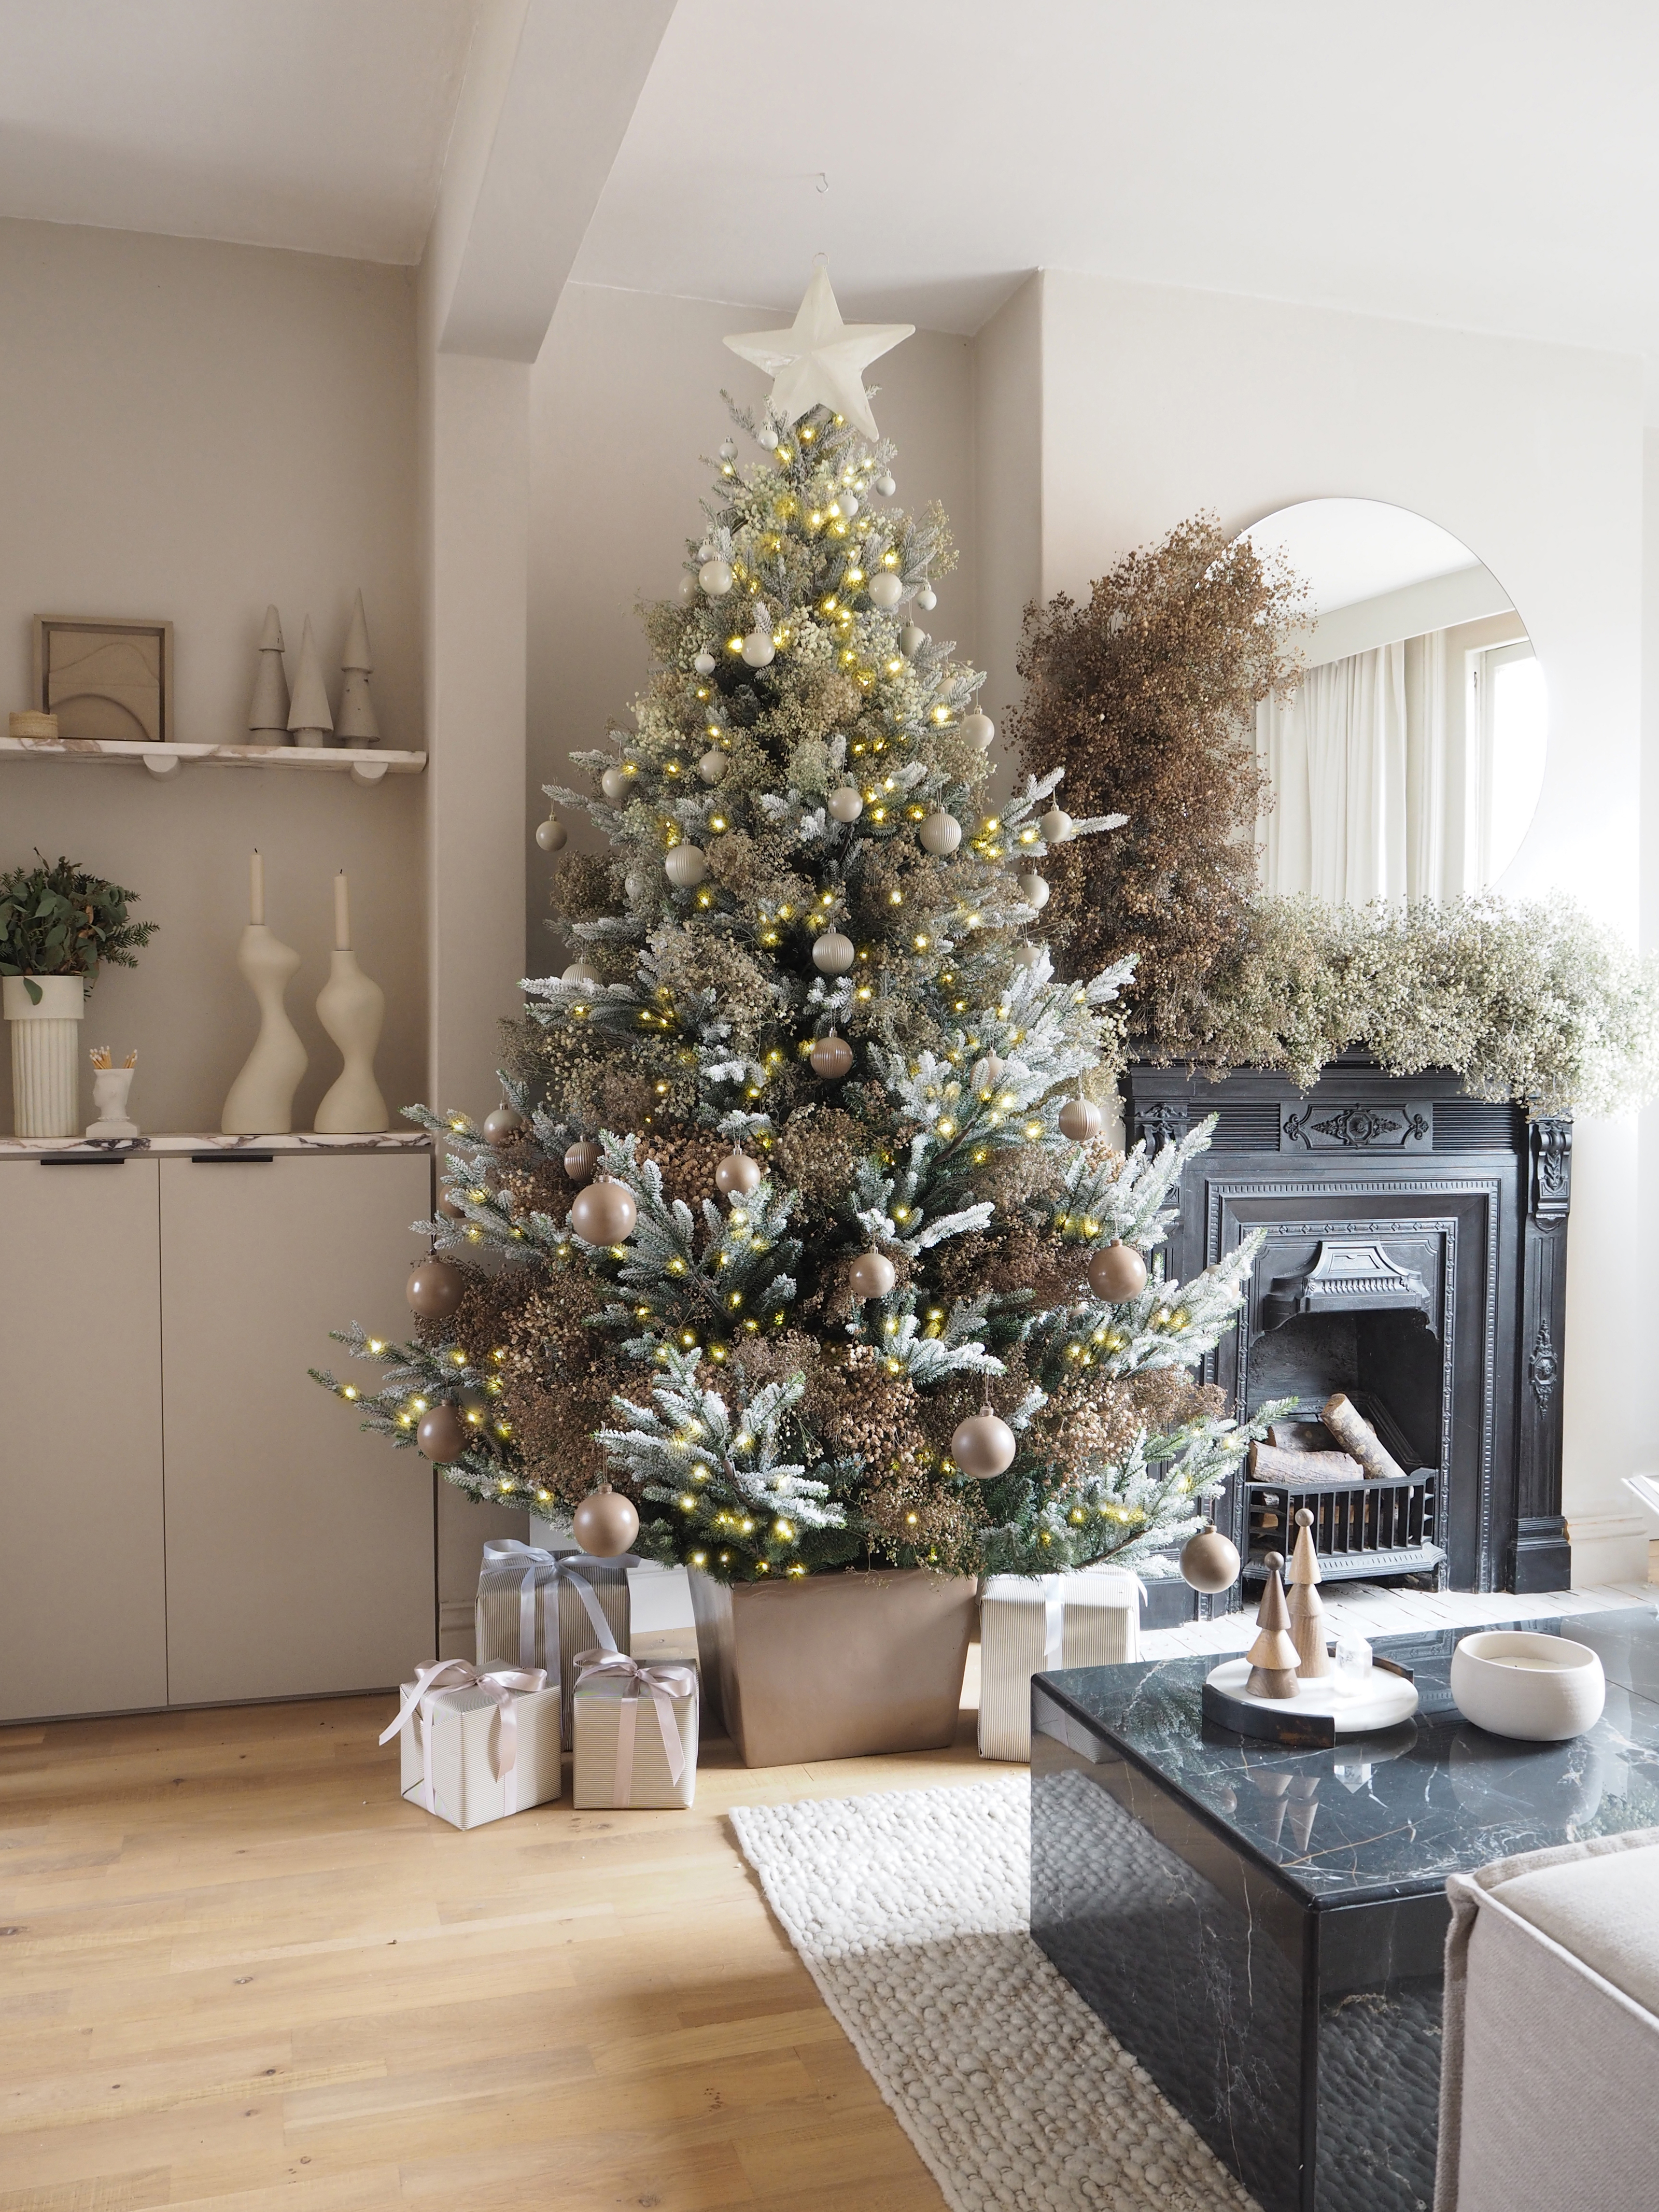
My solution to floppy branches of Christmas trees ruining the appeal of your star? Avoid putting your topper on the tree itself altogether.
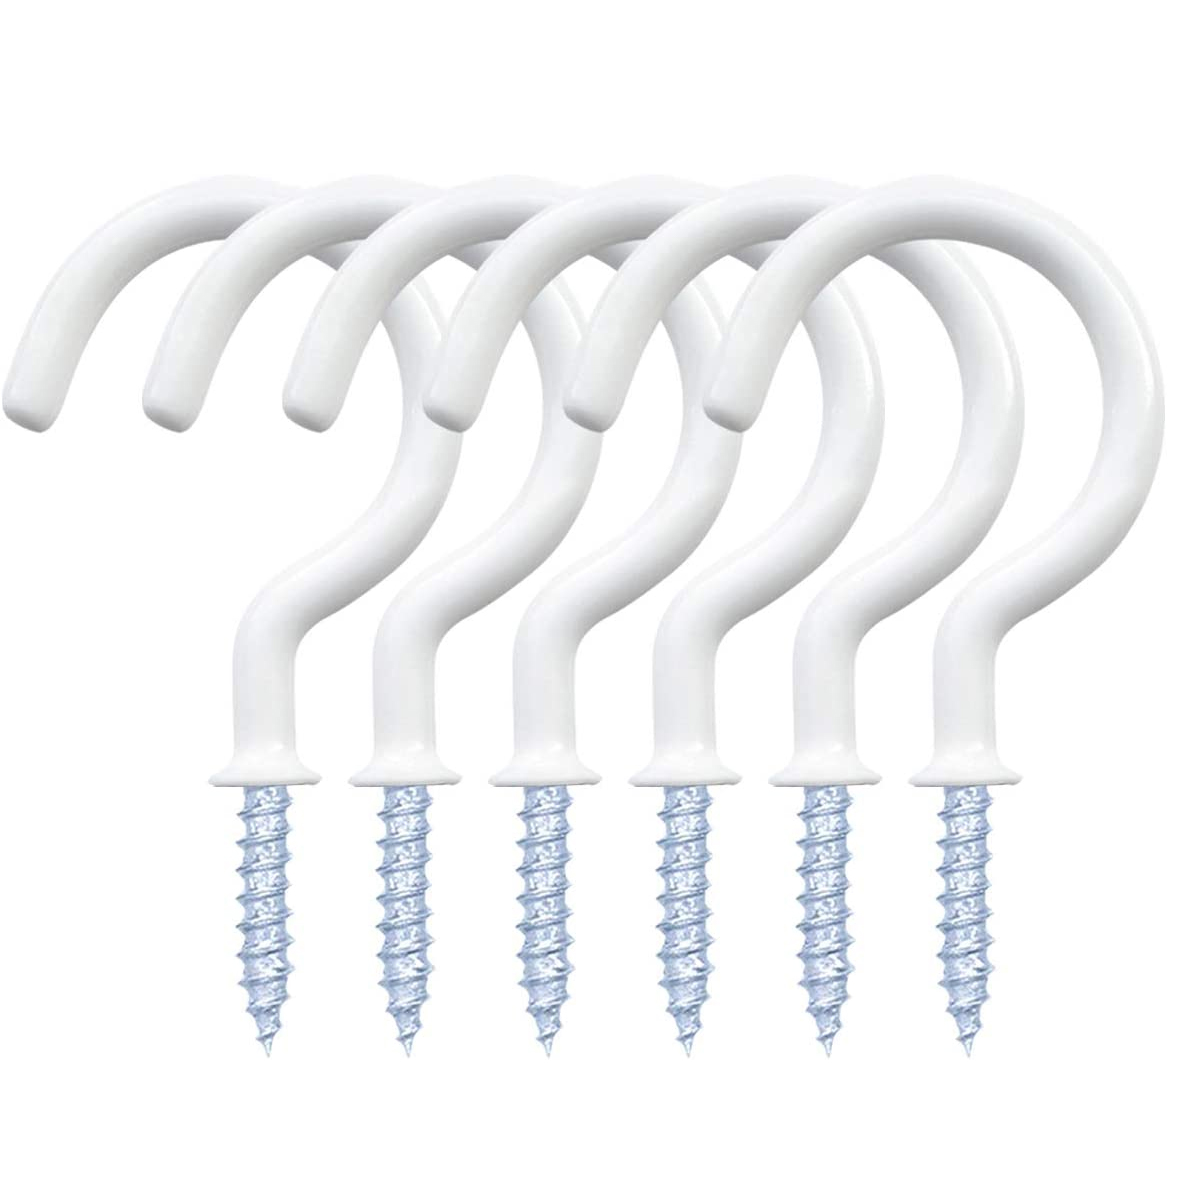
Instead, insert a small hook into the ceiling, tie your tree-topping ornament with a fine thread or filament, and hang it exactly where your star should sit. The decoration will balance against the top of your tree, without sitting directly on it. I usually choose a tree that stops just short of my ceiling, but even if you have a couple of feet between the ceiling and the tree, a longer piece of filament can be used.
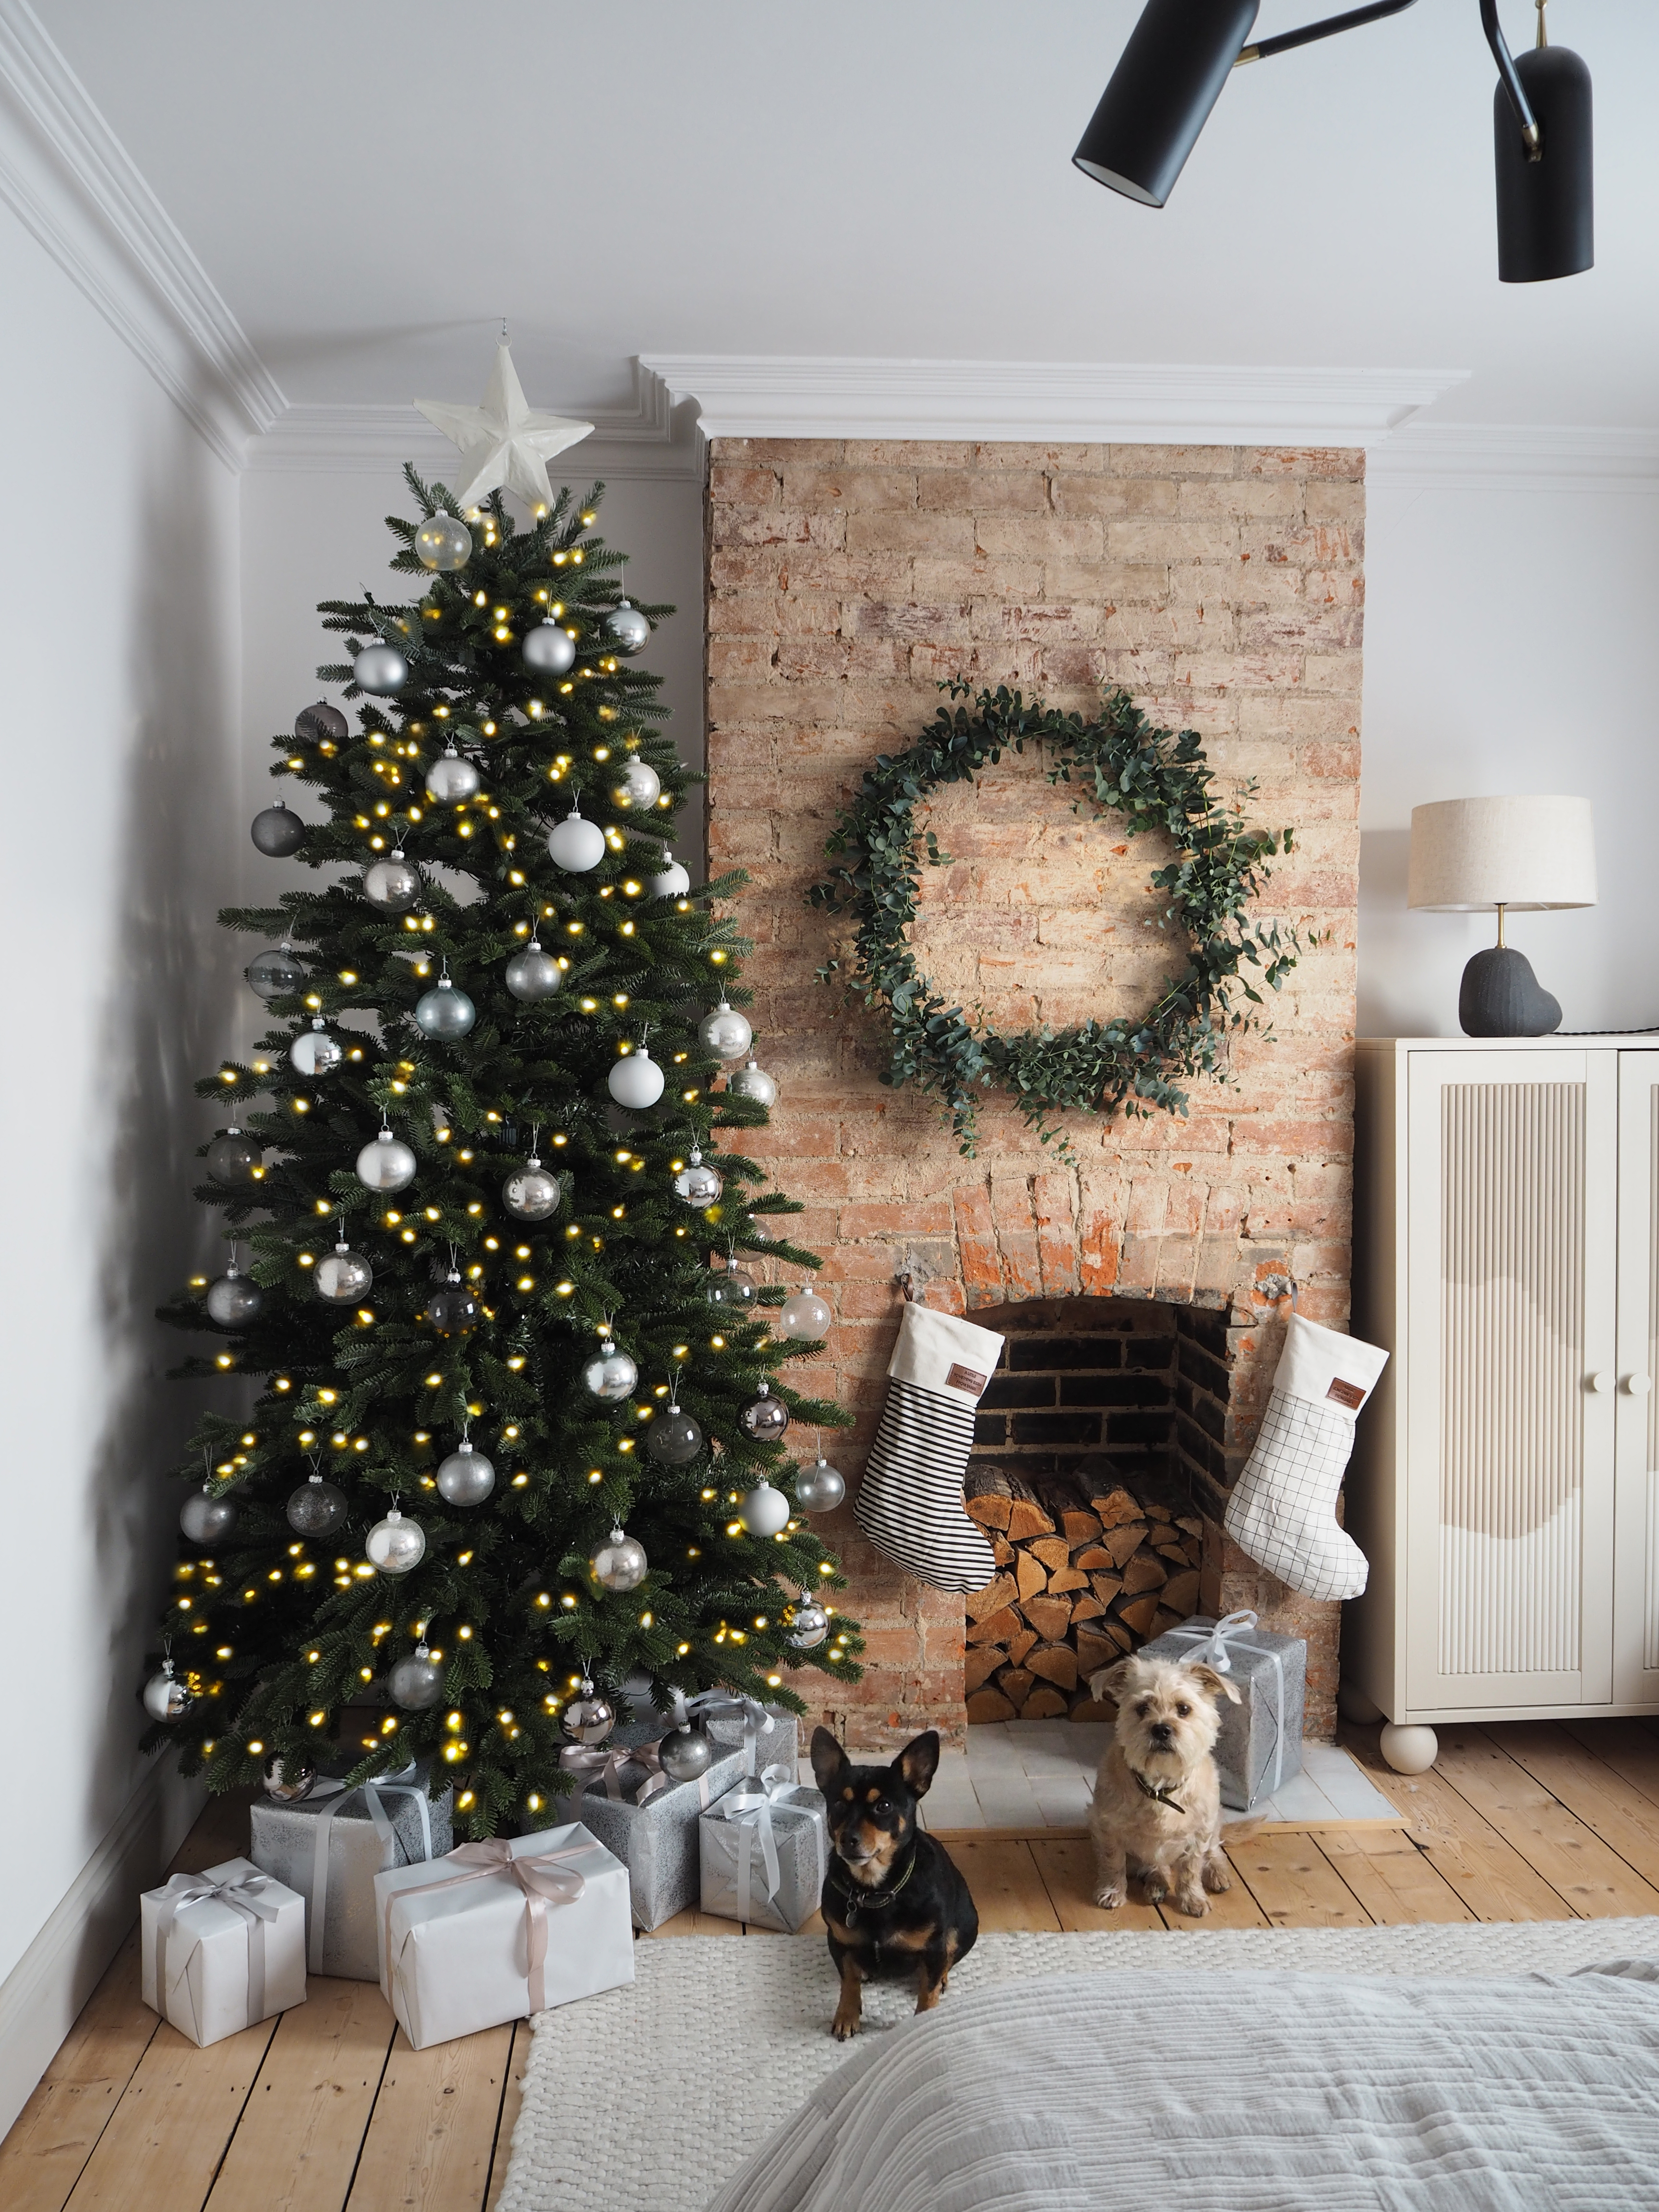
The key to this trick is ensuring your tree is perfectly positioned before hanging up your ornament, as once you've put up your hook, the position of the topper is hard to change, though you may be able to adjust it slightly if you use a screw-in hook.
The Livingetc newsletters are your inside source for what’s shaping interiors now - and what’s next. Discover trend forecasts, smart style ideas, and curated shopping inspiration that brings design to life. Subscribe today and stay ahead of the curve.
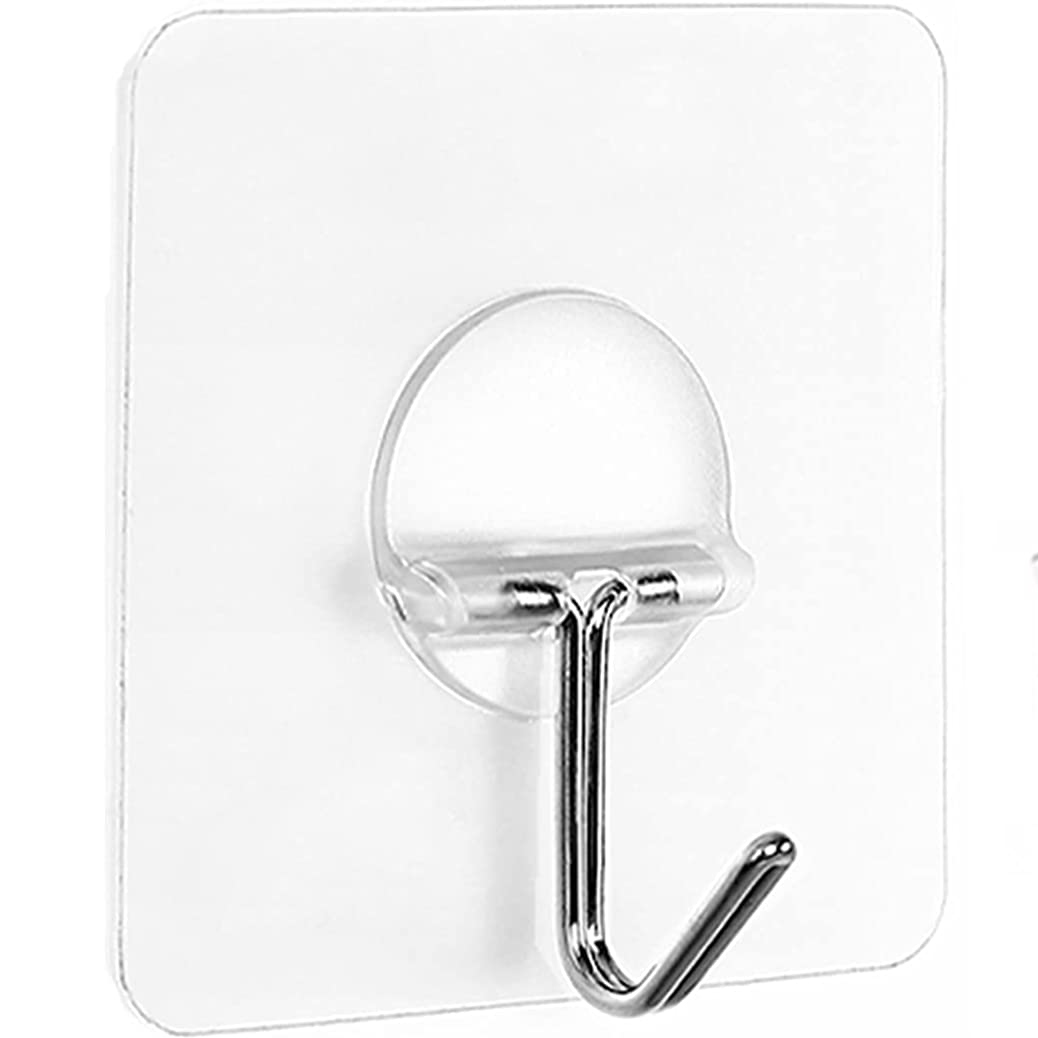
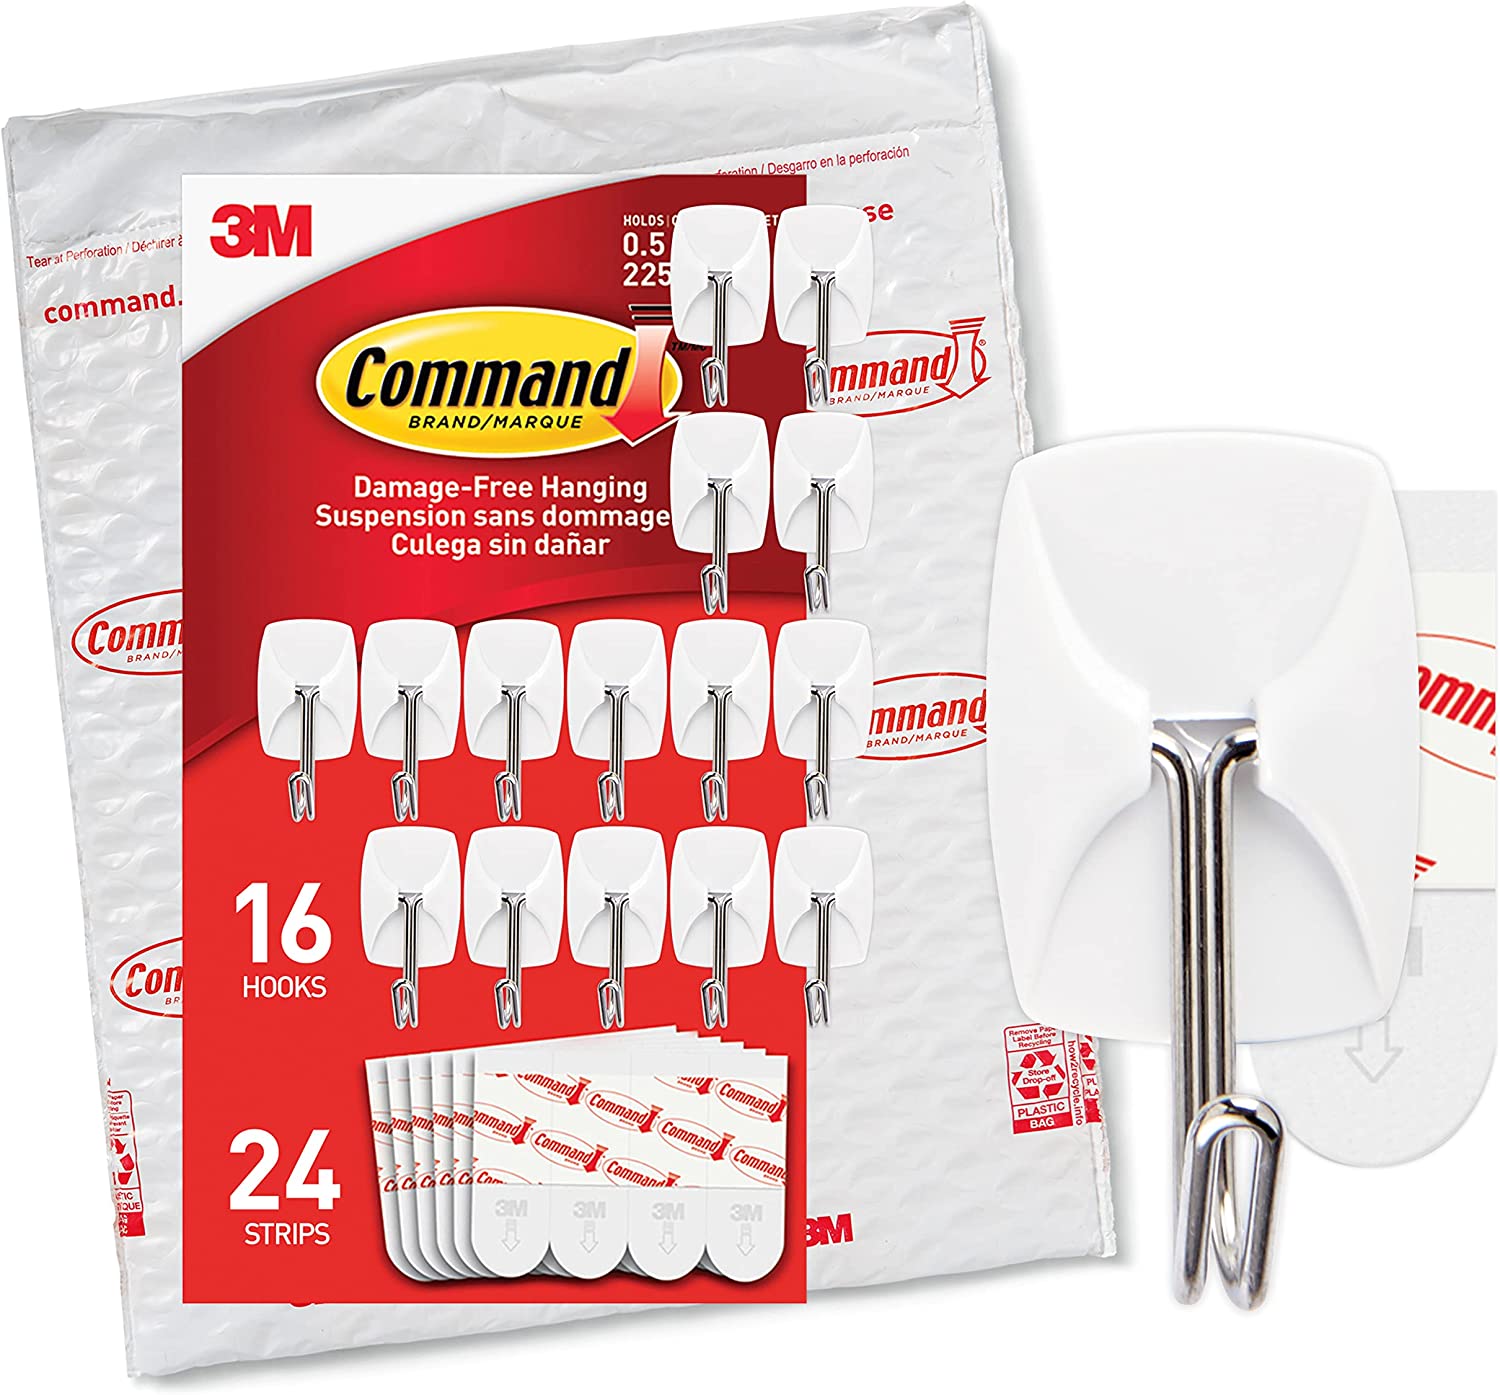
Of course, the only drawback to this idea is that if you use a screw-in hook, which is often what I use as I keep these in my toolbox, you'll make a hole in the ceiling, which you'll later have to fill and repaint. You could, however, use a temporary fixture to hang your topper which should leave paintwork untouched.
Either way, you'll need to consider the weight of your ornament. For most typical Christmas tree toppers, a simple screw-in or stick-on hook will be up to the job - for something heavier, you may only be able to use this trick if you can find a ceiling joist to screw into.
How else can I get my topper to stay straight
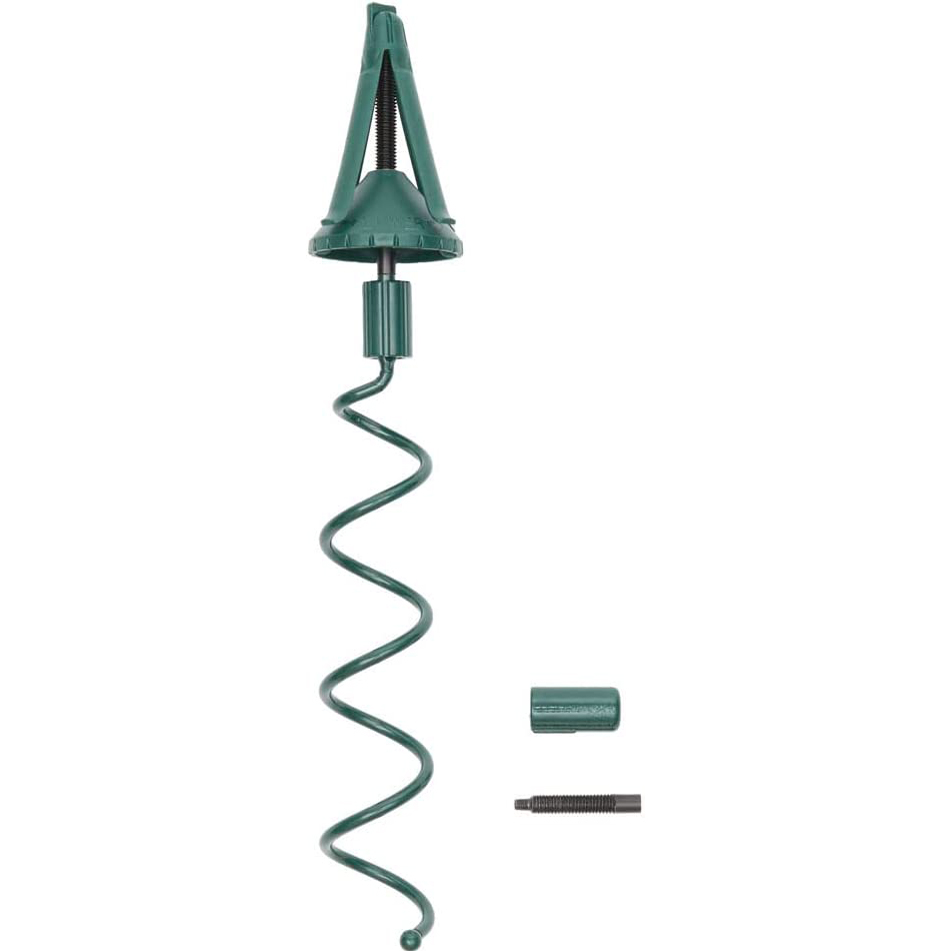
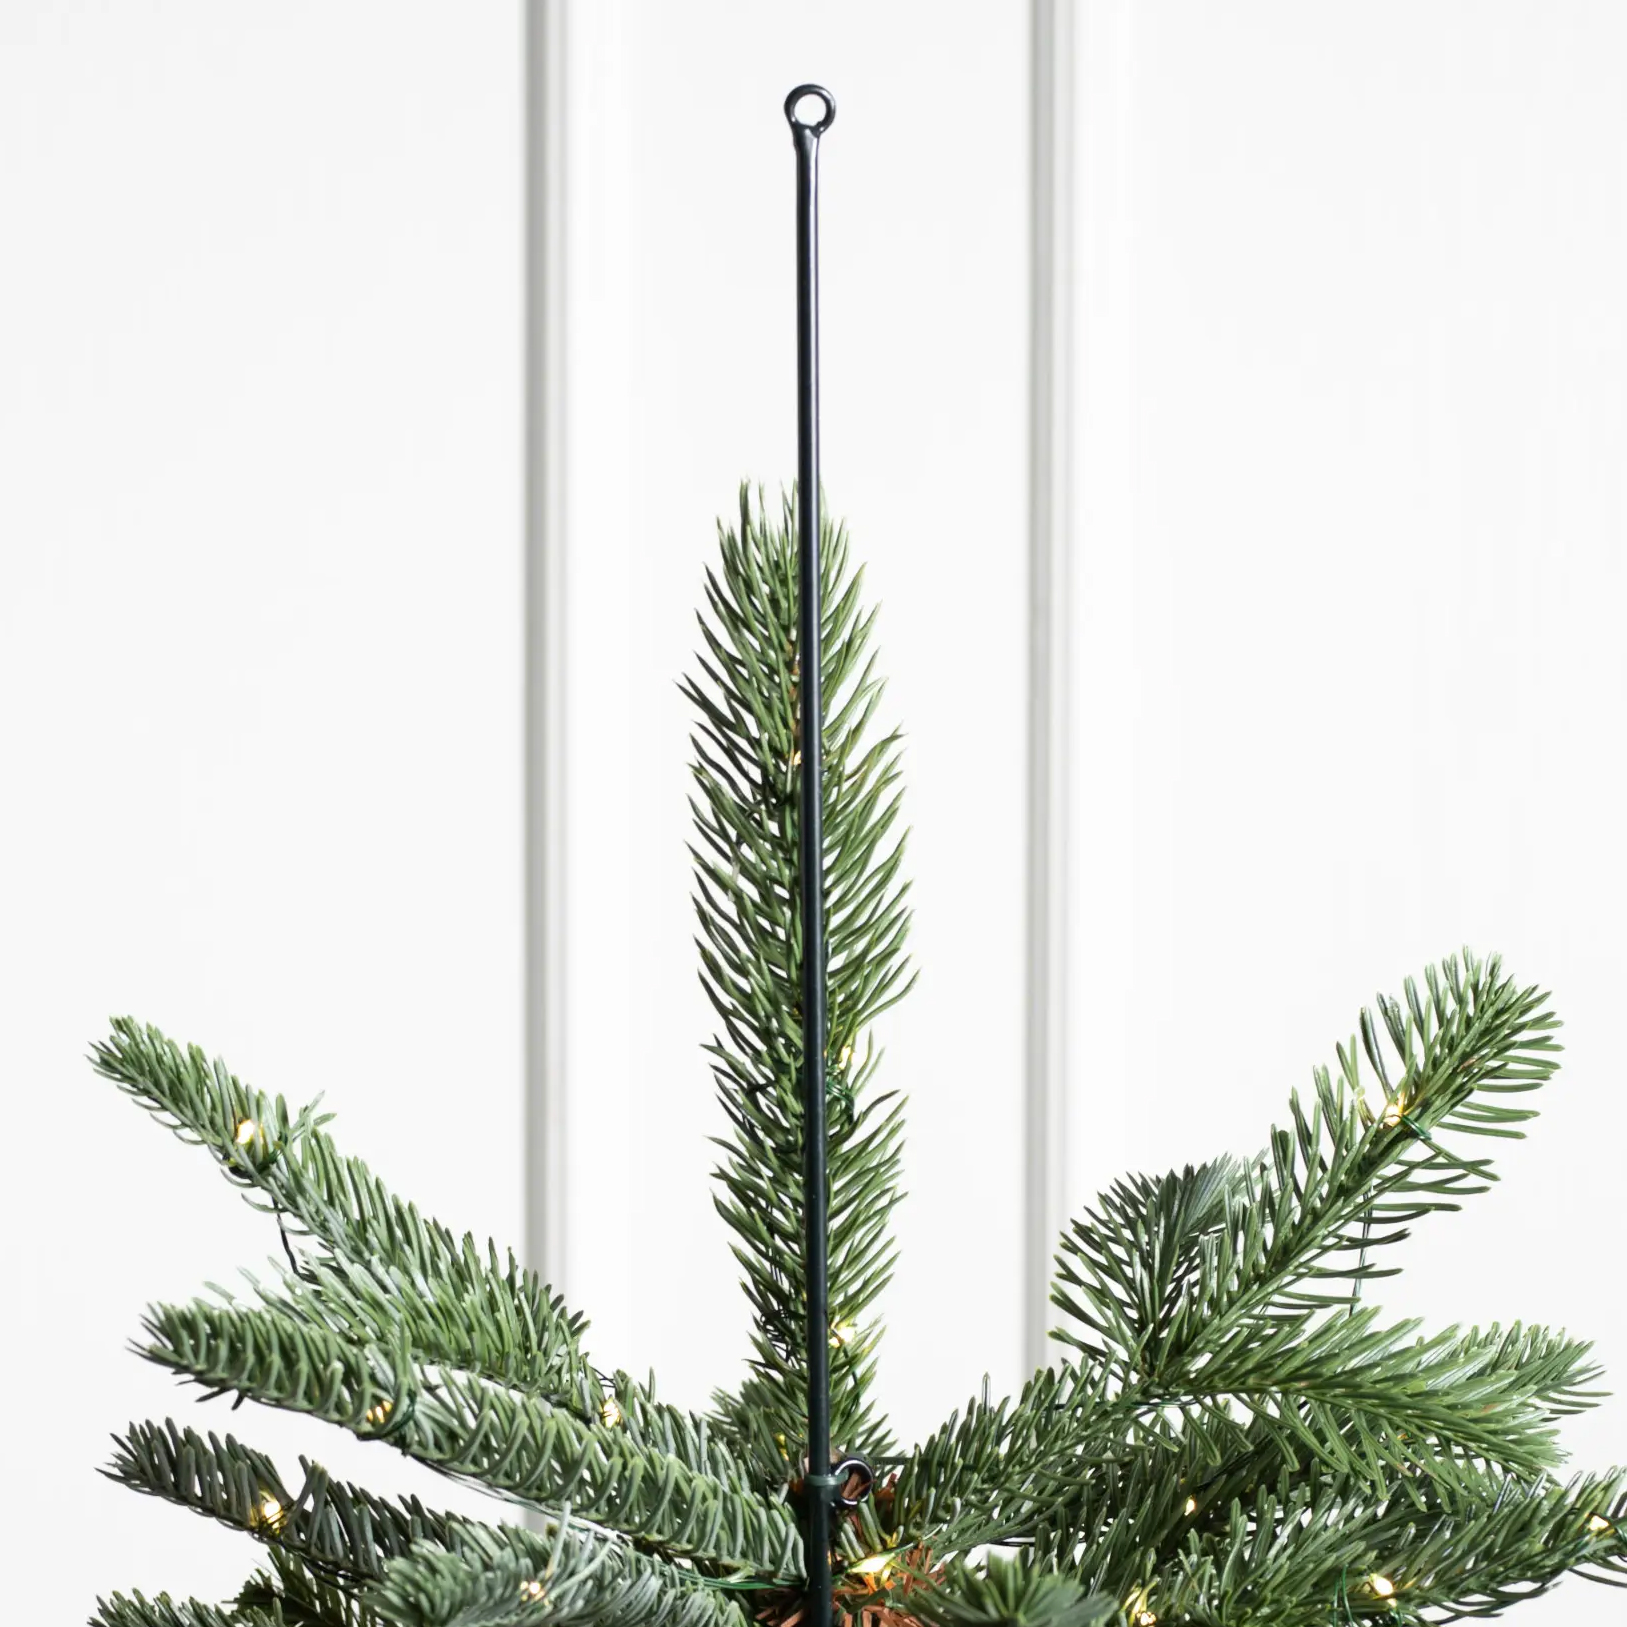
This hack isn't the only way you can get your tree topper to stand to attention, and if only to demonstrate how widespread an issue 'topper flop' really is, there are loads of products out there dedicated to righting this wrong.
Of course, hanging it from the ceiling is an option that you can probably achieve with what you've already got in your toolbox, but here are some of the best buys to invest in if you'd rather have n out-of-the-box solution for your Christmas tree year after year.

Hugh is Livingetc.com’s editor. With 8 years in the interiors industry under his belt, he has the nose for what people want to know about re-decorating their homes. He prides himself as an expert trend forecaster, visiting design fairs, showrooms and keeping an eye out for emerging designers to hone his eye. He joined Livingetc back in 2022 as a content editor, as a long-time reader of the print magazine, before becoming its online editor. Hugh has previously spent time as an editor for a kitchen and bathroom magazine, and has written for “hands-on” home brands such as Homebuilding & Renovating and Grand Designs magazine, so his knowledge of what it takes to create a home goes beyond the surface, too. Though not a trained interior designer, Hugh has cut his design teeth by managing several major interior design projects to date, each for private clients. He's also a keen DIYer — he's done everything from laying his own patio and building an integrated cooker hood from scratch, to undertaking plenty of creative IKEA hacks to help achieve the luxurious look he loves in design, when his budget doesn't always stretch that far.
