How to tile a bathroom wall – 10 steps to give your space a DIY refresh
Want to learn how to tile a bathroom wall? We've got you covered with a super straightforward guide so you can DIY a new look
The Livingetc newsletters are your inside source for what’s shaping interiors now - and what’s next. Discover trend forecasts, smart style ideas, and curated shopping inspiration that brings design to life. Subscribe today and stay ahead of the curve.
You are now subscribed
Your newsletter sign-up was successful
If you’ve been inspired by the latest bathroom trends – whether that’s making a statement or creating a relaxing haven – you might be wondering how to tile a bathroom wall to bring your bathroom up to date. If so, you’ve come to the right place!
‘A bathroom renovation needs to be well planned and carefully considered. Along with the kitchen, it will be one of the more expensive and complicated rooms in the home to renovate, so it’s important to get it right!’ says Amanda Telford, marketing manager at CTD Tiles.
So, how to go about it? ‘A seasoned pro will tell you then when it comes to that flawless finish, the key’s all in the prep,’ says Abbas Youssefi, director of Porcelain Superstore. ‘So whether you’re re-tiling a smaller splashback or looking to overhaul your entire ensuite, it’s vital to invest some time upfront.’
If you’ve got time and patience, tiling a wall could be a weekend job that could totally transform the look of your bathroom...
How to tile a bathroom wall – everything you need to know in 10 easy steps
You will need
- Your tiles of choice
- Tile adhesive and grout
- Tile cutter
- Floor primer
- Spacers
- Tape measure
- Notched trowel
- Grout float
- Spirit level
- Wall baton
- Rubber mallet
- Safety gear (gloves, goggles and knee pads)
1. Prepare the bathroom wall for tiling
When tiling a bathroom wall, or any surface for that matter, preparation is key. Taking the time to prep your surface will ensure smooth installation and the tiles will last long.
The first thing you'll want to do when tiling a bathroom is to remove any old tiles or wall coverings. It is possible to tile over old tiles but you need to ensure the surface is really smooth, clean, and dry. Also that adding another layer of tiles won't add too much thickness.
Once you have removed the old tiles using a hammer and chisel (wear goggles and protective gear to this as it's a messy job), remove any leftover adhesive with a scraper, then fill any holes or cracks.
The Livingetc newsletters are your inside source for what’s shaping interiors now - and what’s next. Discover trend forecasts, smart style ideas, and curated shopping inspiration that brings design to life. Subscribe today and stay ahead of the curve.
Jo Oliver from Stone & Ceramic Warehouse adds that ‘You may need to use ply or backer board prior to fixing your tiles and it is important to ensure that the space is waterproofed.'
2. Plan the position of your tiles on the bathroom wall
‘This is very important because you want to ensure you get as much of the full tiles on the wall as possible, whilst avoiding any small little cuts, which can look unsightly,’ explains Mike Head, director of Atlas Ceramics.
‘Firstly, you need to find the center of the wall. Using a tape measure, take the width of the wall, and divide that by two to find the center. Make a mark on the wall. Then, using a vertical spirit level, line it up with the mark, and draw a line down the center of the wall. This is your centreline – the line you will tile from.
‘Now you can work out the best layout of tiles,’ says Mike. ‘Hold a tile in your hand, place it on the centreline, and then, taking another tile in your other hand, place this next to the first tile, with a small gap to allow for a grout line. Then, move the first tile to the other side of the second tile, and so on – counting as you go. This will tell you how many tiles will fit in,’ Mike explains.

- Check out all the latest bathroom tile trends for inspiration
3. Prime the bathroom wall ready for tiling
Ensure your bathroom wall is free of dirt, grease, and debris, and then apply acrylic primer with a clean brush, sponge, or roller. Leave to dry, and apply a second coat if required.
‘Priming helps to stabilize and seal the surface, increasing the strength of the adhesive bond and prolonging the ‘working’ time,’ Abbas explains. ‘Usually, you want the primer to be touch dry before applying the adhesive.’
4. Mix the tile adhesive
‘For wall tiling, we recommend using a standard-setting cement-based adhesive,’ says Abbas. ‘These take longer to dry out than rapid-setting adhesives so you’ll have more time to work with a mix – and adjust tiles where necessary!’
Add the adhesive to clean water in a bucket, and follow the manufacturer’s instructions. ‘To mix the adhesive, you’ll need a drill and paddle mixer,’ Abbas recommends. ‘Start on a slow speed and mix until the desired consistency is reached.’
5. Fix a horizontal wooden baton to the wall
When tiling a modern bathroom wall, it can be tricky to know where to start and how to ensure the first row of tiles is straight. A great way to do this would be to fix a horizontal baton to the wall where you plan to lay your first row of tiles. You can then proceed to use a spirit level to make sure your wooden baton is straight.
‘The bathroom floor, bath, or worktop at the bottom of the wall isn’t always flat, so it’s actually best to start tiling from the second row up,’ recommends Abbas. ‘The top of the baton must be level with where the bottom of your second row of tiles will be.’
- Unsure on a color scheme? Check out all our bathroom color ideas
6. Apply the tile adhesive to the bathroom wall
To start, use a bucket trowel to give the adhesive a slight mix – just to loosen it up, so that it’s more workable when you’re putting it on the wall.'
‘Get a small amount of adhesive on your bucket trowel and apply it to your notched tiling trowel. Then ease it gently onto the wall,’ says Mike. ‘It doesn’t matter how thick it is at the moment, or how consistent it is, you just need to get some onto the wall,’
‘Repeat this once or twice, but keep in mind the rule of not covering too much of an area at once – as you don’t want parts of the adhesive to start to dry before you’ve had a chance to tile up to them. As a general rule of thumb, cover less than a square meter at a time, or enough adhesive as you could suitably work within twenty minutes.’
Top tip: Forming ribs in the adhesive makes for a better surface to apply your tiles to. ‘Holding your trowel at a 45-degree angle, push the notched edge of your trowel into the wall, and drag it across the surface – pressing the defined prongs against the wall,’ says Mike. ‘This will create a stretch of little troughs, called ribs.
‘It doesn’t matter which direction the ribs go in – vertically or horizontally – as long as they’re all going in the same direction,’ Mike explains.
7. Fix the tiles to the bathroom wall
Start at the center of where you planned to fix your tiles and work outwards.
‘Place your first tile on the baton, with a light twisting and pressing motion,’ says Abbas. ‘Place the next tile in the same way and insert tile spacers fully into the gap, so they can be grouted over. Continue until the end of the wall, where’s it likely you’ll need to cut a tile.
‘Continuously check the quality of your work as you go,’ Abbas recommends. ‘In particular: Are the tiles running straight? Are they flat with no obvious lips between tiles? Are they – and the joints between – clear of adhesive? It’s really important to clean your tools and tiles as you go. Give the surface of the tiles a light wipe with a damp sponge to remove any adhesive residue before it hardens.
‘Where necessary, you’ll need to remove and re-fit tiles you’re not happy with,’ Abbas explains. ‘It’s much easier now than once the adhesive has set!’
8. Cut the tiles that do not fit
‘Unless you’re tiling a small basin splashback, it’s likely you’re going to have to cut some tiles,’ says Abbas.
‘Compared to porcelain, ceramic is relatively soft and most straight cuts can be made with a ‘manual’ tile cutter,’ Abbas explains. ‘For more complex cuts, we’d recommend a ‘wet’ tile cutter - they’re safer than an angle grinder. As a seasoned pro will tell you, it’s best to “measure twice and cut once”.’
9. Apply grout in between your tiles
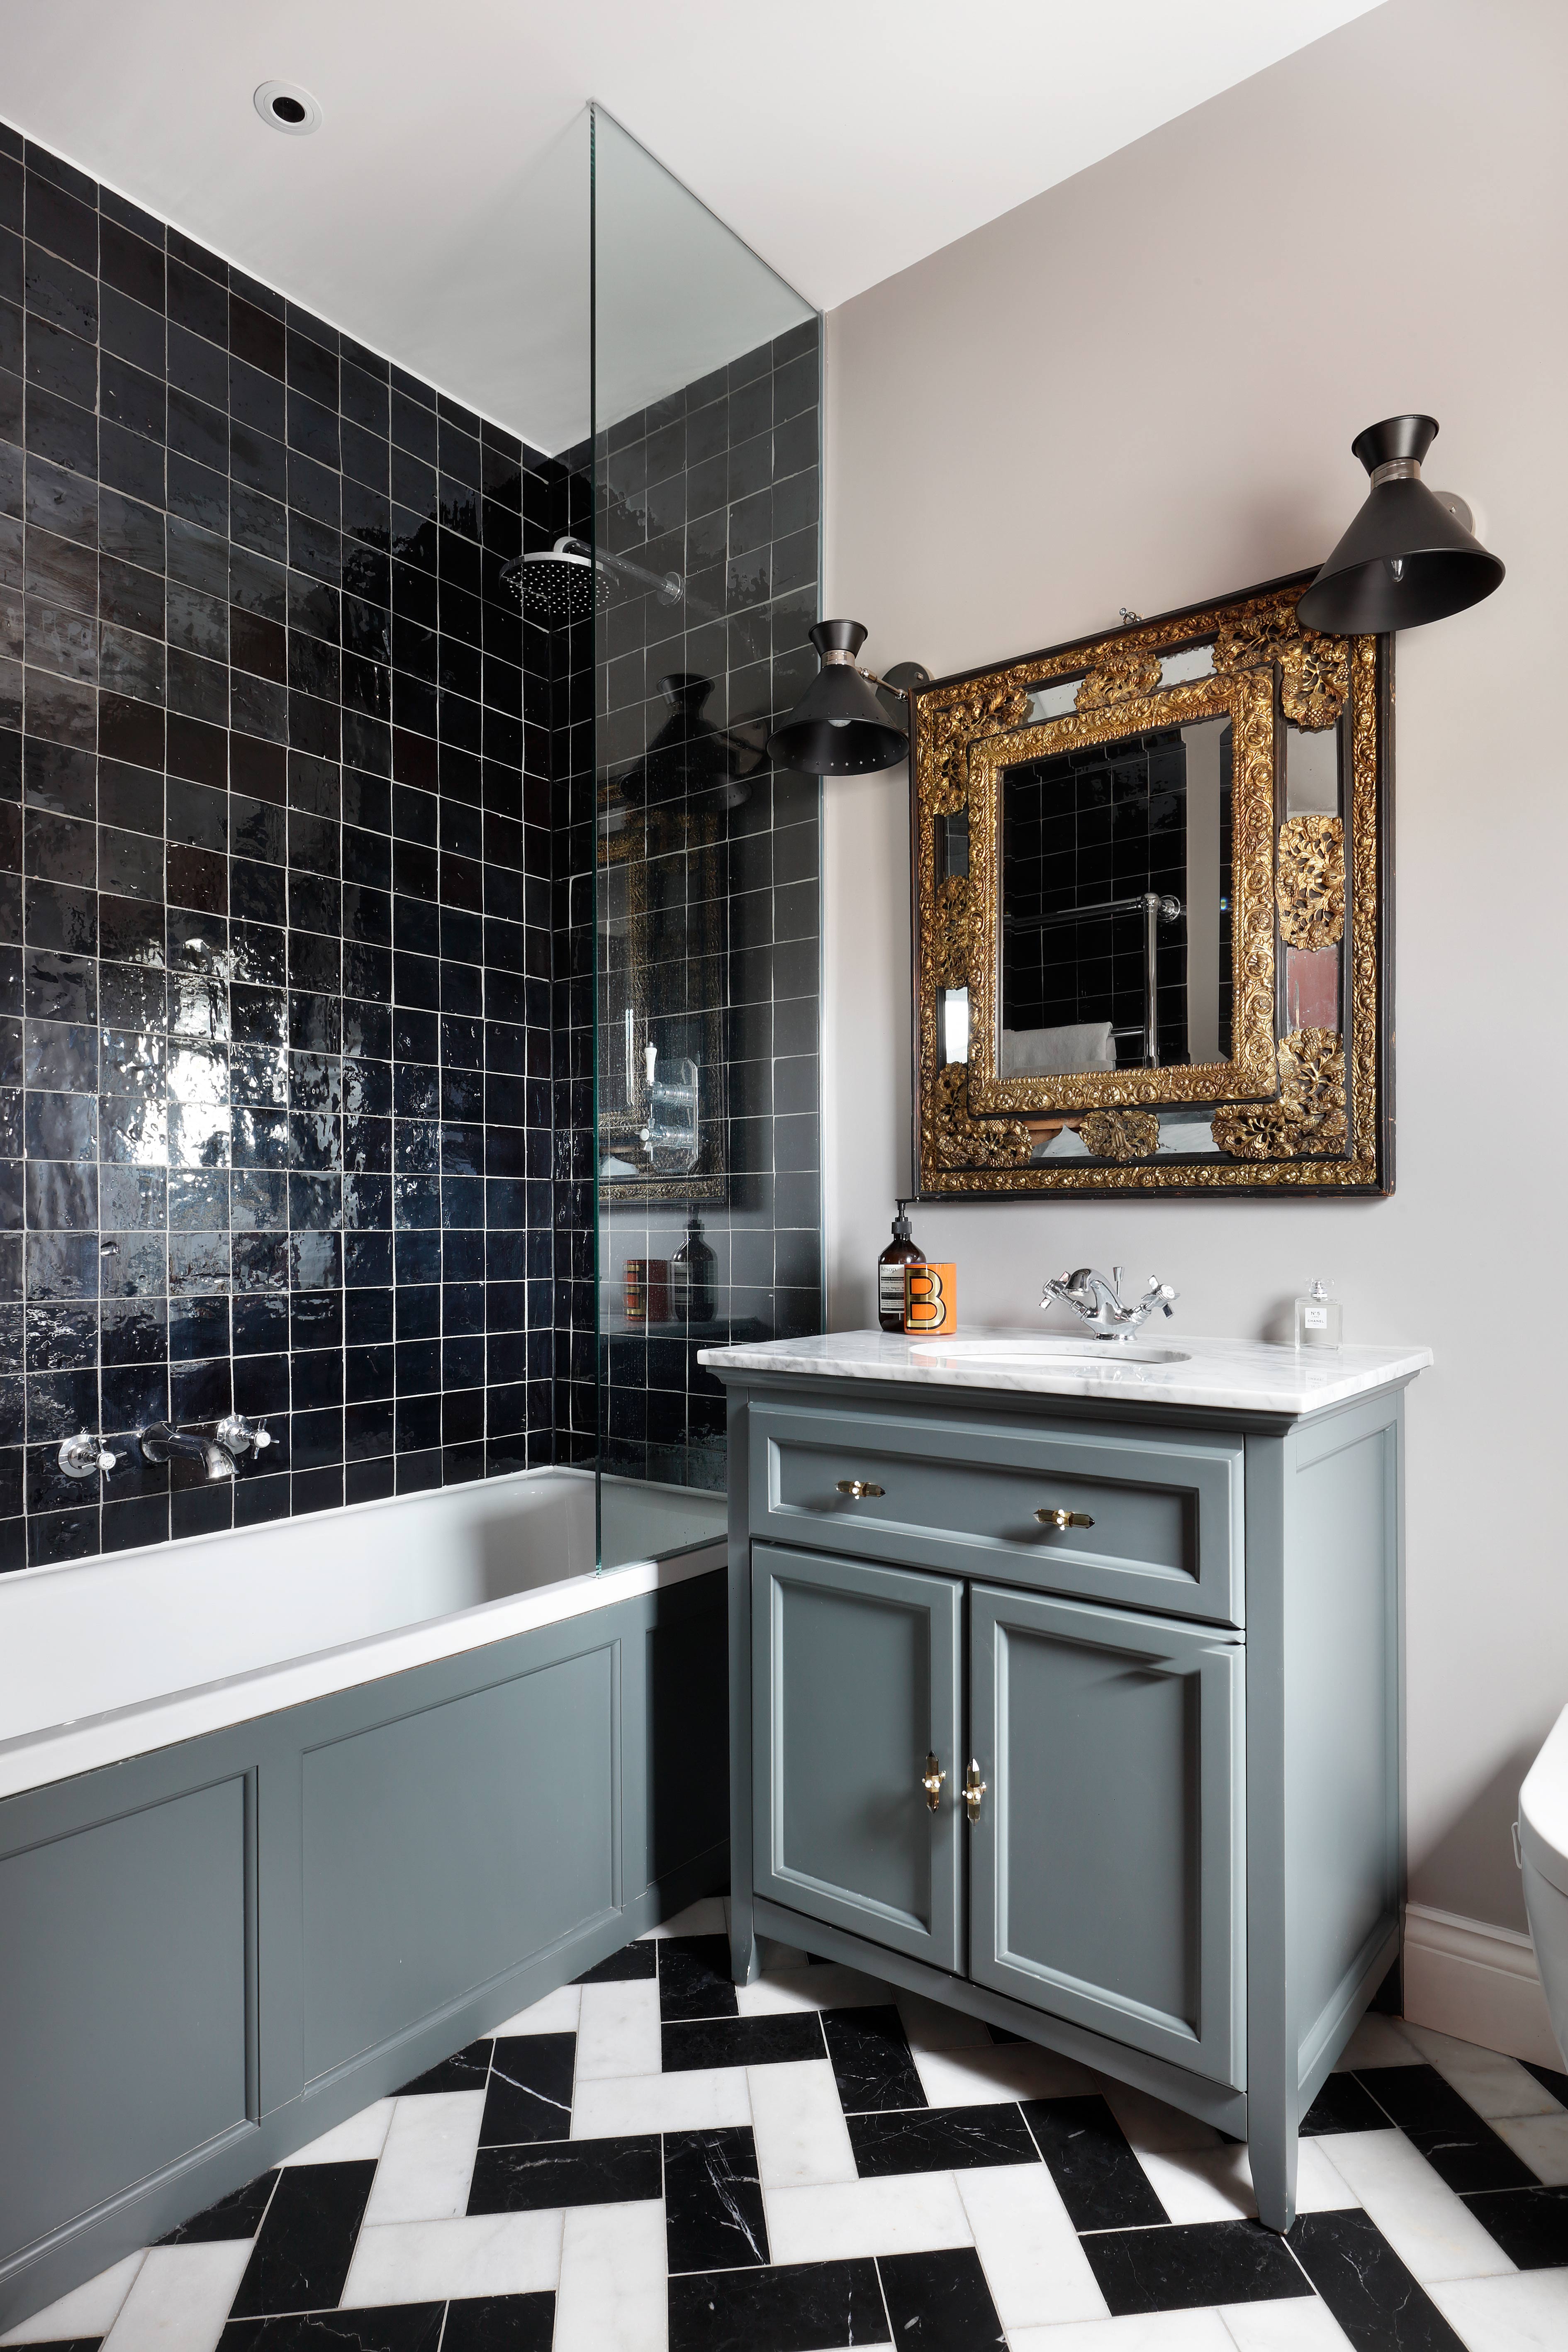
‘Not only does grout provide an important function – stopping moisture and dirt getting in behind the tiles – it’s also considered a key decorative element these days,’ says Abbas. Consider opting for bolder grout and tile color combination, for an on-trend feature.
Once the adhesive has fully cured, clean the tile joints of any debris or residue, and start mixing the grout following the manufacturer’s instructions.
‘Applying the grout is relatively straightforward. Add some grout to your grout float. Hold the float at a 45-degree angle and run the grout across the surface of your tiles. Work in diagonal lines to your joints, to help push the grout into the gaps. Work in smaller sections until you feel more comfortable. Try and remove excess grout from the tiles as you work.’
10. Clean away any grout haze and seal
‘There’s a good chance that the surface of the tiles is covered in grout haze, which can sometimes be almost-invisible,’ says Abbas. ‘Over time, this haze can cause the tiles to appear dirty as it’ll attract and trap dirt and dust. You can easily remove the haze by polishing the tiles with a dry microfibre cloth, once the grout has almost set. For any stubborn grout haze stains, we’d recommend using a specialist grout haze remover.'
Then all that's left to do is seal the tiles (if they need it). If you have chose glazed ceramic tiles you can skip this step but for porous materials like stone, you will need to seal them. Check the manufactures advice for the best sealant to use, and remember where tiles meet your bath or shower they should be sealed with silicone.
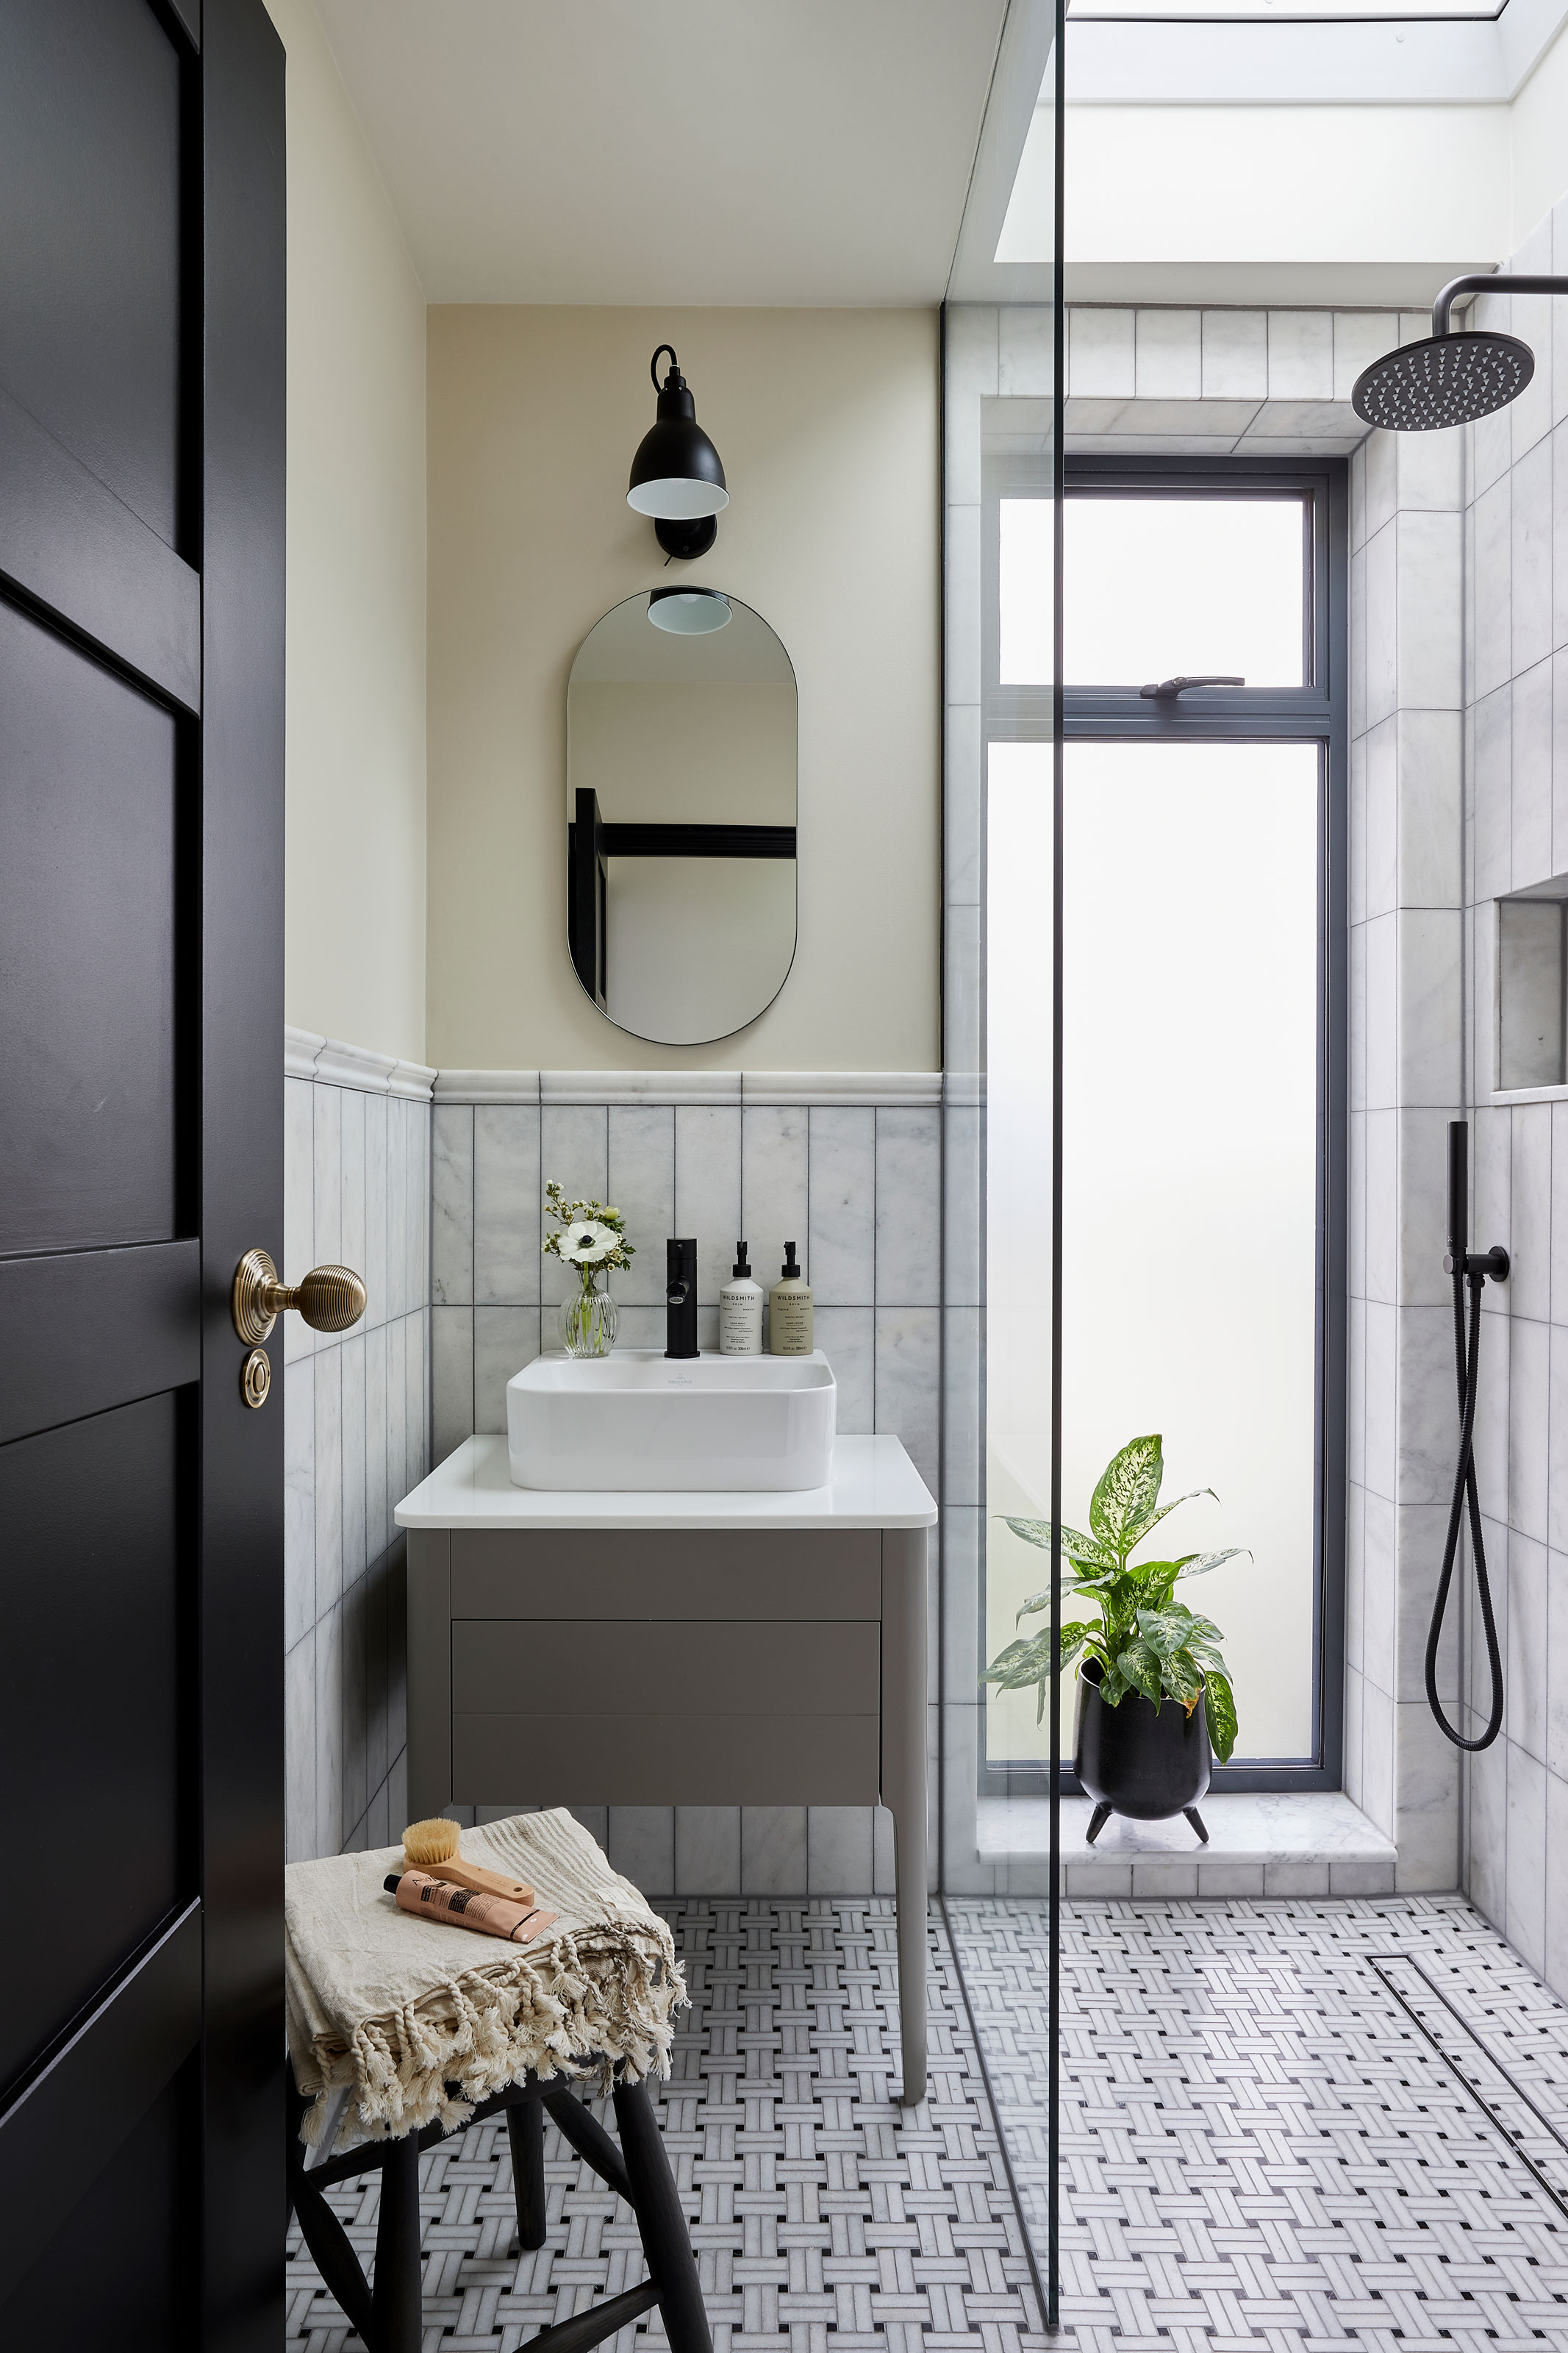
- Check out more metro tile ideas for a simple but chic style
What size tiles are best to use on a bathroom wall?
‘For a high-end look choose the largest tiles possible,’ recommends Jo Oliver of Stone & Ceramic Warehouse. ‘Using oversized tiles in a bathroom tricks the eye into thinking that the space is much bigger than it really is, so can help to create a sense of scale.’
‘Thanks to their large surface area and fewer grout lines, large-format tiles also result in a continuous, uninterrupted finish – a look that is proving very popular,’ Jo adds. ‘There is also the fact that fewer grout lines means easier cleaning!’
How to ensure bathroom wall tiles are waterproof?
‘If you’re going to be tiling a ‘wet area’ such as a shower cubicle or around a bath, we’d advise using foam tile backing boards, where possible,’ says Abbas. ‘These are generally highly resistant to water, if installed correctly. You’ll need to attach waterproofing tape and corners to the joints and edges between individual boards. Tanking pastes can then be used to further seal these joints and any screw heads.’
What type of adhesive should I used when tiling the bathroom wall?
‘You can use ‘ready mix’ paste adhesives with ceramic wall tiles, which don’t require any mixing,’ says Abbas. ‘However, cement-based adhesives adhere much better – we’d recommend only using ready mix adhesives for tiles that measure 10 x 10 cm and under.’
Olivia Emily is one of the most exciting new talents in consumer lifestyle journalism. Currently finishing off a Masters in Journalism at the City University, London, she has quickly proved herself at being adept on reporting on new interiors trends. A regular contributor to Livingetc, she is brilliant at being able to decode information for our audience.