How to tile a backsplash – everything you need to know in 7 simple steps
Whether you’re looking for something sleek and neutral or bright and eccentric, here’s our guide on how to tile a backsplash to bring your kitchen up to date

If you easily grow tired of your kitchen décor but you cannot commit to another overhaul, learning how to tile a backsplash might be your answer
‘A tiled backsplash is a great opportunity to inject color, texture and personality into your kitchen,’ says Linda Levene, design director at LLI Design. ‘Backsplash tiles can really add a wow factor to your kitchen, adding energy, color, whimsy, and visual interest as well as being a practical solution to keeping dirt and grease manageable.
‘Even if you seek years of longevity from the investment you’ve made in your kitchen cupboards, worktop, and flooring, your backsplash tiles can be changed fairly easily to upgrade and elevate the overall style,’ Linda adds.
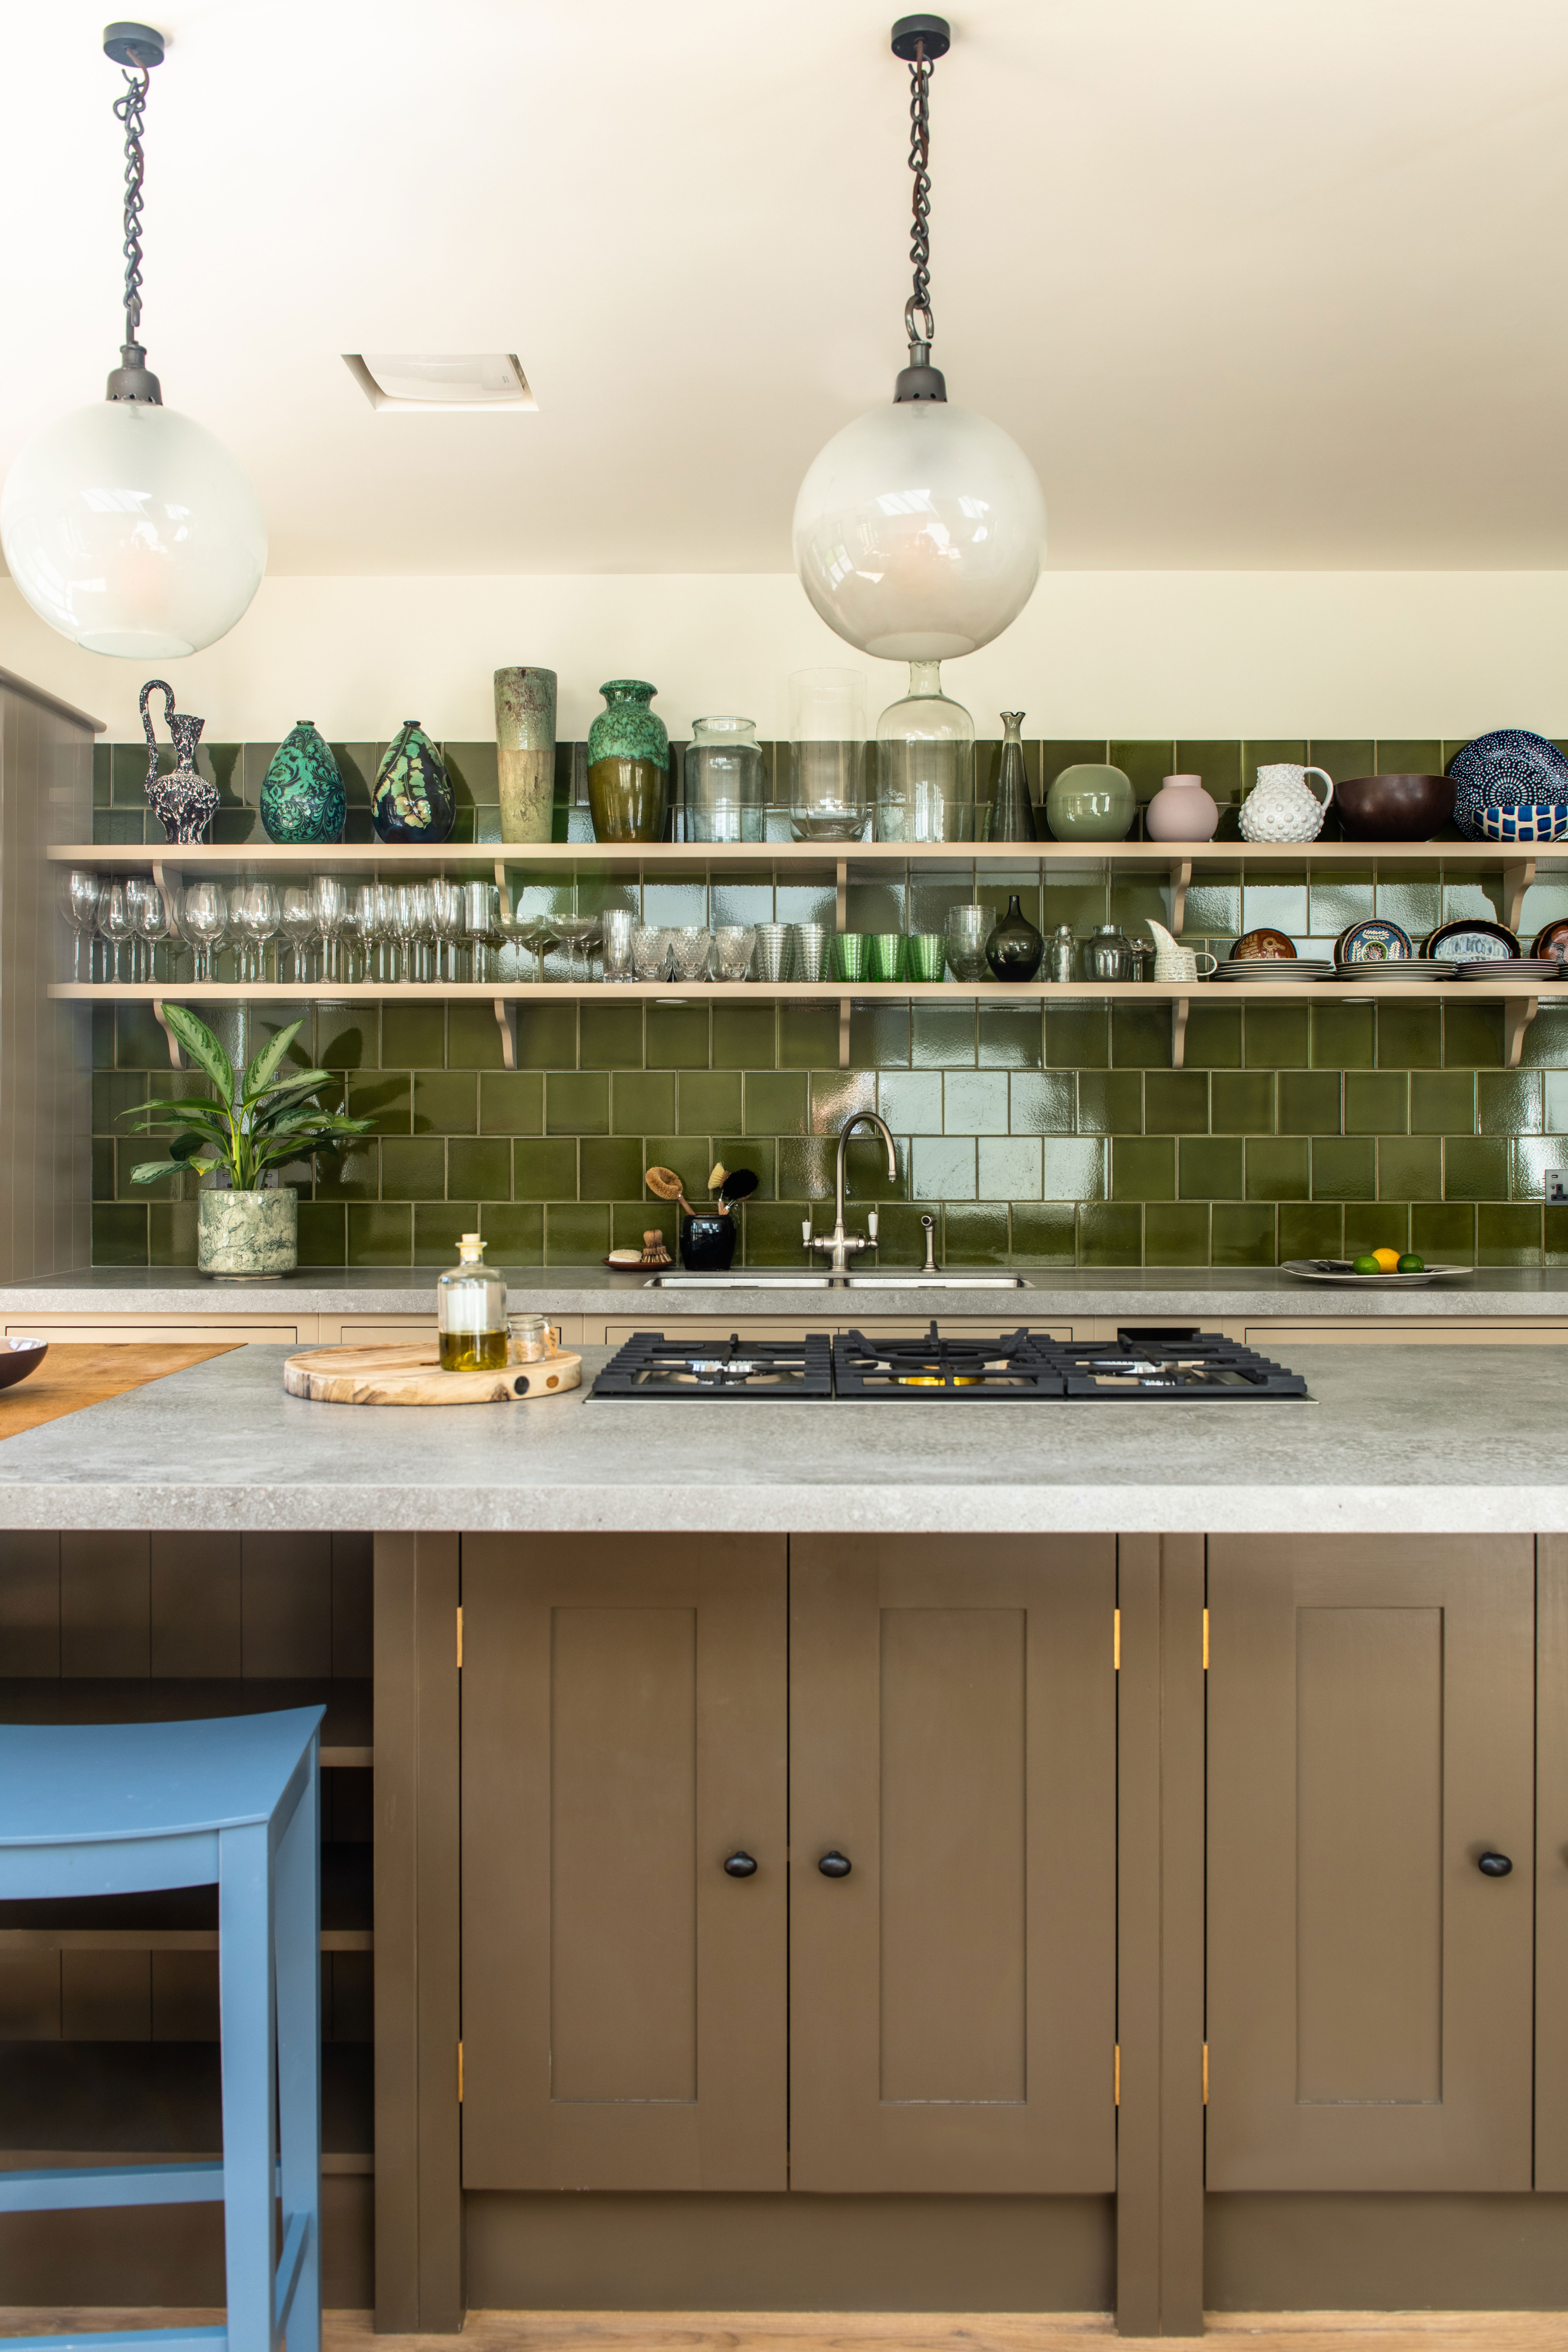
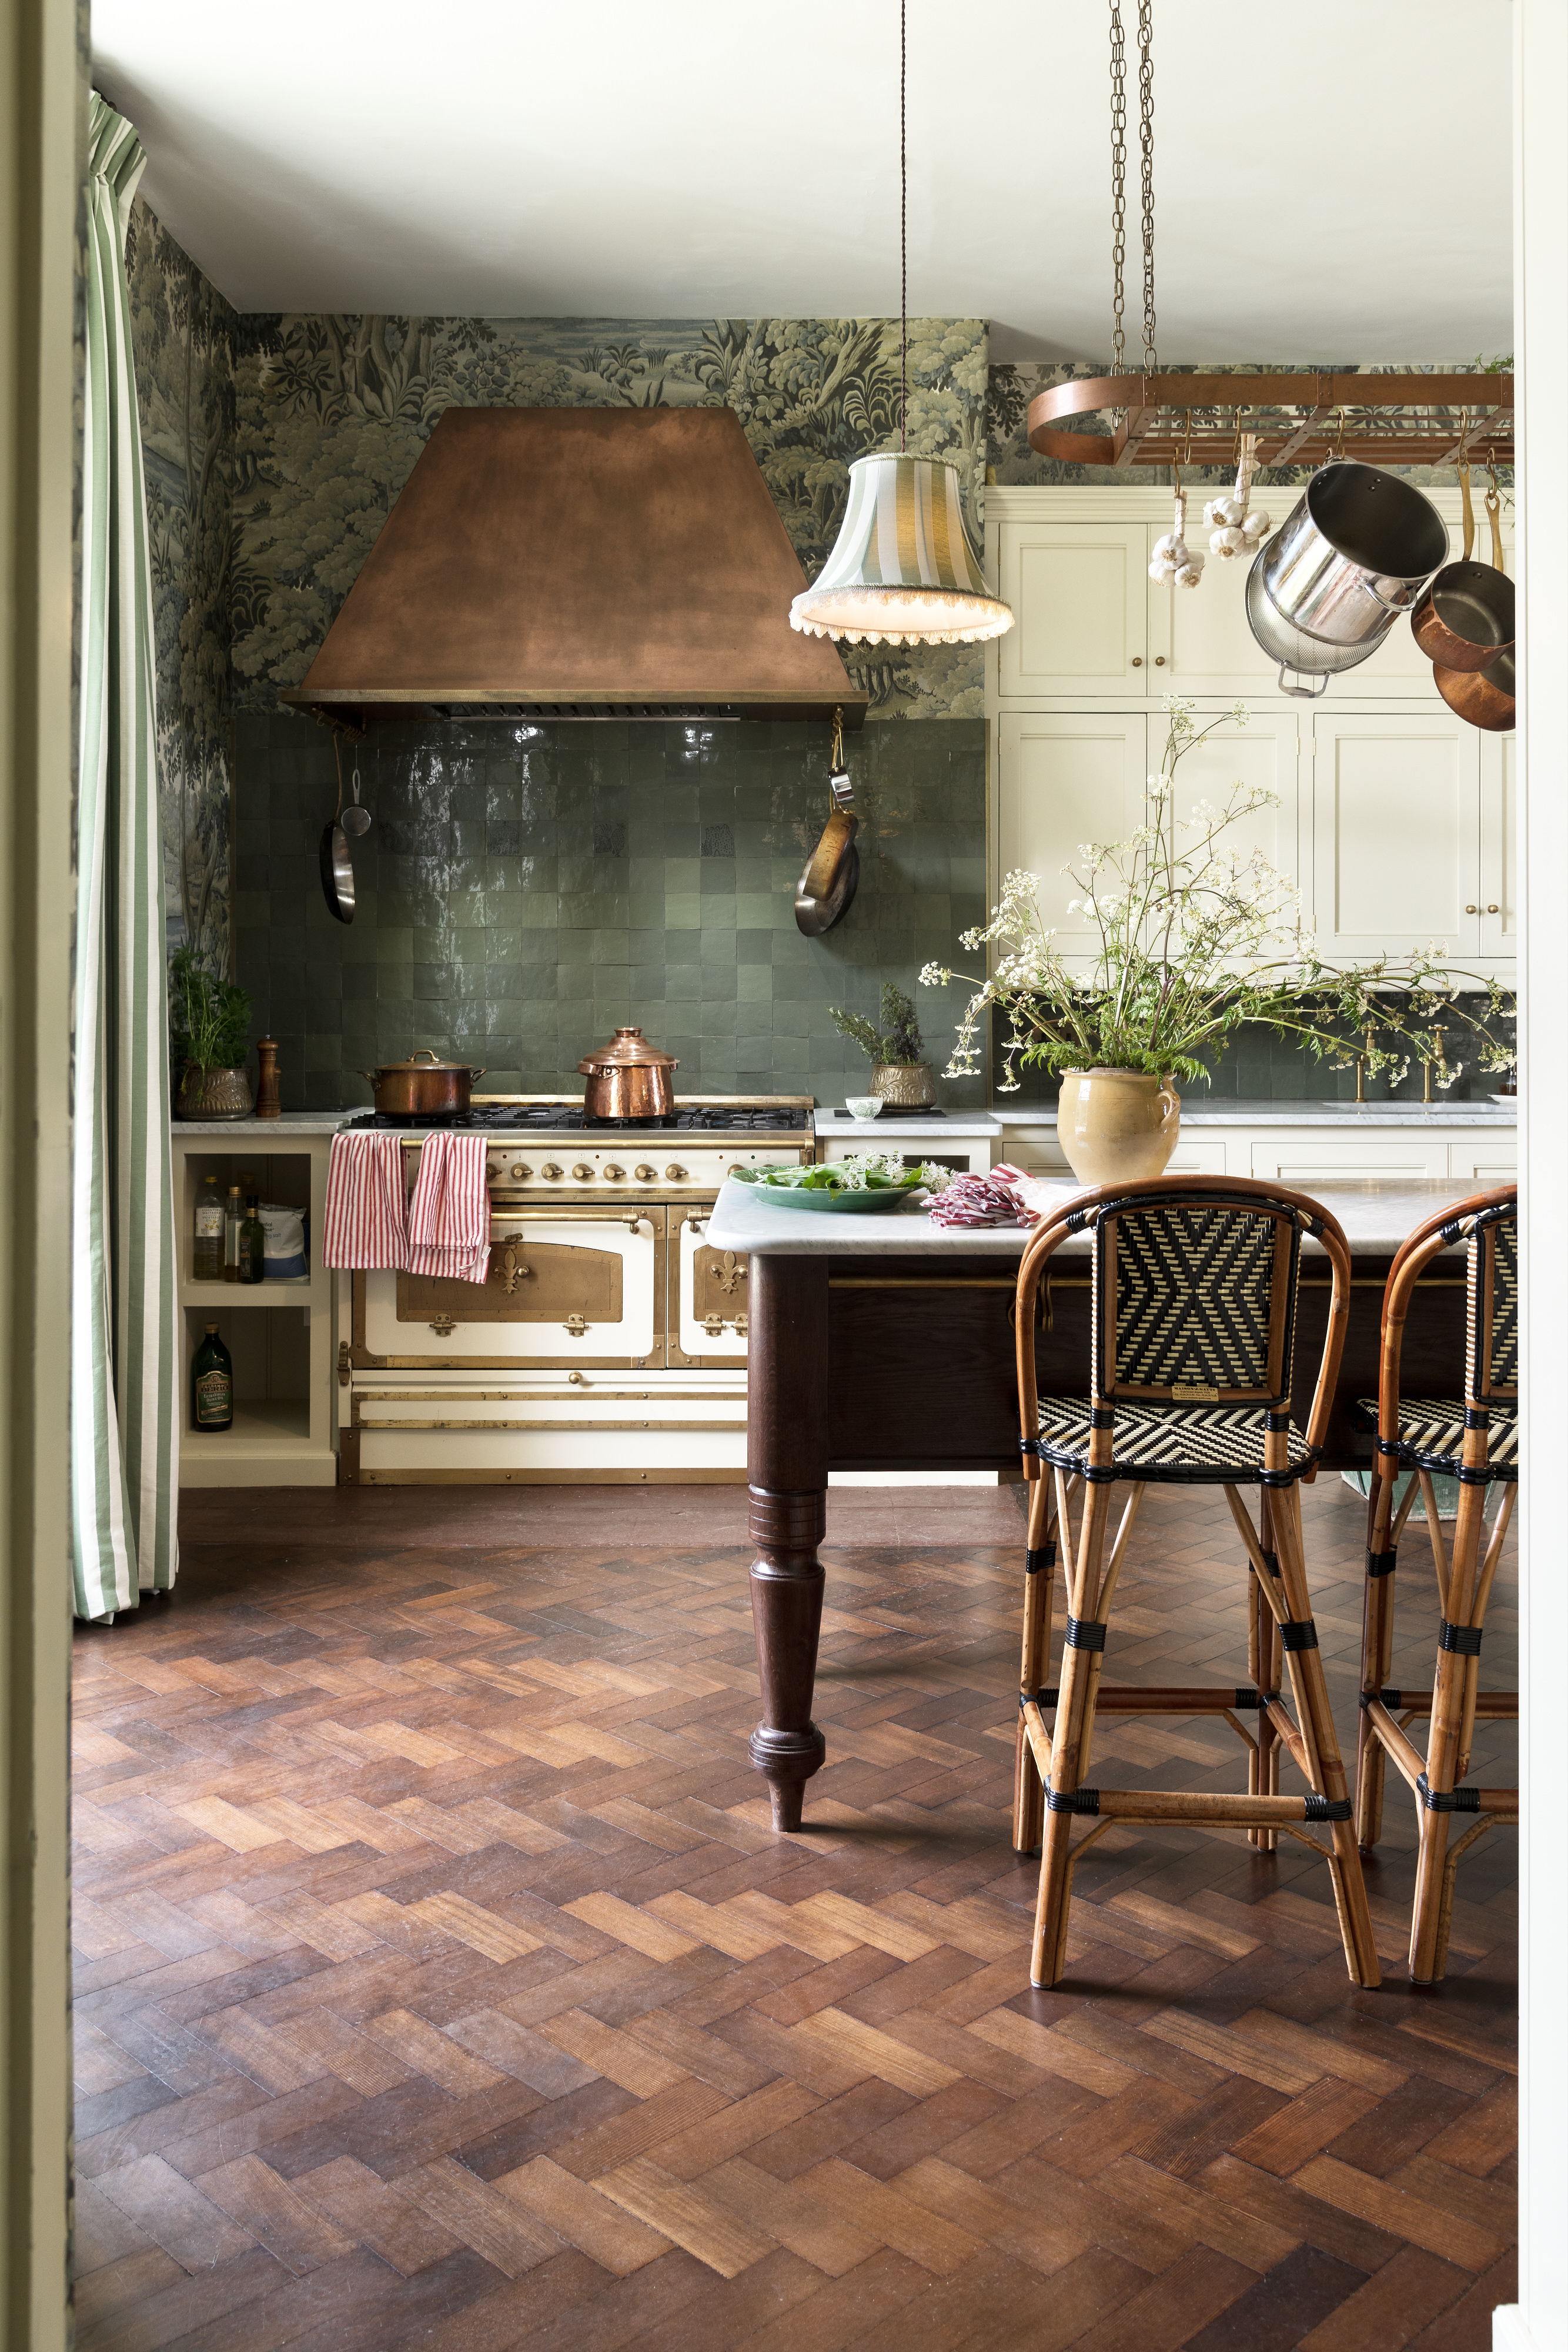
Even if you have a neutral kitchen, a tiled kitchen backsplash can elevate the space. ‘A colorful backsplash is an easy way to add style and an element of drama to your kitchen,’ says tiling expert John Geraghty. ‘You can make your backsplash color stand out even more with blues and greens. A light green backsplash, for example, adds a splash of color to a neutral kitchen.’
Depending on your choice of kitchen tiles, tiling your backsplash can be a low-cost addition to your space which excites the eye and has the added benefit of making the kitchen easier to clean.
Read on for our step-by-step guide on how to tile a backsplash for everything you need to know, plus some extra tips from the experts to ensure a flawless finish.

How to tile a kitchen backsplash – everything you need to know in 7 easy steps
- Your tiles of choice
- Mastic tile adhesive
- Grout
- Grout float
- Caulk or other sealant
- Wet tile saw
- Tape measure
- Spirit level
- Small, flat piece of wood
- Rubber mallet
- Utility knife
- Pencil
- Masking tape
- Paint sheets
1. Prepare the space
Whether that is removing old tiles or deciding the size of your new kitchen backsplash, step one is to prepare the space.
The Livingetc newsletters are your inside source for what’s shaping interiors now - and what’s next. Discover trend forecasts, smart style ideas, and curated shopping inspiration that brings design to life. Subscribe today and stay ahead of the curve.
Clean any grease stains from the wall with water and dish soap, or paint deglosser for any really tough stains. Then, protect any surrounding surfaces with masking tape and paint sheets.
2. Plan the layout for your tiled backsplash
If you’ve decided on your kitchen wall tiles, it’s time to plan the layout. For ease, choose tiling sheets, which can be simple or mosaic in design and installed quickly. If you are using individual tiles, you first need to determine a design and a starting point.
‘Some people prefer to start their tile work in the center of the wall,’ John says. ‘This allows you to work your way outward in rows while maintaining symmetrical and even lines, and works well for installing standard subway tiles and larger tile sheets.
‘When working with intricate patterns, starting with a focal point draws the eye. Locate the room’s focal point and begin laying your tiles directly above it.’
Using pencil, mark the backsplash’s planned boundaries on the wall. This will be easier if you are working between cabinets. Using a tape measure, find the center of the planned backsplash area and draw a vertical centreline.
‘Never start your tile backsplash at the end. This will make the entire project appear uneven and will concentrate all your minor cuts in one area, making it appear sloppy.’

3. Putting the tiles on the wall
Put plastic tile spacers on the ledger board and kitchen countertop, creating a gap to ensure the tiles don’t sit directly on the counter.
Starting at the centreline, apply a thin layer of mastic adhesive to the wall. Then, line up your first tile or tile sheet with the centre line, and press it onto the wall.
‘Using a utility knife, scrape out any mastic in the joints,’ says John. ‘If any tiles fall off the sheets, dab some mastic on the back and stick them back in place.
Keep fixing your tiles to the wall until you need to make cuts. If you are using tile sheets, you can cut the sheet down and apply the tiles individually. When you reach the end of the backsplash – or an obstacle like an electricity outlet, for example – you may need to cut an actual tile, which you should do with a wet saw before fixing to the wall.
4. Set the tiles in place
If you are not completely satisfied with your placement: ‘Move the tiles with your fingers or insert a utility knife blade into the joint and turn it,’ John says.
You have around 20 minutes of moving time before the mastic hardens. Use a spirit level to ensure tiles are completely level.
Once you are happy, press a piece of wood against the tiles and tap the tiles into the mastic with a rubber mallet.
5. Apply grout to your tiled backsplash
If you are using natural stone or unglazed quarry tile, wait 30 minutes for the tiles to dry on the wall and then apply grout sealer to ensure the grout does not stick to the tile.
Then, and for other types of tile, wait 24 hours for the tiles to set.
When you are ready to grout: ‘Mix the grout with water, then apply it to the wall with a grout float,’ says John. ‘Wipe the grout off the surface of the tiles with a damp sponge ten minutes after grouting. Then, rinse the sponge in a bucket of water regularly and wipe the tiles until they are clean.’
Two hours after grouting, wipe away the grout haze using a cloth.

6. Seal the edges
Clear any edges and the bottom of grout using a utility knife. Then, apply caulk to the edges. For a sleek finish, use a colored caulk that complements the tiles.
7. Seal the entire backsplash
Wait seven days for the backsplash and sealant to set properly. Then, apply a grout sealer to the backsplash with a sponge, which will ensure the backsplash is long-lasting and will resist grease stains.
‘After the sealer has absorbed the stone for 10 minutes, buff the stone tiles with a clean cloth to remove any remaining sealer,’ says John. ‘When doing this, start with the first tiles that were sealed and rub in a circular motion until the stone no longer feels tacky.’
Then, step back and admire your new kitchen backsplash.
How long does it take to tile a kitchen backsplash?
‘The process of installing a backsplash is surprisingly quick, as it typically takes two to four days to complete,’ says John. ‘Most of the time is taken up by the drying period required for the mortar, grout, and grout sealant. A professional installation can take several days, depending on the material you choose and the condition of the walls.’

How big should my backsplash be?
‘The extent of the backsplash is important,’ says Lina. ‘Don’t just tile behind a cooker or kitchen sink. Consider tiling the whole area behind the worktop, right up to the upper wall hung cupboards to really make a statement. Also, think about tiling the sides of cupboards adjacent to the worktop, creating a wrap-around effect. This will make the kitchen feel more complete, especially if you opt for statement tiles or a bold color.’
How can I design a creative tiled kitchen backsplash?
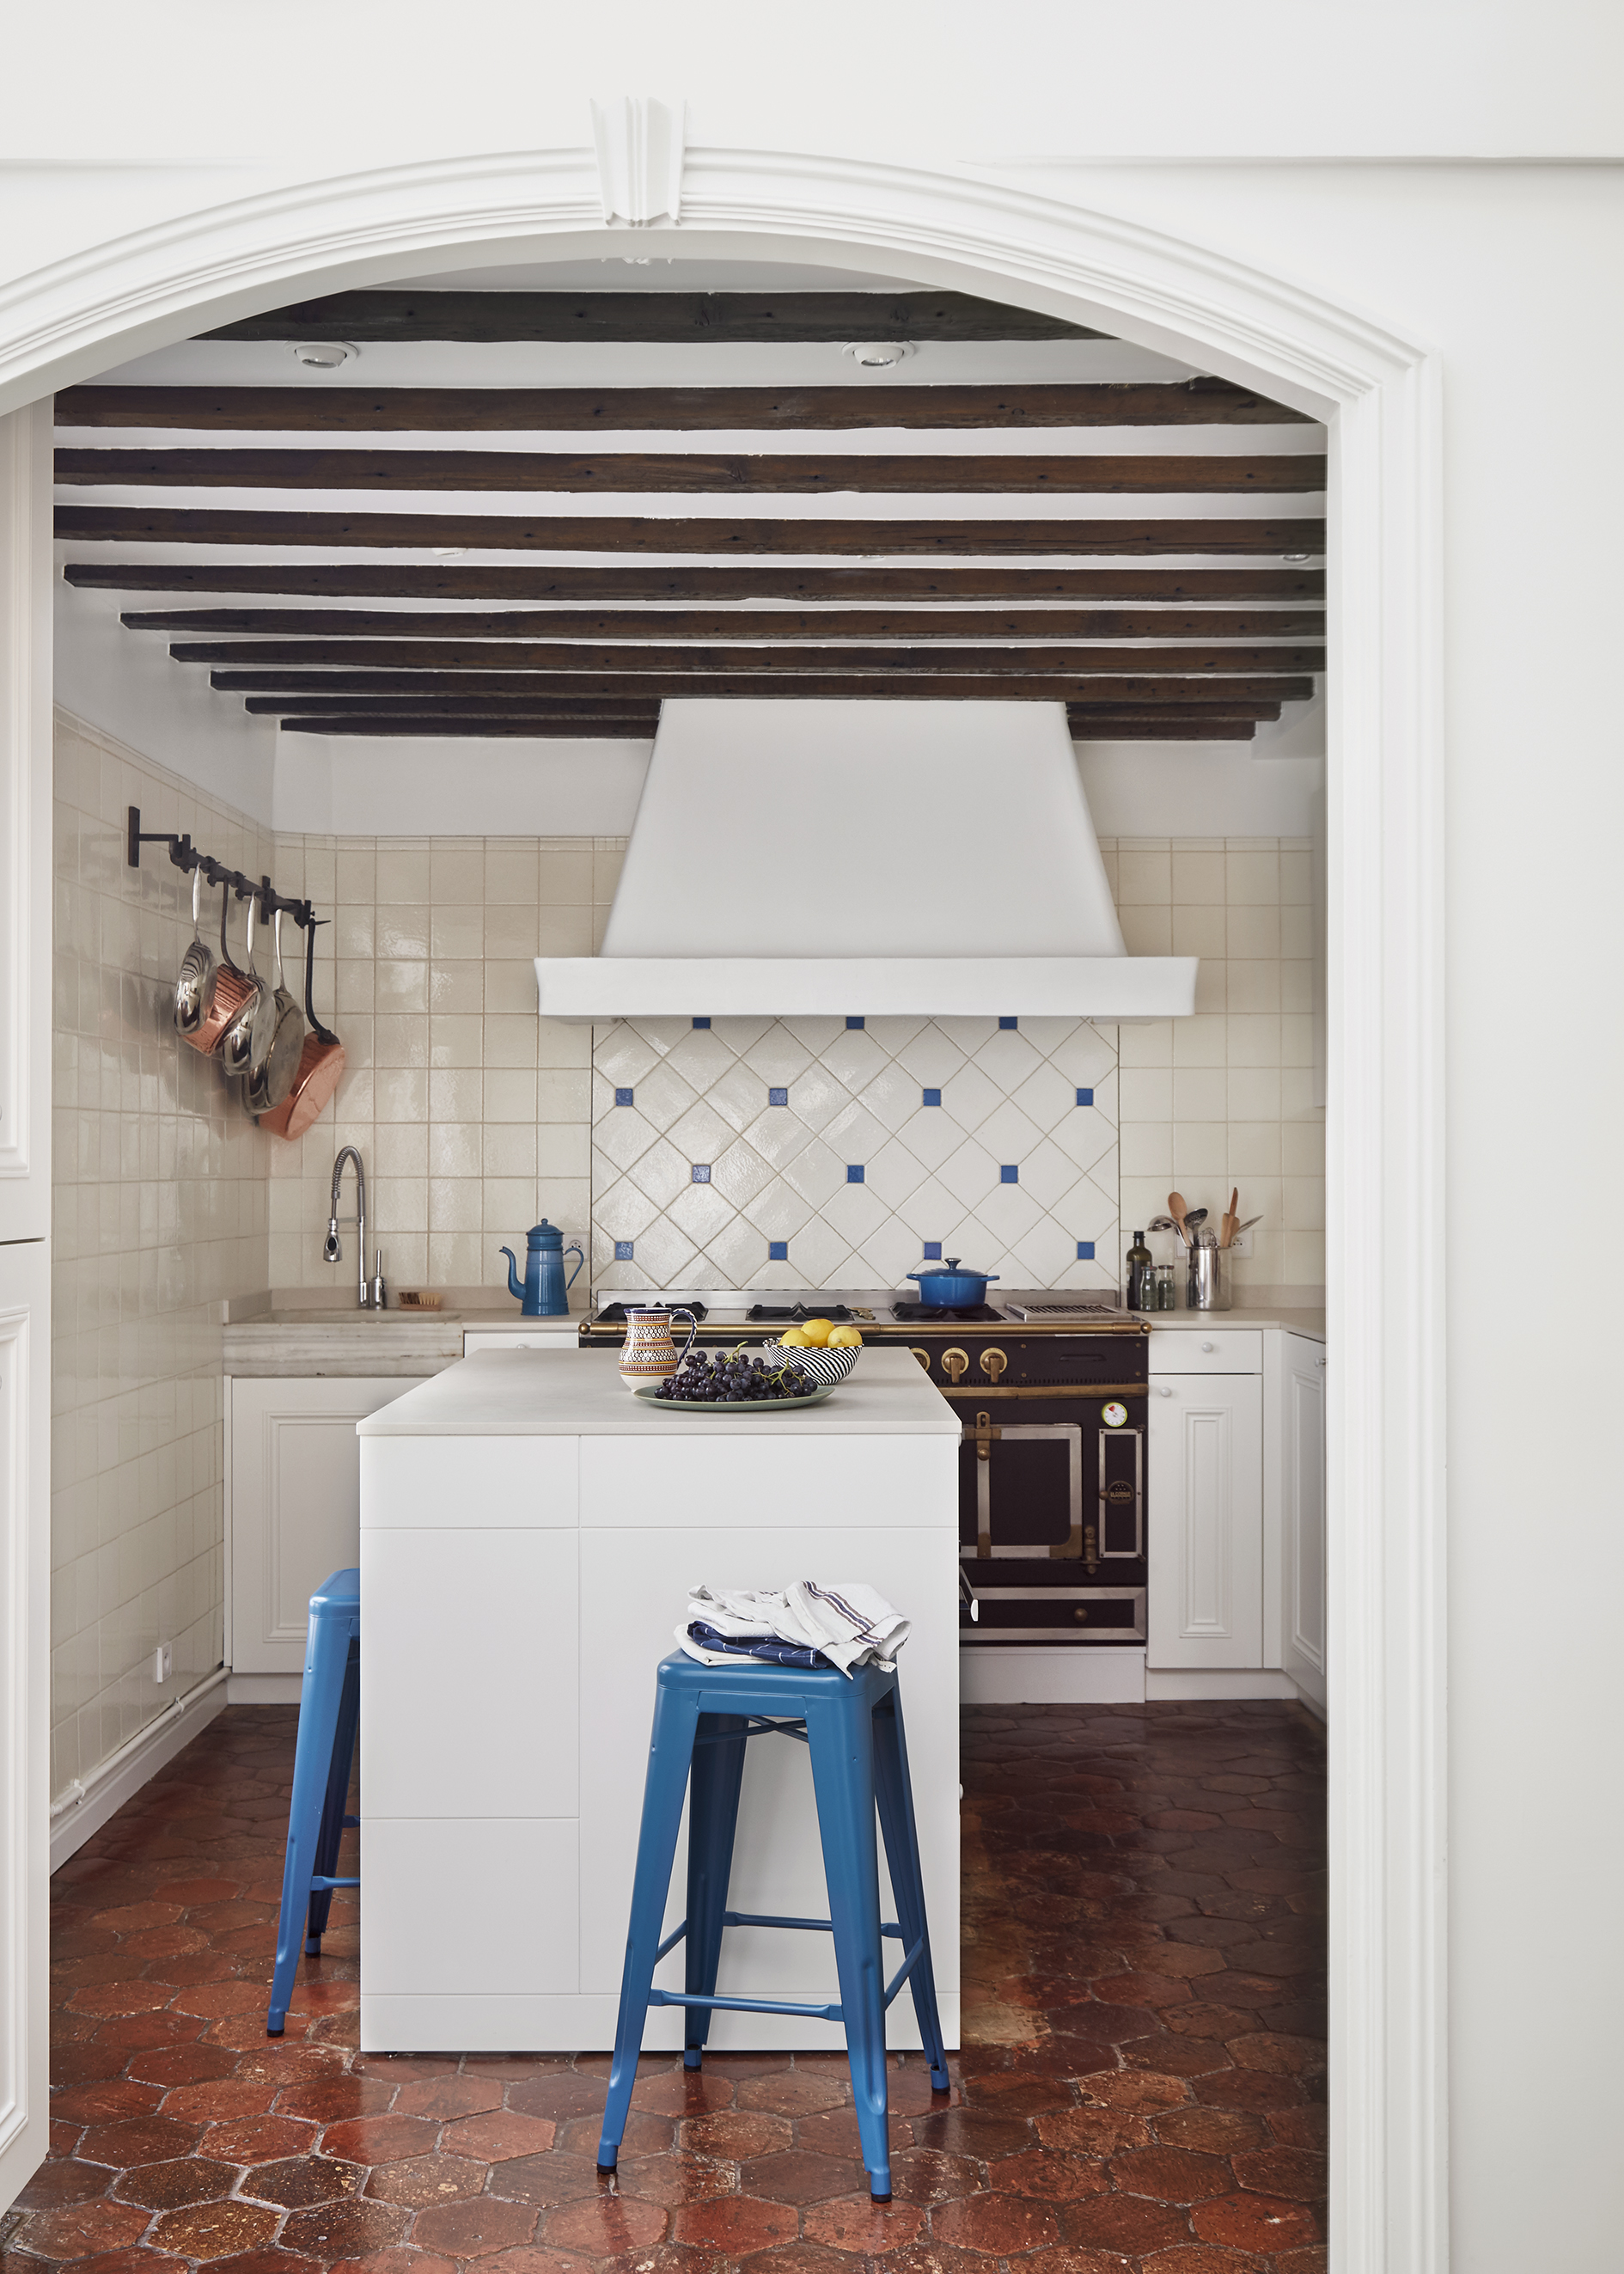
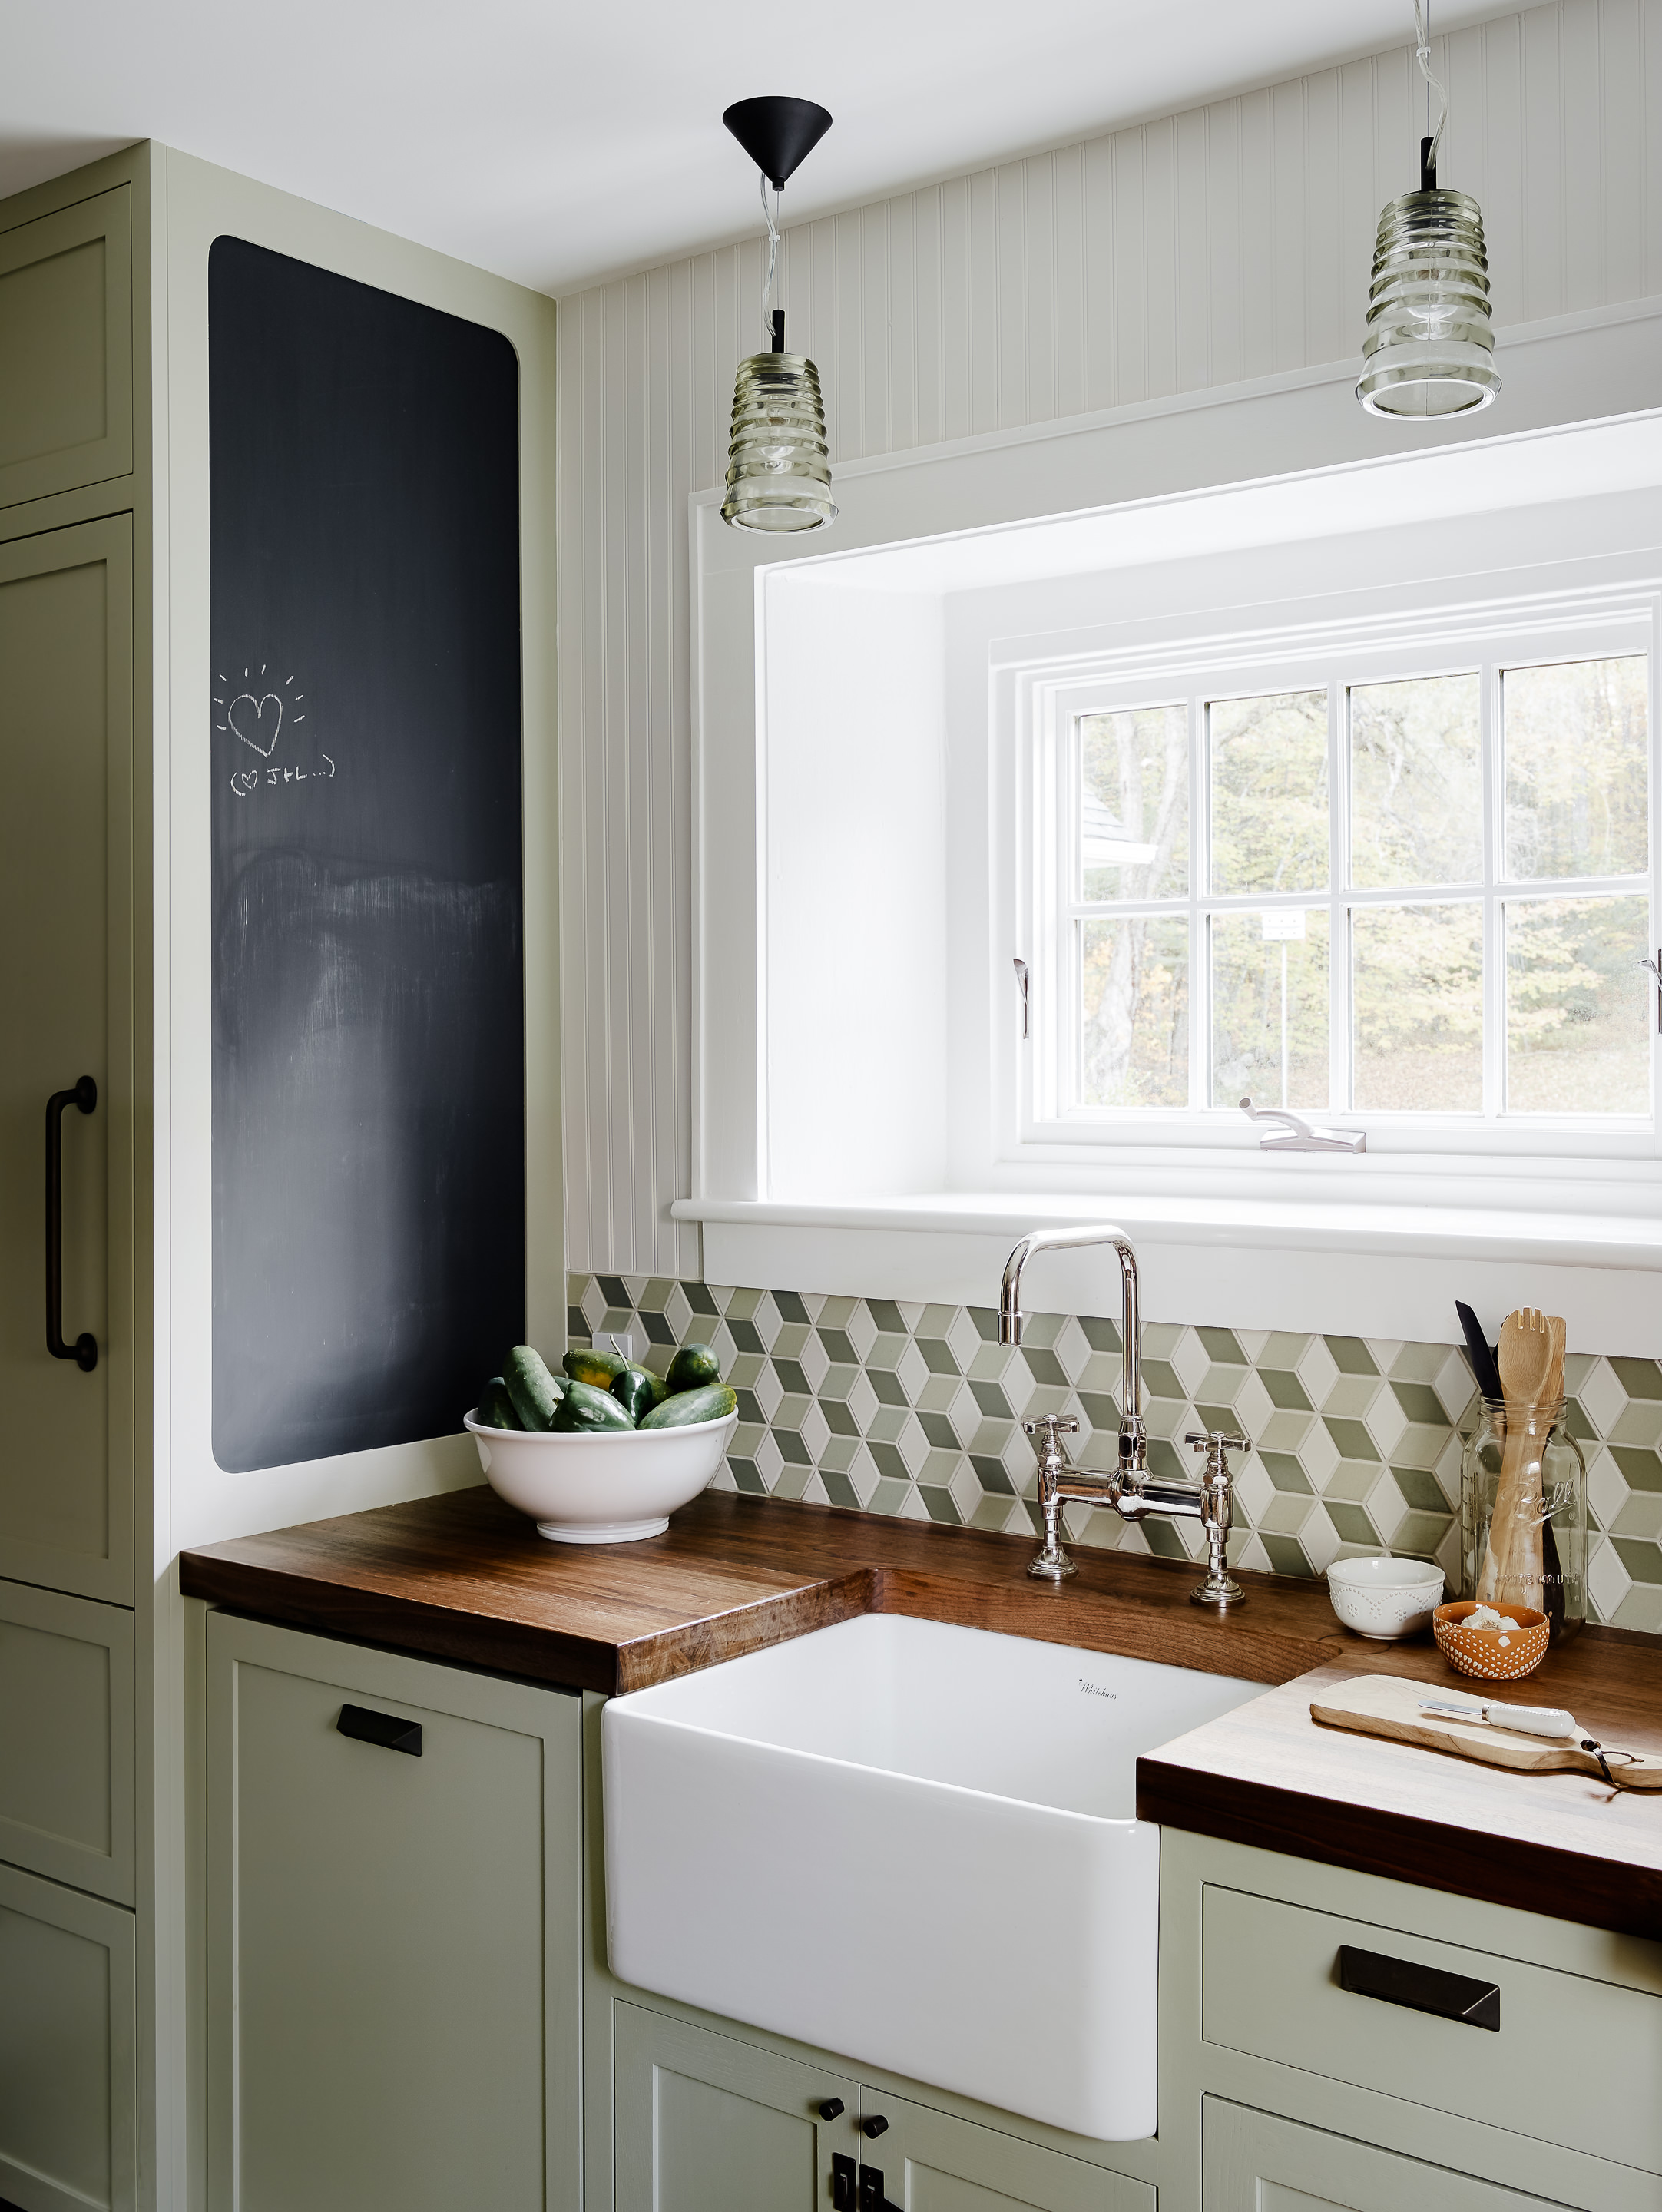
‘Tile design is going through a renaissance at the moment there are wonderful patterns, textures, and shapes on the market to suit all aesthetics,’ says Linda. ‘Be creative with sizes and shapes, and don’t just think in terms of rectangles or squares. There are lots of interesting shapes around such as scallops, octagons, mosaics, and freeform effects.'
‘Even the simplest rectangular tile can be used in so many different ways to create something outstanding and individual,’ Linda adds. ‘Brick patterns are not the only option: they could be used vertically, as a herringbone, stacked one on top of the other or by using a couple of colors to create your own unique pattern.’
‘Experiment by buying a few tiles and propping them up on your worktop and living with them for a while to see if you like them in situ,’ recommends Linda. ‘Experiment with interspersing bold pattern tiles with simple colors as a contrast if you think all over pattern is too much, or just go for a simple shape tile in a contrast color with a slight crackle, luster, or texture.’
Olivia Emily is one of the most exciting new talents in consumer lifestyle journalism. Currently finishing off a Masters in Journalism at the City University, London, she has quickly proved herself at being adept on reporting on new interiors trends. A regular contributor to Livingetc, she is brilliant at being able to decode information for our audience.