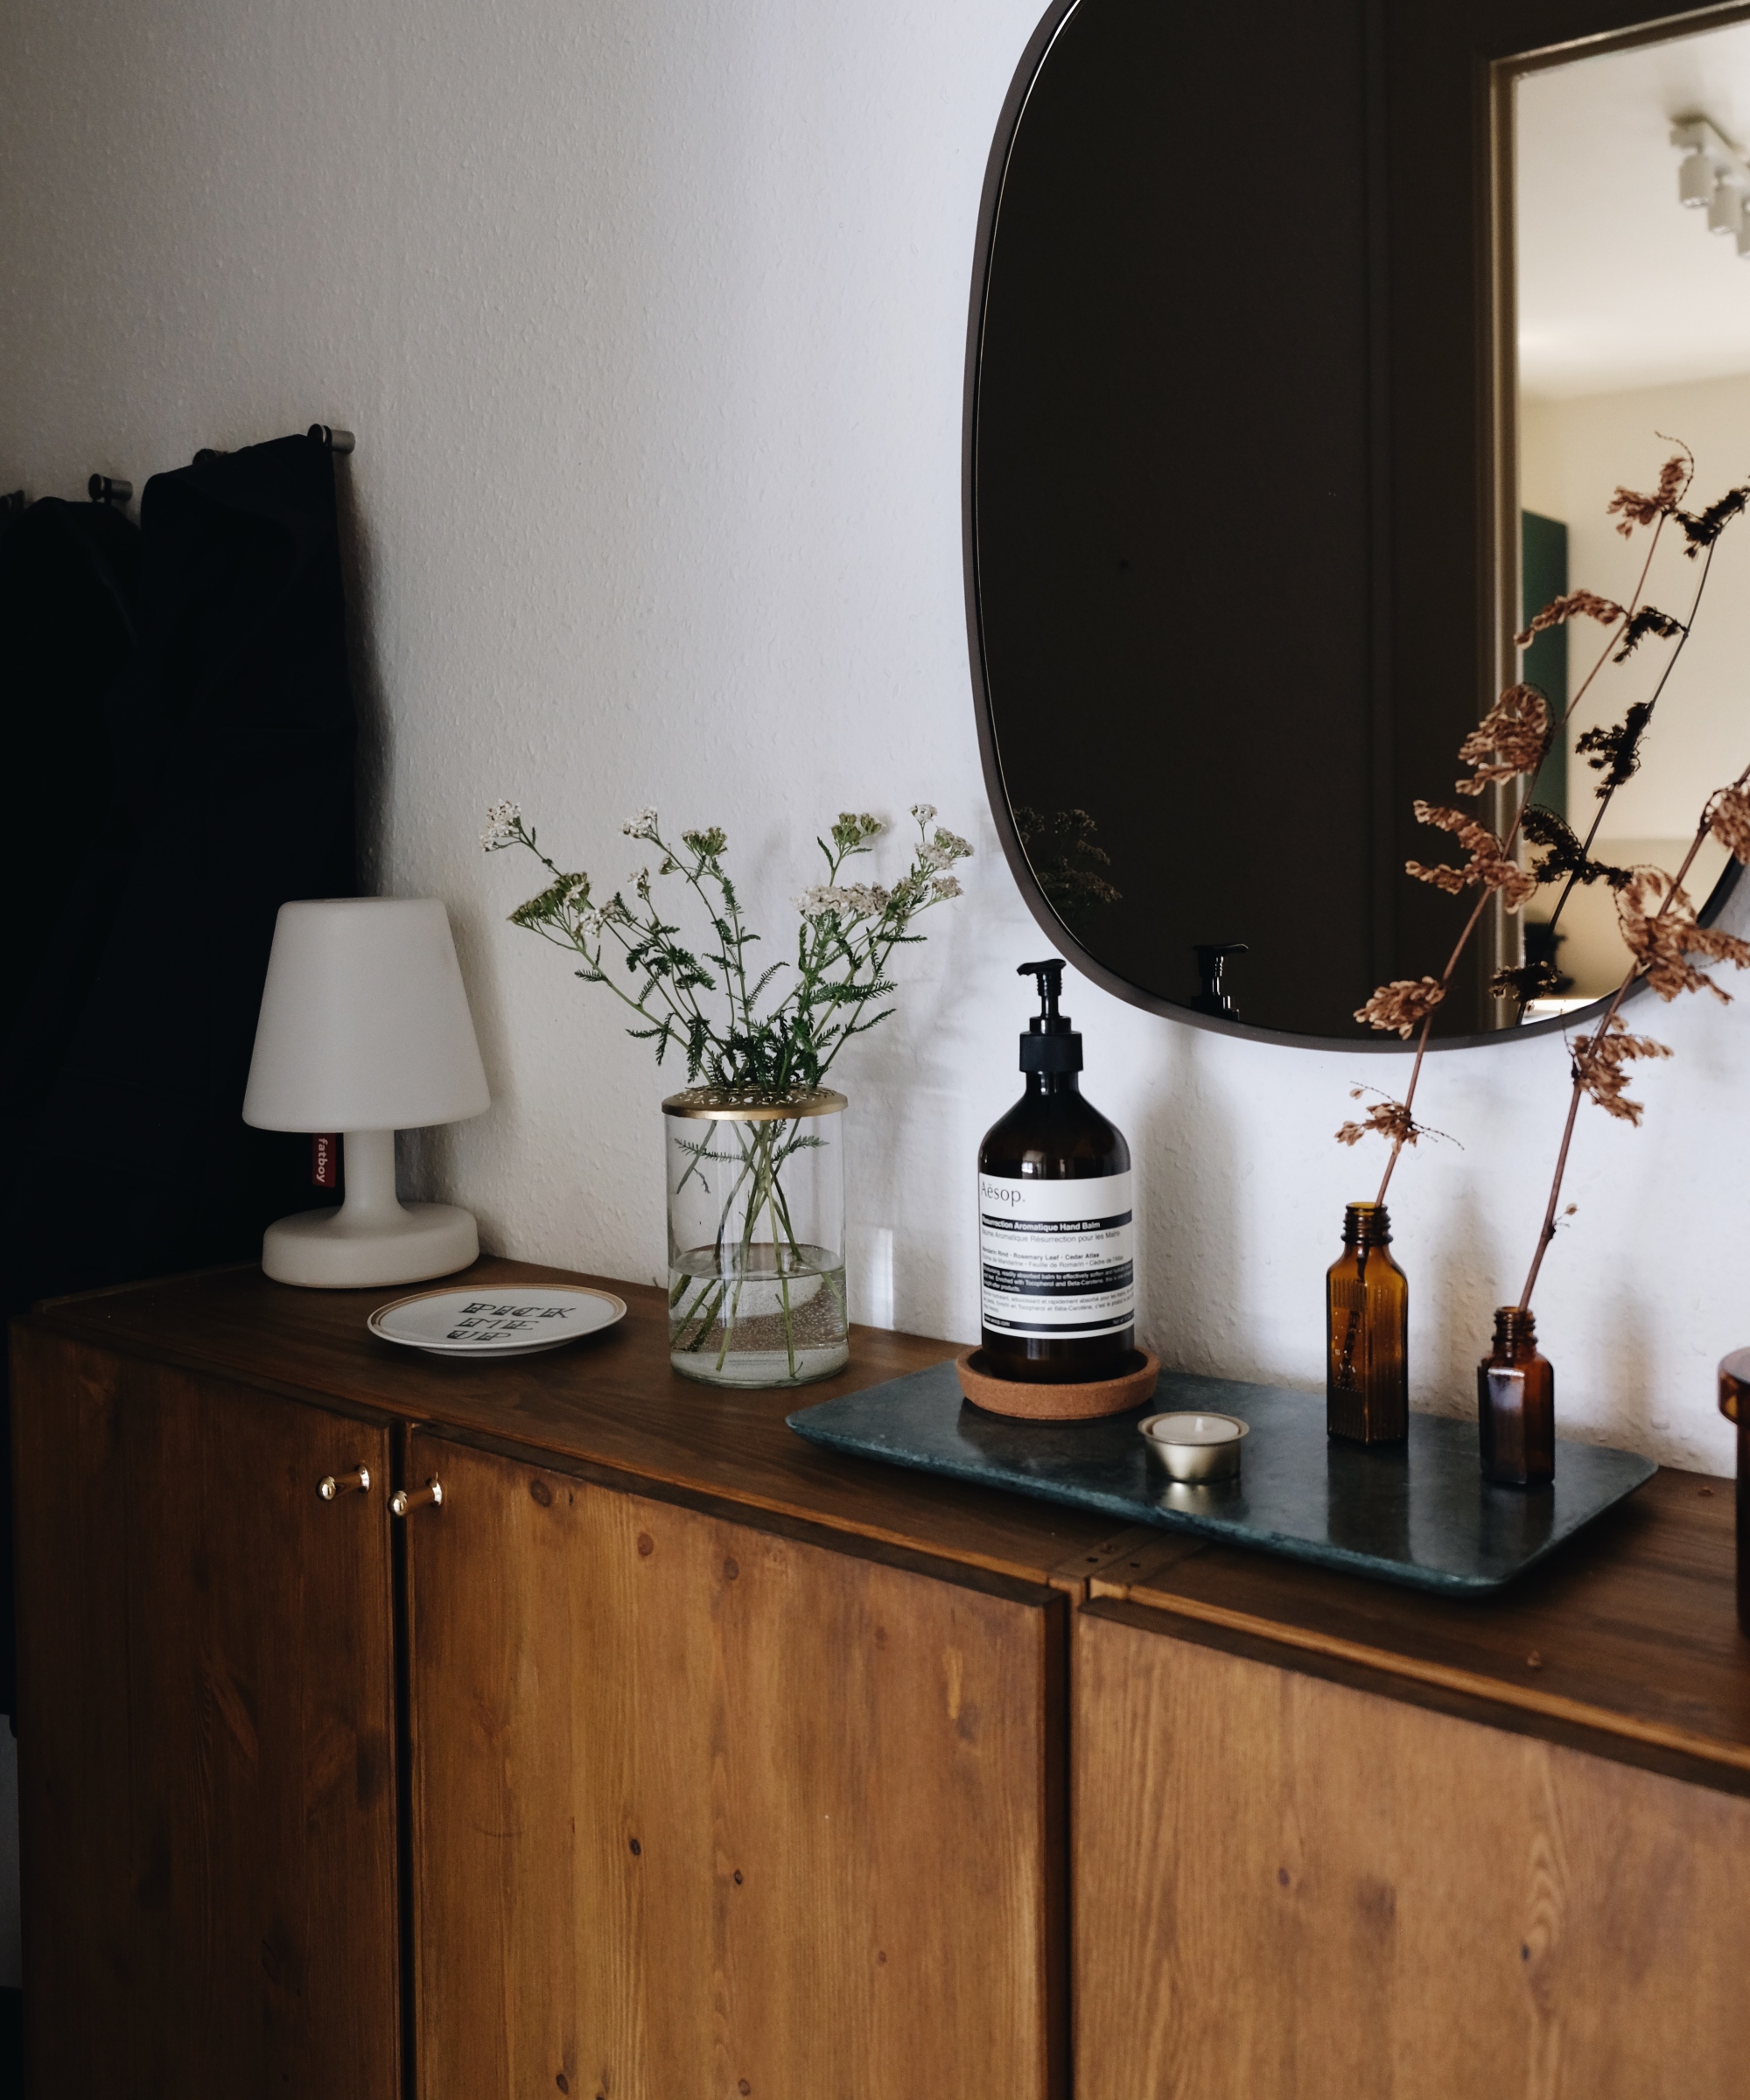
This stained IKEA IVAR makes a striking first impression in a dark entryway
The elevated IVAR demands attention in the first room of the home – for all the right reasons


The Livingetc newsletters are your inside source for what’s shaping interiors now - and what’s next. Discover trend forecasts, smart style ideas, and curated shopping inspiration that brings design to life. Subscribe today and stay ahead of the curve.
You are now subscribed
Your newsletter sign-up was successful
IKEA knows how to make an impression in every room of the home, but none more so than the entryway. If you're looking to curate a focal point in the first room of your home, their IVAR unit has made it possible – and the result is refreshingly simple.
No matter the size of your entryway, this IKEA hack will make all right first impressions on your guests, but how is it possible? With a little bit of dye, and a lot of love for the Scandinavian chain.
The epitome of IKEA IVAR hacks comes from Pamela Séchaud (@thegempicker) who stained her unit to create a bespoke aesthetic that elevated her Geneva apartment instantly. Here's how the designer transformed the minimalist icon into an unrivaled statement piece.
How to recreate this IKEA IVAR entryway hack

'When you first see [the IKEA IVAR] in the showroom, it doesn’t look like much. It’s hard to believe that the result can be as stunning as what you see on Pinterest. But since it’s made out of raw solid pine and in a pretty basic shape, it’s an easy piece to paint or to stain yourself,' Pamela says.
The designer isn't wrong – the process is achievable in all types of entryways – and beyond. Her secret is a wood stain, that ensures the unit is unrecognizable from its flatpack roots. 'Staining the IKEA Ivar cabinet also gives it a kind of timeless feel,' she shares.
Perhaps most crucially, you should complete the staining process before assembling your IVAR, so be careful not to build your pack until the color transformation process is complete.

After choosing the hue that is right for your space, Pamela explains that you should sand the unit before applying the first coat of stain. 'I’ve used a synthetic bristle brush but you can also use a piece of cloth or foam pad. It will depend on the type of stain you choose,' she adds.
The Livingetc newsletters are your inside source for what’s shaping interiors now - and what’s next. Discover trend forecasts, smart style ideas, and curated shopping inspiration that brings design to life. Subscribe today and stay ahead of the curve.
Once the first coat dries, you should reapply a second coat of stain to achieve a deeper, more impactful tone. Then, once the stain has dried for a second time, it is time to assemble the unit.

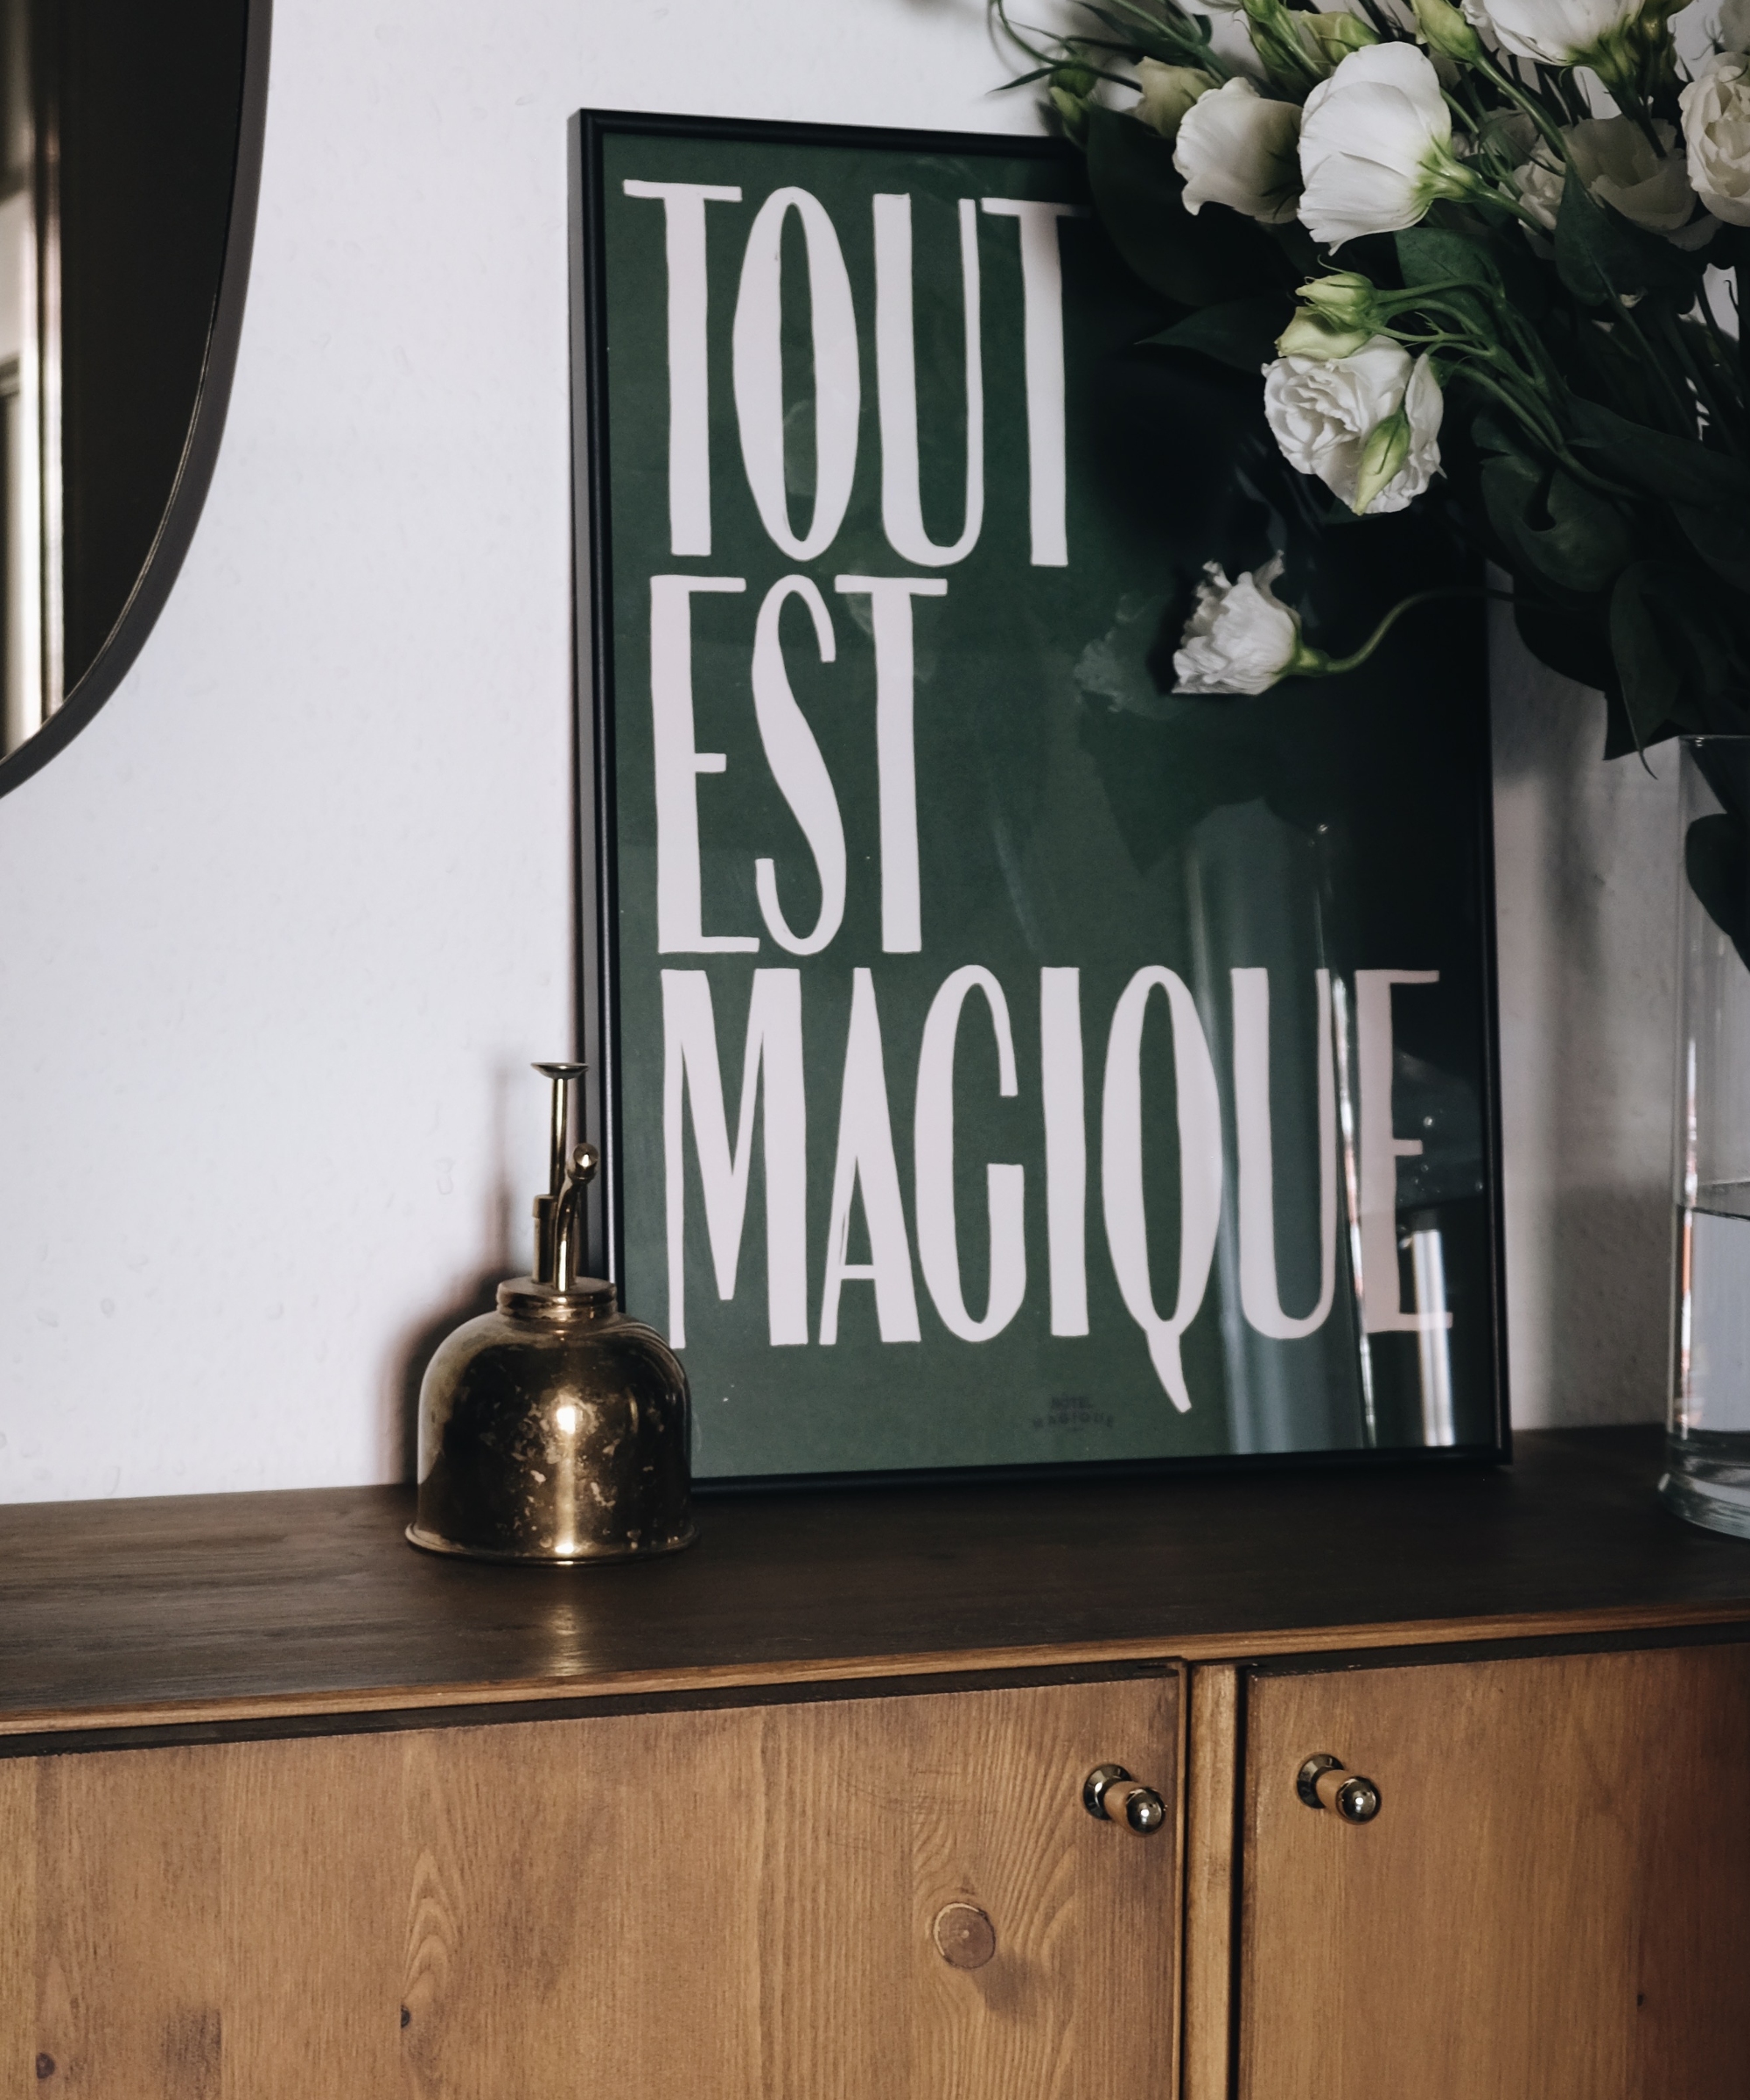
No hallway idea is complete with apt accessories, and this is certainly the case with Pamela's makeover. The designer added a print by Hôtel Magique, along with a curation of plants and a lampshade. She also crowned her unit with a circular mirror, to accentuate the narrow space further.
It's to reassemble your stained IVAR at the next opportunity.

Megan is the Head of Celebrity Style News at Homes & Gardens. She first joined Future Plc as a News Writer across their interiors titles, including Livingetc and Real Homes, before becoming H&G's News Editor in April 2022. She now leads the Celebrity/ News team.
Before joining Future, Megan worked as a News Explainer at The Telegraph, following her MA in International Journalism at the University of Leeds. During her BA in English Literature and Creative Writing, she gained writing experience in the US whilst studying in New York. Megan also focused on travel writing during her time living in Paris, where she produced content for a French travel site.
Megan currently lives in London, where she relocated from her hometown in Yorkshire. In her home, she experiments with interior design trends and draws inspiration from the home decor ideas she observes in her everyday work life. Her favorite pieces include her antique typewriter and her expansive collection of houseplants. When she isn’t writing, she is browsing London’s coffee shops and bookstores to add to her ever-growing library, taking over the open shelving in her apartment.