This $20 DIY hack adds instant character to any room, creating timeless picture frames and paneling
This clever innovation of flexible molding allows for seamless shaping of trim and paneling, opening the door to new creative and DIY possibilities

The Livingetc newsletters are your inside source for what’s shaping interiors now - and what’s next. Discover trend forecasts, smart style ideas, and curated shopping inspiration that brings design to life. Subscribe today and stay ahead of the curve.
You are now subscribed
Your newsletter sign-up was successful
Picture frame molding is everywhere right now. There's no easier (or cheaper) way of giving your walls a high-end look that's timelessly classic yet chic and contemporary. If you're on a budget, DIY molding is one of the simplest ways to dip your feet into the world of home reno, and it's now easier than ever thanks to this clever little innovation.
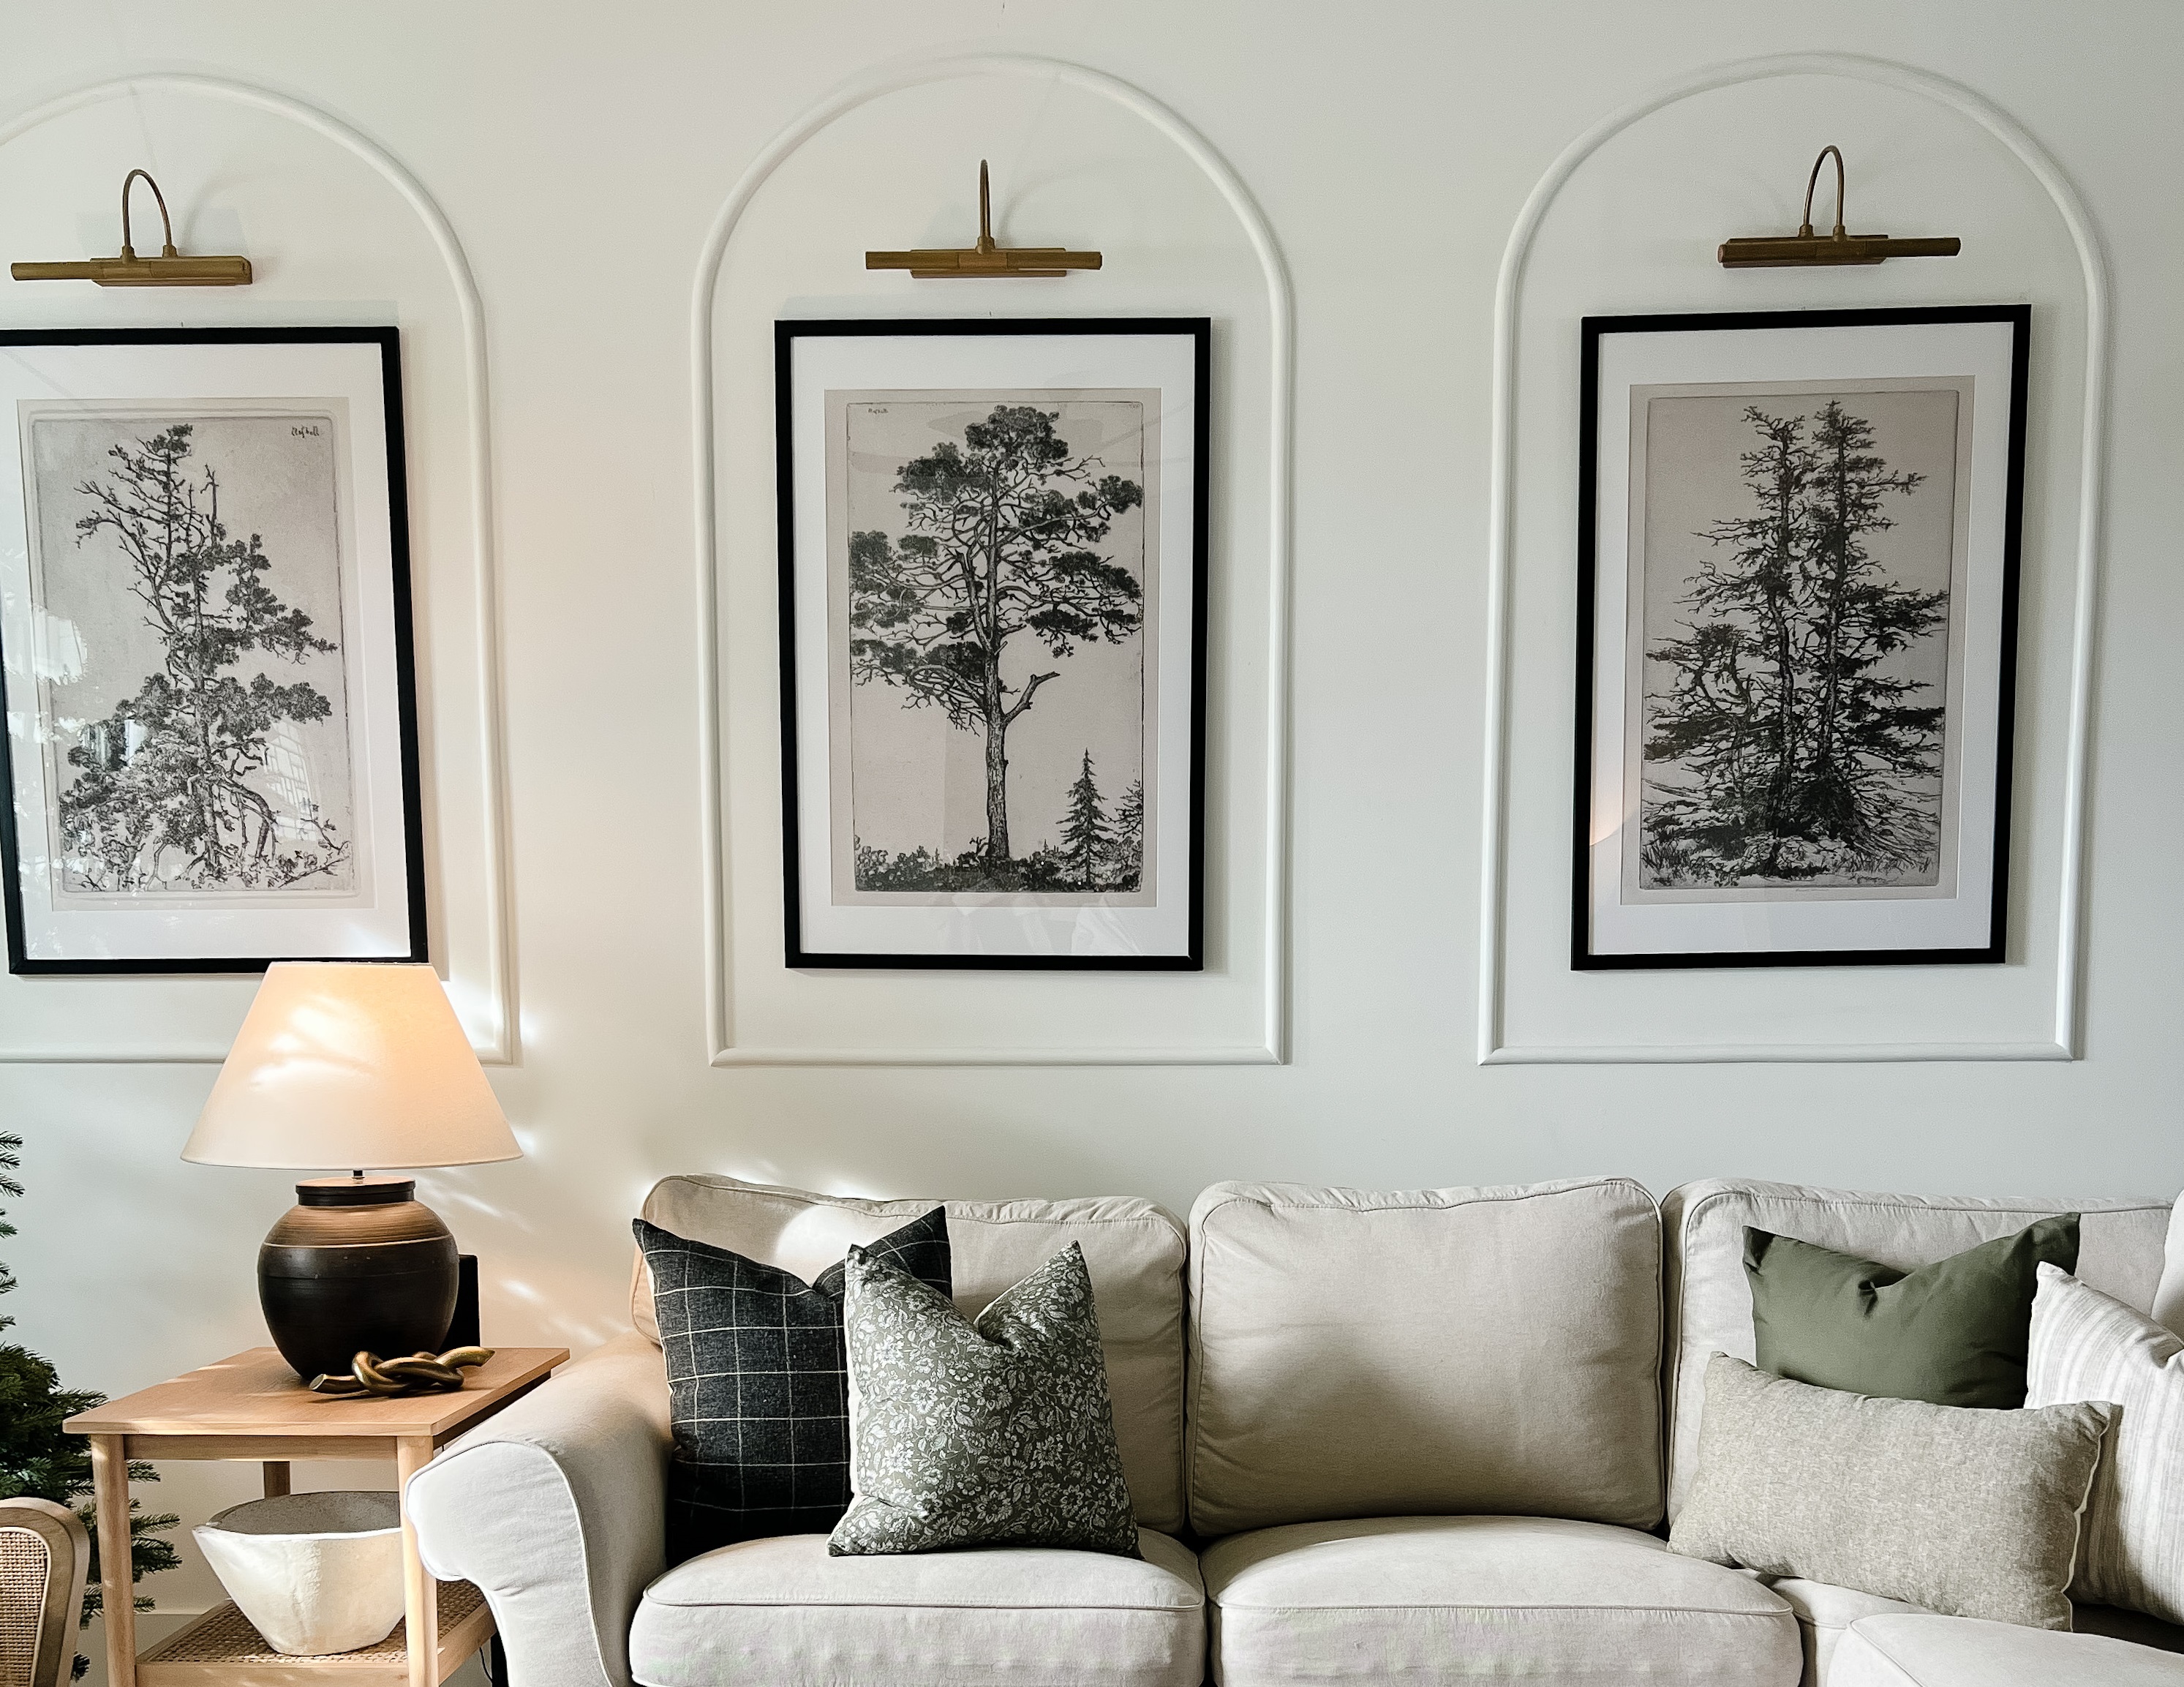
Yep, flexible molding has entered the building. This nifty creation cuts all the fiddly work out of your standard decorating tasks and offers new creative possibilities, too. The bendable polyurethane material looks and feels like real wood but allows you to shape trim and paneling with seamless construction, just as Samantha Farmer (@oliveandoakhome) has done with her arched take on living room picture frame molding.
Here, we take a look at how she did it, and why flexible molding is the must-have material for professional-looking DIY.

Lilith is an expert at following news and trends across the world of interior design. She regularly shares stories with readers to help them keep up-to-date with ever-changing trends in home renovation, alongside tips on how to decorate on a budget. Here, she takes a look at why flexible molding is the latest DIY must-have for high-end looking walls.
Wainscoting, dado rails, and picture frame molding are all making comebacks. While modern homes take a more minimalist approach to decorative features, many of us are looking for DIY-friendly ways to mimic traditional, period details like these to add character and charm to our spaces. Faced with a bare wall in her living room, that's exactly what Samantha decided to do.
'I decided to add the arched molding to my living room because I wanted something eye-catching, yet unique,' she says. 'My home was built in 2020 and is very builder-grade with white walls and simple fixtures. I knew traditional picture frame molding is all the rage right now, so I wanted to take that idea and put a unique spin on it to upgrade my space.'
That's where flexible molding comes in. Think of this material as fully moldable molding - it bends like a belt making it extremely versatile for your DIY projects, but it has the look and feel of wood. 'In essence, it's just a rubberized wood-like material,' Samantha explains. 'The color and texture are similar to wood, but it's bendable enough to create the arched shape.' It can also be cut, shaped, and sanded using standard woodworking equipment, perfect for all your wall-paneling ideas.
'I started the project by taping the wall with painter's tape to try and get a visual for the size and how many arches I would want,' notes Samantha. 'After some debate, I decided on three.' Each arch is 35 inches wide and 44 inches tall, and the arched curves peak at 6 inches from the crown molding at the top of the wall.
The Livingetc newsletters are your inside source for what’s shaping interiors now - and what’s next. Discover trend forecasts, smart style ideas, and curated shopping inspiration that brings design to life. Subscribe today and stay ahead of the curve.
Flexible molding can be applied to your wall using polyurethane construction adhesive, but pneumatic nailing is also recommended. For best results, we recommend using Loctite's Premium Polyurethane Construction Adhesive, available from Amazon.
Samantha used a half-round shape for her living room DIY project, but you could also use quarter-round or chair rail molding for a more decorative look. You can buy an eight-foot length from Amazon for just under $20.
'I cut the flexible molding with a miter saw and attached it to the wall using a brad nailer and 2-inch brad nails,' she explains. 'Where two ends of the flexible molding met, I mitered the corners (cut at a 45-degree angle) to ensure the transition from one piece to another was seamless.'
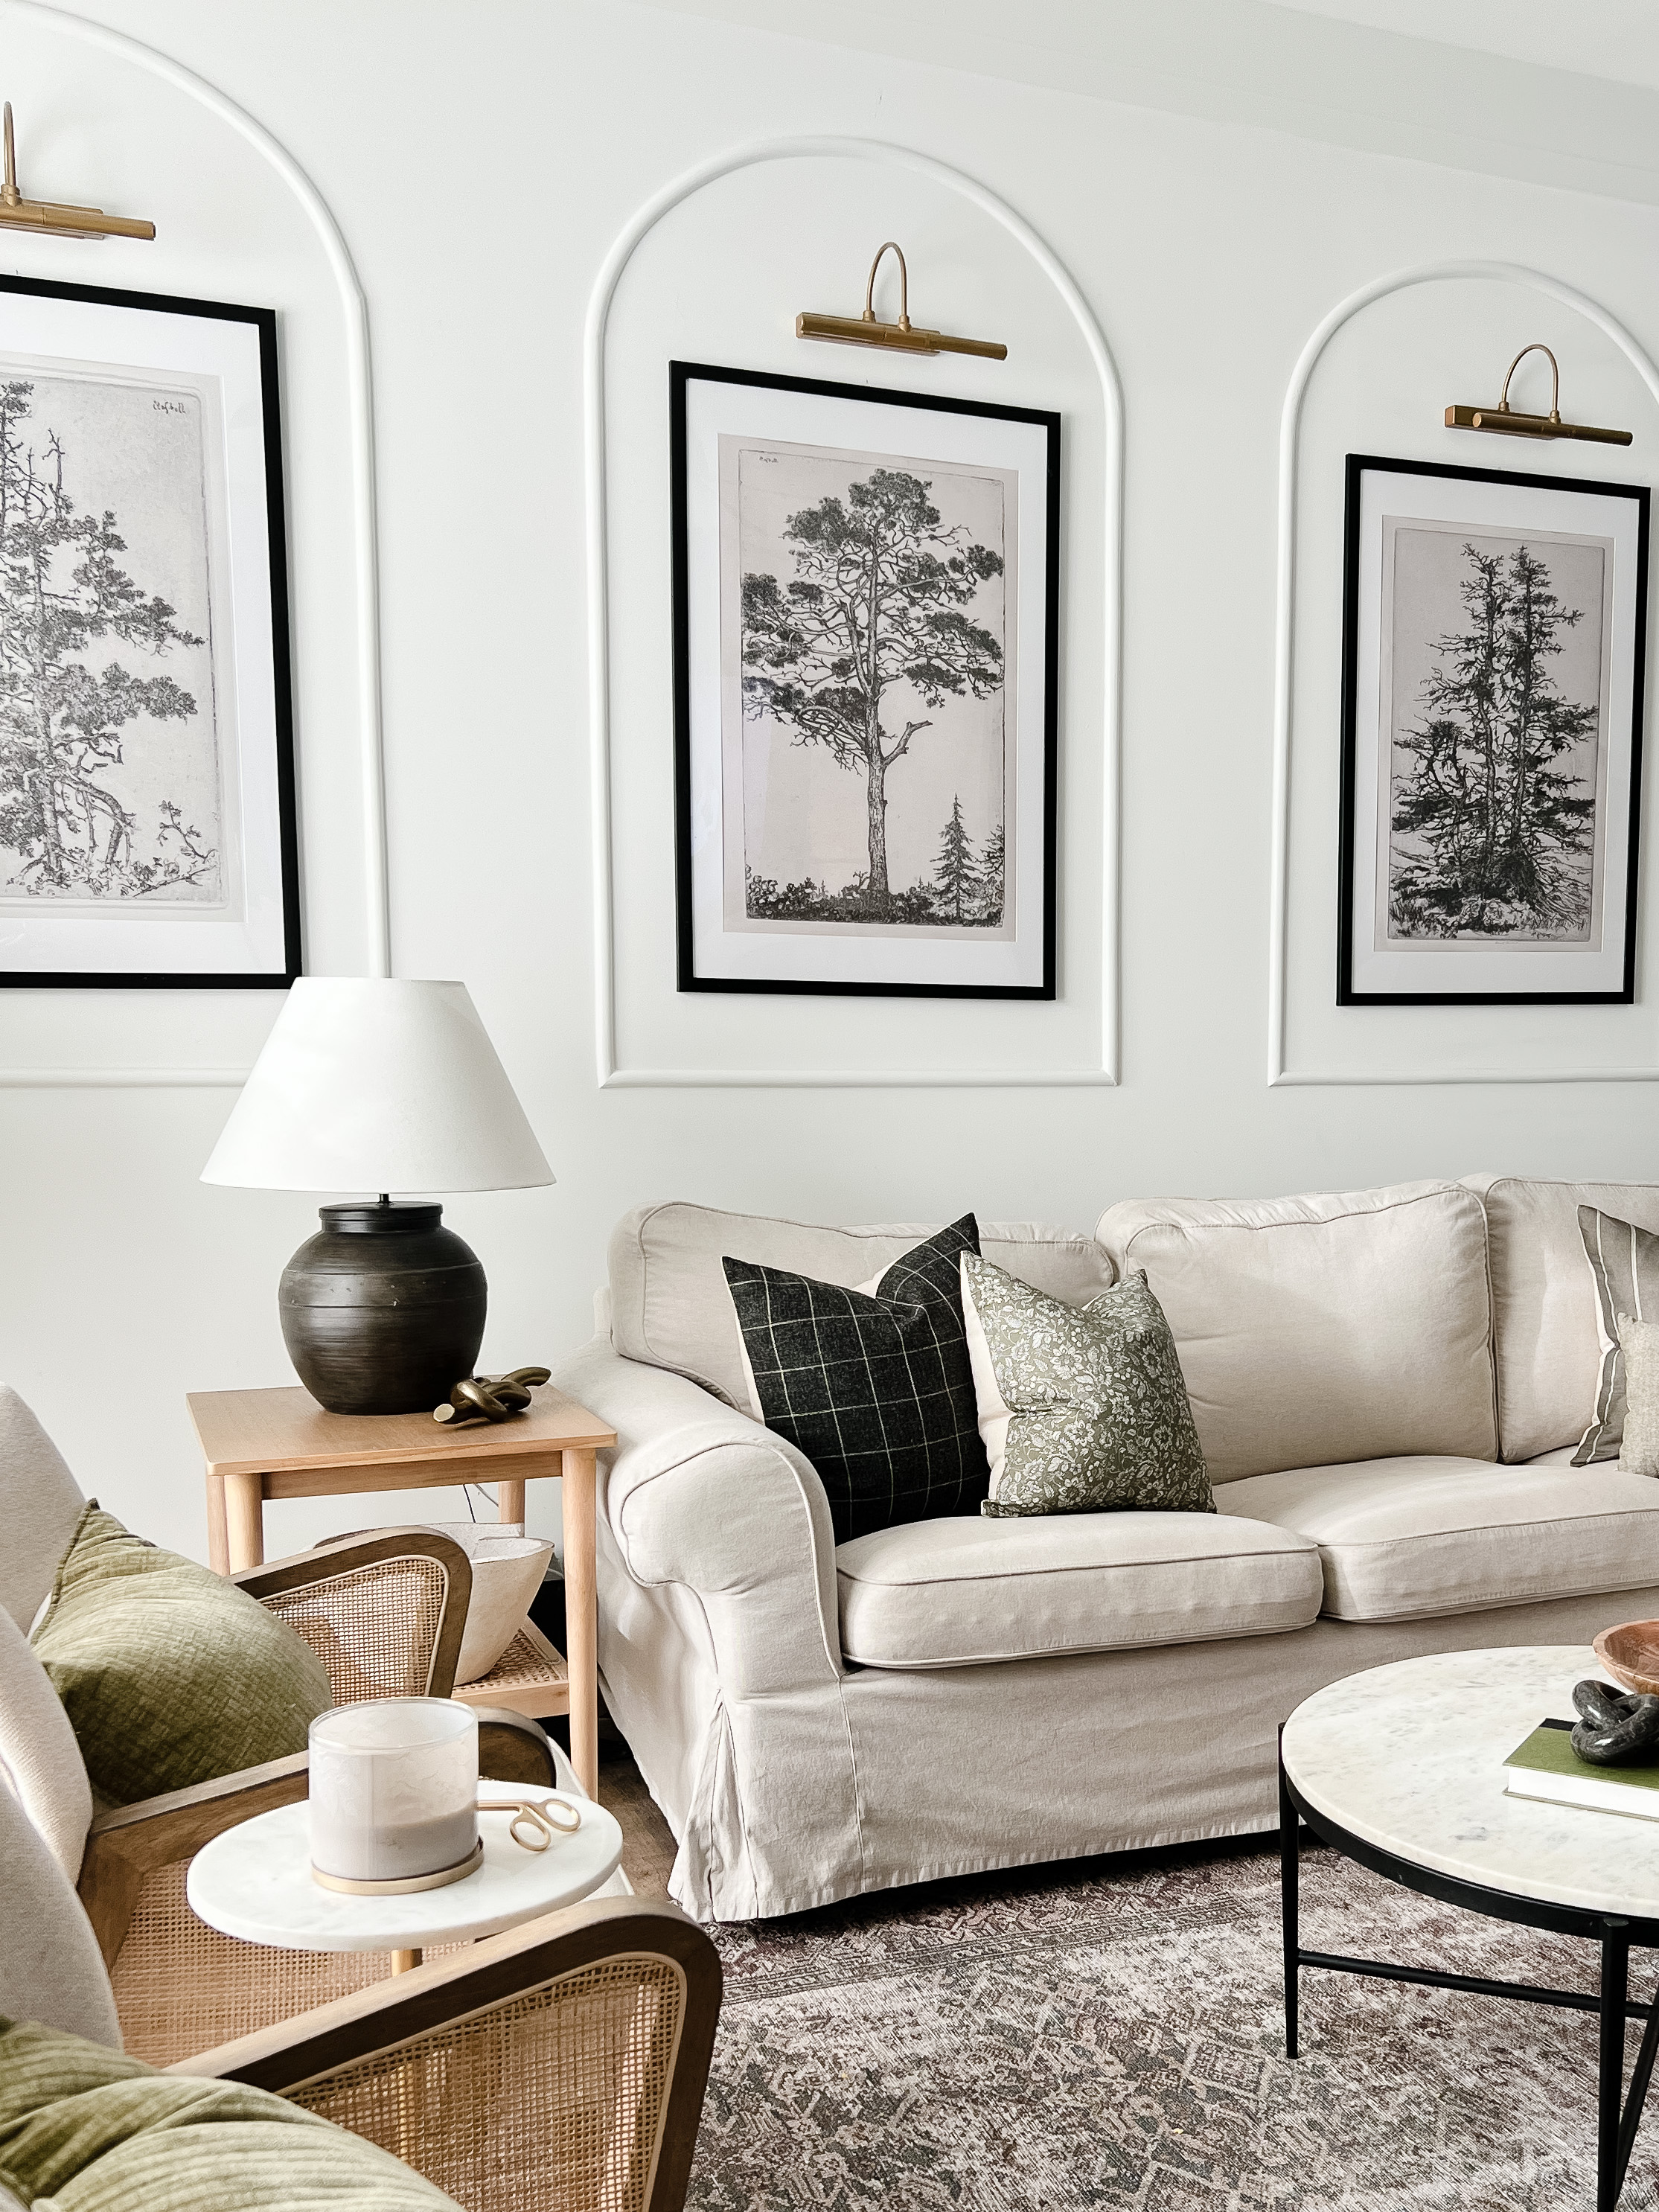
Once all three arches were attached, she used wood filler to fill any nail holes and mitered edges and then sanded until smooth once dry. As a stain grade material, there is a wood grain on the surface of the molding itself which will disappear if sanded, so best to avoid the rest of the molding during this part of the process.
Finally, it was time for the finishing touches. 'I used latex caulk to caulk the seams where the trim met the wall, and finished the job off by painting the arches the same color as the wall, which is Sherwin Williams "Pure White",' says Samatha. 'I then added large 24 x 30-inch picture frames and picture lights, both from amazon.' She filled the frames with artwork she found on Etsy and had printed them at a local print shop.
'I love how the arches add a focal point to my living room where there was none before,' says Samantha. 'They're bold yet simple which is exactly what I was looking to create to bring the unique factor to this space.'
We're in full agreement. It's the perfect weekend project for anyone looking to add new life to their living room on a budget and we can't wait to try it ourselves. To take it one step further, you could even try an IKEA wall-paneling hack using painted picture frames below your arches for a modern take on beautiful boiserie. Et voila!
Get the look
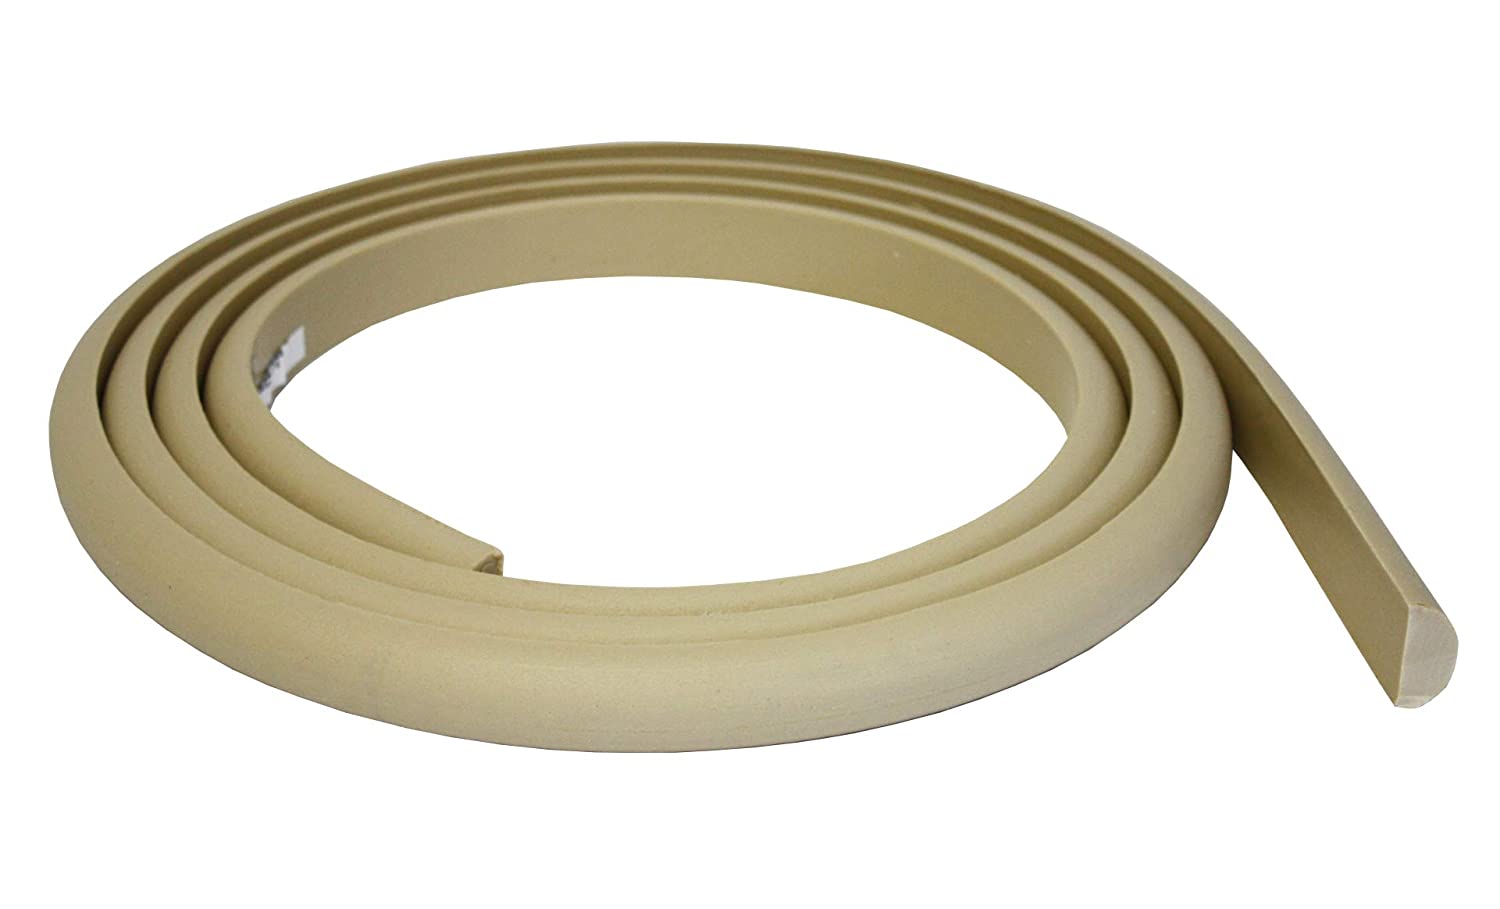
DIY has never been easier than with flexible molding. This 8-foot length of flexible trim from Amazon is super easy to install and bends just like a belt, allowing you to shape it however you like. It's also moisture-proof and can withstand extreme temperatures without warping or cracking, making it suitable for both indoor and outdoor use.

This battery-operated picture light from Amazon is the perfect sconce to give your living room walls a more luxe look. Dimmable and with warm, cool, and white brightness settings, it allows you to easily switch up your lighting depending on the mood. Use within a wall panel and above your favorite artwork for a timeless look.

Adorn your living room walls with some botanical prints for a vintage feel. This moss tree print from Etsy is perfect for an old-timey look that still has a contemporary edge, promising to blend in well with modern, neutral interiors. Use alongside two other pictures for a characterful yet sophisticated approach to wall art.

Lilith Hudson is a freelance writer and regular contributor to Livingetc. She holds an MA in Magazine Journalism from City, University of London, and has written for various titles including Homes & Gardens, House Beautiful, Advnture, the Saturday Times Magazine, Evening Standard, DJ Mag, Metro, and The Simple Things Magazine.
Prior to going freelance, Lilith was the News and Trends Editor at Livingetc. It was a role that helped her develop a keen eye for spotting all the latest micro-trends, interior hacks, and viral decor must-haves you need in your home. With a constant ear to the ground on the design scene, she's ahead of the curve when it comes to the latest color that's sweeping interiors or the hot new style to decorate our homes.