How to use a laptop as a monitor – everything you need to know to optimize your workspace
Knowing how to use a laptop as a monitor is a key skill to maximise your workspace and clean up your tasks
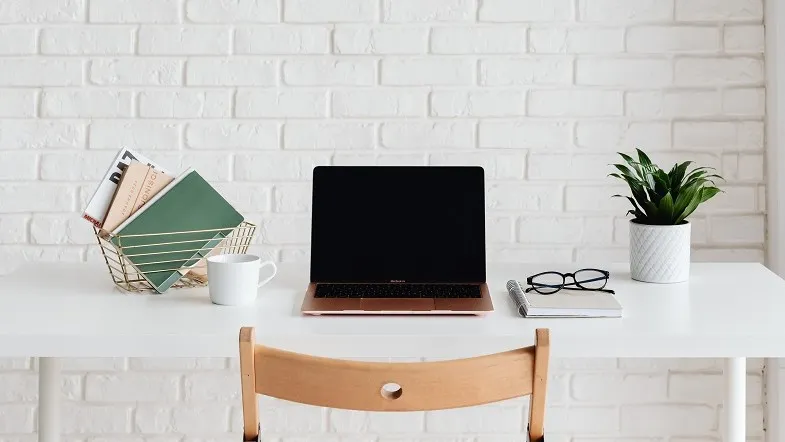
Knowing how to use a laptop as a monitor can be a key skill to add to your tech armory. If your desktop tends to get quite crowded when you are working with all the windows you have open, this is the how-to for you.
'Some people find that having one screen for admin (to-do lists, messaging systems, emails, etc) and then one screen for action (tasks actively working on) is very effective,” say the tech experts at Titan Ice. “This provides a great split that means you can stay focused on one area while being able to glance at less pressing items on the other screen. For the super busy, you can connect much more than two displays to a single computer, too.'
'Working with an external monitor on your laptop has a couple of great benefits,' says Scott Riley, director of Cloud Nexus. 'It provides a lot more screen real estate to see more applications at the same time, it’s often easier to adjust the location and height of the screen to match your eye level, and it’s a much more comfortable viewing angle than looking down at a laptop screen.'
Sound good? If so, read on for everything you need to know about setting up your laptop to use as a monitor.
- The best smart plugs – the slickest ways to make your life easier, save energy and reduce bills
How to use a laptop as a monitor – everything you need to know in 5 easy steps
You will need
- Laptop
- Monitor
- HDMI cable – but check your laptop and monitor ports first!
1. Finding the right cable to connect your laptop to your monitor
In most cases, you can’t use a laptop for direct output, meaning that you couldn't connect a Playstation to one and then easily have that displayed on the laptop screen. So, if you're looking for a more flexible display option that you can connect external devices to, then a portable monitor may be what you're looking for.'
'It’s important to ensure that you get the right cable which matches your monitor and your laptop. If you get stuck, it’s a good idea to check out the laptop manufacturer’s website for guidance.' explains Scott.
'If you have an HDMI output on your laptop and an HDMI input on your monitor, then it’s simply a case of connecting a standard HDMI between the two devices. However, the most recent laptops and most Apple Mac devices use a USB-C or Thunderbolt port.'
The Livingetc newsletters are your inside source for what’s shaping interiors now - and what’s next. Discover trend forecasts, smart style ideas, and curated shopping inspiration that brings design to life. Subscribe today and stay ahead of the curve.
'If you have a different connector at each end then you need to buy a special cable or an adaptor, these are very common and reasonably priced. You can quickly search for ‘USB-C to HDMI cable’ as an example to make sure that you get the one which works for you.'
2. Decide how you want your laptop and monitor to function
'Once you’ve connected your monitor to the laptop there are a couple of things that need a little tweak before you’re ready to get working,' says Scott. 'Do you want your laptop as just a bigger screen than your normal laptop screen, or as an additional monitor to your laptop.'
- Gmail hacks – everything you need to know to keep your emails running smoothly
3. Setting up your monitor to mirror your laptop screen
Setting up your monitor to mirror your laptop screen means you will have a larger display to work from.
'To achieve this on a Mac, head to System Preferences à Settings à Displays, and then press the ‘Display Settings'. Here you will see your built-in display and the external monitor. Select the external monitor and choose ‘mirror display’.
'On a Windows laptop, press the Windows key and P at the same time. You should get a pop-up menu, here you can choose ‘Duplicate’.' explains Scott.
4. Setting up your laptop to be an additional monitor
Doing this means you can complete different tasks on the two screens. 'Perhaps with your email on one screen and your documents on the other, this is great for multi-tasking or doing some research on the Internet whilst you are writing a document,' says Scott.
'To achieve this on a Mac, head to System Preferences à Settings à Displays. Here you will see your built-in display and the external monitor. Select the external monitor and choose ‘extend display'.'
'On a Windows laptop, press the Windows key and P at the same time. You should get a pop-up menu, here you can choose ‘Extend’.'
5. Ensure the laptop knows where the monitor is
'If you’re using the monitor as an extended display, you need to tell the laptop where your monitor physically sits in relation to the laptop. This is really important! You want to make sure that when you move your mouse point off your laptop screen it moves to the external display properly.' says Scott.
'For instance, when you move your mouse off the right-hand side of the laptop screen it appears on a monitor which is physically sitting on the right. If your monitor is physically on the left then this can all be the wrong way round, which is awkward!'
'To achieve this on a Mac, head to System Preferences à Settings à Displays. Here you will see a picture of two screens next to each other. The smaller one is your laptop screen and the bigger one is your external monitor. Click and drag the external monitor so that it is on the left or the right of the laptop screen.'
'On a Windows laptop, press the Windows key and type rearrange, you will see an option called ‘rearrange multiple displays’ which you can click on. You will see a picture of two screens next to each other. If you don’t know which one is which you can press ‘identify’. This will show a very clear number on the screen. Click and drag the picture of the screen so that the external monitor is on the left or the right.' Scott advises.
- How to clean a laptop screen - the secrets you never you needed to improve your home and work life
Olivia Emily is a London-based journalist specializing in interiors, culture, and lifestyle. After finishing her English Literature degree at the University of Cambridge and a stint at a boutique PR firm specializing in luxury brands, she completed her Magazine Journalism MA at City, University of London and began her career navigating the world of digital publishing. Honing an eye for emerging trends, she has contributed to a range of other leading home and lifestyle titles, including Country & Town House, The Independent, Square Mile, and SPHERE. Away from her desk, you will find Olivia deep in a property listing spiral, mentally knocking through walls that aren’t hers, and rearranging her own space in pursuit of something even more pleasing.