How to install garden decking
If you want to give your garden a makeover then why not install some decking? Here is an expert guide on how to do it.


Knowing how to install garden decking means you implement a stunning addition to your home, providing extra space for entertaining and a place to relax and enjoy the sun. Decking ideas also increases the value of your property and elevates the look of your outdoor space.
If you want to know how to install decking in your garden, then take a look at this expert guide provided by Wickes.
PLANNING IS ESSENTIAL
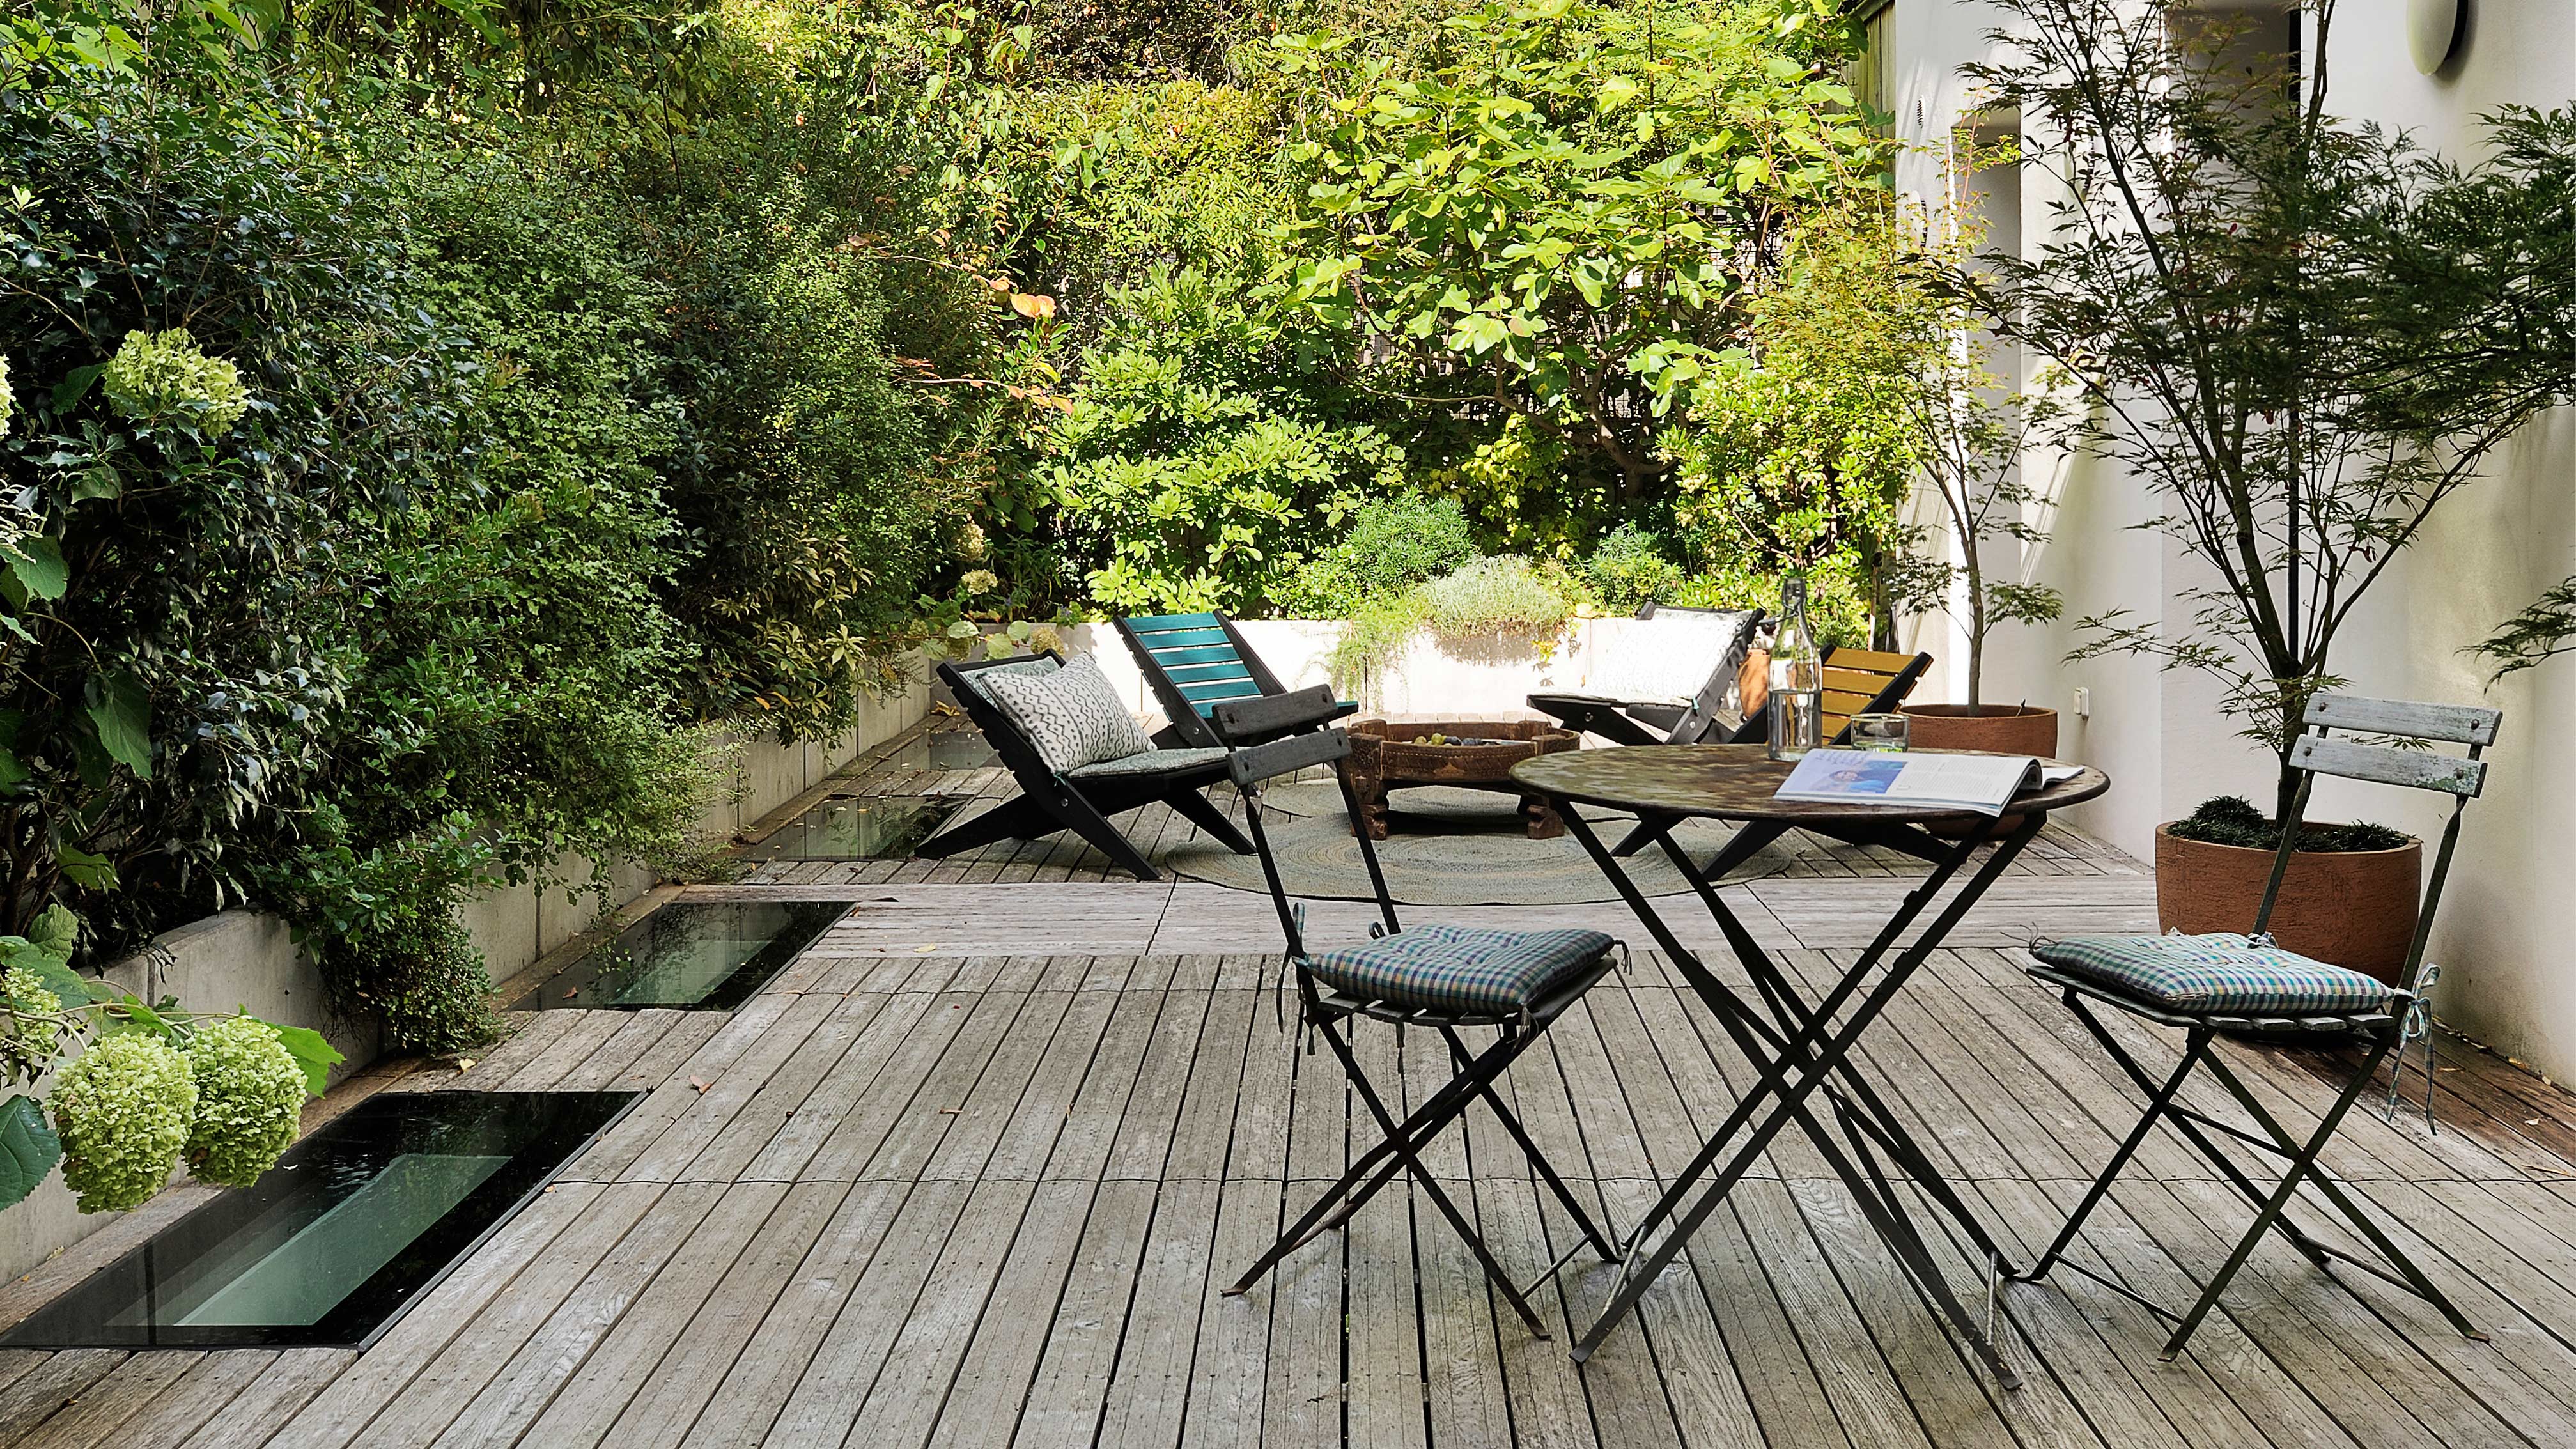
There are a few things to consider before getting to work on your deck.
It’s important to note that the following guide outlines the method for installing a single level deck with a timber frame and horizontal deck board positioning, and that other designs will need to follow other methods.
First you’ll need to decide on the location - where do you want your deck to be?
‘You should factor privacy and sunlight into this decision,’ says Chris Moorhouse, Category Director of Timber, Building, Decor, Garden, at Wickes. ‘And bear in mind that shaded areas will require more maintenance and damp areas should be avoided entirely.’
Moorhouse also advises that you make sure your deck is 150mm below the damp proof course if you are planning on building next to your house.
The Livingetc newsletters are your inside source for what’s shaping interiors now - and what’s next. Discover trend forecasts, smart style ideas, and curated shopping inspiration that brings design to life. Subscribe today and stay ahead of the curve.
‘You’ll also need to make sure that you don’t cover any air bricks and that the fall of the frame is 1:100 and running away from the house to aid water run off,’ says Moorhouse.
You’ll also need to factor in gaps of 5-8mm between deck boards.
WHAT TOOLS WILL YOU NEED?
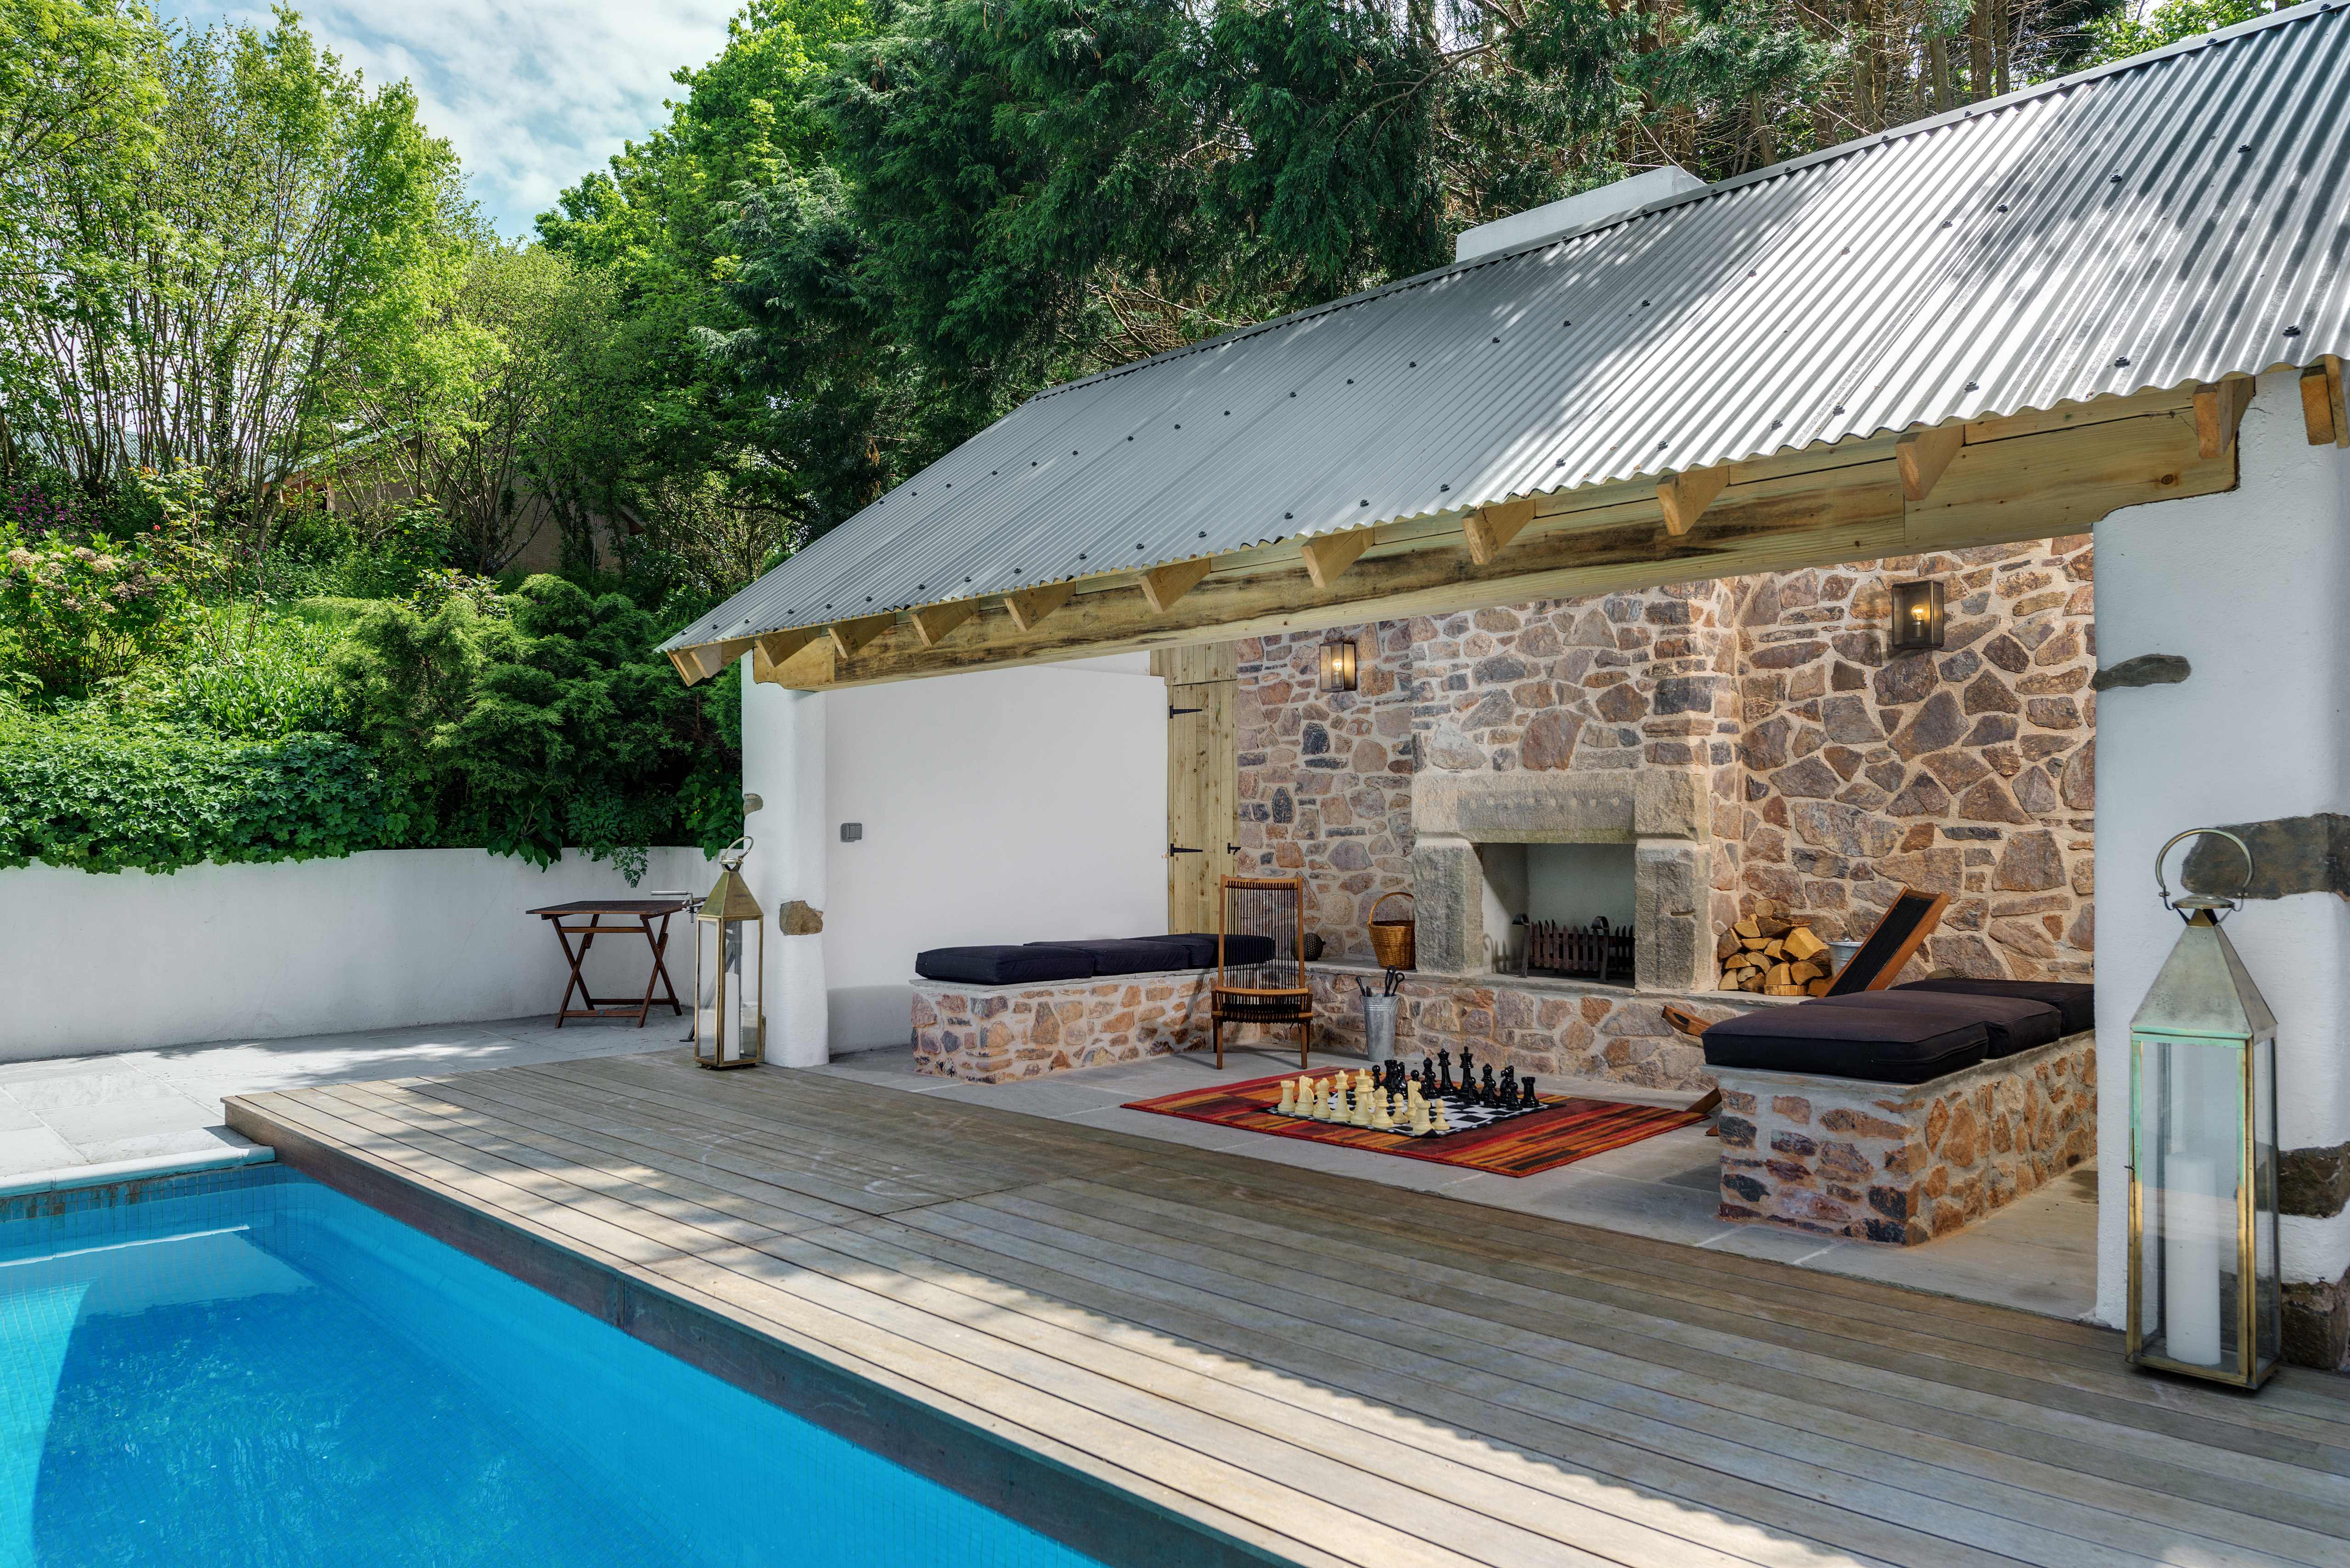
It’s important to make sure that you have the correct equipment before getting to work.
Here is a list of the tools you will need:
Heavy duty tape measure
Carpenters pencil
Sandpaper
Spirit level 450mm and 1200mm
Carpenters try square
Workbench
Cordless combi drill & driver bit
Fine cut panel saw 20in
Large paint brush
Bucket
Chalk
Pegs & multi-purpose string length
Garden spade
Scissors
Countersink drill bit
6mm wood drill bit
2mm drill bit
Jigsaw
Safety equipment
When it comes to DIY, your safety is of the utmost importance. Make sure that you use a dust mask, safety goggles and rigger gloves when putting your deck together.
WHAT ABOUT MATERIALS?

Here is a list of the materials that you’ll need to install your deck:
Exterior grade joist 47 X 150mm X 3m
Wood preserver
Heavy duty landscape fabric
Gravel 10mm
Adjustable decking risers
150mm timber drive screws
100mm timber drive screws
50mm joist hangers
30mm exterior grade screws
Deck boards
64mm decking screws
PREPARING THE AREA
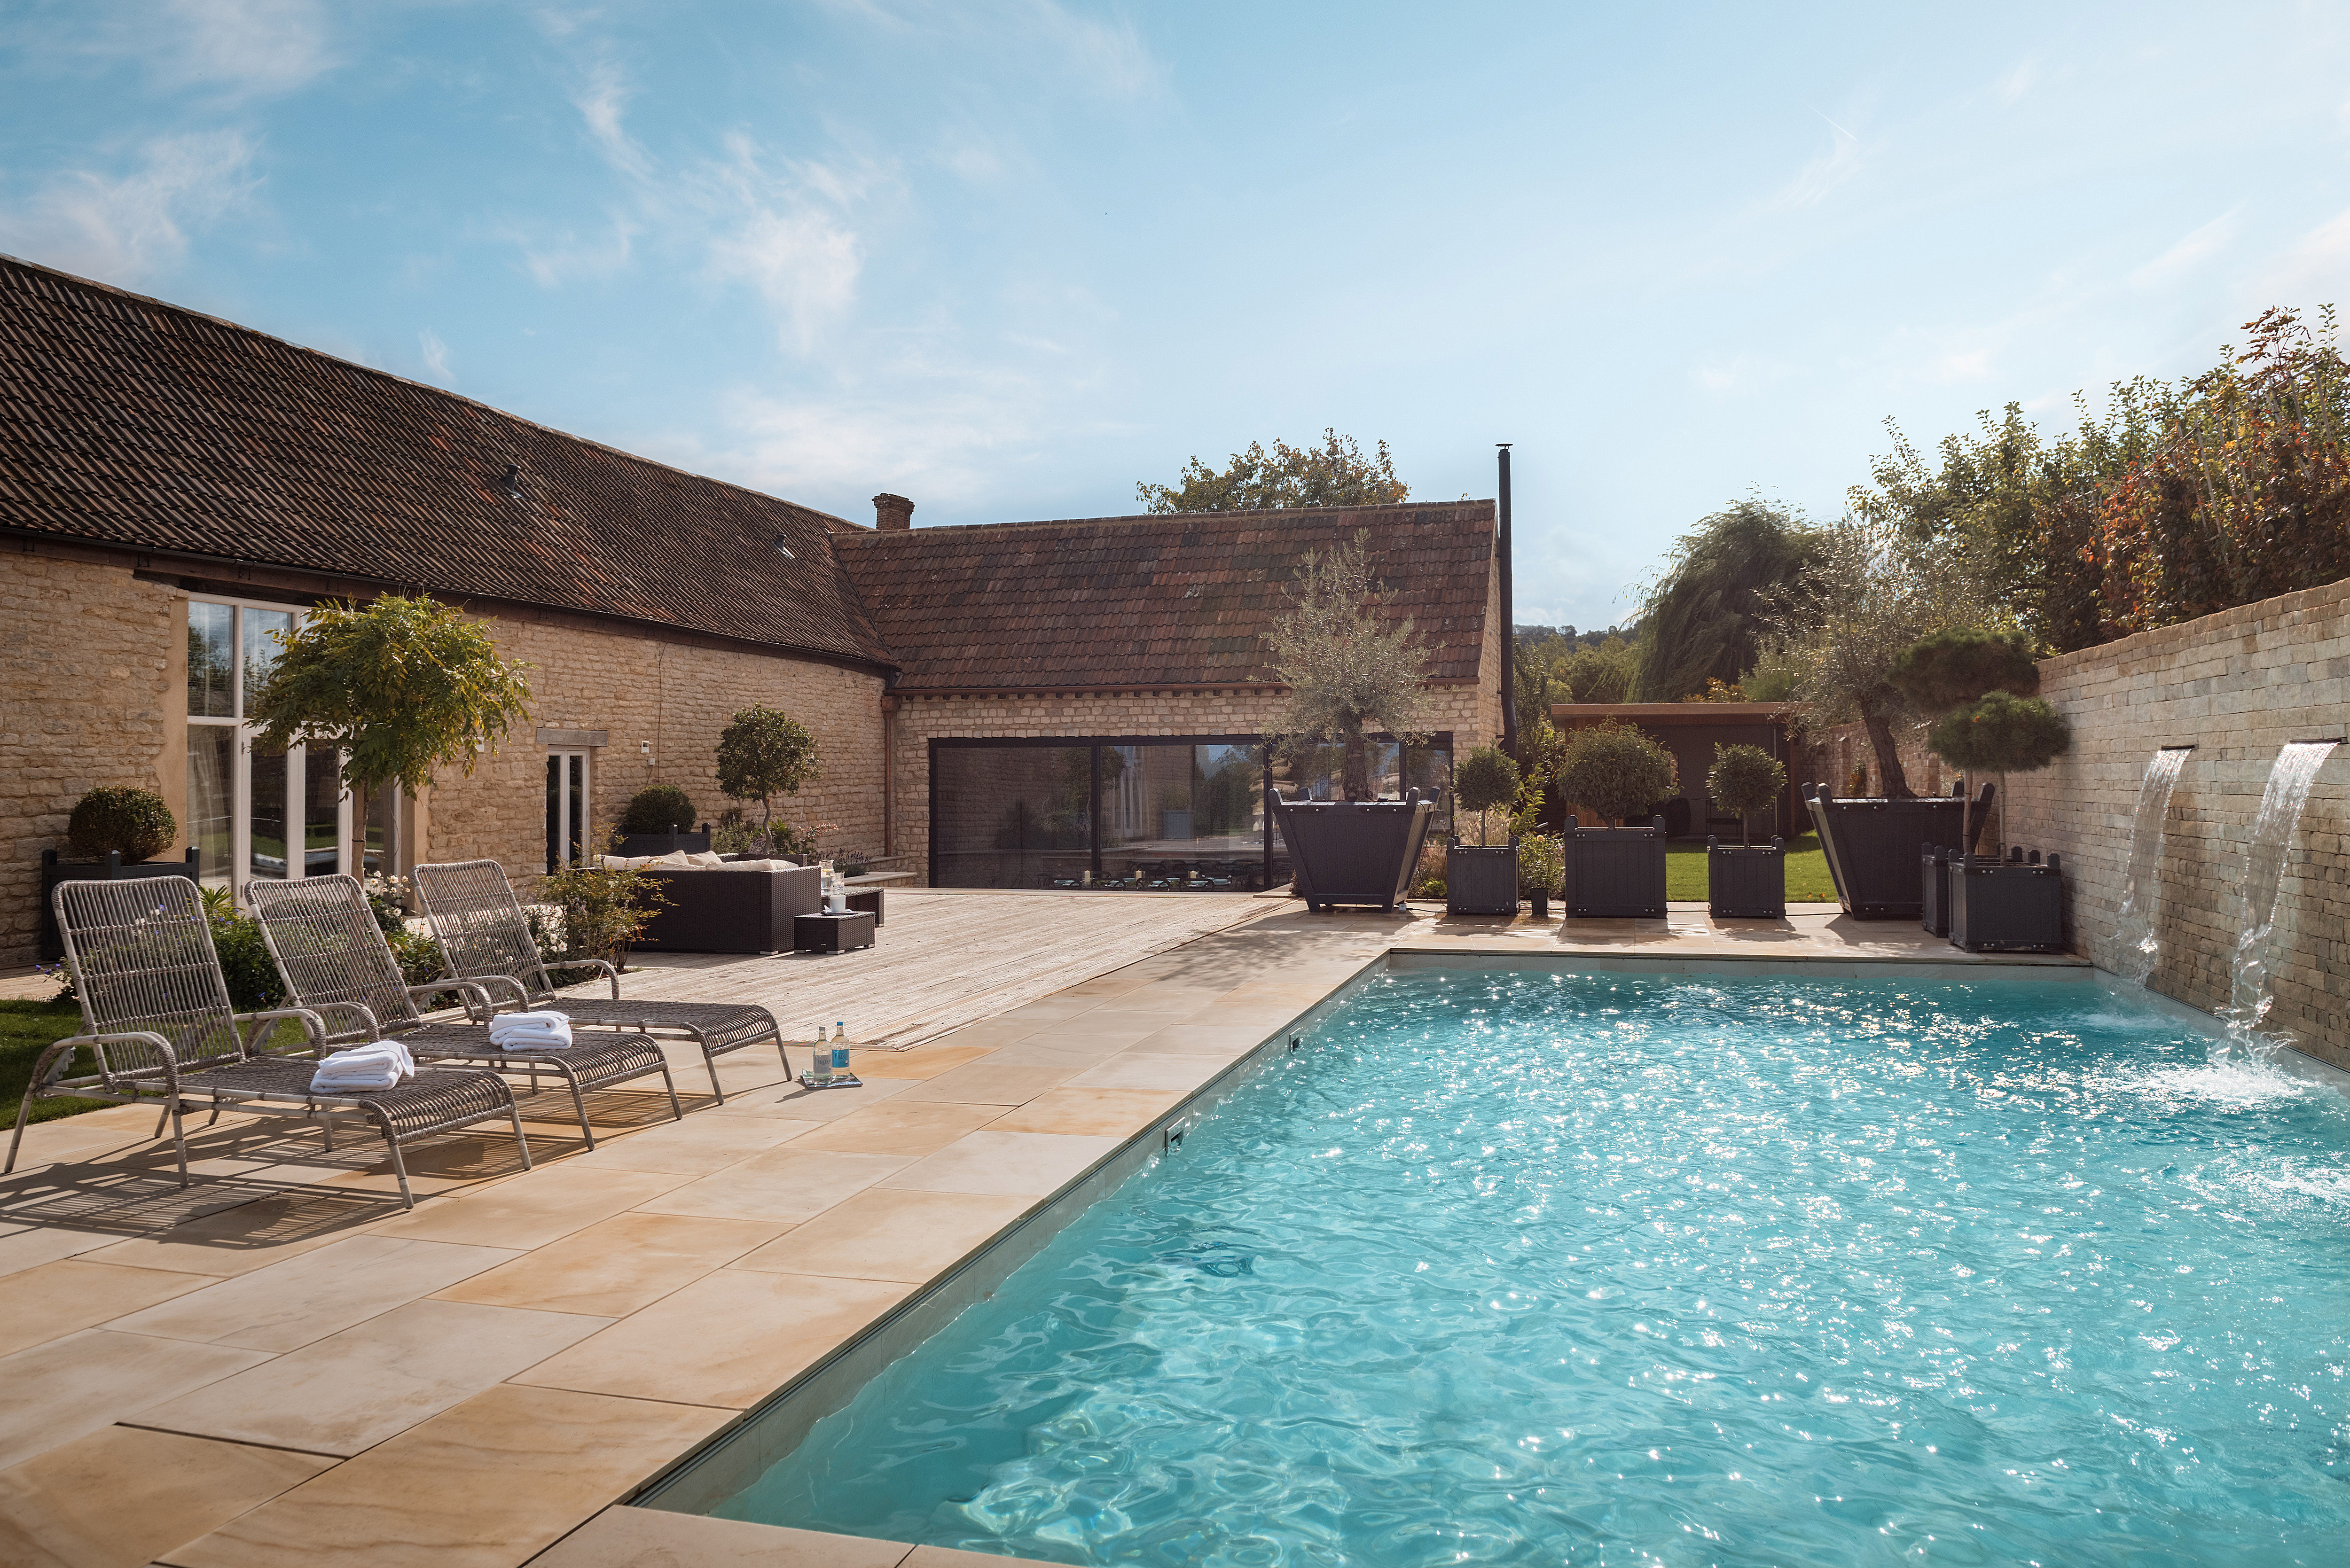
Moorhouse recommends starting by measuring and marking out your decking area, and says an existing patio can be used as a foundation.
‘If you’re laying a deck over a lawn, mark out the area before digging to a depth of 50mm and then cover it with landscaping fabric and gravel,’ says Chris Moorhouse. ‘Add paving stones on top of the gravel for soft ground.’
ADD A WALL PLATE

If you’re planning on joining your deck to your house then you’ll need to add a wall plate. If not then move onto the next step.
Here’s how you add a wall plate:
‘First, mark a vertical line that the end of the wall plate will be placed against. This will be the corner of the decking,’ says Moorhouse.
‘If you’re planning around a step or a sill, make sure you check the design fits. To do this, take an offcut of deck board, hold it up to the lowest part of the sill and mark a small line beneath it. Then drop the board down by 10mm from the line to allow for expansion and draw a level line using a spirit level.
‘Then, cut the joist to length. Measure 100mm in from one end and mark the wood and, using a set square to ensure a straight line, draw a vertical line down from your mark.
‘Next you’ll need to measure 50mm down from the top of the line and 50mm up from the bottom and mark the wood; this is where the pilot holes will be drilled. Repeat this process at 600mm intervals down the length of the wall plate.
‘Upon reaching the far end of the wood, measure and mark out another 100mm section. Then drill the pilot holes using a 6mm drill bit before putting the wall plate into position in line with your guideline and use packers to support the timber if needs be. Then check the wall plate is level.
‘Before securing the wall plate to the house, double check the deck board fits beneath the sill. Then drill guide holes into the wall using a 7mm masonry drill bit. It’s best to ask someone to hold the timber in place for you whilst you drill the holes.
‘Move the wall plate away and complete the holes by drilling directly into the wall. Then insert 6mm x 100mm screws through the holes in the wall plate and hang galvanised or plastic washers on the end. Make sure to use enough washers to ensure a 10mm gap between the wall and the wall plate.
‘Finally, hand tighten the screws into the wall plugs before using a drill and driver bit to secure them. If there is an obstacle, repeat this process to attach the second plate to the wall.’
ASSEMBLE THE FRAME

The next step is assembling the frame.
If your decking is going to be longer than the decking joists, you will need to join two sections together. If you don’t need to join your joists then move them into position and skip to step 6.
To join your joists, Moorhouse advises to start by measuring and cutting the section you need to reach the required length.
‘Then measure and cut a 600mm section and mark at 300mm to show where the centre point is before securing the three sections in your workbench or saw horse, ensuring that the 300mm mark lines up with the join in the joists.
‘Next you’ll need to measure 75mm from each side of the join and mark the wood. Then measure 150mm from each side of the join and again, mark the wood. From each of the four marks, use a set square to draw a straight vertical line.
‘Mark two evenly spaced pilot holes onto each of the lines you have drawn. Drill pilot holes using a 6mm wood drill bit. Secure with 100mm screws. Countersink the screws if you are adding fascia boards. Then, move your joists into position.’
The frame should be at the required level before fixing, according to Moorhouse, so place risers, paving slabs or treated offcuts of timber at 500mm intervals, before checking with a spirit level. Also check that the corners are square using a set square.
To join the frame, Moorhouse suggests marking and drilling pilot holes before fixing two external grade 150mm timber drive screws into each corner. If you are adding a fascia then you will need to countersink the screws.
‘If some corners of the decking are hard to access, secure the joists by drilling skewed pilot holes at a 45-degree angle into the wood and fix with 100mm external grade screws, says Moorhouse. ‘Once the frame is secure, double check that it is at the required level.’
ADD INTERNAL JOISTS

For this next step, you’ll first have to work out how many internal joists are needed. Moorhouse suggests measuring 400mm from the centre of the external joists and drawing a mark. Measure from this mark and repeat at 400mm intervals across the rest of the joist, making sure you never exceed the recommended spacing.
‘Once you know how many internal joists you need, you can measure and cut accordingly,’ says Moorhouse. ‘If you need to extend your internal joists, follow the same method as you did to join the external joists but with the addition of an extra 600mm section on the opposite side, to sandwich the joist in place. Offset the bolts slightly so they don’t come into contact.’
Then you’ll need to secure the joist in your workbench and attach a joist hanger to each end. Do this using 30mm exterior screws.
‘In order to secure the joist to the frame, place it into position with the centre of the joist lining up with the 400mm spacer mark,’ advises Moorhouse. ‘The joist needs to be flush with the exterior frame, so use an extra pair of hands or packers to keep it in place.’
Then, use a set square to extend your 400mm guide marker down onto the external face. From this line, measure up 40mm from the bottom and down 40mm from the top, and mark two pilot hole guides.
After that, drill the pilot holes using a 6mm wood drill bit. Then, drill countersink holes and secure with 100mm timber drive screws.
‘Repeat this for the rest of the joists, but always make sure the top of the joist is flush with the frame before securing,’ says Moorhouse. ‘If you have to secure the joist onto an unexposed side of the frame, drill two skewed pilot holes on each side before securing it with screws.’
Once the joists are in place, add the final 30mm screws to each joist hanger. Repeat this until all of the joists are secure.
ADD NOGGINGS

To add noggings, first you’ll need to measure out and prepare enough of them so that the distance between them will never be greater than 1200mm.
Moorhouse says ‘it’s best to stagger the noggings to avoid having to skew screws.’ Bear this in mind when planning where they will be positioned.
To attach them, put the nogging into position and add packers if necessary.
Then, draw a line down the centre of the nogging’s position on both of the joists it will join to.
Next, measure and mark pilot hole guides 40mm from the bottom and 40mm from the top on each side.
Drill pilot holes before securing the nogging with 100mm external timber drive screws.
‘Once all the noggings are in place, do any final levelling and check that all joists are supported at 500mm intervals,’ says Moorhouse. ‘If your decking has an obstacle, such as a drain, add extra noggings around it for additional support.’
LAY THE DECK BOARDS

‘When it comes to laying deck boards, it’s best to pre-drill all holes with a 2mm bit to prevent splitting or damage,’ says Moorhouse, who advises countersinking the holes to get a smoother finish.
‘If you are attaching a fascia board, allow for an overhang and screw through the third groove in from the outside edge of the deck board. This will ensure the board is firmly secured to the decking frame,’ adds Moorhouse.
For the rest of the boards, always screw into the second groove from each side and fix to the frame with 64mm decking screws. Repeat this at the opposite end of the board, as this will ensure the board remains straight, and then work down the board, fixing the screws into each joist below.
To ensure you maintain a gap of between 5mm and 8mm between each deck board, create a suitably sized spacer from an offcut of timber and use it to check that the gap between boards is equal all the way along.
If you need to cut a deck board to accommodate an obstacle, create a template and mark the saw guideline onto the wood, then cut with a jigsaw.
ADD FASCIA BOARDS

Now for the final step.
To add fascia boards you first need to mark the fascia board with a line at 50mm from each end, according to Moorhouse.
Then, from the first 50mm line, measure out and mark lines at 600mm intervals down the length of the board.
Put the fascia into position and place small offcuts of wood or packers underneath the fascia to level it. Using the lines you drew as a guide, pre-drill guide holes into the second groove in from each side.
Finally, secure with 64mm decking screws, and then have a think about some of the best garden furniture.

Nicky Morris is a freelance journalist specialising in interiors and design. Covering everything from staircase lighting ideas to Ikea hacks to outdoor kitchens to tips for hiding radiators, she writes for Livingetc and Homes & Gardens and has previously written for Tempus Magazine. She also covers TV, and is currently the deputy TV and film editor at HELLO! Magazine.