How to Hang Wallpaper Like an Interior Designer — 12 Tips and Tricks for a Style-Led Look
From wallpapering the ceiling to fully wrapping a room, here's how the pros are hanging wallpaper in 2026

The Livingetc newsletters are your inside source for what’s shaping interiors now - and what’s next. Discover trend forecasts, smart style ideas, and curated shopping inspiration that brings design to life. Subscribe today and stay ahead of the curve.
You are now subscribed
Your newsletter sign-up was successful
Adorning your walls with wallpaper is one of the easiest ways to add instant design flair, but in 2026, designers are going far beyond the once-popular accent wall by hanging wallpaper in unexpected and creative ways.
"I think the most 'designer' way to hang wallpaper is to start with the atmosphere you want to create," says designer Henriette Kockum. "Whether it’s subtle movement or a bold statement, wallpaper works best when it’s supporting the story of the space, not just filling a wall."
From designers' favored types of wallpaper to how and where they use it, here, you can find all the tips and tricks you need to know for elevated wallpaper ideas in your home.
1. Drench the Entire Room With Wallpaper
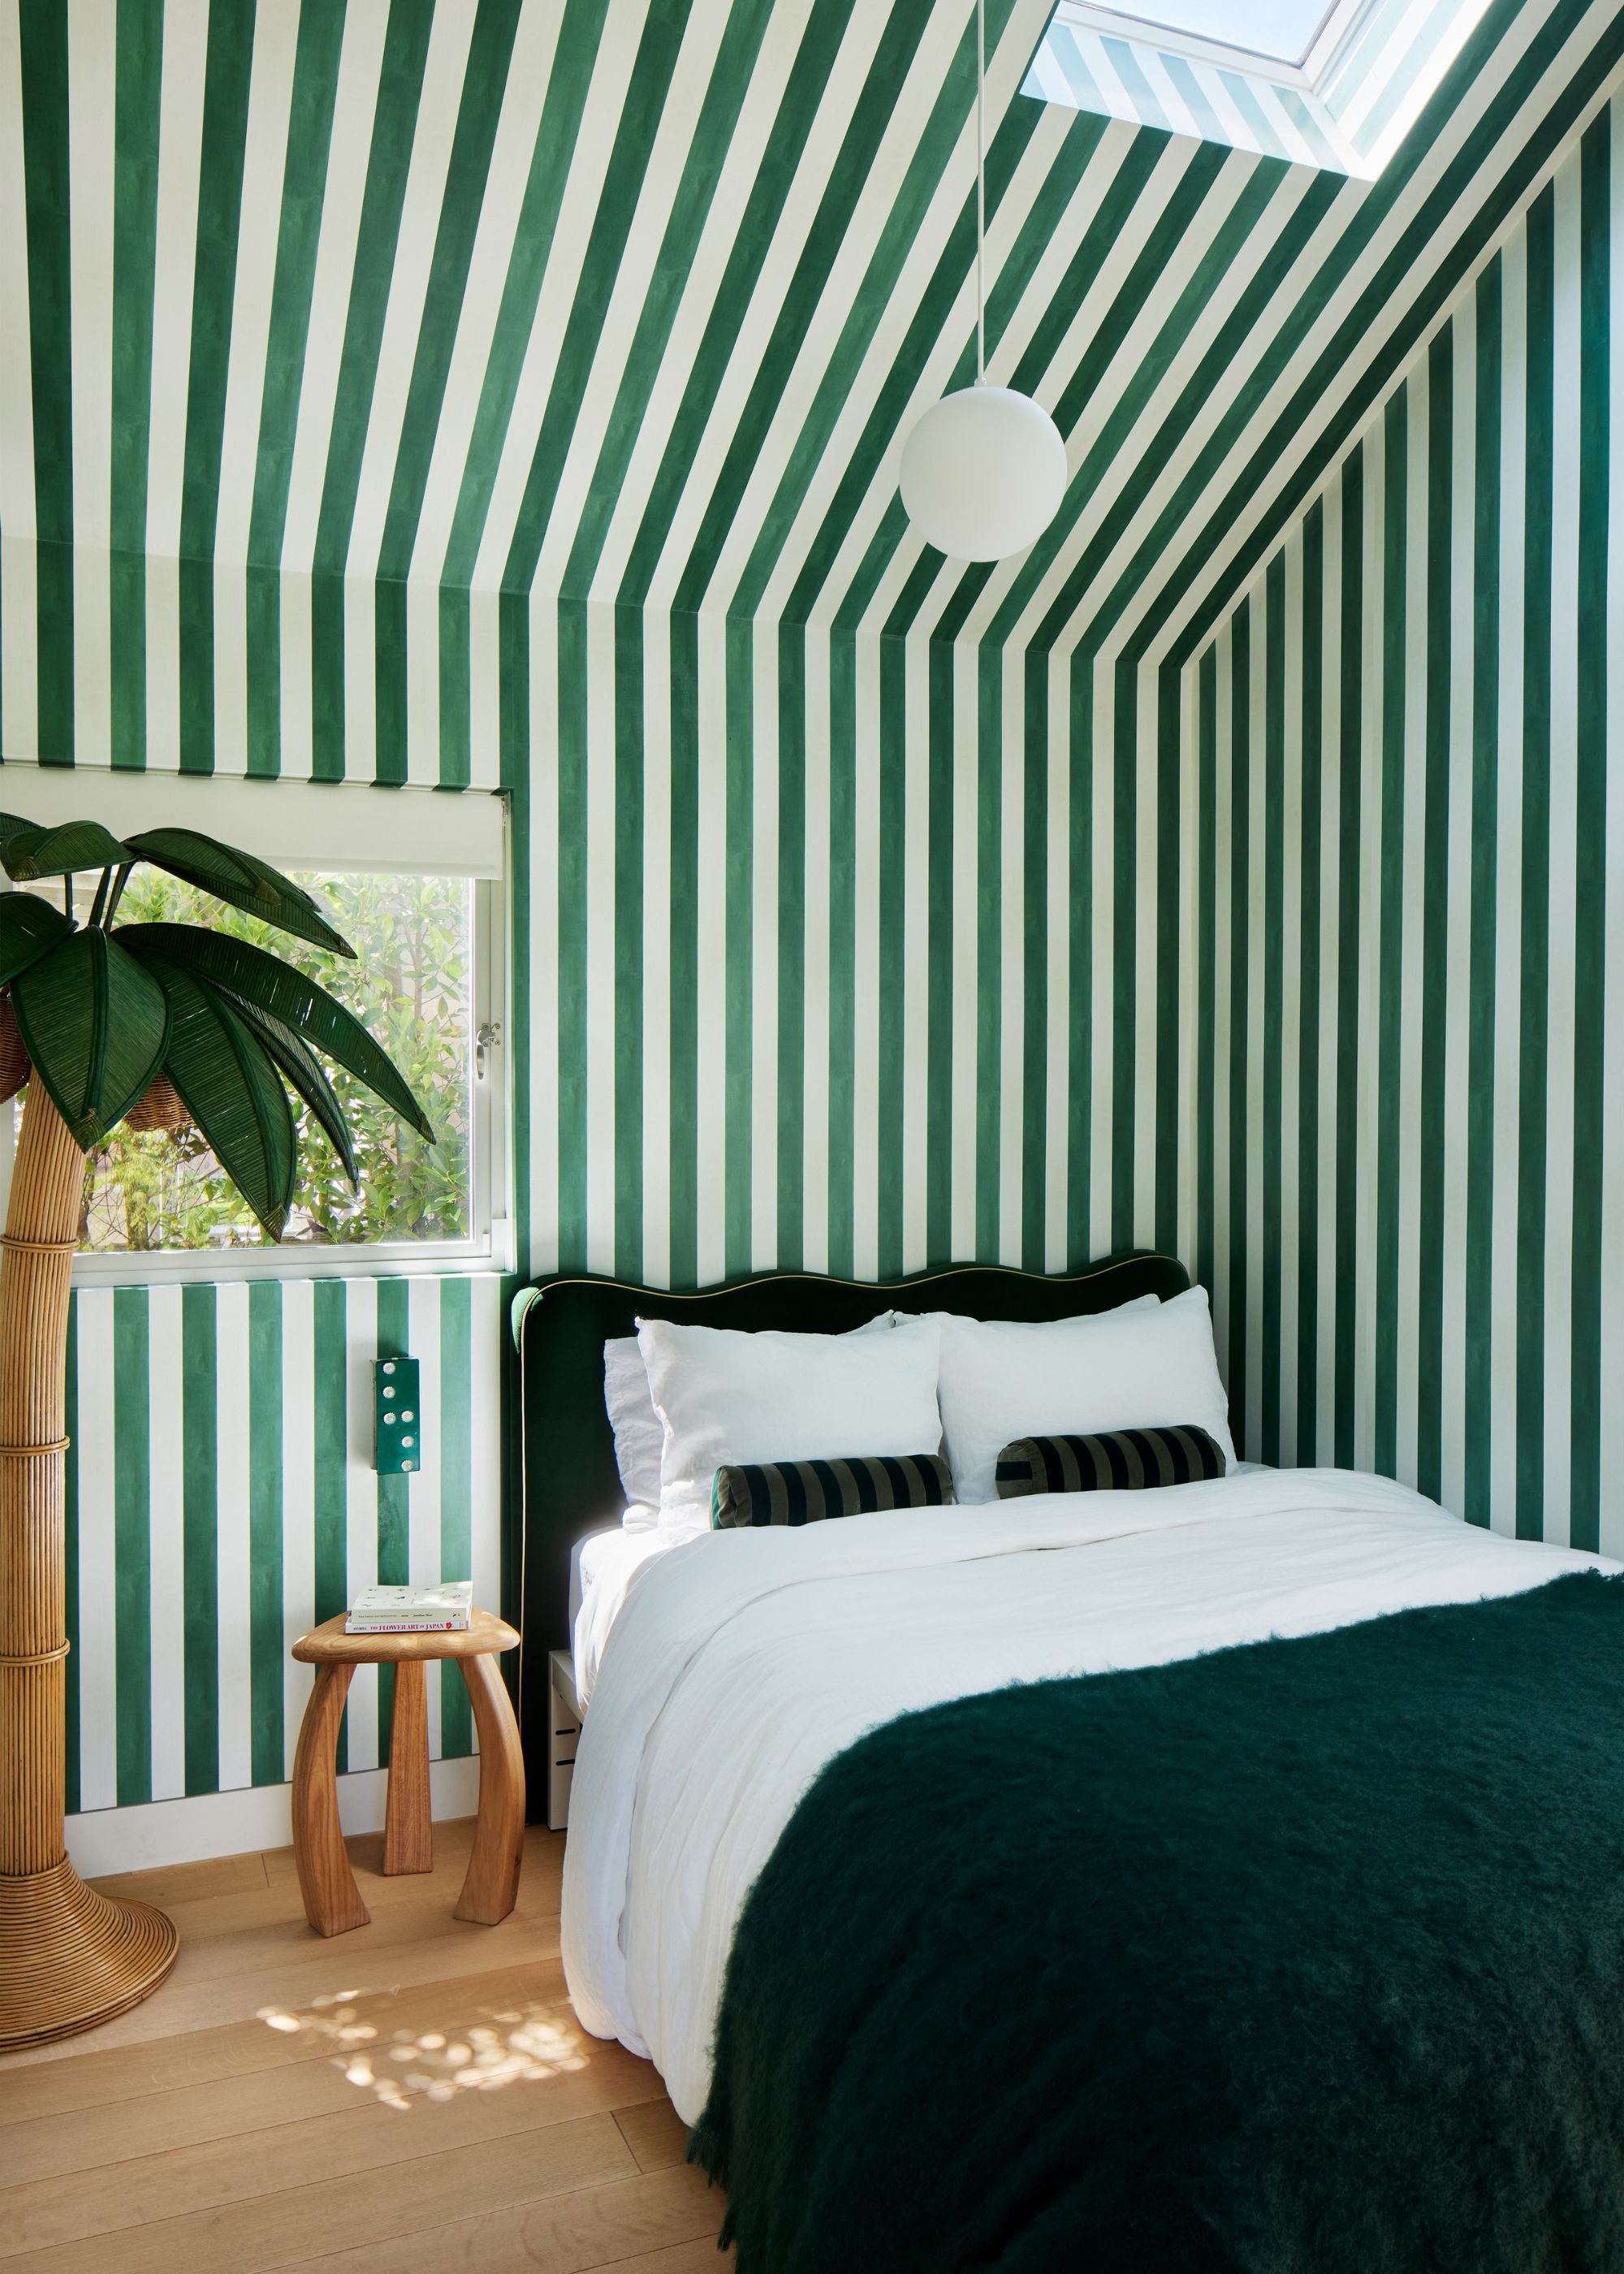
Go bold by wallpapering all the walls in a statement pattern, such as stripes.
Long gone are the days of wallpaper accent walls. In 2026, designers are hanging wallpaper on all four walls (and even the ceiling) to create an immersive space that feels playful and cocooning.
"This works especially well in rooms with interesting architectural features: arches, moldings, built-ins," says designer Kristina Khersonsky. "Wallpaper has the ability to highlight architecture rather than compete with it, and full coverage helps tie everything together. It’s a bold move, but it transforms a space from styled to cinematic."
Designer Josh Greene is also a fan of this popular 2026 wallpaper trend. "This same rule applies to soffits and slanted ceilings — you must account for paper on these surfaces," he says. "I often rip out picture rails and run the wallpaper as high as it can go on the walls."
2. Wallpaper the Ceiling for an Unexpected Look
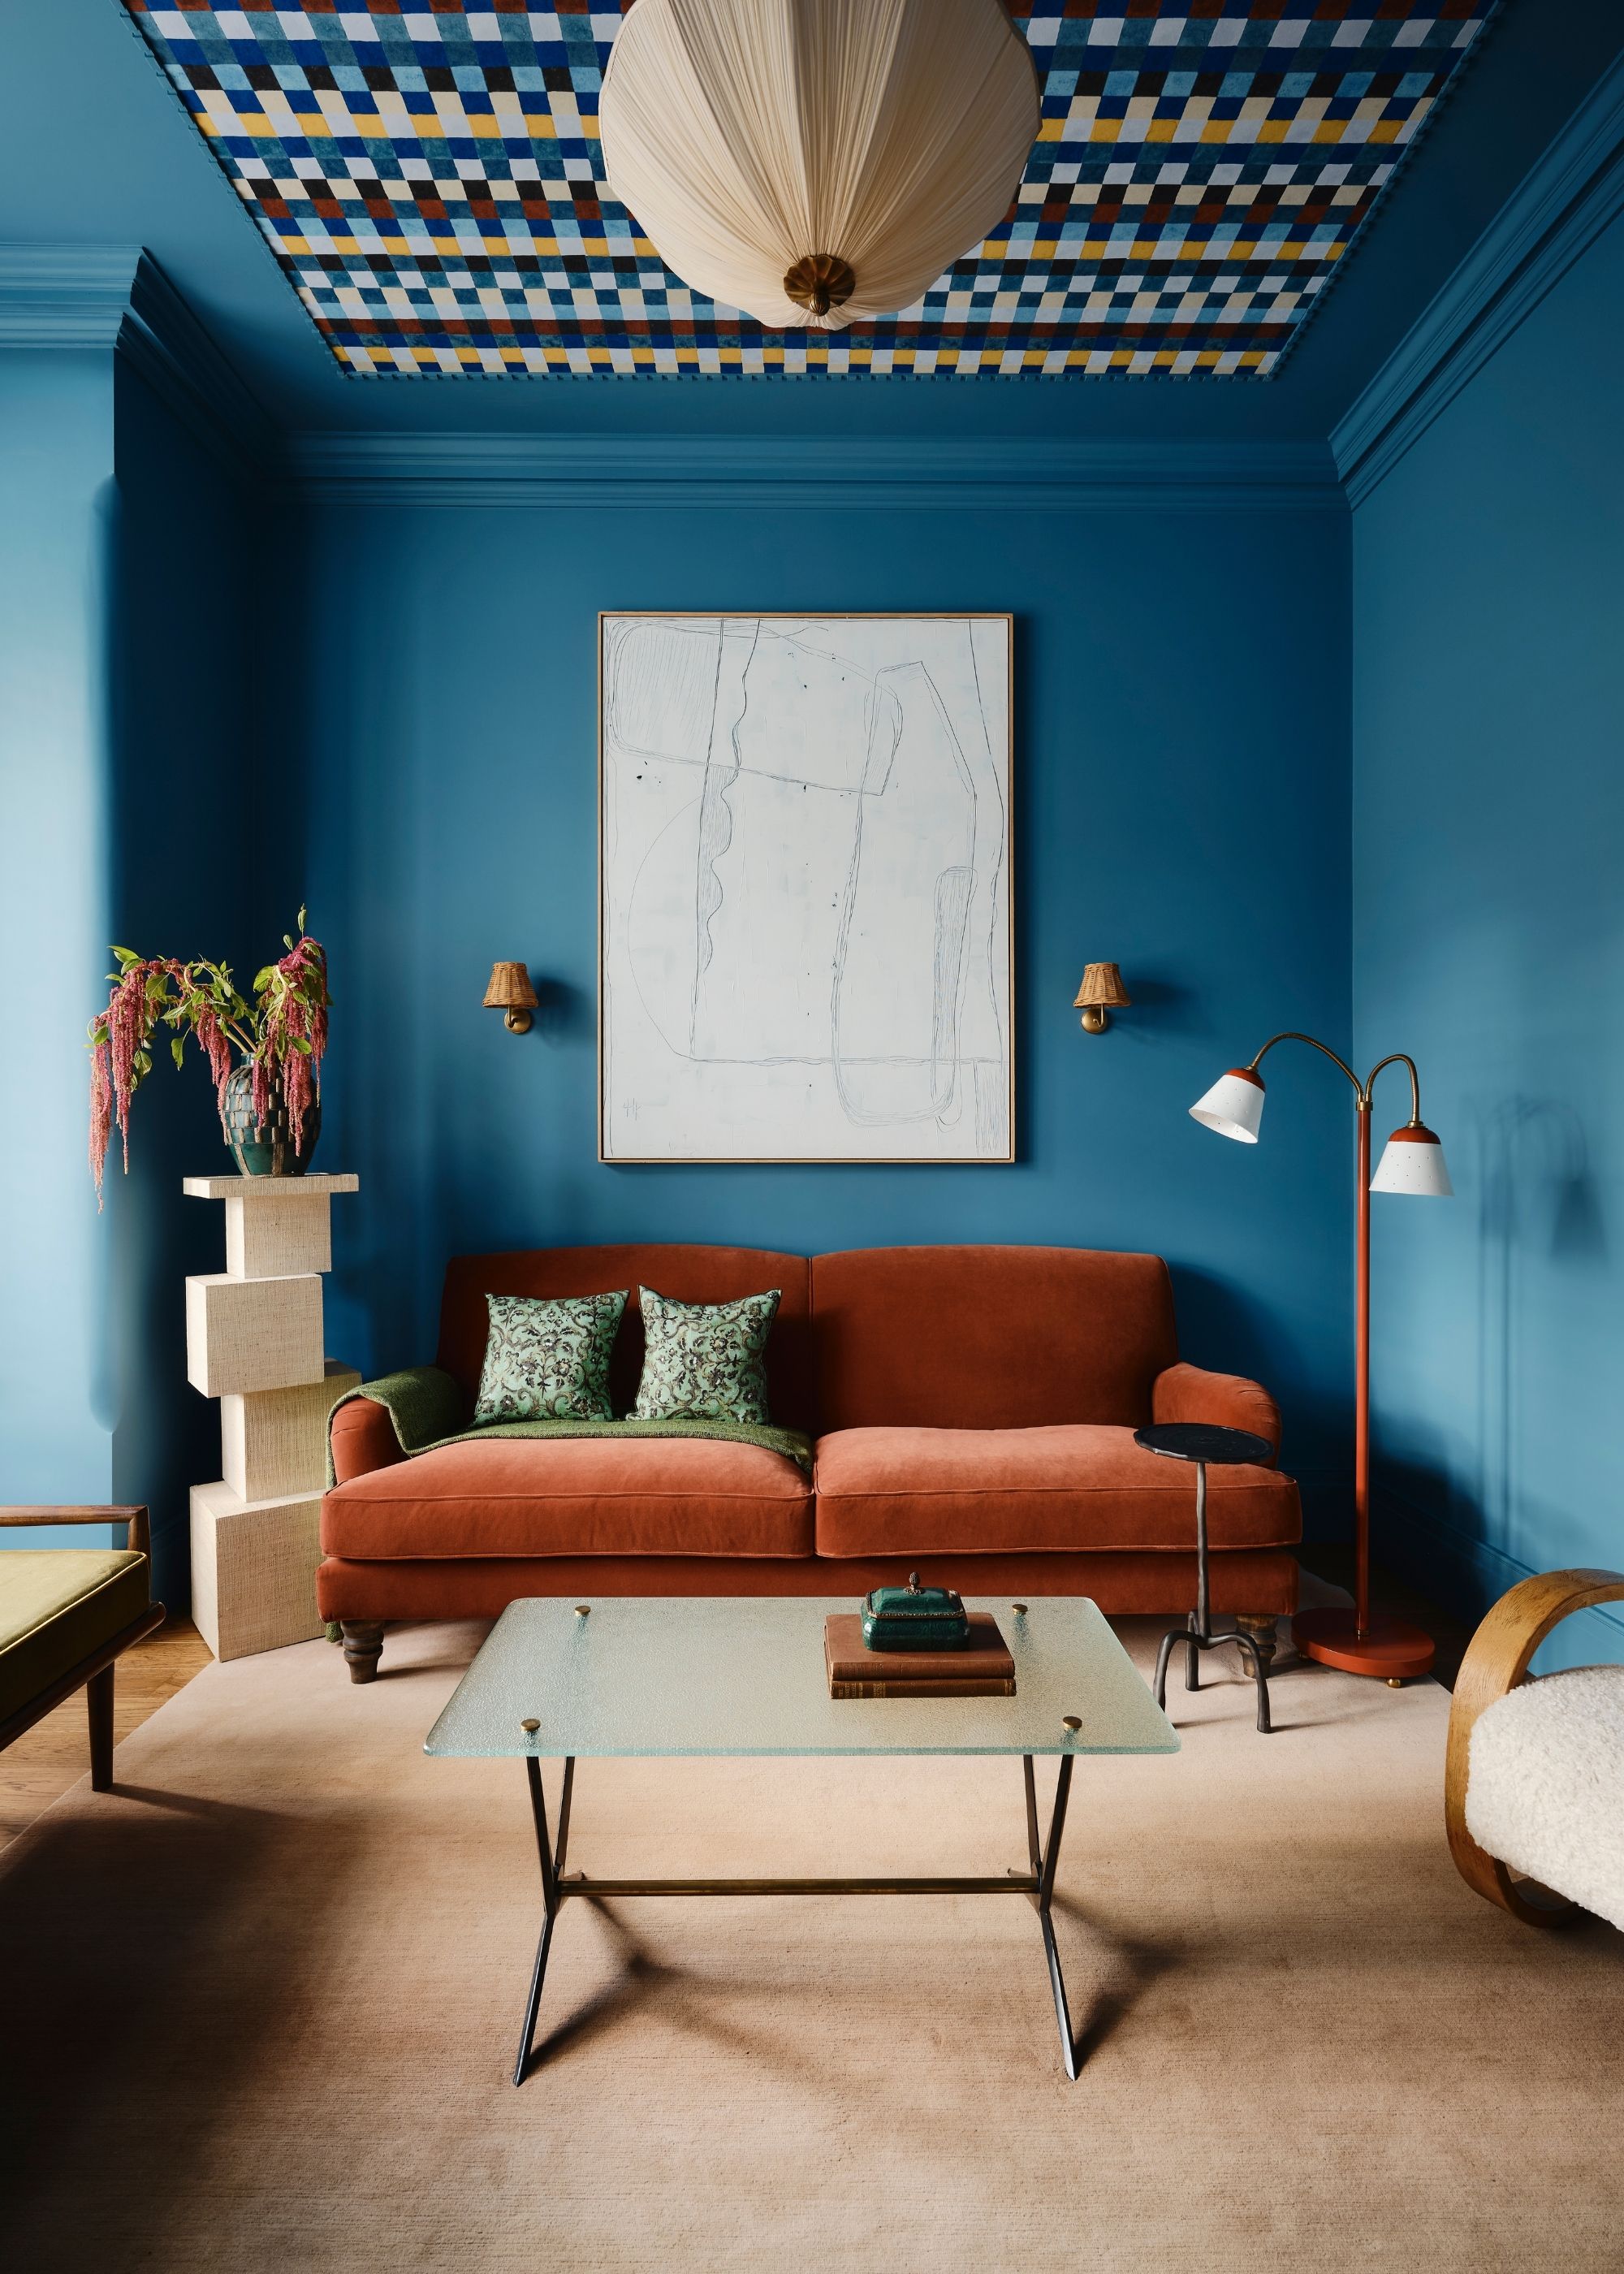
Think outside the box when considering placement with your wallpaper ideas. Adding it to the ceiling is an effective way to add instant drama to a room.
Ceiling wallpaper ideas are a favorite among designers. "We love using wallpaper on ceilings, treating them as a design surface with as much importance as walls or floors," says designer Iwana Budnik of OWN LONDON.
The Livingetc newsletters are your inside source for what’s shaping interiors now - and what’s next. Discover trend forecasts, smart style ideas, and curated shopping inspiration that brings design to life. Subscribe today and stay ahead of the curve.
"This works particularly well in spaces where decorated walls might feel distracting, such as TV rooms, snugs, dressing rooms, or even kitchens," adds Iwana. "A wallpapered ceiling adds visual interest without overwhelming the room, and can completely change how a space is experienced."
Kristina Khersonsky also enjoys taking wallpaper to the fifth wall, but continues it further down the walls too, for a playful look. "A favorite trick is to run the ceiling paper 12–18 inches (30-45 cm) down the walls to create a capped, cocooned effect," she says. "It’s a detail that makes a space feel finished in a way that paint rarely can."
3. Go for an Oversized Wallpaper Mural
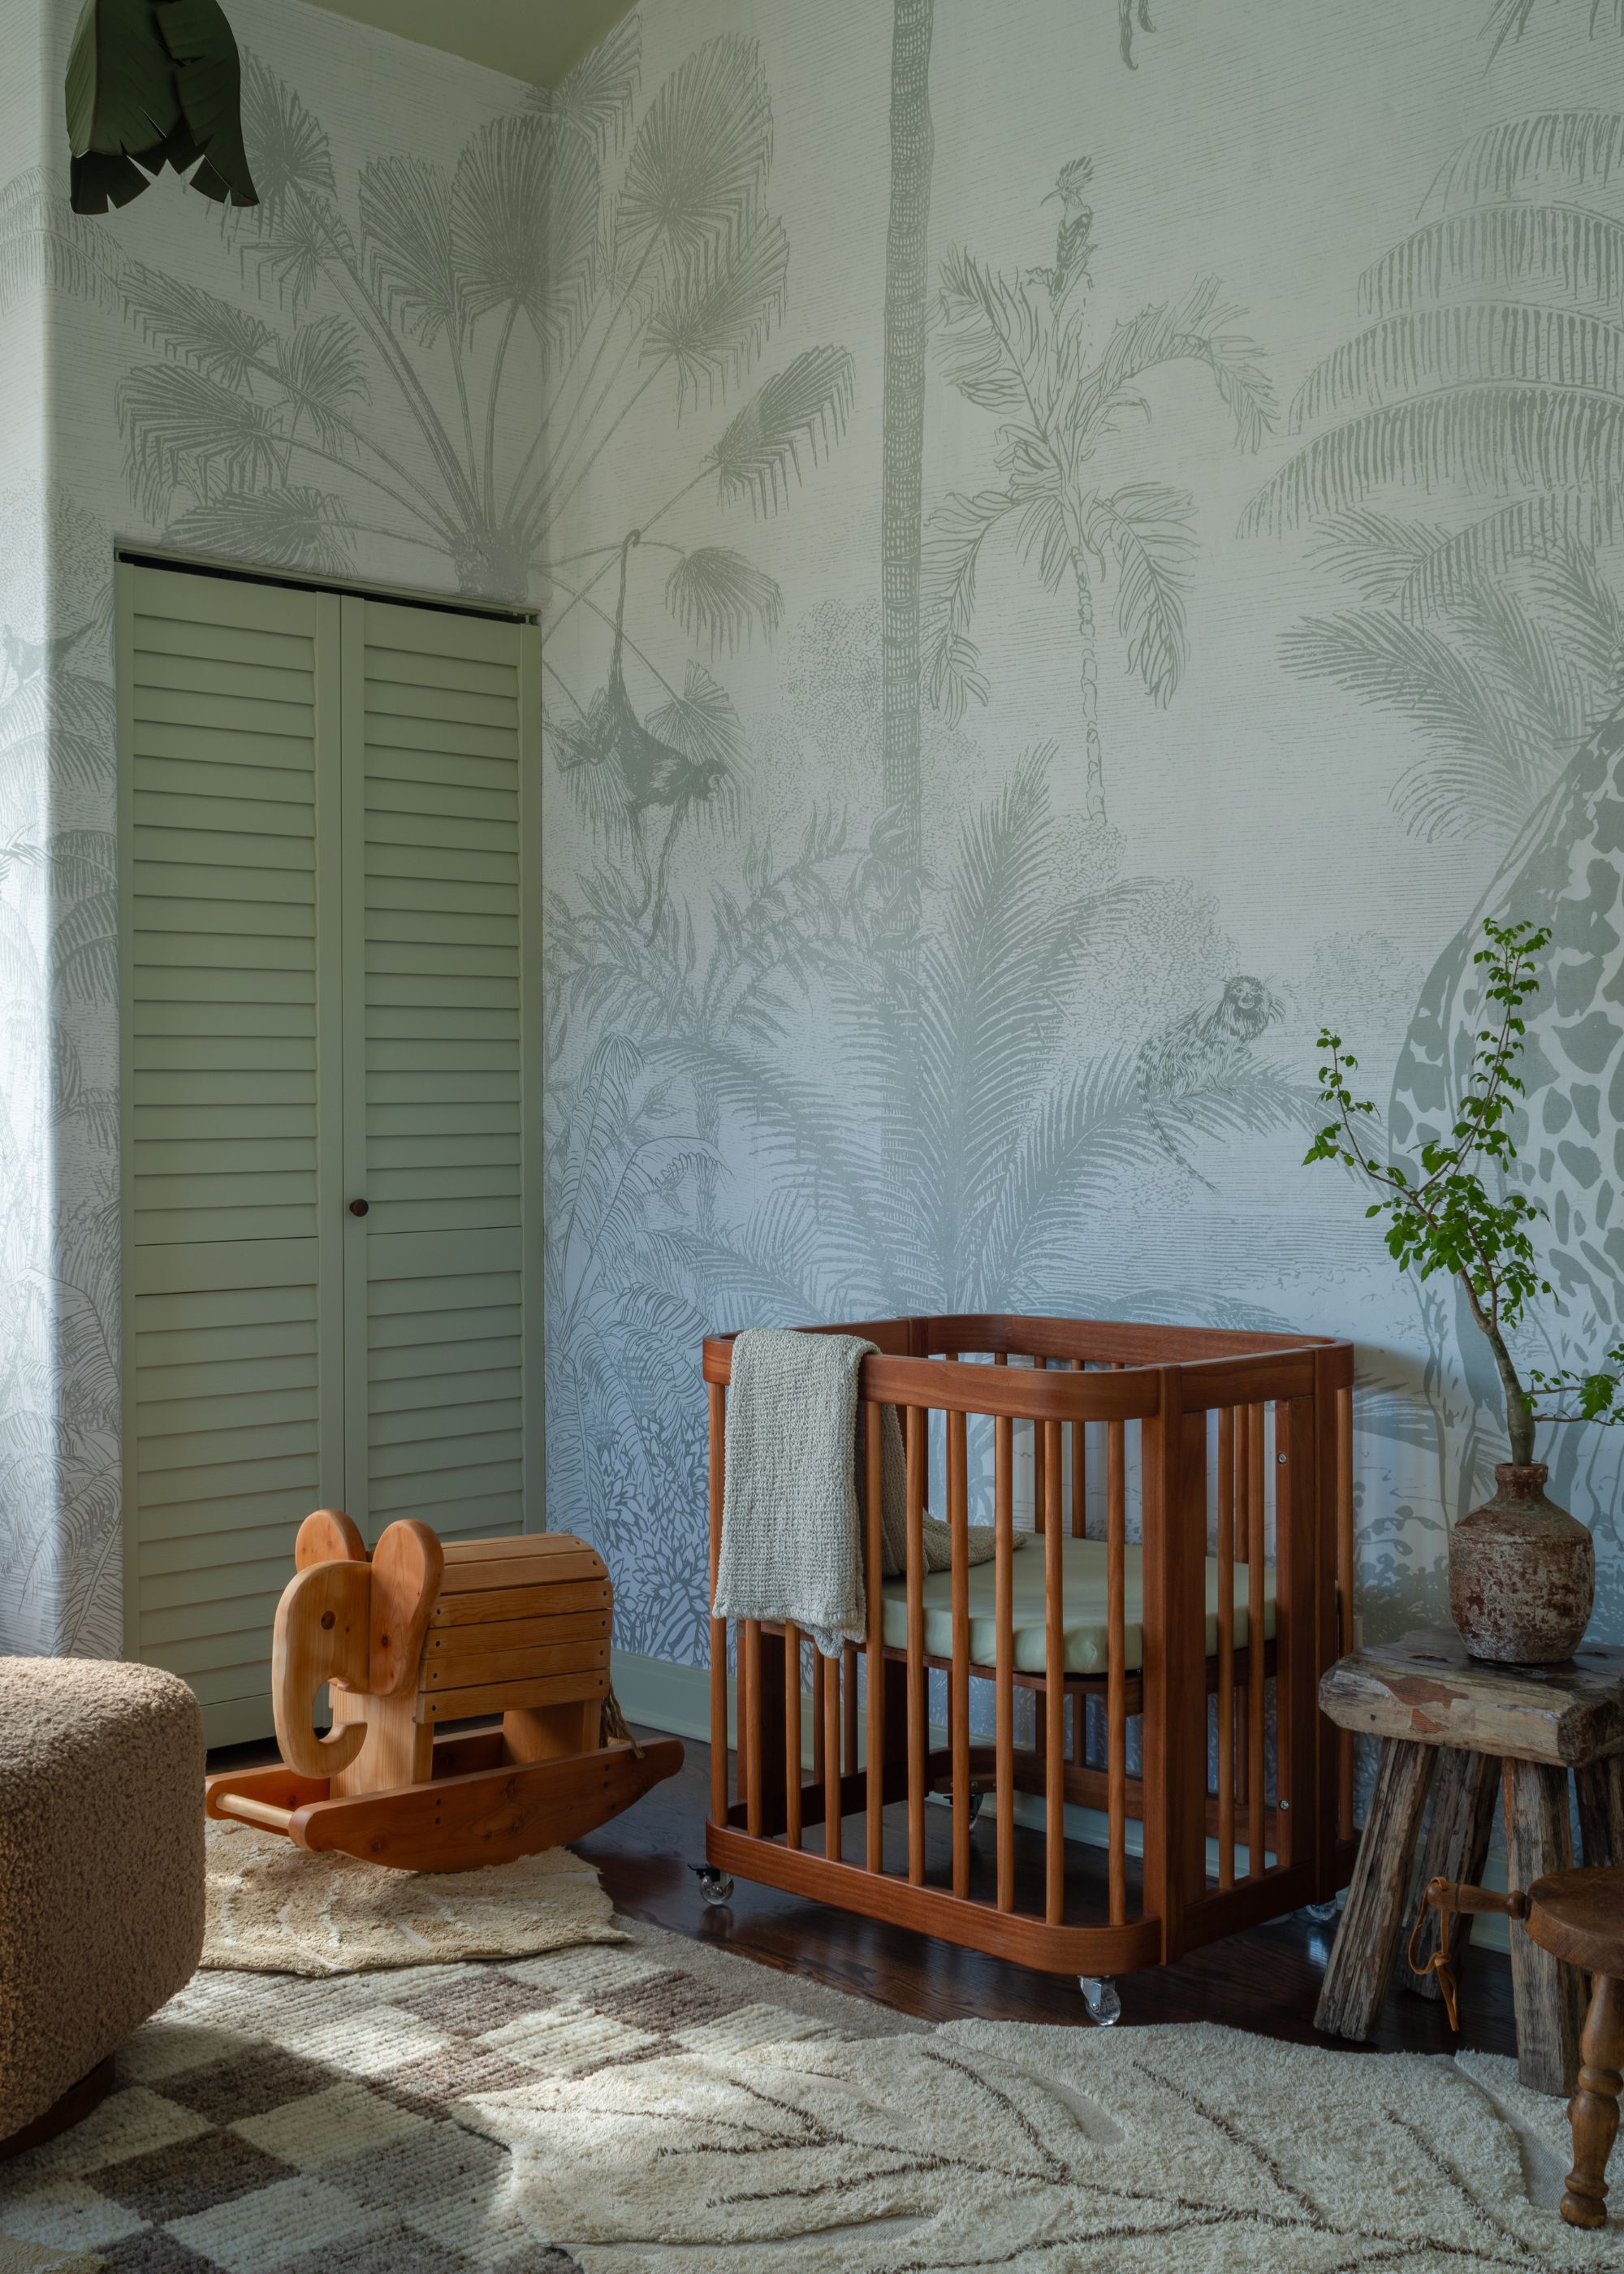
A large-scale wallpaper mural is a great way to create a focal point in a room.
"Oversized wallpaper murals are an incredible way to bring drama to a room," says Kristina, who opted for a botanical scene in a calming shade of green for this nursery room.
"Whether it’s abstract brushstrokes or a scenic landscape, going wall-to-wall with a mural creates an expansive, gallery-like feel," Kristina adds.
"I especially love them in rooms where art might not typically hang (like breakfast nooks or hallways) because they function as art and architecture in one."

STUDIO KEETA is a full-service interior design studio based in Los Angeles, founded by principal Kristina Khersonsky. With a background in experiential design, Kristina approaches interiors through a storytelling lens, where every space becomes a reflection of the client and their lived experience.
4. Hang Wallpaper in Wall Panels
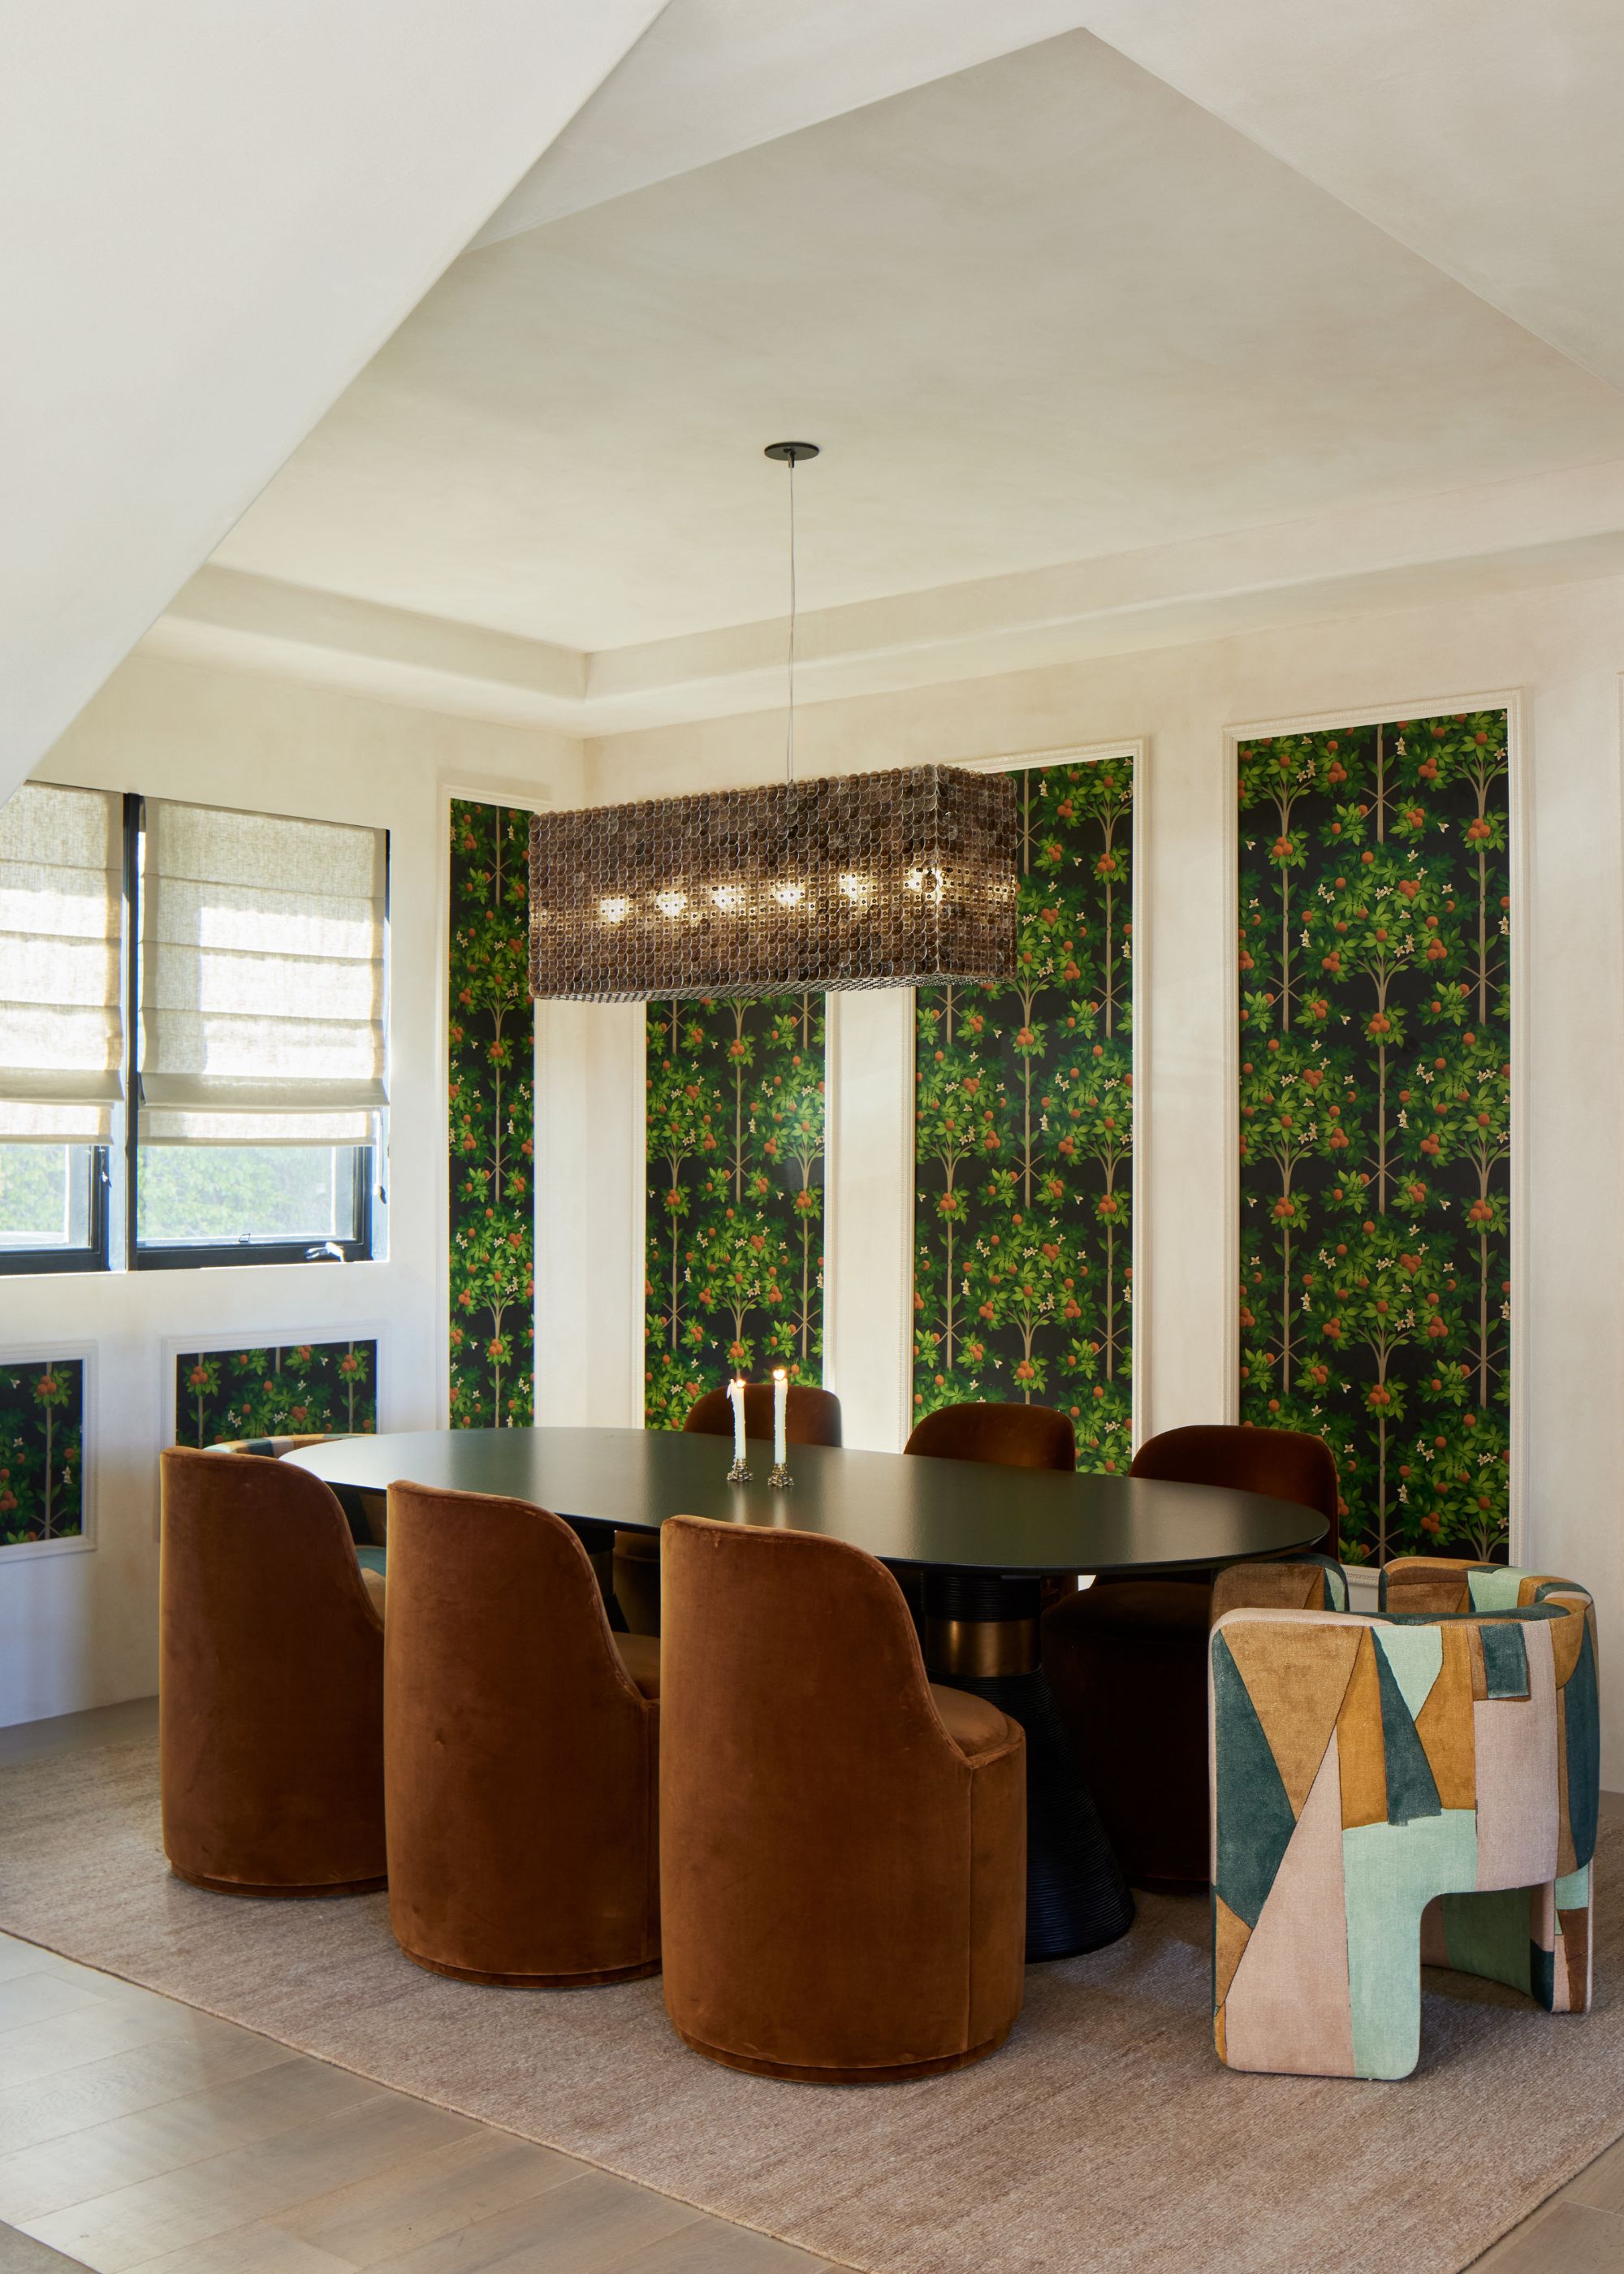
Take inspiration from traditional decorating ideas by hanging wallpaper on the inside of wall paneling.
Wallpaper doesn't have to be hung in large quantities. Instead of lining the walls or ceiling, add it to the insides of wall paneling for a more reserved, yet style-led, look.
"It’s a classic technique that dates back centuries, but it feels fresh when paired with a more modern pattern," says Kristina.
The paneled wallpaper trend is especially effective in rooms where you want to maintain a calming feel, such as dining rooms, "where it adds refined contrast without overwhelming the walls", says Kristina.
5. Choose On-Trend Stripes for a Modern Look
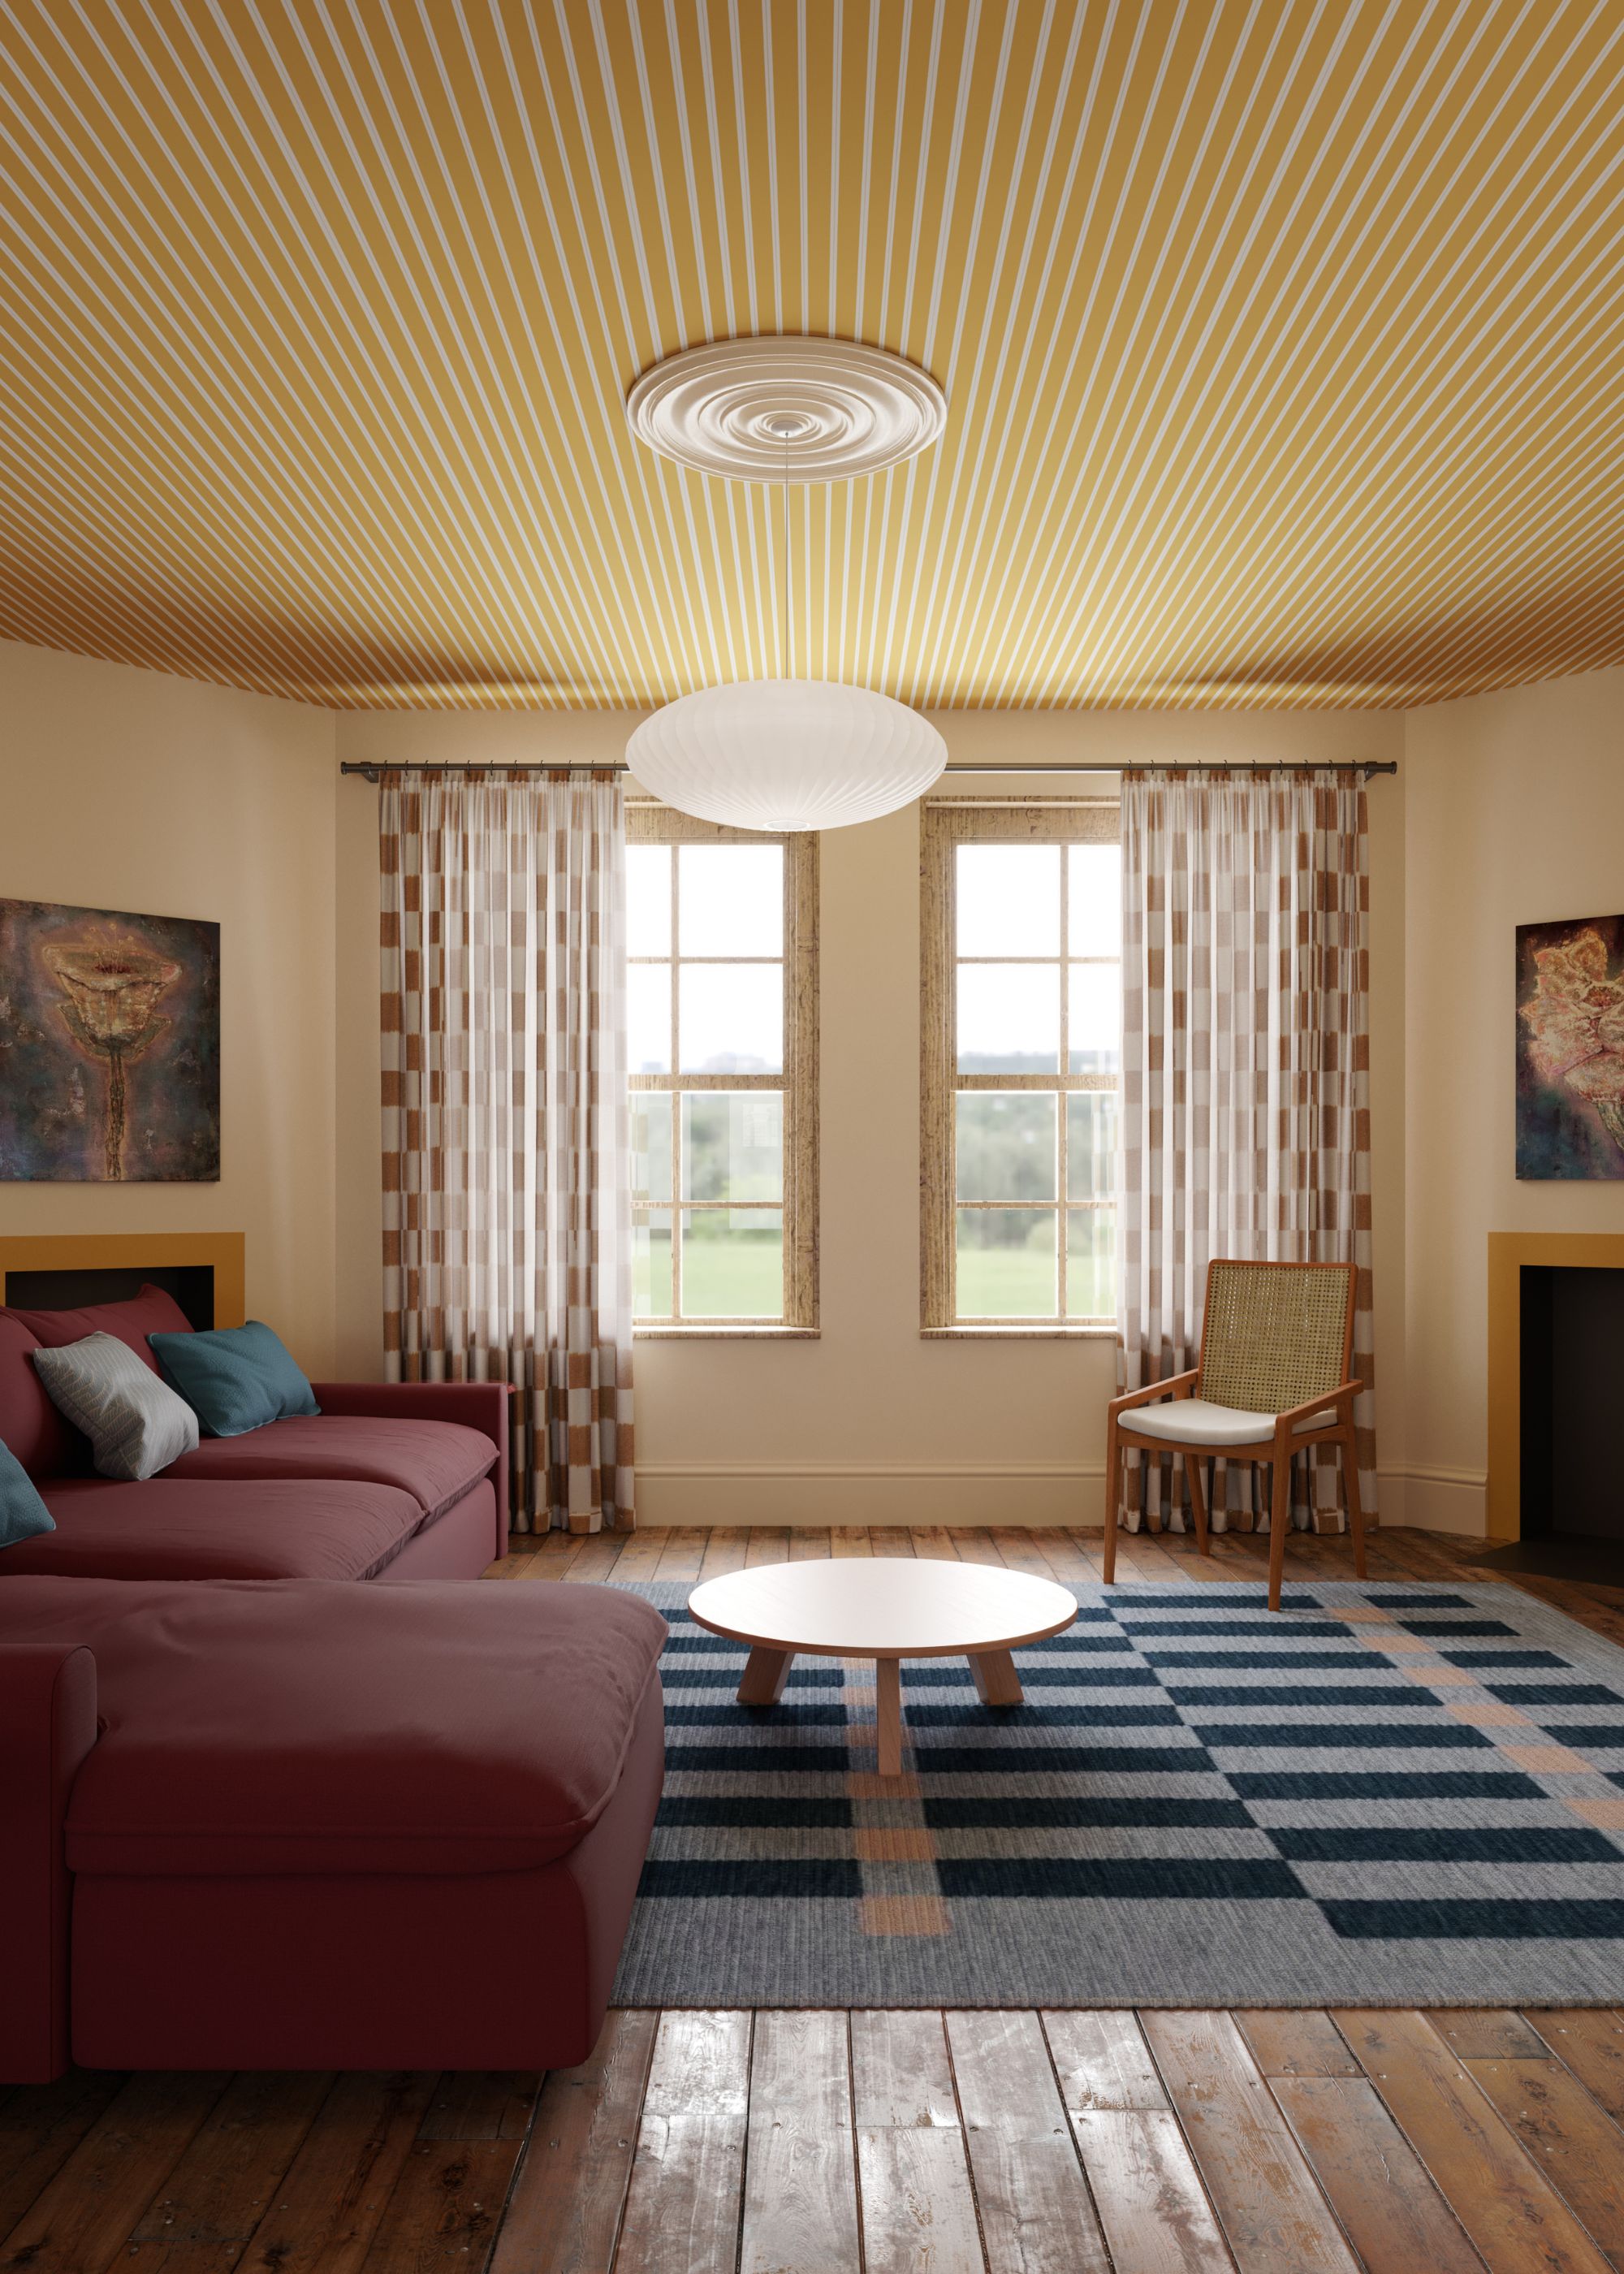
Stripes are a great way to add interest to your home without overwhelming a room with pattern.
When choosing pattern trends for your wallpaper ideas, stripes are a timeless option that can lend a modern look. Thin stripes, as seen on this yellow wallpapered ceiling, feel especially current and generally feel more livable than loud prints.
It can be an especially smart move to use it on the ceiling, since it won't wear so quickly compared to on the walls. "Particularly if you have children, it’s a non-high traffic area," says designer Natasha Lyon of Appreciation Project.
"A beautiful and well-crafted wallpaper is not usually a low-spend item, and this seems a good way to use it with confidence."
6. Elevate Small Spaces With Wallpaper
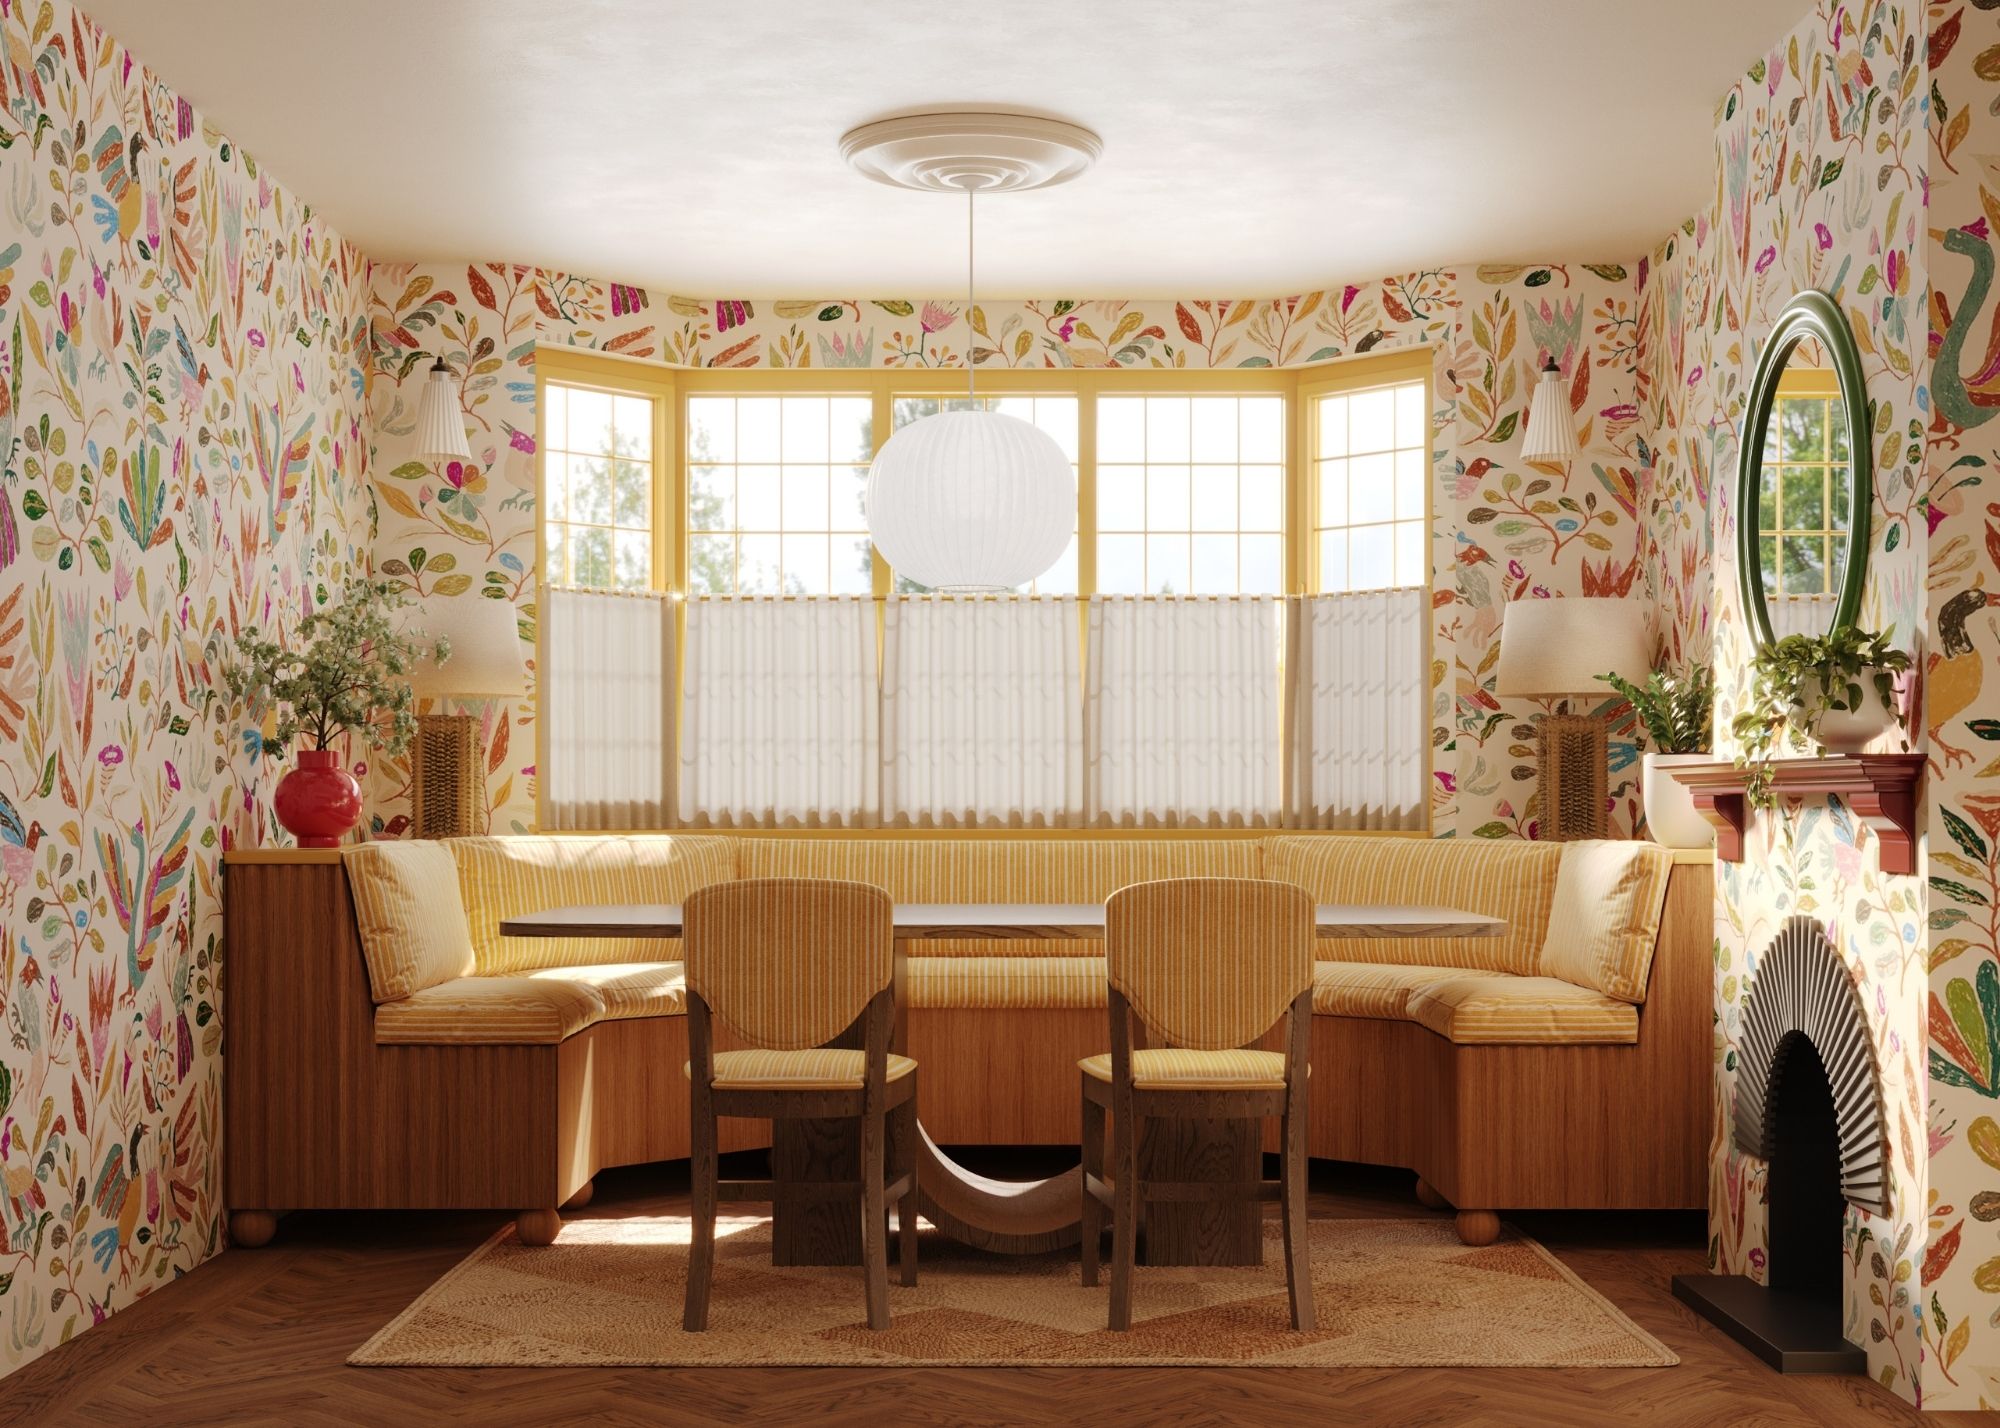
Don't reserve wallpaper for large and open spaces — it can be even more impactful in snug corners.
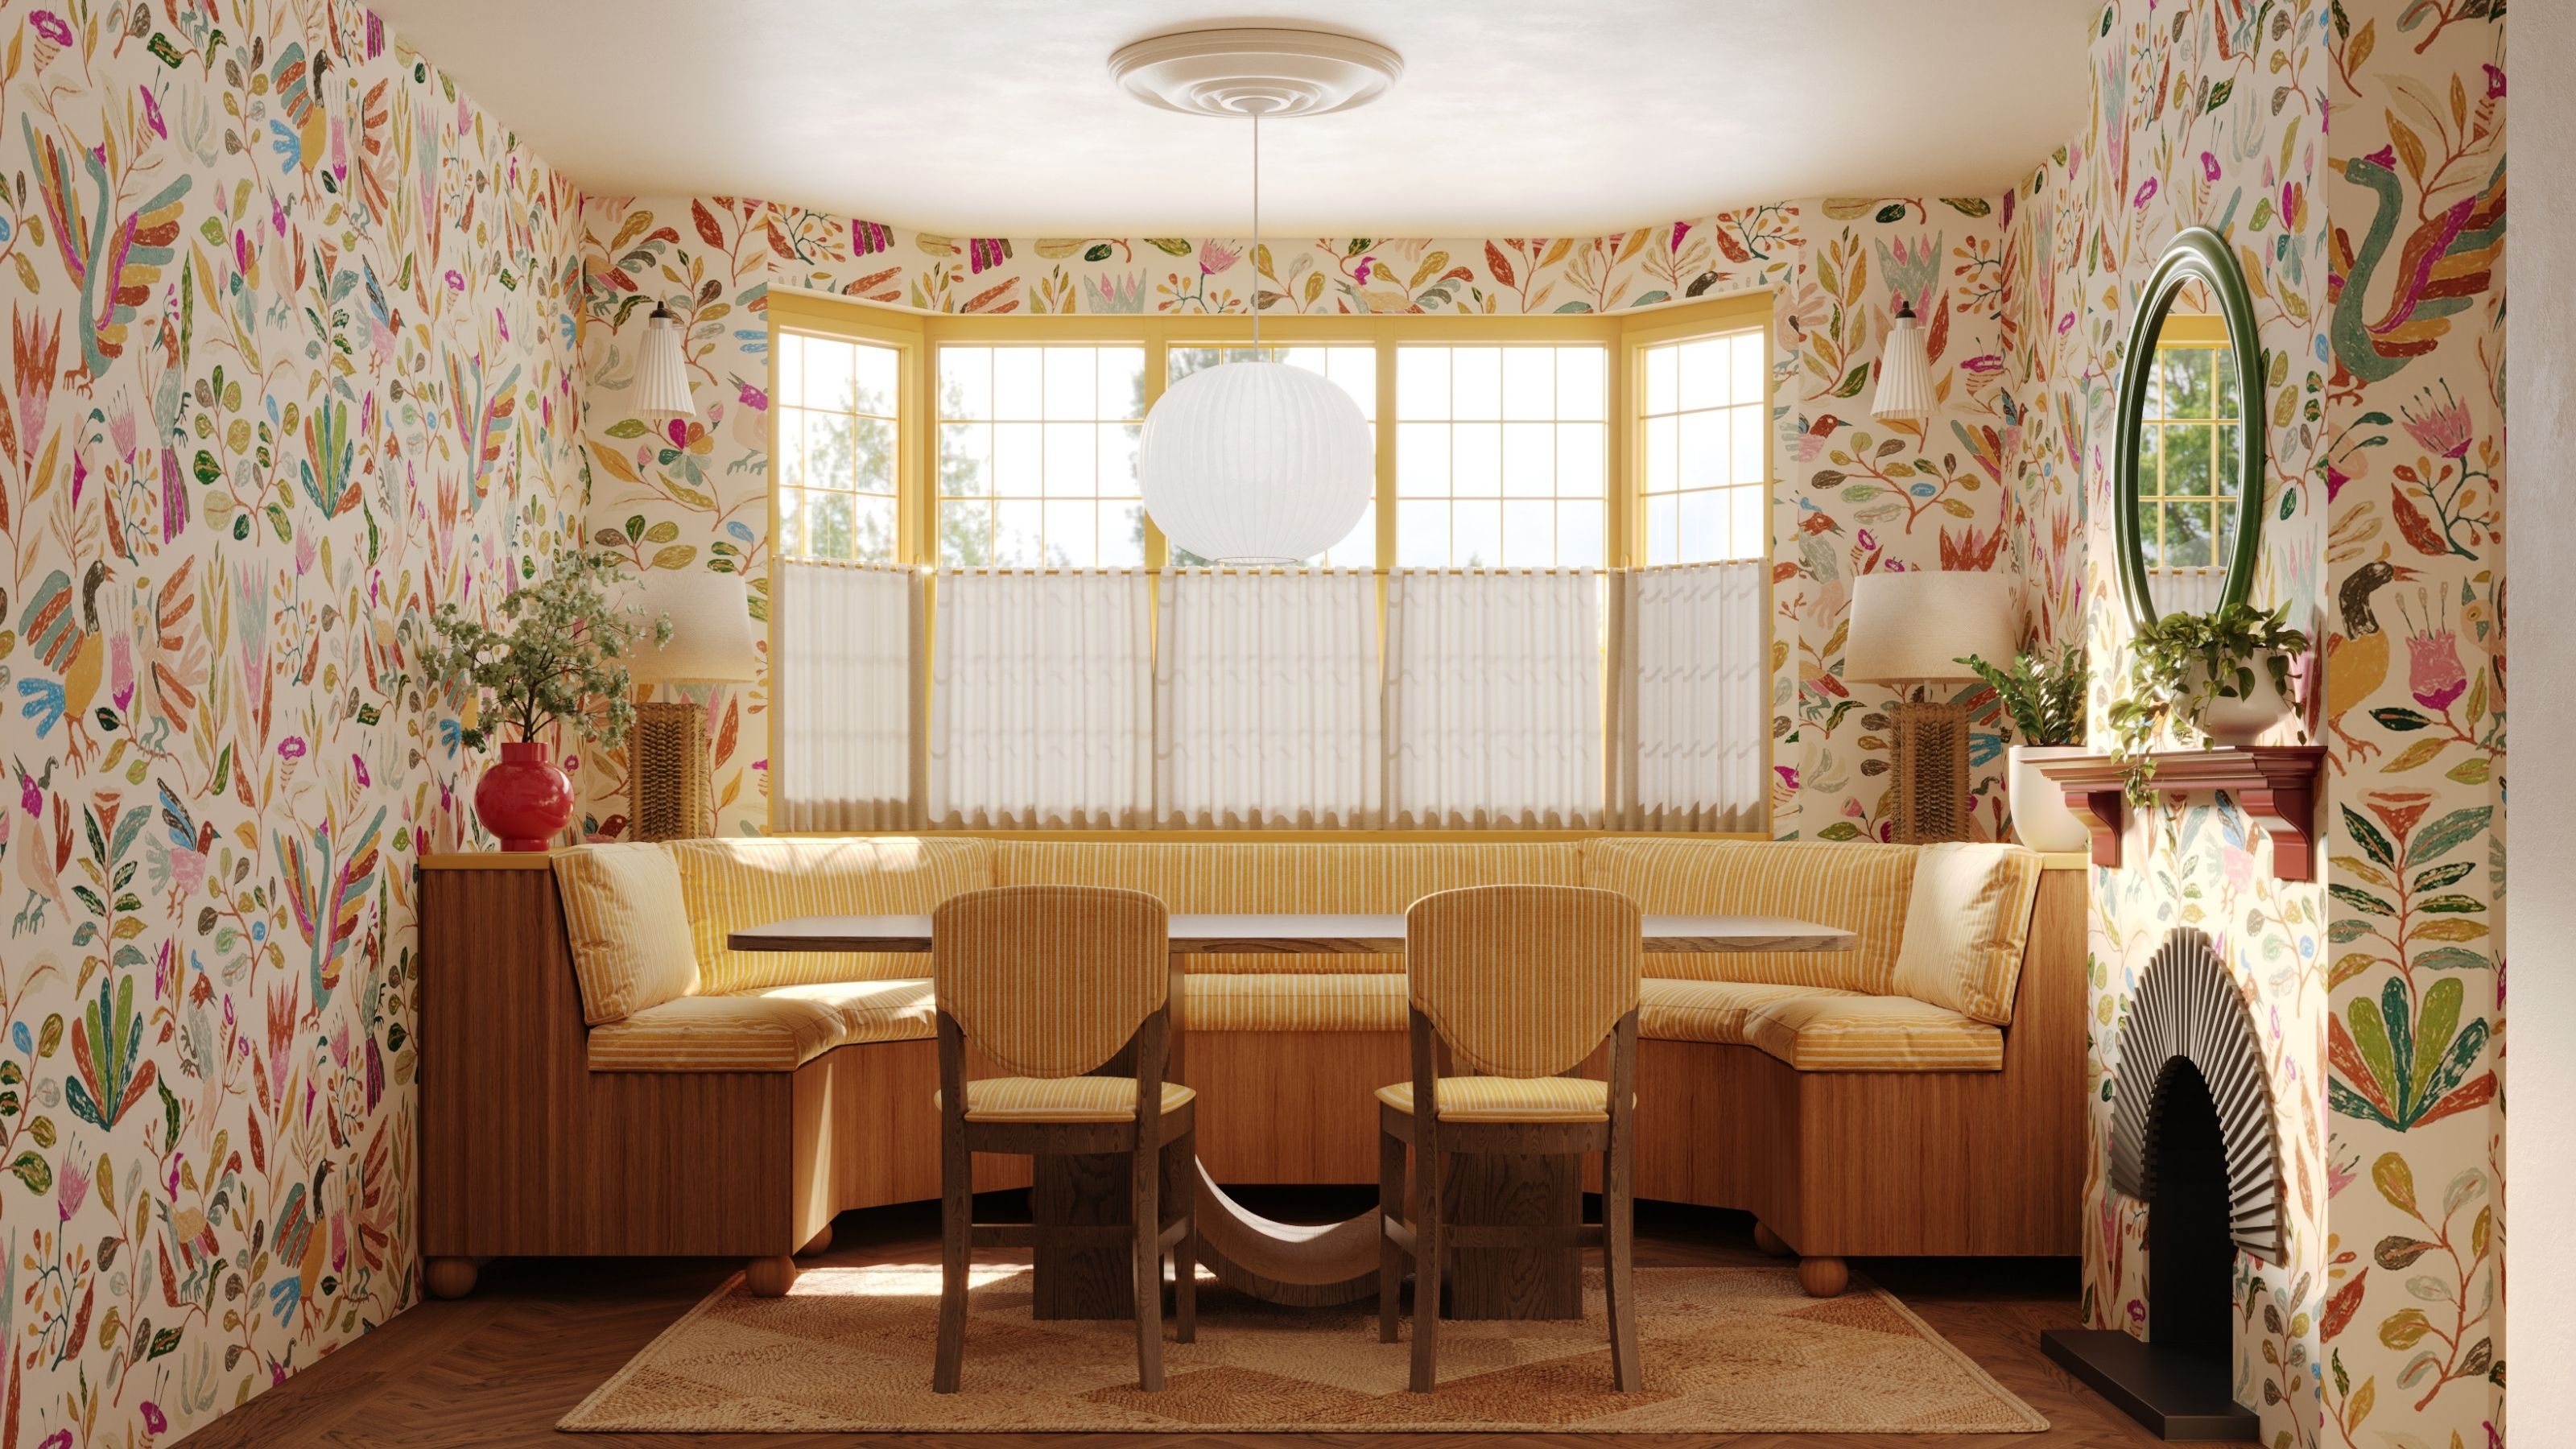
Looking for wallpaper ideas for small rooms? Don't be afraid to go bold. "My other favorite way to incorporate wallpaper is to paper the entire room and create a whimsical box," says Natasha.
In decorating mall spaces where it can be tempting to play it safe with the decor, wallpaper is a stylish way to fill the space with personality and interest. Take inspiration from this breakfast nook, which feels instantly joyful with the wraparound floral wallpaper and yellow paintwork.
"I will always love the idea of creating something totally unexpected that draws you in," says Natasha.

Appreciation Project was founded by Natasha Lyon in 2020, after a 20-year career in the fashion industry working with luxury brands such as Acne Studios, Burberry, and Loewe. Natasha’s interior design studio specializes in bringing color and craftsmanship into the home, working on projects across the UK and the US.
7. Hang Wallpaper in Bathrooms
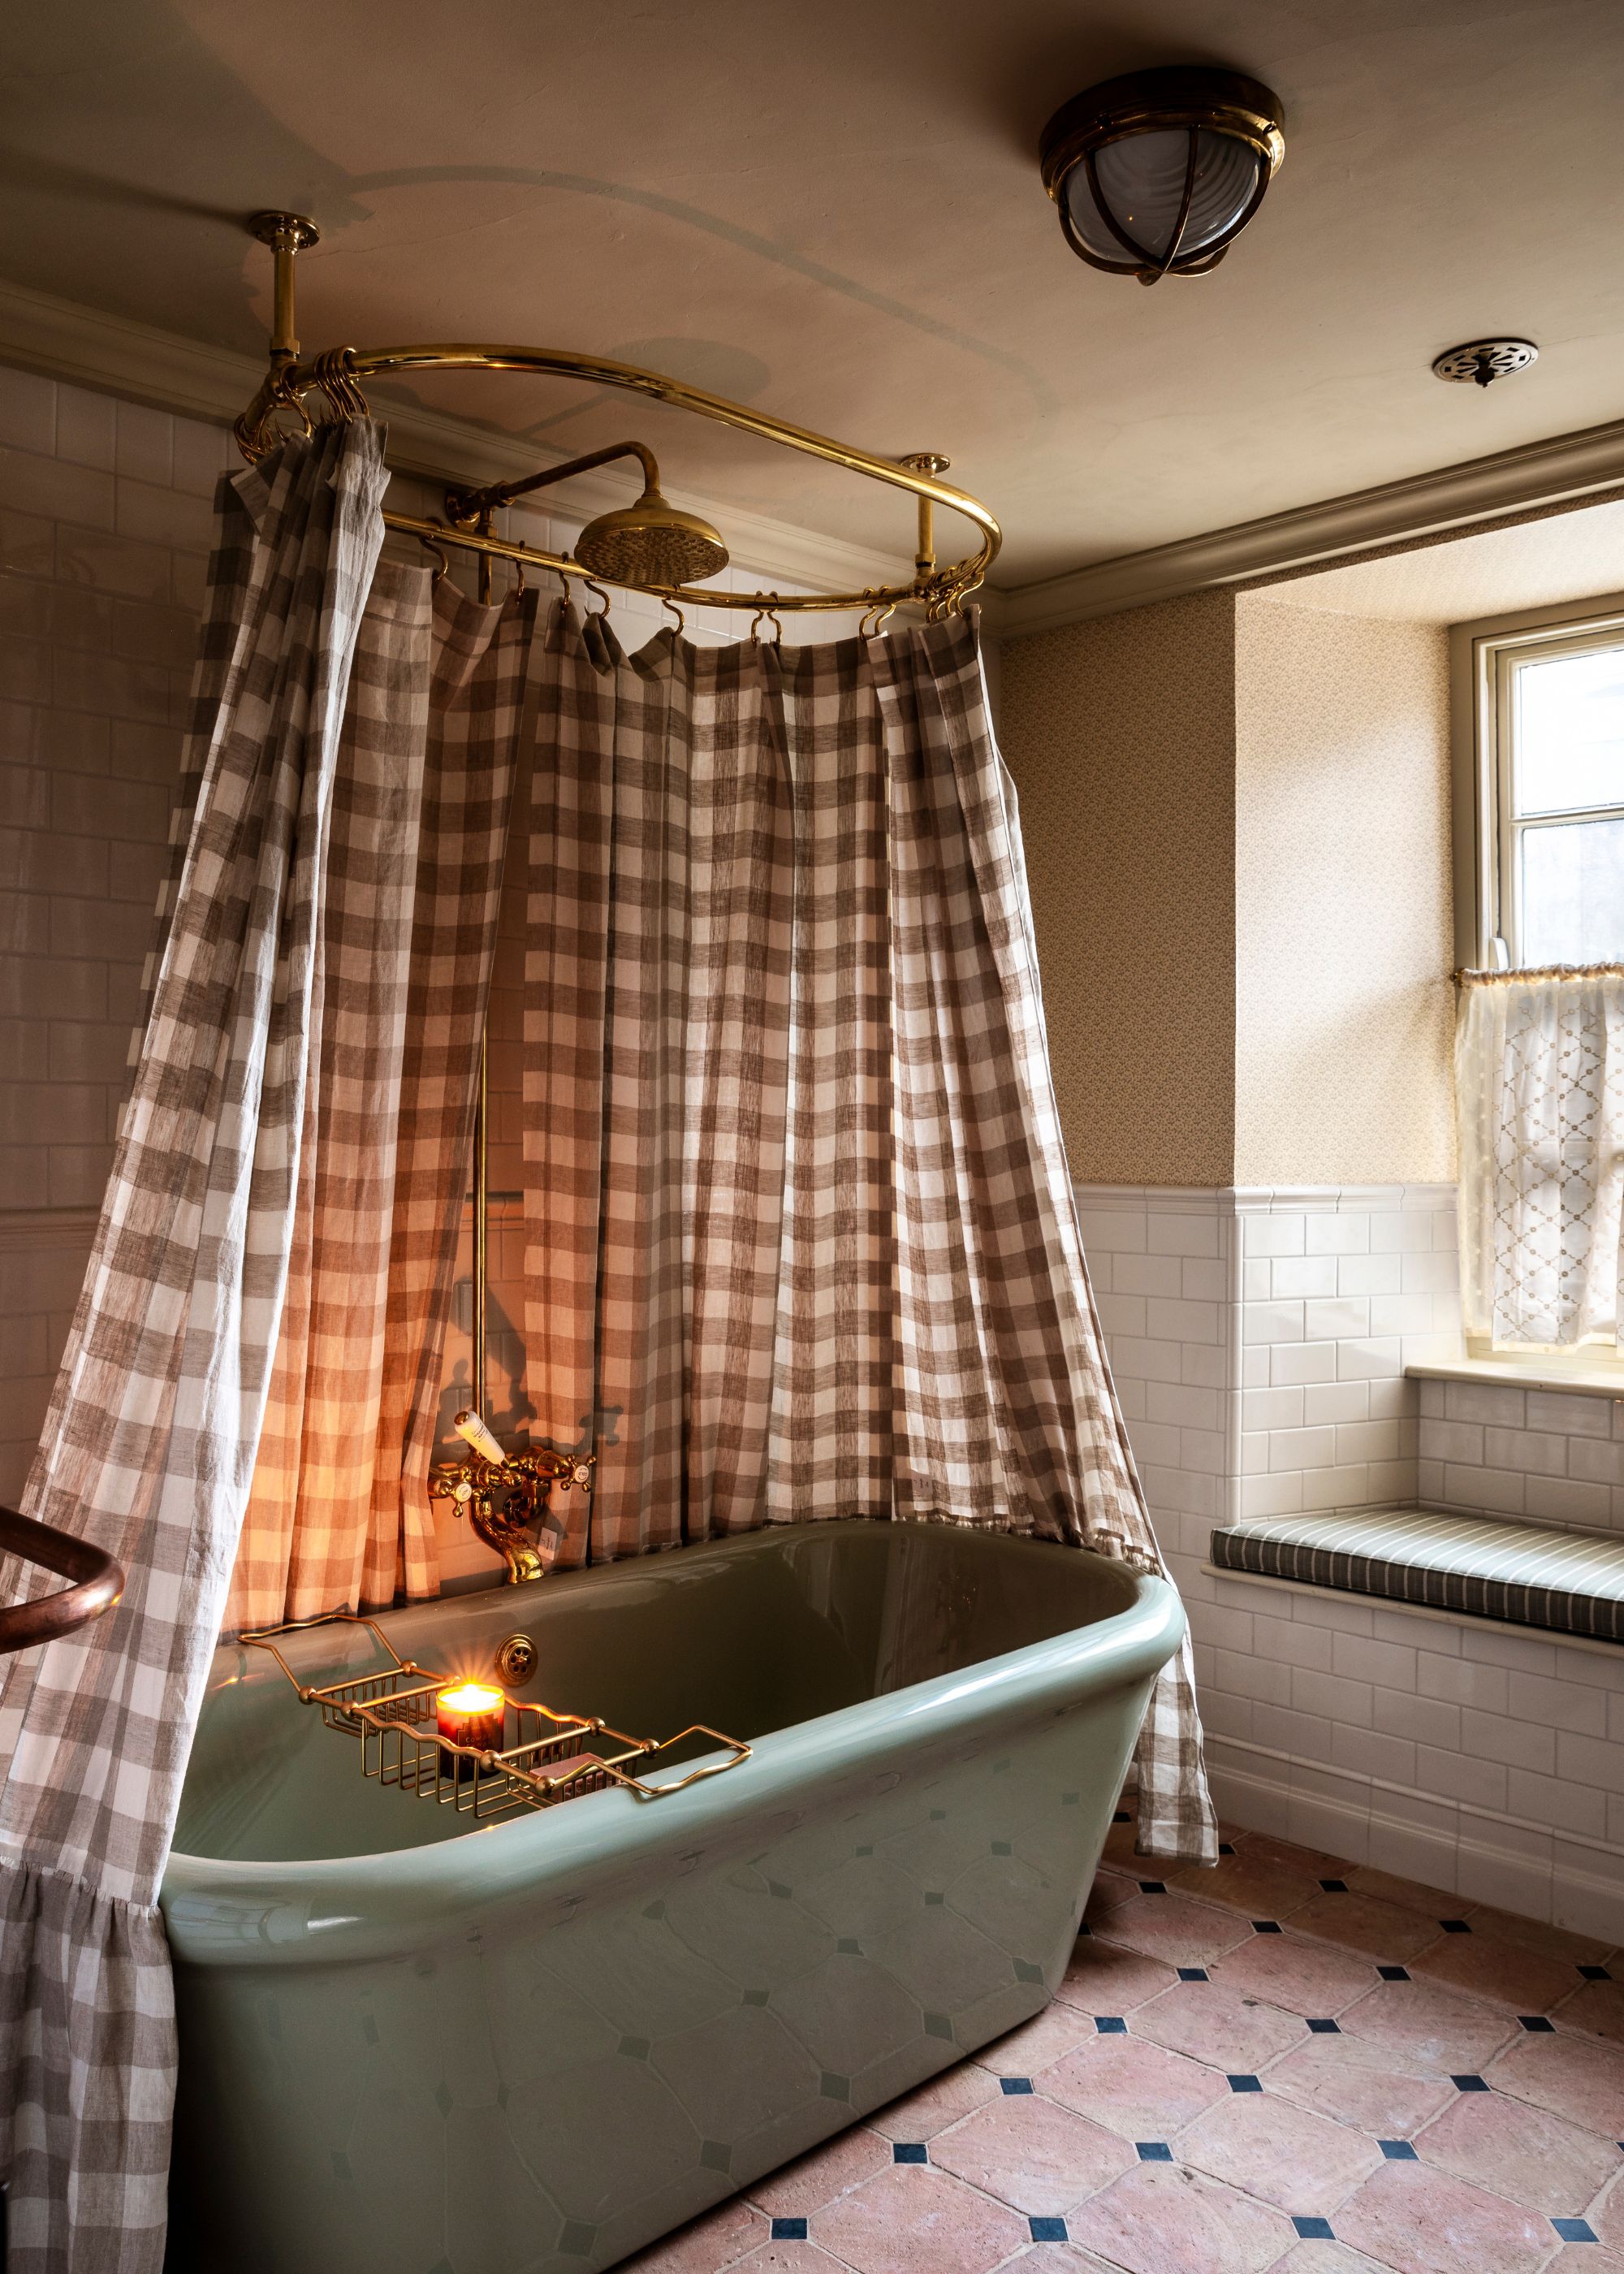
In this bathroom, the small-scale floral wallpaper is calming, while adding a textured feel to the space.
Bathrooms aren't the first room that comes to mind when scheming wallpaper ideas. That said, the right wallpaper can bring softness to this functional space.
“In a bathroom, wallpaper is one of the best ways to make the space feel softer and more considered — it counterbalances the harder, newer elements," says designer Kate Cox of HÁM Interiors.
"Because you can’t rely on lots of textiles in the way you can elsewhere, wallpaper brings warmth and creates a subtle layer of texture. It can also do the job of artwork, especially in smaller bathrooms where you don’t always have the wall space to hang very much," says Kate.
8. Add Wallpaper to a Headboard
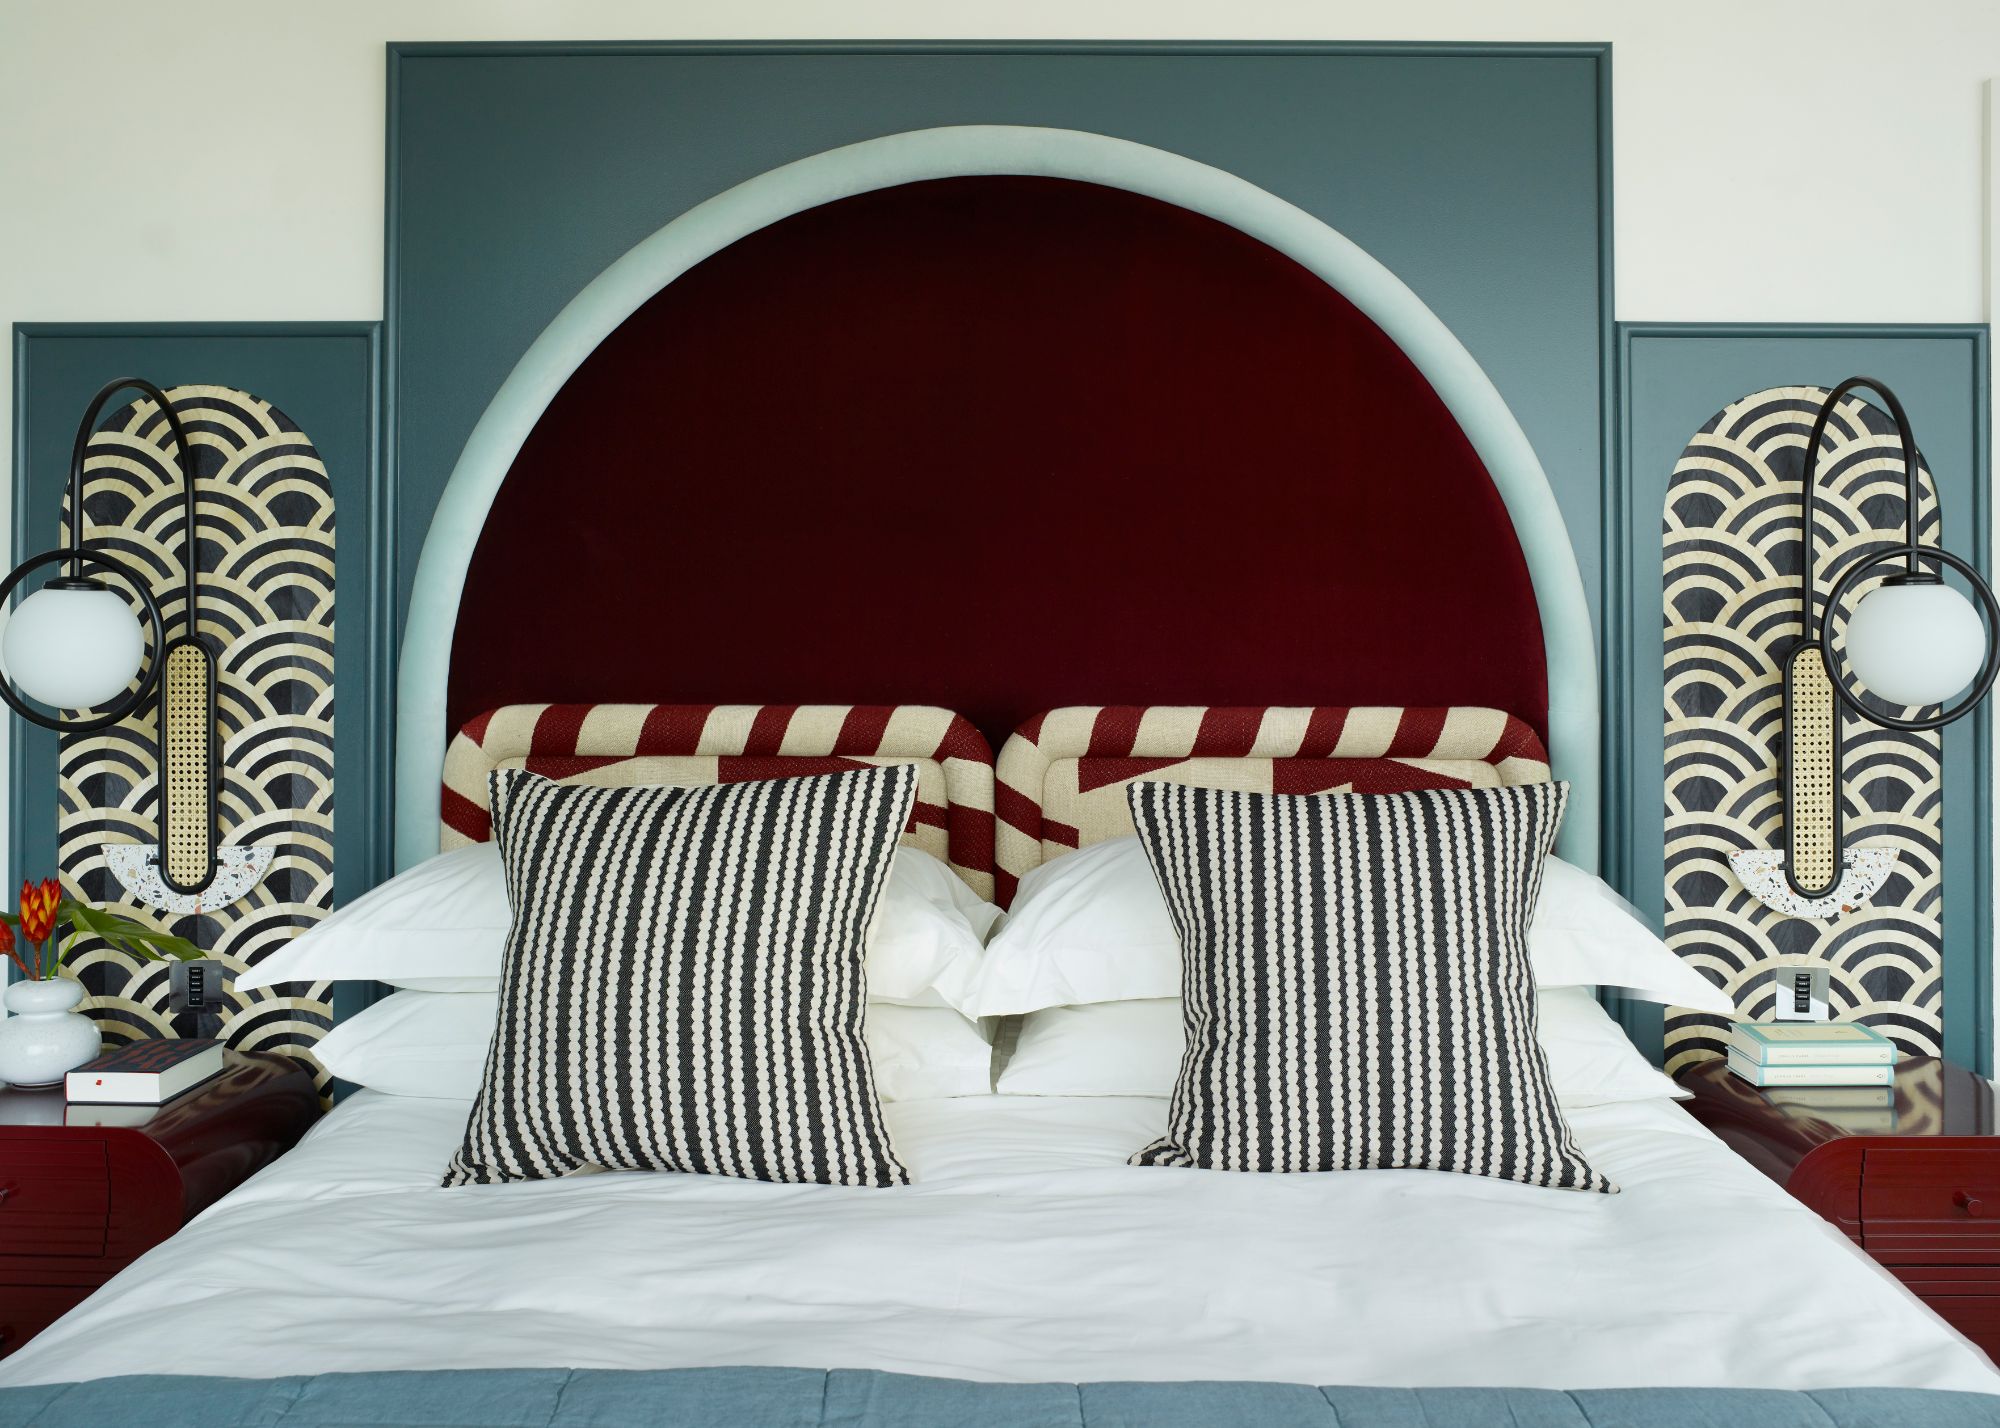
Wallpaper doesn't just have to be used in the traditional way on walls. Here, it adds a playful touch to this statement-making extended headboard.
This bedroom demonstrates one of the interesting ways you can use an unexpected wallpaper idea by making it a feature on the headboard.
"We used a geometric wallcovering as part of the bespoke headboard," says the designer Sophie van Winden of Owl Interior Design.
"Adding another texture, as well as pattern, added that extra something to the design and made it pop."
9. Reimagine Awkward Spaces With Wallpaper
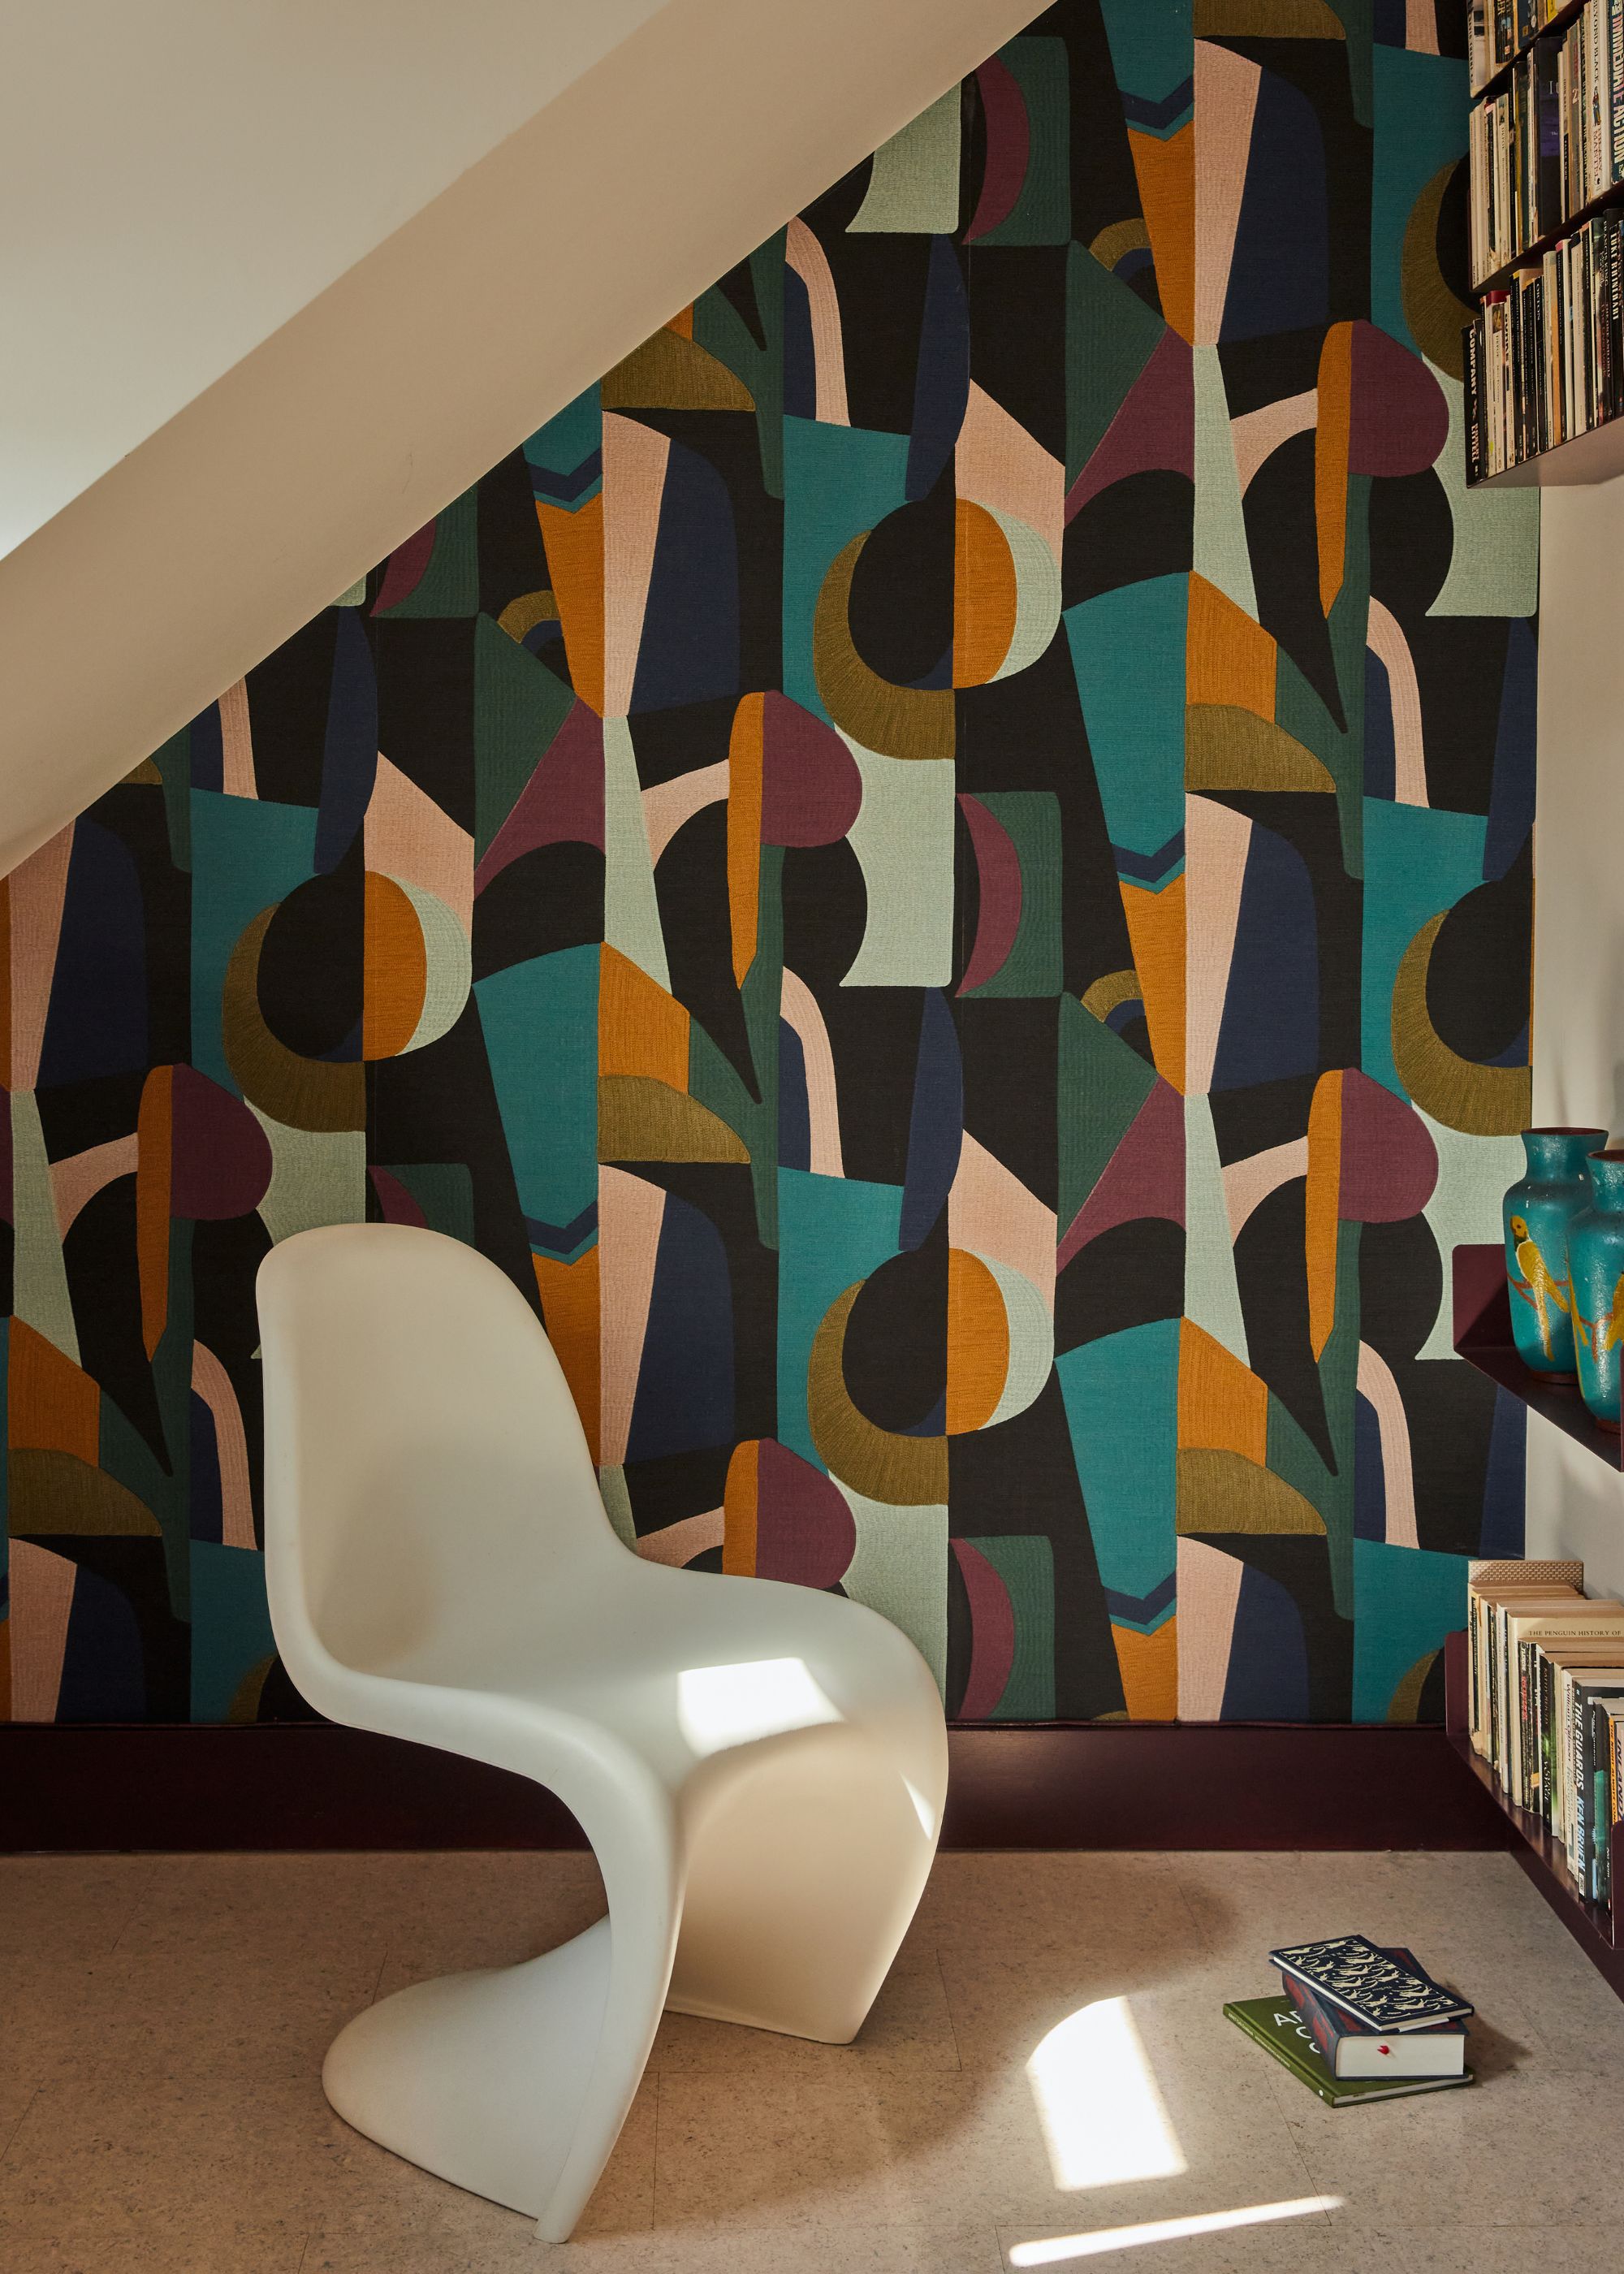
Here, the abstract print wallpaper brings instant design flair to an awkwardly shaped nook.
Hanging wallpaper in awkward spaces can be a simple but effective way to make them into their own moment, rather than an afterthought.
"This is in a library corner of a large loft bedroom," says Sophie. "Using patterned wallpaper on the awkward angles of the wall made it its only little inviting nook rather than a dead space."
10. Let Texture Lead the Way
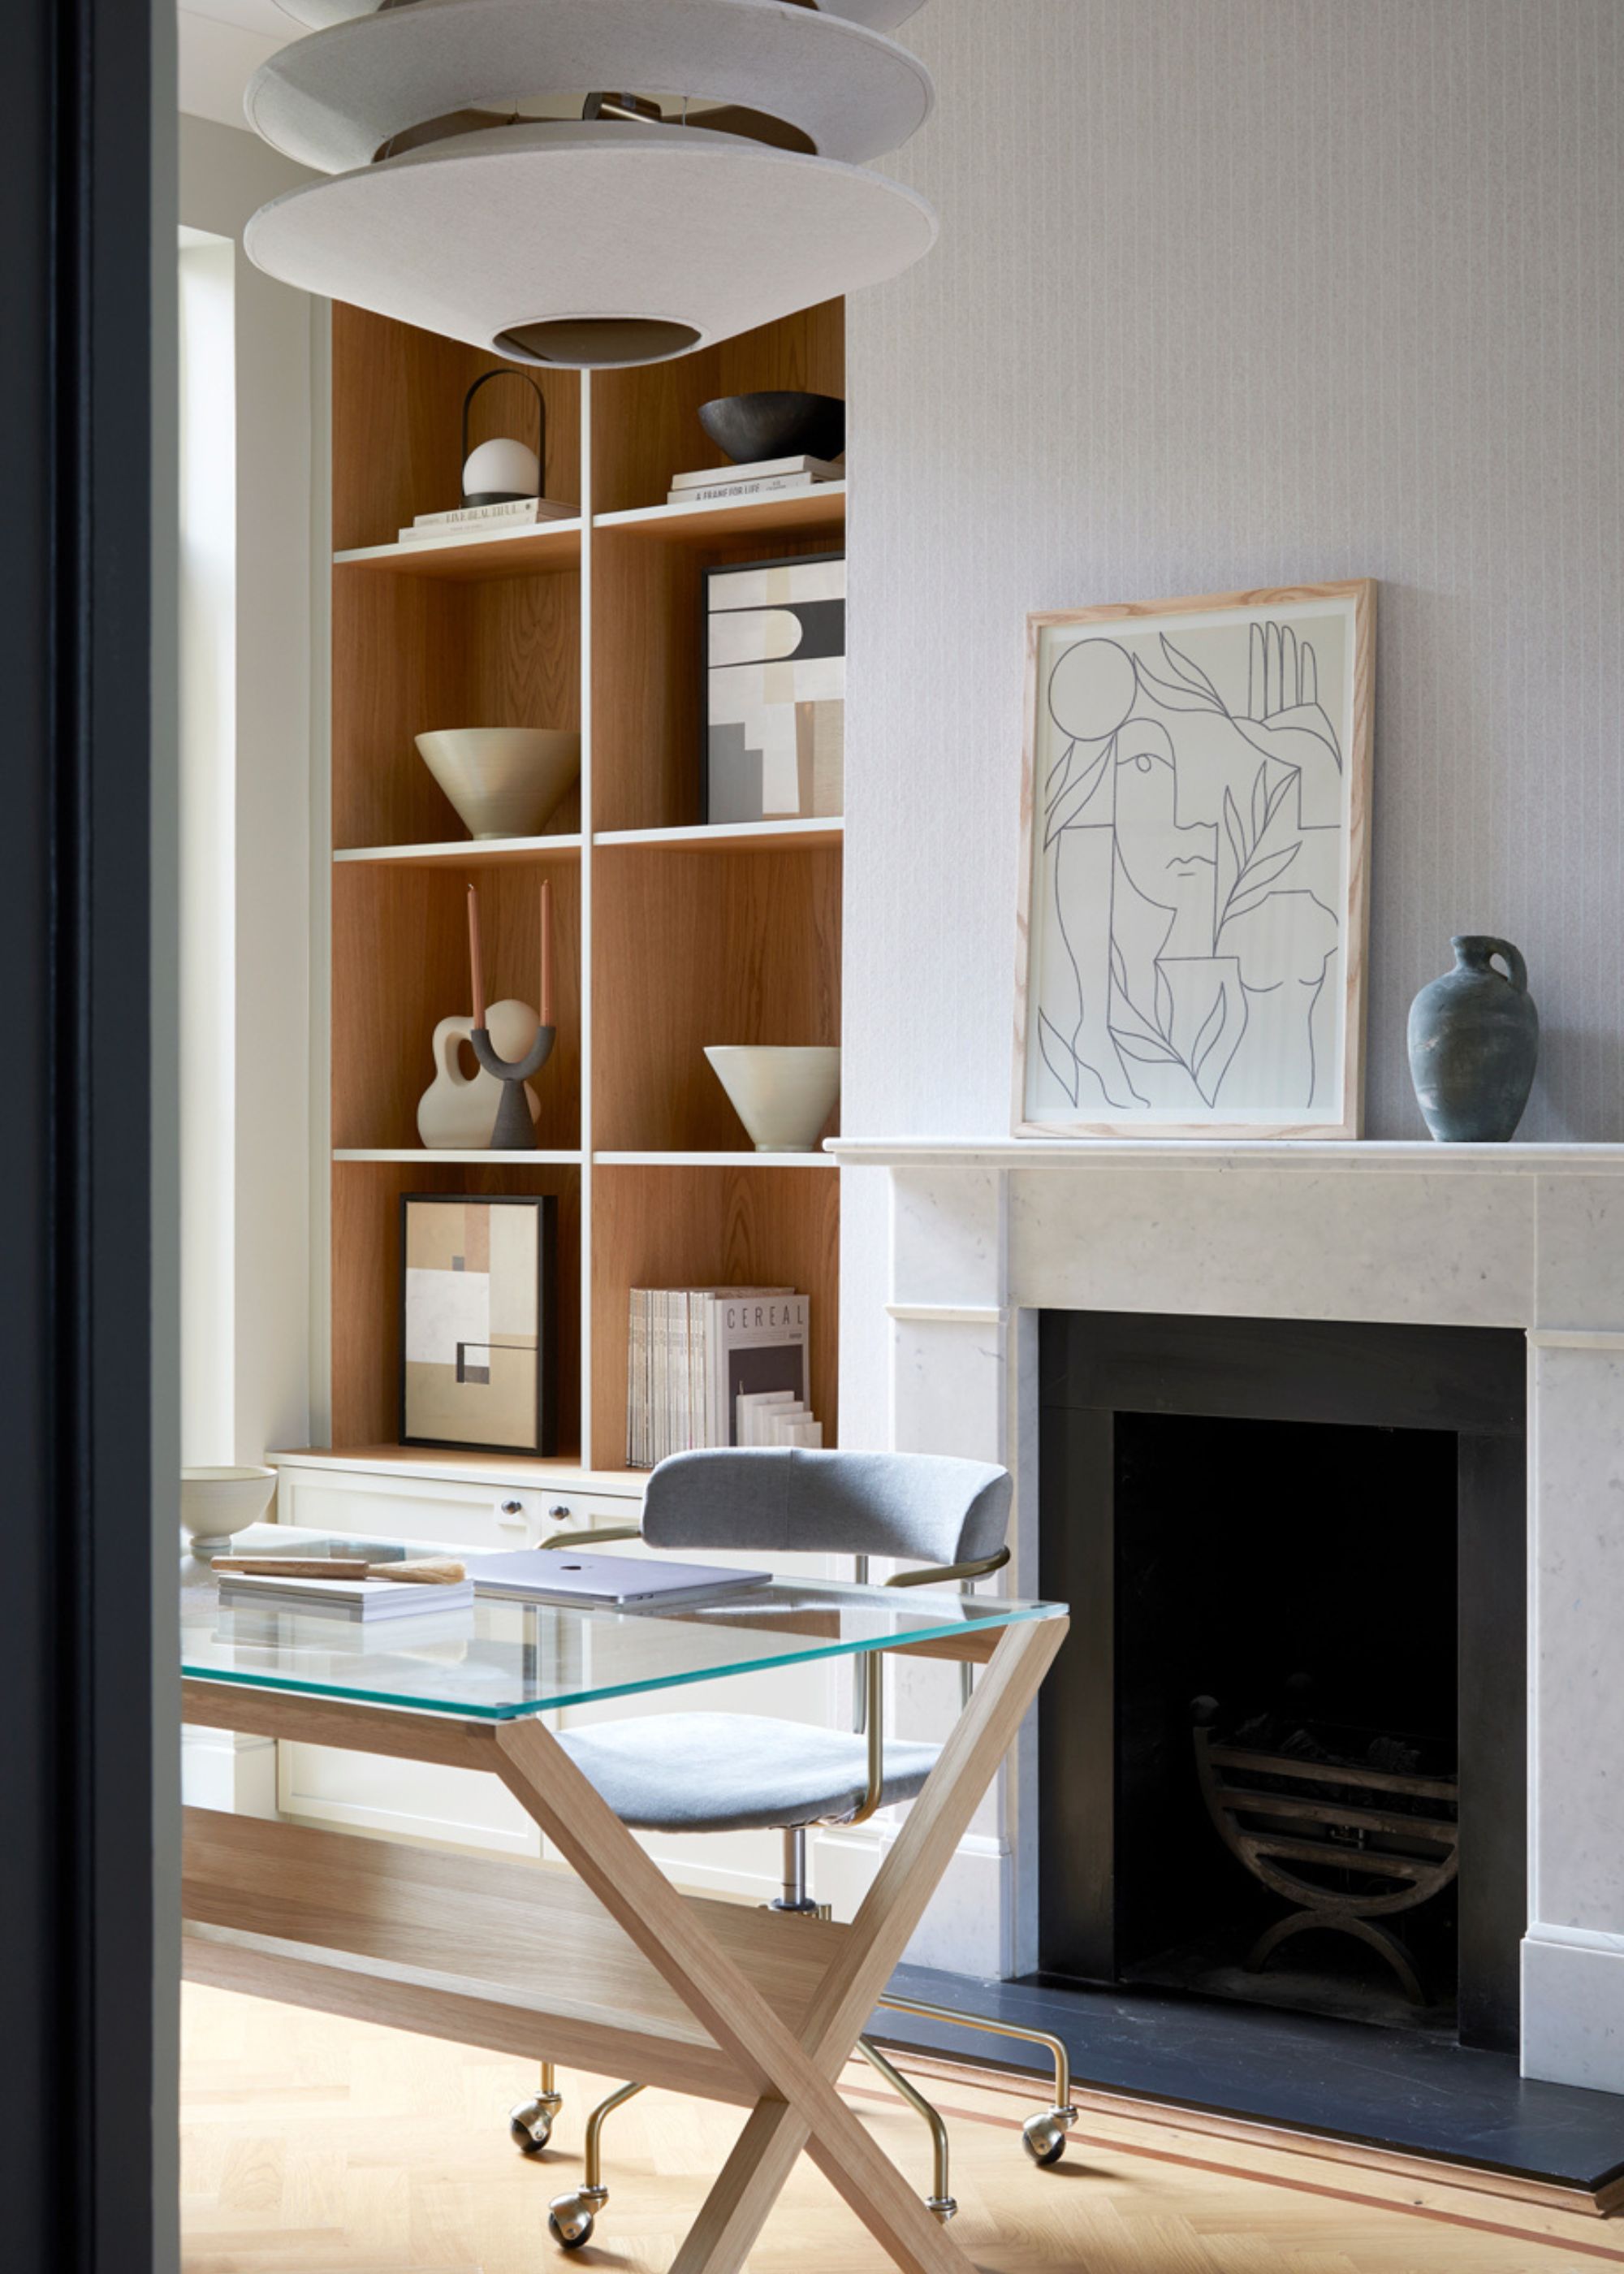
To create a calming space, go for a neutral-colored wallpaper with a subtle texture to elevate a room.
If you want to use your wallpaper to make a room look bigger, a soft neutral hue with a subtle texture is a safe bet, while also lending a calming quality.
"Add texture and character to a space without overwhelming it by choosing a natural fiber wallpaper, such as grasscloth," says designer Gemma Tucker of Balance Interior Design.
"Its raw, tactile quality brings instant depth, while a subtle pattern layered on top introduces an extra note of visual interest," adds Gemma. "In this home study, we selected a soft tonal design — enough to elevate the walls without distracting the mind."

Established in 2018 by creative director Gemma Tucker, Balance Interior Design is an award-winning British interior design studio known for creating pared-back, serene spaces that are in harmony with the people who occupy them.
11. Play With Scale
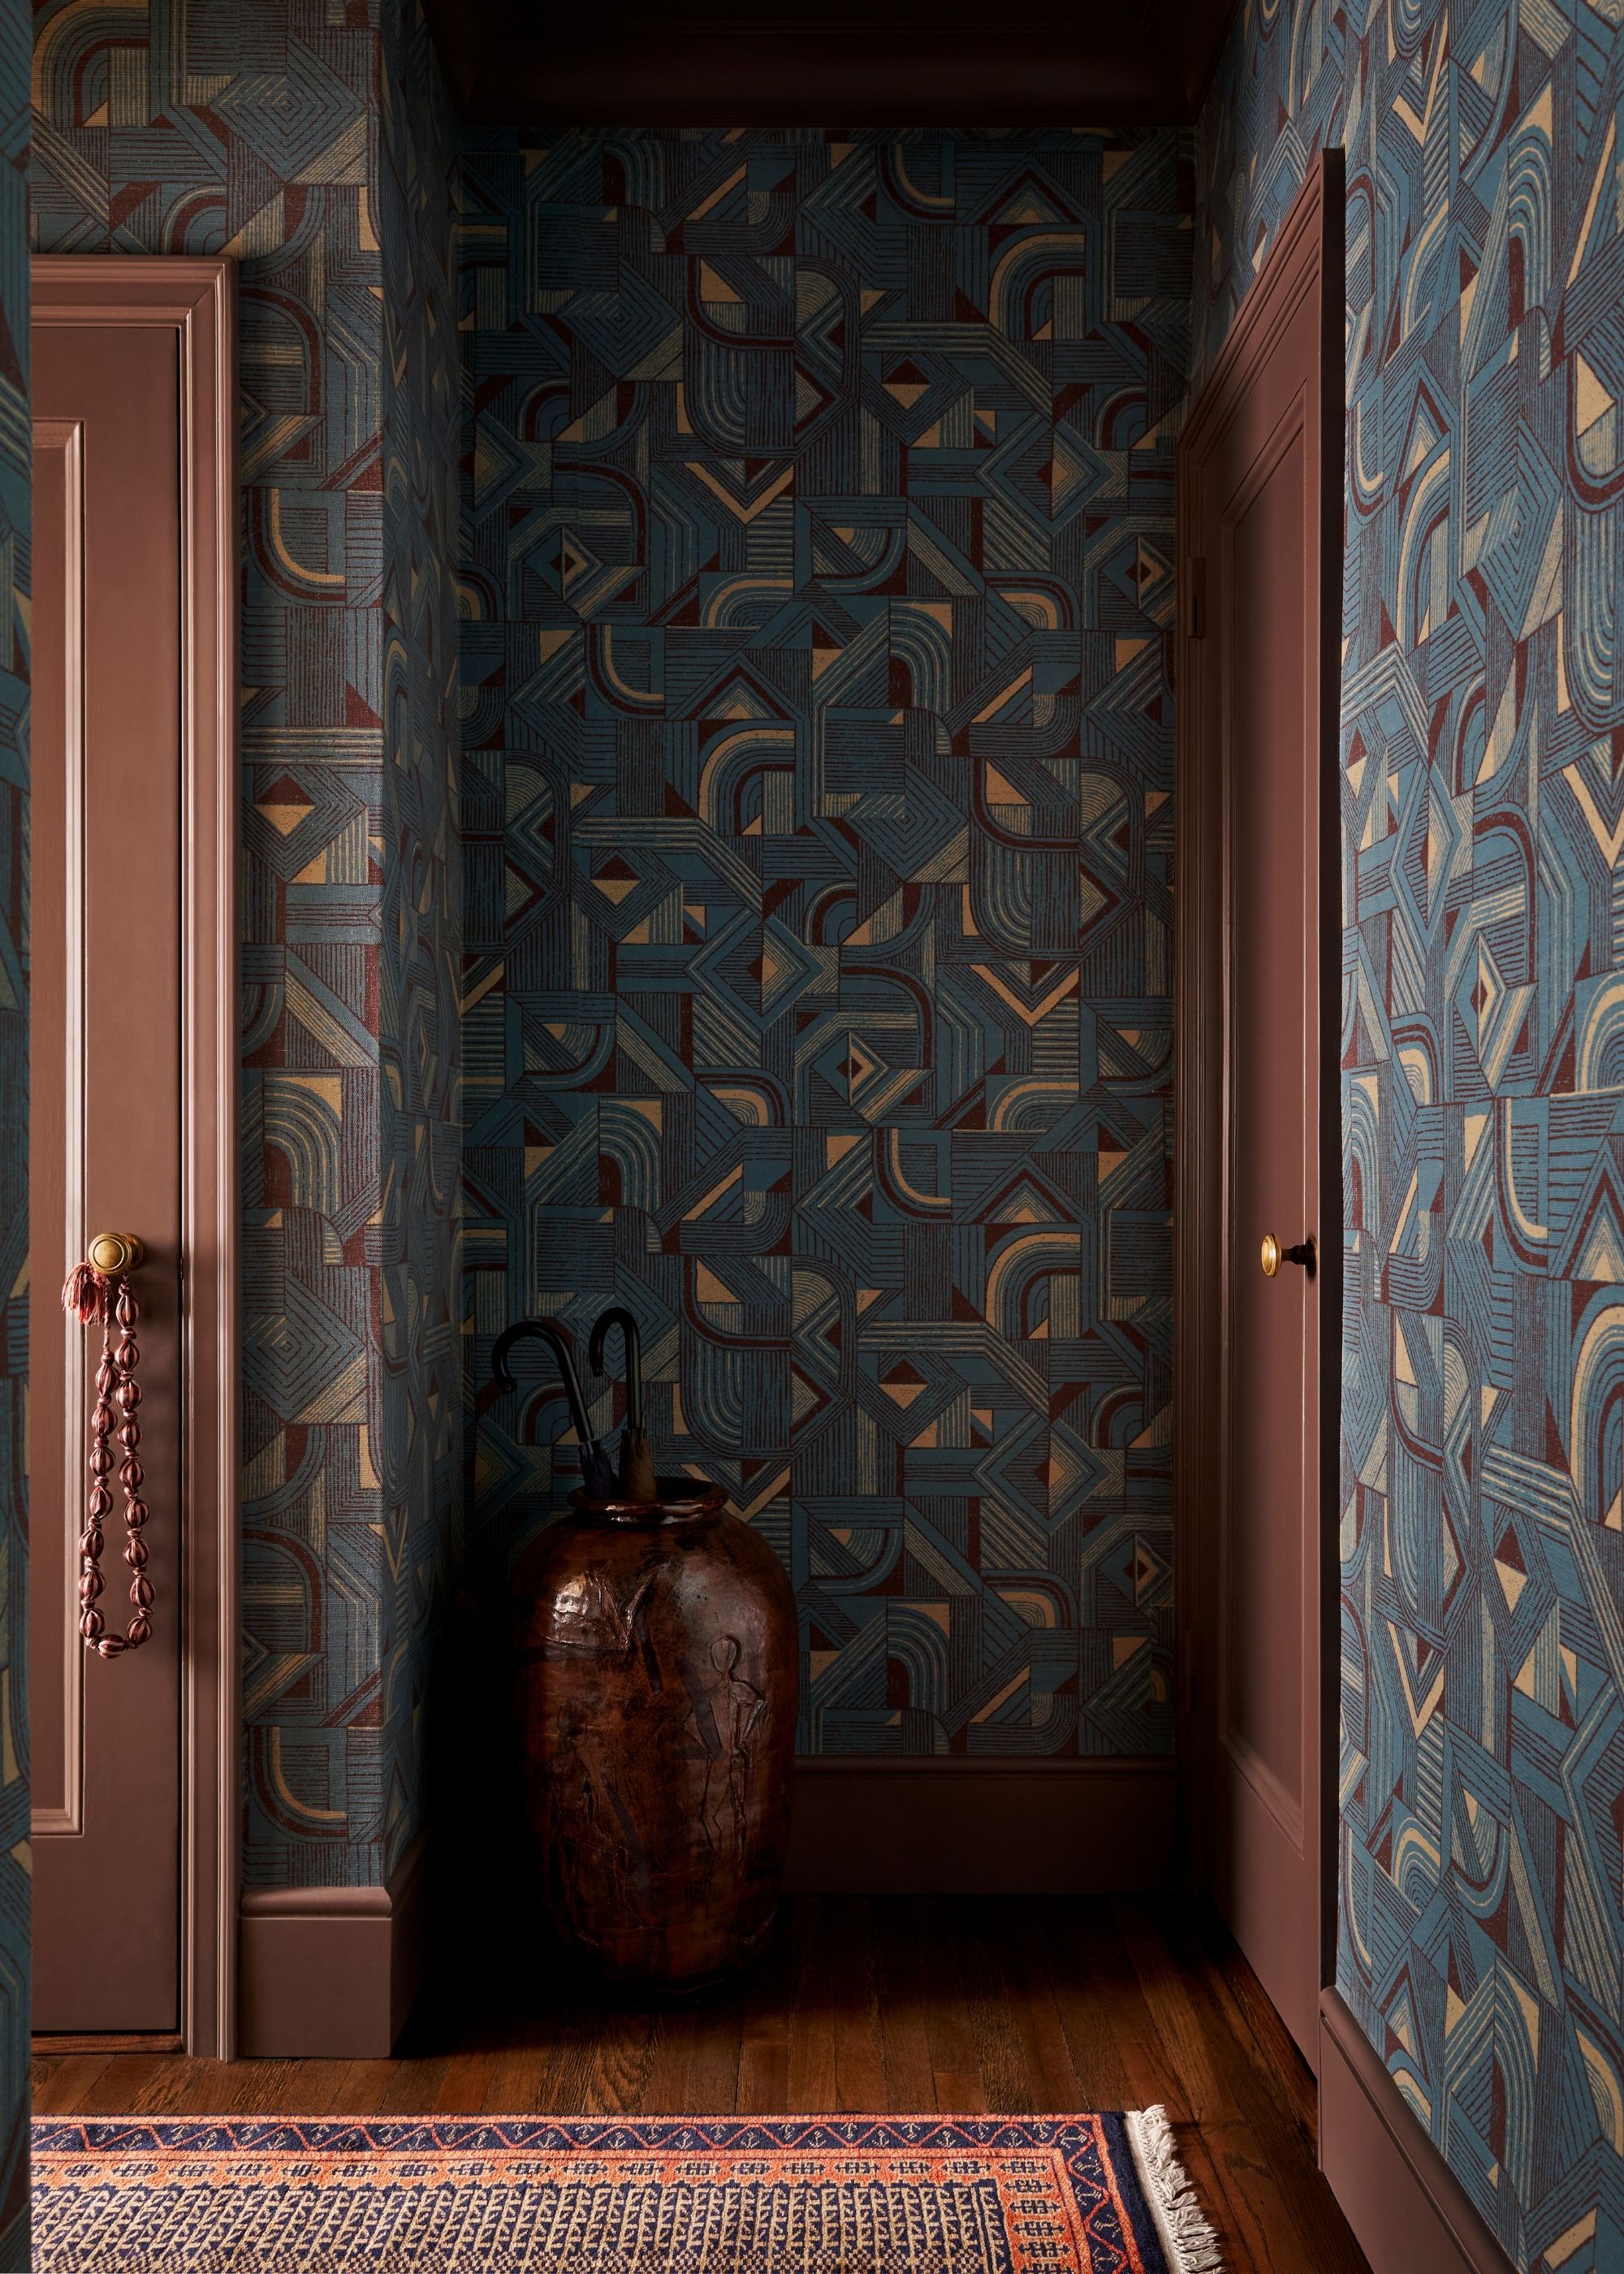
Mixing different scales between your wallpaper, window treatments, and textiles can elevate a room.
For a design-led look when hanging wallpaper, it's important to consider scale. Designer Josh Greene recommends mixing different scales throughout the room when considering your wallpaper ideas.
"If you have a small-scale pattern on the wall, use larger-scale motifs for the window treatments and upholstery," he says. "Or, if you have a pattern with a lot of movement on the walls, use geometrics, stripes, or solids to offset it."
12. Add Movement With a Subtle Geometric Pattern
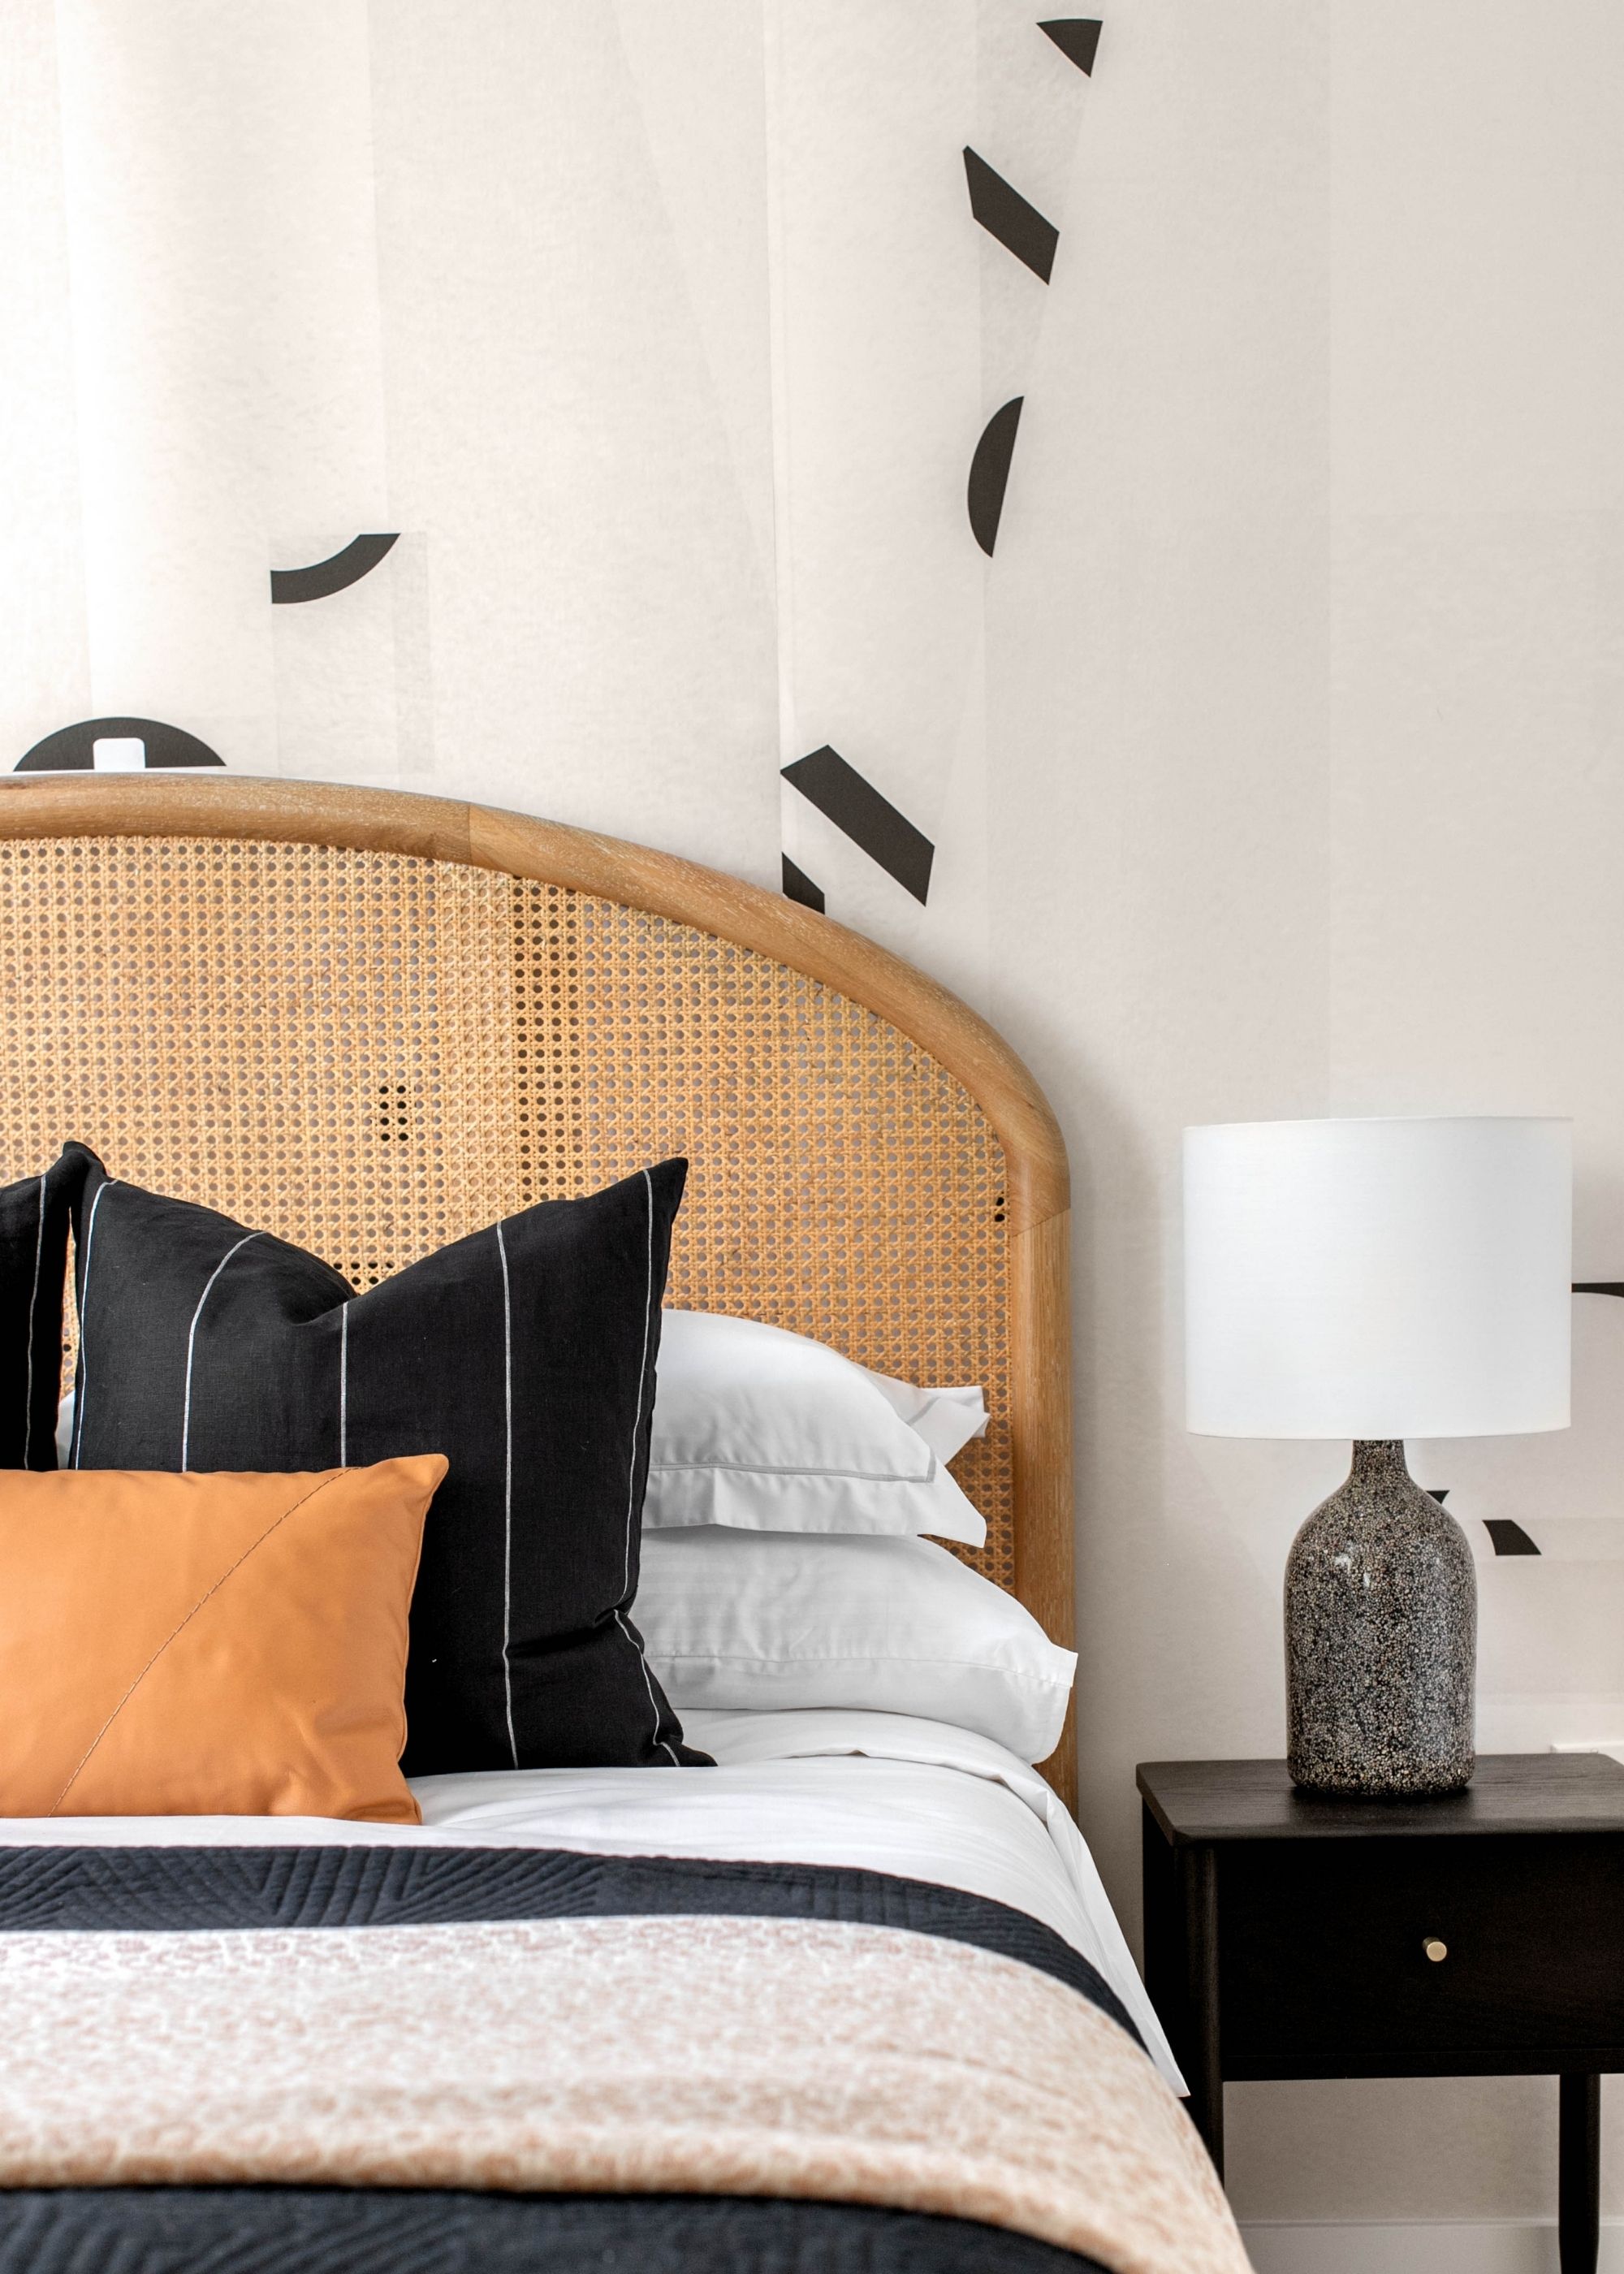
An understated geometric pattern like this one is not only playful, but it ensures a livable feel.
Geometric patterns are effortlessly modern, but you don't need the boldest options out there. For more minimalist interior design styles, take inspiration from this bedroom and choose a pared-back design that feels timeless, while still adding interest to the space.
"Subtle geometric patterns or soft tonal patterns are ideal when you want movement and texture without overwhelming the space; for example, in corridors, guest rooms, or intimate seating areas," says designer Henriette Kockum.
With these helpful wallpaper ideas, you'll be more than ready to hang wallpaper in a modern and style-led way. To get started, explore where to buy wallpaper, and familiarize yourself with the outdated wallpaper styles for 2026 to keep things feeling current.

Emily is a freelance interior design writer based in Scotland. Prior to going freelance in the spring of 2025, Emily was Homes & Gardens’ paint and color editor, covering all things color across interiors and home decor for the Homes & Gardens website. Having gained specific expertise in this area, Emily is well-versed in writing about the latest color trends and is passionate about helping homeowners understand the importance of color psychology in home design. Her own interior design style reflects the simplicity of mid-century design and she loves sourcing vintage furniture finds for her tenement flat.
