5 rules for painting interior doors - expert steps to making it look like a pro did it
These rules for painting interior doors will make the job easier and ensure a clean, sleek finish

By following a simple set of rules for painting interior doors, you can give your home a quick and easy refresh without having to call in the professionals.
Ensuring that all areas of your home are in tip-top condition will lift the overall aesthetic and allow the paint choices you made elsewhere to really sing.
'Whether you have recently redecorated your home, or simply want to refresh the space without spending too much time (and money), painting a door is an effective way to make a noticeable difference to a room,' says Will Thompson from Valspar.
5 rules for painting interior doors for a professional-looking finish
First of all, it's important you're well prepared with the right materials for the job.
What you’ll need:
- Sugar soap
- Painters tape or masking tape
- Sandpaper
- 1.5" or 2" brush
- Primer (try Valspar Wood Primer and Undercoat)
- Paint (Valspar Premium Wood & Metal paint)
- Roller and paint tray
1. Always prepare the area and your door

As with how to paint a wall, when it comes to prep, protect the floor by taping a dust sheet or a piece of cardboard underneath the door.
Before starting, don’t forget to remove the door handle and firmly wedge the door open.
The Livingetc newsletters are your inside source for what’s shaping interiors now - and what’s next. Discover trend forecasts, smart style ideas, and curated shopping inspiration that brings design to life. Subscribe today and stay ahead of the curve.
'If your door is older and presents holes, flaking or bubbling old paint, sand down the entire surface going with the grain and fill in any cracks with a filler,' says Will. 'Once its dry, lightly sand the filler ready to paint.'
What's more, your door is likely to have accumulated dirt and grime from years of dirty hands touching it. Sugar soap will help to remove any excess dirt and give you an even base to paint on.
2. Don't forget to sand the surface
Sanding the surface of the door is a key step in creating a sleek finish.
Will says: 'Wrap 80 grit sandpaper around a block and sand the surfaces for a smooth finish to get your paint to stick better - especially if your door is glossy and shiny - then wipe down the dust with a sponge.
'Check that no dust has been left on the surface, to avoid any bumps when painting.'
3. Use primer
'Primer will ‘prepare’ your surface for the new color, ensuring the long-lasting performance of your topcoat and improving adhesion, so you’ll need fewer coats of paint to finish your door,' says Will.
'A wood primer will give you an even finish and ensures a rich pigment when you use a bold color.
'Apply the first coat of primer and let it dry before applying the second one. Leave it for two hours before you begin painting.'
Valspar’s New Construction Primer is ideal if you want to cover or use a bold color.
4. Find your color
Whether you transform your door into a feature piece or make it blend seamlessly in with your walls, your door can be a significant part of your interior design scheme.
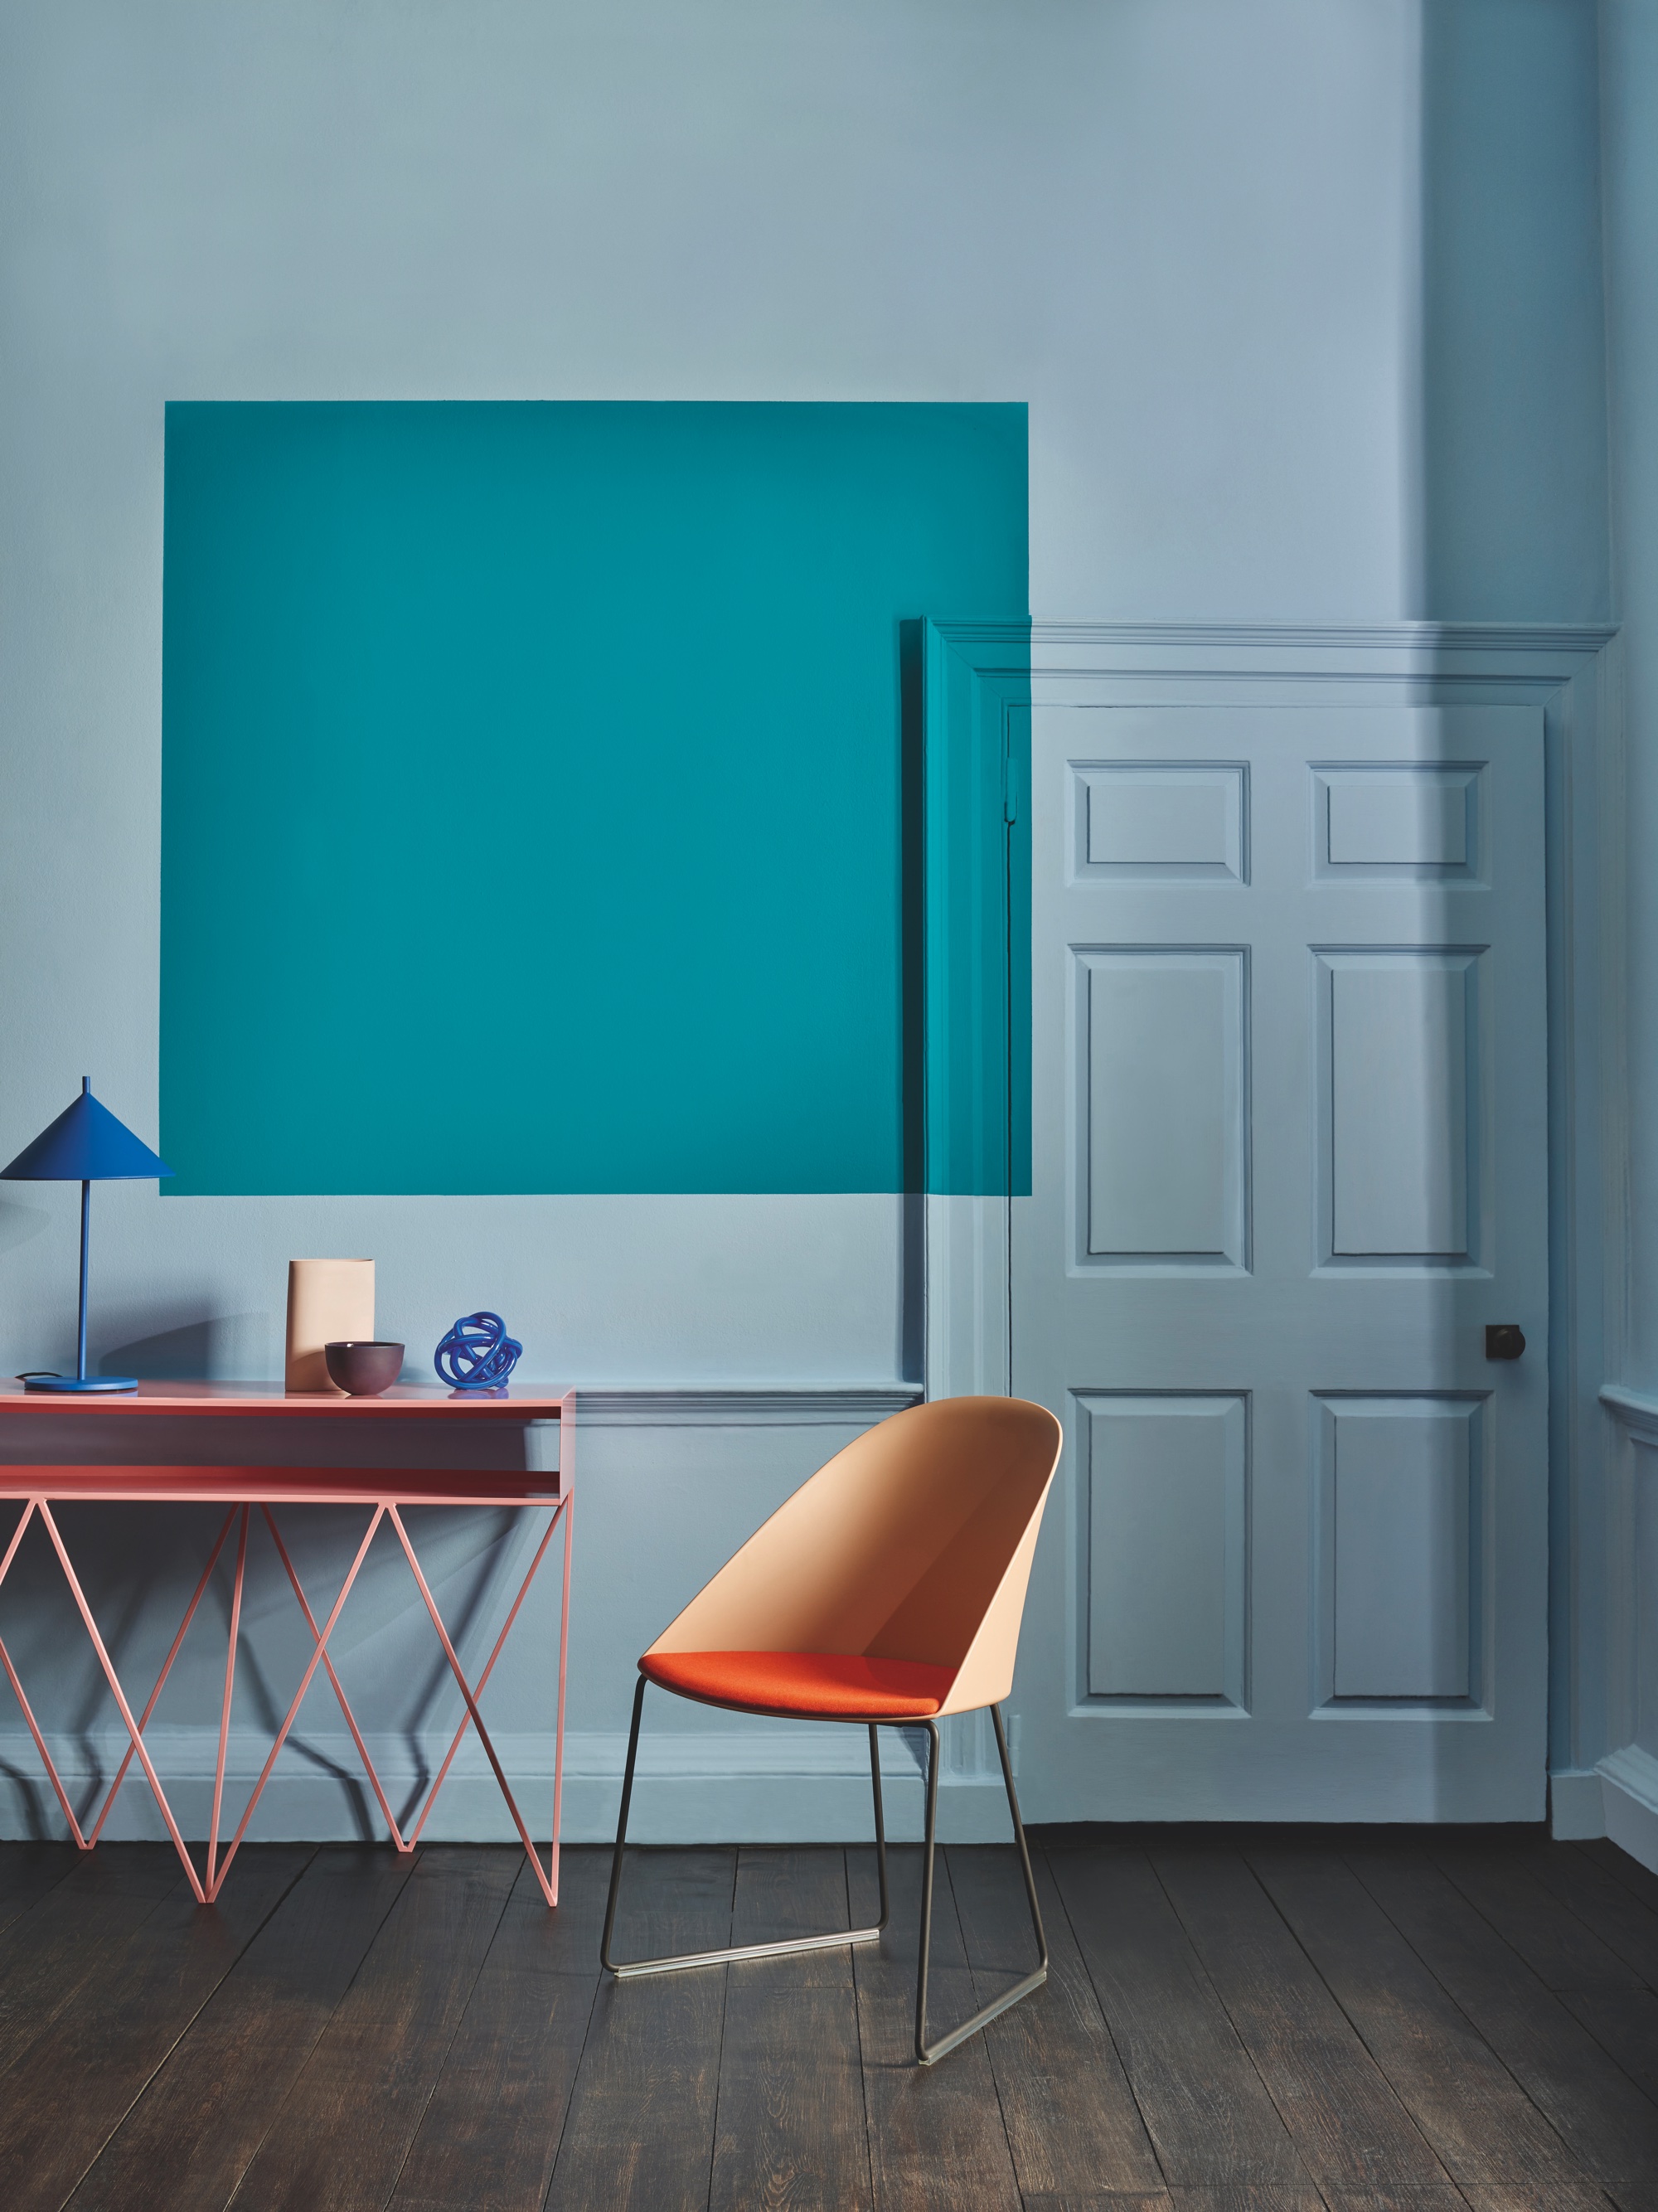
A darker shade can create a ‘break effect’ and give the room more character. Choosing complementary colors for a dramatic effect, by matching antique rose walls for example, with something like a deep teal.
'For an effective finish, you can paint the skirting boards and the door frame in the same color as the door, creating a popular color drenching effect.
'Before choosing your color, remember to use a paint specifically made for interior doors, like Valspar Premium Wood & Metal paint, for best results.'
5. Paint your door in the right order
To get the best finish without any brush marks or dripping paint, stick to a specific order, advises Will.
'Use a 1.5” or 2” brush and start with the edges of your door before moving on to the panels,' he says.
'Use a foam roller to paint the horizontal sections working from top to bottom and then move on to the vertical section.
'Repeat with a second coat. Leave the paint to dry for two to four hours before putting back the handles and closing your door.'
How to avoid brush marks when painting a door

Painting a door is a relatively easy job and you don’t necessarily have to remove the door from its hinges to do so.
'It’s important to remember to take your time and don’t skip any key steps, to avoid brush marks that can affect your final result,' says Will.
Follow these three steps to avoid brush marks:
1. Lay the door flat
Painting on the hinges is possible but if you really want to cut down on brush marks, take your door off its hinges and lay it flat. You can apply a thicker coat of paint this way without it running, giving the paint a better opportunity to level out and for brush marks to disappear. It also means you won’t get paint on your hinges for a pristine finish.
2. Use a roller as much as possible
A foam roller used on the door face is an obvious way to cut down on brush marks. Apply even pressure and work in a V motion to spread the paint. Make sure you don’t go over painted areas too much or you run the risk of spreading it too thin and leaving marks. As a rule of thumb, use a paintbrush on grooved areas and a roller on flat expanses.
3. Sand between coats
Lightly sanding between coats helps to even out bumps and raised brush marks, leaving you with a flat surface for your next coat.
Can you just paint over interior doors?
Before painting over a door, you need to prepare the surface to avoid any visible marks and make the paint last longer: sand it down, fill in any cracks with a filler, and clean the door with sugar soap,' says Valspar's Will Thompson.
'Then, apply one or two coats of wood primer to ensure the long-lasting performance of your paint and improving adhesion. Now your interior door is ready to be painted.'
What kind of paint do you use on an inside door?
For inside doors you need to use a paint specific for interior wood elements.
This wood-specific paint is scrubbable and stain resistant, and is ideal for busy homes and high-traffic rooms, such as hallways.'
Do you need to sand interior doors before painting?
'If your door is glossy and shiny, we recommend sending it with 80 grit sandpaper wrapped around a block in order to have a smooth finish and get the paint to stick better,' advises Will.
'Lightly sanding between coats helps to even out bumps and raised brush marks, leaving you with a flat surface ready for a professional result.'
Should I use a brush or a roller to paint a door?
While you might think a brush would be easier, a roller is actually the best tool to use to paint a door for a smooth finish.
'To avoid brush marks, it is better to use a roller as much as possible,' says Will. 'A roller helps to spread the paint on flat areas, while the paintbrush should be used on grooved zones.'
Ruth Doherty is a lifestyle journalist based in London. An experienced freelance digital writer and editor, she is known for covering everything from travel and interiors to fashion and beauty. She regularly contributes to Livingetc, Ideal Home and Homes & Gardens, as well as titles like Prima and Red. Outside of work, her biggest loves are endless cups of tea, almond croissants, shopping for clothes she doesn’t need, and booking holidays she does.