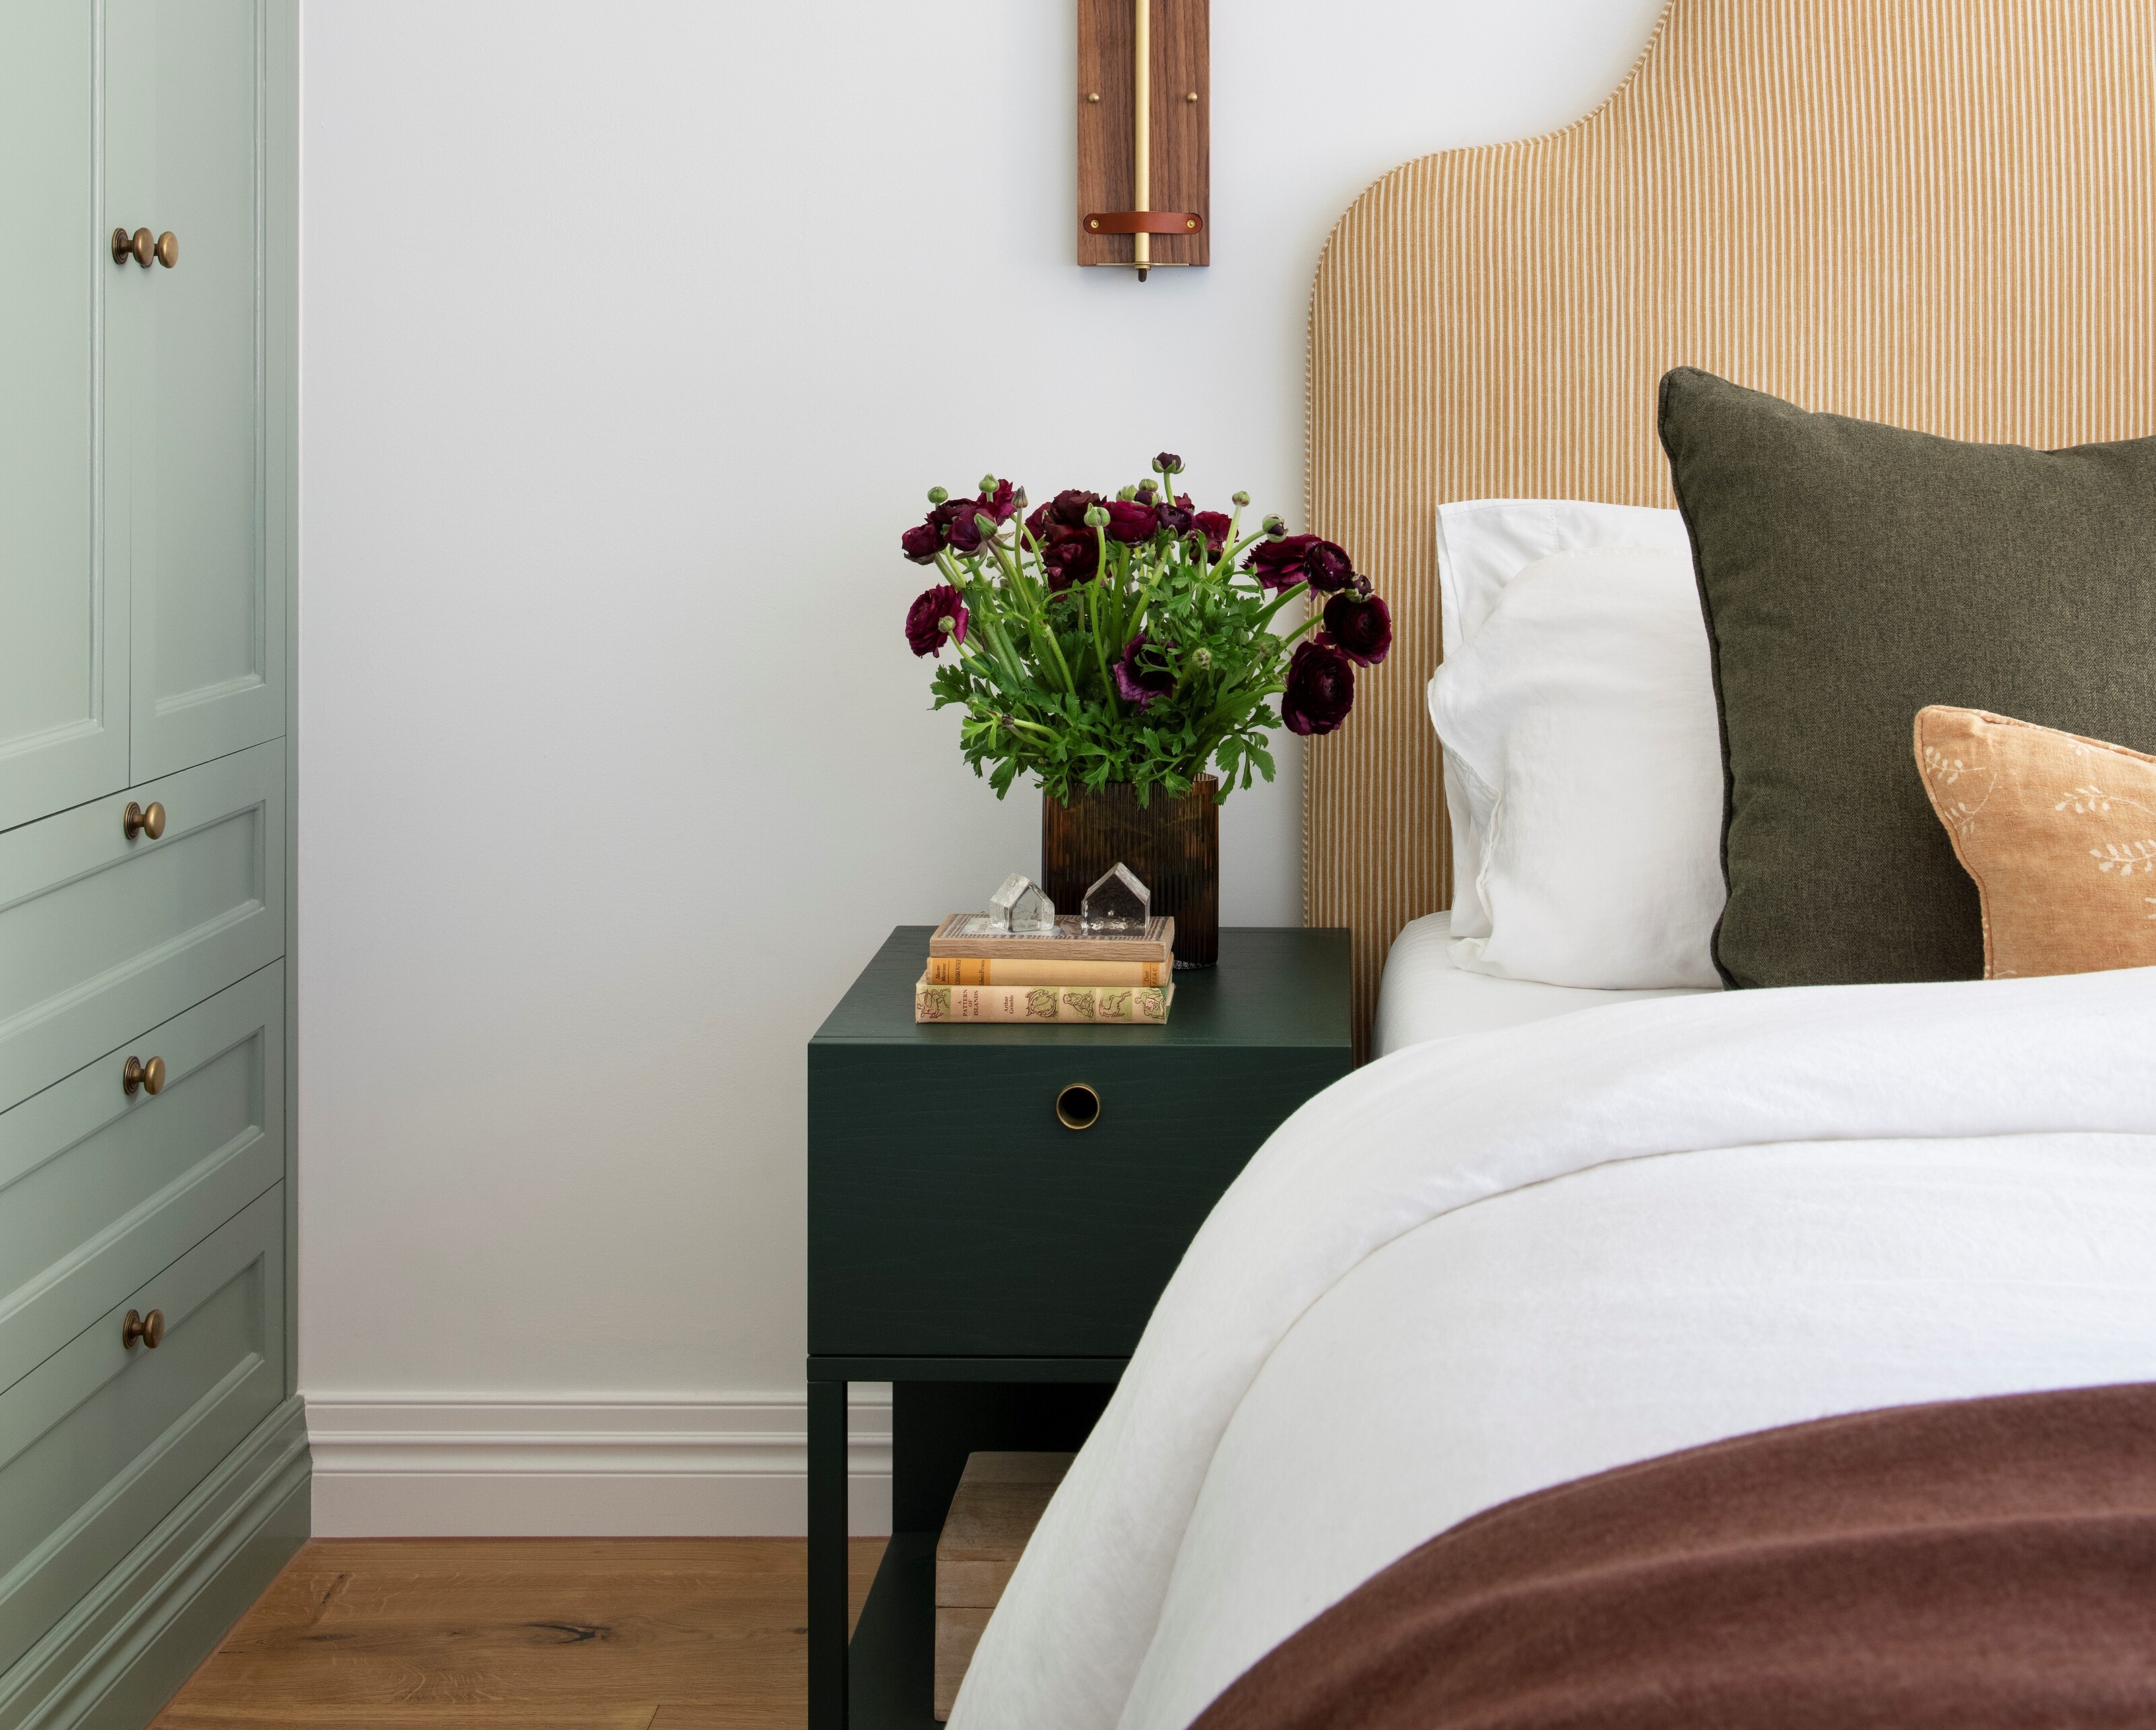
This DIY bedside light hack saves so much space on your nightstand, and you can buy everything you need from Amazon
If you want a bedside light but are tight on space, check out this easy and affordable DIY


A bedside lamp is a necessity for all bedrooms but sometimes the designs just take up too much space on your nightstand. While lack of one means more opportunities for styling your bedside table, no one wants to completely negate the functionality of a soft reading lamp, so we went in search of a solution - and now we found the answer.
This simple DIY bedside sconce has answered all our interior prayers. It's stylish, simple, and affordable, and what's even better is everything you need is available from Amazon (not to mention it looks like it's come straight out of an expensive Scandi-style hotel). We think everyone will love this hack, plus you can always find inventive ways to make it your own.
If that wasn't enough, this clever DIY is also completely renter-friendly. If you're in need of a suspended bedside light, there's no need to drill holes in the wall or hardwire. Say goodbye to overcrowded nightstands and hello to super chic lighting that doesn't cost a fortune with this nifty idea for a modern bedroom.
A post shared by Sarah Johnson (@thenorthernhome_)
A photo posted by on
How to make your own DIY bed side light
When I tell you this DIY project is so simple, I really mean it. You'll be shocked at how little time it takes to create your very own bedside lamp without any tricky power tools. It's all thanks to the handiwork of DIY home renovator Sarah Johnson who shared the genius idea over on her Instagram account, The Northern Home.
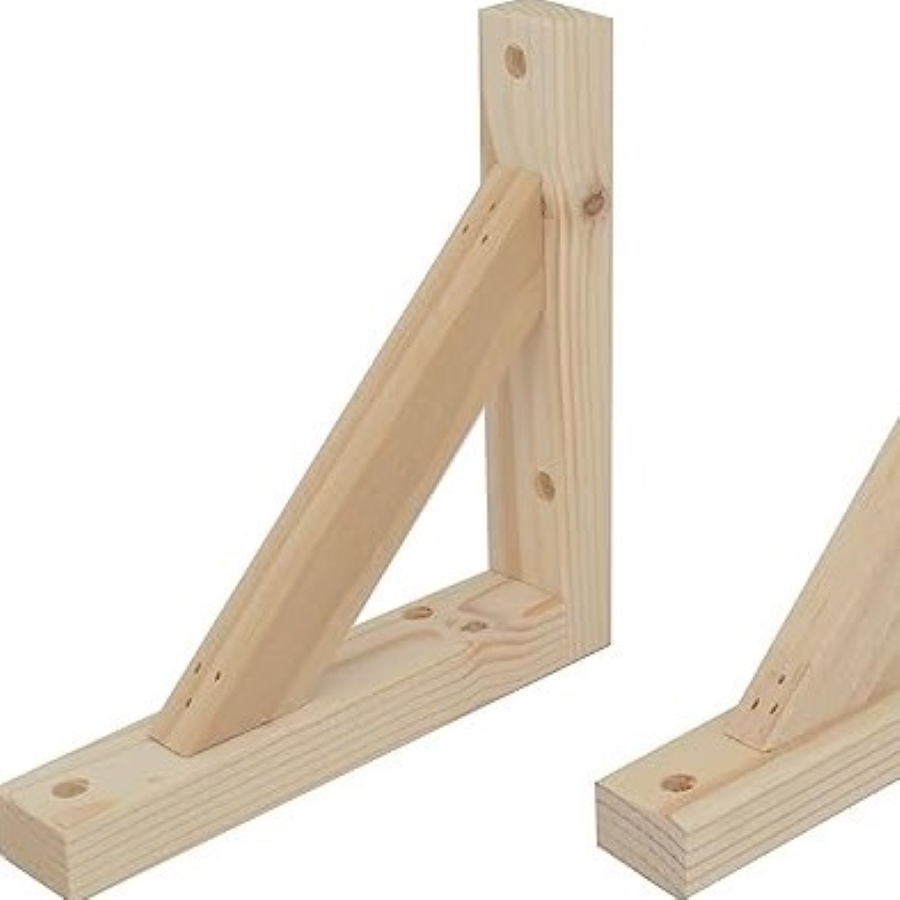
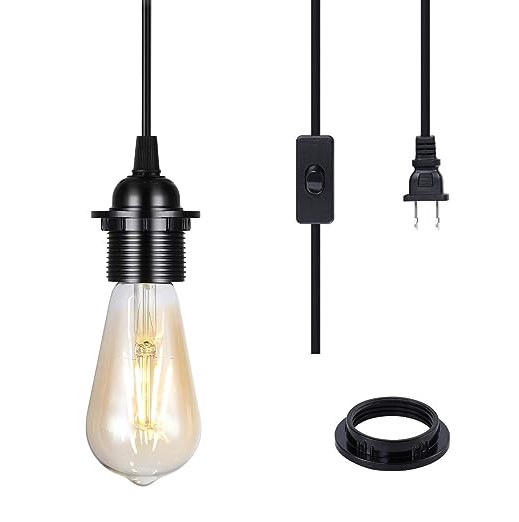
To get started, you'll need to get yourself over to Amazon to purchase just three essential items: a wooden bracket, a plug-in pendant light, and some trusty command strips.
Next, measure where you want your light to sit. If you're doing one on each side of the bed, ensure they're level. The great advantage is, you can control the height of the light by simply wrapping the pendant around the bracket, so all is not lost if you attach the bracket to high or low.
When you've decided on the placement, use self-adhesive strips to attach the bracket to the wall. Follow the instructions carefully to guarantee there will be no damage to your wall (Sarah uses command strips, available at Amazon, but you'll need to wait 24 hours after applying to the wall before attaching the bracket).
The Livingetc newsletters are your inside source for what’s shaping interiors now - and what’s next. Discover trend forecasts, smart style ideas, and curated shopping inspiration that brings design to life. Subscribe today and stay ahead of the curve.
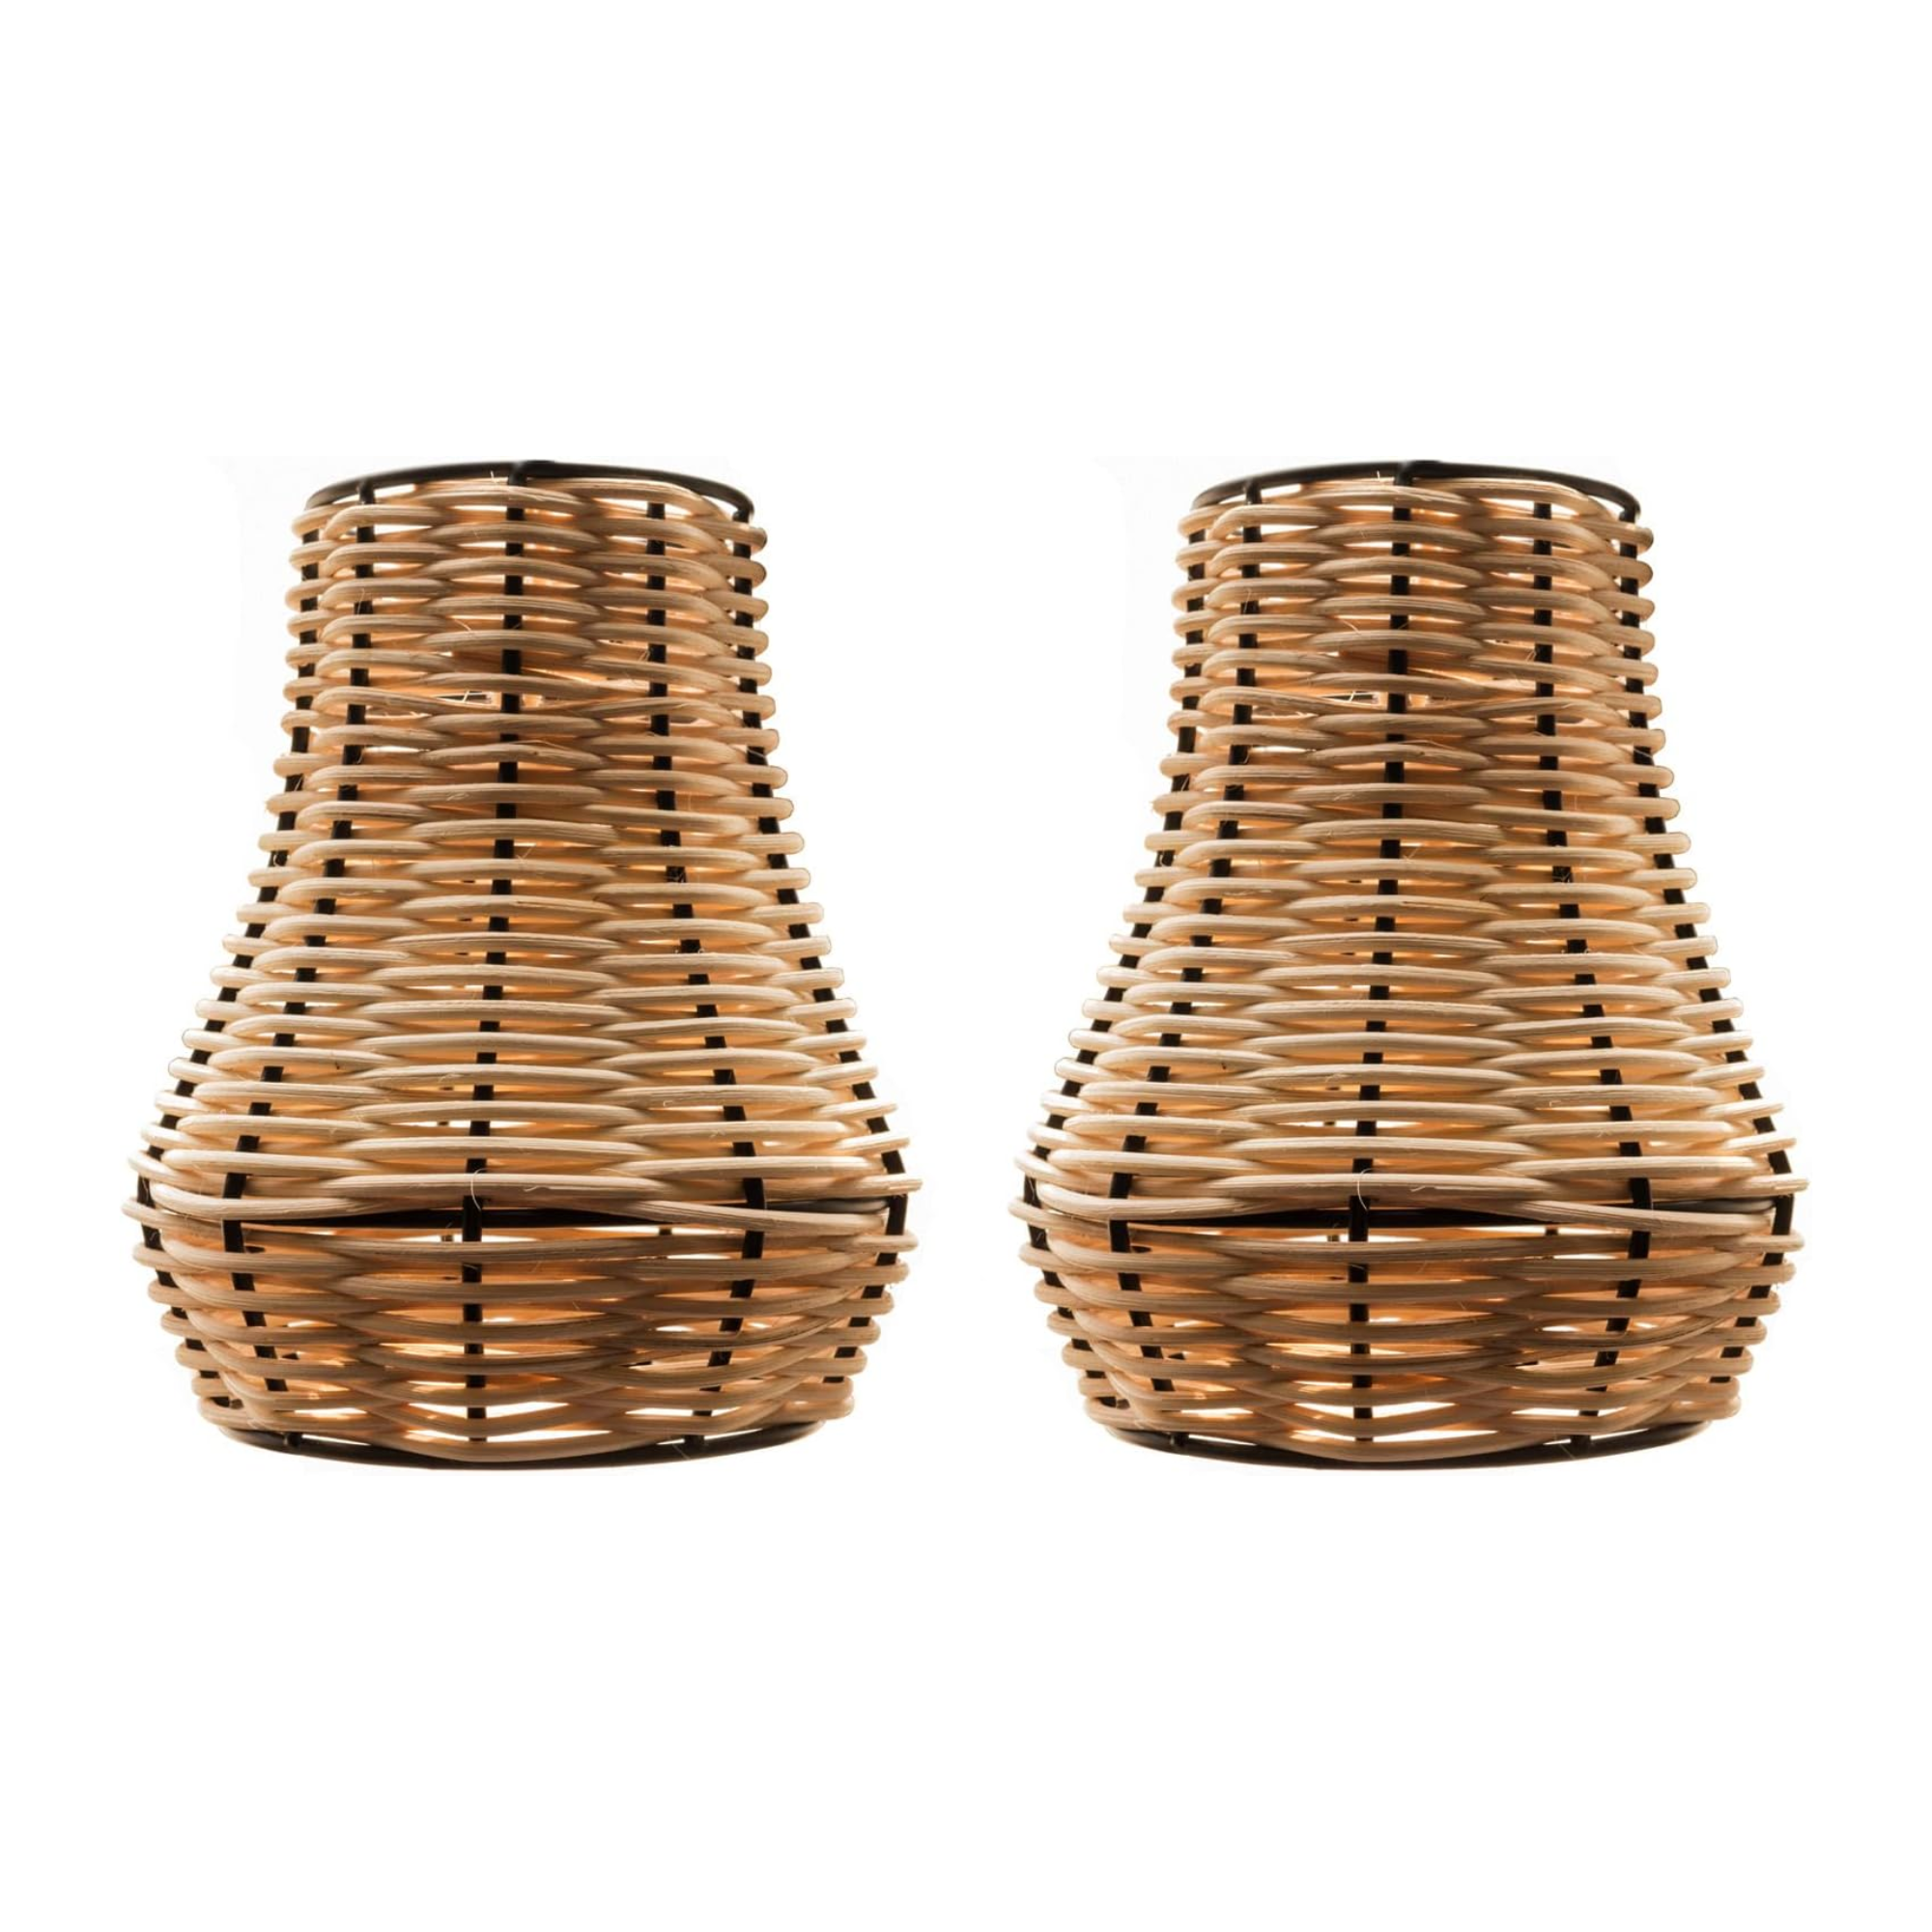
Use a plug-in light fitting and twirl it around the bracket, hanging the bulb at your desired height. It's a good idea to try and hide the plug in an outlet behind your nightstand if you can. Finally, for the finishing touch, add a warm light bulb and a lampshade of your choice. Sarah used a small wicker shade from La Redoute, but there are plenty of similar options available at Amazon. You could also go for a fabric shade if you prefer.
And there you have it - a beautiful, custom-made light that took you less than an hour to DIY and required no drilling whatsoever! It's bedroom lighting made simple.
Everything you need for this DIY

Formerly a news writer for Livingetc, Amy completed an MA in Magazine Journalism at City, University of London, and has experience writing for Women’s lifestyle publications across arts, culture, and beauty. She has a particular love for the minimalist aesthetic mixed with mid-century furniture, especially combining unique vintage finds with more modern pieces. Her previous work in luxury jewellery has given her a keen eye for beautiful things and clever design, that plays into her love of interiors. As a result, Amy will often be heard justifying homeware purchases as 'an investment', wise words to live by.


