3 tricks interior designers rely on when replacing light switches to make them look more elevated
Establishing light switches that blend form as well as function is the key to a considered scheme, here's our favorite styles and how to update them yourself

The Livingetc newsletters are your inside source for what’s shaping interiors now - and what’s next. Discover trend forecasts, smart style ideas, and curated shopping inspiration that brings design to life. Subscribe today and stay ahead of the curve.
You are now subscribed
Your newsletter sign-up was successful
Transforming your home into something extraordinary is all in the finer details – and light switches are a prime example. Traditionally seen as purely functional, and often given very little thought, our attitude is changing as we do away with white, plastic switchboards in favor of brass, or swap the classic flick for a dimmer or decorative toggle.
‘Choosing a beautiful switch helps to layer a foundation of styling that will establish your home’s interiors,’ says Brooke Boden from global lighting brand, Buster + Punch. To help, our handy hints will shine a light on how to find the perfect light switch to elevate your kitchen, bedroom or living room lighting.
1. What type of switches are there to choose from?
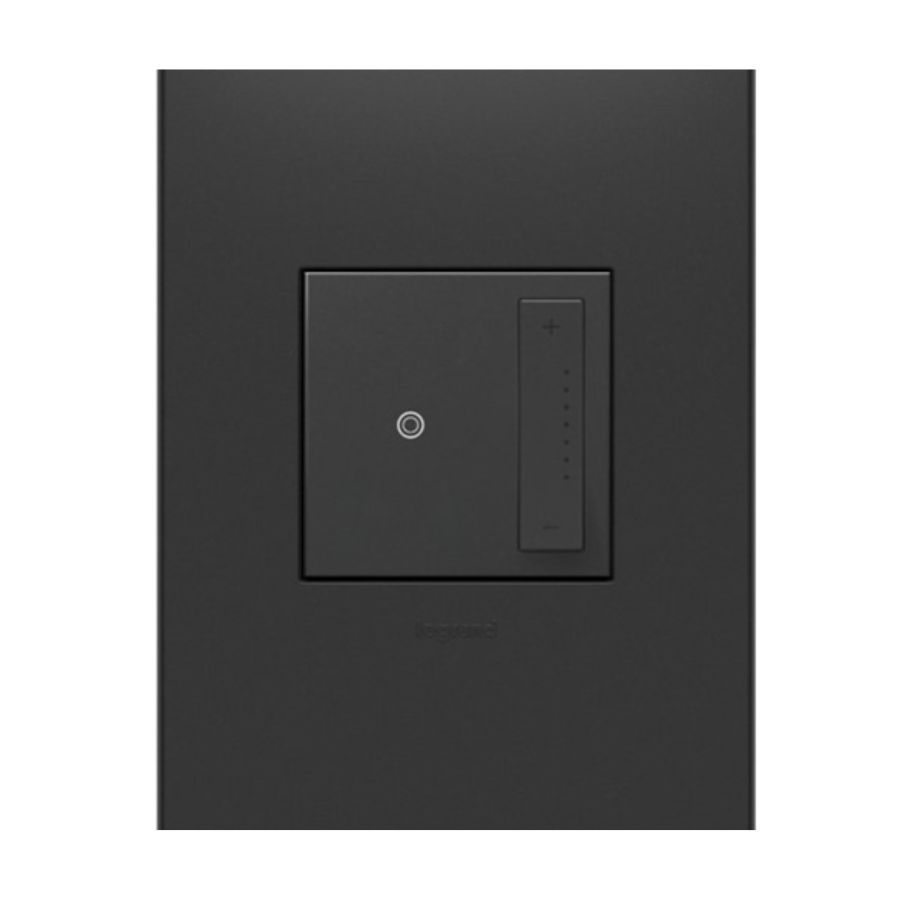
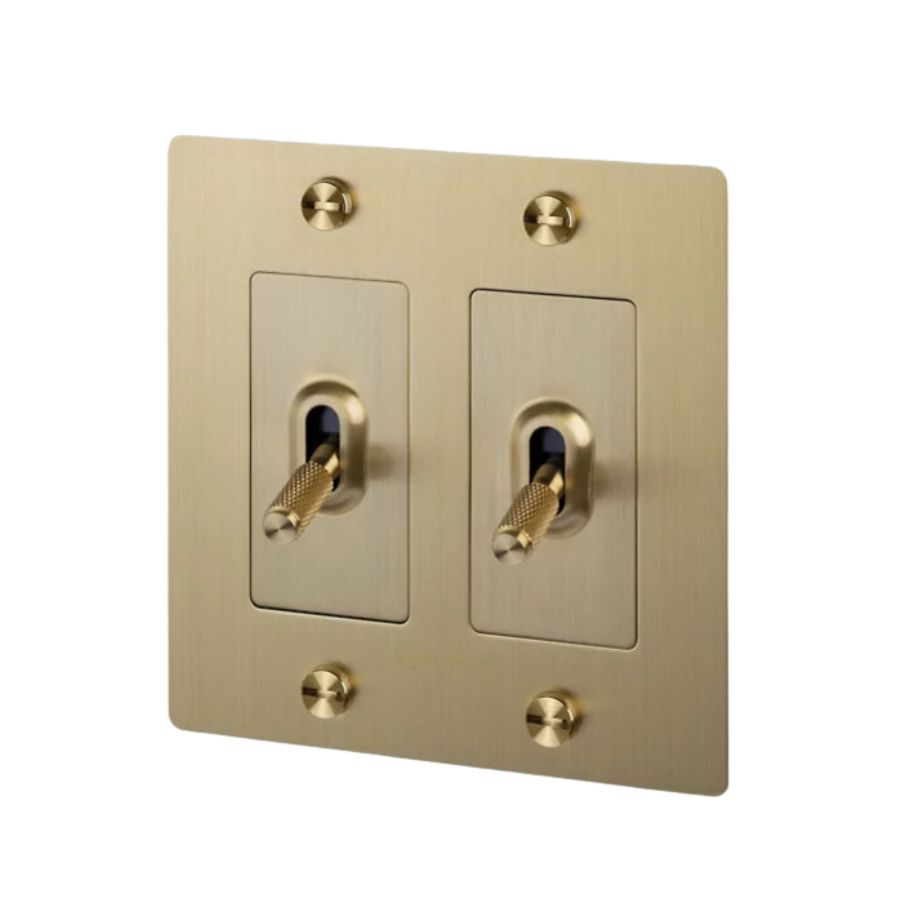
Light switches range from classic flick switches to push buttons and dimmers. Many favor classic flick switches in a dolly toggle style, with their satisfying click and vintage feel. Dimmers are popular in cocooning spaces like for bedroom lighting as they provide an easy way to adjust the brightness of a room. They are a must for overhead lights or semi-concealed LED strips and panels.
Check for compatibility with your light source and think about the room’s function, too: a living room is a great dimmer destination, but an entryway rarely needs one. Dimmers require a free hand to rotate, while a wide rocker flick switch works if you’ve only got an elbow free.
Just remember that with dimmers, not all bulbs will be compatible, so make sure you double-check. Round switches tie into the current trend of organic, circular shapes. ‘Another consideration is whether you need a two-way switch or intermediate switch,’ says Xander Shreenan, interior designer at Dowsing & Reynolds. ‘A two-way switch is for any normal light fixture, and you would only need an intermediate if three or more switches are controlling the same light.’
2. Where on the wall should your light switch sit?
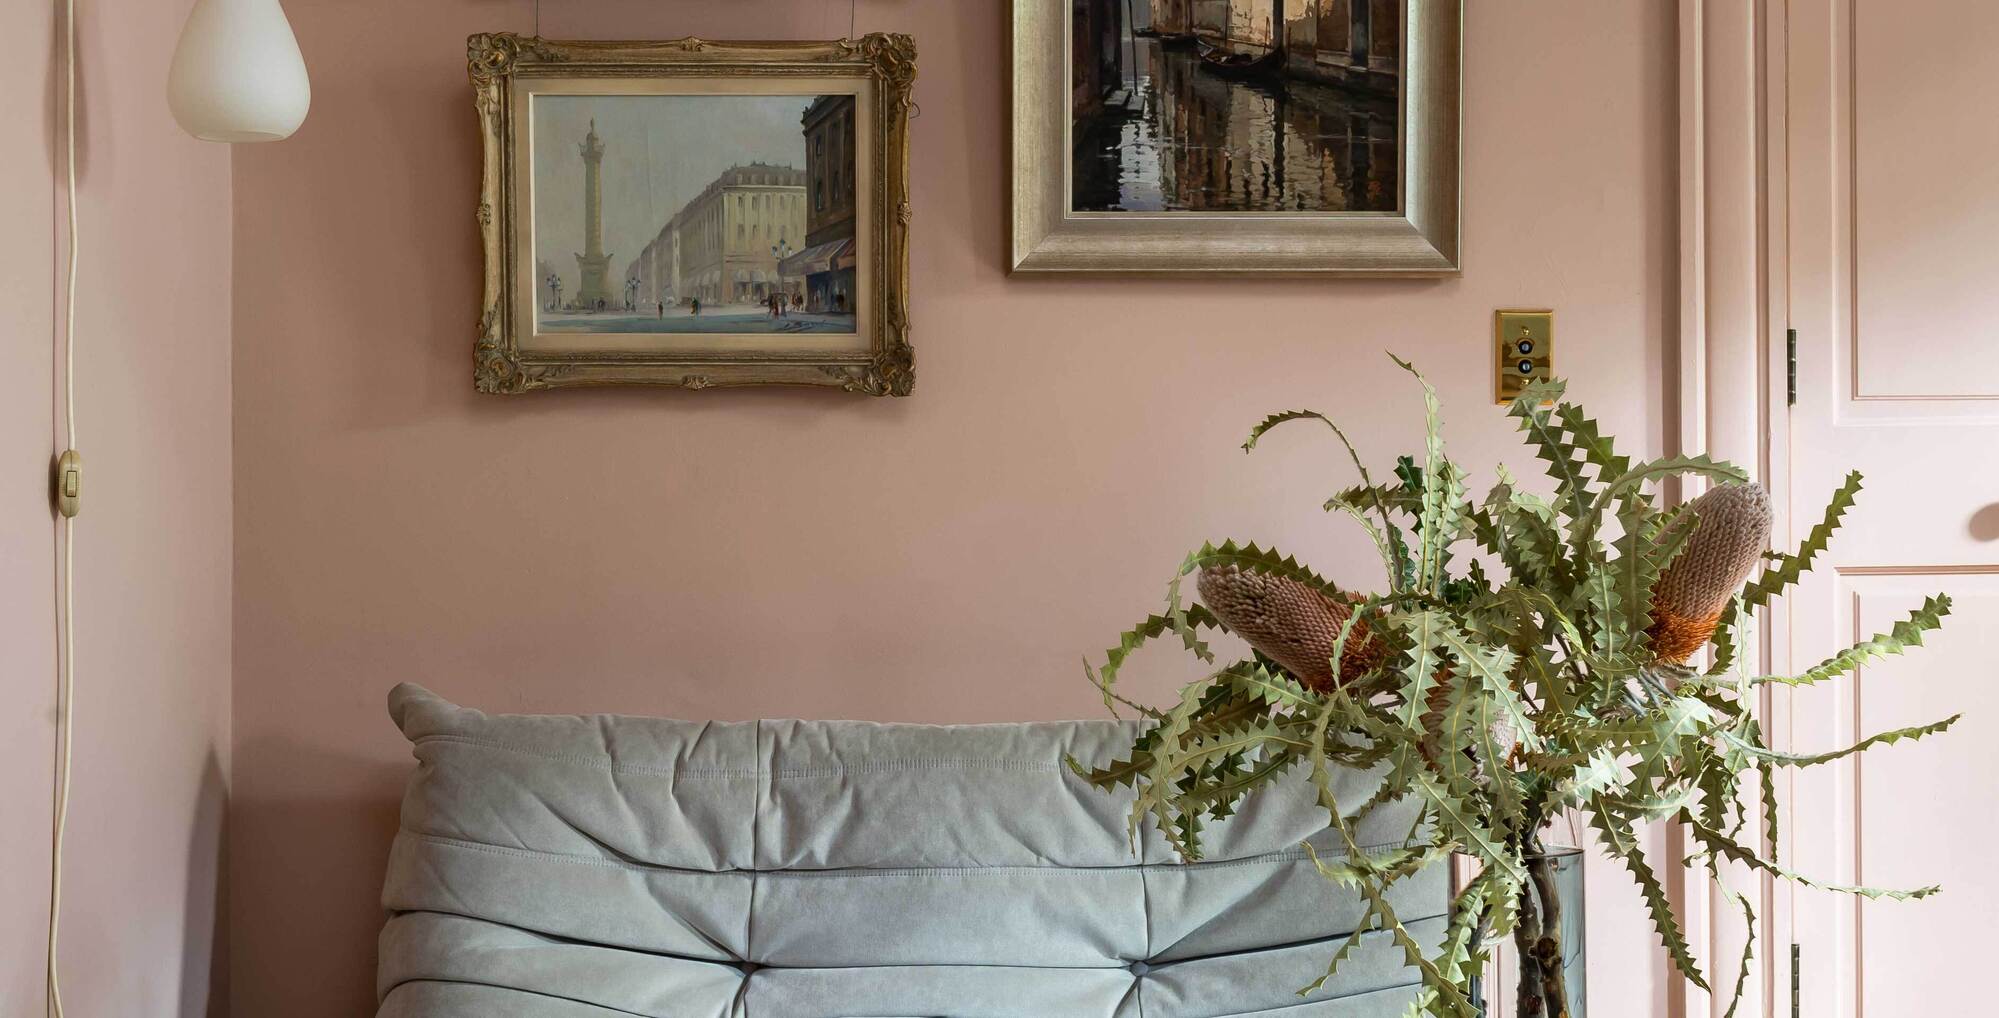
Light switches should be placed at a height of between 29" and 47" from the finished floor level for accessibility. This rule is comfortable for most rooms, whether you’re sitting or standing, and following it makes installation easy during construction. Consistency is key, so keep them the same throughout the home for a cohesive look. This isn’t a hard and fast rule: use common sense and prioritize personal preference.
‘Don’t go too high, and while there is a nice ergonomic placing between waist and chest height, there definitely is a rule that you don’t go too low,’ says Brooke from Buster + Punch.
The Livingetc newsletters are your inside source for what’s shaping interiors now - and what’s next. Discover trend forecasts, smart style ideas, and curated shopping inspiration that brings design to life. Subscribe today and stay ahead of the curve.
Also think about whether you want yours embedded into the wall or sitting flush, which turns it into a feature of itself. If you’ve picked a design with a wider surround – above the average size of 0.9" or 1.3"– don’t go too close to the bedroom or living room door frame; too far and you’ll find yourself blindly fumbling for it in the dark.
3. What light switch material is popular?
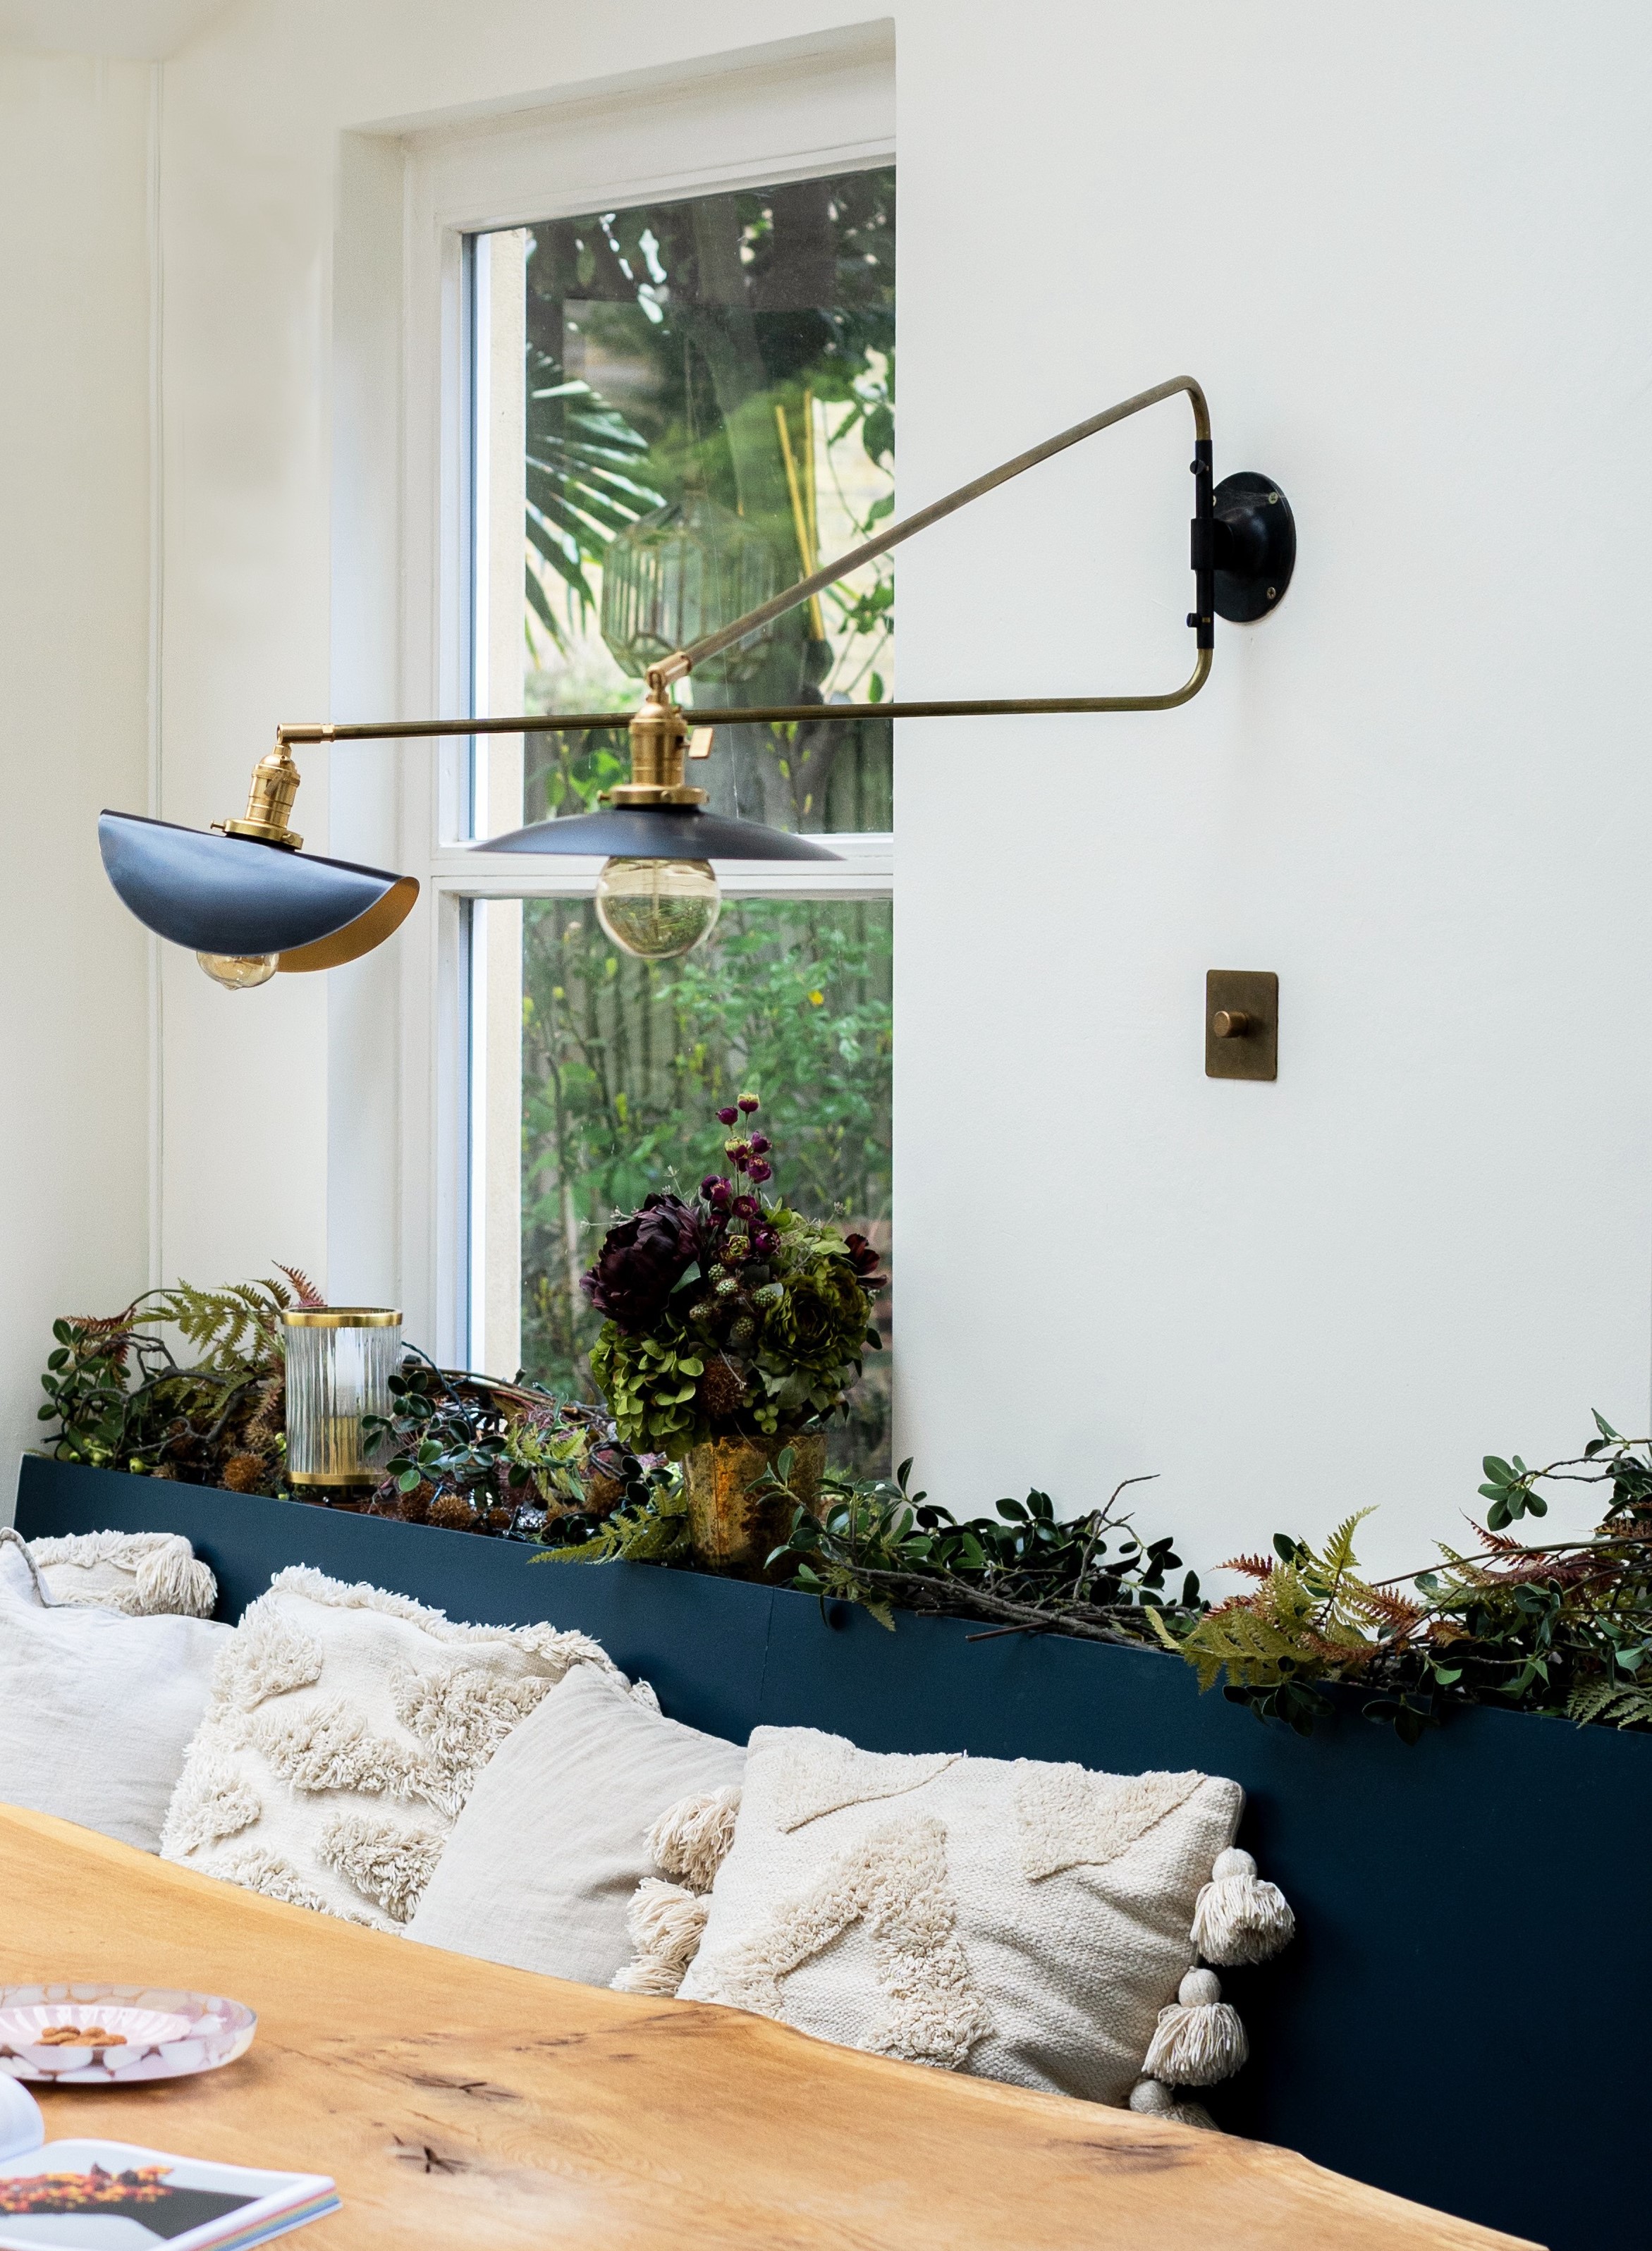
Choosing the material for your light switch is about how they feel to the touch as much as the aesthetics, given how much they’re used. Plastic switches – notorious for the clunky white variety – are a versatile, affordable, and hardwearing option, and come in colorful designs. Lighting trends are leaning more toward interesting materials. Ceramics are having a huge appeal at the moment because of their old-world charm.
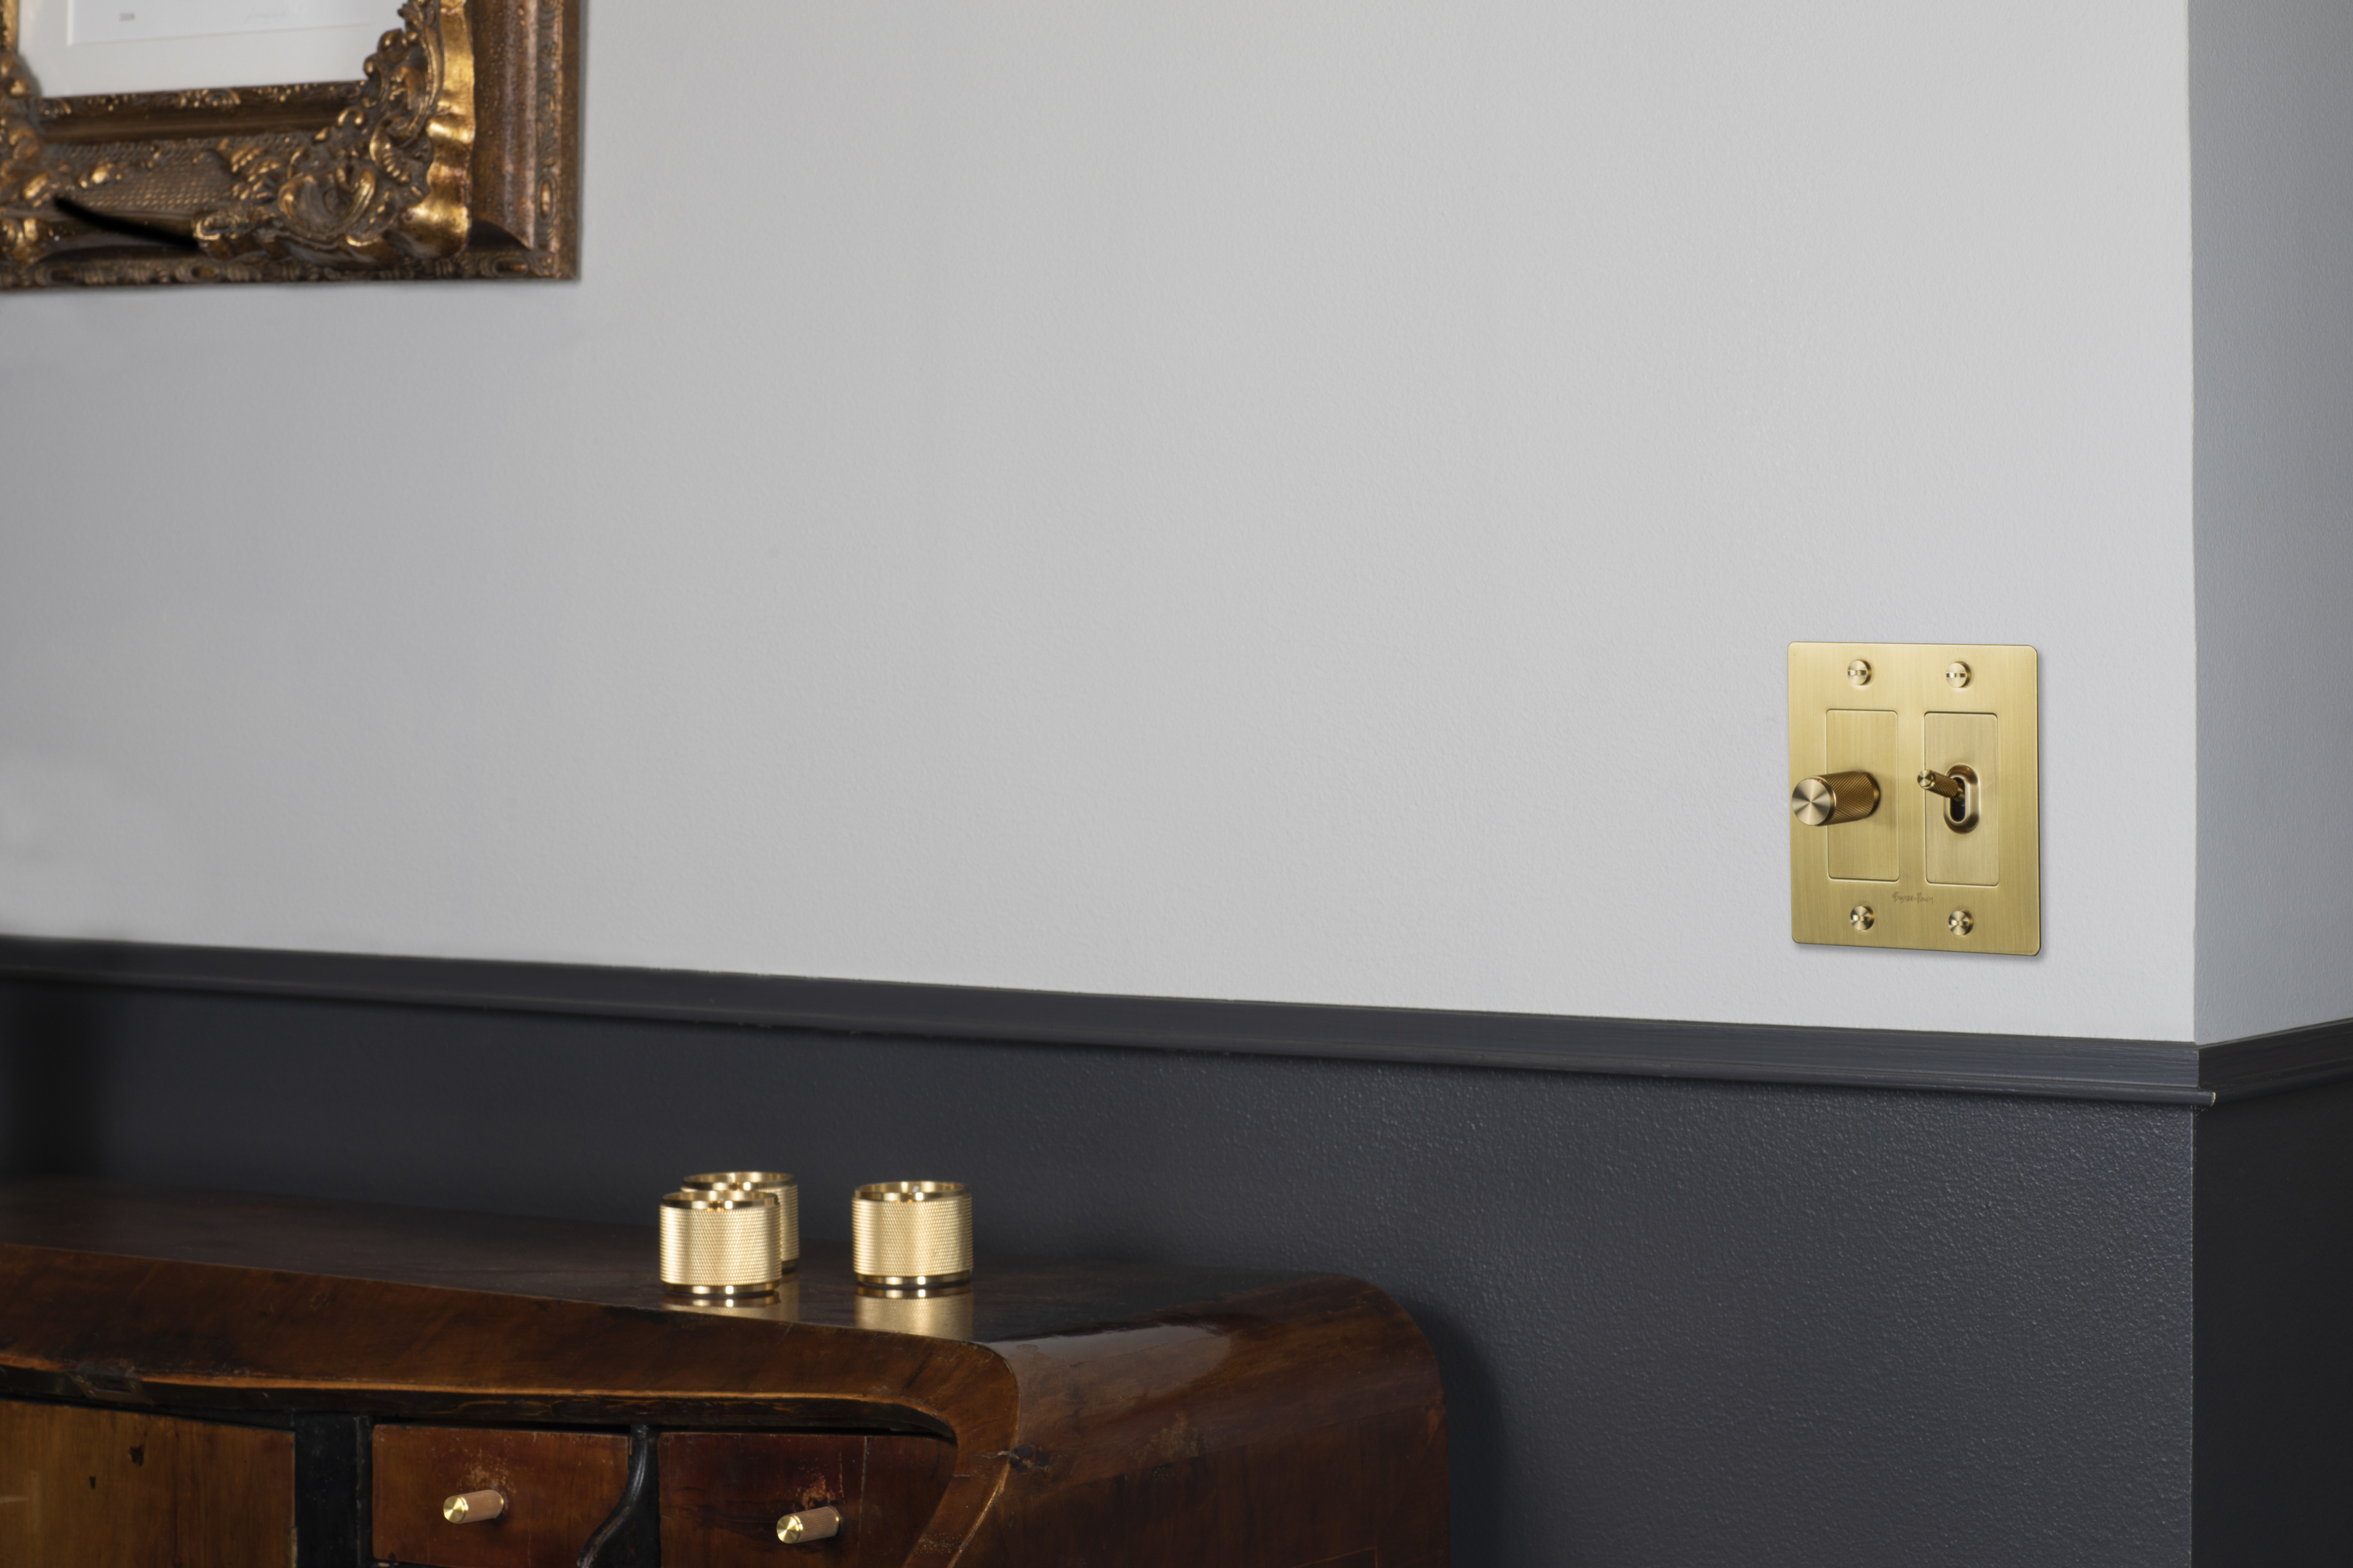
For a sleek finish, opt for metal. ‘The core of our ELECTRICITY switch, dimmer and outlet range is made from solid metal in brass, stainless steel, smoked bronze, black and white,’ says Brooke. Don’t forget to carry the style through to your power outlets, USB, TV outlets, cooker, and oven switches.
‘I also like the wooden ones that you can paint a sold color to match the room,’ says Grey Joyner of Grey Joyner Interiors.
There is no reason why you shouldn’t mix and match material and style to the period of your home. Elegant porcelain or brass finishes can look stunning in a modern house as well as a period property.
How to update a light switch yourself
So how do you actually update a light switch in your living room or bedroom? It’s actually one of the more approachable electrical tasks you can complete at home. First off, the easiest way to replace your light switch is to choose a new version that is the same model. Make sure it fits the same switch box as your old one to avoid rewiring from scratch. A dimmer will involve a different process. Make sure the fuse or circuit breaker is turned off and test it with a voltage tester to make sure there is no power coming out of the switch.
Then start by removing the wall plate by unscrewing it and taking the screws out, you might need to score the sides of the faceplate to free the plate from any paint. Make sure the wires are in good condition and disconnect the old switch by removing the screws.
Pull the switch and wires out gently, unscrewing all wires. Make sure the new wall plate fits and that the switch is oriented so that it's in the off position. Attach the wires to the new switch in the same configuration as they were when you removed them. Screw the new switch back onto the box and attach the plate.
Some tasks – like swapping the decorative parts of modular switches – can be done by anyone, but installation should be left to the professionals.

Former content editor at Livingetc.com, Oonagh is an expert at spotting the interior trends that are making waves in the design world. She has written a mix of everything from home tours to news, long-form features to design idea pieces, as well as having frequently been featured in the monthly print magazine. She is the go-to for design advice in the home. Previously, she worked on a London property title, producing long-read interiors features, style pages and conducting interviews with a range of famous faces from the UK interiors scene, from Kit Kemp to Robert Kime. In doing so, she has developed a keen interest in London's historical architecture and the city's distinct tastemakers paving the way in the world of interiors.
