How to Use Limewash on Wood — Tips and Tricks for Getting This Much-Loved Finish Right
This guide to using limewash on wood provides pointers, tips, and tricks and guides you to everything you'll need for a successful paint project.


The Livingetc newsletters are your inside source for what’s shaping interiors now - and what’s next. Discover trend forecasts, smart style ideas, and curated shopping inspiration that brings design to life. Subscribe today and stay ahead of the curve.
You are now subscribed
Your newsletter sign-up was successful
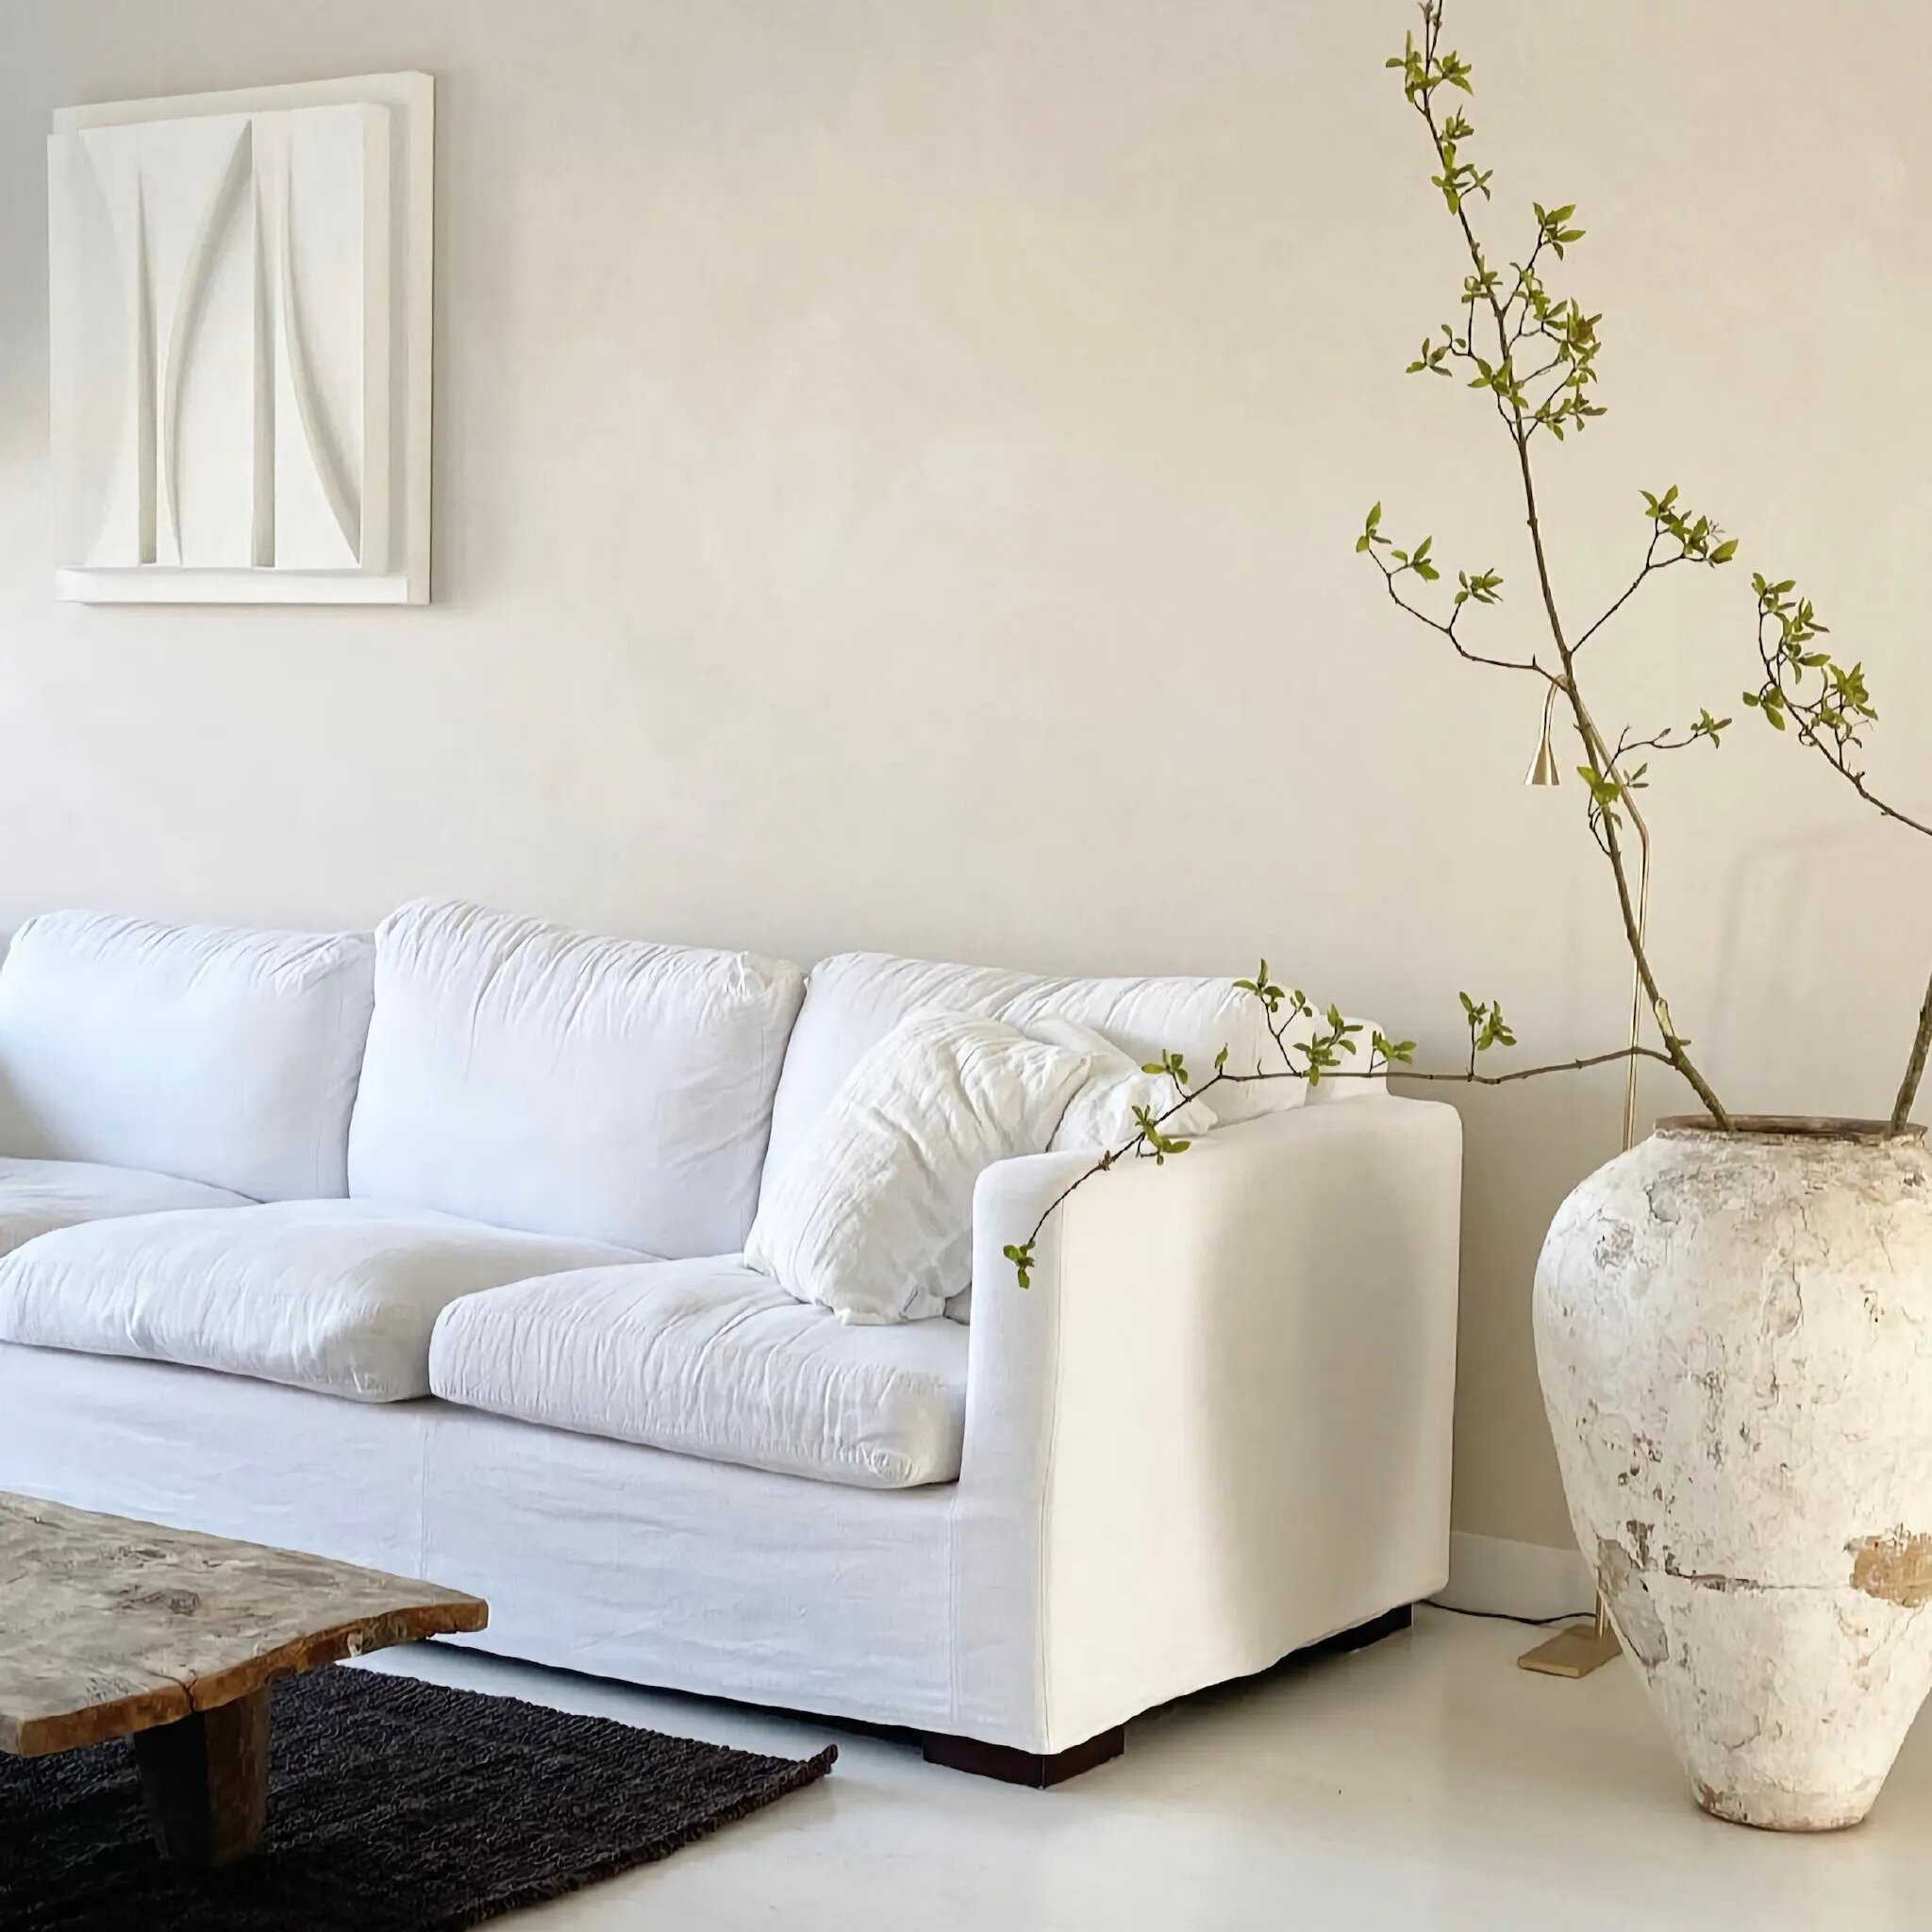
When you're feeling short on ideas for a new floor or upgrading the wooden surfaces in your home, using limewash on wood is an option worth exploring. This natural paint covers walls, floors, and furniture in a gauzy coat that's hard to replicate. The result is a matte finish that feels far from flat and elevates a room with a texture that's subtle yet stands out from the standard paint finish in most spaces.
You may have already looked up how to paint a room with limewash, and while limewash can be brushed onto a wide range of surfaces, it looks particularly beautiful over top of wood. If you're inspired by this concept and angling to make it work in your own home, there are a few helpful tips and tricks to keep in mind as well as a certain way to approach working with this type of paint.
Once you've tried your hand at it, you'll likely want to translate a plethora of other limewash paint in your own home. Until then, read on for expert-backed advice that'll help you transform wooden floors, walls, and structures with a lick of limewash.
Why Use Limewash on Wood?
Limewash is a refreshing alternative to the usual opaque paints at the hardware store and often is used for limewashing walls. The lime-based solution also feels right at home when brushed onto wooden surfaces for a few different reasons. It's made from limestone, a natural material found in sedimentary rock. Its texture looks different and gives wood a unique tint.
'Unlike paint, limewash seeps into the grain to tint wood while letting its natural beauty shine through,' says interior designer and co-founder of La Jolla Life Joy Aumann. 'I like to tell clients it's kind of like giving wood a sun-kissed glow. The finish is translucent and mottled, with an organic softness you just can't achieve with paint.'
How to Use Limewash on Wood
Applying limewash to wood might sound intimidating. It's easy to assume its unique nature makes it difficult to apply. Nick Lopez, founder of LIME Painting. has some helpful pointers and factors to consider before painting. 'Limewash tends to lighten as it dries, so it's essential to test the color on a small area first,' he says, adding that it also 'requires proper surface preparation for adhesion and longevity.' It's fairly simple to brush on, although he notes it's 'not as durable as modern paints and may require periodic touch-ups or reapplications in high-traffic areas.'
Other than that, it's not much different from other paints. He recommends gathering these supplies and following these steps for application.
The Livingetc newsletters are your inside source for what’s shaping interiors now - and what’s next. Discover trend forecasts, smart style ideas, and curated shopping inspiration that brings design to life. Subscribe today and stay ahead of the curve.
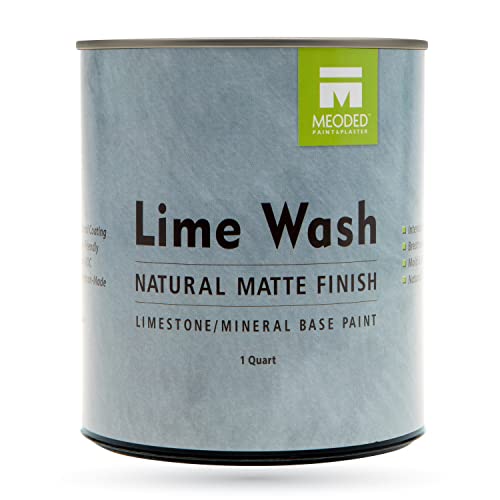
Supplies needed for limewash painting:
- Limewash paint
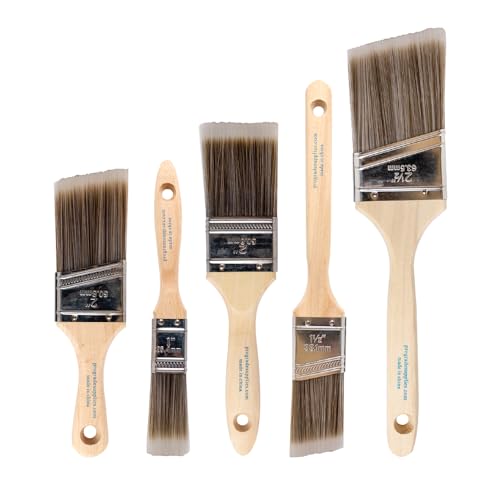
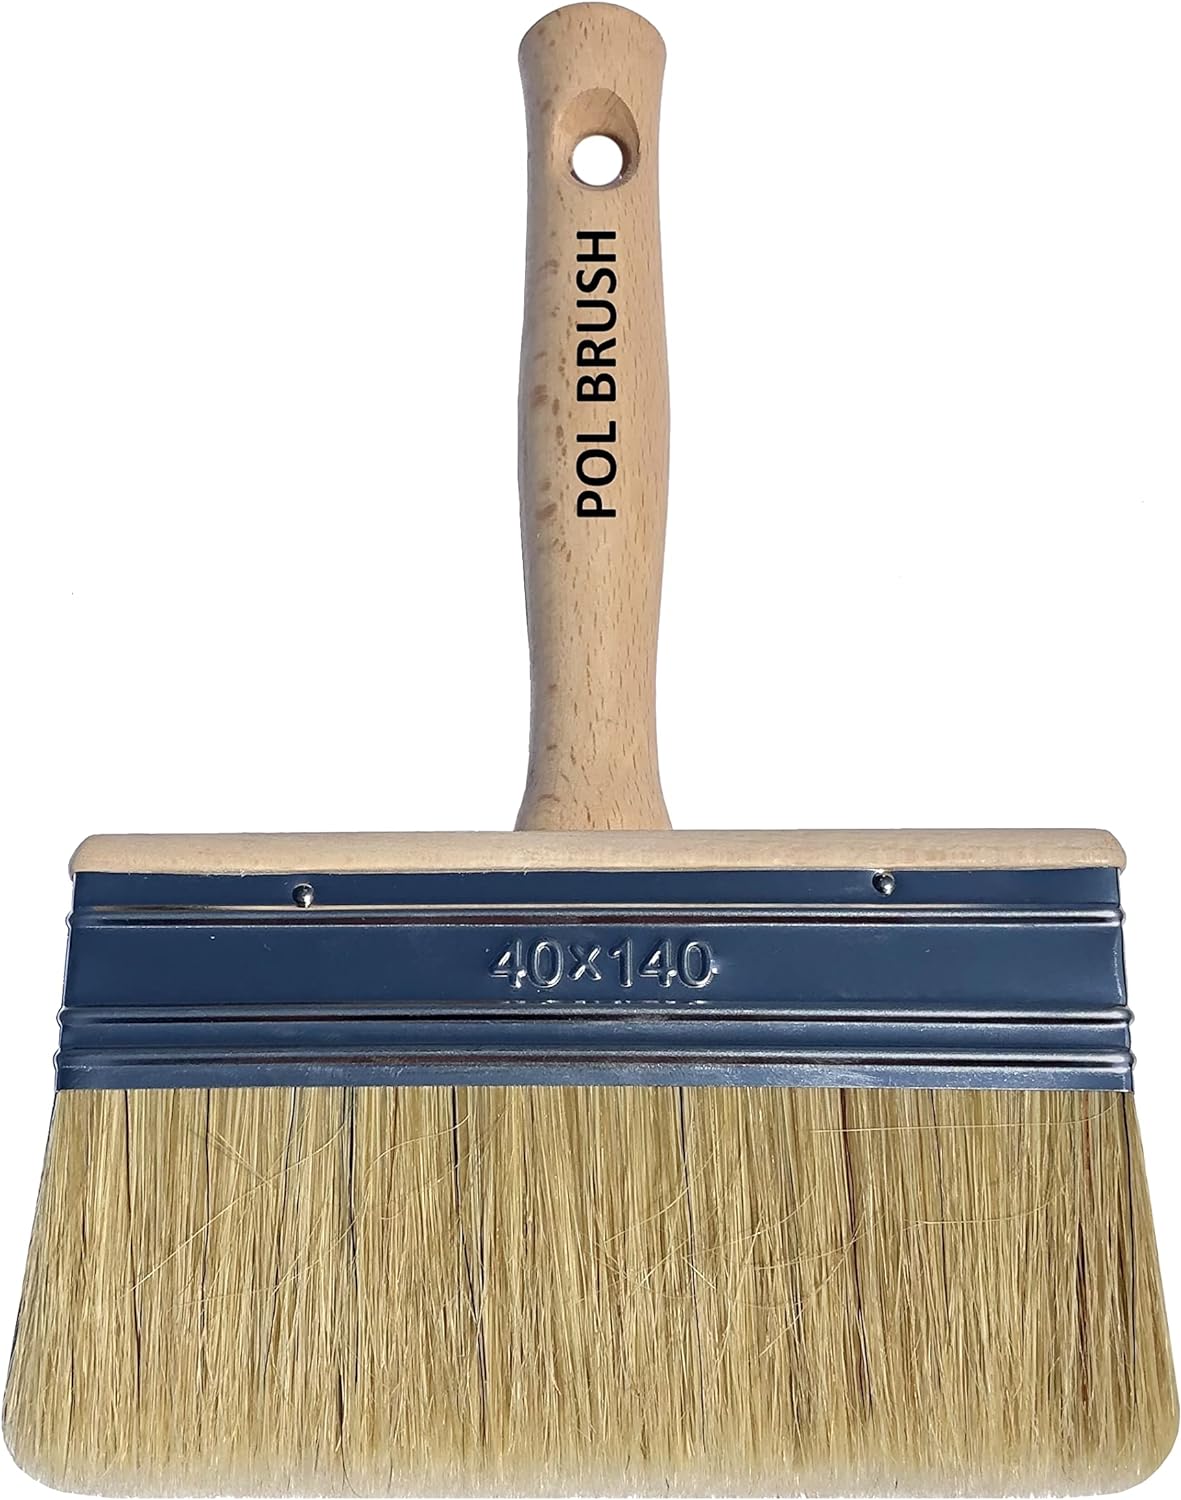
- Brushes, rollers or sprayers for application
- Drop cloths or tarps to protect surrounding areas
- Cleaning supplies for preparing the surface
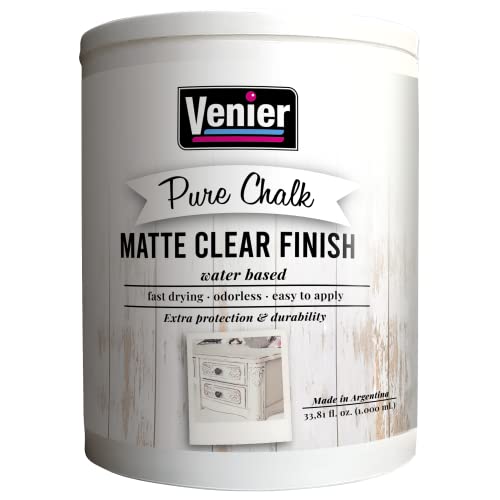
- Optional: Clear sealer for sealing the limewashed surface
Steps for painting wood with limewash:
- Prepare the surface by cleaning it thoroughly and ensuring it's free of dust and debris.
- Dilute the limewash according to the manufacturer's instructions.
- Apply the limewash evenly using a brush, roller, or sprayer. Work in small sections to ensure even coverage and avoid streaks.
- Allow the first coat to dry completely before applying additional coats if desired.
- Consider sealing the limewashed surface with a clear sealer for added protection.
Tips for Using Limewash

There are a few handy tips for applying limewash paint to wood to get the best finish possible. First, preparation is vital for a successful application. Doing enough prep in the beginning will lead to better adhesion and longevity.
Limewash is a fairly transparent solution, too, so Joy Aumann suggests layering it on. 'I apply multiple thin coats to build up a subtle, nuanced color that allows the wood grain to show through,' she explains. 'Between coats, I let it dry fully. The patience pays off in the end with a gorgeous timeworn patina.'
Prior to painting an entire wooden floor, wall, door, or furniture item, Lopez says that patch testing is essential. This is because 'limewash tends to lighten as it dries,' so you should paint a 'small, inconspicuous area of the wood to ensure compatibility and desired appearance.'
Although whites, creams, and beiges are the most frequently seen colors of limewash, it doesn't have to be fully neutral. Lopez says you can add special pigments to the paint for a customized approach.
Places to Avoid Using Limewash
While limewash is great for wooden surfaces, there are some situations where it isn't the best paint option. Lopez says it's a 'versatile' choice but 'may not be suitable for surfaces exposed to heavy moisture or frequent scrubbing, such as bathrooms or kitchens.'
Before you go all in on using limewash, he says to think about what level of maintenance it's going to require — an inconspicuous wooden door will take less cleaning and care than wooden floors near an entrance. That being said, he notes limewash is breathable, 'which can help regulate humidity indoors,' making it a more easy-going paint for humid, moisture-prone rooms than others.
Additionally, limewash doesn't have the same durability as modern paints, according to Lopez, and therefore will need 'periodic touch-ups or reapplications in high-traffic areas.' Knowing the most well-trodden spots in your home can help you decide where this paint would last the longest.

Melissa Epifano Varley is a freelance writer and editor who has covered interiors for a variety of publications. Most recently, she served as the global editor-in-chief for Real Homes. She has also contributed to Forbes, Apartment Therapy, The Spruce, People, InStyle, and more. When it comes to design, she covers trends, advice, house tours, and how-tos. She graduated with a Bachelor of Science in journalism and spends her free time writing, reading, and traveling.
