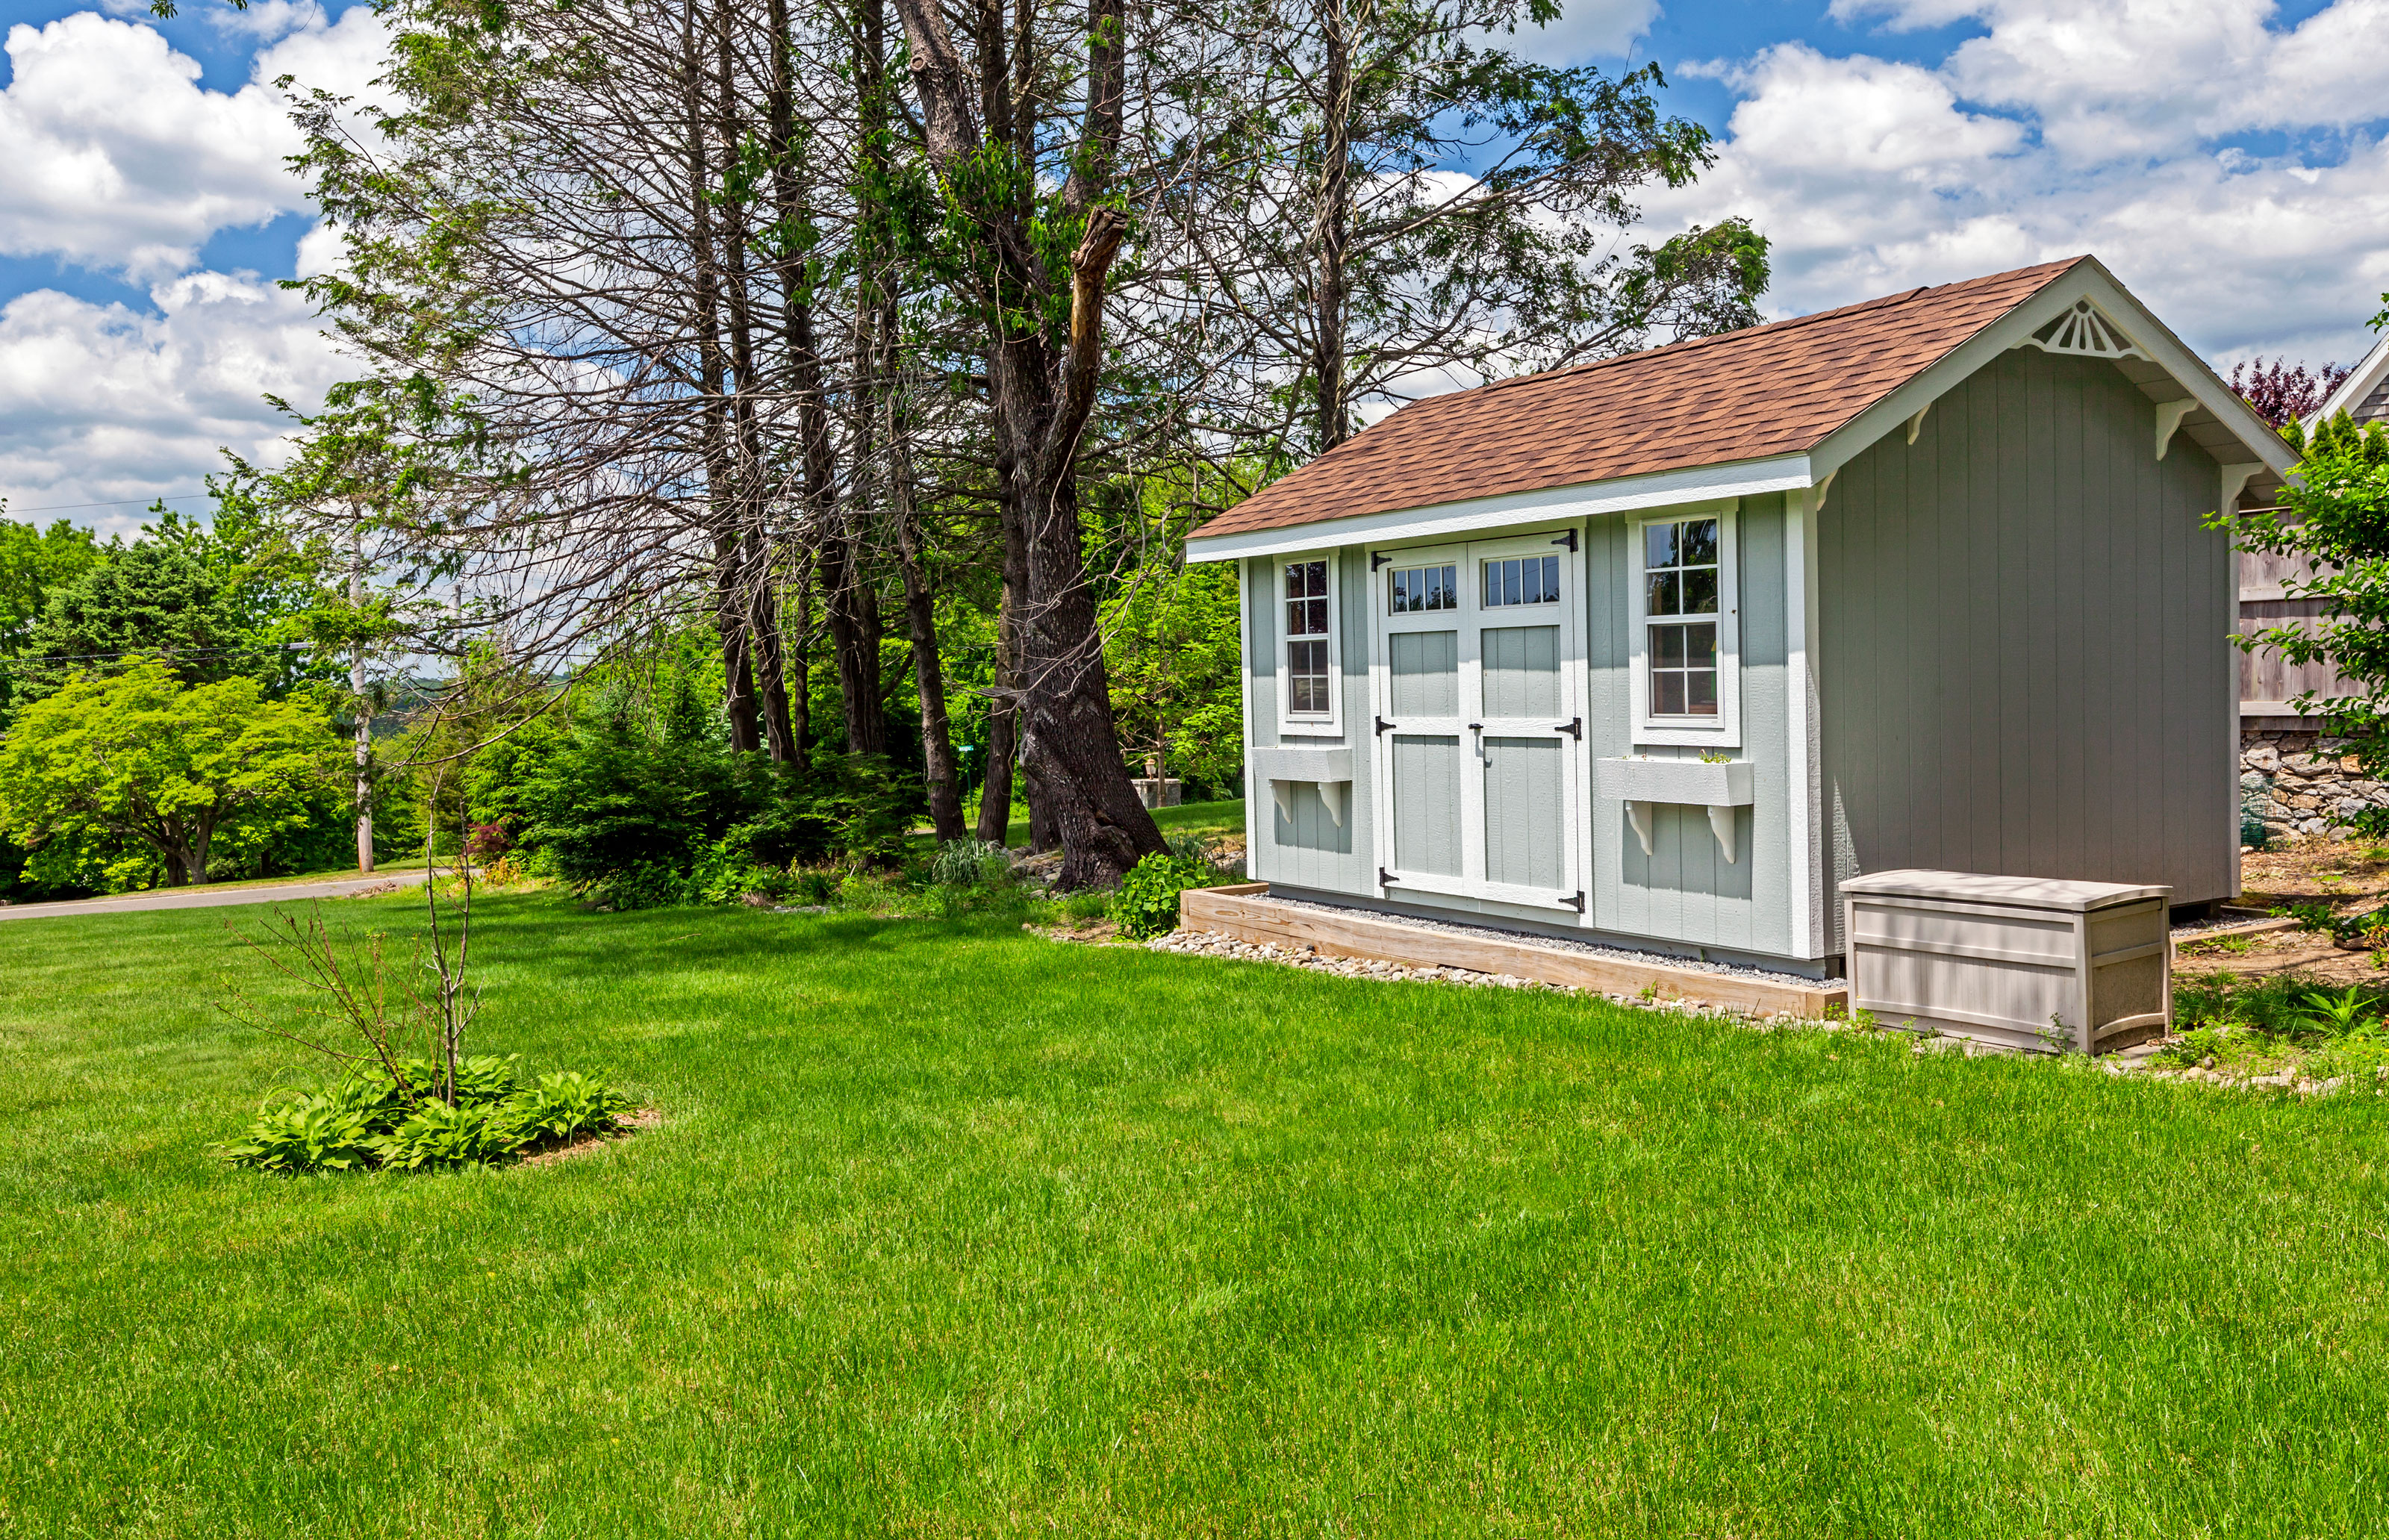
The 5 Non-Negotiable Tasks For Shed Maintenance — and Why You Need to do Them Now, Say Experts
The expert’s guide on restoring your shed like a pro and making sure it stays waterproof for longer
The Livingetc newsletters are your inside source for what’s shaping interiors now - and what’s next. Discover trend forecasts, smart style ideas, and curated shopping inspiration that brings design to life. Subscribe today and stay ahead of the curve.
You are now subscribed
Your newsletter sign-up was successful
With so much time spent tucked up inside over winter, it’s safe to say we’ve all let the exterior tasks take a backseat. But spring is just around the corner, which means it’s time to get your garden back in shape and ready for the sunny summer months.
Looking at the shed in my backyard, I know it’s in desperate need of some TLC, but knowing where to start can be tricky. That’s why I’ve gone straight to the experts to get their top shed maintenance tips that will help you examine the damage and make repairs like a pro.
1. Inspect the roof
It may sound obvious, but the first step in restoring your shed is the roof. A leaky roof can easily lead to further problems with water damage, damp, and rotting materials, so ensuring your shed is watertight is a priority.
Regular roof cleans are the perfect place to start. Not only will they allow you to see any problem areas more clearly, but they’ll also prevent future issues from occurring.
'It is important to make sure your roof stays clean of moss and mold,' says According to shed expert Tim Byler of Ohio-based storage shed company Beachy Barns. 'If there is growth, clean it off and make sure that some sunlight can get to it to avoid constant moisture and allow for the roof to completely dry at times.'
Best of all, according to expert Tim, cleaning your shed doesn’t require any specialist equipment – in fact, the best tools are often already in your home.
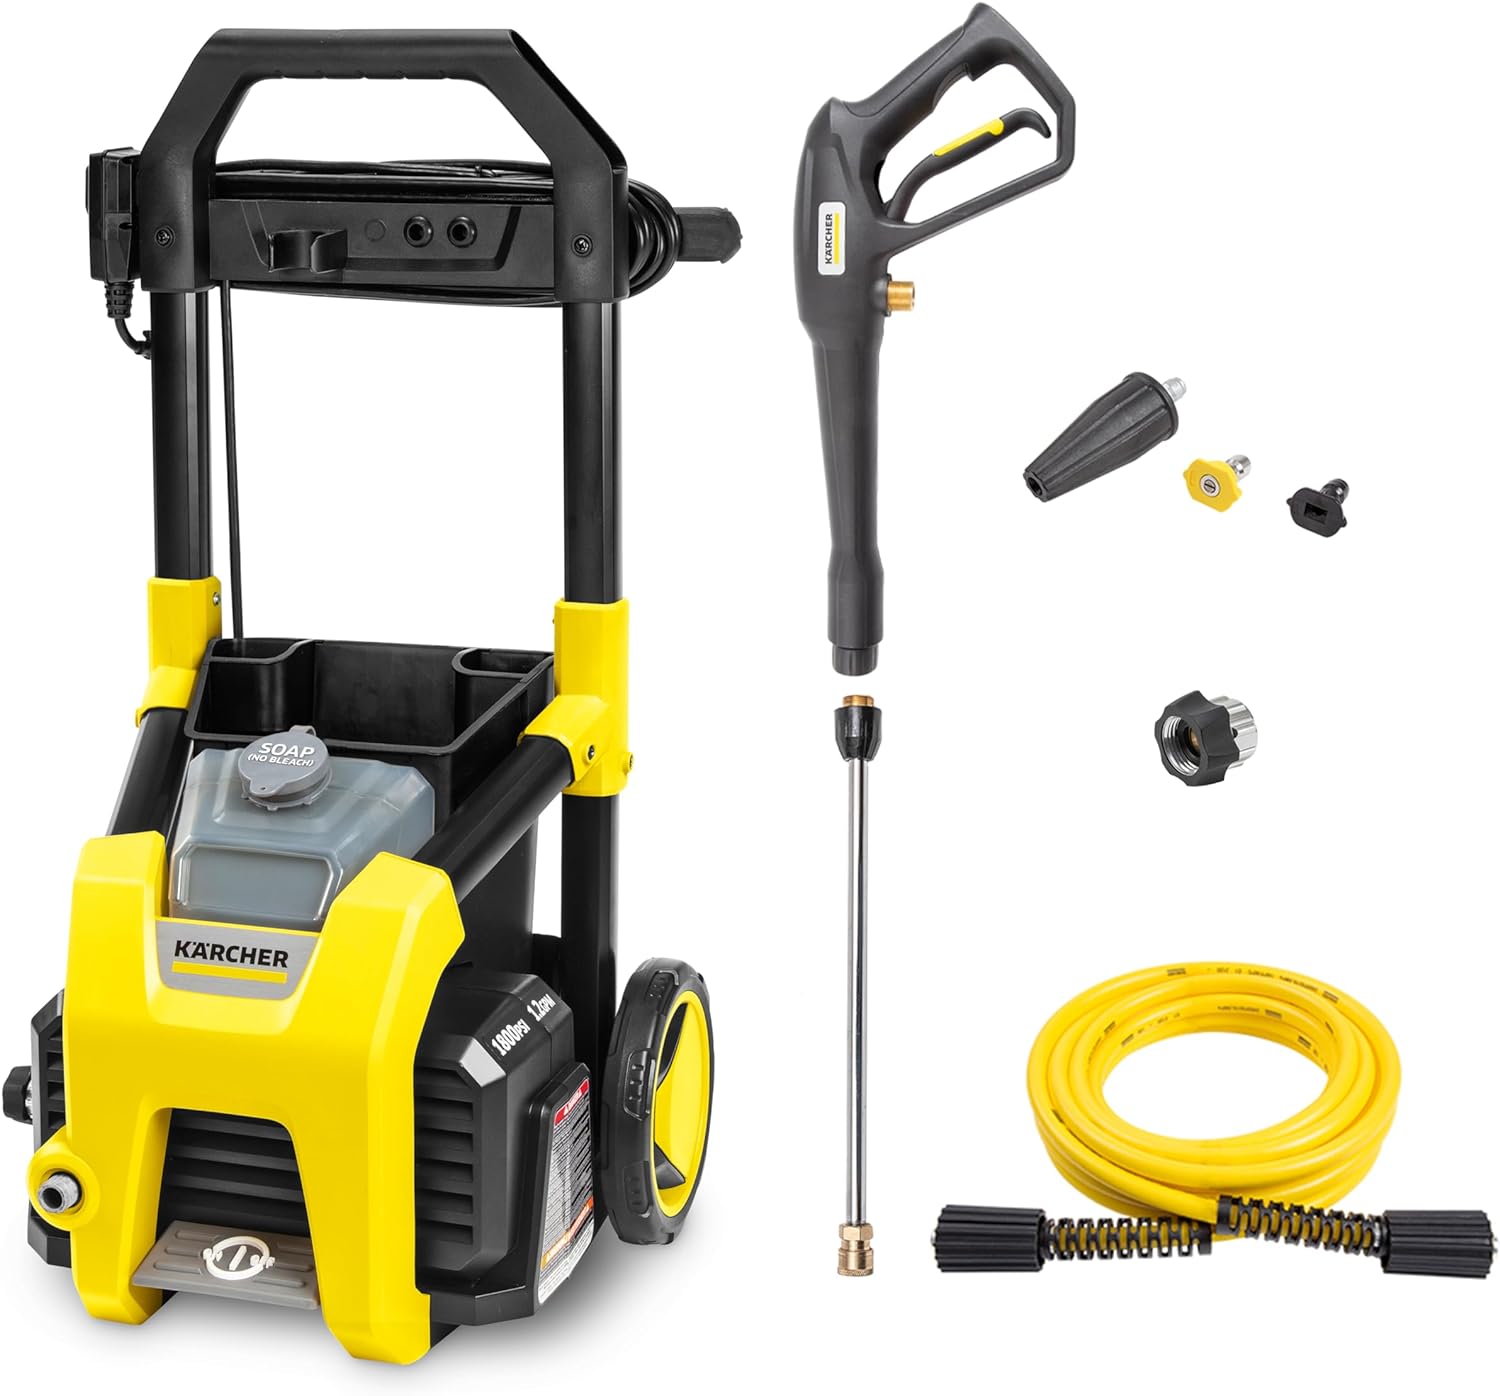
'A broom can work well to remove leaves or sticks if you have a small shed. If you have moss or algae growing on your roof, use a water hose nozzle and a long-handled brush to get rid of it. You can use a pressure washer (like this Karcher pressure washer from Amazon) especially if you have a metal roof, but you need to be careful if you have a shingle roof.'
The Livingetc newsletters are your inside source for what’s shaping interiors now - and what’s next. Discover trend forecasts, smart style ideas, and curated shopping inspiration that brings design to life. Subscribe today and stay ahead of the curve.
2. Protect it with primer
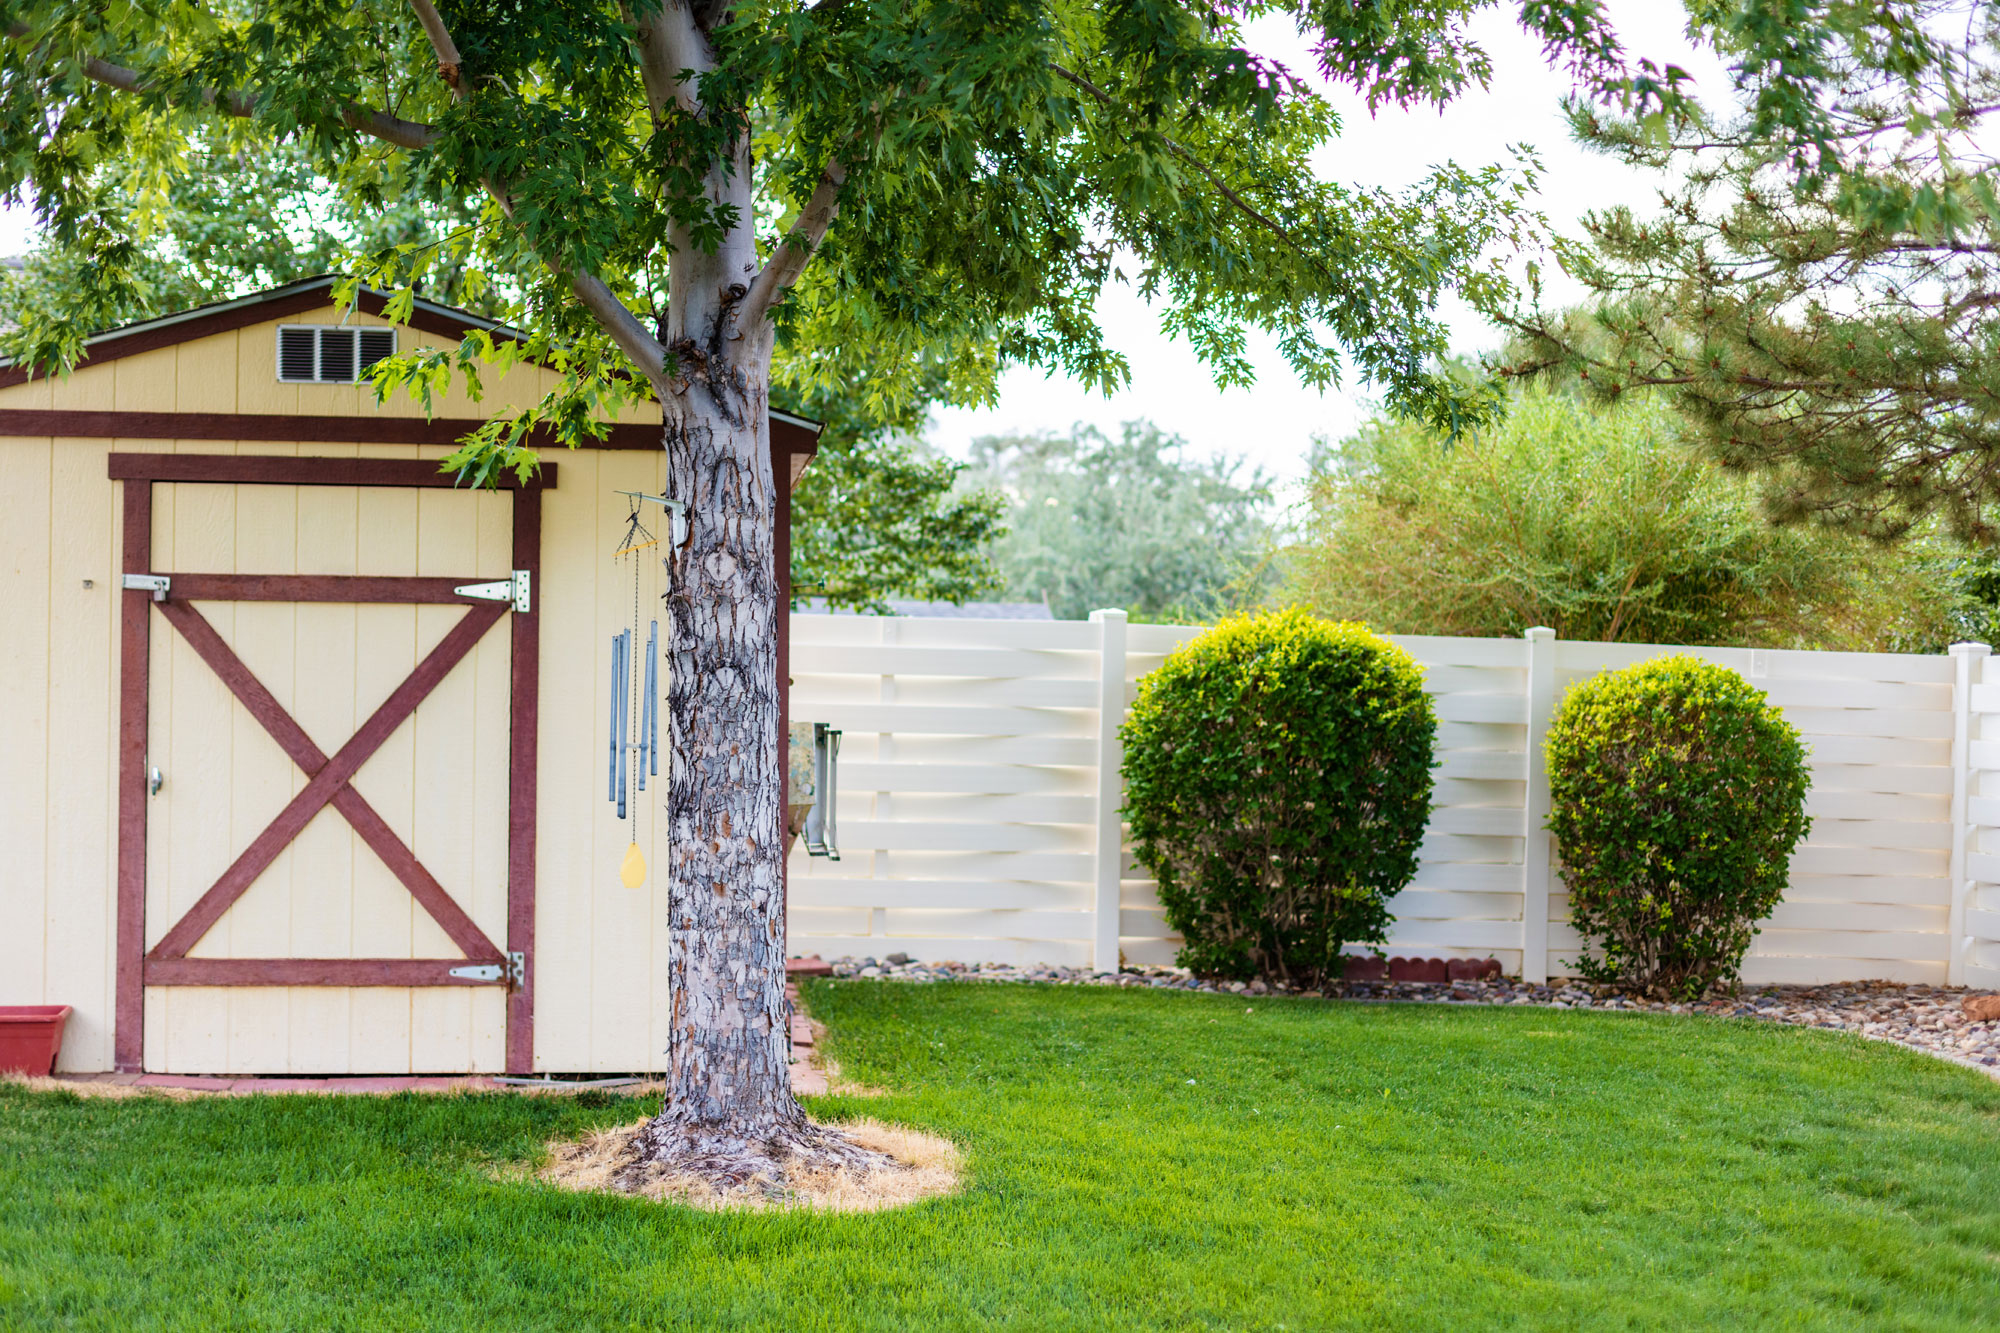
Primer is a shed’s first form of defense against the elements and it’s vital you maintain it regularly. According to paint expert Mike Mundwiller at Benjamin Moore, it’s all about the prep.
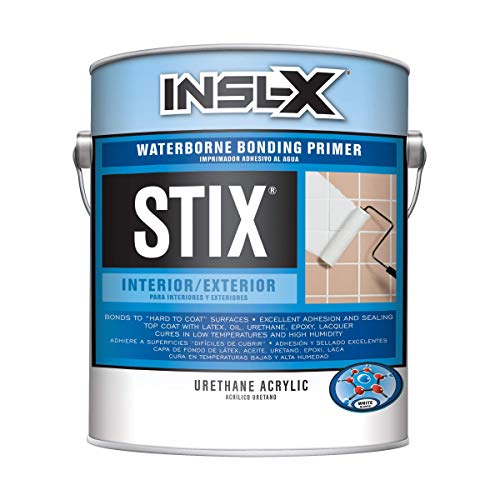
'Preparation is key, so you’ll want to clean the shed with warm soapy water,' he explains. 'Primer can vary based on substrate, but we recommend a Fresh Start primer for wooden sheds; Ultra Spec HP D.T.M. Acrylic Metal Primer for metal sheds; and Insl-X STIX Waterborne Bonding Primer (from Amazon) for vinyl or PVC sheds.'
Don’t be daunted when it comes to applying the best exterior paint either, as Mike’s given us the full run down of how to prime and paint like a pro.
'Use a paintbrush and cut in the edges of your shed with the primer, then using a spray, brush or roll application, apply an even coat of the right paint for your substrate,' he advises. 'If you’re painting a wooden shed, be sure to paint with the grain, not against it. Keep in mind the optimal temperature for exterior painting projects is between 50℉ and 100℉ in low humidity, as you’ll want your shed to fully dry.'
3. Retouch the paint
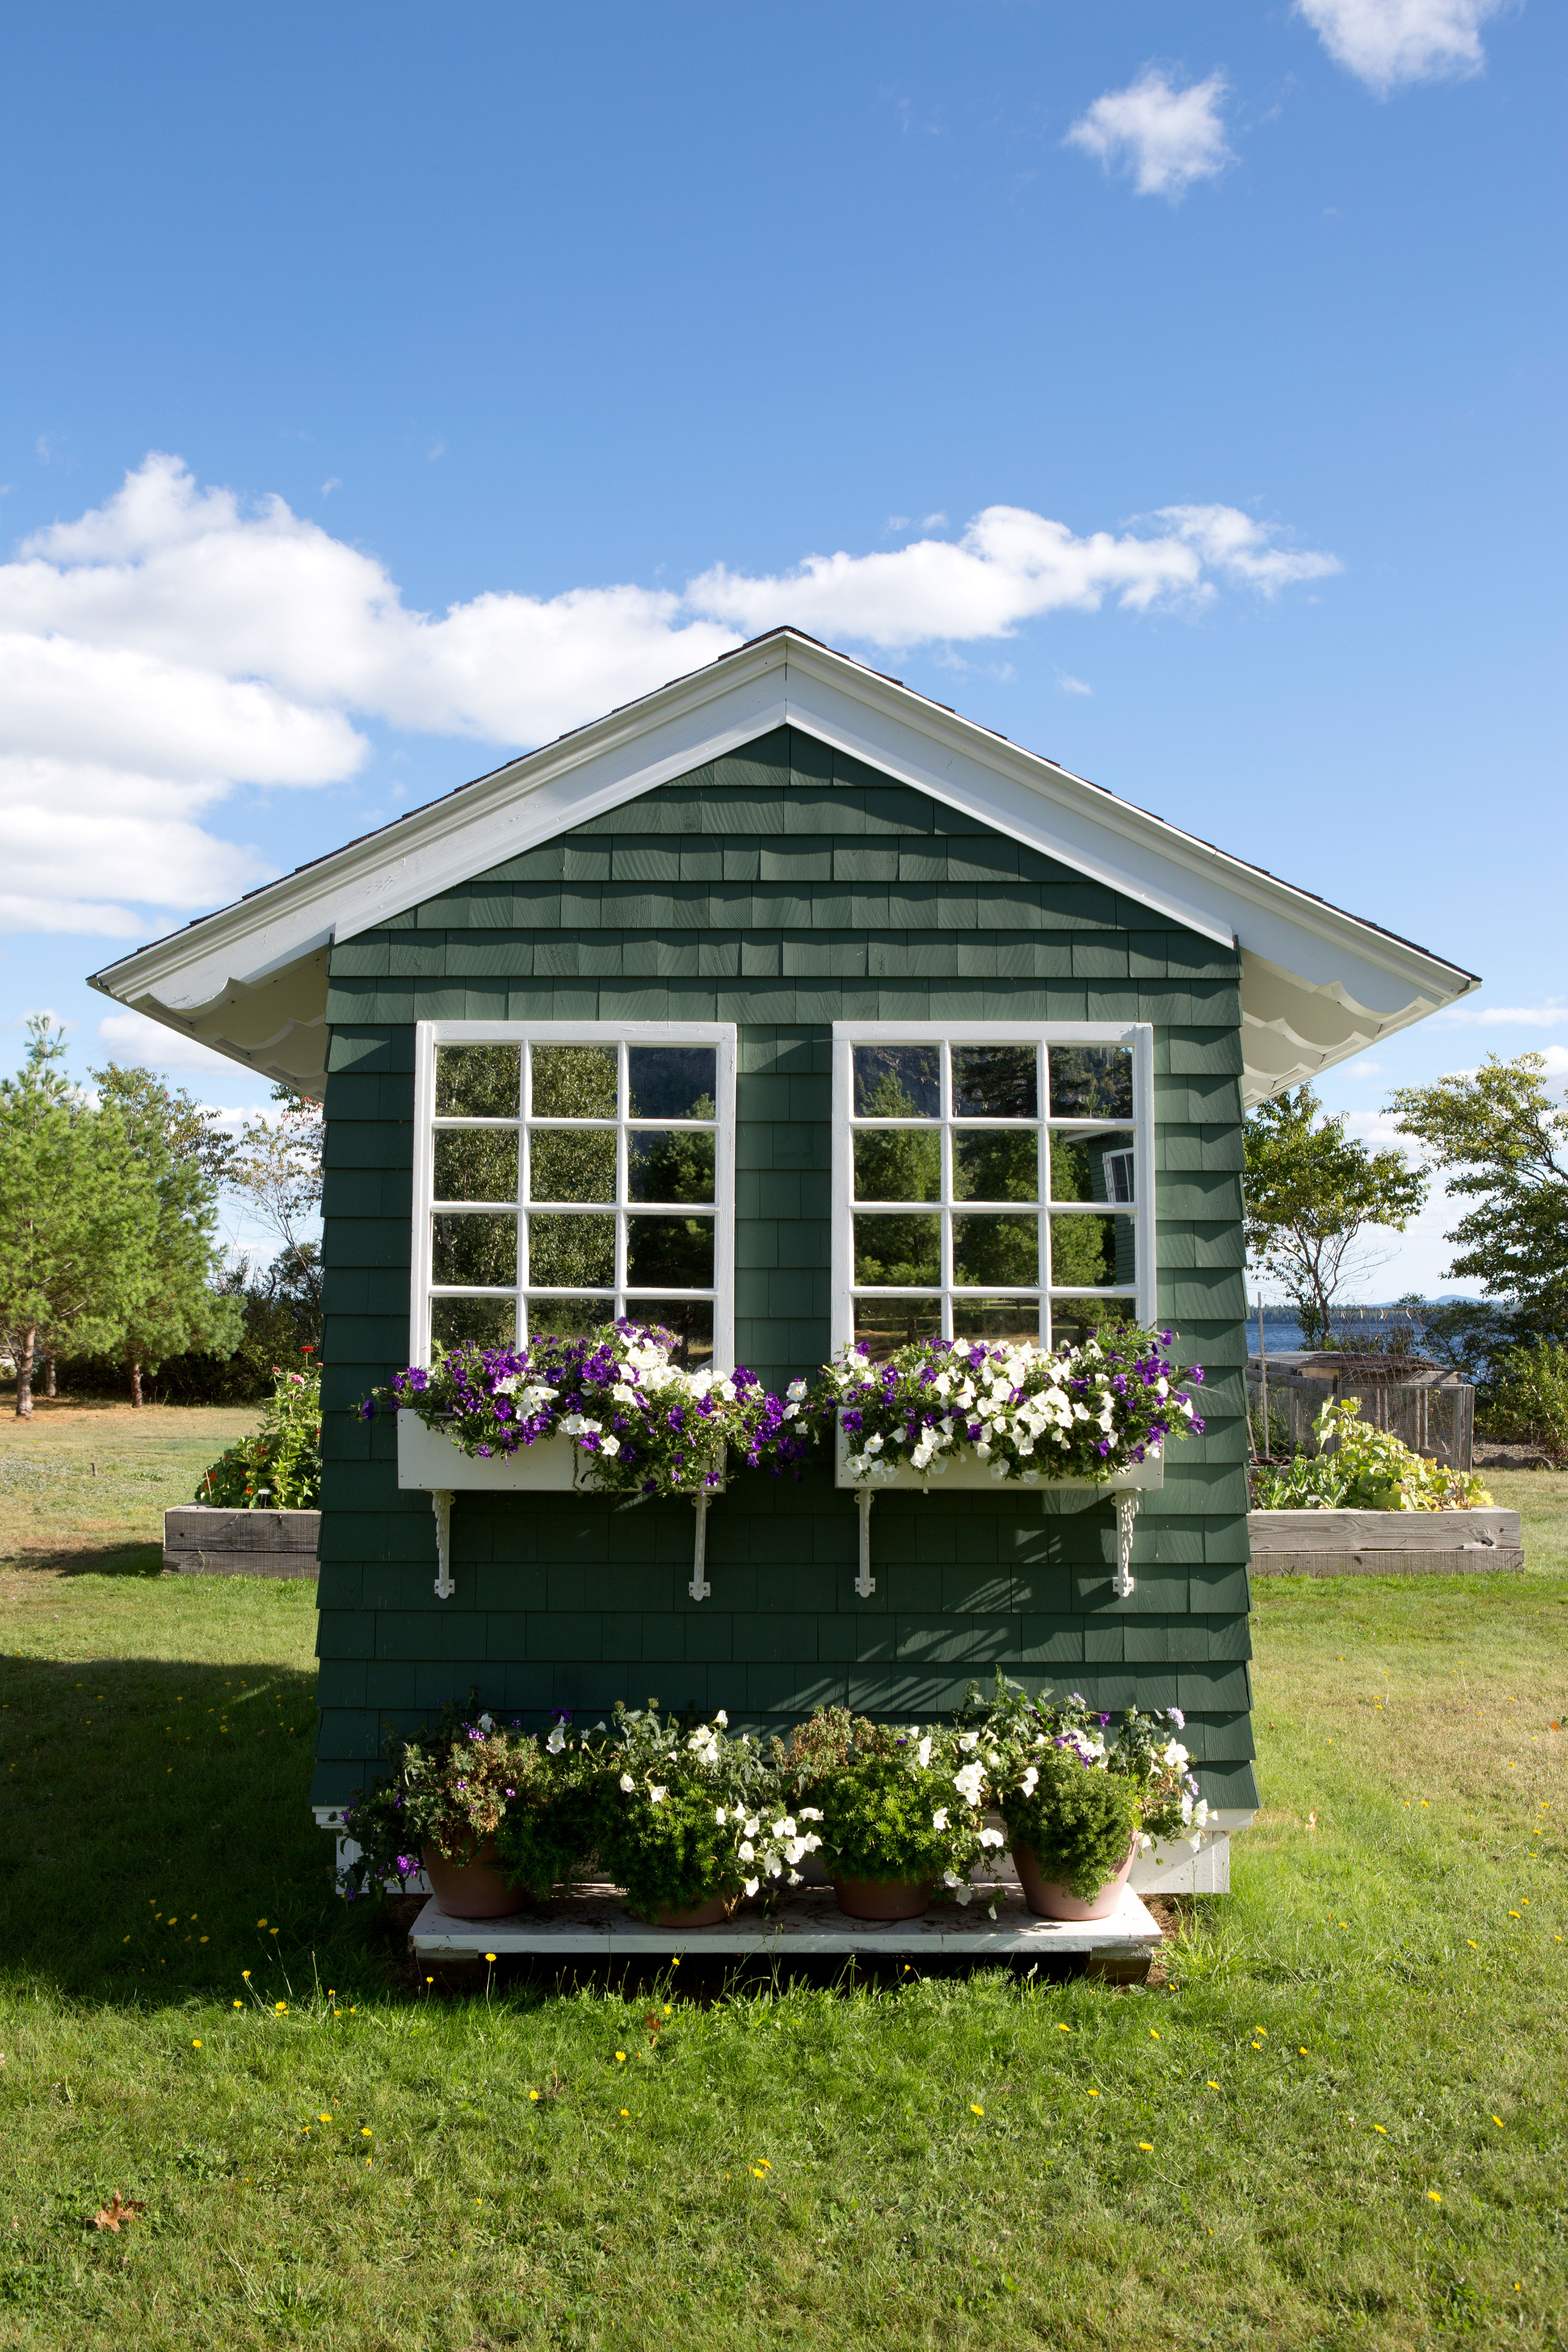
Now you’ve prepped and primed your shed properly, it’s time to get painting. As shed expert Grant Flory of Edifice Inc. says 'Paint to a shed is like sunscreen in the desert. Protect your shed and it will protect your items.'
Color-wise, the world is your oyster – just make sure you’re getting a great quality paint that will protect your shed from all the elements your local area experiences.
Paint expert Mike advises 'Element Guard is a great option for exterior paint as you’re able to apply it in a high-moisture environment. This premium exterior paint provides excellent adhesion and resistance to cracking and peeling to withstand wind-driven rain, humidity, and other harsh weather.”
But if you’ve got a metal shed, listen up, as you could get caught out!
Mike warns 'If you have a metal shed, they are typically made from ferrous or non-ferrous metals. It is important to know which one you have because ferrous (iron) metal produces rust which will affect your paint choice. An Acrylic DTM enamel paint is recommended for metal sheds.'
4. Seal the doors and windows
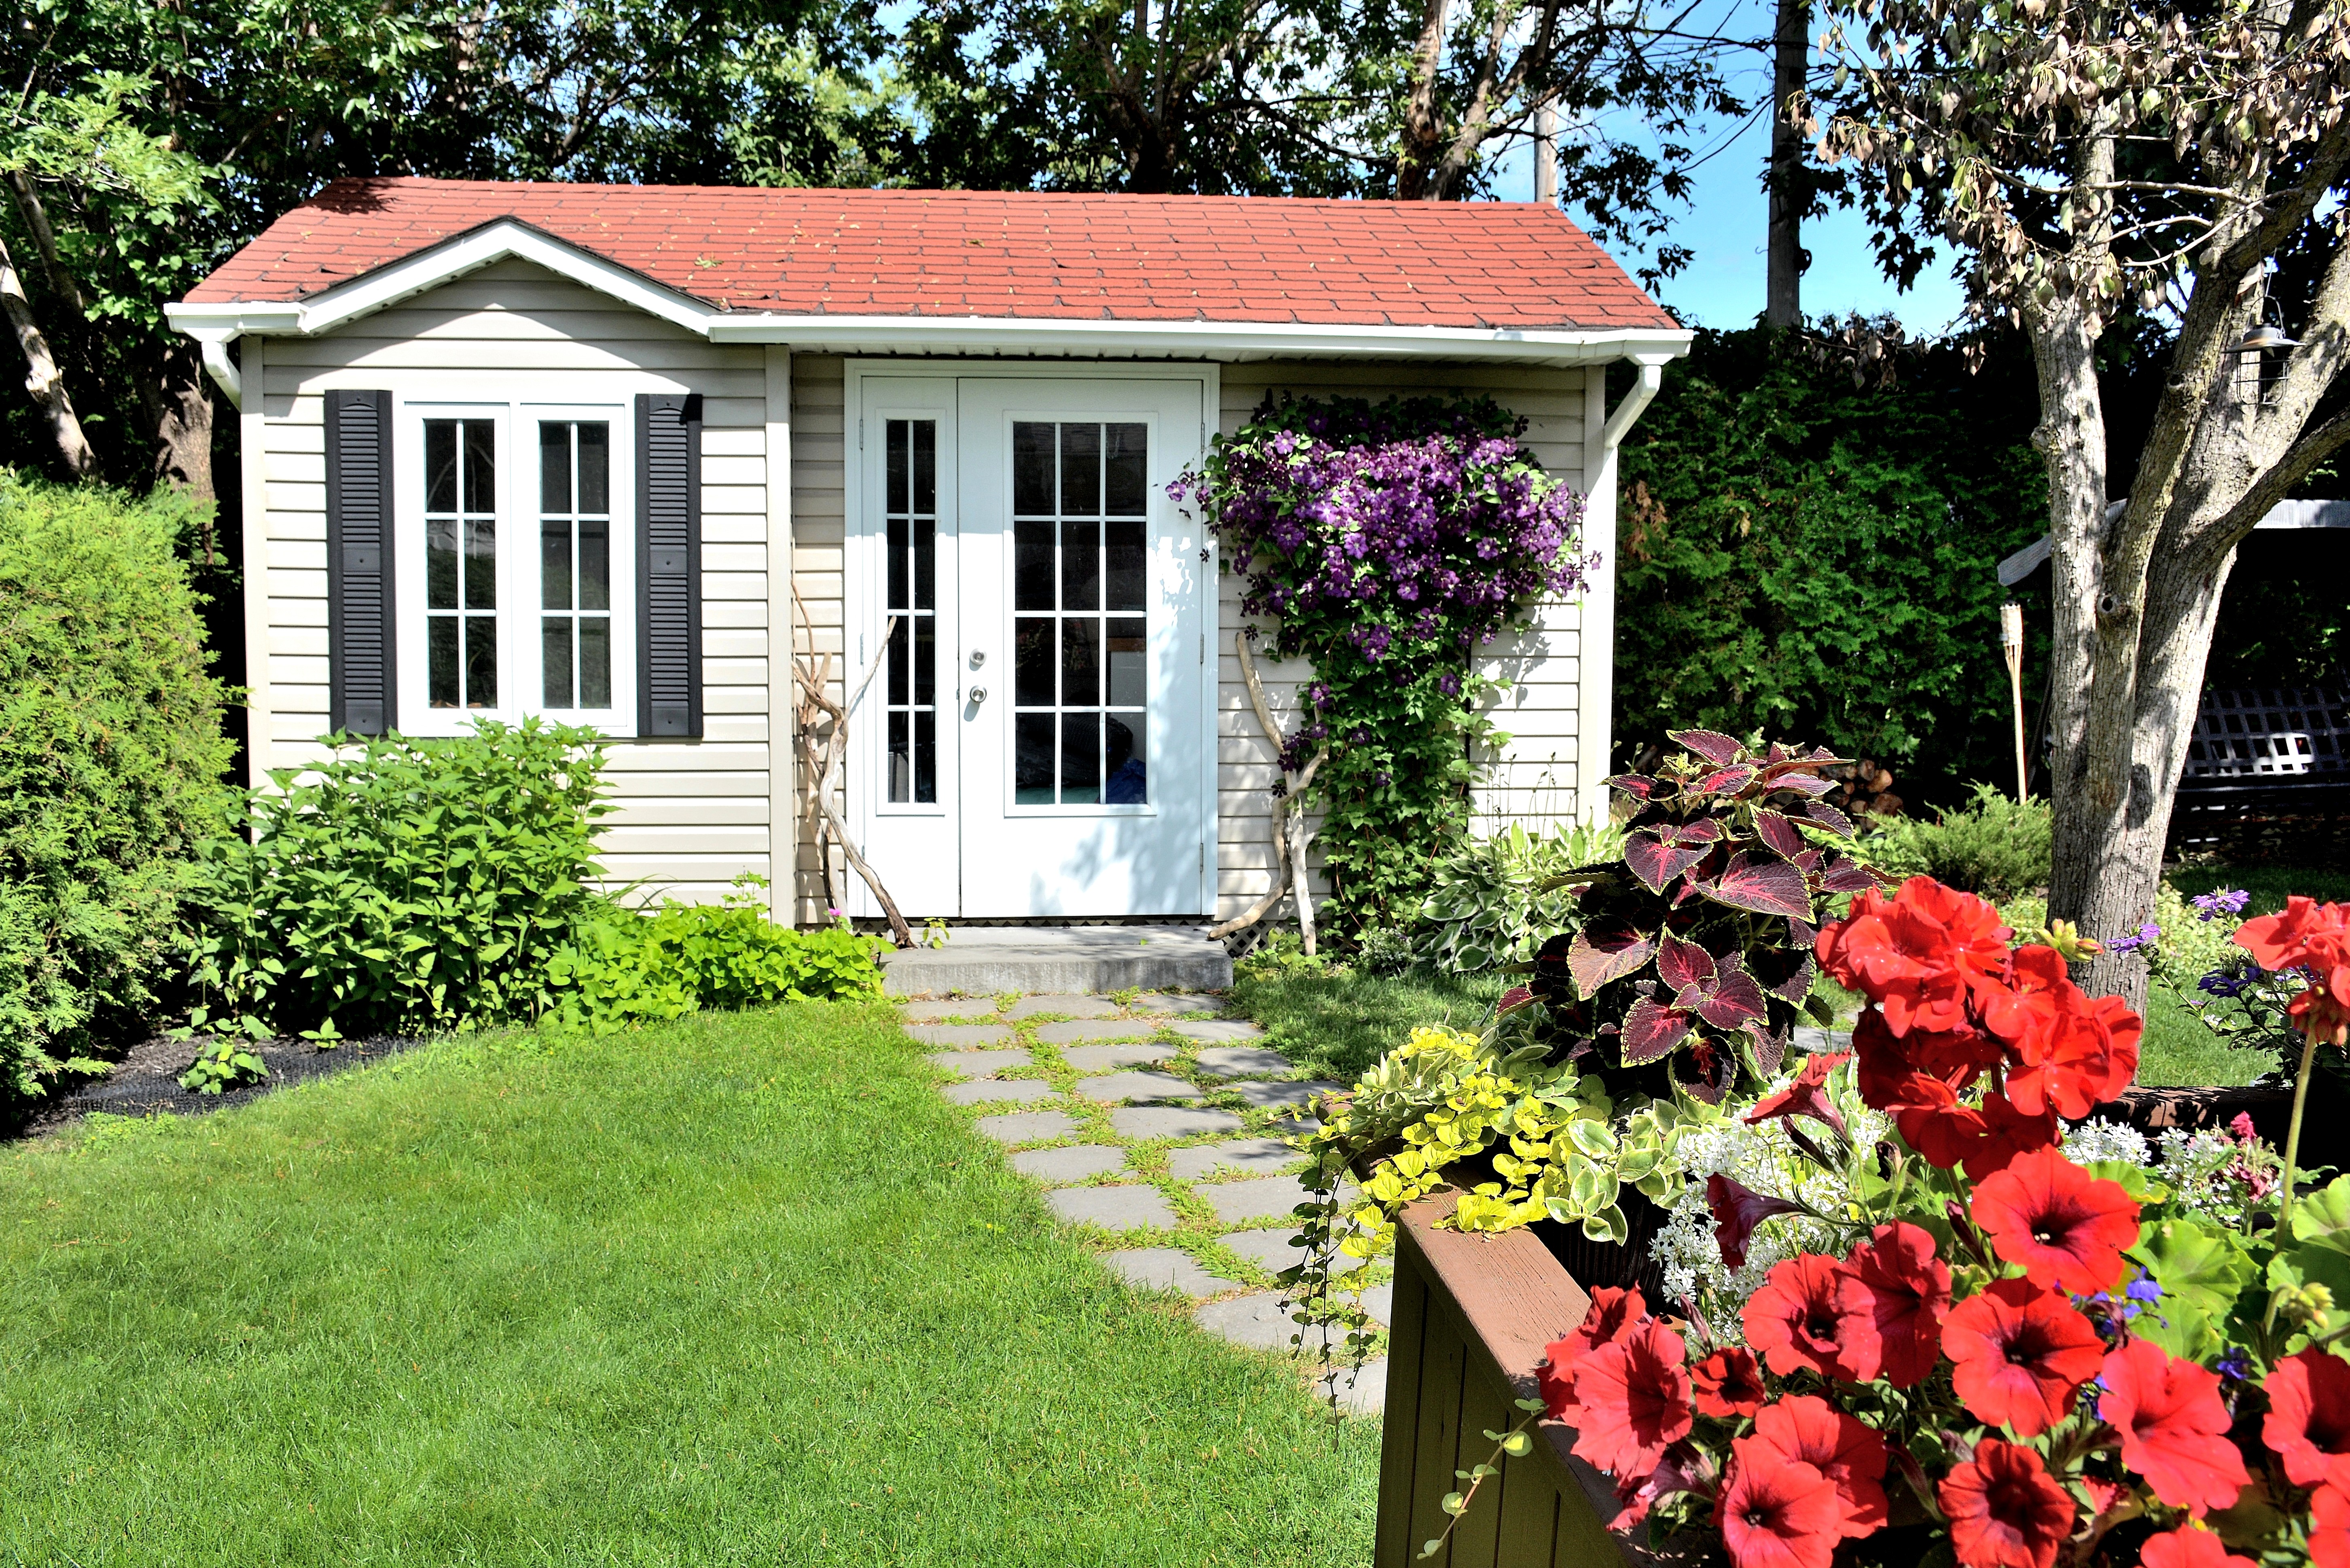
Doors and windows are key players when it comes to leaky sheds. Keeping on top of them and ensuring they are properly sealed is crucial to guaranteeing your shed stays waterproof and protects its contents for years to come.
Shed expert Grant's top tip is 'Be sure that the door threshold is properly sealed. If it is not, rain will easily enter your shed and can cause a lot of damage over time. If your shed has a wooden door these can be really tough to get sealed, the best option here may be to build a little roof or eyebrow over the door to shelter the opening from the rain and weather.'
5. Control the vapors
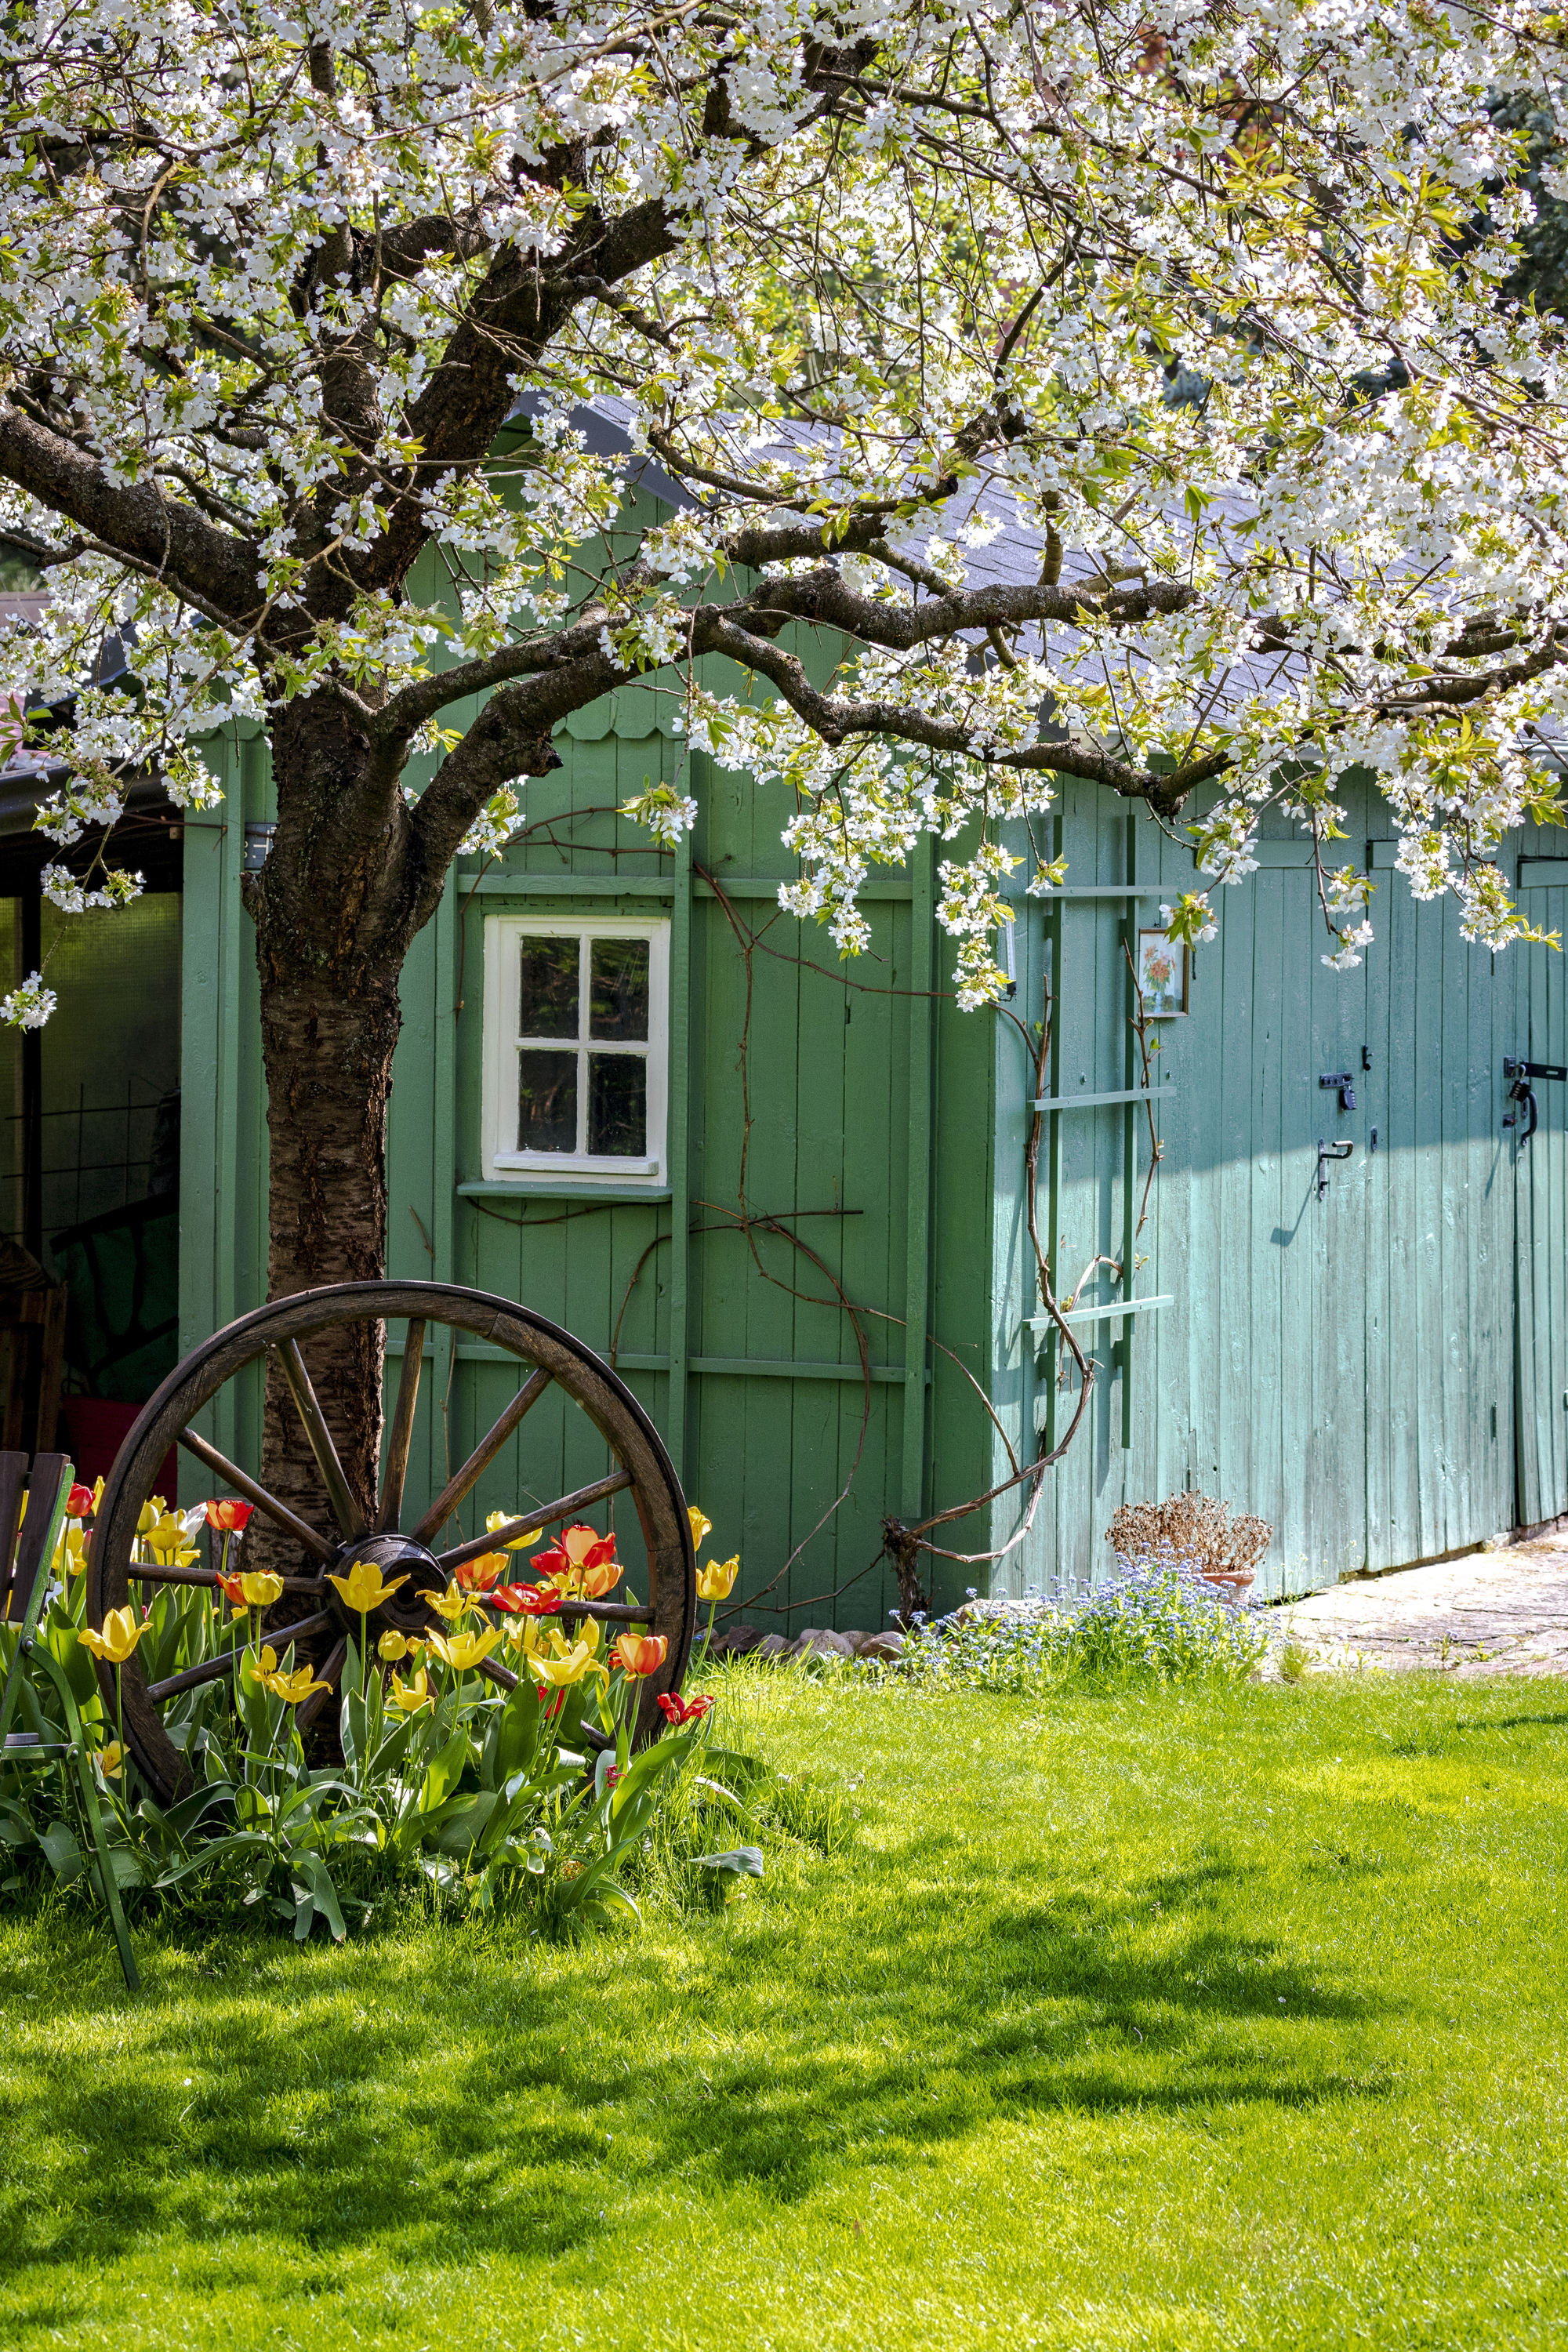
If you’ve checked the outside for leaks, sealed all the doors and windows, and you’re still finding moisture inside your shed then you might have a vapor barrier issue.
According to Grant, 'If you do not address this issue you will end up having times of the year that the inside of your shed will turn into a rainforest. This happens when the air outside and the air inside meet at a certain place in the cavity of the structure and a vapor turns to a liquid resulting in it raining inside.'
'If you have a shed and decide later to insulate it and use it as a conditioned space, be sure that you apply a vapor barrier to the back side of the siding or sheeting of the walls and ceiling,' Grant suggests. 'You also need to be sure to install proper ventilation between the insulation and the back side of the roof sheathing. One other way to do this is to have at least one inch or more of closed-cell spray foam insulation installed which will insulate, act as a certified vapor barrier, and remove the need to ventilate your attic area.'
Matilda Bourne is a freelance homes, gardens and food writer, stylist and photographer. Known for creating and capturing content for multiple international brands, her work has been featured in The Telegraph, The Daily Mail, and Hello! magazine. When she’s not writing, you can usually find her tending to her much-loved garden and scouring thrift stores for vintage furniture.
