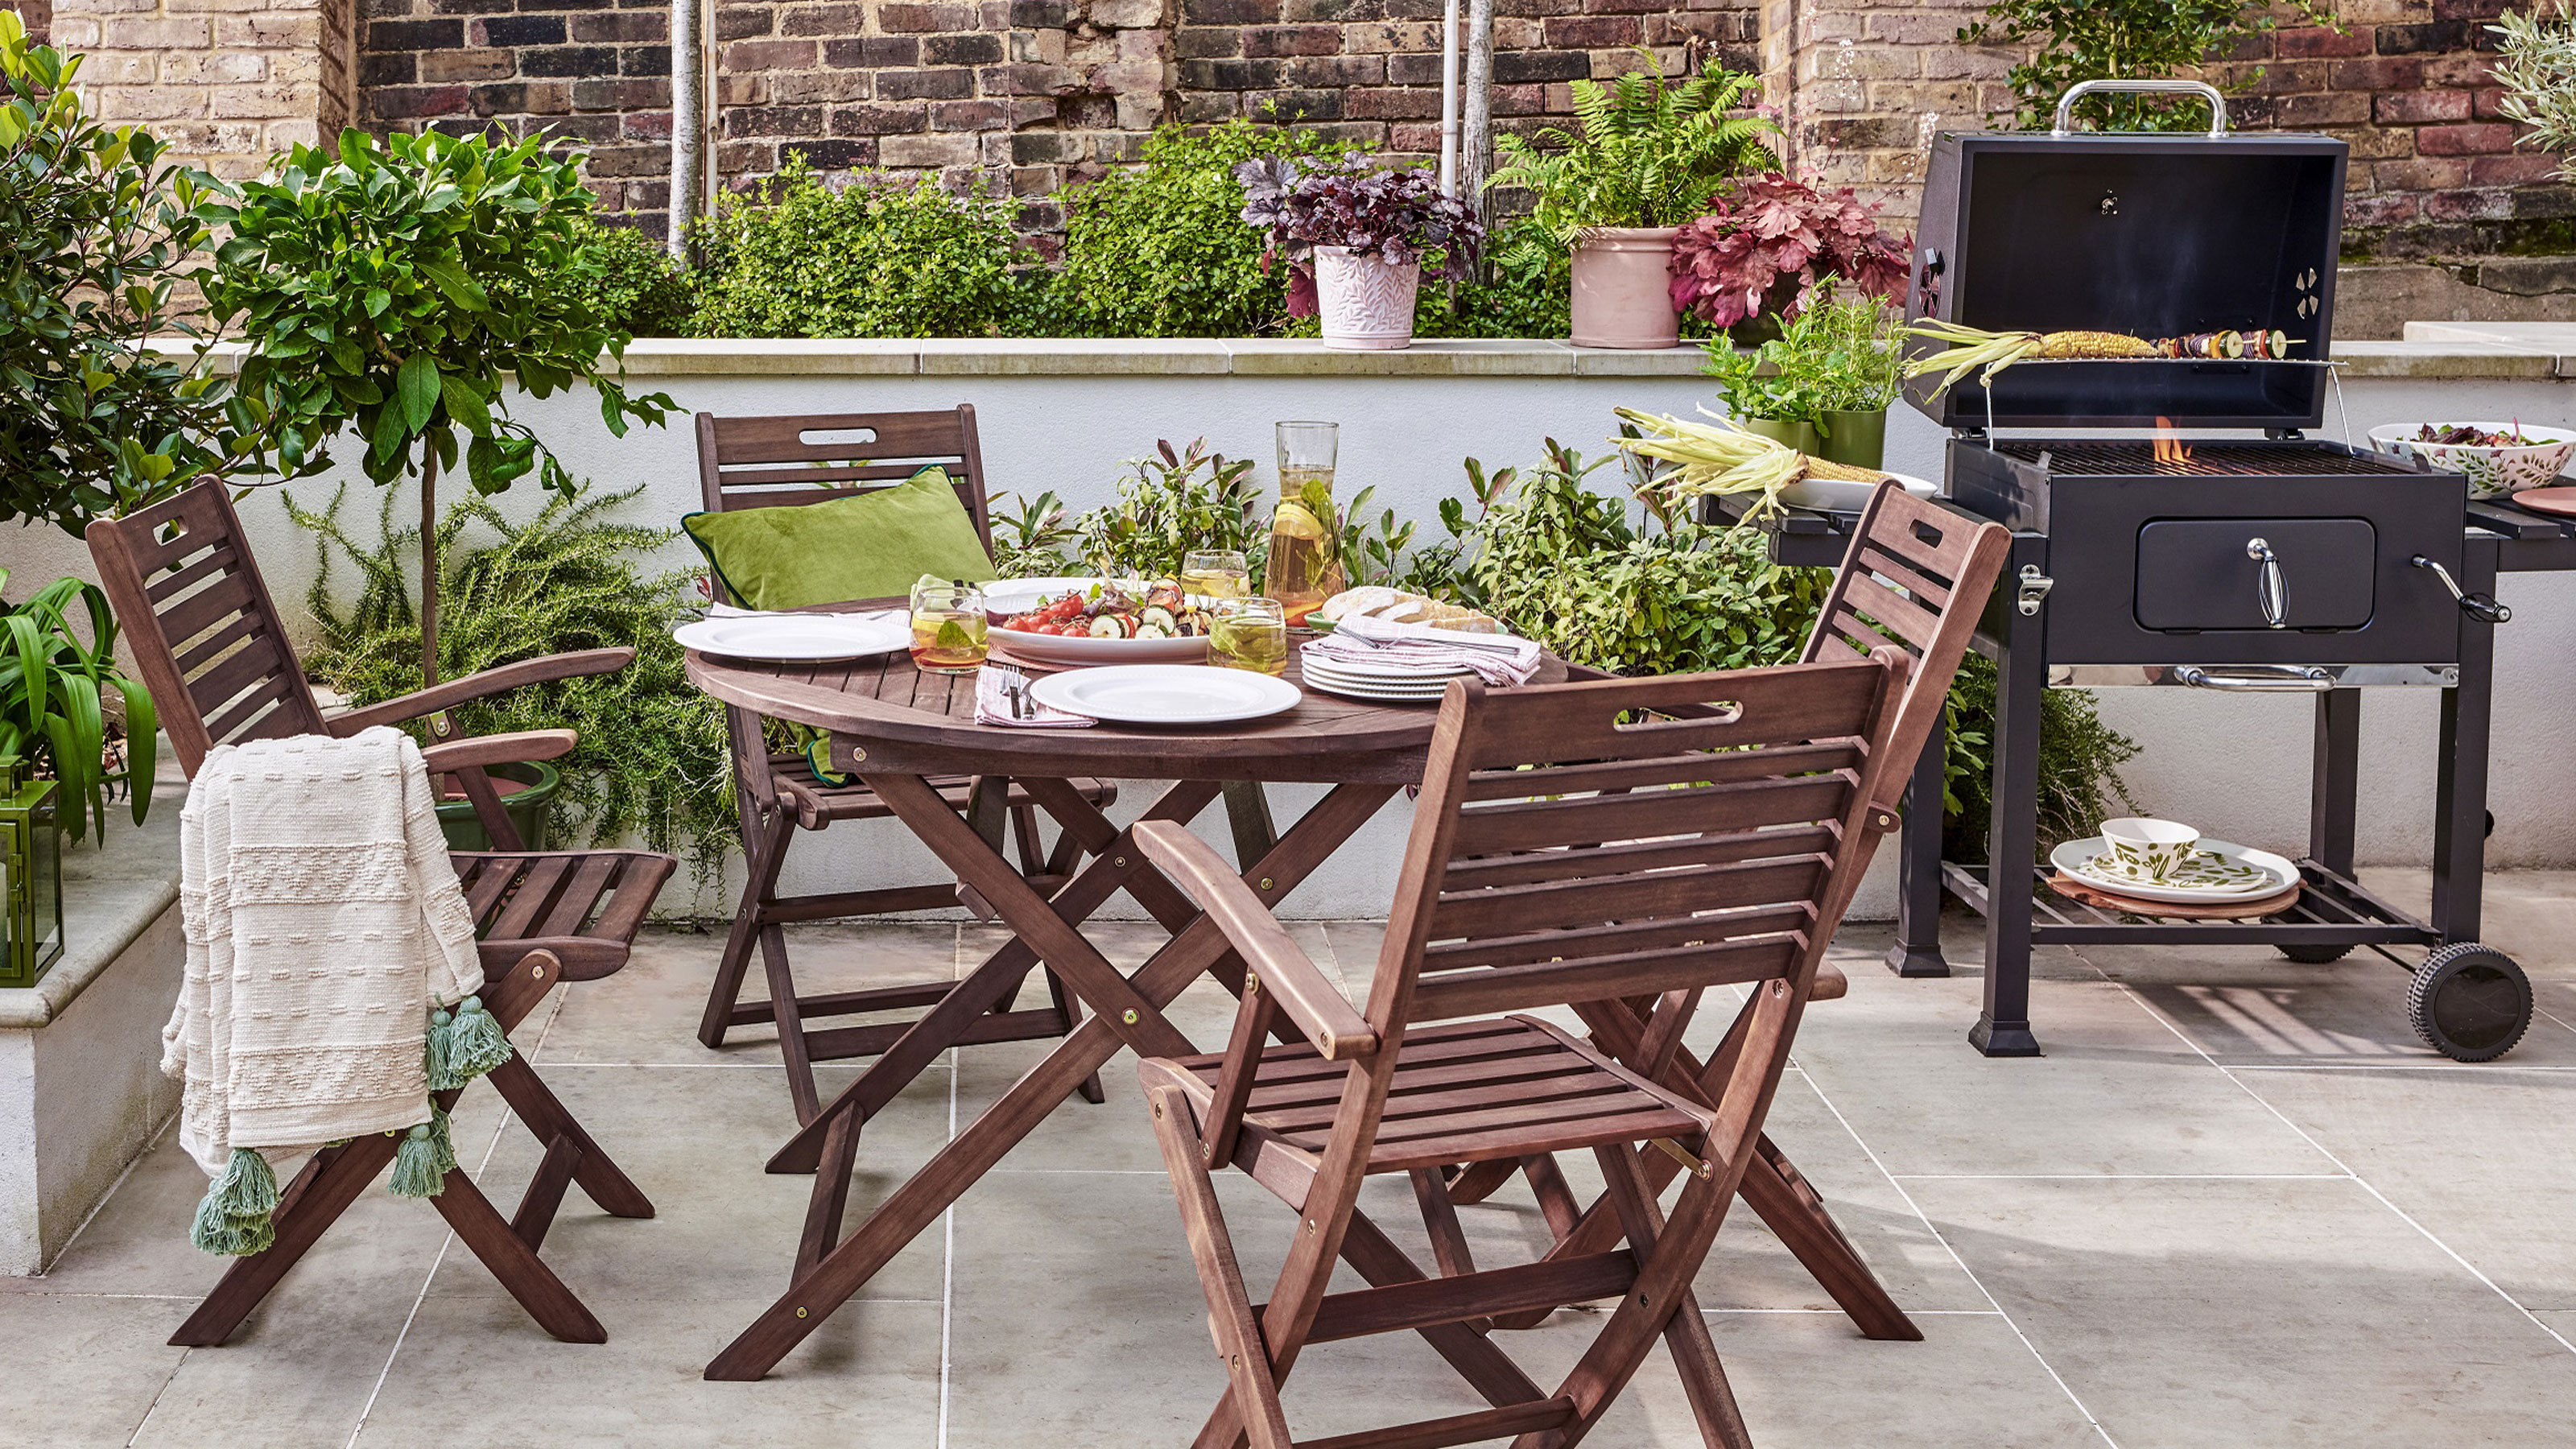
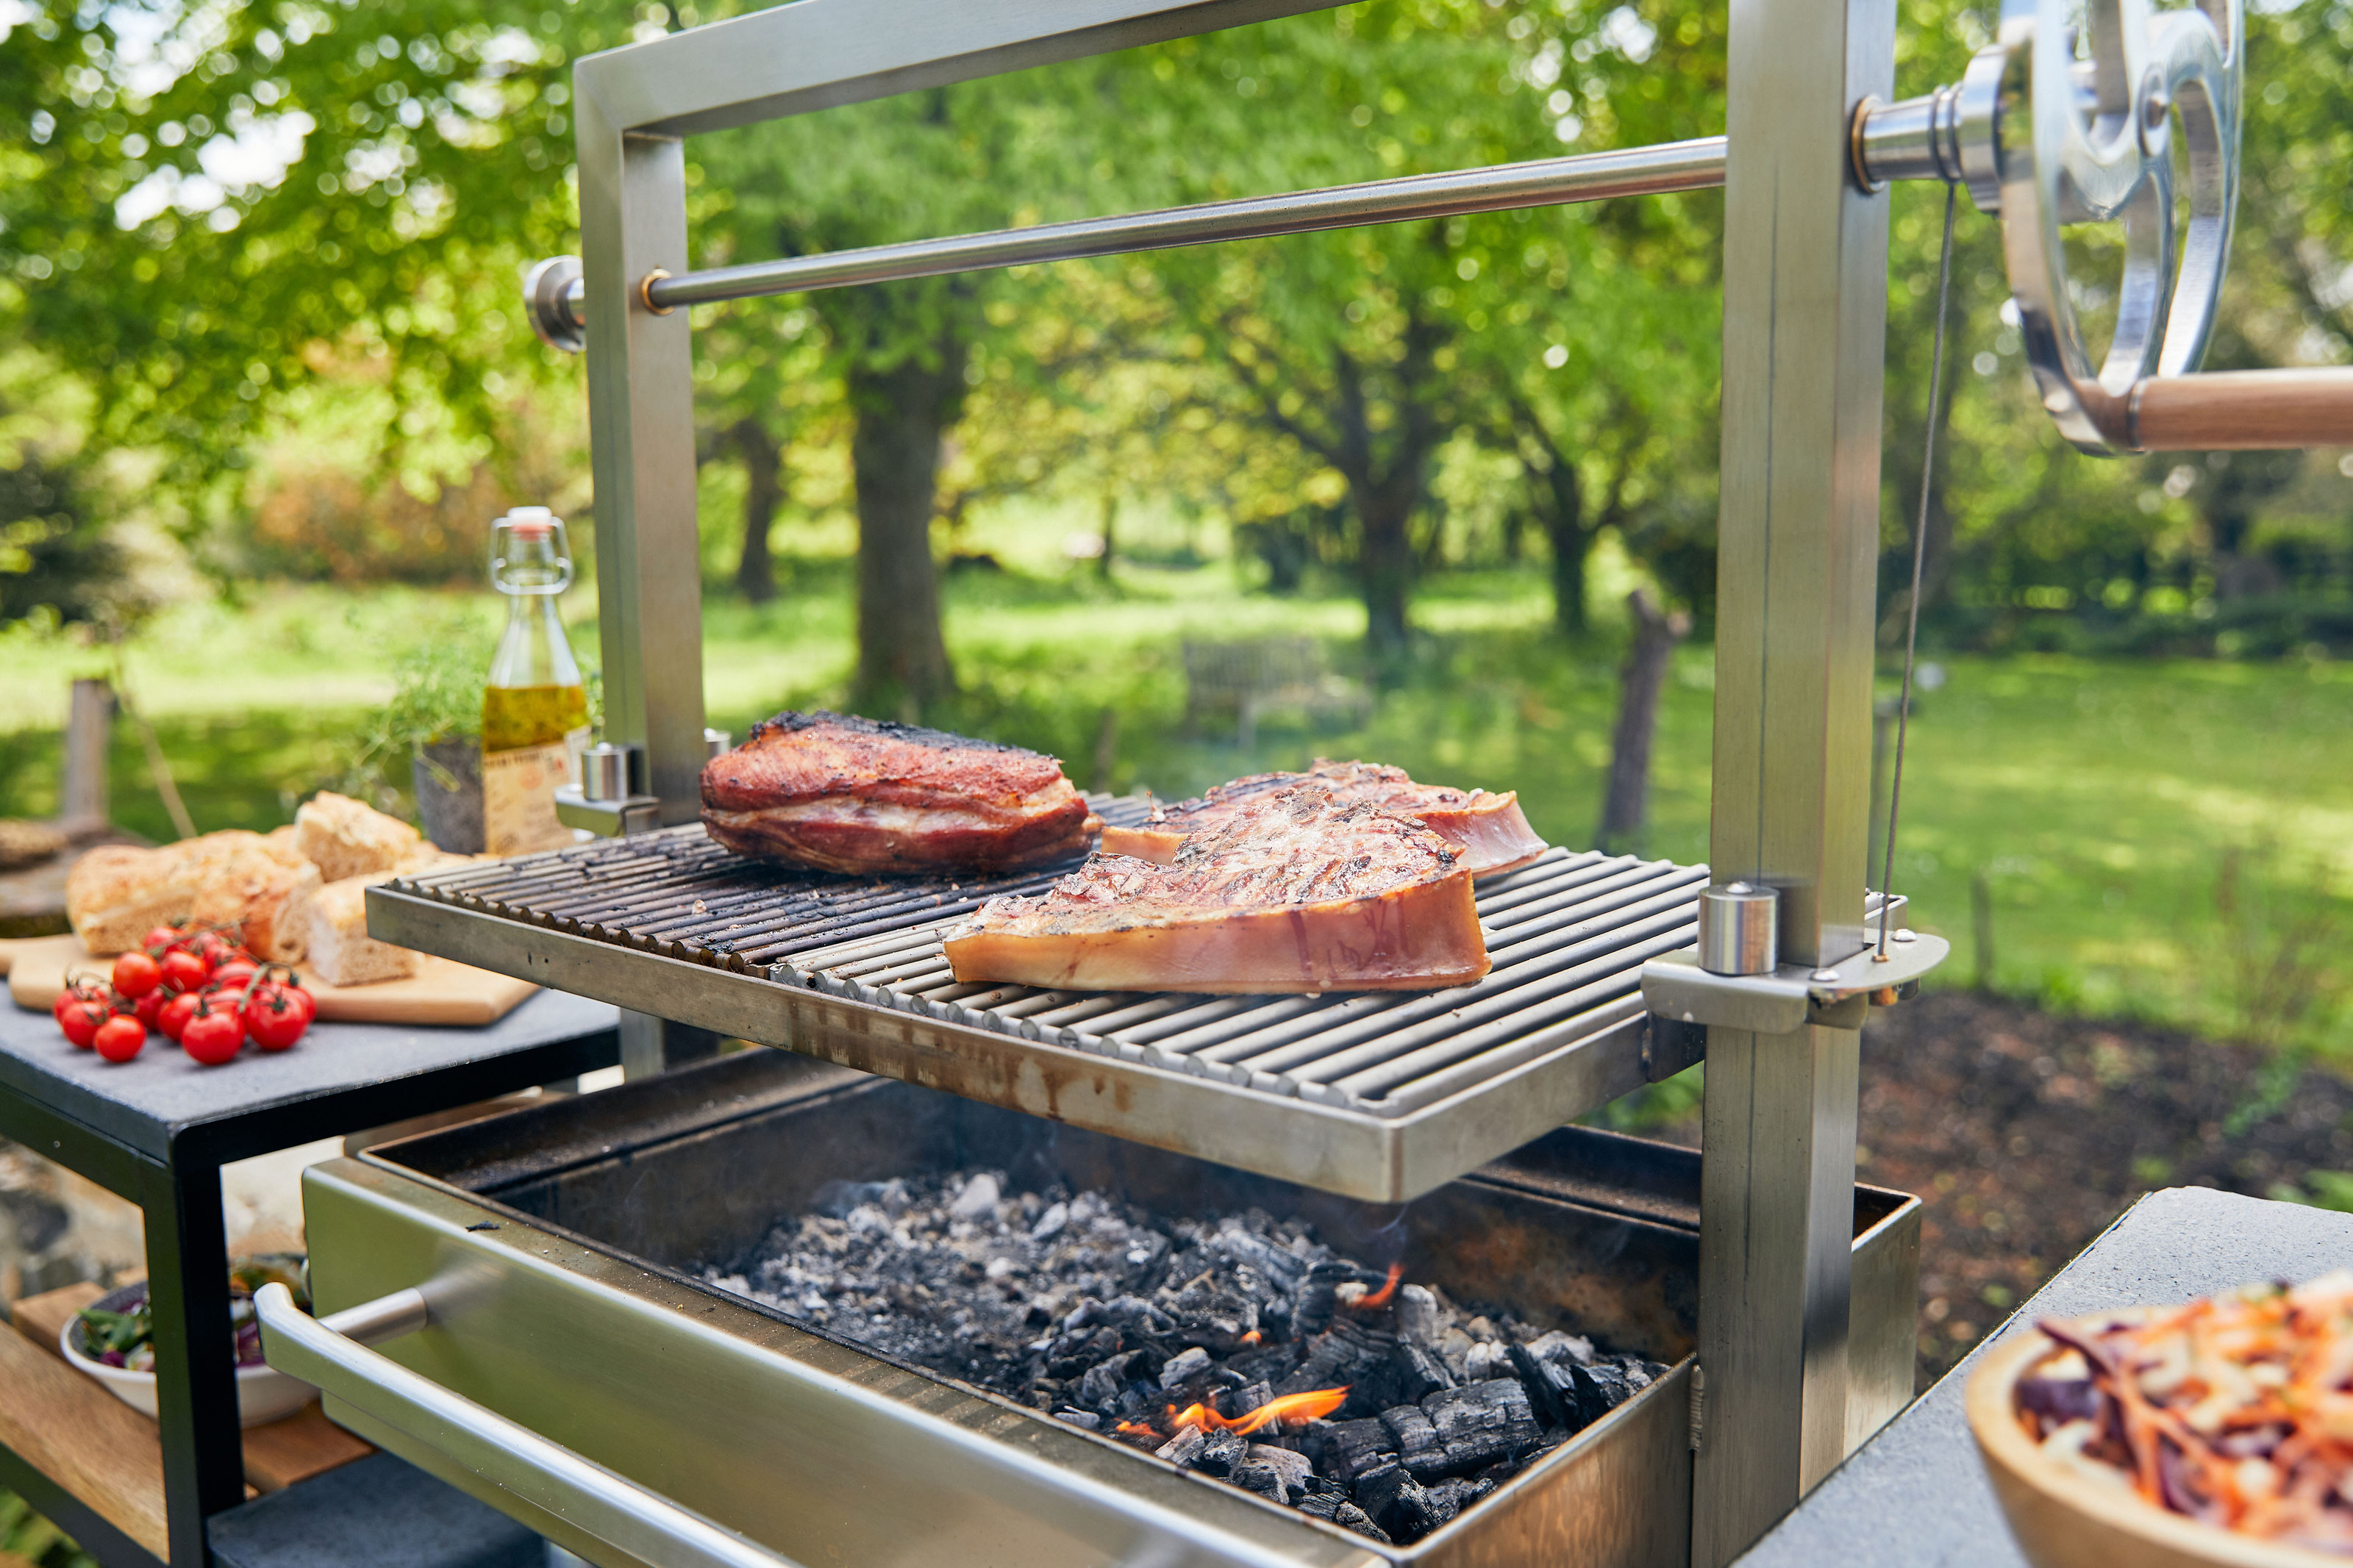
How to use a charcoal grill – the foolproof guide to cooking on coals, plus tips for upping your BBQ game
Master the basics of how to use a charcoal grill, plus get expert tips for how to improve your grill skills from expert chefs and pitmasters


The Livingetc newsletters are your inside source for what’s shaping interiors now - and what’s next. Discover trend forecasts, smart style ideas, and curated shopping inspiration that brings design to life. Subscribe today and stay ahead of the curve.
You are now subscribed
Your newsletter sign-up was successful
Learning how to use a charcoal grill is a little bit more complicated than cooking on gas. There's no magic button to press to get your grill fired up, so it takes a little more nurturing and patience. The pay off, however, is tastier food (and just a little bit of a sense of achievement).
For the uninitiated, cooking with even the best grill using charcoal isn't as instinctive as gas, and if you've never been shown the ropes, you'll need a little bit of help to get your grilling skills to where they need to be for your cookout.
With that in mind, we've roped in some BBQ experts, from chefs and pit masters to food bloggers, to give us their top tips for not only how to use the best charcoal grills, but how to get the most from them and impress friends and family with your outdoor cooking.
How to use a charcoal grill
When it comes to how to use a grill, there's a simple process to follow. Start, of course, by lighting your coals. 'Once the coals are fully engulfed, next place the grate over them,' says chef and BBQ expert Cole Ellis of Delta Meat Market. You'll then need to wait for the flames to burn down and the white smoke to stop before adding food onto the grill. 'Let the charcoal come to an even temperature and a soft glowing ember, and not raging flames before adding any food,' says food blogger Kita Roberts of Girl Carnivore.
Once you're finished cooking, then time to extinguish your grill.
Easy as that right? Well, not necessarily. While this might sound simple in theory, in actuality, there are certain ways you need to approach using a charcoal grill. These will help your charcoal burn better, your food cook better and make your cookout more enjoyable for the chef too.
With that in mind, BBQ experts have outlined their 8 golden rules for how to use a charcoal grill.
The Livingetc newsletters are your inside source for what’s shaping interiors now - and what’s next. Discover trend forecasts, smart style ideas, and curated shopping inspiration that brings design to life. Subscribe today and stay ahead of the curve.
1. Start with the right charcoal
Not all charcoal is made equal when it comes to the best BBQ. 'You walk down a store aisle and you see a dozen different charcoals,' says Jake Gross of E3 Meat Co. #The question is: “Which one do I choose?” The answer is always choose an all-wood lump charcoal, and the reason is that all-wood lump charcoal will infuse your food with a superior flavor that you’ll be able to taste in the finished product.'
2. Avoid overloading your grill
Chucking loads of charcoal into your grill straight away might seem like the key to a long burn and more food cooked, but it's actually counterproductive. 'The more coals you dump into your grill, the longer it will take to start,' explains Roby Burch, founder of grill brand Burch Barrel.
'Additionally, once they do get up to temp, you're going to have way too much heat and charcoal isn’t something you can turn down the heat on automatically. So start with fewer charcoal and add more as you go to ensure you are getting the optimal temperature for what you are cooking.'
3. Light the charcoal the right way
When lighting a charcoal grill, you'll need to be patient and avoid any shortcuts. 'Gone are the days of lighting a fire with lighter fluids,' says food blogger Kita Roberts of Girl Carnivore. 'To light your charcoal, invest in a charcoal chimney. Place the charcoal in the top of the chimney and simply use paper or all-natural fire starters. Let the charcoal pre-heat in the charcoal chimney until it’s 70% covered in ash before adding it to your grill.'
Pitmaster Michael Haas of Angry BBQ agrees. 'You simply pour some charcoal into the chimney, light some paper beneath it and in 15 minutes your charcoal is burning hot and clean. I say clean because you should only start using the charcoal after all the white smoke is done emitting. That is when your charcoal is ready to grill food.'
Firestarters or kindling can also be used. 'Firestarters are safe to use since these don't leave any chemical residue when burned,' Michael says. 'They don't produce much ash, so it wouldn't bring an unpleasant taste or aroma to your food.'
If you do decide to use lighter fluid, you need to take additional steps to avoid your food taking on a chemical taste. 'If using lighter fluid you need to let it soak into the coals for 5 minutes before lighting and then an additional 20 minutes once lit to activate,' explains Roby Burch.
4. Learn how to add extra flavor
The right coal should help add that beautiful smoky taste to your grill-cooked food, but regardless of the coal you find, it's possible to make your own additions too. 'Once you have the charcoal lit, don’t be afraid to add some chunks of natural wood to give your food an enhanced flavor,' Roby says. 'One or two small pieces is perfect to infuse just the right flavor. Your family or guests will thank you.'
5. Set up cooking zones on the grill
Positioning your charcoal to create different cooking zones will give you far more control over your grill. 'Use a dual zone (or two zone) cooking approach with charcoal,' says Michael Haas. 'Rookies dump their lit charcoal in the middle of the grill. That's great for basic grilling but you do not leave yourself with a cooler area of the grill to place meat that is cooking faster and you want to slow down the finish time, or your grilling food items that need minimal heat to cook properly,' he says. These are often referred to as a direct heat and indirect heat zone.
It also opens up your grill to more nuanced cooking. 'For example, if you have a beautiful tritip steak you want to grill, start it on the indirect zone until it reaches 120 internally,' says Jake Gross of E3 Meat Co, 'and then finish it with a reverse sear over the direct heat to create a nice crust and deep flavor.'
6. Oil the grate
If you find your meat or veg constantly get stuck to your grill, it might be because you're not oiling it. 'Once the grate is hot, grab the sturdiest, gnarliest grill brush you can lay your hands on,' suggests chef Cole Ellis. 'Scrub the grate well and season the grated with an oily rag or a spray bottle of veg oil. This will prevent sticking and rust.'
7. Manage the temperature
While you can't manage the temperature of a charcoal grill in quite the same way as the best gas barbecue, you can use the vents to take some control over your charcoal's heat output.
'All charcoal grills come with a bottom vent and a top vent,' explains Michael Haas. 'These vents are essentially your temperature management dials. The more you open them, the hotter it gets.'
'I typically keep my top vent about half open and then just use my bottom vent to increase or decrease the temperature. Make small adjustments and give the grill some time to change in temp. This isn't a gas grill with immediate temperature changes. Charcoal takes more time and requires patience.'

8. Extinguish your coals with care
Extinguishing your charcoal grill isn't as easy as just turning the gas off, but it is simpler than you'd think. 'Dumping water into the grill is a huge no no and will just create a real mess of your grill bottom and the water will spill out of the bottom vents onto your patio,' says pitmaster Michael Haas. 'It will also create a lot of steam which could cause a safety concern for the person dumping the water.'
'All you need to do is close the lid and make sure all your vents are completely closed. The coals will extinguish faster than you think.'
'If you use this method and the coals are taking a long time to extinguish, it probably means your grill is dirty with soot and isn't allowing the bottom vents to close properly. Once the coals are out, it is time for a good cleaning of your grill and remove all the soot completely.'
Should I grill with the lid open or closed?
Charcoal grills operate slightly differently to gas grills when it comes to lids. When you use a gas grill, close the lid and it will get hotter, while the charcoal grill is more reliant on oxygen for heat, so opening the lid is what will make the coals burn hotter.
As a rule of thumb, cooking on a grill with an open lid is better for searing the meat, while a closed lid will add heat from convection in the air into the mix. The result of this should be meat and veg that are cooked on the inside, not just the outside. However, without being able to see how its cooking, the results may vary.
Opening and closing the lid constantly isn't the solution. 'Let the thermometer be your friend,' says chef Cole Ellis. 'The grill is harder to regulate if you’re constantly opening and closing it.'

Hugh is Livingetc.com’s editor. With 8 years in the interiors industry under his belt, he has the nose for what people want to know about re-decorating their homes. He prides himself as an expert trend forecaster, visiting design fairs, showrooms and keeping an eye out for emerging designers to hone his eye. He joined Livingetc back in 2022 as a content editor, as a long-time reader of the print magazine, before becoming its online editor. Hugh has previously spent time as an editor for a kitchen and bathroom magazine, and has written for “hands-on” home brands such as Homebuilding & Renovating and Grand Designs magazine, so his knowledge of what it takes to create a home goes beyond the surface, too. Though not a trained interior designer, Hugh has cut his design teeth by managing several major interior design projects to date, each for private clients. He's also a keen DIYer — he's done everything from laying his own patio and building an integrated cooker hood from scratch, to undertaking plenty of creative IKEA hacks to help achieve the luxurious look he loves in design, when his budget doesn't always stretch that far.