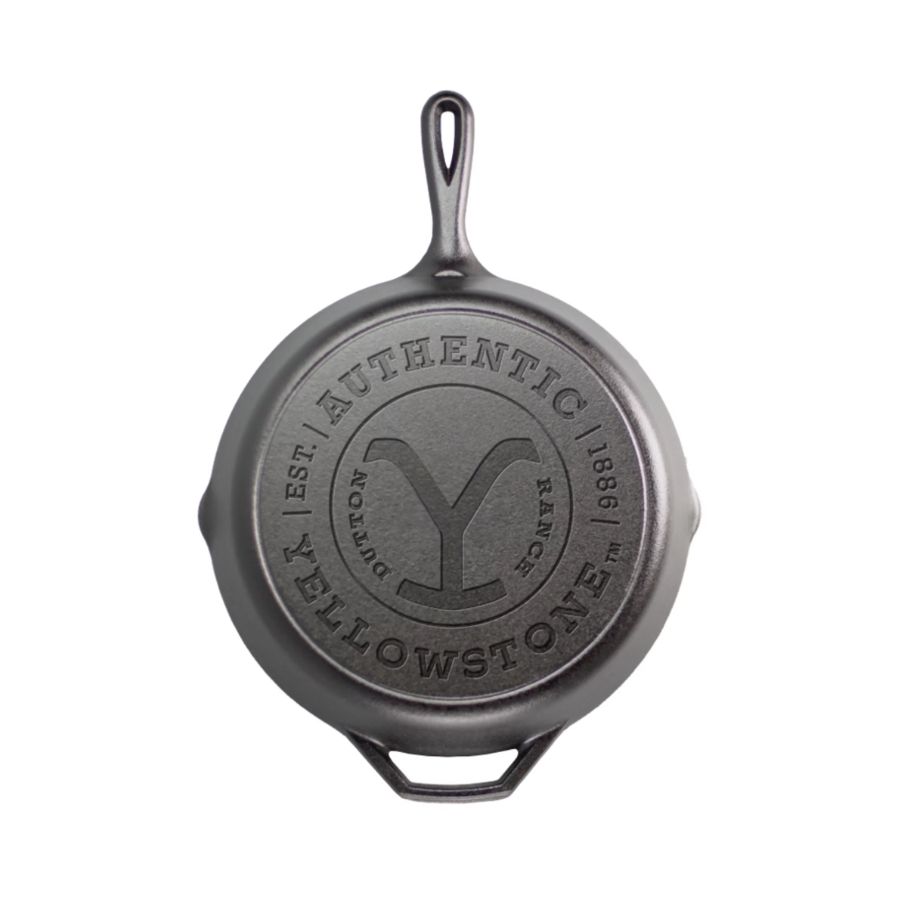
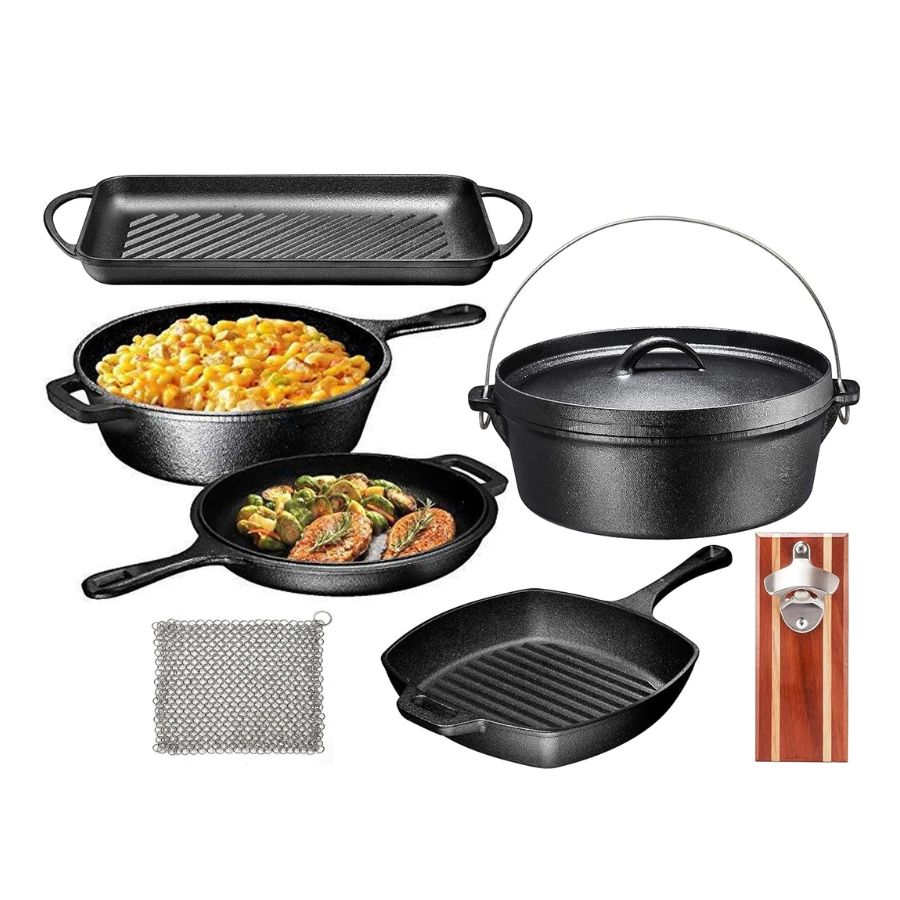
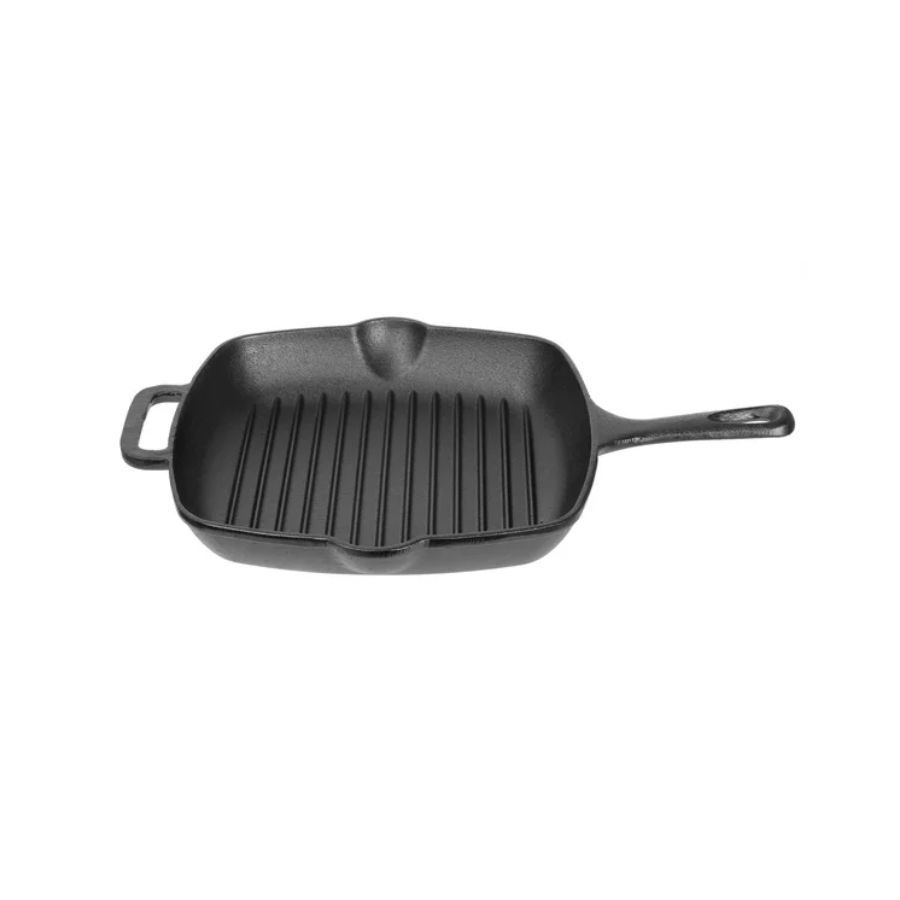
How do you reseason a cast iron skillet? A kitchen expert shares 4 steps to ensure your pan's longevity
It's a great addition to our cooking arsenal, but few of us know how to season our cast iron cookware correctly
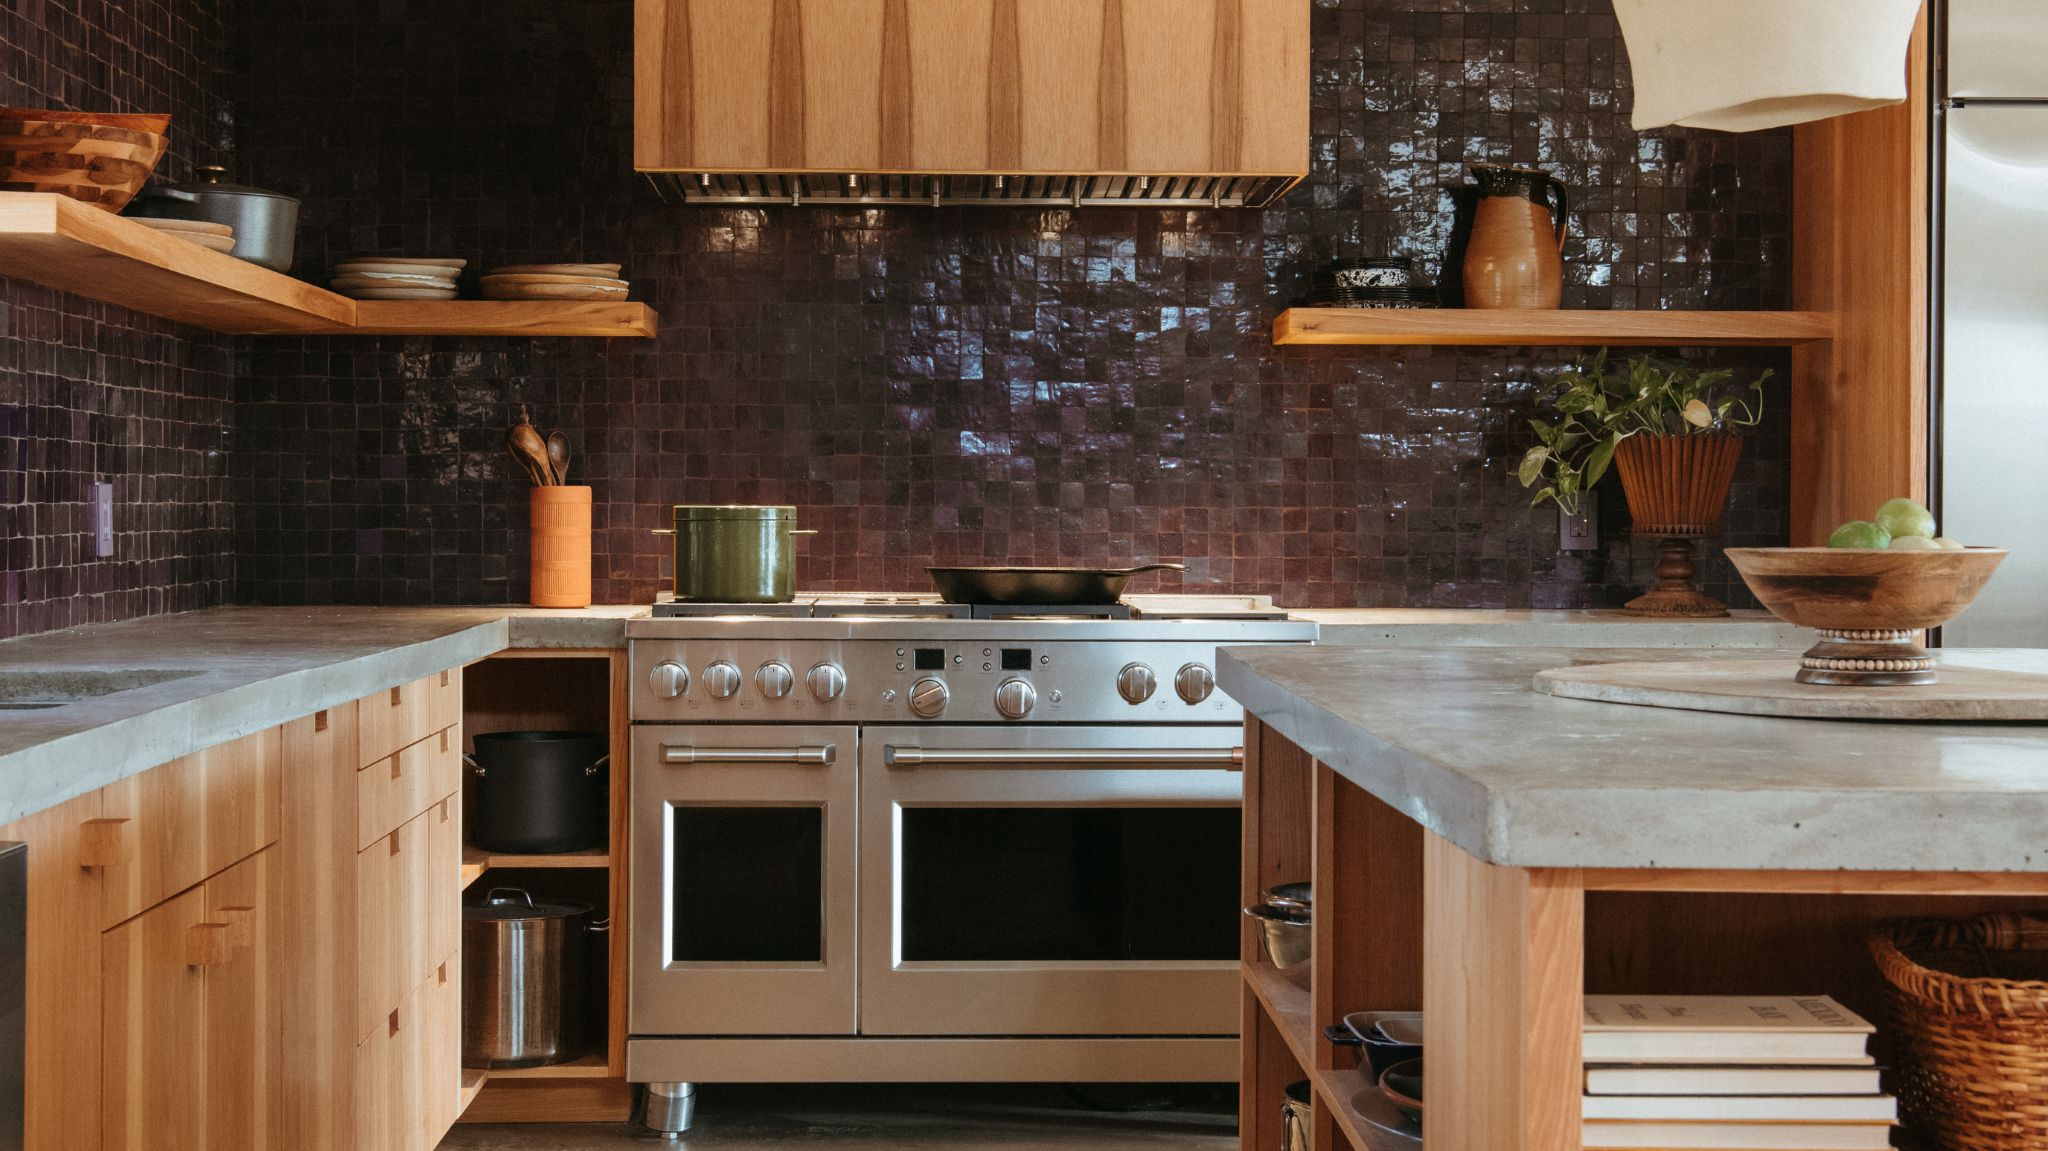
This time of year many of us will be getting our cooking arsenal ready for those festive family gatherings, and the cast iron cookware is coming out in preparation for some serious food prep. While most of us know that a cast iron skillet is a fantastic item to have in your kitchen inventory, a lot of us don't know the steps needed to make sure we maintain its health and durability in the long run.
Reasoning cast iron is an essential skill to add to your modern kitchen repertoire to ensure your cookware's longevity. I spoke to a professional chef who took me through the four steps needed to preseason (or initially season) your cast iron skillet to keep it in top condition and ensure it continues cooking excellent food. Here's what you need to know.
1. Get your skillet ready for seasoning
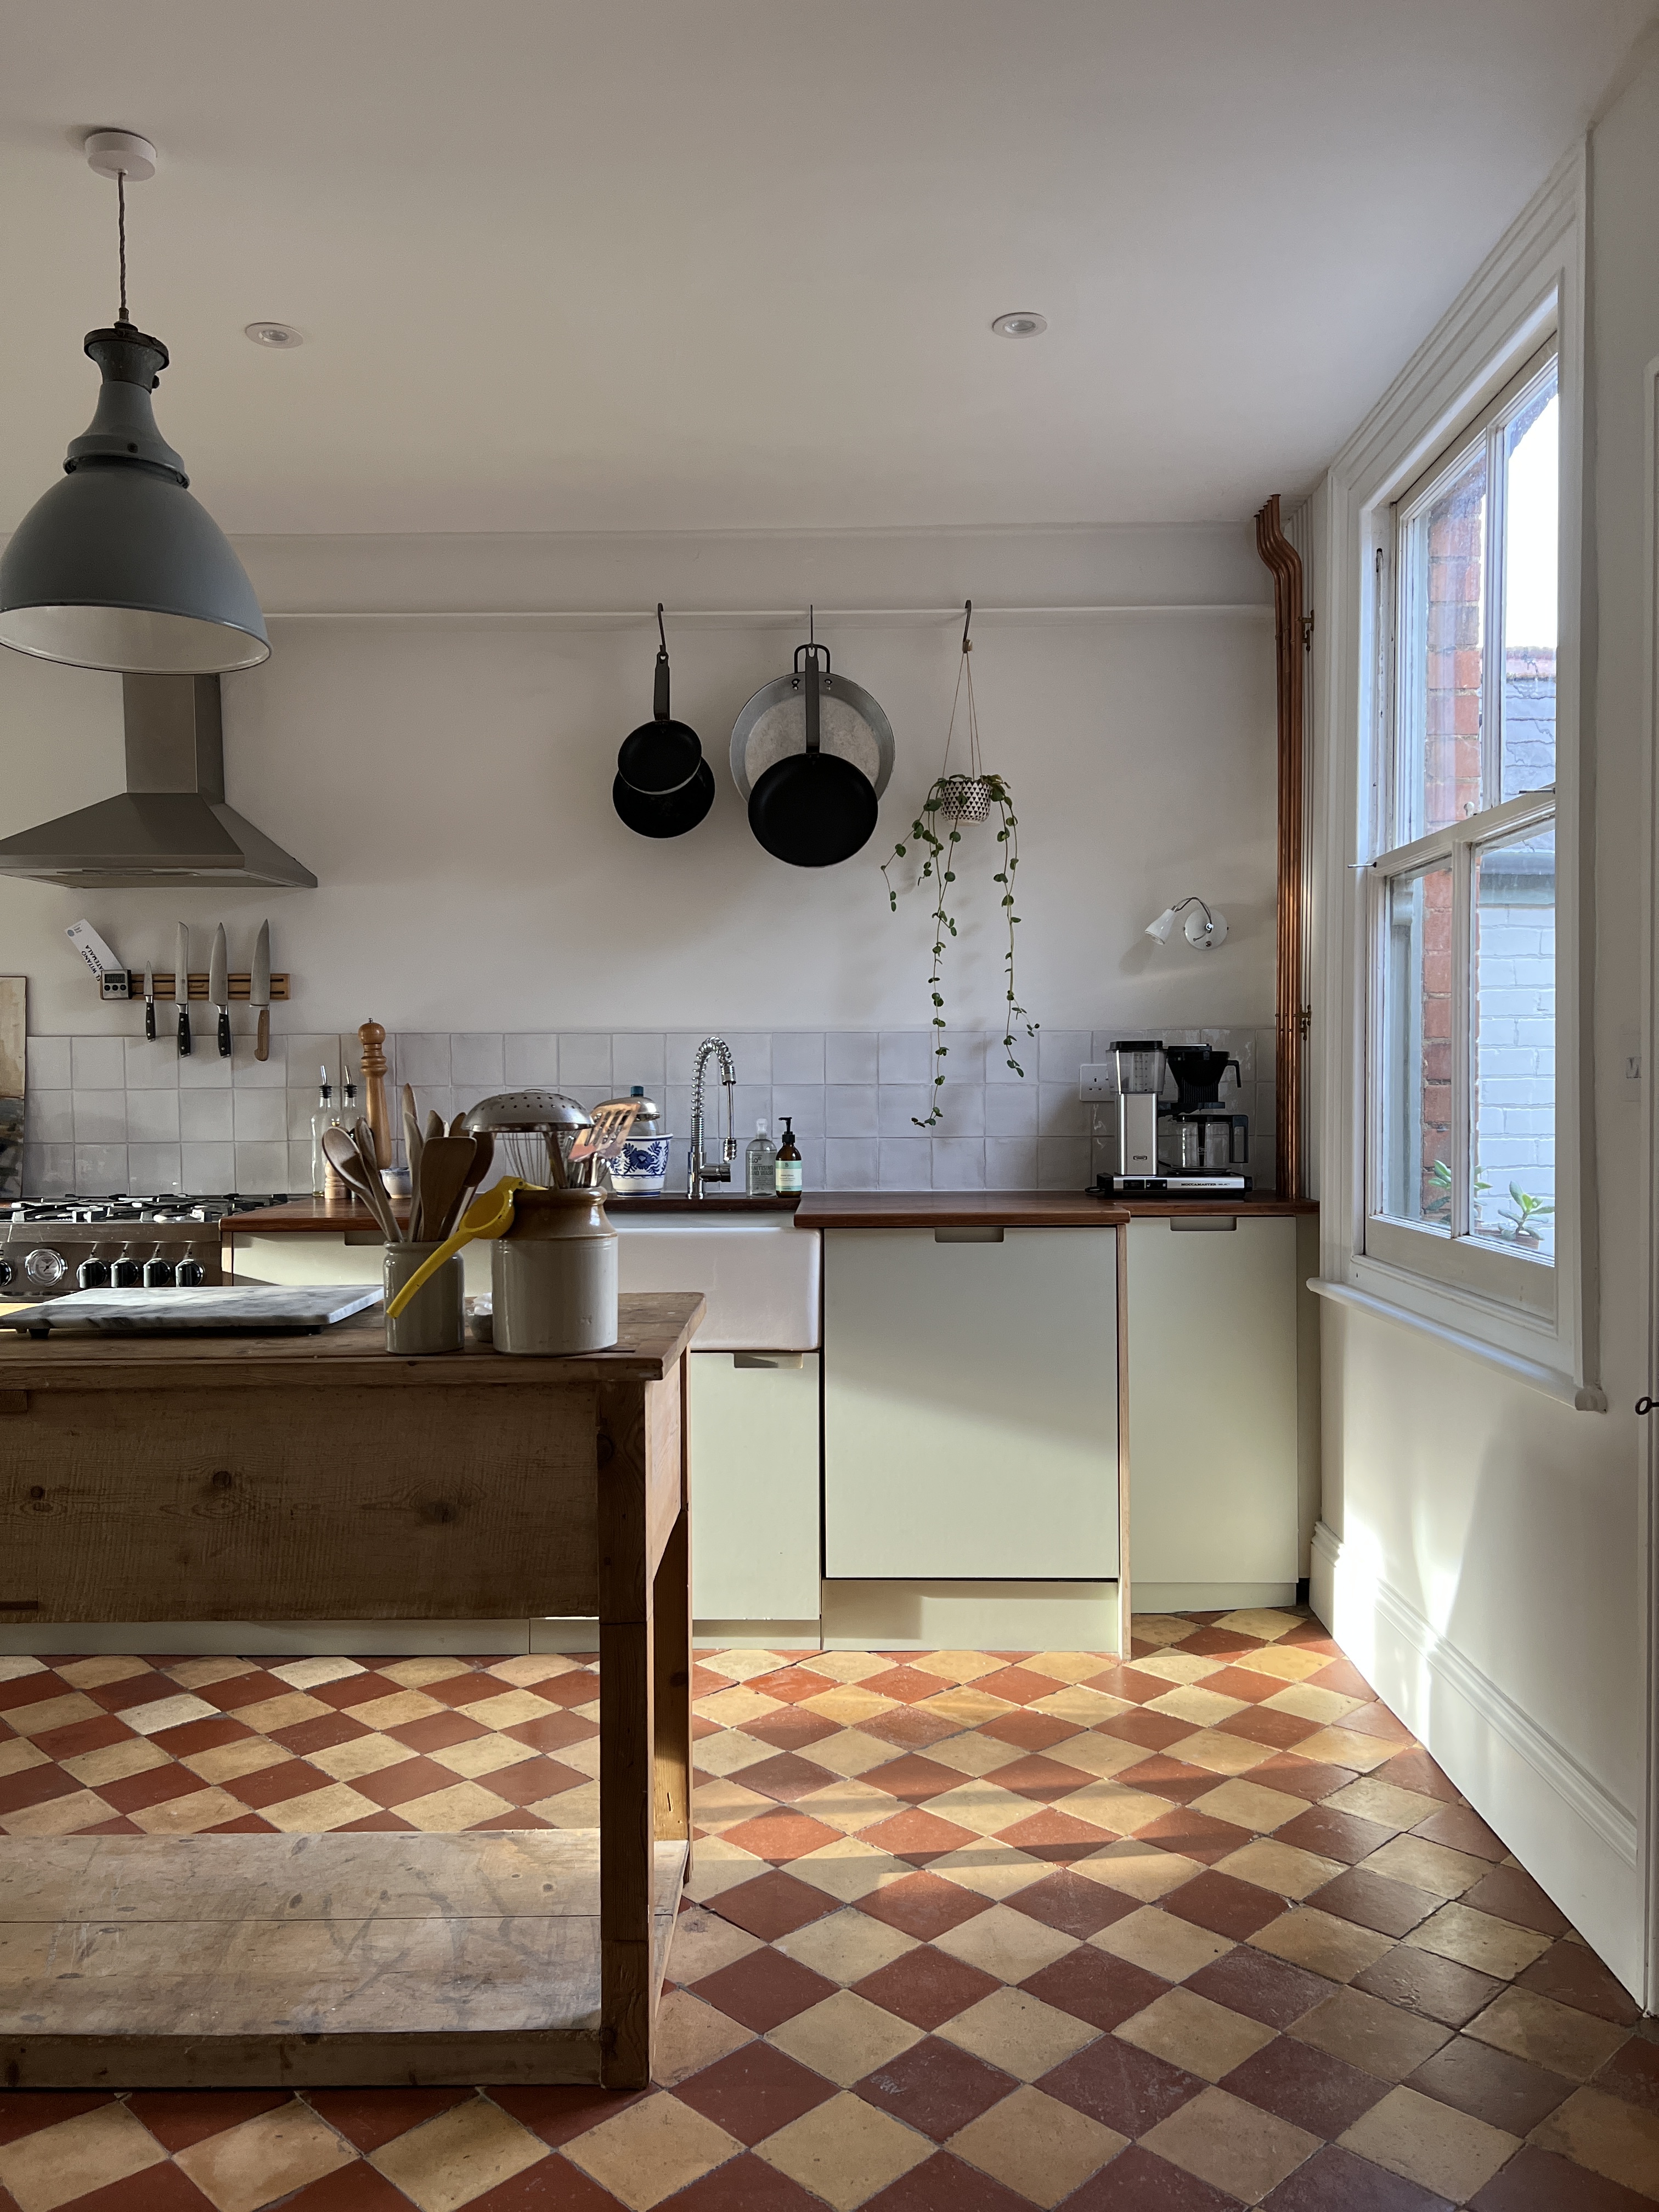
The first step is to make sure your cast iron cookware is properly prepared for reseasoning in order to get the best results. ‘Any food debris or carbon remains should be removed as best you can by doing a superficial wash with warm water and a small amount of dish soap (this is one of the rare times you can use soap on your cast iron),’ says professional chef Dennis Littley.
According to Dennis, if there's a substantial amount of rust over the surface, you could consider using electrolysis to remove it all properly. 'Afterwards, dry the cast iron with paper towels, and ideally, let all water evaporate over a few hours so you know it’s perfectly dry,’ he adds. If you're seasoning for the first time, the removal of debris won't be necessary.
2. Choose a seasoning oil
If you're going to invest in cast iron, you need to be prepared for a little more maintenance than your usual pans. Seasoning, or reseasoning, is essentially the process of adding oil to your pan's base to prevent food from sticking. That's why choosing the right seasoning oil is vital in preparing your skillet for reasoning.
‘Usually, people opt for neutral oils with a high smoking point, like flaxseed oil, canola oil, or vegetable oil,' says Dennis. 'Olive oils and coconut oils have low-temperature smoking points, so are generally avoided when seasoning a skillet. You should then preheat your oven to a temperature between 190 and 260 degrees Celsius, but this will depend on the smoke point of the oil you choose.'
3. Season the skillet
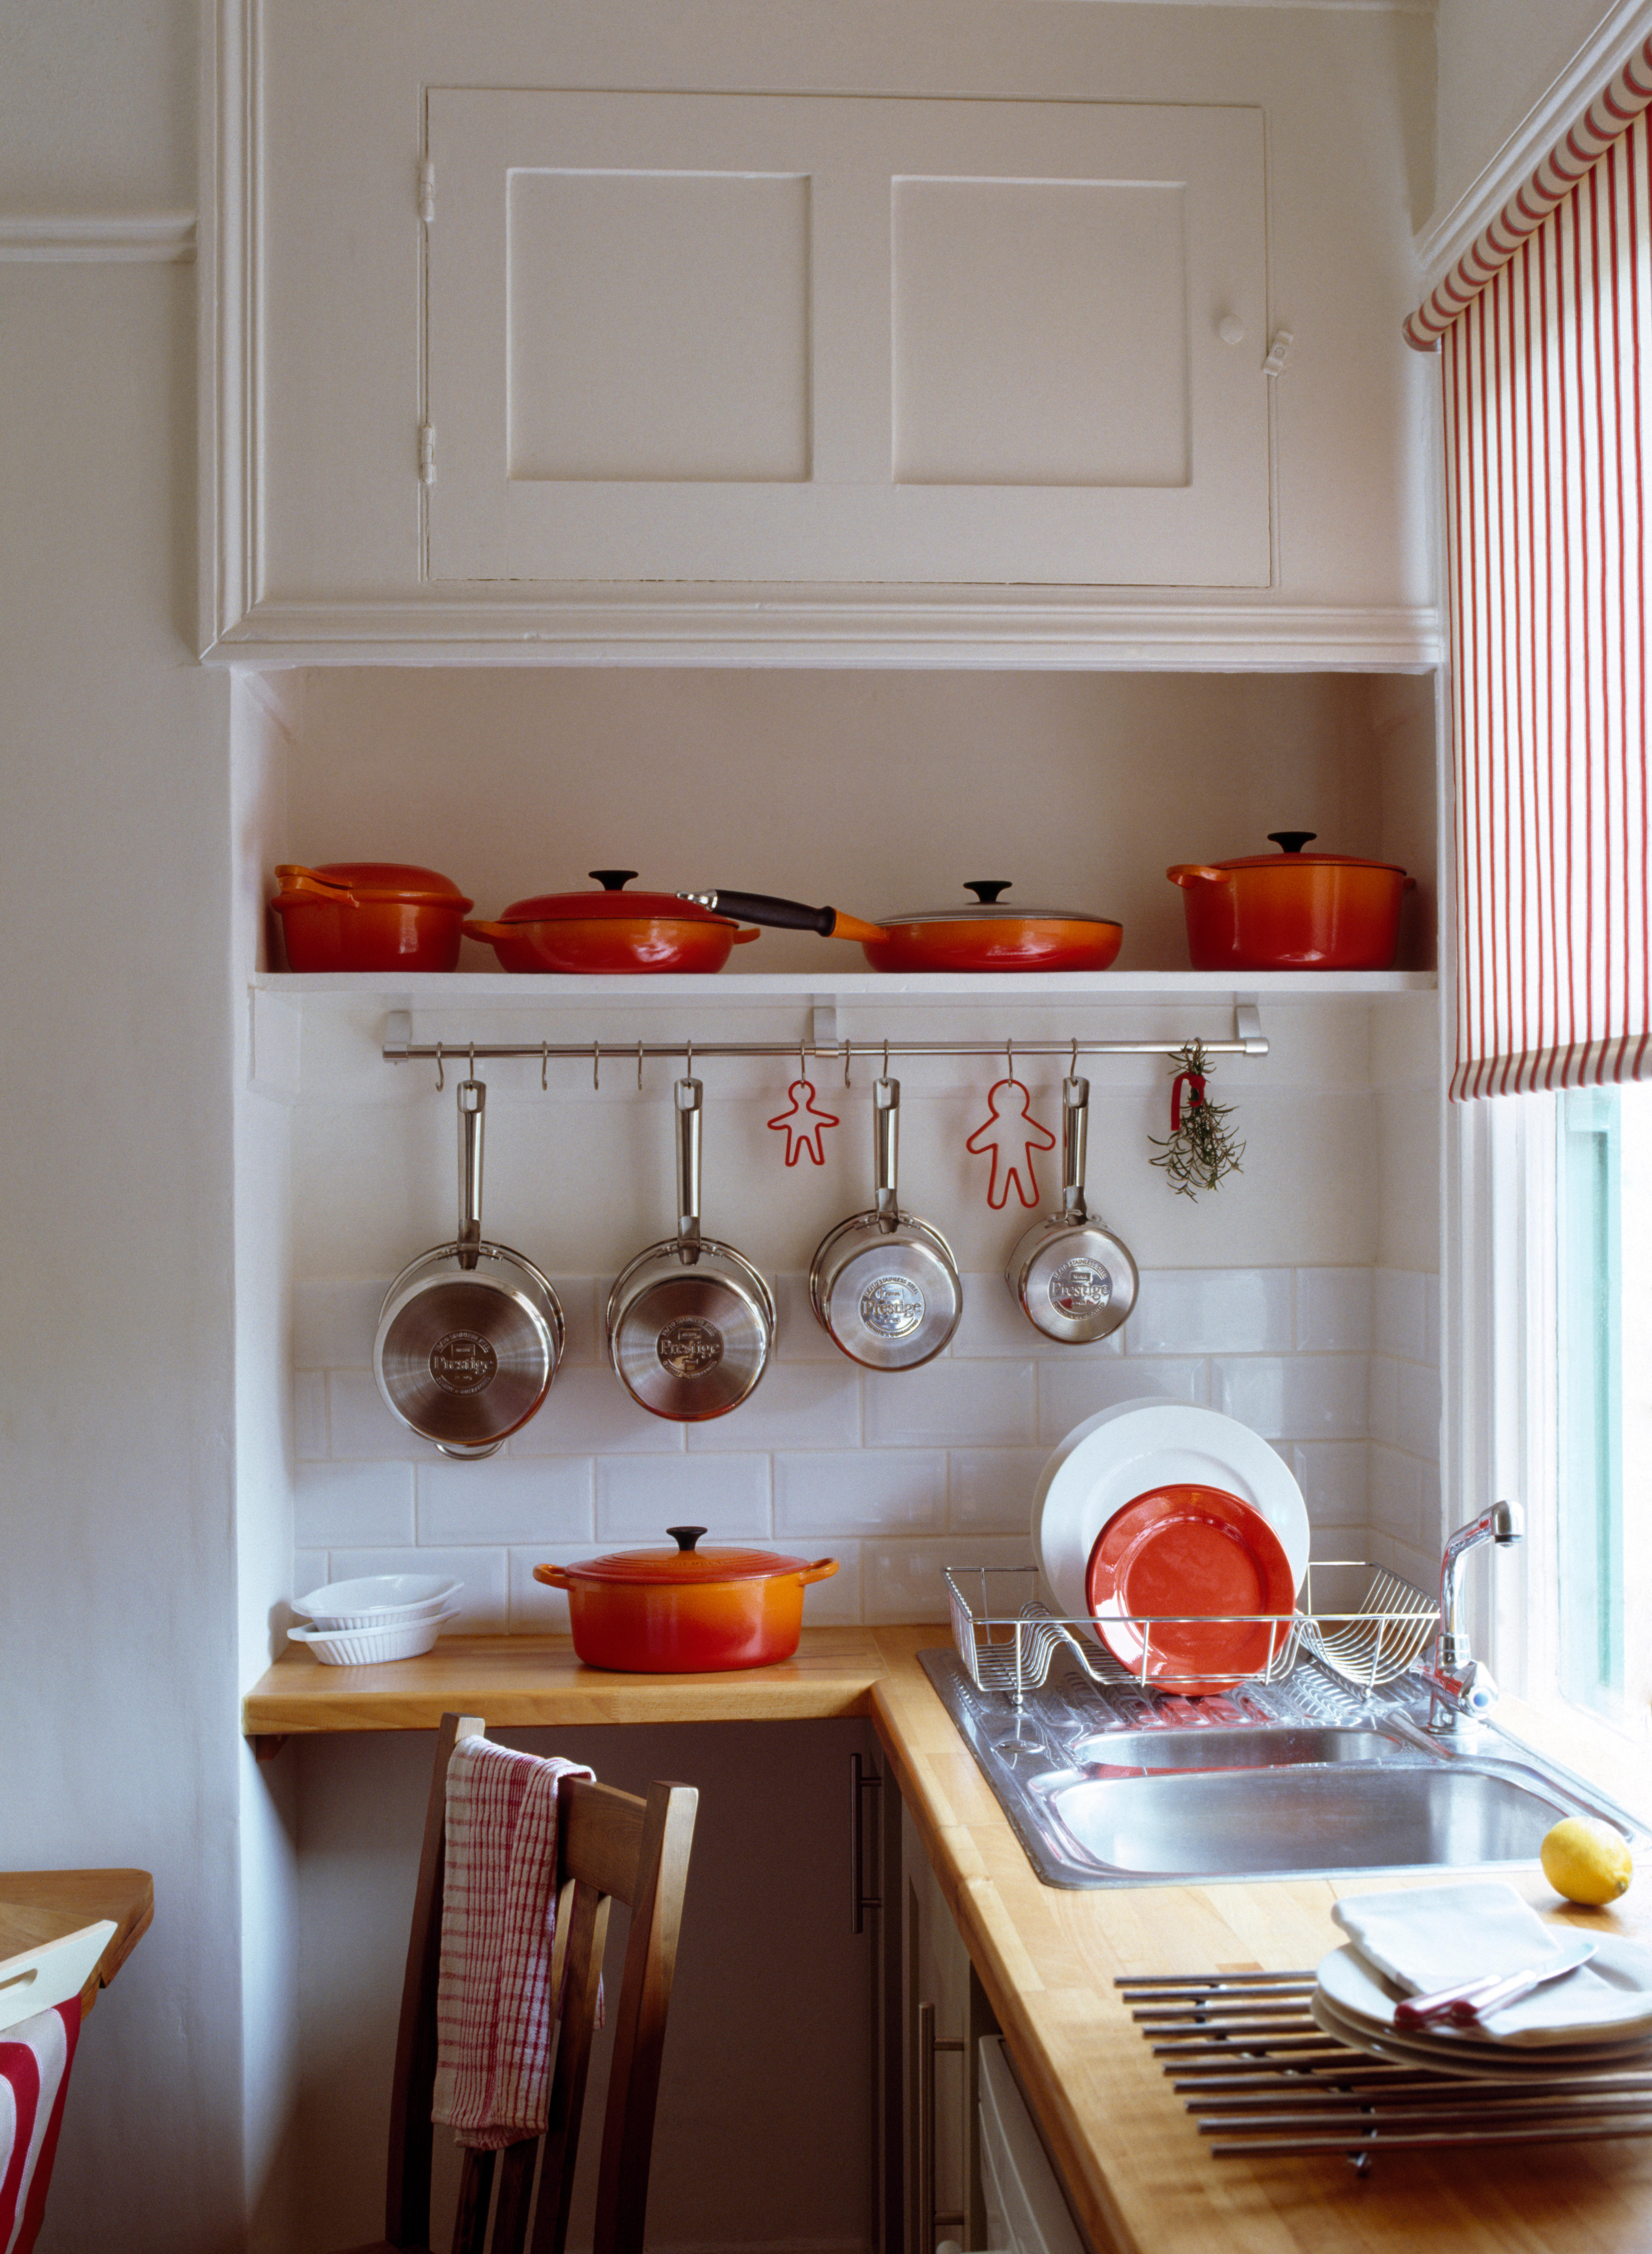
The next step is to carefully and sparingly apply the oil to the skillet. ‘Apply a thin layer of the oil to the entire surface of the cast iron skillet, including the handle and exterior of the pan,' Dennis instructs. 'The idea is to get a very thin layer of oil that’s evenly distributed throughout the pan - you could use a paper towel or cloth to rub every part of the skillet’s surface.'
The Livingetc newsletters are your inside source for what’s shaping interiors now - and what’s next. Discover trend forecasts, smart style ideas, and curated shopping inspiration that brings design to life. Subscribe today and stay ahead of the curve.
Once coated, you then need to wipe off any excess oil. 'While it might seem odd, the idea is to get a very thin (almost invisible) layer of oil on the cast iron,’ Dennis explains. This might sound time-consuming, but ensuring you reseason when necessary means your cast iron cookware will last you a lifetime, serving you in your kitchen for years to come.
4. Bake the skillet in the oven
After all the preparation has been done, it’s time to bake your skillet in the oven. ‘Place some aluminum foil in the bottom of the oven to catch any drip, and position the cast iron upside down in the middle of the oven,’ says Dennis, adding that if you’ve layered the oil correctly it’s unlikely there’ll be any drips.
‘Bake the skillet for between 60 and 90 minutes - this allows the oils to react and create a durable, non-stick surface for the skillet,' he continues. 'Once the time is up, turn off the oven but leave the cast iron to cool down while it’s still in the oven. This could take a while, but it’s important to let it cool down naturally.'
After a while, your skillet will be cool to the touch and you can remove it. The process might be done, however, a lot of chefs recommend repeating these steps again. 'Twice ensures a proper coating, while between five and six times results in an impeccably seasoned cast iron skillet,’ notes Dennis.
Now all that's left to do is put your cast iron skillet on display by hanging it up or positioning it on your hob for a rustic farmhouse kitchen feel!
Raluca formerly worked at Livingetc.com and is now a contributor with a passion for all things interior and living beautifully. Coming from a background writing and styling shoots for fashion magazines such as Marie Claire Raluca’s love for design started at a very young age when her family’s favourite weekend activity was moving the furniture around the house ‘for fun’. Always happiest in creative environments in her spare time she loves designing mindful spaces and doing colour consultations. She finds the best inspiration in art, nature, and the way we live, and thinks that a home should serve our mental and emotional wellbeing as well as our lifestyle.
