How to Fluff a Christmas Tree — A Step-by-Step Guide to Fuller-Looking Faux Trees
Spend enough time prepping your Christmas tree before decorating it, says this interior stylist

When it comes to a luxurious-looking Christmas tree, it's all in the prep. The longer you spend fluffing a Christmas tree, the better your final result will be.
"Fresh out of the box, artificial trees can appear somewhat compressed and can need a little teasing to reach their fullest potential," says Mac Harman, CEO of Christmas decor brand, Balsam Hill. "We call this 'fluffing' your tree and there really is an art to it!"
As an interior stylist, I've styled plenty of Christmas trees over the years for brands and homes alike. Fluffing really is the most essential step in how to decorate a Christmas tree, so here's my guide on how to do it.
How to fluff a Christmas tree
Unboxing your tree is a feeling almost as good as opening your gifts on Christmas day. Although you might be tempted to jump straight in, you should make sure you're prepared first.
It's a good idea to give the segments of your tree a good shake to get rid of any dust that's collected (especially if you've stored it in the loft). There will inevitably be some fallout from the branches, too. Have a vacuum cleaner or dustpan and brush handy in order to clear up the sprigs or needles that fall off.
Although there's no equipment needed for fluffing a Christmas tree, the spiky faux foliage can be as irritating to your skin as the real thing. If possible, grab yourself a pair of gardening gloves before fluffing your tree (good quality trees often come with a pair inside the box). Even though they're artificial, fake trees can still be a bit prickly, and this will stop you getting in there and really fluffing your tree. This is especially important if you have younger members of the family joining lending a hand.
When fluffing a tree, the idea is to make the branches look as full and bushy as possible. "Starting with the bottom section of your tree, work your way up in sections," says Mac. "Tying up the branches above that you’re not working on with a piece of ribbon is recommended so they don’t obscure your view as you fluff the lower branches." I usually do it piece by piece, rather than building the whole tree at once.
The Livingetc newsletters are your inside source for what’s shaping interiors now - and what’s next. Discover trend forecasts, smart style ideas, and curated shopping inspiration that brings design to life. Subscribe today and stay ahead of the curve.
"If you have a larger tree, it's a good idea to fluff the topmost section ahead of putting the tree up as it’s a lot easier to work on the ground," notes Mac
1. 'Back-wrap' your branches
A Christmas tree can really look gappy and under-fluffed in the middle, especially with cheaper trees. It's generally down to how they're manufactured that the center can't be as lush as the outer edge of the branches, but there's a little trick that you'll find is utilized on more expensive trees that you can copy.
Take the last branch and turn it backwards, wrapping it around the metal fixing into the trunk. It doesn't need to be tight — in fact the bushier you can make the 'back-wrap' look the better.
2. Spread the branches
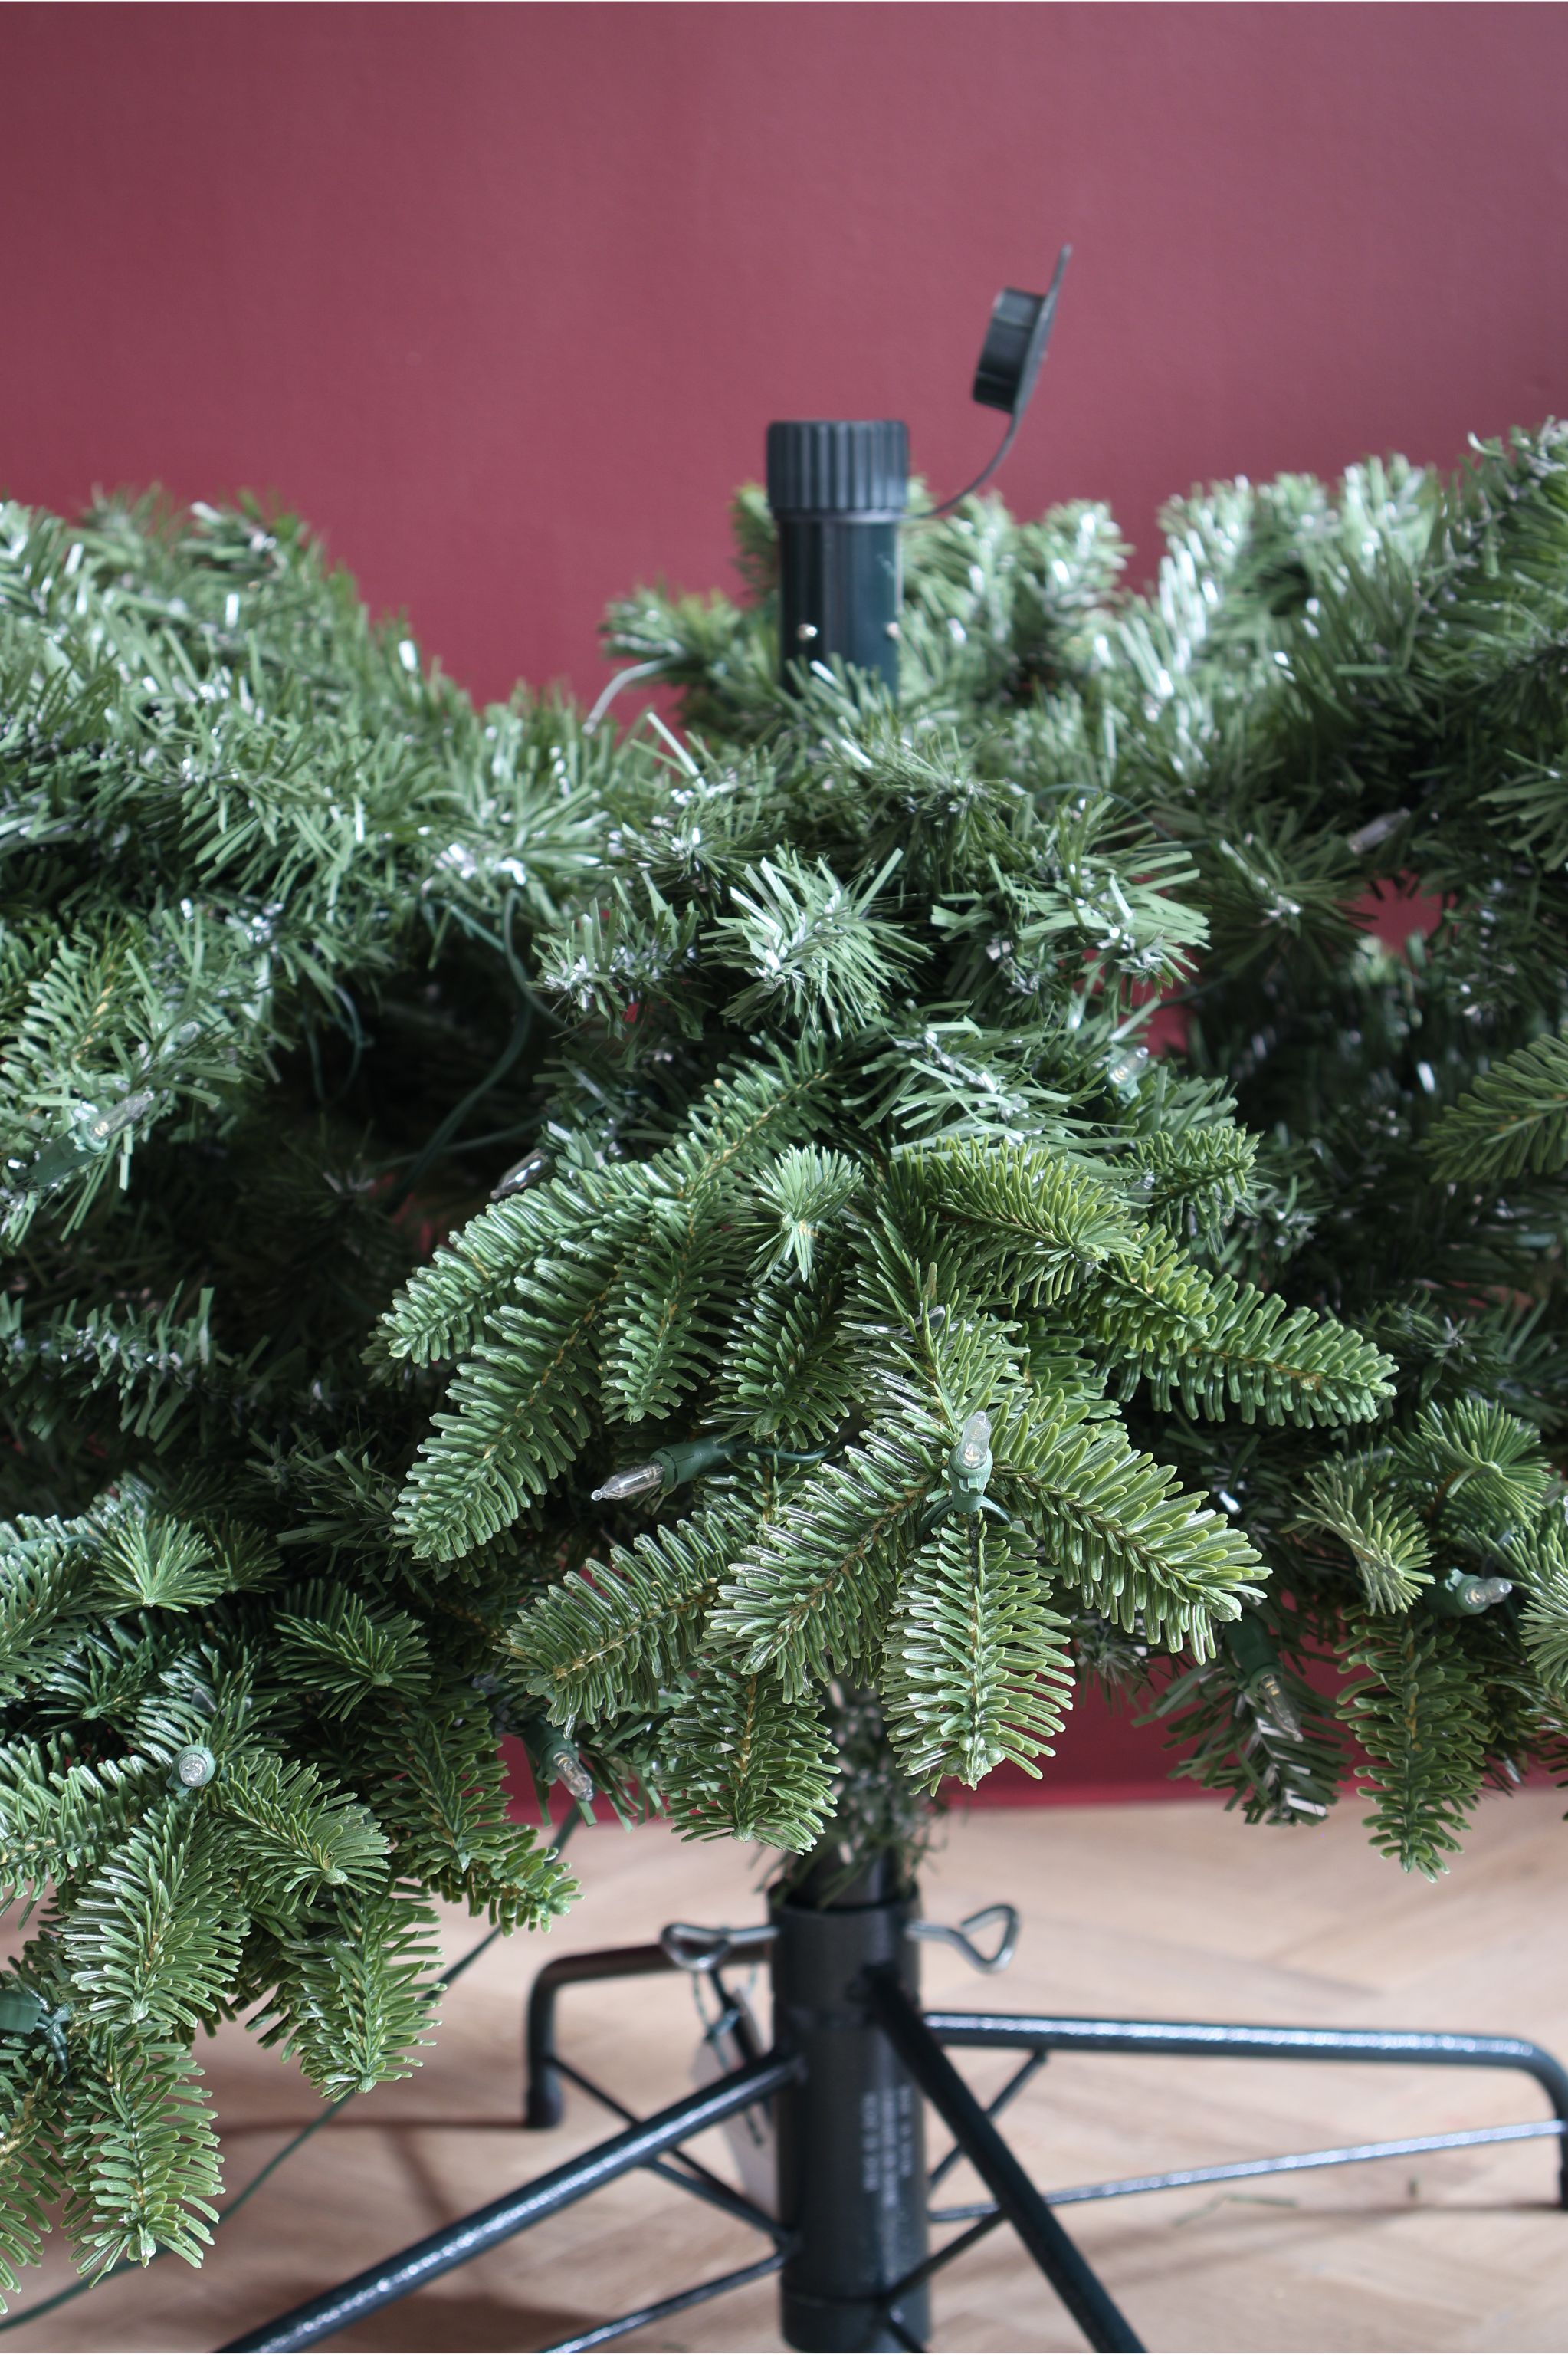
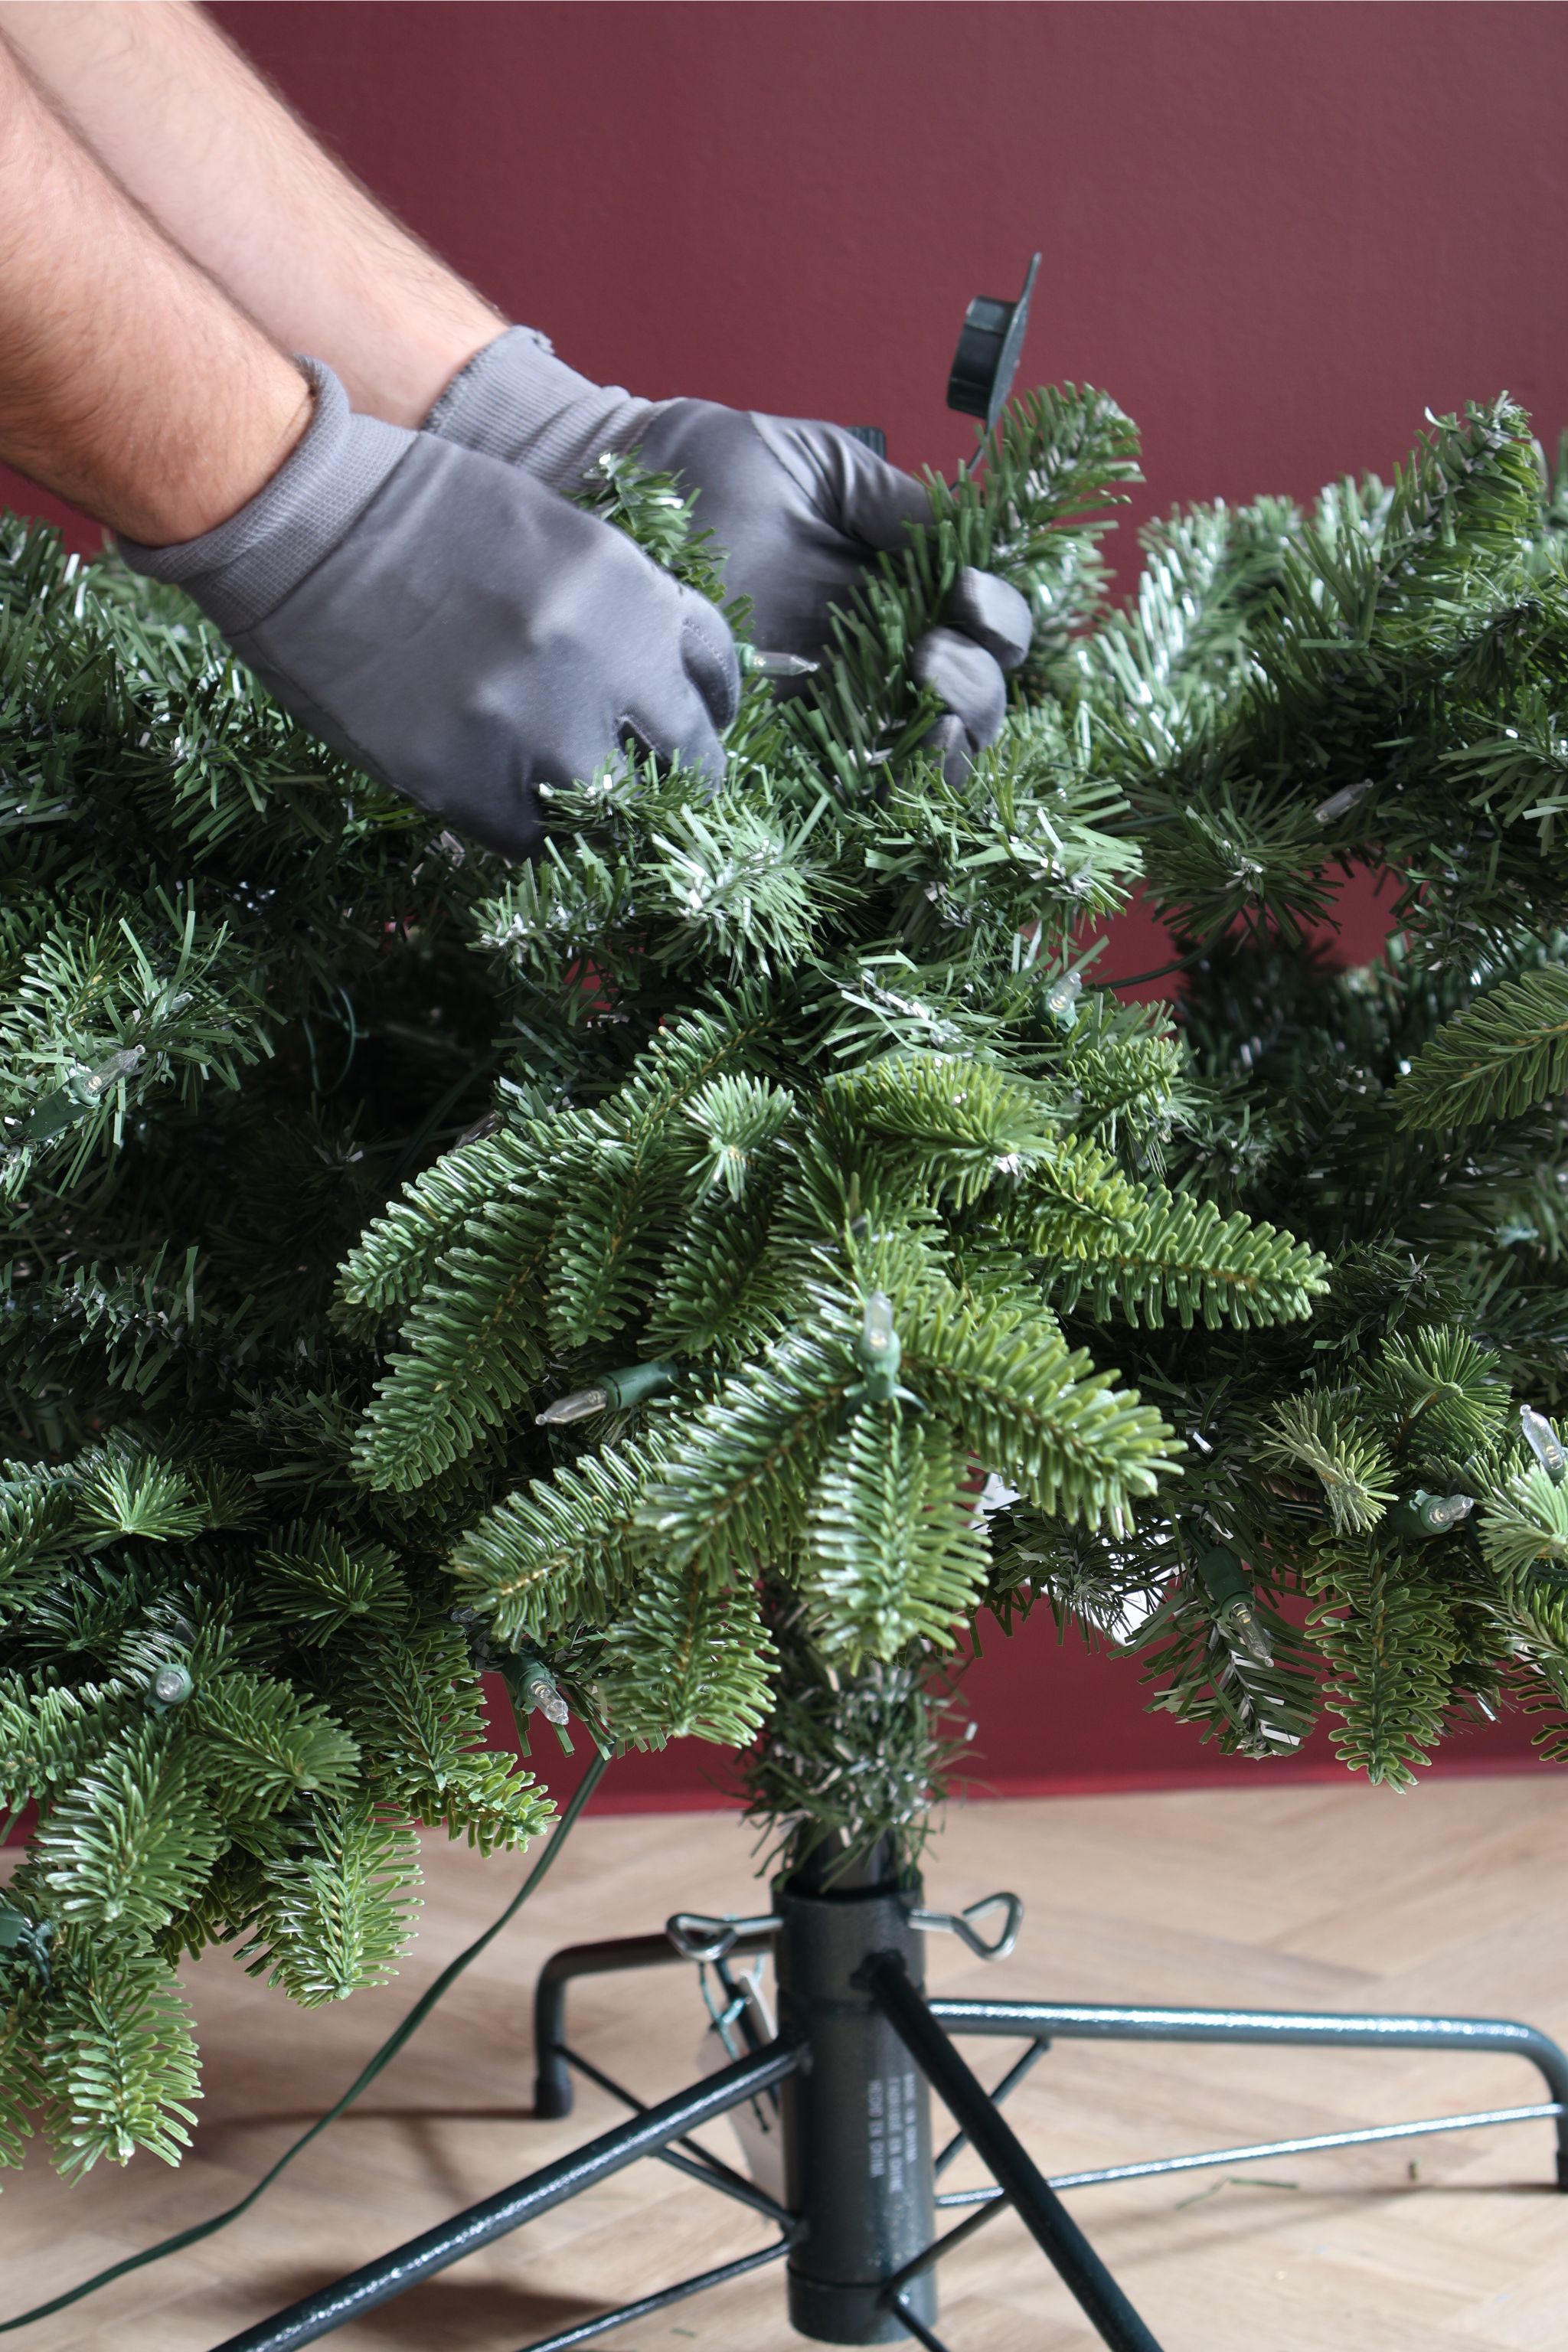
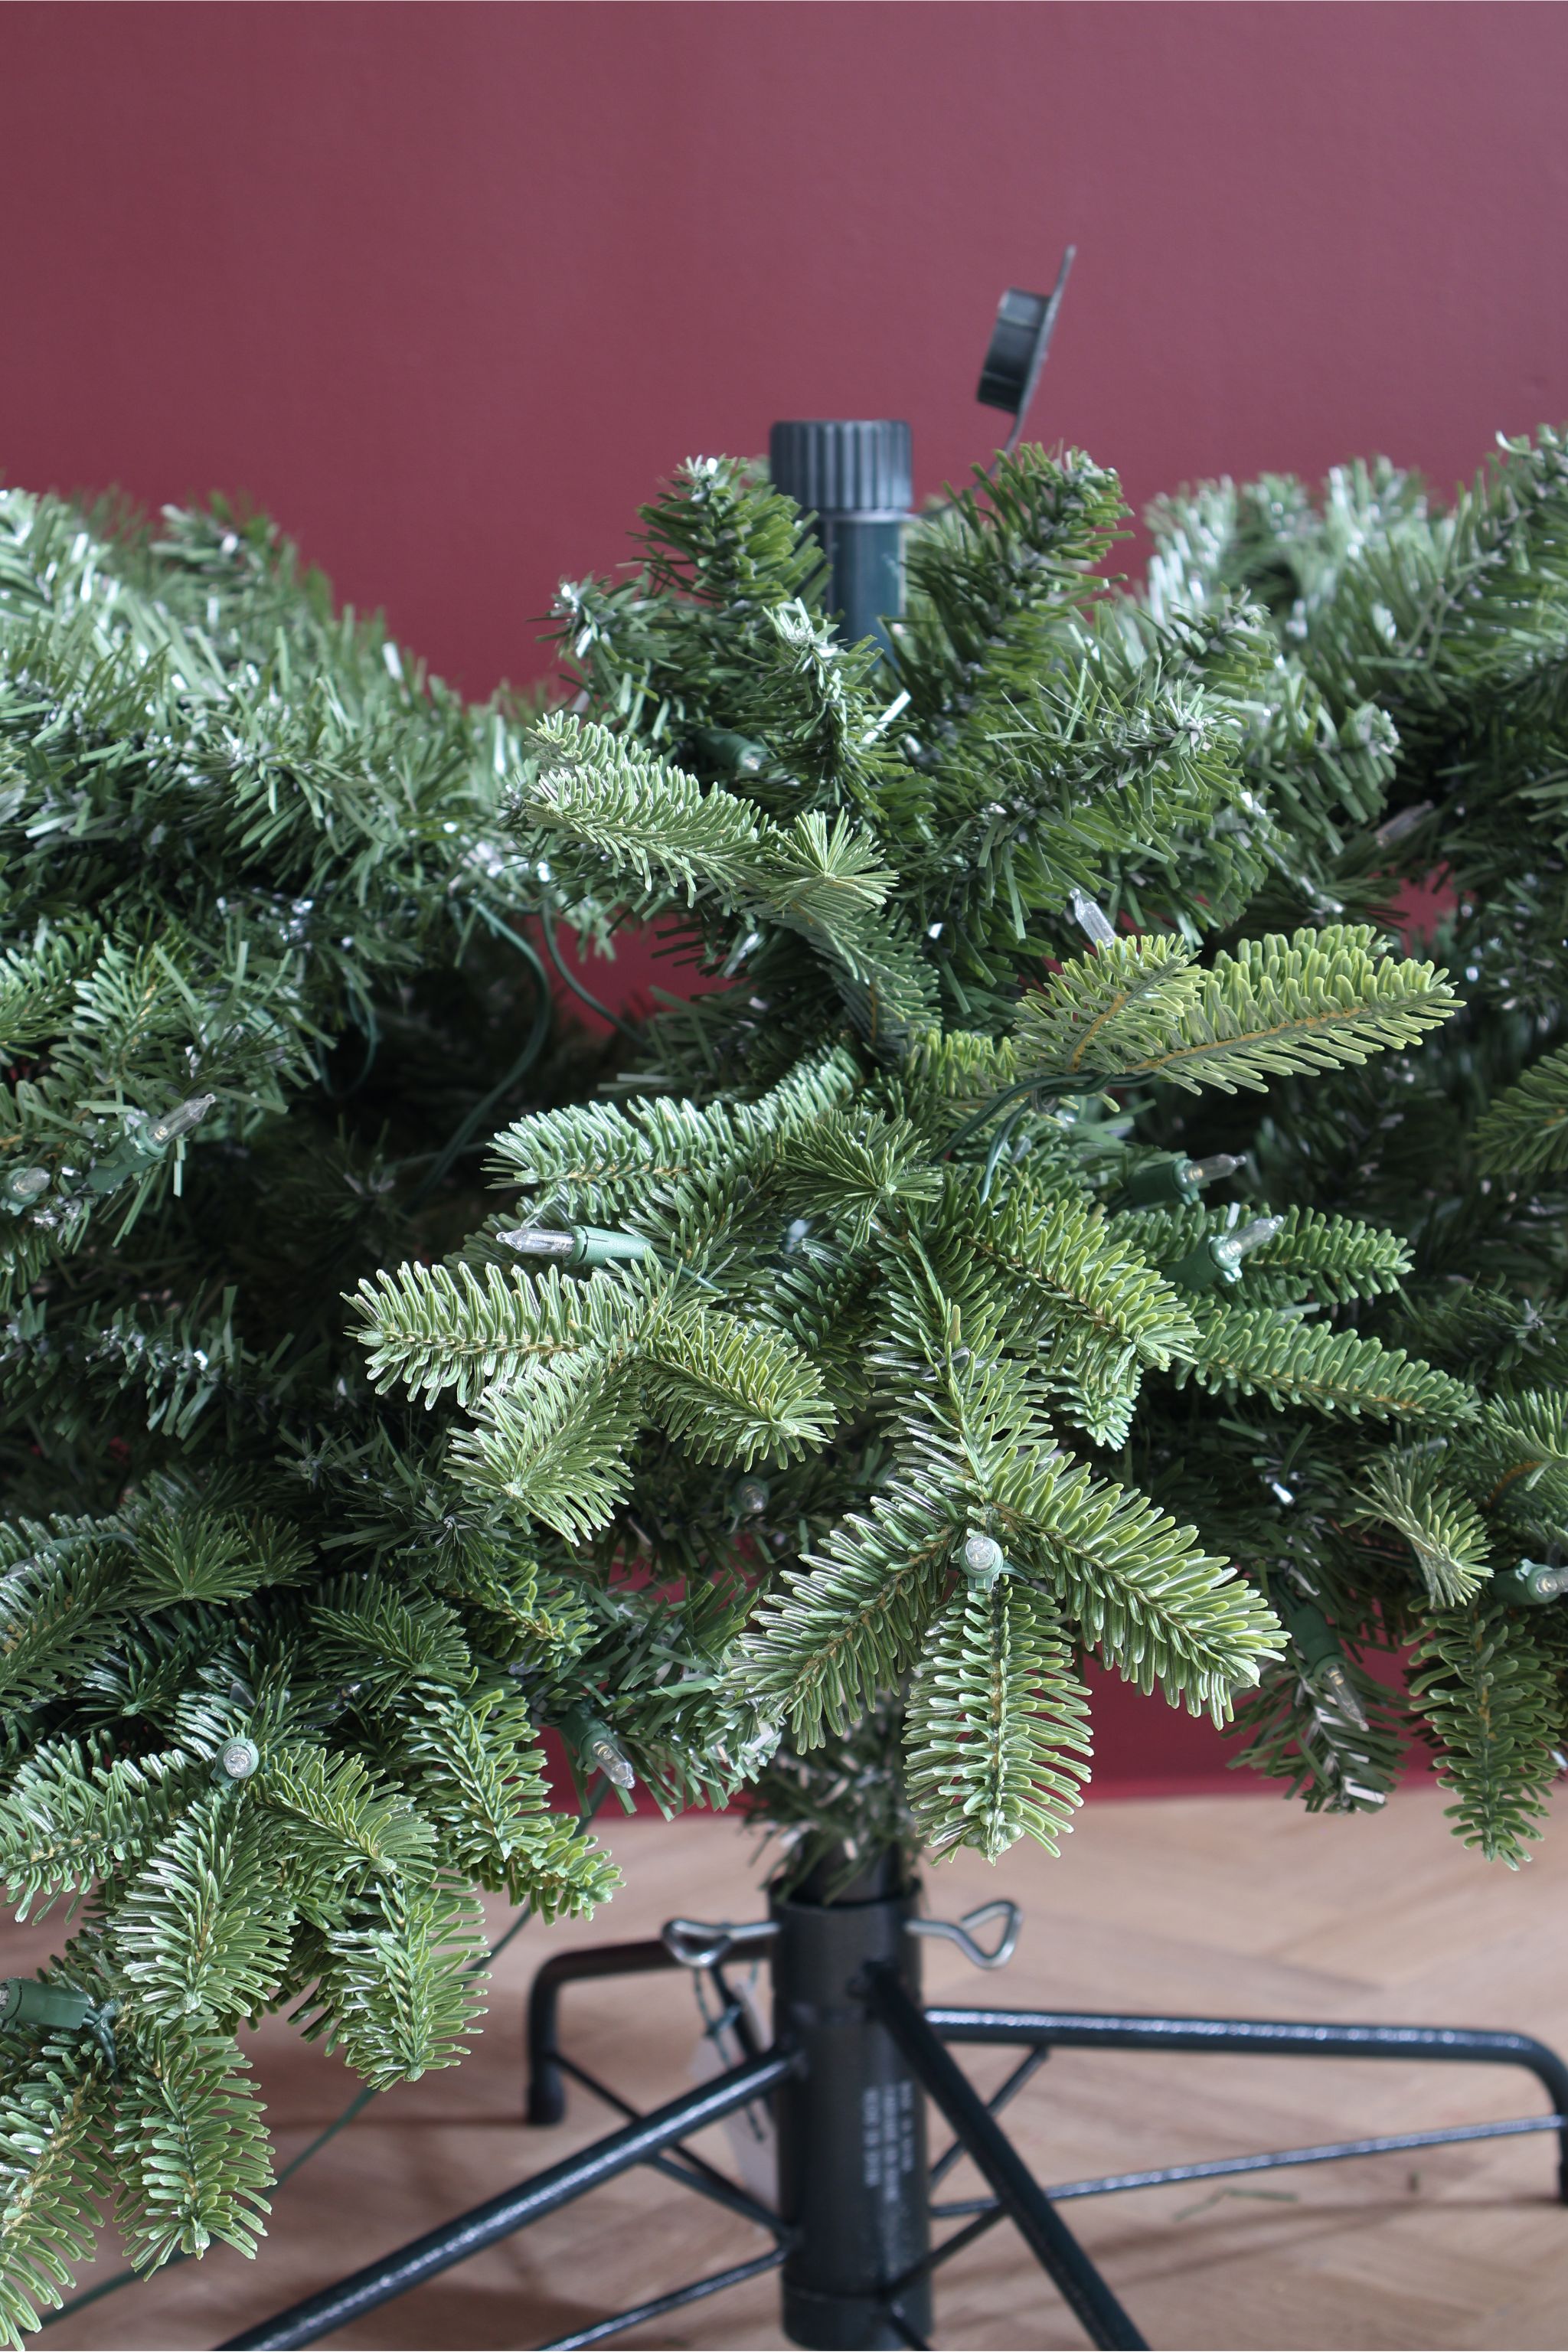
Starting from the inside out, start to angle the branches up around 45 degrees, lowering the angle as you get closer to the front.
It might sound tedious, but it's important to work methodically, focusing on each individual branch, in order to achieve the most realistic looking tree. "Start at the back of each branch and stagger each sprig so that it is offset from the one before," Mac explains. "Take the tip of the sprig and move it so that it points in a different direction from the ones immediately around it. Fanning the sprigs out in this way opens up the branch and mimics the way the tree would grow in nature."
Don't pay too much attention to making sure every branch is uniformly spread — some variety will help achieve a natural look. Consider adding a kink in the end of the branches too for a realistic touch, this will also help baubles sit on them more easily.
Fake Christmas tree branches are almost always made of wiring, so you can tailor the look of your tree to you heart's desire! If your tree is in a living room corner, it's a good idea to bend some branches forward so that your tree looks less sparse at the front (after all, no one will see the back!).
Don't just think of fluffing as spreading the branches horizontally. Some of the worst case gaps will be between levels of branches, especially where two pieces of your tree join together. Bend the branches down and up, too. This will make your artificial tree look closer to the real thing — the perfect addition to your Christmas living room decor.
3. Take a step back
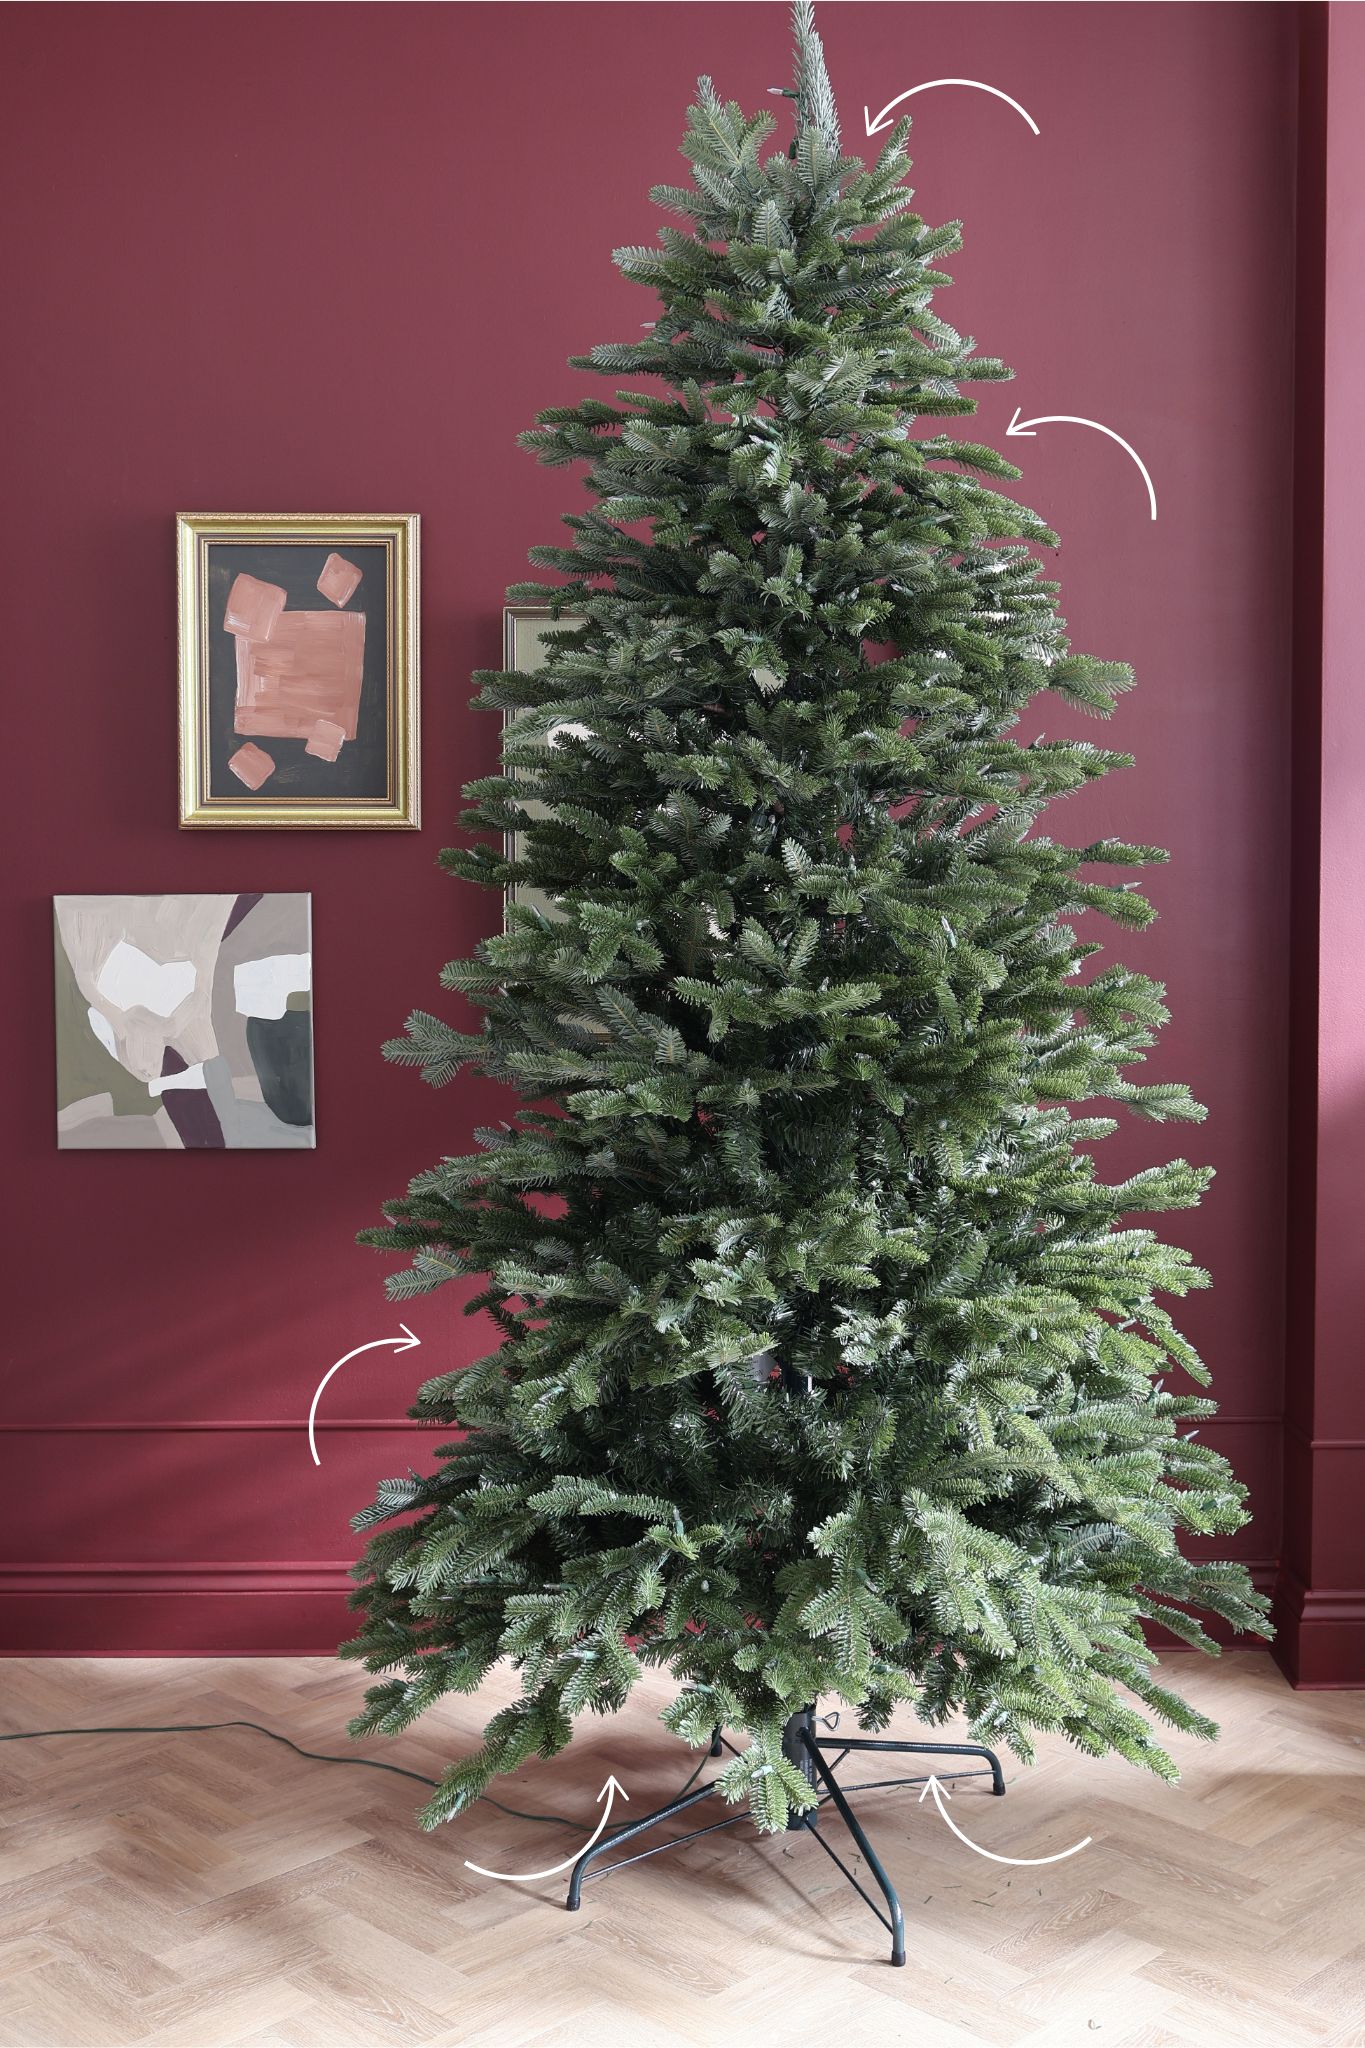
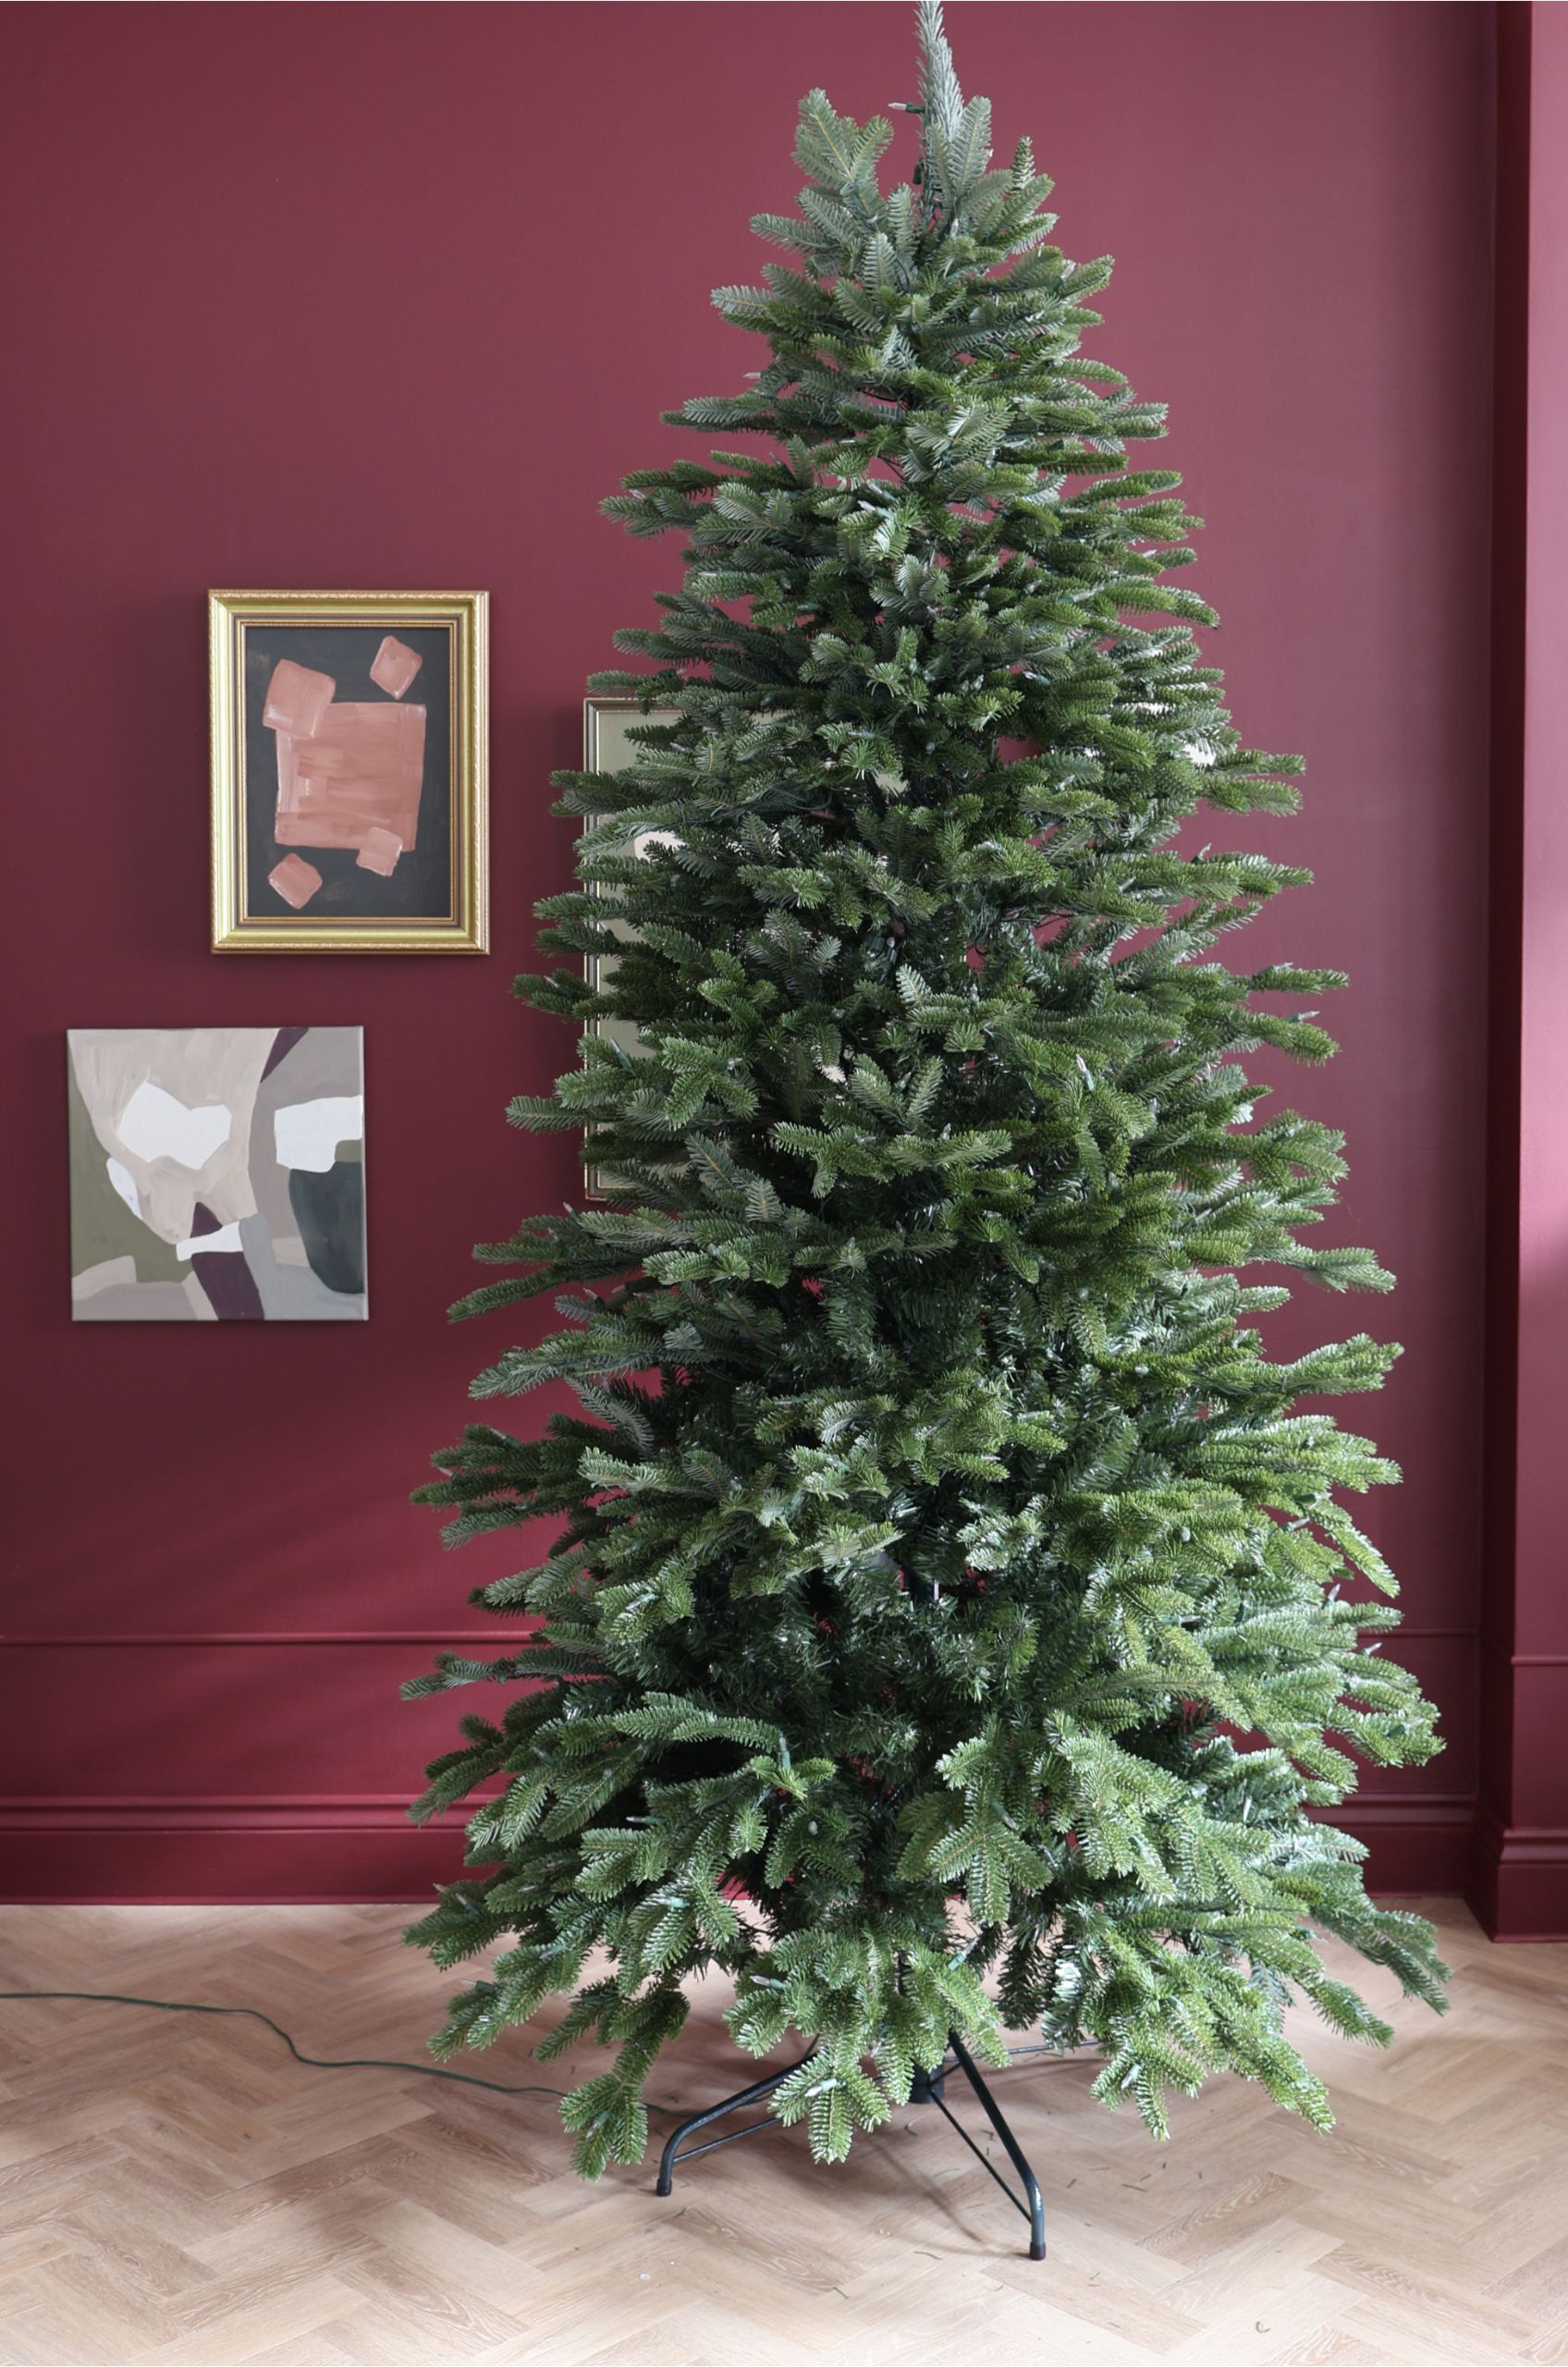
It's hard to get the full picture of how your Christmas tree is looking up close, so take a step back after your first fluff to get an idea of your progress, paying attention to it from the angles that the tree will be viewed from most.
My top tip? Take a photo, and use that as a guide as you give it a second fluff. The images, above, show how I've identified the gaps, and with phone in hand, how I've fluffed it to fill them in.
5. Fill in gaps with additional decor
Finally, if your tree is still looking a bit sparse (perhaps you've lost a few branches over the years, or maybe it has a slimmer branch style), don't be afraid to fill in the gaps with some complimentary decor.
Consider adding foraged foliage in to make your tree feel a little more full. For a tree that will last all season long, dried branches or flowers like gypsophila - the perfect addition to a white Christmas tree - can make the tree feel super full and luxurious, or else finding garlands that match your tree can be wrapped around the tree to make it feel fuller.
FAQs
Why is it important to fluff a tree?
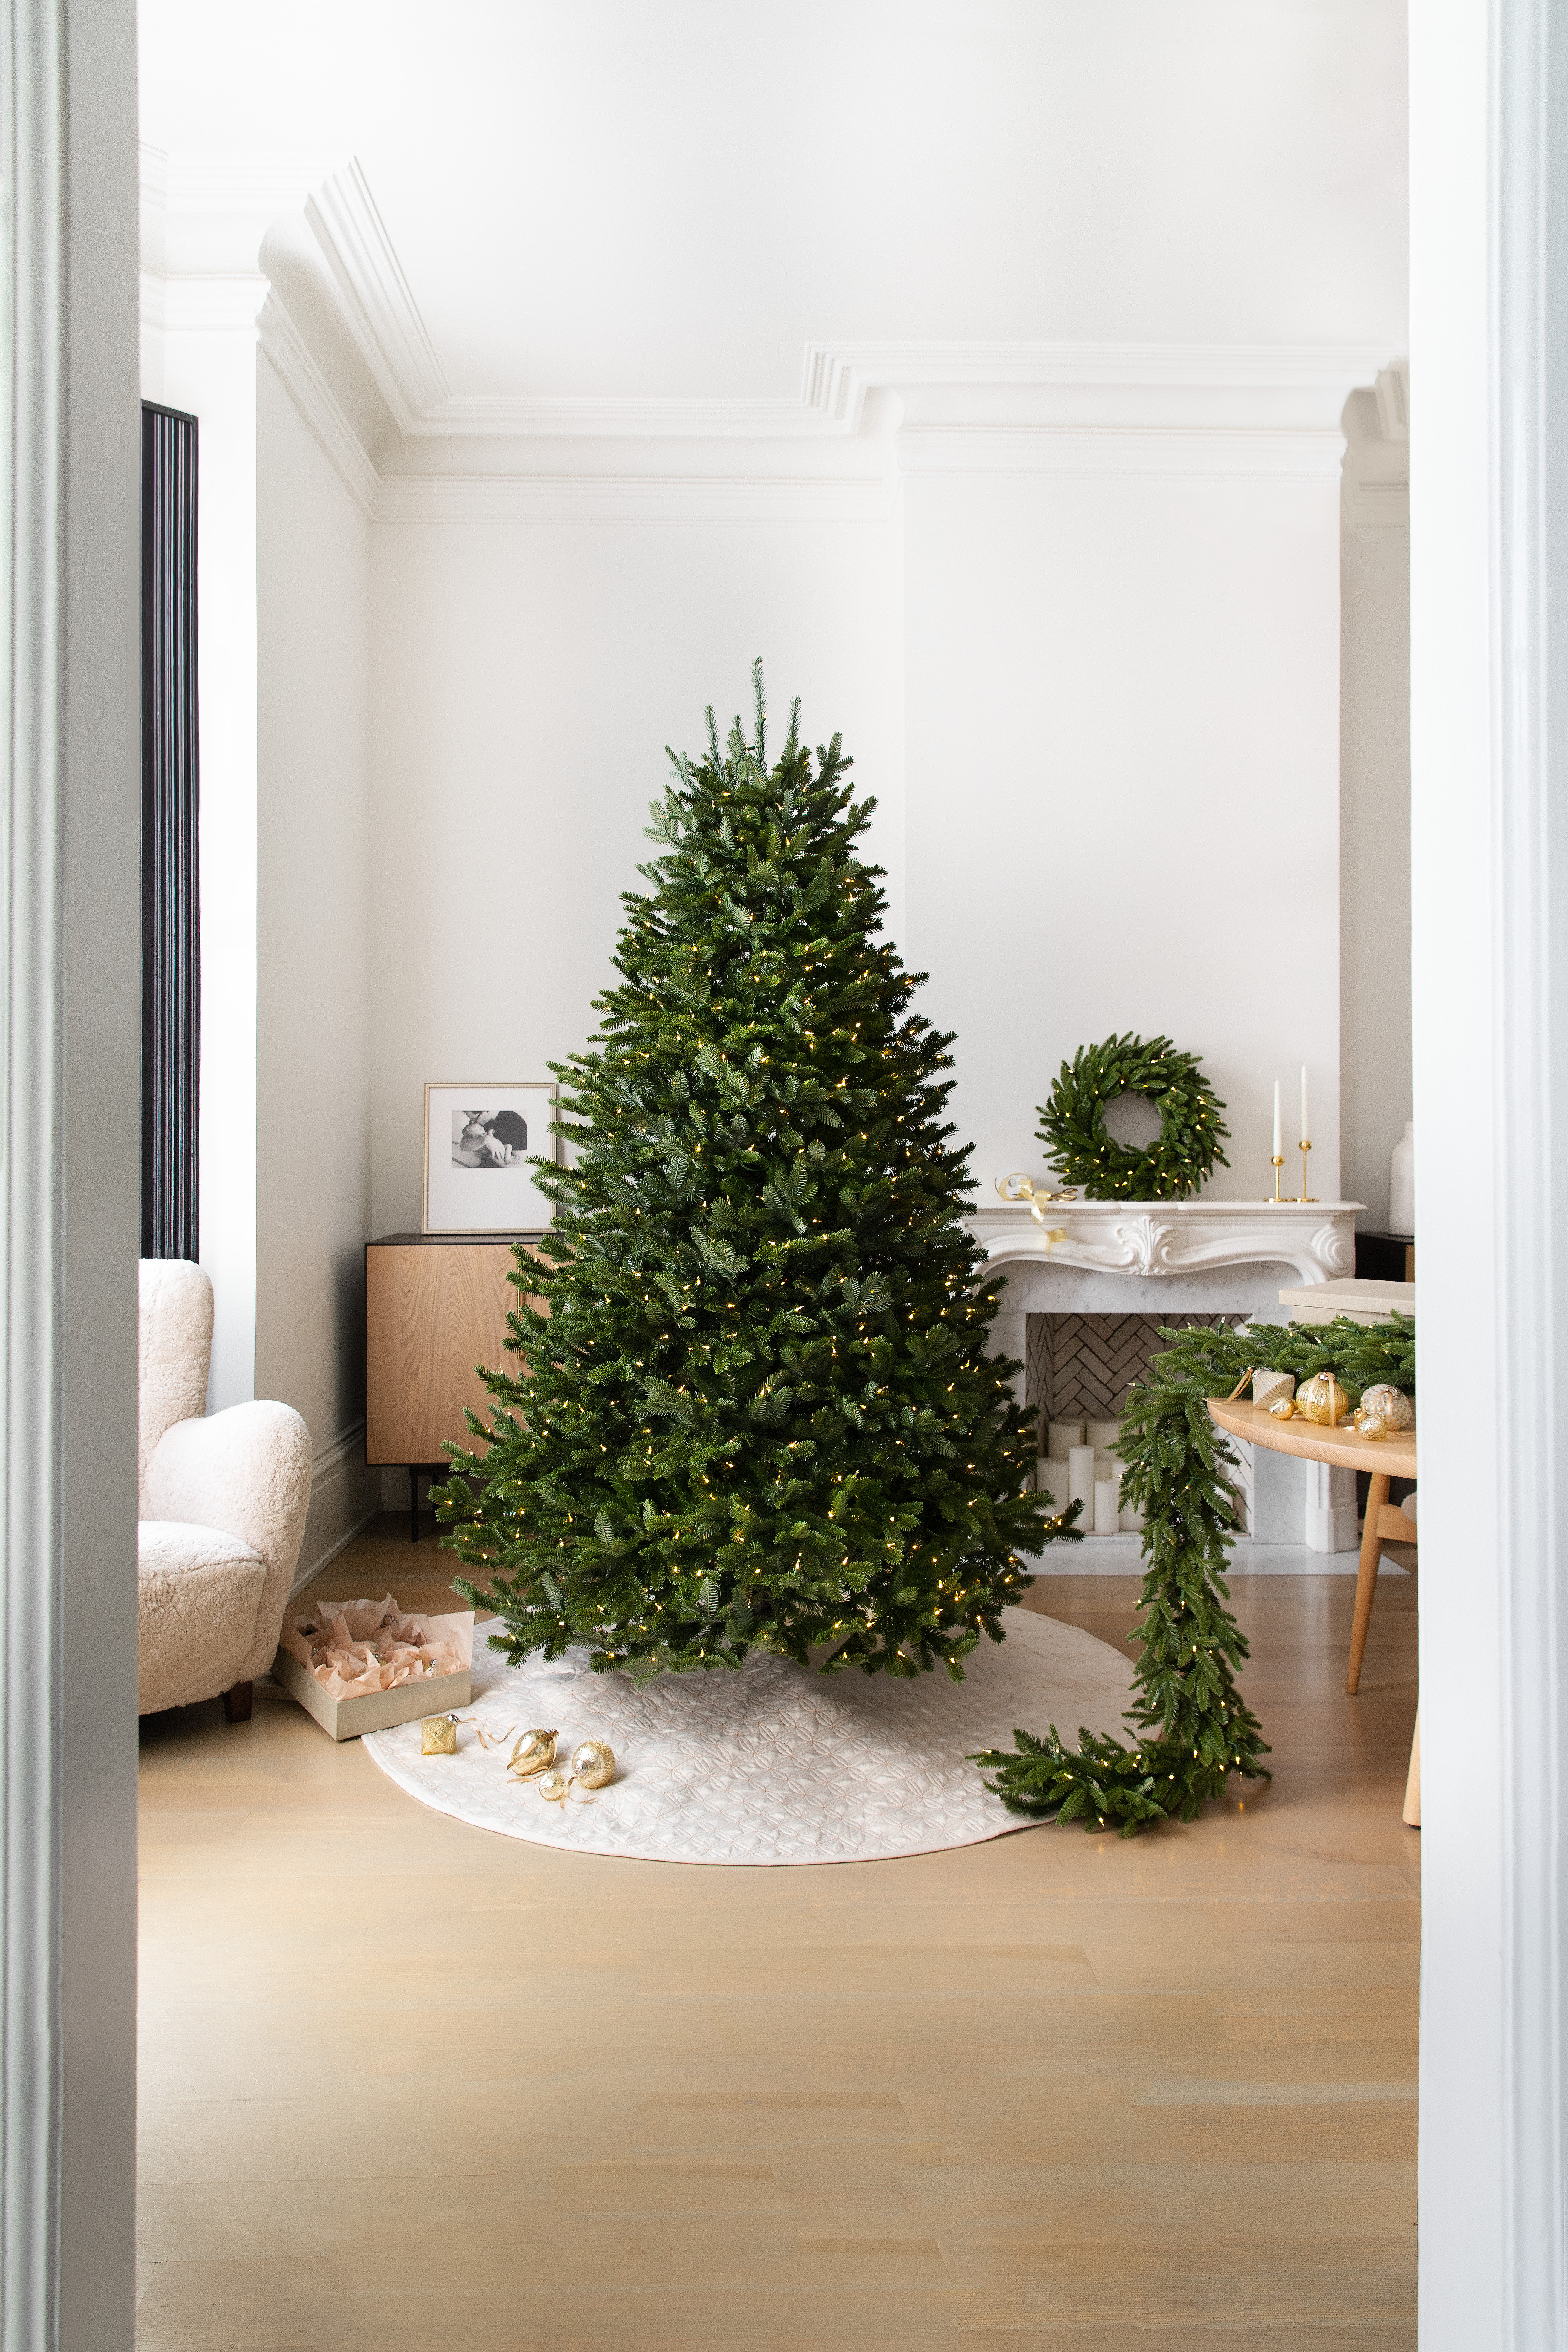
Until today, 'fluffing' a tree might have been a totally alien term. Maybe you've been doing it subconsciously, or perhaps it's something you've never done before. While you might have been happy with your tree all these years despite skipping this step, the aesthetic benefits aren't to be snubbed.
As Mac of Balsam Hill explains: 'So often, the tree is the focal point of the home at Christmas and as many of us also choose to display our trees so that they are visible to passers-by in the street, you want your tree to look its absolute best!' This is what fluffing a tree is all about.
Besides the aesthetic advantages, Mac also believe tree fluffing becomes part of your Christmas decorating rituals, just like choosing your favorite baubles or adding your Christmas tree topper! 'I recommended carving out an evening and inviting round friends or family to help,' he says.
How long does it take to fluff a Christmas tree?
Fluffing is a job that can't be rushed. "The biggest hack when it comes to making your artificial tree look fuller and more realistic is time; if you spend a good couple of hours on it, your tree will be all the better for it," Mac notes.

Luke Arthur Wells is a freelance design writer, award-winning interiors blogger and stylist, known for neutral, textural spaces with a luxury twist. He's worked with some of the UK's top design brands, counting the likes of Tom Dixon Studio as regular collaborators and his work has been featured in print and online in publications ranging from Domino Magazine to The Sunday Times. He's a hands-on type of interiors expert too, contributing practical renovation advice and DIY tutorials to a number of magazines, as well as to his own readers and followers via his blog and social media. He might currently be renovating a small Victorian house in England, but he dreams of light, spacious, neutral homes on the West Coast.