How to paint a ceiling - the expert guide to giving the fifth wall a fresh look
Expert advice for how to paint a ceiling, revealing all the secrets for a professional finish
The Livingetc newsletters are your inside source for what’s shaping interiors now - and what’s next. Discover trend forecasts, smart style ideas, and curated shopping inspiration that brings design to life. Subscribe today and stay ahead of the curve.
You are now subscribed
Your newsletter sign-up was successful
If you know how to paint a ceiling then you can join the color and pattern party. No longer just coated in a standard white, the fifth wall (as it's sometimes known) has come into its own. Yes, the current interiors trends are focussing on what's right above you - making every surface in the room a talking a point at last.
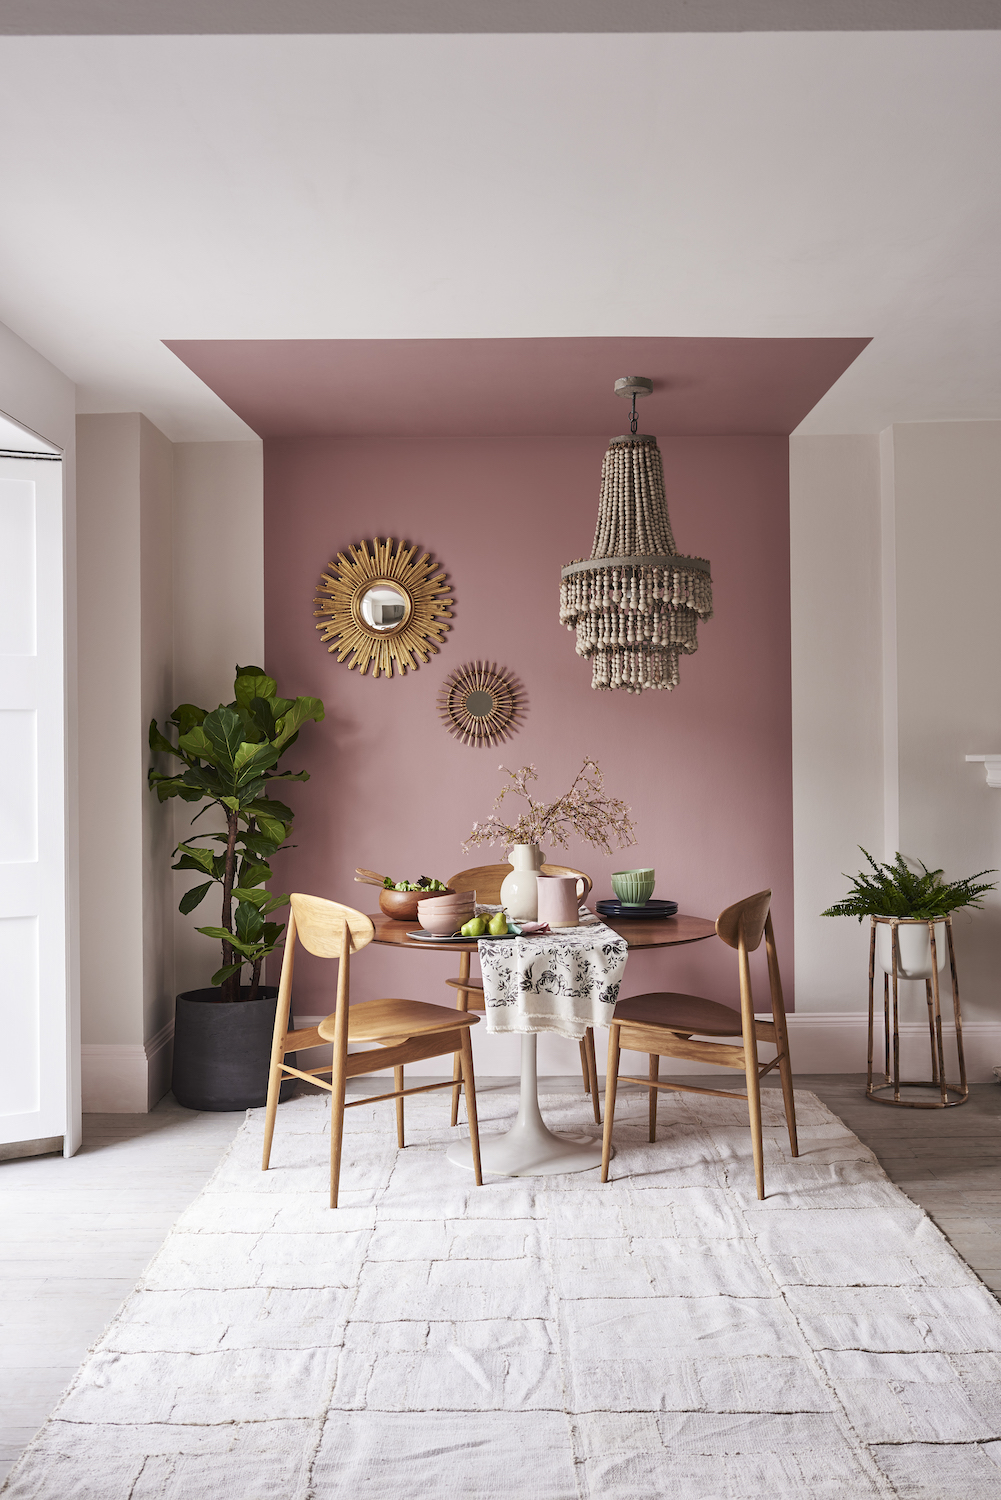
'Color on the ceiling - and having it extending a little way down the walls too - is becoming a big thing,' says Marianne Shillingford, creative director of Dulux. 'So are painted borders and shapes extending onto the ceiling from the walls.'
So in order to get on board with the latest paint ideas, and indulge in a little weekend project, read on for all the expert advice you'll need.
How to paint a ceiling
1. Know the right order to paint the room in
Even if you only want to freshen the ceiling, it's good to know how to paint a room. The ceiling is the first surface you paint when decorating, not the last. So be mindful of splashes, as it may be necessary to give the walls a fresh coat too.
'The best order to paint a room is by painting the ceiling first so you’re not worrying about any over-spray onto the walls,' says Rated People Decorator Alin Bonciu of A Painter Near You.
2. Prepare the room
The same as painting a whole room, it's necessary to clear and cover your furniture and flooring with dust sheets to protect it. Lay card or newspaper too for extra absorption. Make sure you have a step ladder that is tall enough and sturdy to work from. As well as paint brushes, rollers and trays you will also need filler and sandpaper.
'In the same way that you would when painting walls, fill in any cracks, remove any loose paint or plaster and lightly sand so you have a smooth surface before you start,' says Ruth Mottershead, creative director of Little Greene.
The Livingetc newsletters are your inside source for what’s shaping interiors now - and what’s next. Discover trend forecasts, smart style ideas, and curated shopping inspiration that brings design to life. Subscribe today and stay ahead of the curve.
Take down lamp shades or pendants that can be easily removed, otherwise cover them securely with plastic bags to protect them from splashes.
'Loosen the light fitting gently,' says Marianne Shillingford, creative director of Dulux. 'A good decorators masking tape around it will work wonders without you having to get the screwdriver out.'
3. Cut in - neatly or not, depending on your decor plans
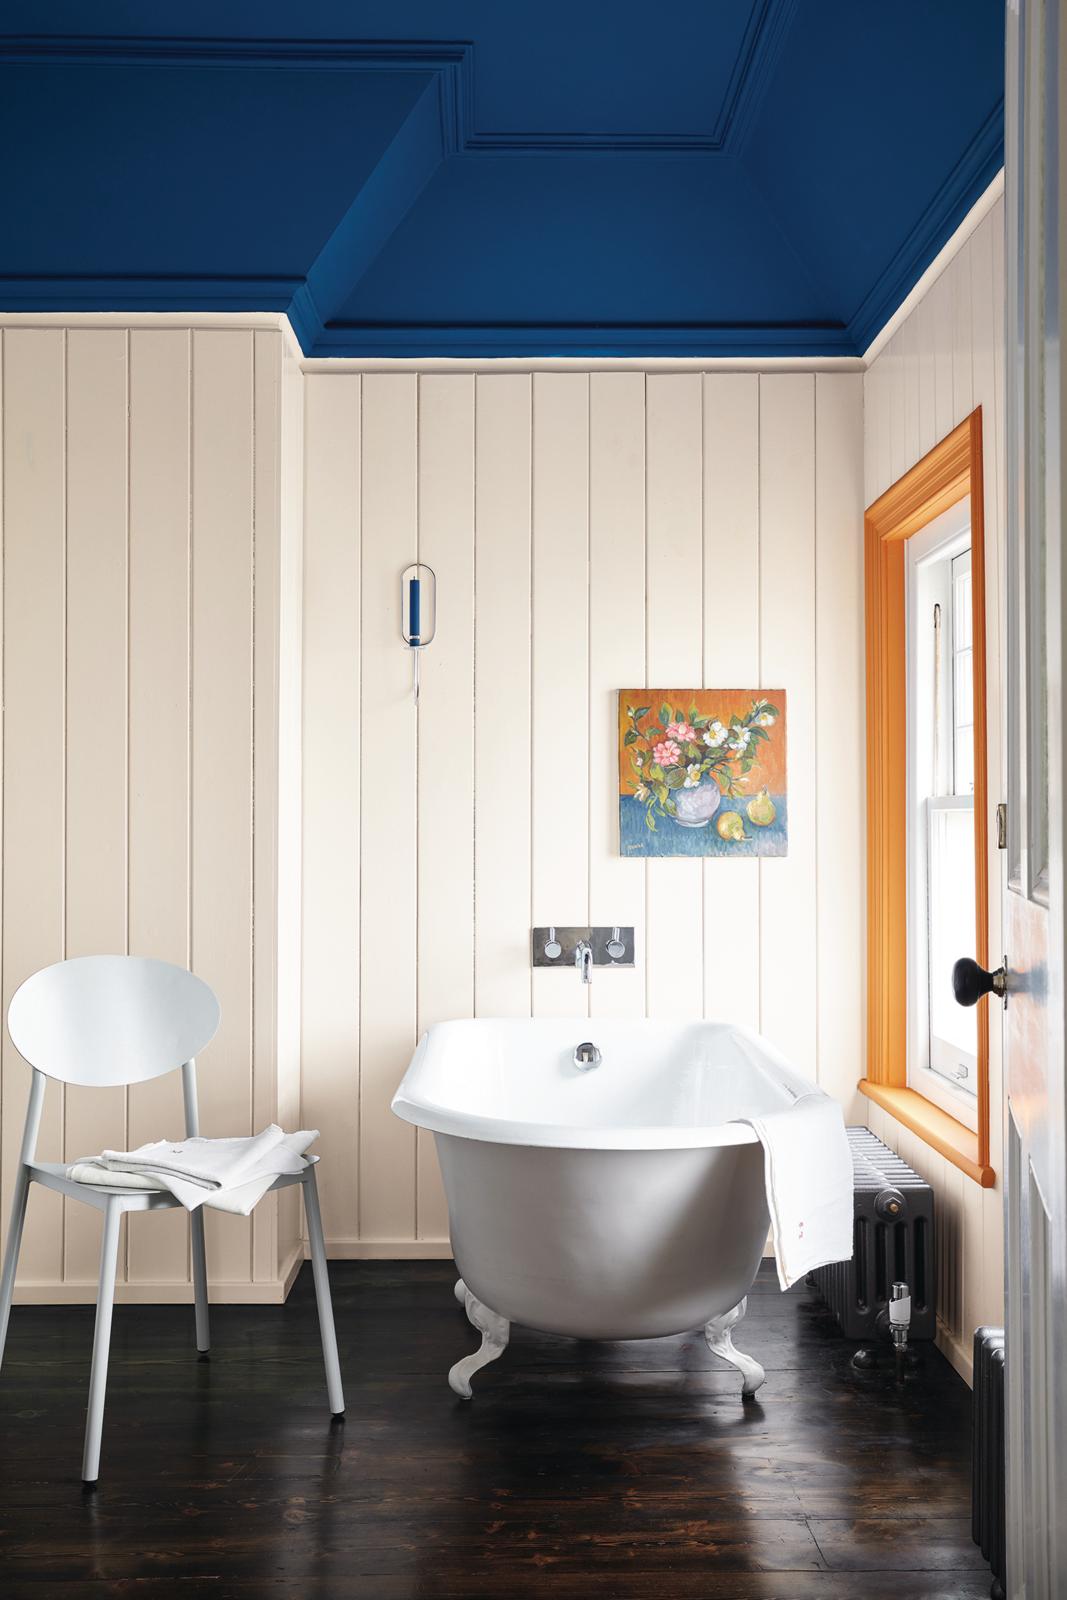
If you're ceiling is going to be a different color to the walls, you'll need to prepare the cutting in where you won’t be able to roller.
'Start by applying a two or three inch border of paint around the edge of the ceiling with a smaller brush, just as you would for the walls,' says Ruth Mottershead of Little Greene.
'If you'll be painting the adjoining surface (coving or walls), you don’t need to worry about the fine detail of the cutting-in, but do go over the edges rather than finishing short.'
4. Paint the cornicing or coving
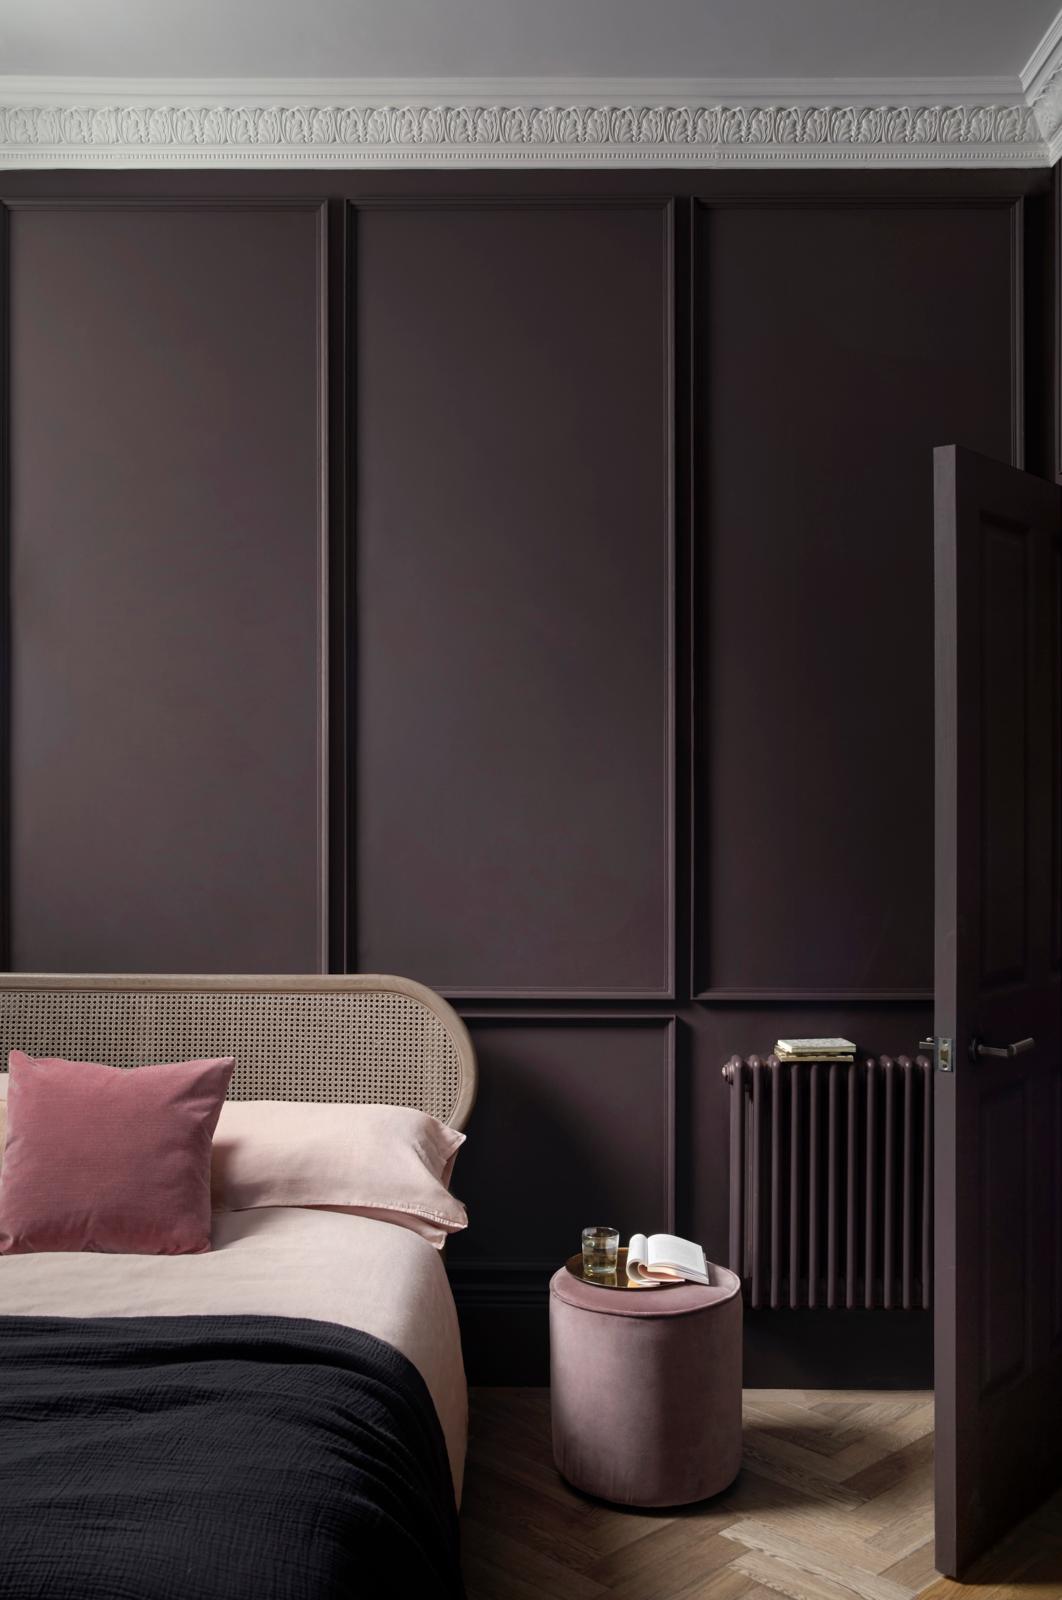
Decide whether you want the cornicing in the same color as the ceiling or the walls.
'When decorating yourself, it's much easier to keep cornice in the same colour and finish as your ceiling colour as cutting in will be easier,' says Patrick O'Donnell, paint expert at Farrow & Ball, which pretty much makes the decision for you.
There is a general rule though. If your cornicing is top heavy - in other words, there is more of it on the ceiling than on the walls, paint it the same color as the ceiling. If it's bottom heavy, use the same color as the walls. And if it's equal, well, the choice is yours.
'Rollers are good on most finishes, but brushes are necessary for most cutting in and painting narrow spaces and details such as cornicing,' says Rated People Decorator Alin Bonciu of A Painter Near You.
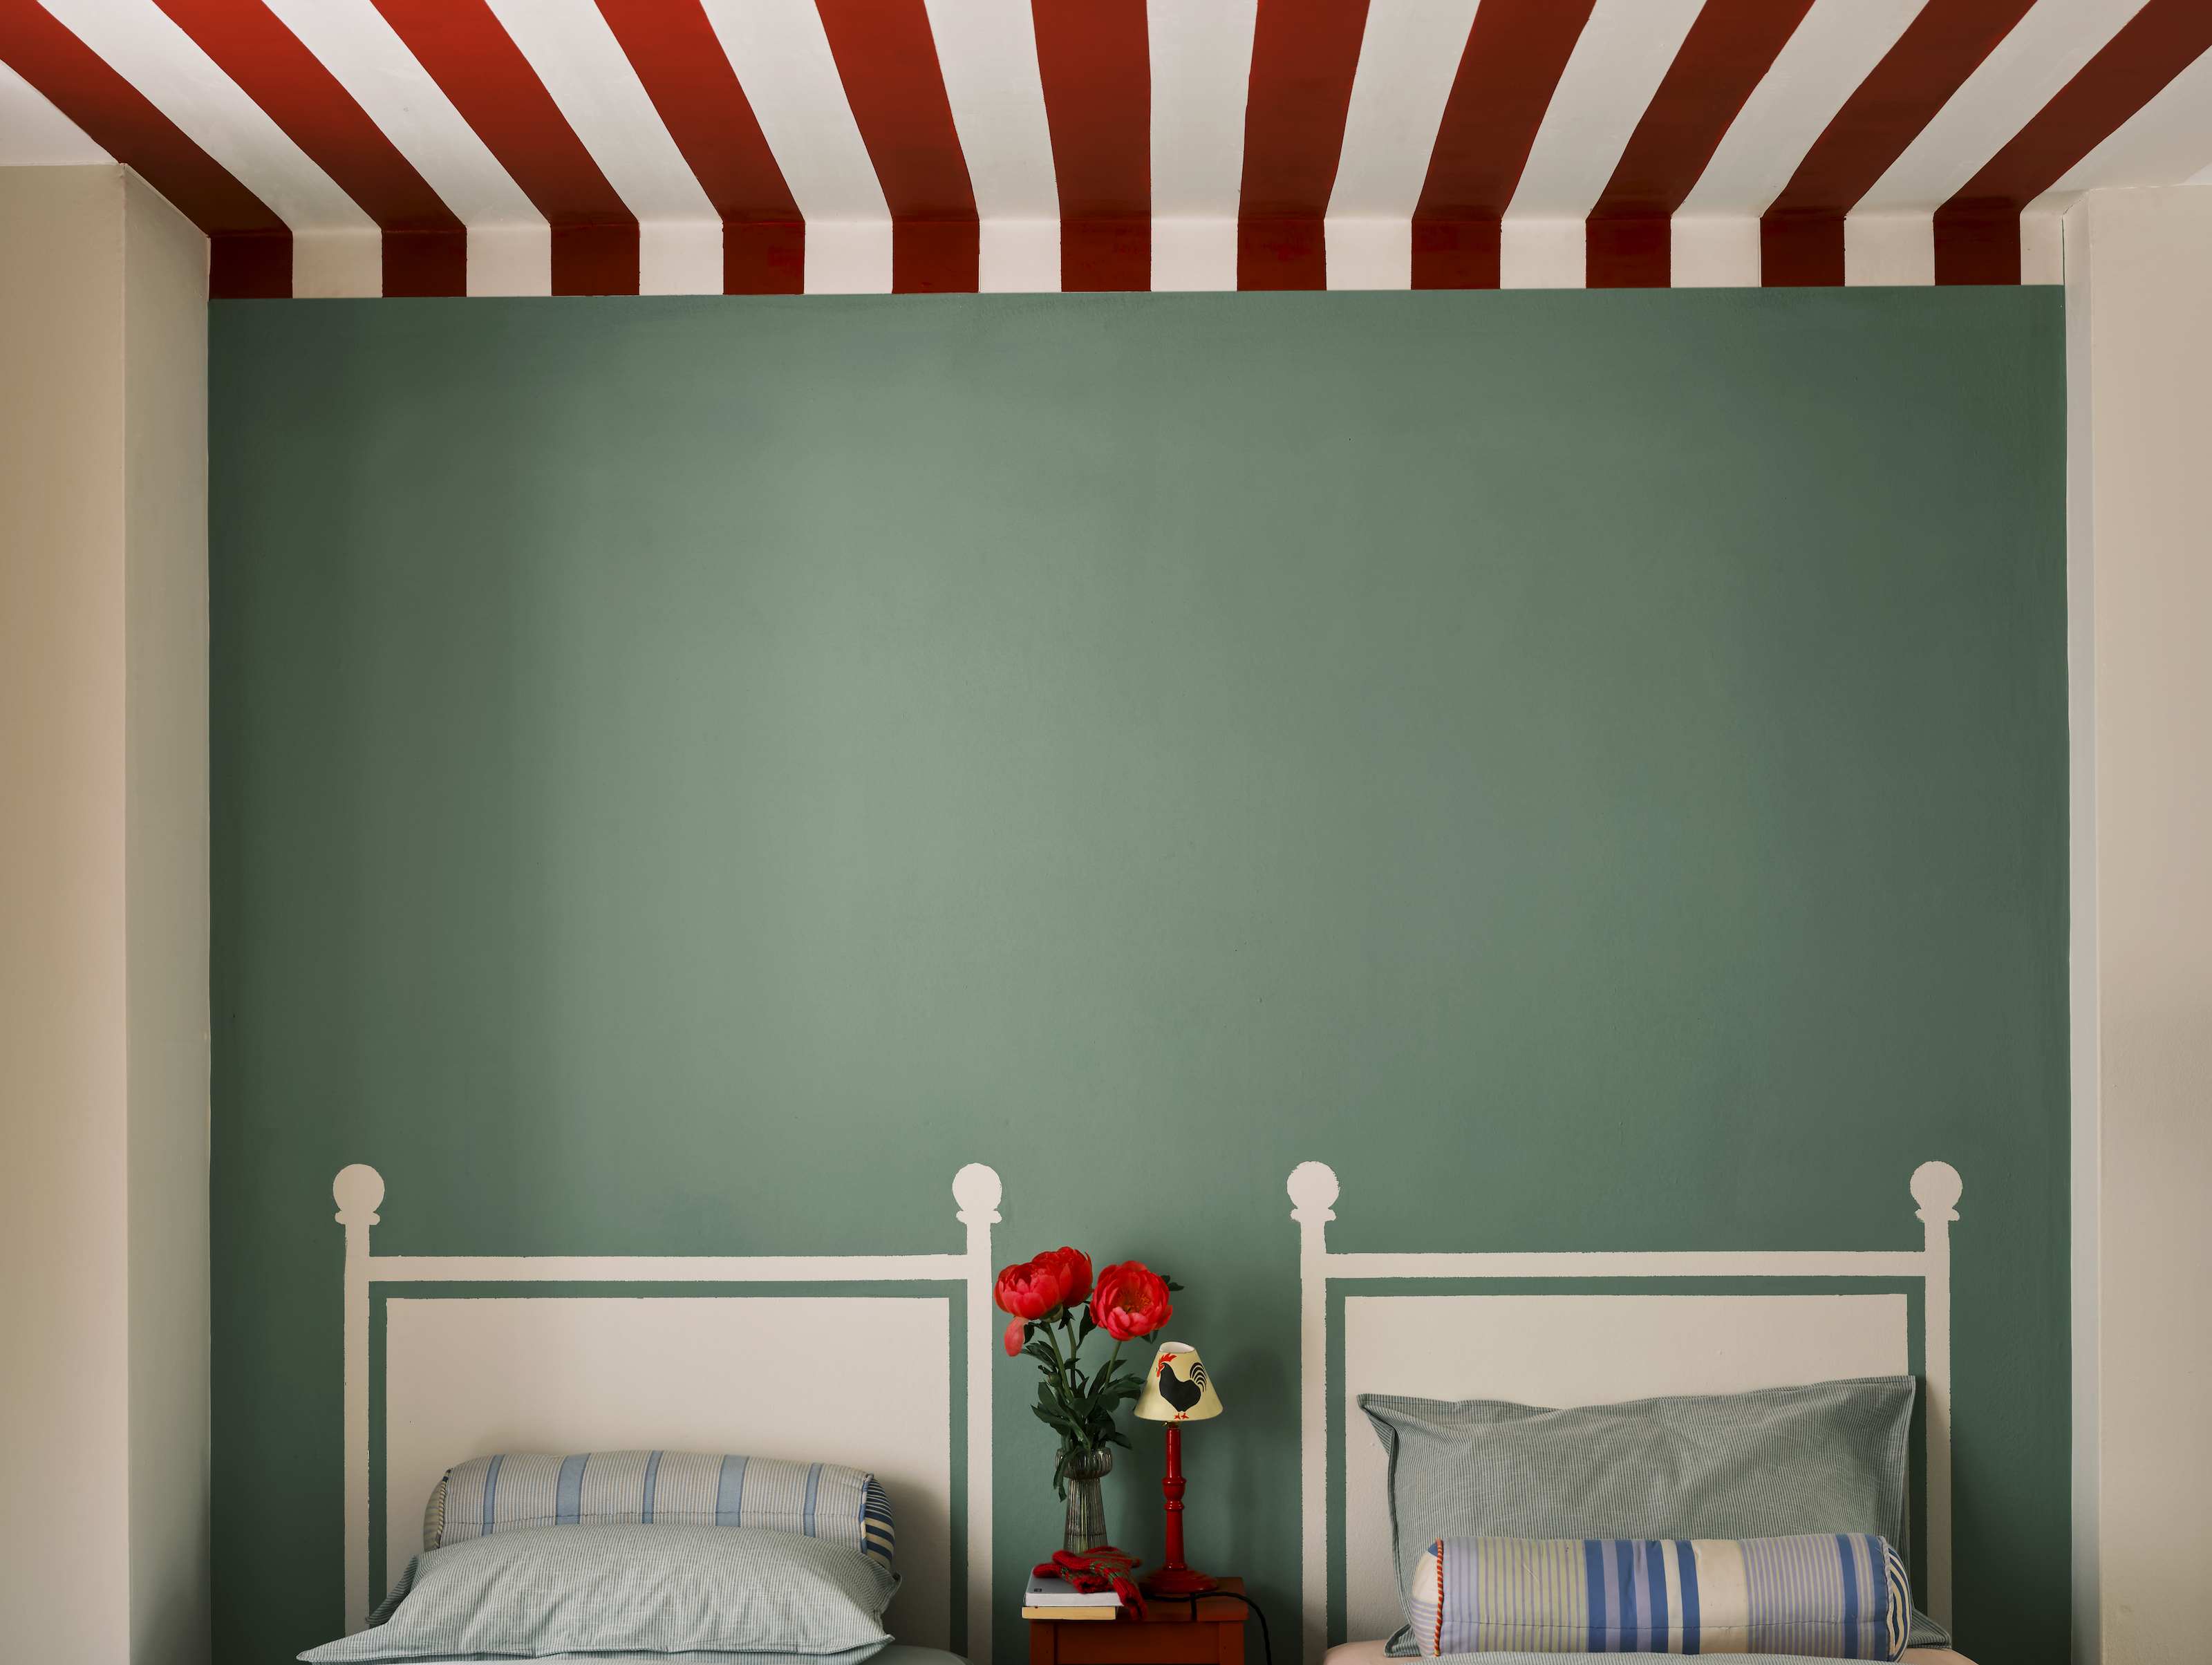
5. Paint stripes for decor flair
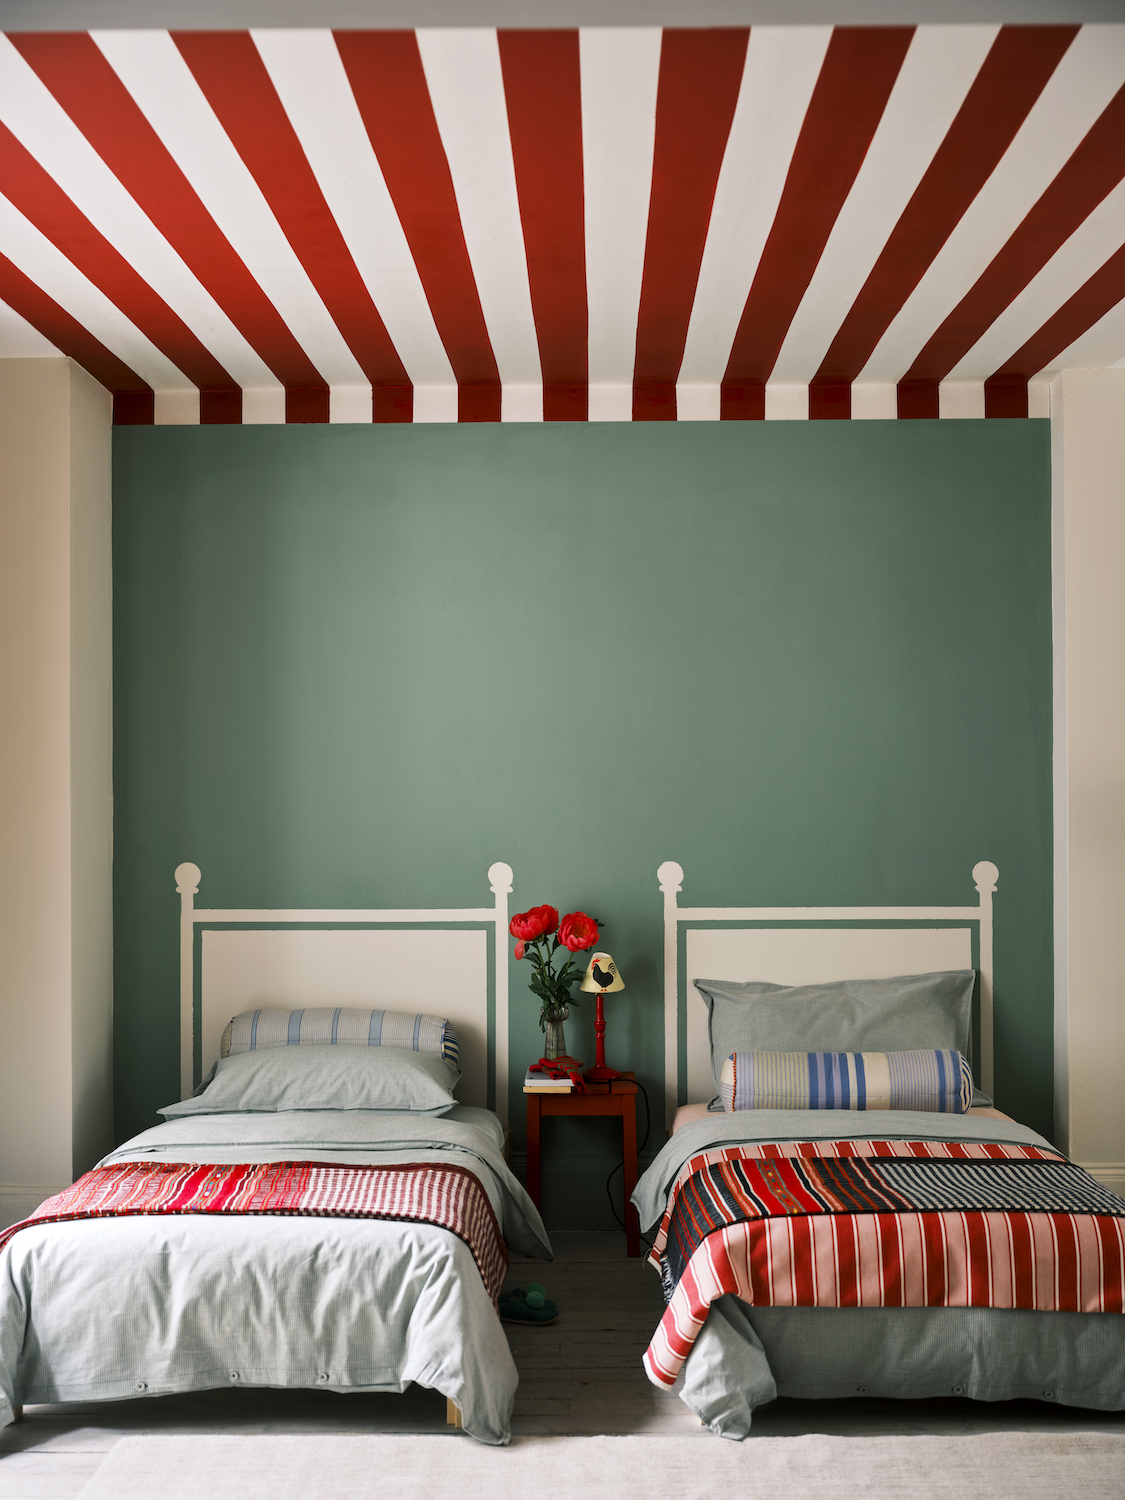
Waking up to a striped ceiling will put a spring in your step. It gives a room a dramatic effect and it's a job you can do yourself. You'll need patience and a steady hand but it's well worth the effort.
'Start by applying the background color first and allow it to dry,' says Marianne Shillingford of Dulux. 'With a tape measure and coloured chalk, mark the width of the stripes, then use a chalked plumb line to snap the straight lines. Mask off every other stripe with decorator’s low tack masking tape. To get a perfect line between colors, seal the inside edge of the masking tape you are going to paint over with a quick coat of the background color. Then fill in with a roller, brush or combination of the two depending on the size of the stripes. Allow to dry and remove the masking tape.'
Here, you might also need our handy guide that tells you how much paint you need.
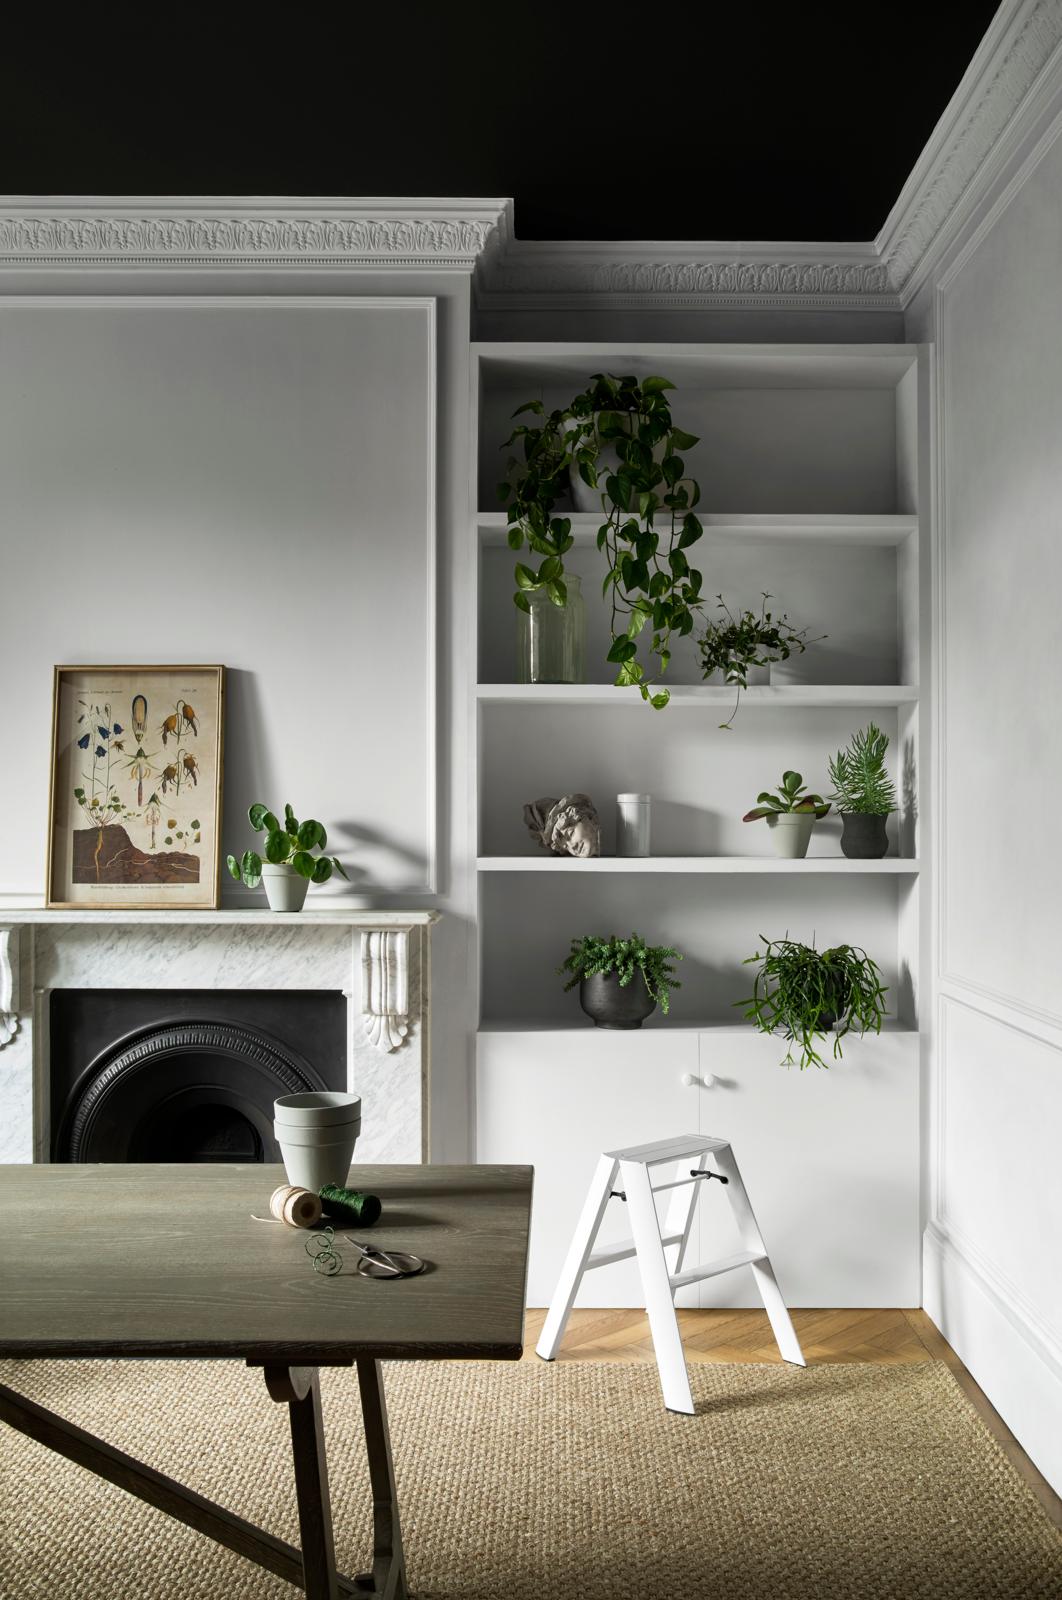
6. Take care when using dark colors
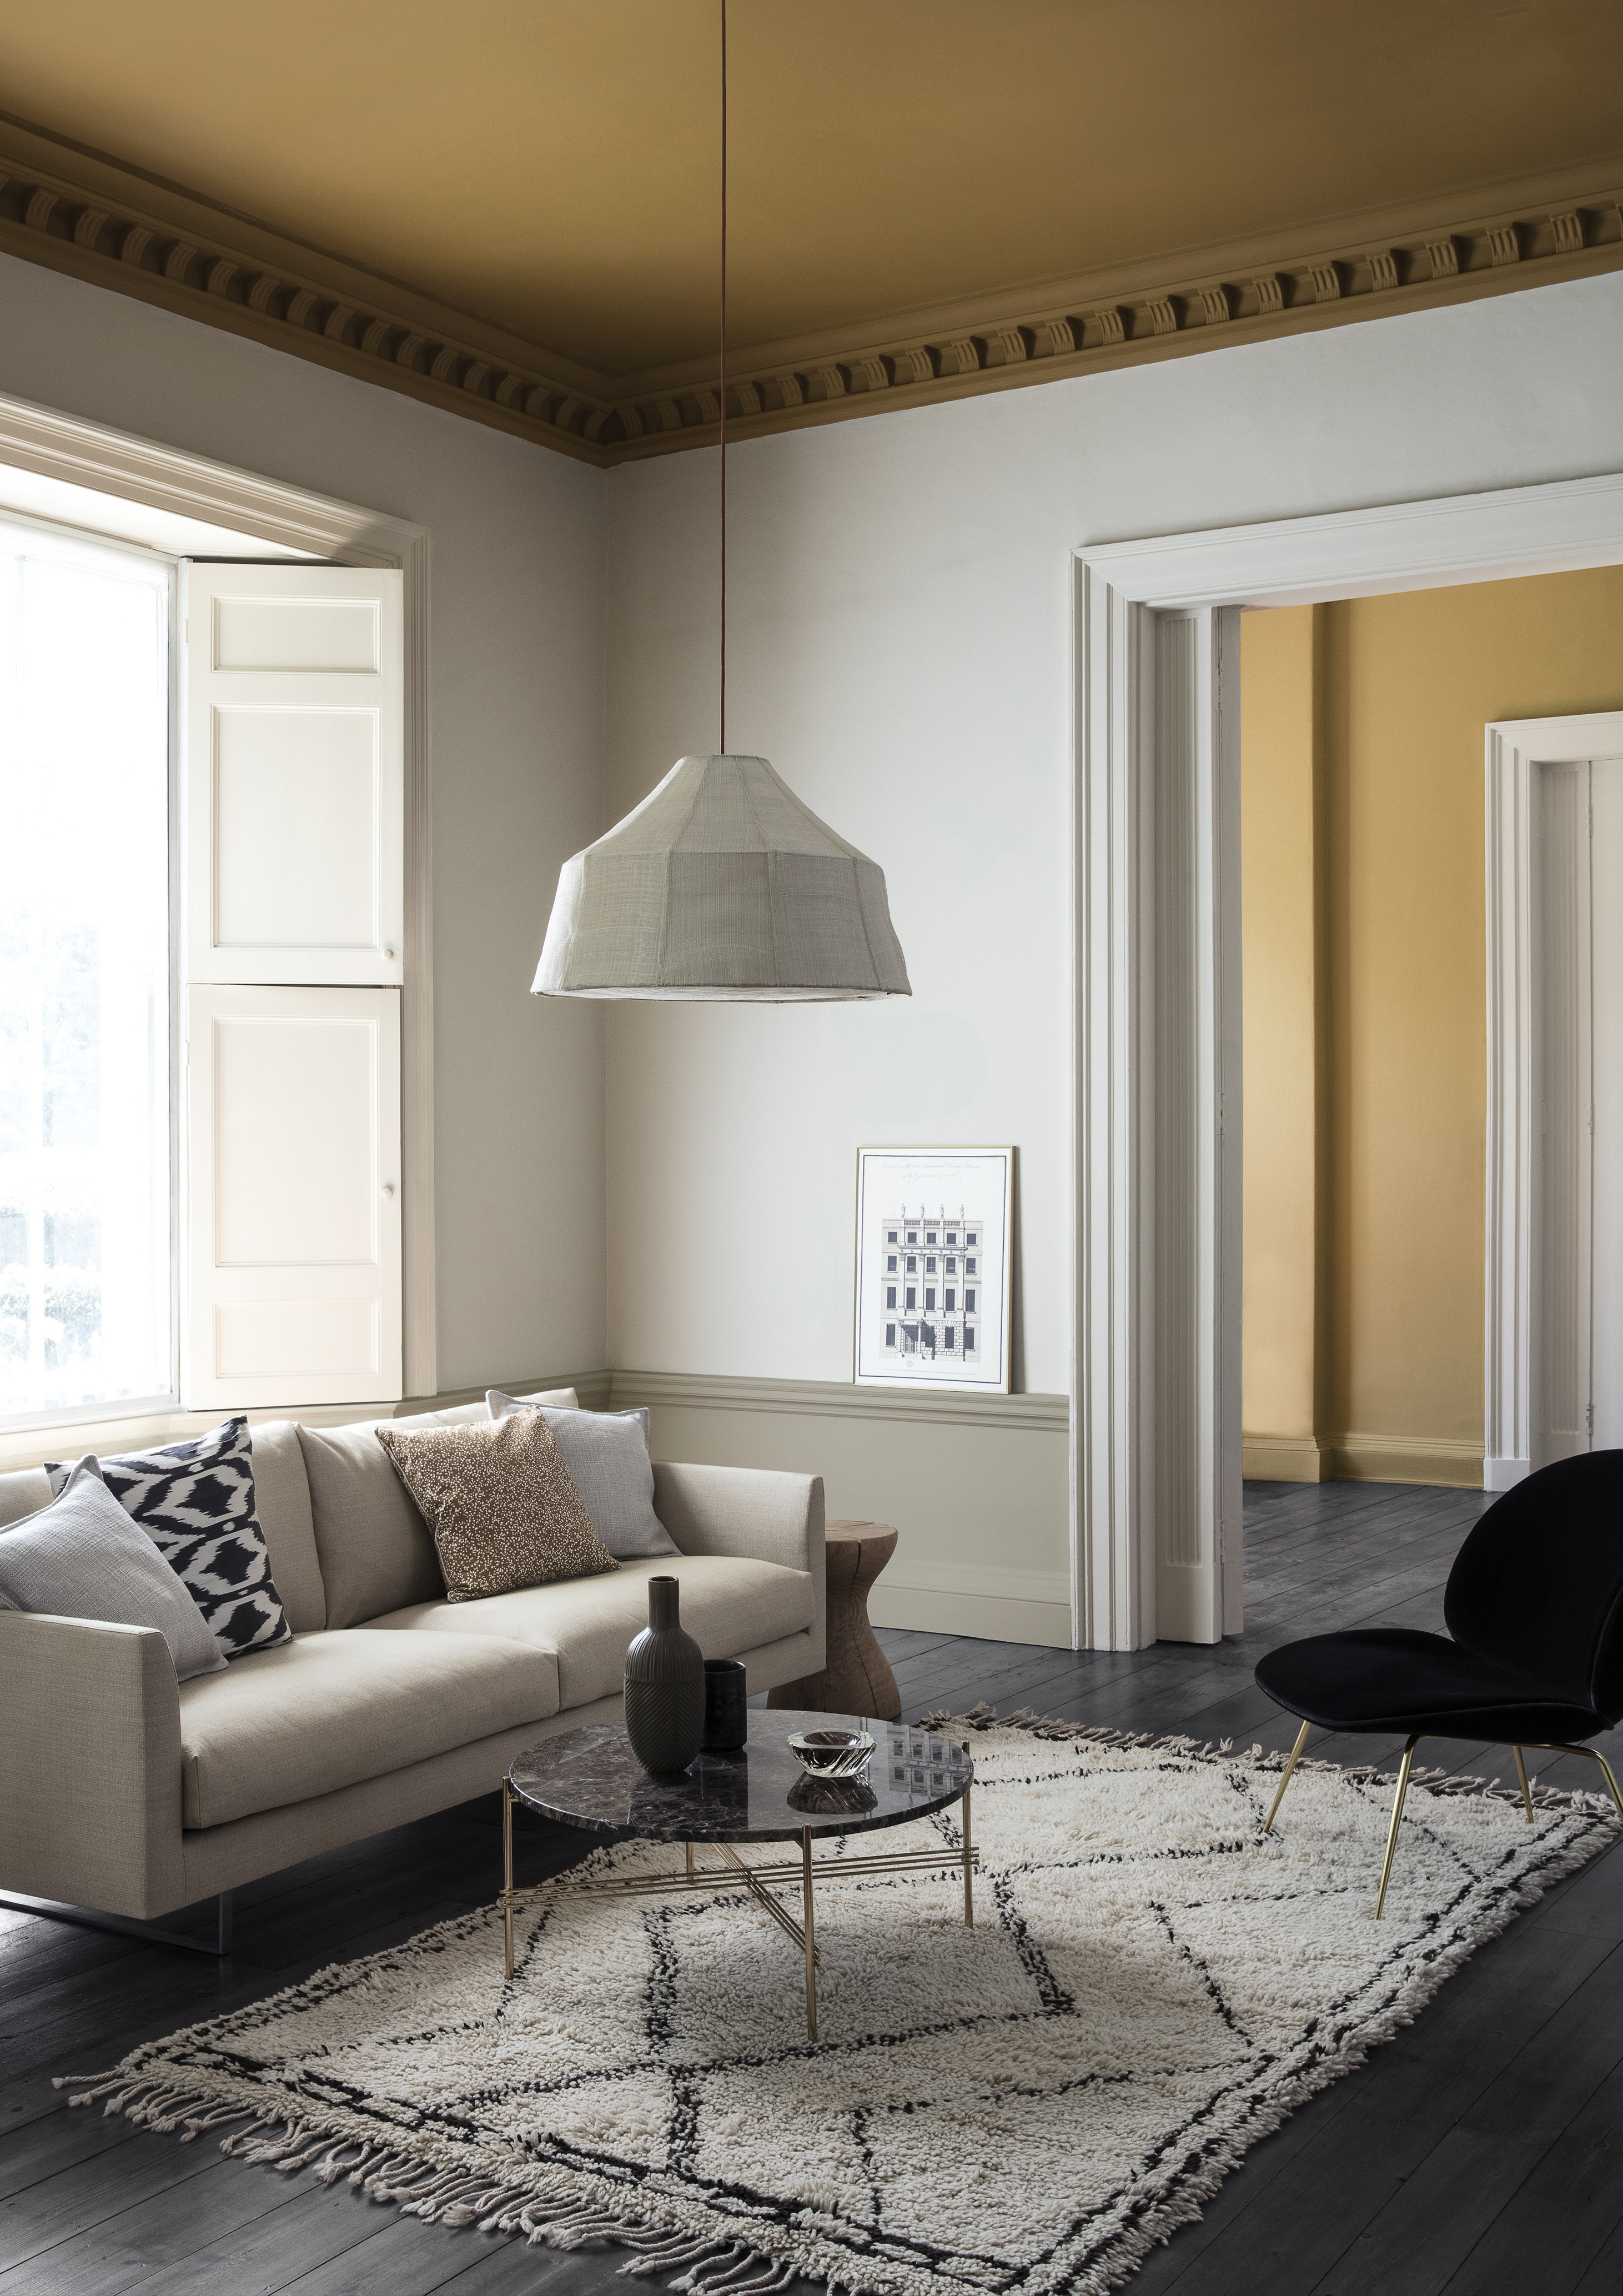
Ideally you would paint the ceiling and coving or cornicing first, especially if you're using a darker color. Even a professional would struggle not to mark white walls.
'Dark colors may need more coats to cover effectively as they generally have more pigment,' says Marianne Shillingford of Dulux.
According to Rated People Decorator, Alin Bonciu of A Painter Near You, 'For two coats of paint and drying time, it generally takes around 4-5 hours, but it depends on the drying time of the paint you’re using.'
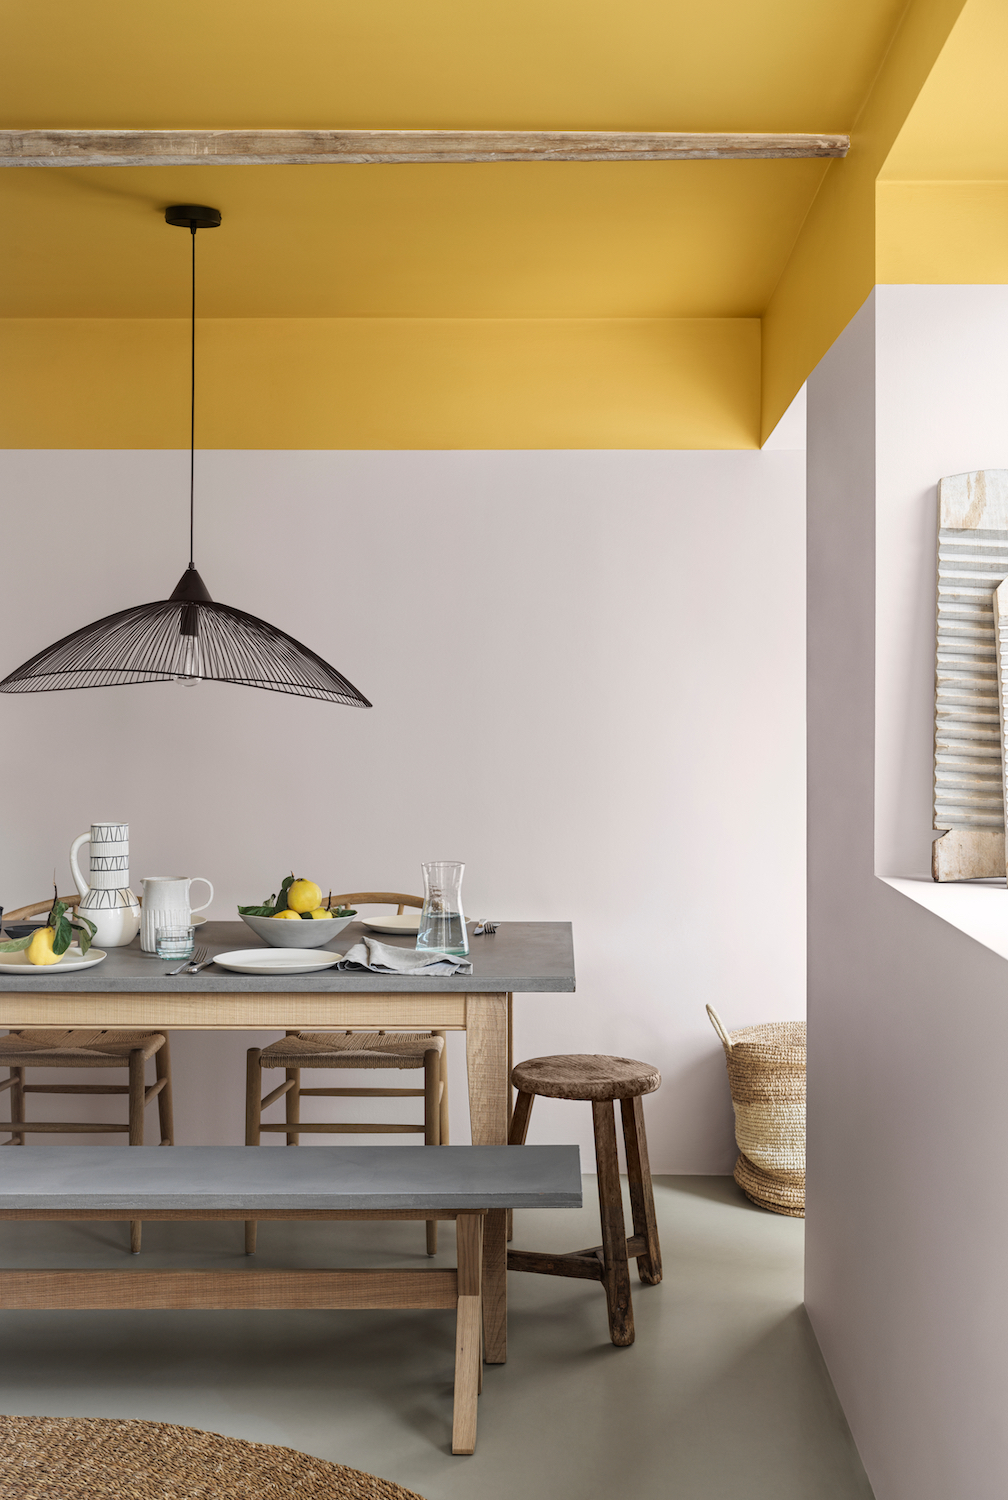
6. Extend the color the walls
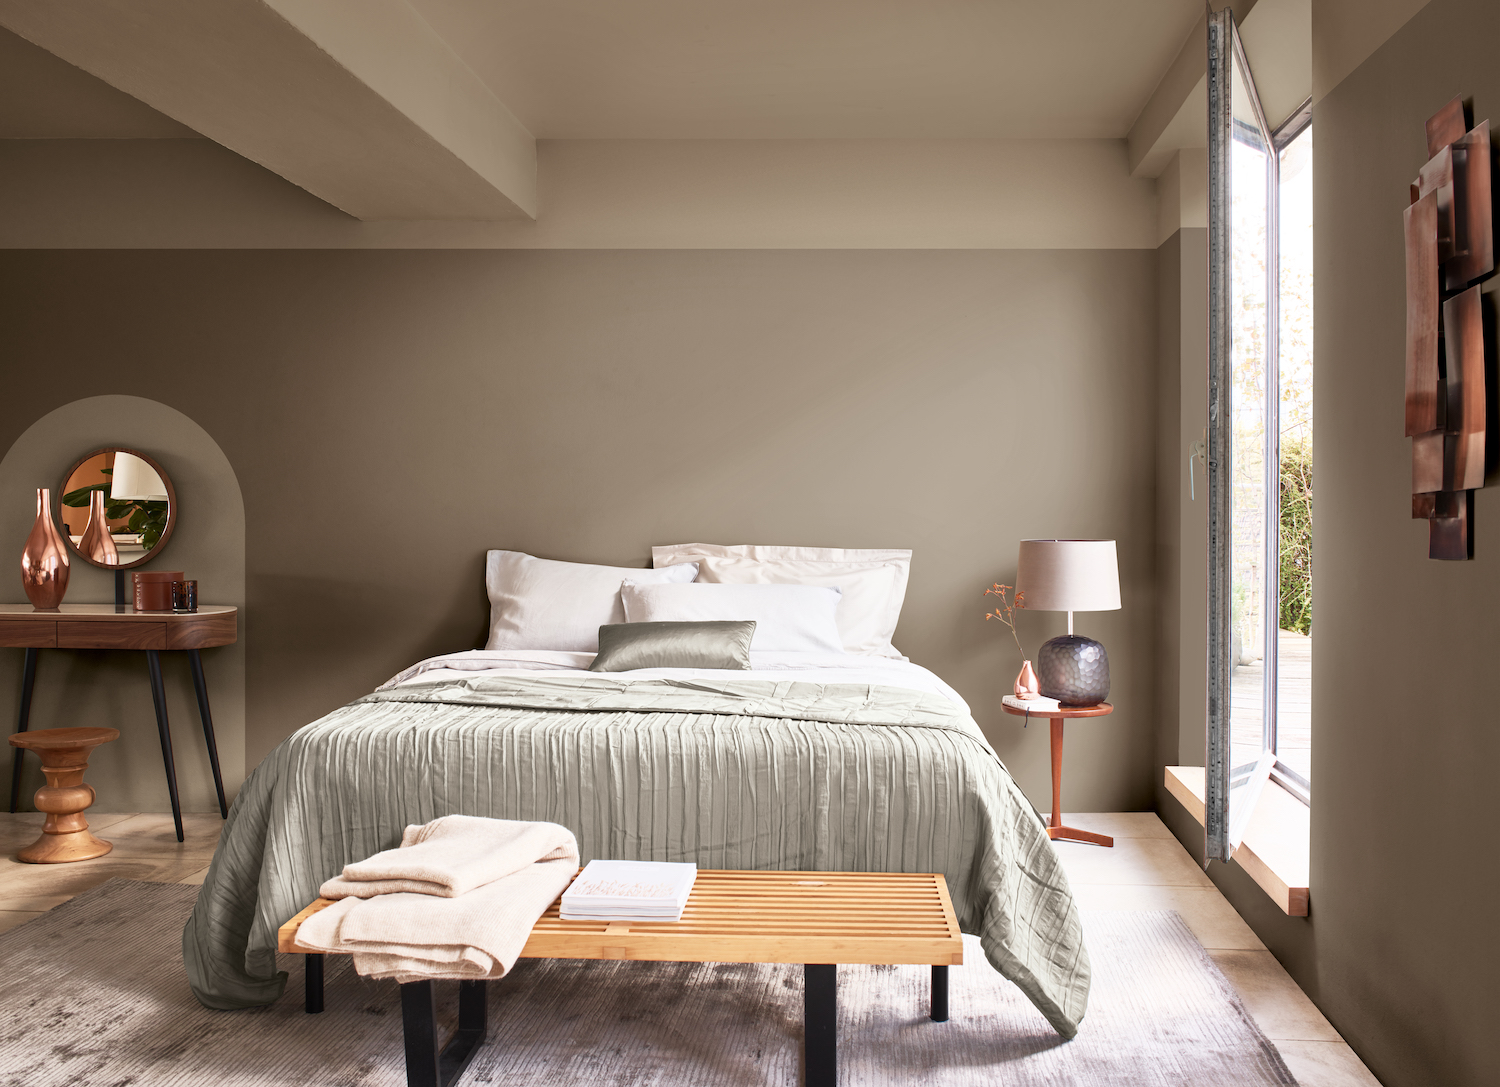
Extending the ceiling color down to the walls gives a stylish modern look to a room. It's a similar, but far simpler process than creating stripes.
'If you want to extend the ceiling colours to the walls, use a tape measure and coloured chalk to mark the height of the split on the walls,' says Marianne Shillingford, creative director of Dulux. 'Chalk a plumb line to create straight lines between the height marks and mask below the line using decorator’s low tack masking tape. Paint up to the masking tape edges with a brush and roller the large areas.'
What is the proper way to paint a ceiling?
Threre are right ways and wrong ways to paint the ceiling, but this one rule should stay with you. 'It’s a lot quicker to use a roller to paint the ceiling,' says Rated People Decorator, Alin Bonciu of A Painter Near You. 'Always roll towards the source of natural light to avoid seeing roller lines.'
Where do you start painting a ceiling?
It depends whether it's freshly plastered or you're painting over old emulsion. 'A tip is to thin your matt emulsion by mixing it with water for a first coat on any plaster – this is called a mistcoat,' says Rated People Decorator, Alin Bonciu of A Painter Near You. 'You should then be able to do a normal second coat which will give a perfectly even finish.'
Colorr and Paint expert, Annie Sloan says, 'On an existing paint finish, ensure the surface is sound, clean and dry and free from any dirt, dust or other contaminants. Sand back any previous unsound paint layers before you begin.'
Is it better to paint a ceiling with a brush or a roller?
'When painting a ceiling, a combination of roller and brush will give you the best and quickest results,' says Marianne Shillingford ofDulux. 'A brush can be used for cutting in around the edges of a room and the woodwork whilst a roller is for filling in big areas.'
Jacky Parker is a freelance lifestyle journalist and writer, producing a wide range of features for magazines and digital platforms. She has written for Livingetc and its sister titles, Homes & Gardens and Country Homes & Interiors for more than 15 years, both as a freelance contributor and as Acting Digital Editor and Acting Style Content Editor, regularly reporting on the latest interiors, gardens and wellness inspiration, speaking to experts in their respective fields, and discovering the best tips.
Jacky has also written for other publications, including Sunday Times Style, The Telegraph, Architectural Digest, House Beautiful, ELLE Decoration, Red, Grand Designs and more.