Why your touch-up paint looks lighter on your walls, and the expert guide to perfect patching
Matching your touch-up paint to your walls is a near-impossible task. Here's how to get it right (or at least as close as possible)

The Livingetc newsletters are your inside source for what’s shaping interiors now - and what’s next. Discover trend forecasts, smart style ideas, and curated shopping inspiration that brings design to life. Subscribe today and stay ahead of the curve.
You are now subscribed
Your newsletter sign-up was successful
There really is nothing more frustrating than touching up a chip or scuff mark only for the paint to look a completely different color once it's dried. What was meant to be a simple improvement to a minor imperfection has resulted in your walls looking even worse than they did to start with. So why does it happen, and more importantly, how can we prevent it?
Touch-up jobs seem like the most obvious decision when the mark you're trying to disguise is so small that it doesn't justify repainting the whole wall. In theory, this paint idea should save you time, money, and a lot of effort - but alas, that's not always the case. 'Touch-up painting might sound simple, but sometimes, due to different reasons, you can end up with lighter spots that stick out just as much as the blemishes you are hoping to cover,' explains Sarah Lloyd, paint expert at Valspar. 'Knowing the reasons why a touch-up paint job can look lighter on the walls will help to avoid this annoying outcome.'
Here, we take a closer look at the reasons why your touch-up paint looks different from the rest of your wall, as well as those all-important remedies to avoid it.

Lilith is an expert at following news and trends across the world of interior design. She regularly shares color stories with readers to help them make the most of their space. For this article, she spoke with interior designers and paint experts to learn more about why your paint touch up paint looks lighter on your walls and how you can fix it
Why is my touch-up paint lighter on the walls?
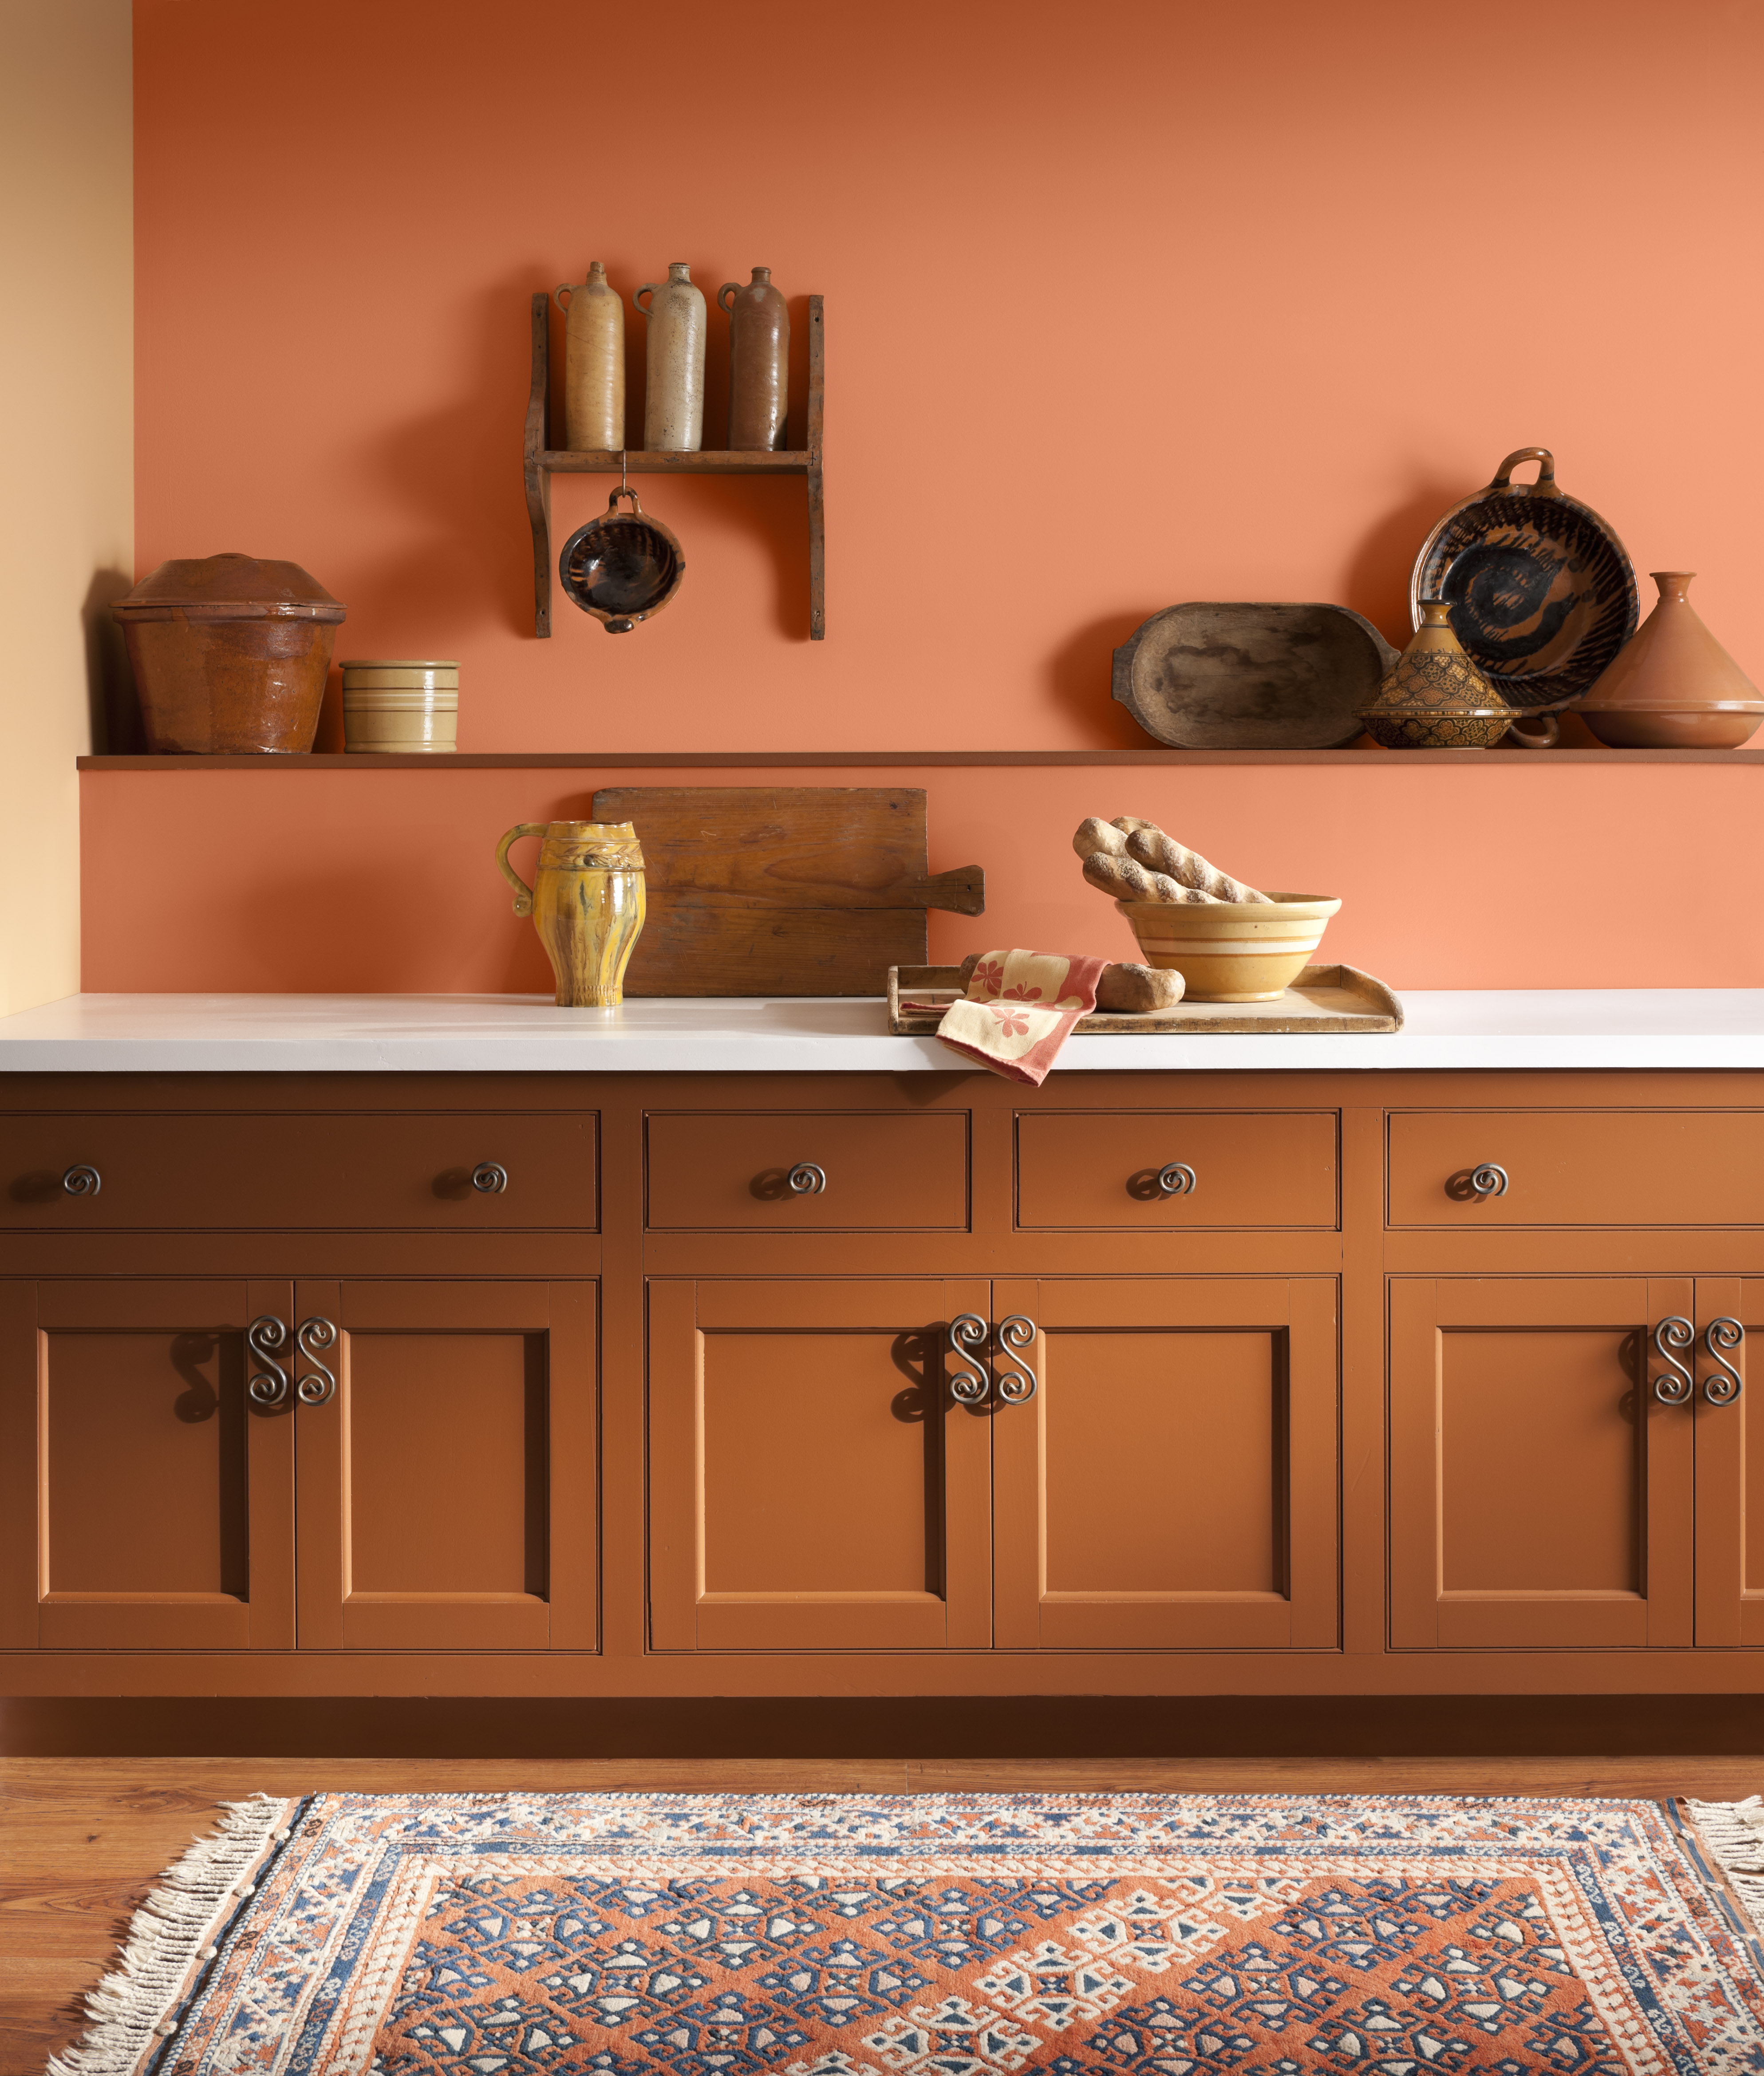
For some reason, touch-up jobs always seem to look lighter on your walls once they've dried. Until now you've gone through life treating it as an inexplicable phenomenon, but thanks to some insight from paint experts we finally have the answer (although it's not completely clear cut).
'The obvious reason for it to look different is if the paint isn’t exactly the same as originally used,' says Tila Lee, paint expert and founder of Pretty in Paint School. 'This can be as fussy as even making sure it is the same gallon that was used, as each gallon can have tiny inconsistencies in the formula. In fact, most paint suppliers will encourage you to mix up all your paint for a project in one pail before commencing, to prevent such inconsistencies.'
There's also the fact that the rest of your wall will have inevitably undergone some wear and tear. 'Even indoor paint is susceptible to weathering and has the possibility of fading in sunny areas,' says Tila. 'There is also the possibility that dirt or marks have accumulated just enough around your touchup area that when you add your paint, it will stick out.'
In almost every case, however, it's external conditions that affect the final appearance of your paint color. Typically, touch-up coats will be lighter if they're applied in cooler temperatures than the initial application. If the reverse is true, the touch-up coat will likely appear darker. Combined with the lack of sanding and priming, this is because the wicking rate (the time for the moisture to be absorbed into the surface) will be different from the original application.
The Livingetc newsletters are your inside source for what’s shaping interiors now - and what’s next. Discover trend forecasts, smart style ideas, and curated shopping inspiration that brings design to life. Subscribe today and stay ahead of the curve.
How to touch-up your walls
The good news is, improving the final appearance of your touch-up paint isn't out of your power completely. While getting an exact match is unlikely, there are some steps you can take to ensure the closest likeness possible.
1. Start by sanding and priming the area
When it comes to how to paint a room, sanding and priming your wall before your paint is a crucial step. With that in mind, you should do the same to your touch-up areas.
'Start by taking a sponge or cloth with some soapy water and clean off the area and allow to dry,' advises Matt Kunz, President of Five Star Painting, a Neighborly company. 'Spackle in any holes that are there, and be sure to prime the spot that needs painting. The primer will help improve both adhesion and help the color match.'
2. Always use the same paint
Before you take your brush to the imperfection on your wall, make sure you're using exactly the same shade as you did when you first painted. Contrary to what you may have thought, if you still have the same tin that you originally used hiding somewhere it's best to use that instead of buying a brand new one.
'If you can’t use exactly the same gallon you used to paint the project, you will need to make sure you have the exact same product and color formula that was used,' says Tila. If you don't remember the specific hue, take a chip into a store with a color matching service.
3. Replicate the conditions
The question of how long paint takes to dry differs hugely depending on the external conditions. Since they're the most likely factor responsible for altering the appearance of your paint, you should try to replicate them as closely as you can.
'If you painted your walls in the summertime, make sure to touch up in similar conditions, as the temperature can affect your color,' says Sarah at Valspar. Besides the temperature, humidity, airflow, and even the time of day can impact the way your paint dries.
3. Apply paint using the same tool
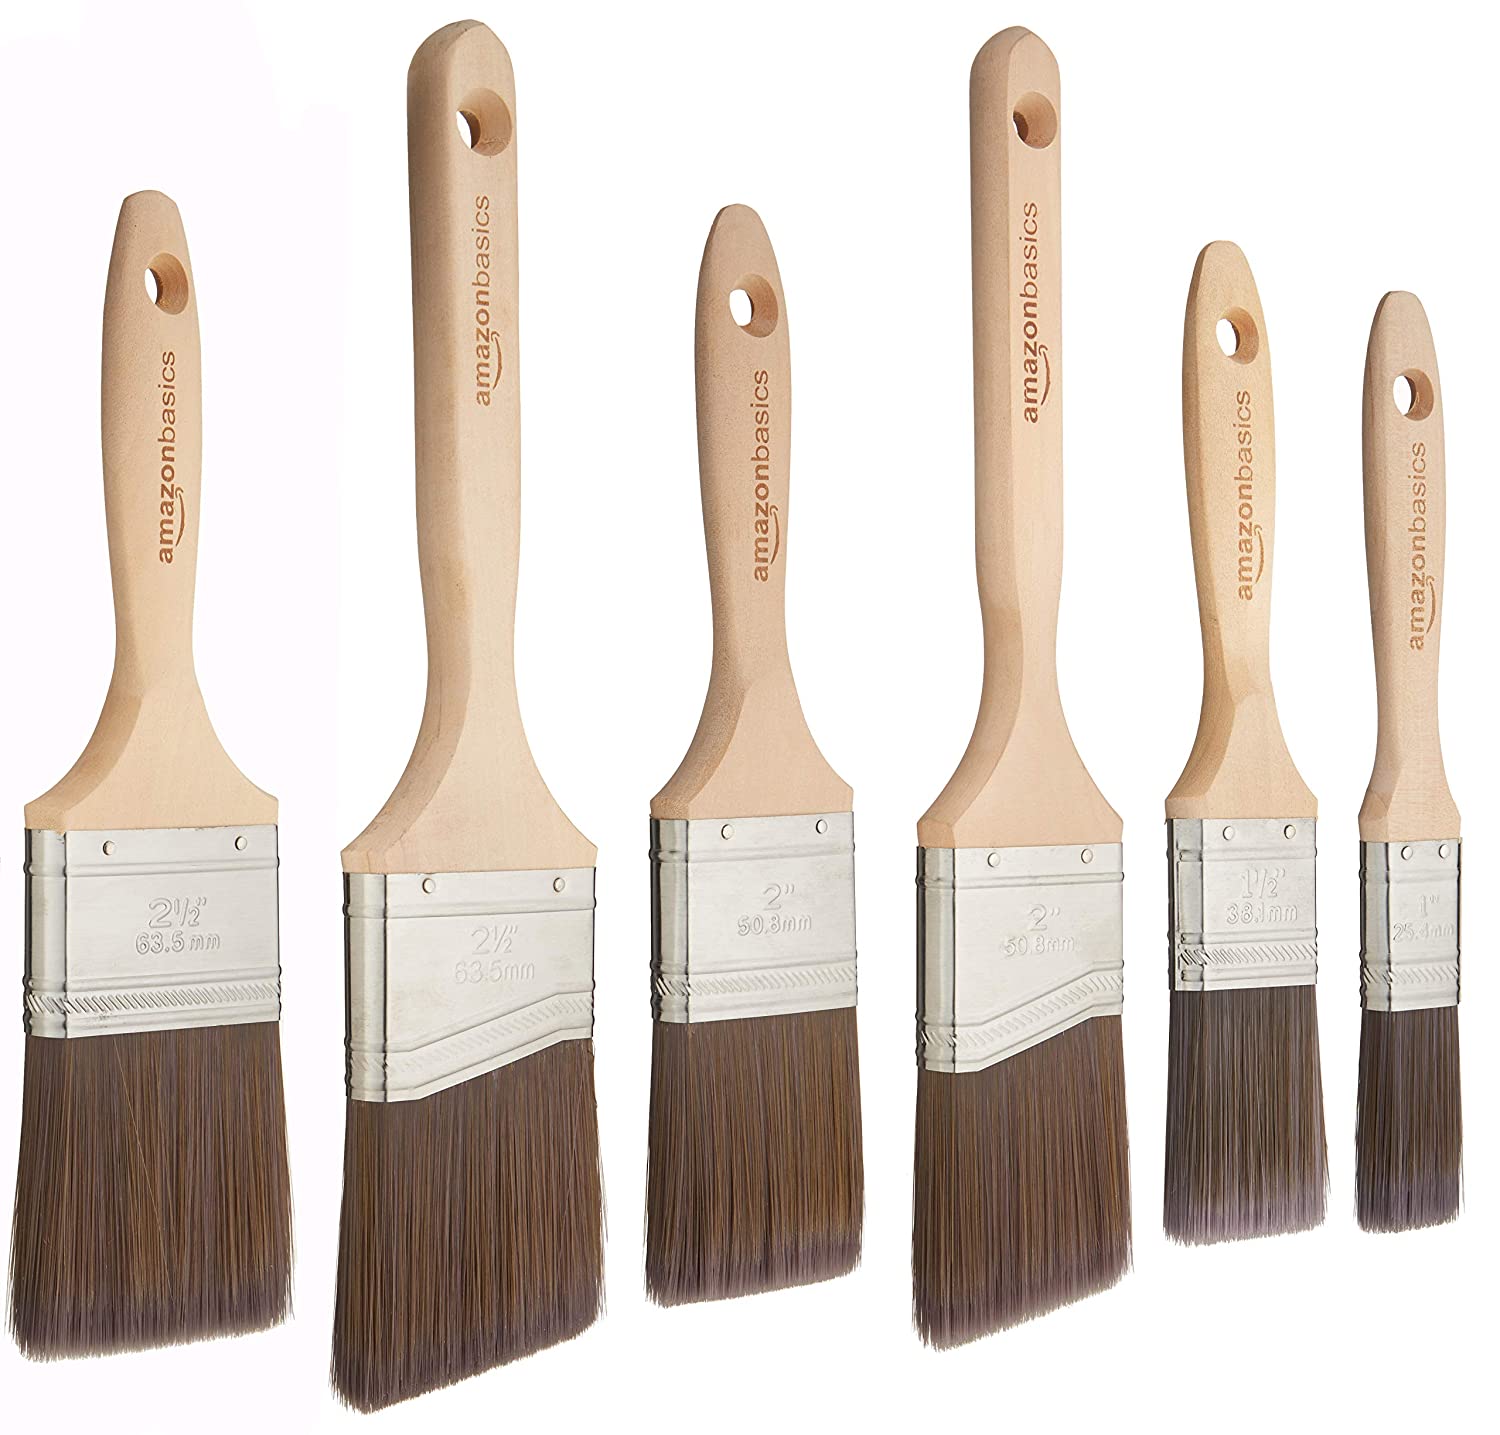
Finally, you'll want to make sure you apply the paint with the same painting tool you first used, be it a brush, roller, or pad. 'This is because any change in the texture or buildup of the paint on the surface can change the way its sheen looks and therefore change the way the color looks,' Tila explains.
'Whether you are repainting the whole wall or just adding small details, it’s good advice to take your time and be patient,' adds Sarah. 'When applying small touches of color, it’s better to proceed by overlapping several thin coats, allowing each one to dry completely before applying the next. This will help to blend the color and reduce the contrast between the touch-up and the surrounding paint.'
If in doubt, re-paint
A touch-up job might be the easiest solution in some cases, but if a job's worth doing it's worth doing well. In other words, if your imperfection is really bothering you and you think you'll struggle to match your touch-up job to your walls, then it's probably worth painting the room again.
'It's hard to get touch-ups to ever match perfectly,' says Matt. 'In most cases, I'd recommended painting corner to corner, instead of doing spotty touch-ups.' According to Tila, the time taken trying to make touch-ups look good often takes almost as much time as just painting the whole wall anyway. If you want to save yourself the hassle and have a paint job you can be truly proud of, you now have an excuse to completely redecorate.
Essential painting supplies
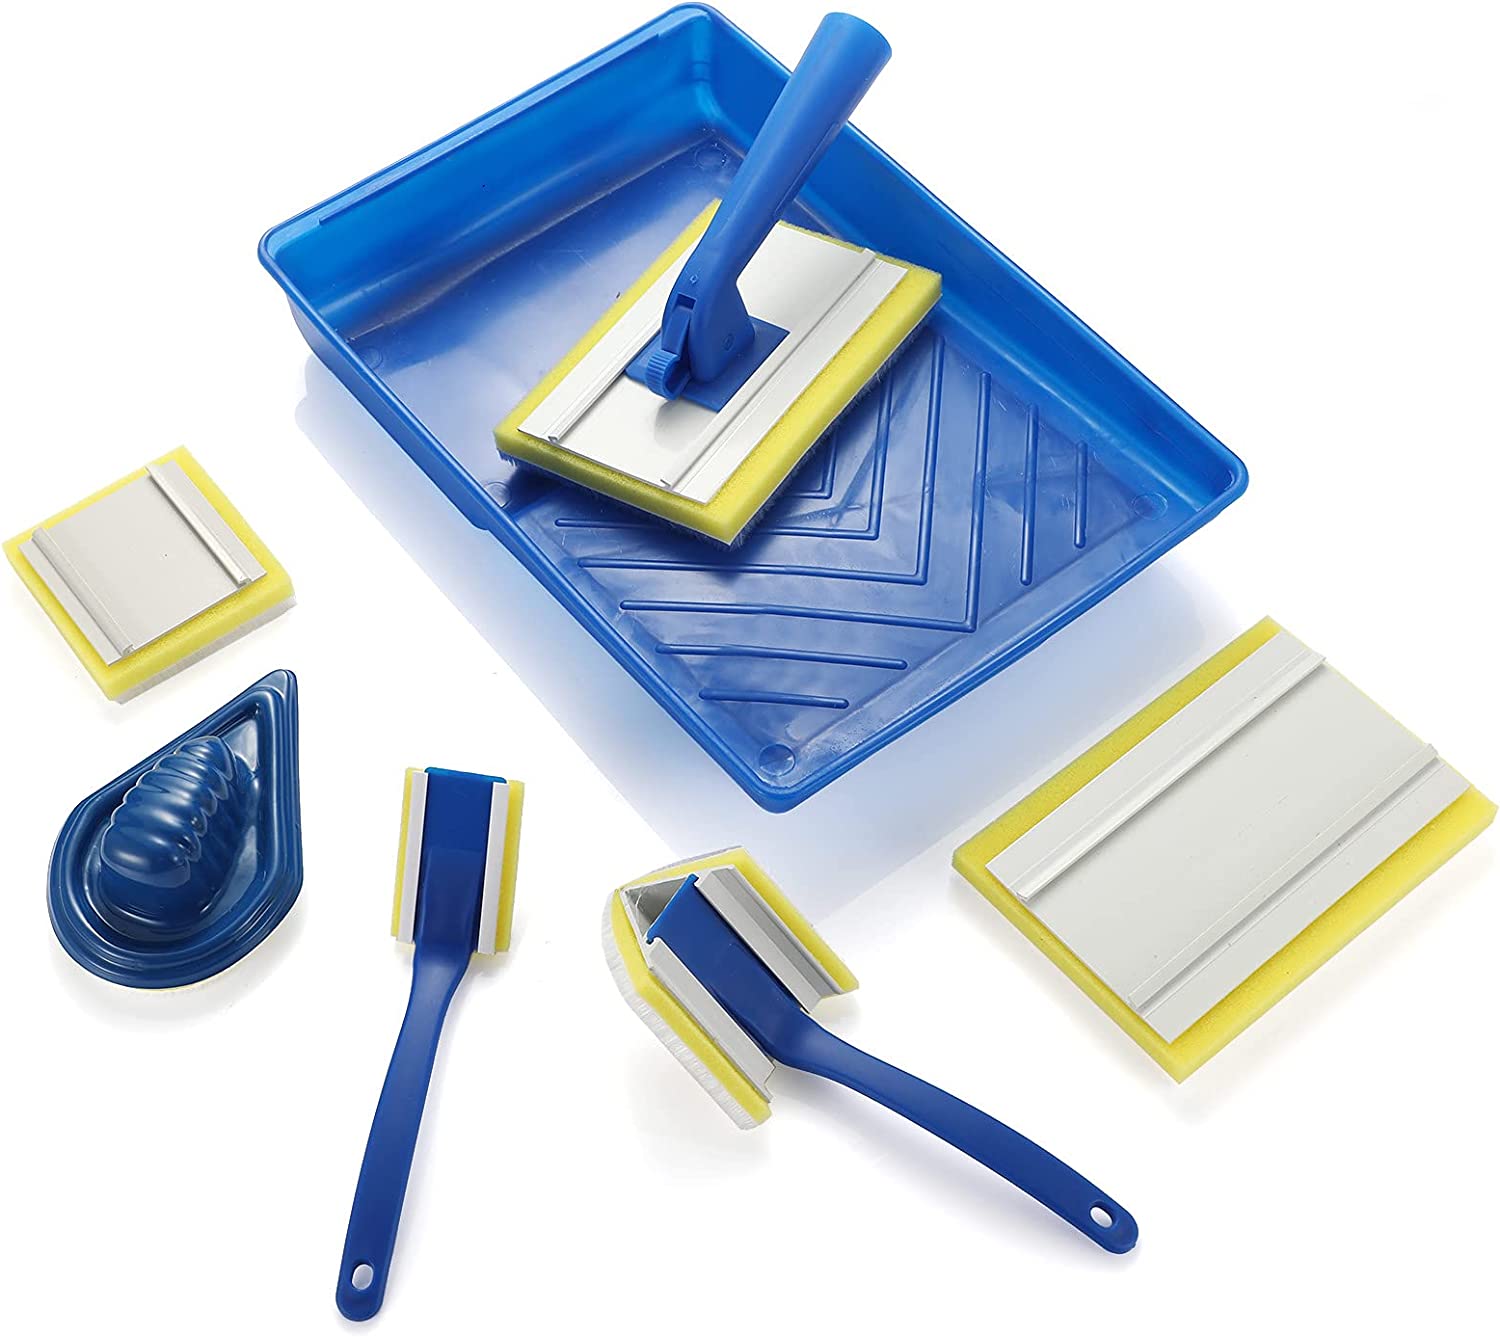
For precise lines, this paint pad set from Amazon might be the best option. Painting pads are lighter and easier to use than a roller or brush as the fabric pad delivers a smooth even paint finish. This set includes an edge painting tool, an angled corner pad and an attachment for your extension pole.

Lilith Hudson is a freelance writer and regular contributor to Livingetc. She holds an MA in Magazine Journalism from City, University of London, and has written for various titles including Homes & Gardens, House Beautiful, Advnture, the Saturday Times Magazine, Evening Standard, DJ Mag, Metro, and The Simple Things Magazine.
Prior to going freelance, Lilith was the News and Trends Editor at Livingetc. It was a role that helped her develop a keen eye for spotting all the latest micro-trends, interior hacks, and viral decor must-haves you need in your home. With a constant ear to the ground on the design scene, she's ahead of the curve when it comes to the latest color that's sweeping interiors or the hot new style to decorate our homes.
