How to re-pot a houseplant successfully - 5 tricks that will help you get the job done in minutes
For healthy house plants, don't put off re-potting them! We asked the experts how to do it properly, and quickly too

The Livingetc newsletters are your inside source for what’s shaping interiors now - and what’s next. Discover trend forecasts, smart style ideas, and curated shopping inspiration that brings design to life. Subscribe today and stay ahead of the curve.
You are now subscribed
Your newsletter sign-up was successful
Every good plant parent knows the importance of repotting plants often. It boosts your plant's growth and aids in its good health. Once the roots begin to push out the bottom, the pot starts drying out, stopping the plant's growth. It's then you need to give the plant a new home.
While everyone is aware of how essential this is as a practice, it can feel like a cumbersome task that often slips down your home's to-do list. But, if you know what you're doing, it's a process that should take less than 10 mins. Here's how to do it to keep your indoor garden looking its best.
1. Figure out if your plant needs repotting
Even low maintenance indoor plants need some repotting every now and again. If you have several plants and want to keep them looking fresh, you may need to check the status of their roots every few months. A good way to find out if your plant needs repotting is if the roots start circling inside the pot, or if they push out at the bottom.
'The timing to repot a plant depends on the size and growth rate – larger plants on average require re-potting between two to five years, and smaller plants between 12-18 months,' says Emma O’Neill of Garden Organic. 'The best time to repot them is in spring when new growth has started so you can provide fresh compost and nutrients.'
2. Get the right tools together
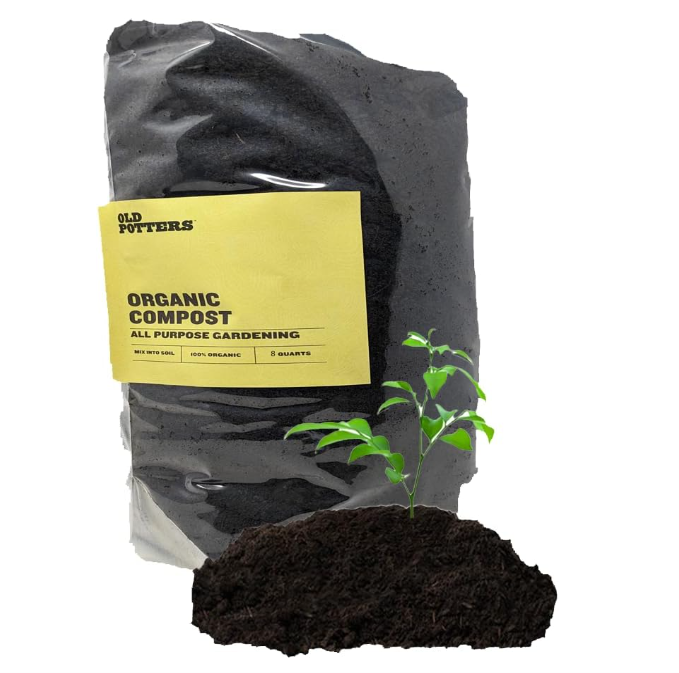
So what do you need for an indoor gardening when it comes to repotting? 'For this, you will need a new pot (if you're going a size bigger), potting compost, an old, preferably blunt knife, a sheet, bin bag, or newspaper to work on if you're repotting indoors, and a watering can or jug,' says Kelly Dyer, plant doctor at Patch Plants.
3. Choose the right size of container
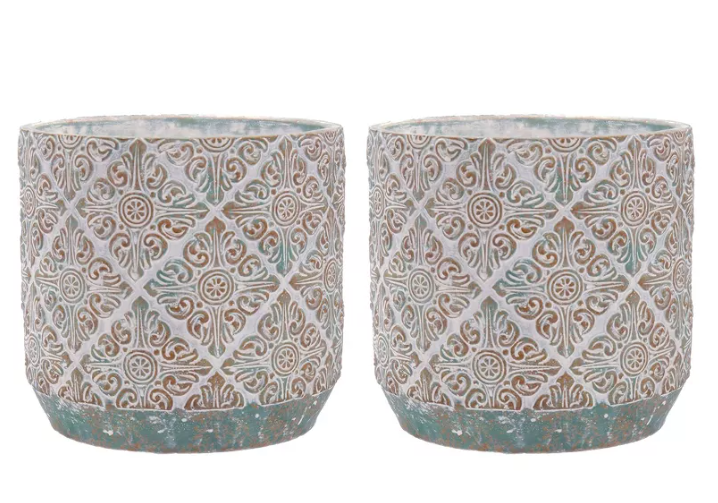
'If your plant is pot bound or root bound, you'll want to re-pot the plant into a pot at least one size bigger,' says Kelly. 'You can tell your pot is root bound when the roots are filling all available space in the pot and are potentially stuck to the inside of the pot.'
Choose a nice trending pot for indoor gardens to give your plants and interiors a fresh look.
The Livingetc newsletters are your inside source for what’s shaping interiors now - and what’s next. Discover trend forecasts, smart style ideas, and curated shopping inspiration that brings design to life. Subscribe today and stay ahead of the curve.
4. Repot your plant gently
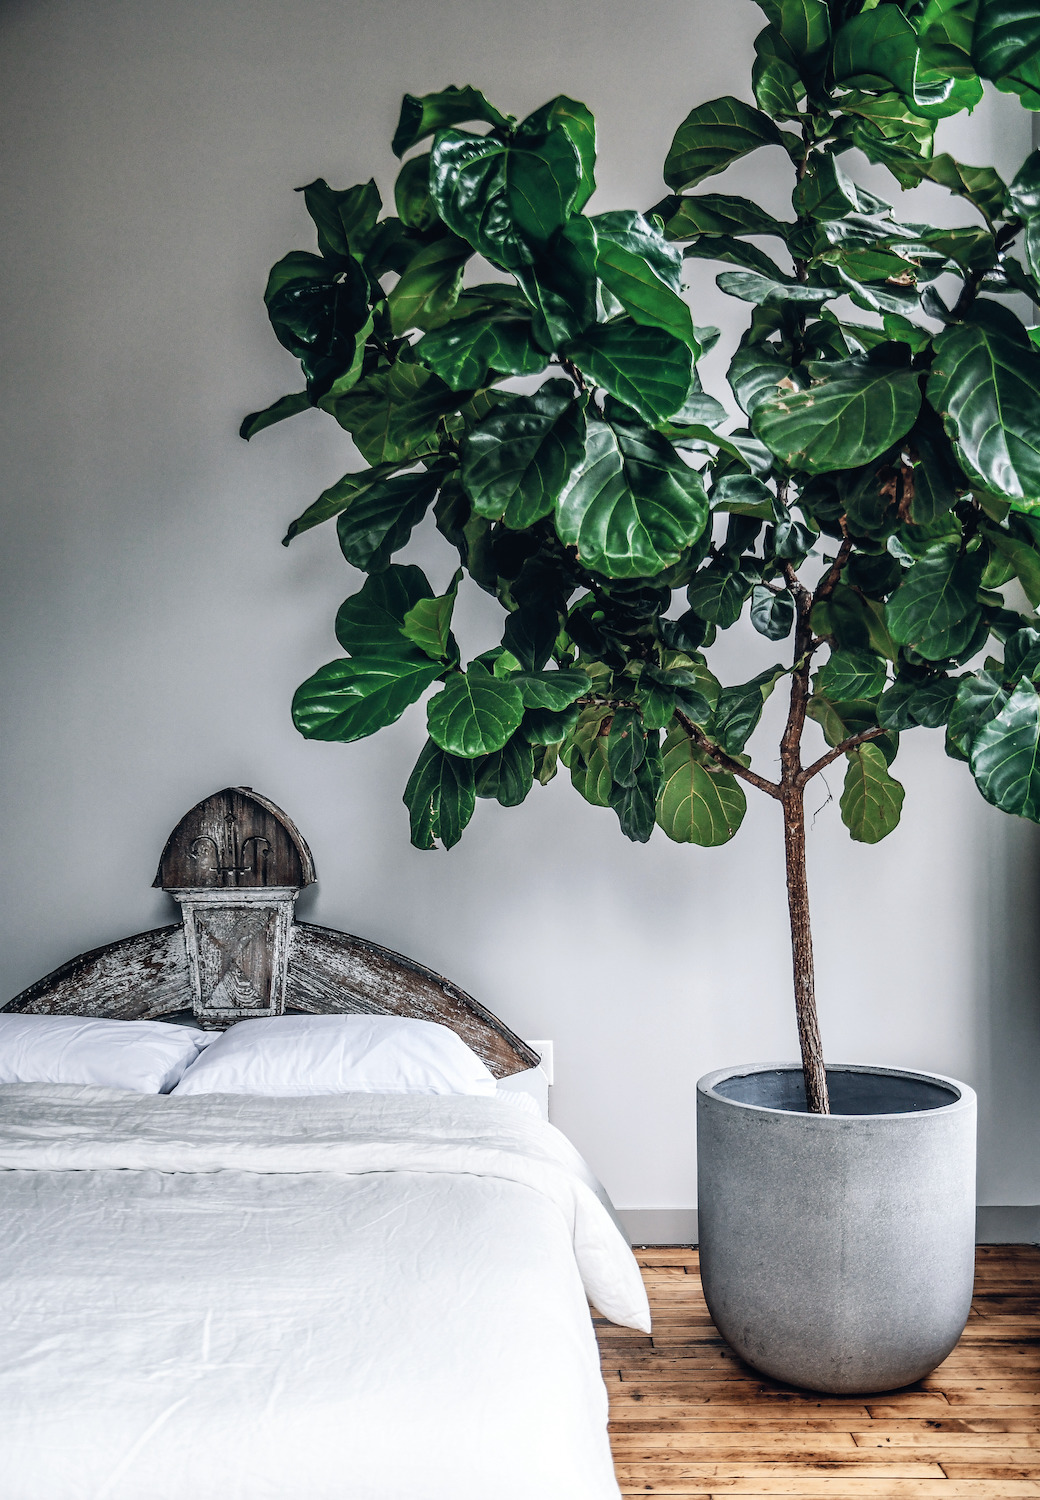
'Repotting a plant is simple and takes five to 10 minutes,' says Emma. 'Start by removing the plant from the pot. If its roots are congested, they may need a trim with secateurs.'
'A knife with a long blunt blade can be really useful to insert down the inside edge of the pot and loosen your plant,' says Kelly. 'Work your way around the edge of the pot until you've severed all contact between the roots and the nursery pot.'
'Hold the plant by its main stem and gently wiggle the plant until you can pull it out quite easily from the pot,' says Kelly. 'You then want to ruffle or break up the roots around the sides and bottom of the root ball. This may seem harmful, but it's actually beneficial to the plant as it will stimulate new root growth. Even if you saw off slices of the root ball, you won't kill the plant.'
'Put a little fresh compost in your new pot and test if this is the right depth by placing your uprooted plant in the center,' says Kelly. 'You want to be able to fill the pot with the remaining compost up to the base of the stem/s so that all the roots are covered. Keep a minimum of 2cm between the rim of the pot and the top of the compost, for watering. If your planting depth is correct, fill in around the sides of the root ball with fresh compost. Now and again tap the pot down gently on your work surface to settle the compost. When you've filled the pot, firmly press the compost down with your fingers and top up if necessary.'
You should also consider how often you should water houseplants and create a schedule for the same.
5. Water it
'Place your plant in the sink or bath and give it a good drink until you can see water coming through the holes in the bottom of the nursery pot,' says Kelly. 'Let the water drain through. By doing this you're also settling the compost and it may sink. If that happens, top it up - you don't want any exposed roots.'
Consider the right temperature the water should be for watering houseplants – too hot or cold and you risk damaging the plant.
'Put your repotted plant back in a decorative spot and place it back in its spot,' says Kelly. 'Your plant may sulk for a few days because of the disturbance, but once it starts sprouting new roots into fresh compost it will bounce back, looking happy and healthy.'

Aditi Sharma Maheshwari started her career at The Address (The Times of India), a tabloid on interiors and art. She wrote profiles of Indian artists, designers, and architects, and covered inspiring houses and commercial properties. After four years, she moved to ELLE DECOR as a senior features writer, where she contributed to the magazine and website, and also worked alongside the events team on India Design ID — the brand’s 10-day, annual design show. She wrote across topics: from designer interviews, and house tours, to new product launches, shopping pages, and reviews. After three years, she was hired as the senior editor at Houzz. The website content focused on practical advice on decorating the home and making design feel more approachable. She created fresh series on budget buys, design hacks, and DIYs, all backed with expert advice. Equipped with sizable knowledge of the industry and with a good network, she moved to Architectural Digest (Conde Nast) as the digital editor. The publication's focus was on high-end design, and her content highlighted A-listers, starchitects, and high-concept products, all customized for an audience that loves and invests in luxury. After a two-year stint, she moved to the UK and was hired at Livingetc as a design editor. She now freelances for a variety of interiors publications.
