How to put up a shelf – an expert guide to hanging floating and bracket shelving
Knowing how to put up a shelf is a great skill to have in your DIY skillset, so here we talk you through exactly how to do it
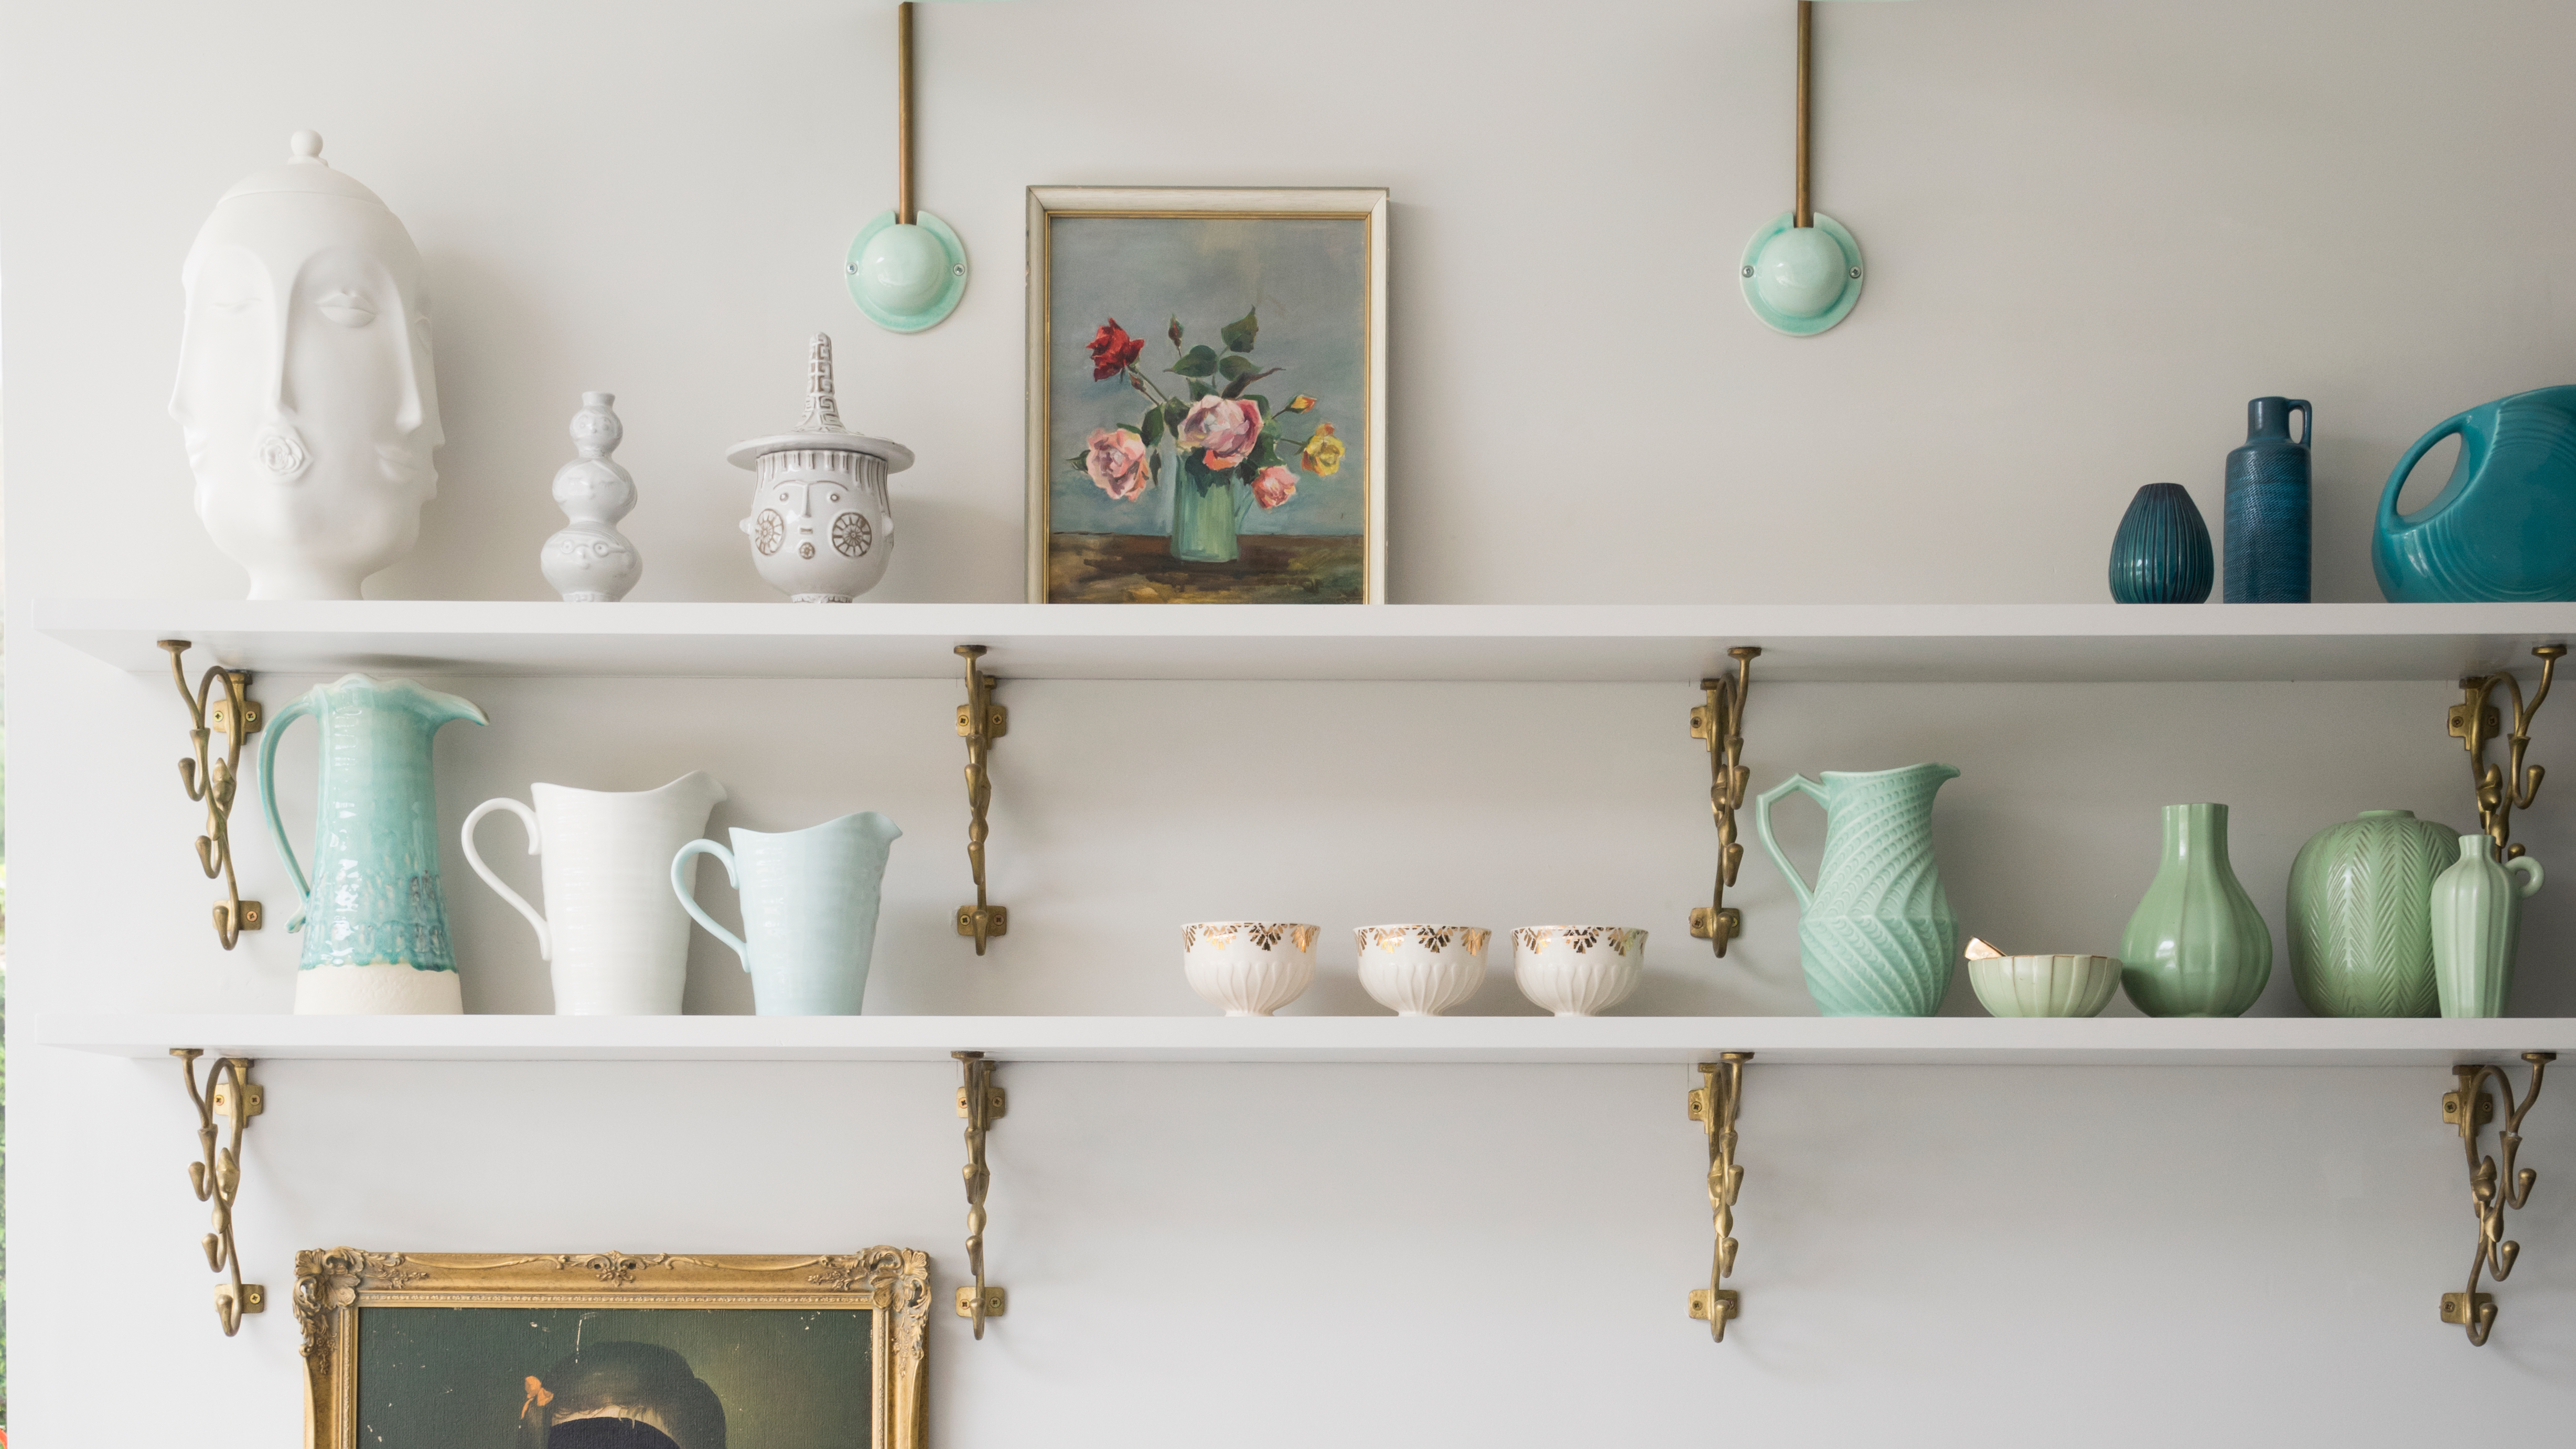
If you are looking to do some home improvements, learning how to put up a shelf is a good place to start. It’s quick, simple, and provides a useful new space in a room lacking storage or space to display your ornaments.
It may seem like shelving possibilities are endless because shelves come in all different shapes and sizes. However, all shelves (aside from free-standing shelves, like bookcases) are either floating shelves or bracketed shelves – and this guide will show you how to put up both!
So, if you are interested in learning how to put up a shelf and nail all you stylish shelving ideas, look no further. Read below for a simple guide on how to put up a shelf, including lots of tips and tricks you can use along the way to get the perfect end result.
How to put up a shelf
There are a few things to collect and prepare before you get to work on putting up your shelf:
Which is better: floating shelves or bracketed shelves?
The first step is deciding which type of shelf you would like to put up: floating or bracketed.
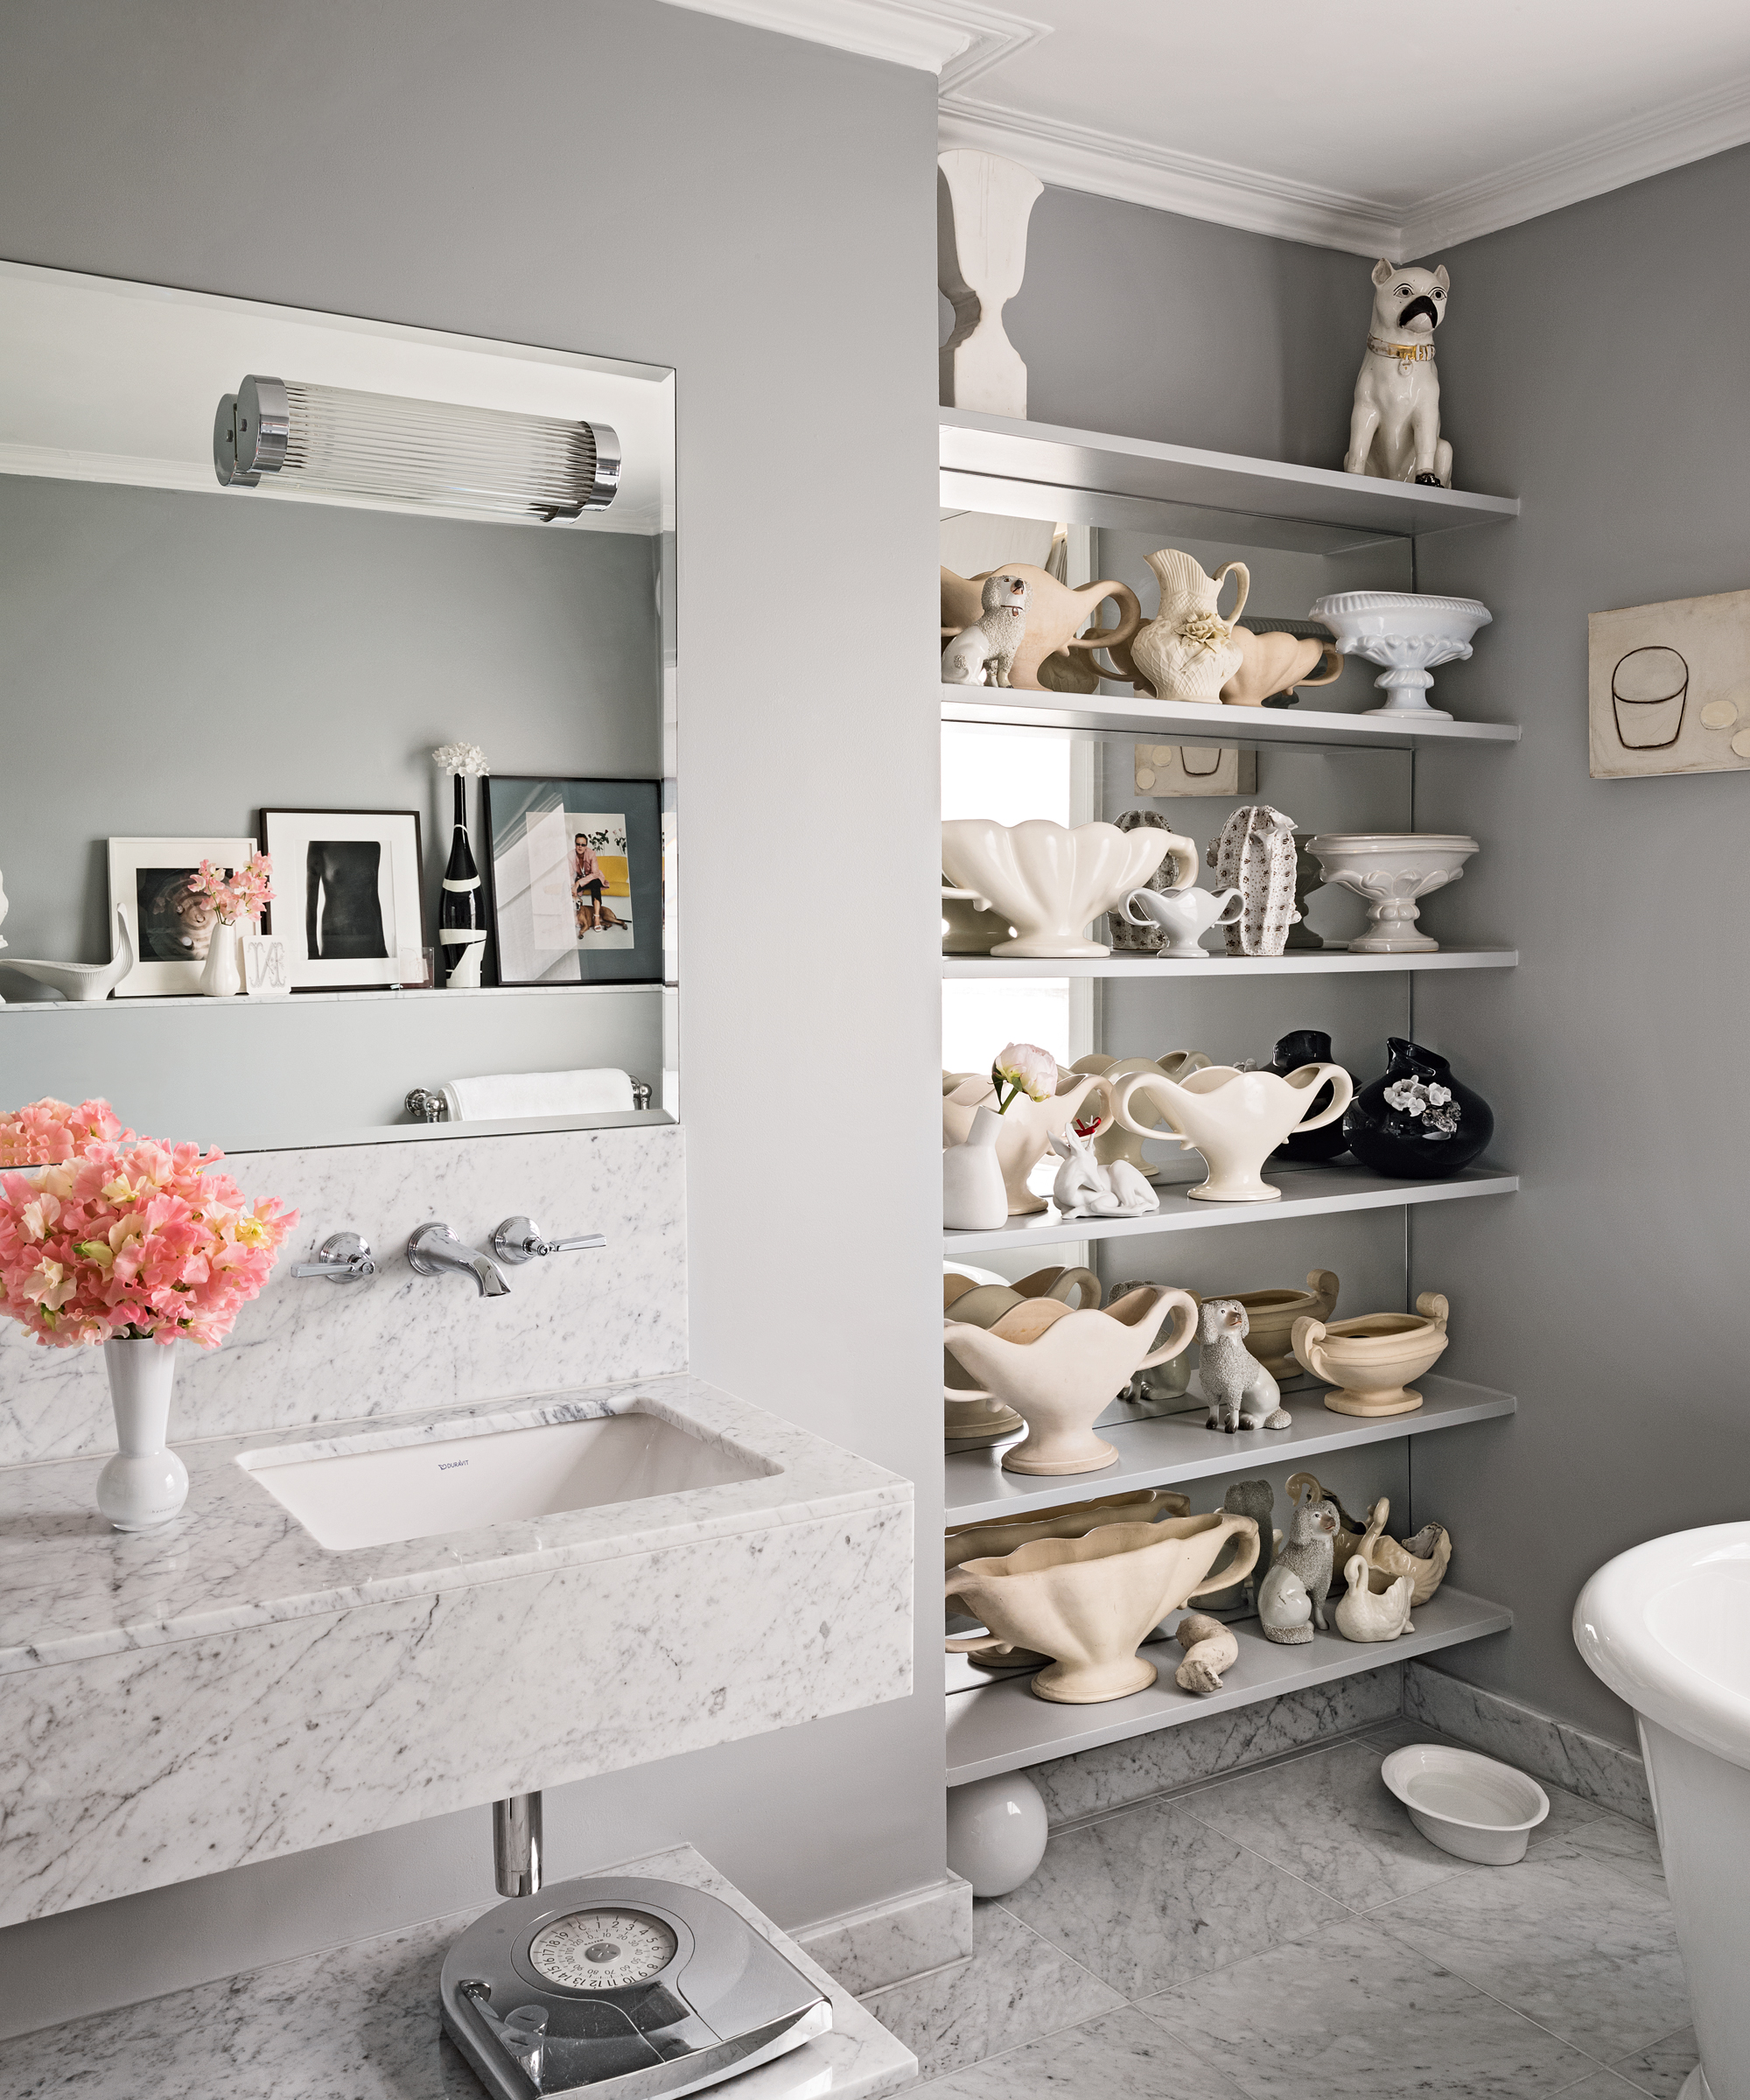
Floating shelves are a sleeker, more minimalist shelving option which hides the shelving hardware, appearing to ‘float’ against the wall. They work well to display ornaments and other lightweight goods, and blend well into the environment so make for perfect alcove shelving ideas.
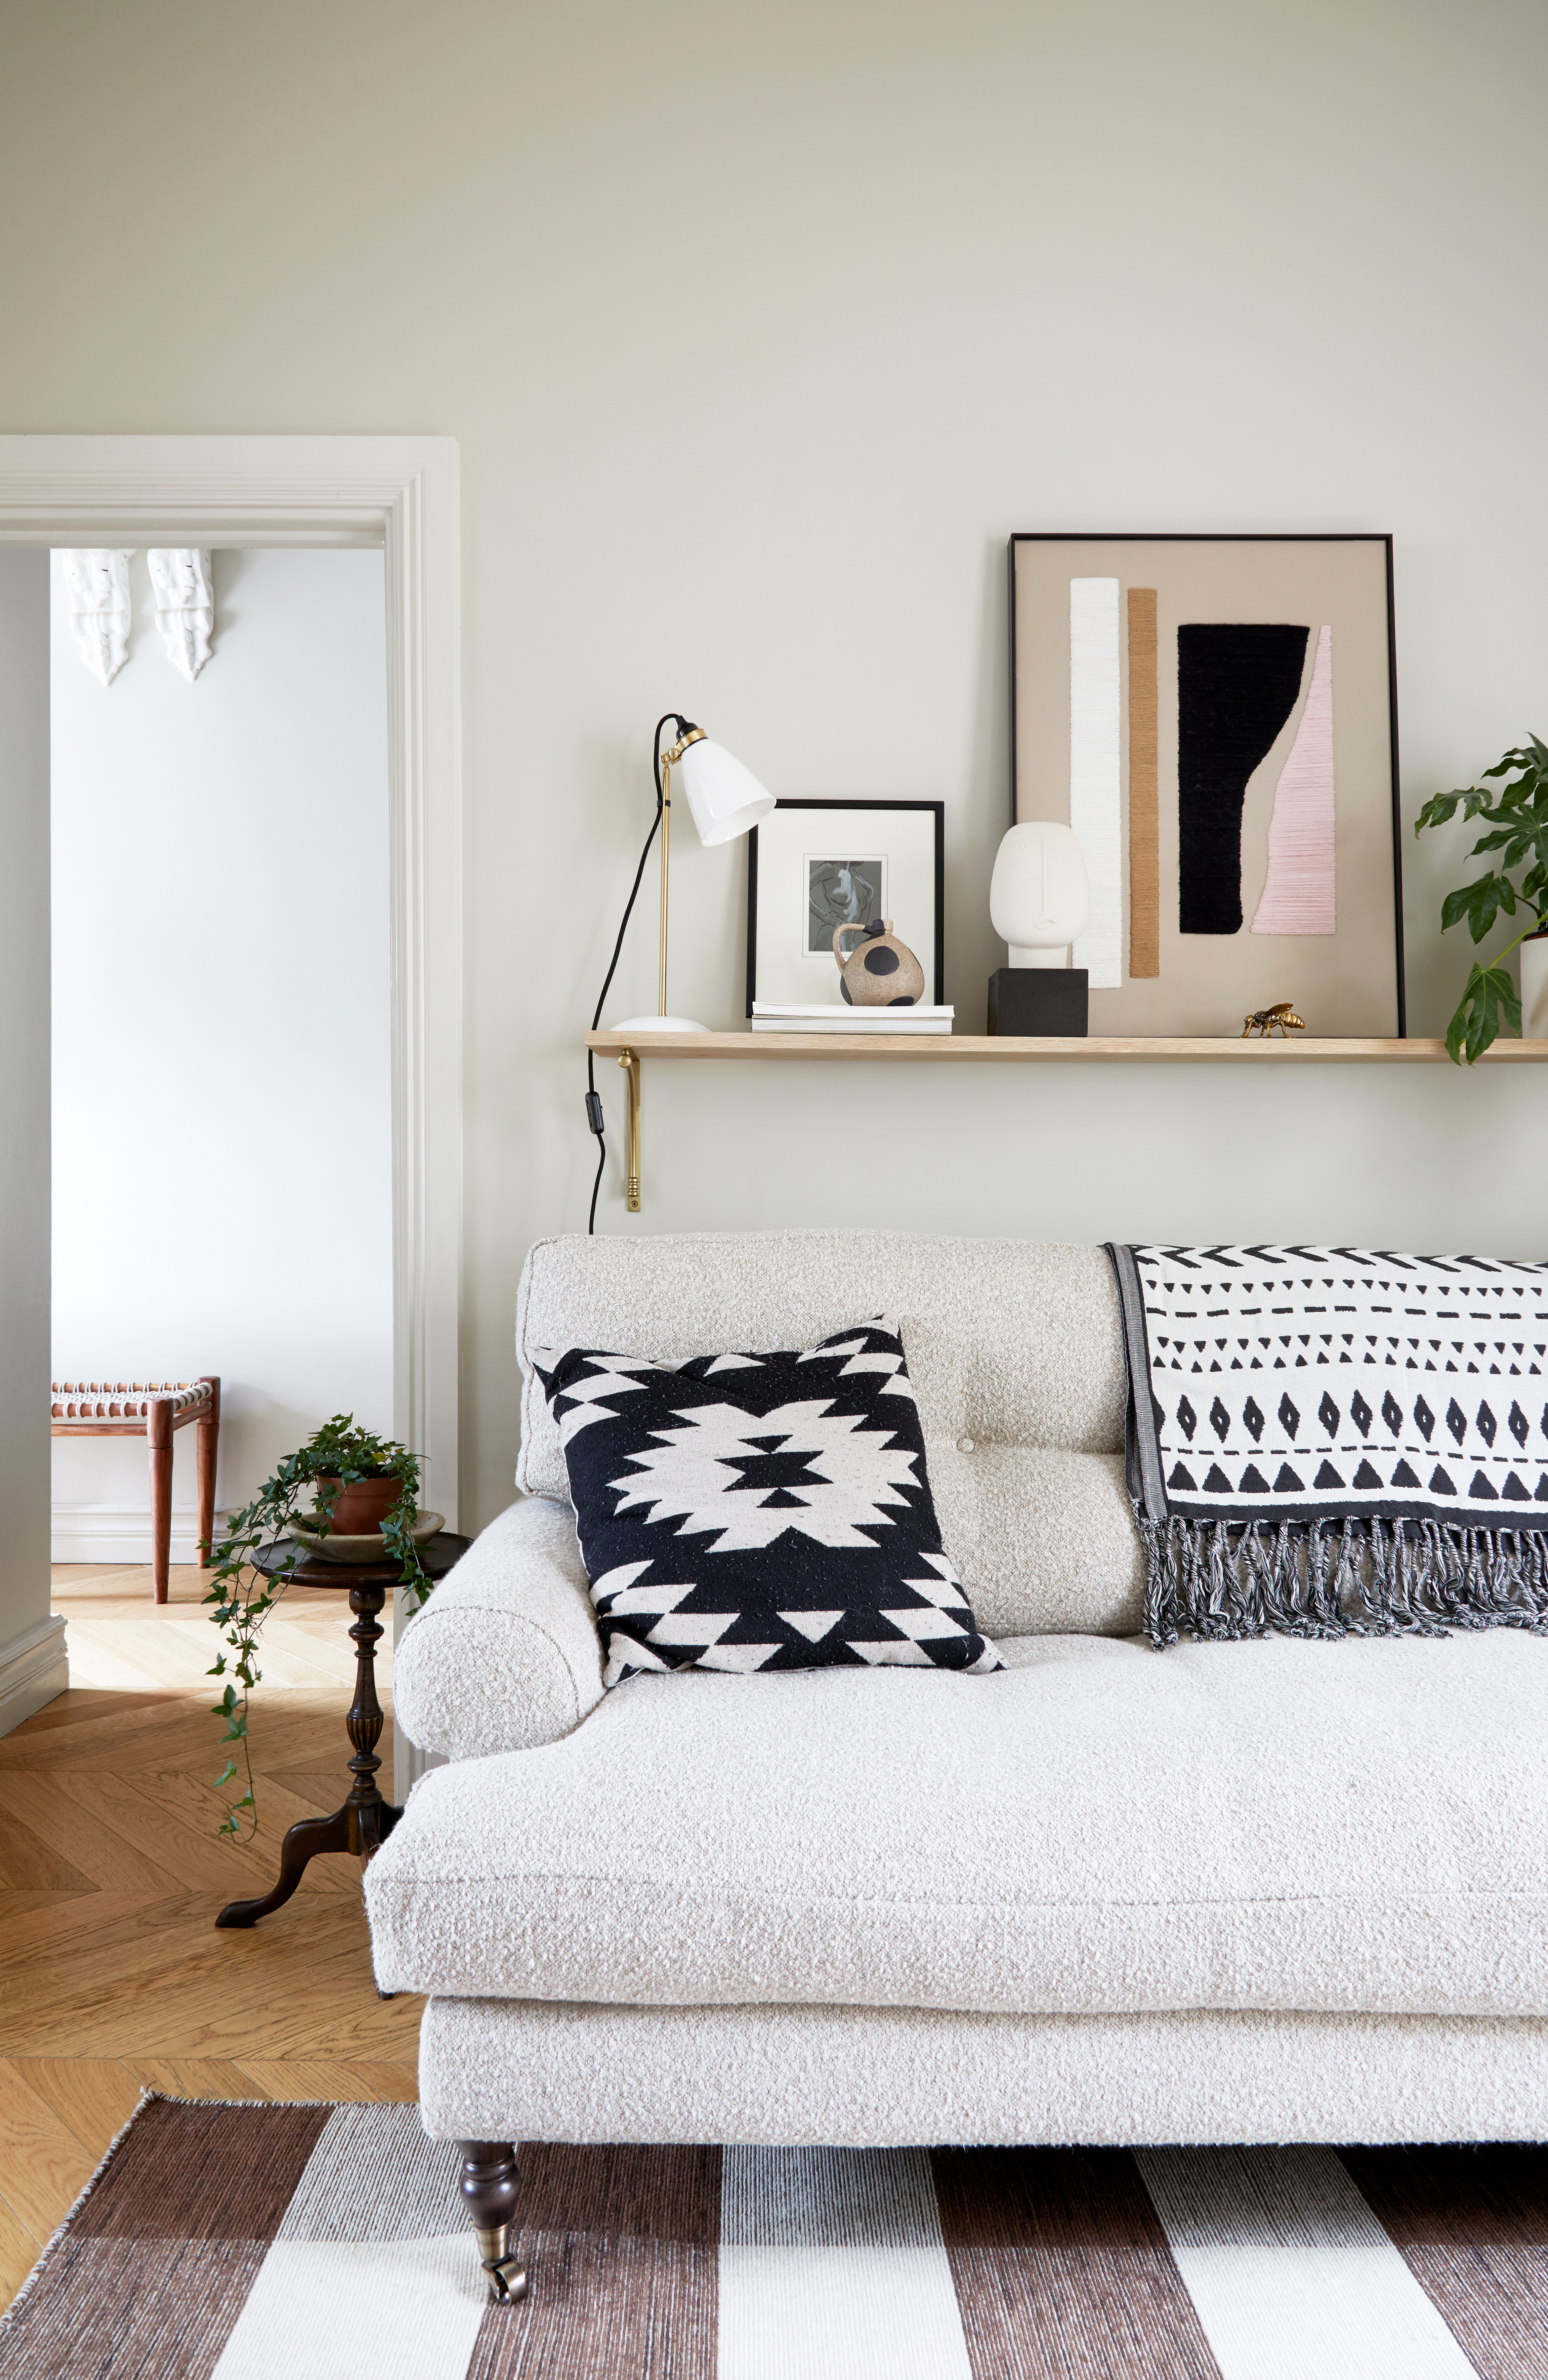
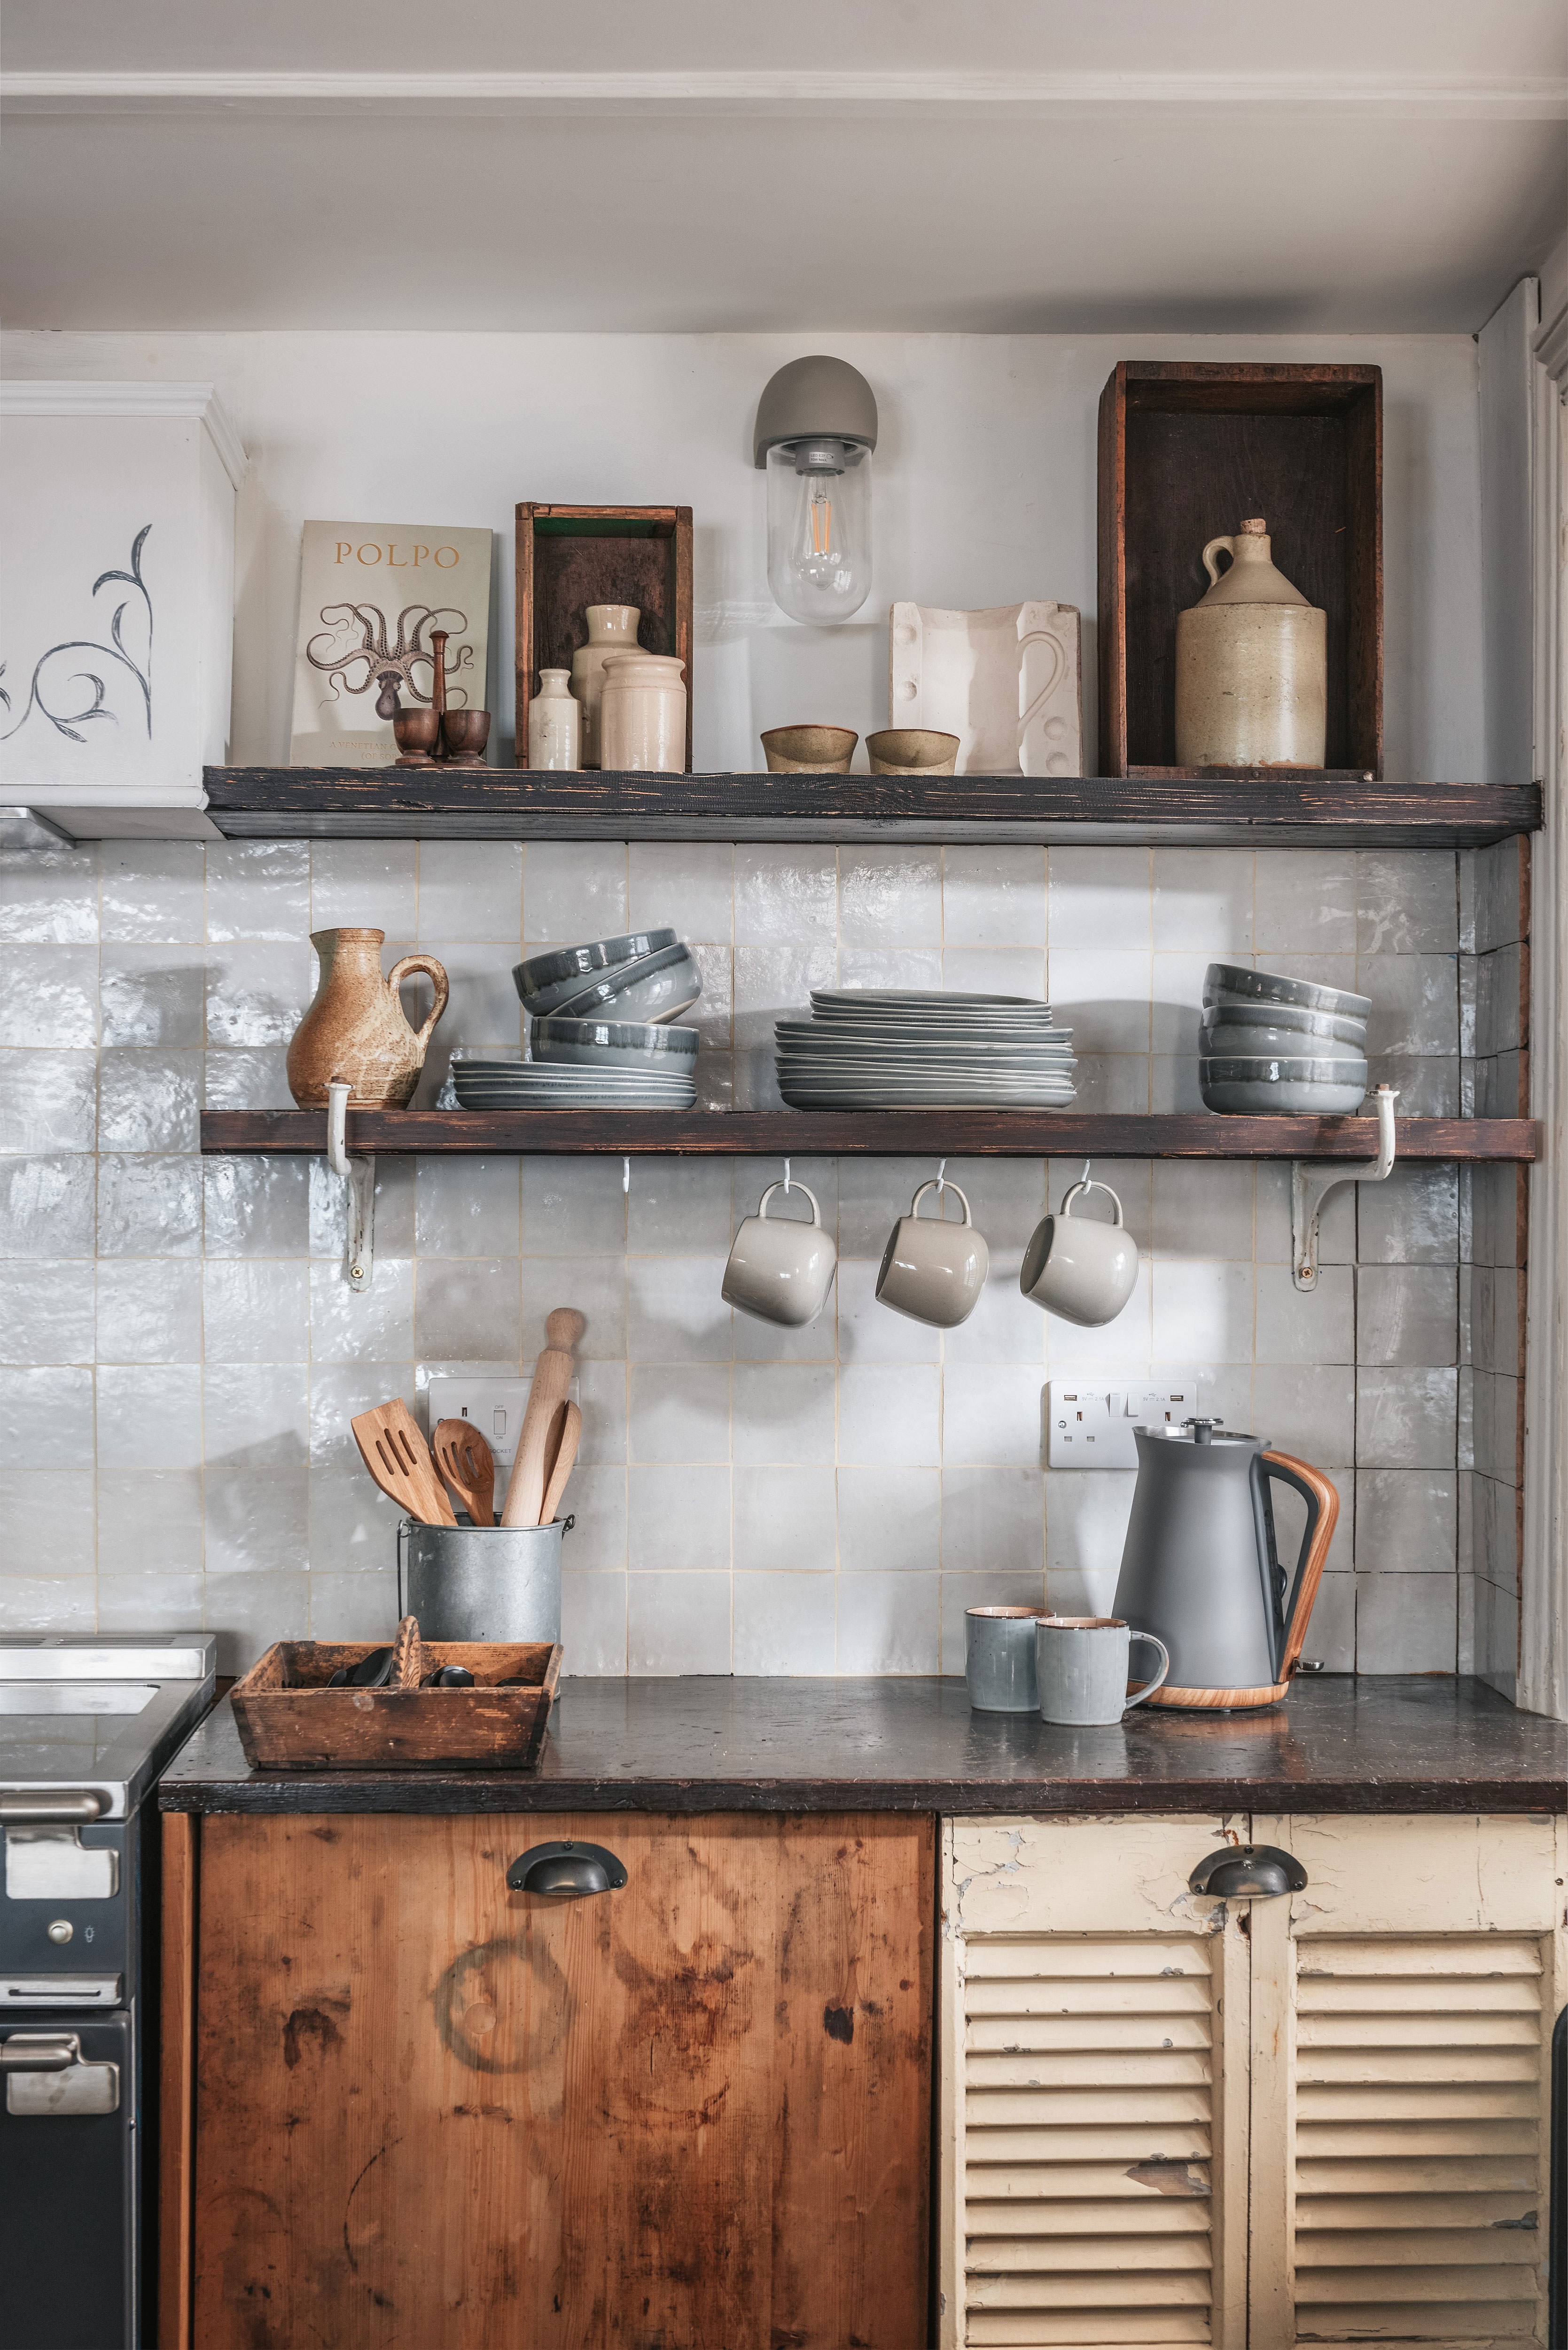
Bracketed shelves, in contrast, have visible brackets. There are many types of bracket – whether wood or metal, simplistic or with a design – that can add a personalized touch to the shelves and the space.
The Livingetc newsletters are your inside source for what’s shaping interiors now - and what’s next. Discover trend forecasts, smart style ideas, and curated shopping inspiration that brings design to life. Subscribe today and stay ahead of the curve.
Both types of shelving come in many shapes and sizes, and you are certain to find the perfect shelf for your space if you do a bit of research.
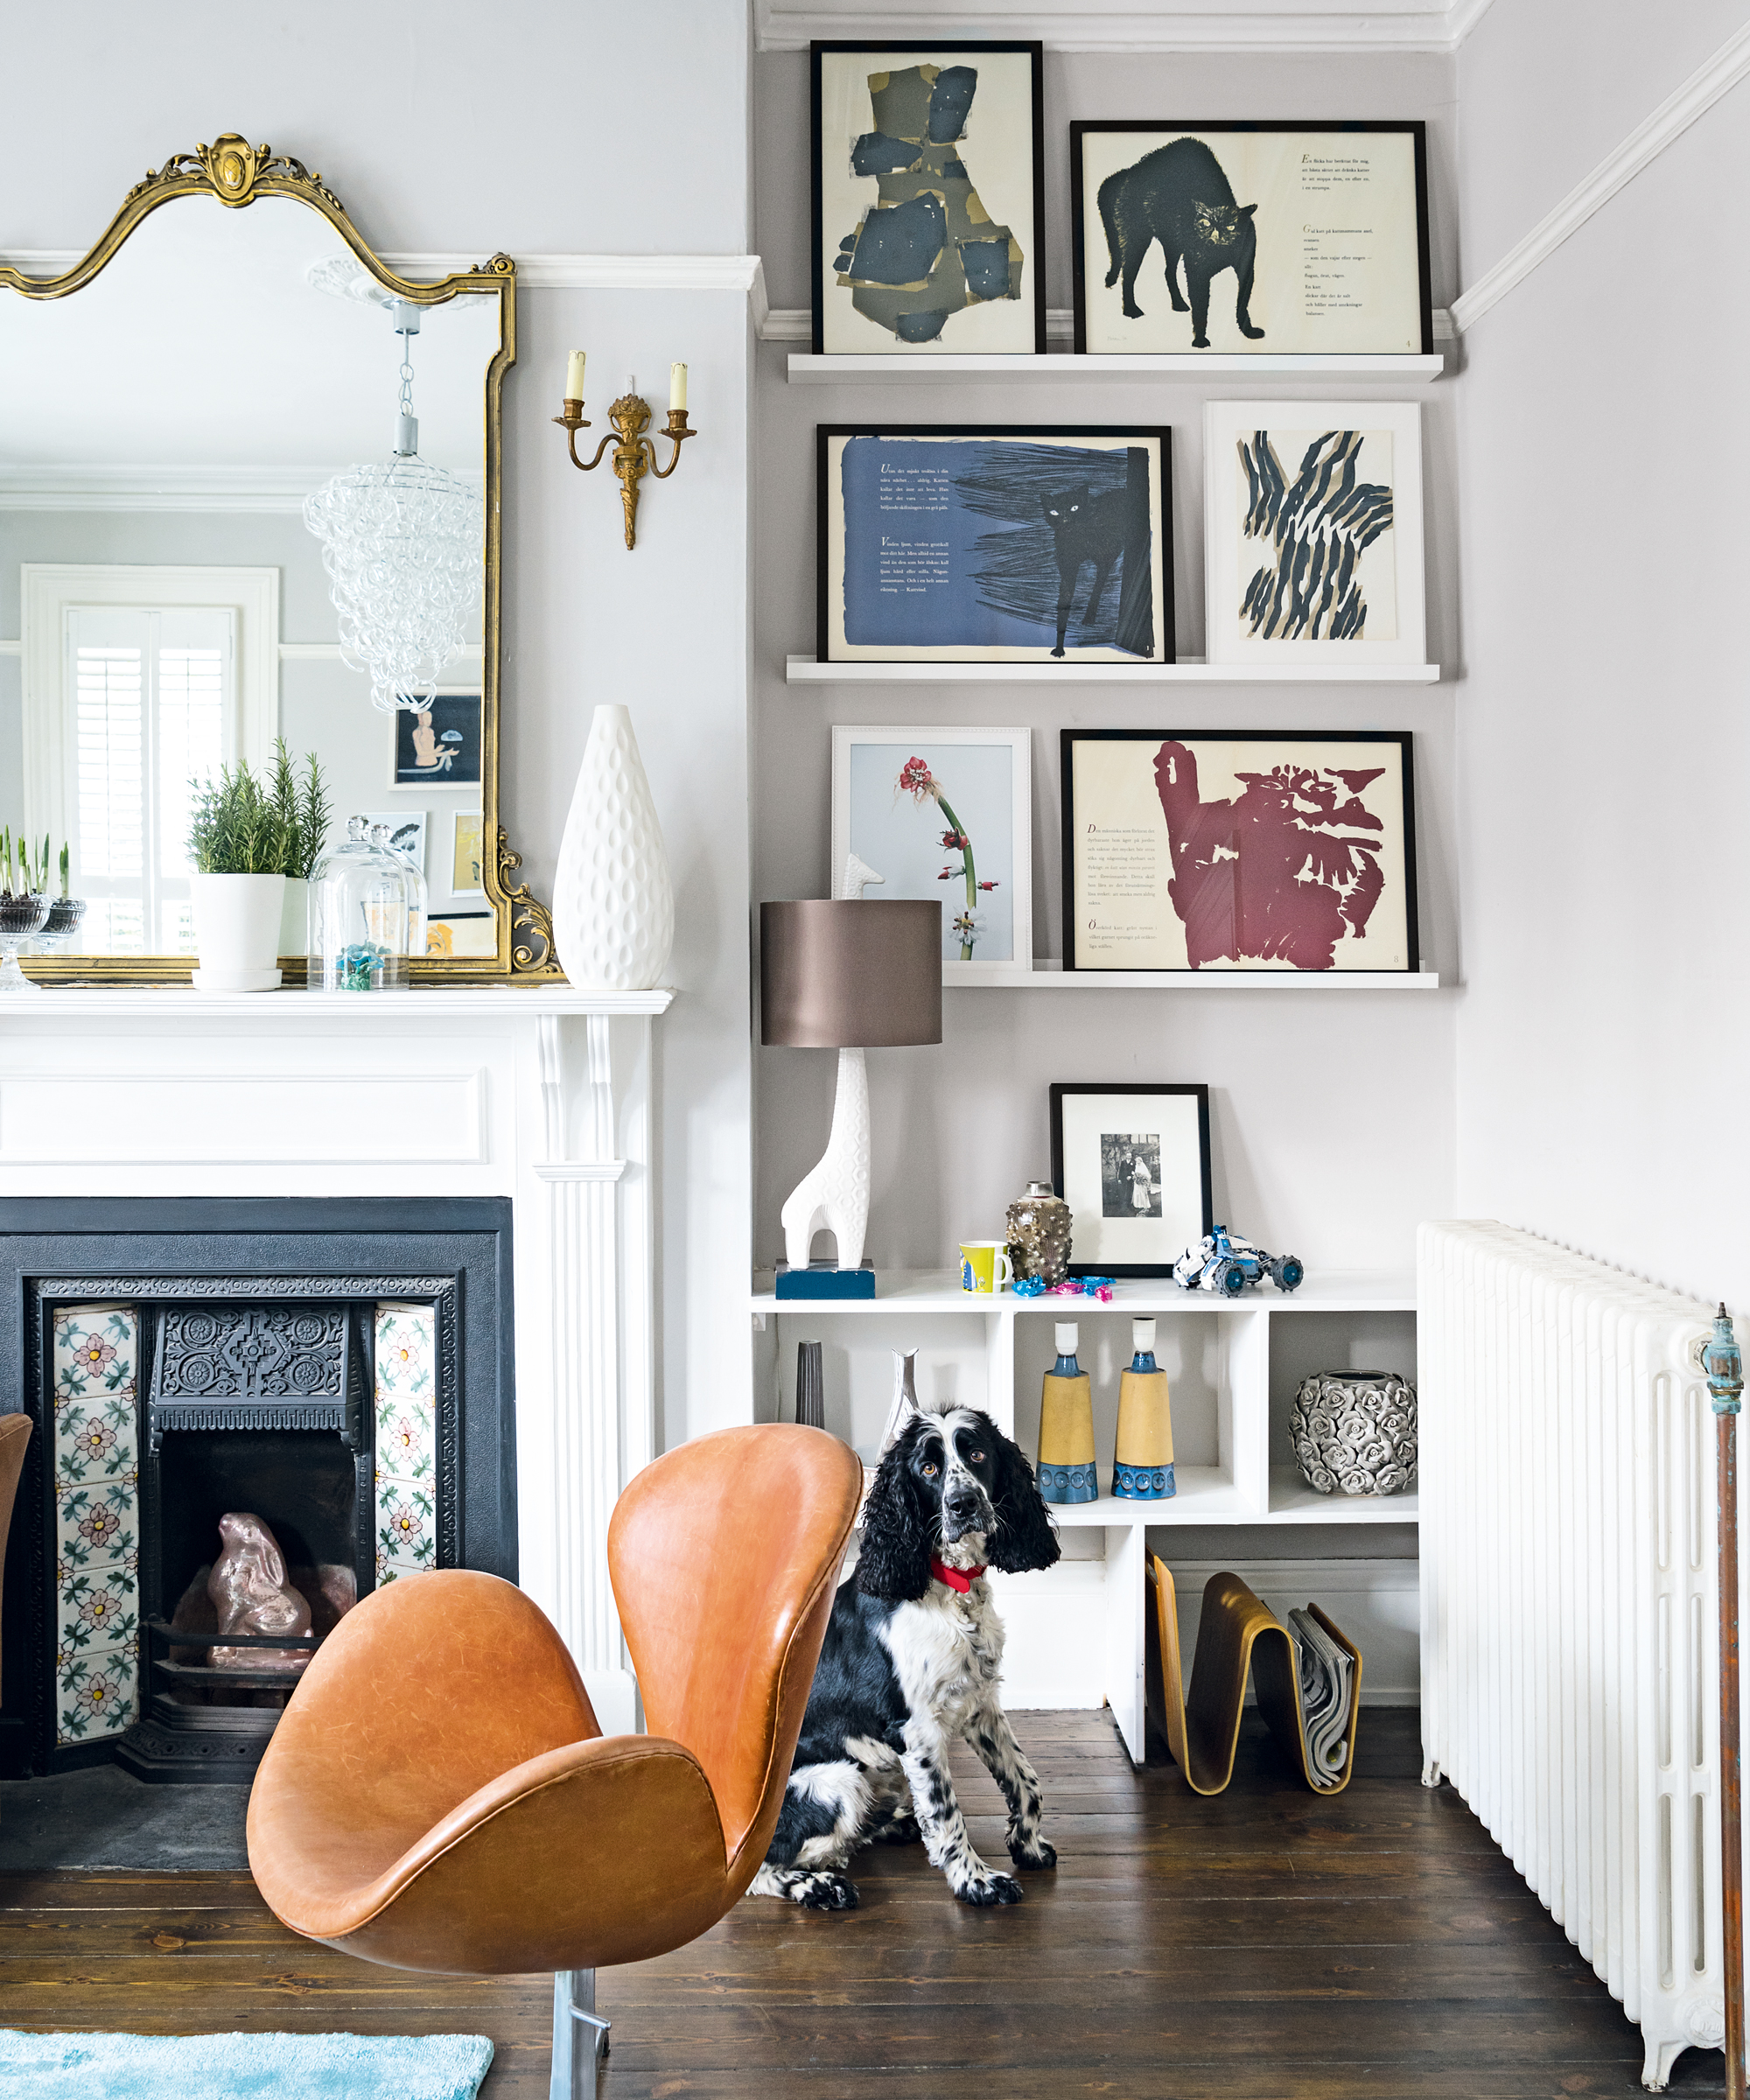
What to consider before putting up a shelf
If you have decided which type of shelf you would like to put up, you probably also already have an idea of where you would like it to go. However, it’s not always that simple: walls contain cables and pipes that you should avoid when drilling holes in the wall.
Determine what kind of wall you are fixing the shelf to: masonry or stud. A masonry wall is made of brick or concrete, and a stud wall is made of timber and plasterboard, containing timber studs. If you are unsure which wall type you have, knock on the wall and listen to the sound it makes. A stud wall will make a hollow sound in some areas and will sound more solid in other areas, whereas a masonry wall will rarely make a hollow noise when you knock on it.
Masonry walls make for a strong shelf foundation that can carry a lot of weight. Using a pipe and cable detector, scan the wall for pipes and cables to determine the best place to fix your shelf.
A stud wall is made of timber and plasterboard, containing timber studs. It is not advisable to drill into the hollow part of a stud wall as it is not strong enough to bear any weight. Instead, you should drill directly into the timber studs, which can be located with a 3-in-1 pipe, cable, and stud detector, which will also help you to avoid drilling into pipes and cables.
- After more DIY projects? Check out our guide to how to paint kitchen cabinets
You will need
- The shelf – either floating or bracket
- Brackets – suitable for either floating or bracketed shelves
- Screws
- Wall plugs – if you are drilling into a masonry wall
- A drill and drill bits – if you are drilling into a masonry wall, your drill should have a hammer mode
- Hammer
- Screw driver
- Protective goggles
- 2-in-1 pipe and cable detector – or 3-in-1 pipe, stud and cable detector if you are drilling into a stud wall
- Tape
- Pencil
- Spirit level – long enough to double as a measure
‘The key tool for me when erecting shelves is a box beam spirit level!’ says interiors influencer Melanie Lissack. ‘These tools are generally used by construction workers, but they are inexpensive to buy and brilliant to get a quick, perfectly straight line as a starting point to put up a shelf.’
How to put up a floating shelf
Step one: mark out the brackets
Once you know where in your wall it is safe to drill, hold your shelf up to the wall and use a pencil to mark out approximately where you want it to sit.
If you are using a readymade bracket, hold it against the wall and mark where it should sit, marking the top, bottom, and any screw holes. Remove the bracket and use a spirit level to ensure the marks for each bracket are level. If they are not level, adjust the marks.
If you are using separate brackets, measure the distance between the bracket holes on your shelf and note it down. Then place one of the wall brackets at the required height. Using a pencil, mark where the bracket sits. Using a spirit level, measure the distance for the next bracket using the measurement you noted down, and mark its position. Ensure the two marks are completely level.
Take home tip: Make sure any securing holes on the arm of the bracket are at the bottom, otherwise the screws will be visible on the surface of the shelf.
Step two: drill your holes in the wall
Measure your wall plugs against your drill bit, and mark their length with a piece of tape. If you are drilling into a stud wall, you do not need wall plugs, so should mark on your drill bit the depth of the screws you will use to attach the bracket.
Wearing protective goggles, drill holes in the wall where you marked them in pencil. If you are drilling into a masonry wall, you will need to be in hammer mode. Drill only as deep as the length of your wall plugs marked with tape.
Step three: insert the wall plugs
Place your wall plugs into the holes you have drilled. Tap gently with a hammer to ensure they sit flush with the wall.
Step four: fix the brackets in place
Using screws and a screwdriver, fix the brackets in place.
Step 5: slide the shelf onto the bracket
Now your bracket is fixed to the wall, you can slide your floating shelf onto the bracket. Secure the shelf in place with screws on the underside.
Step back and admire your handywork!
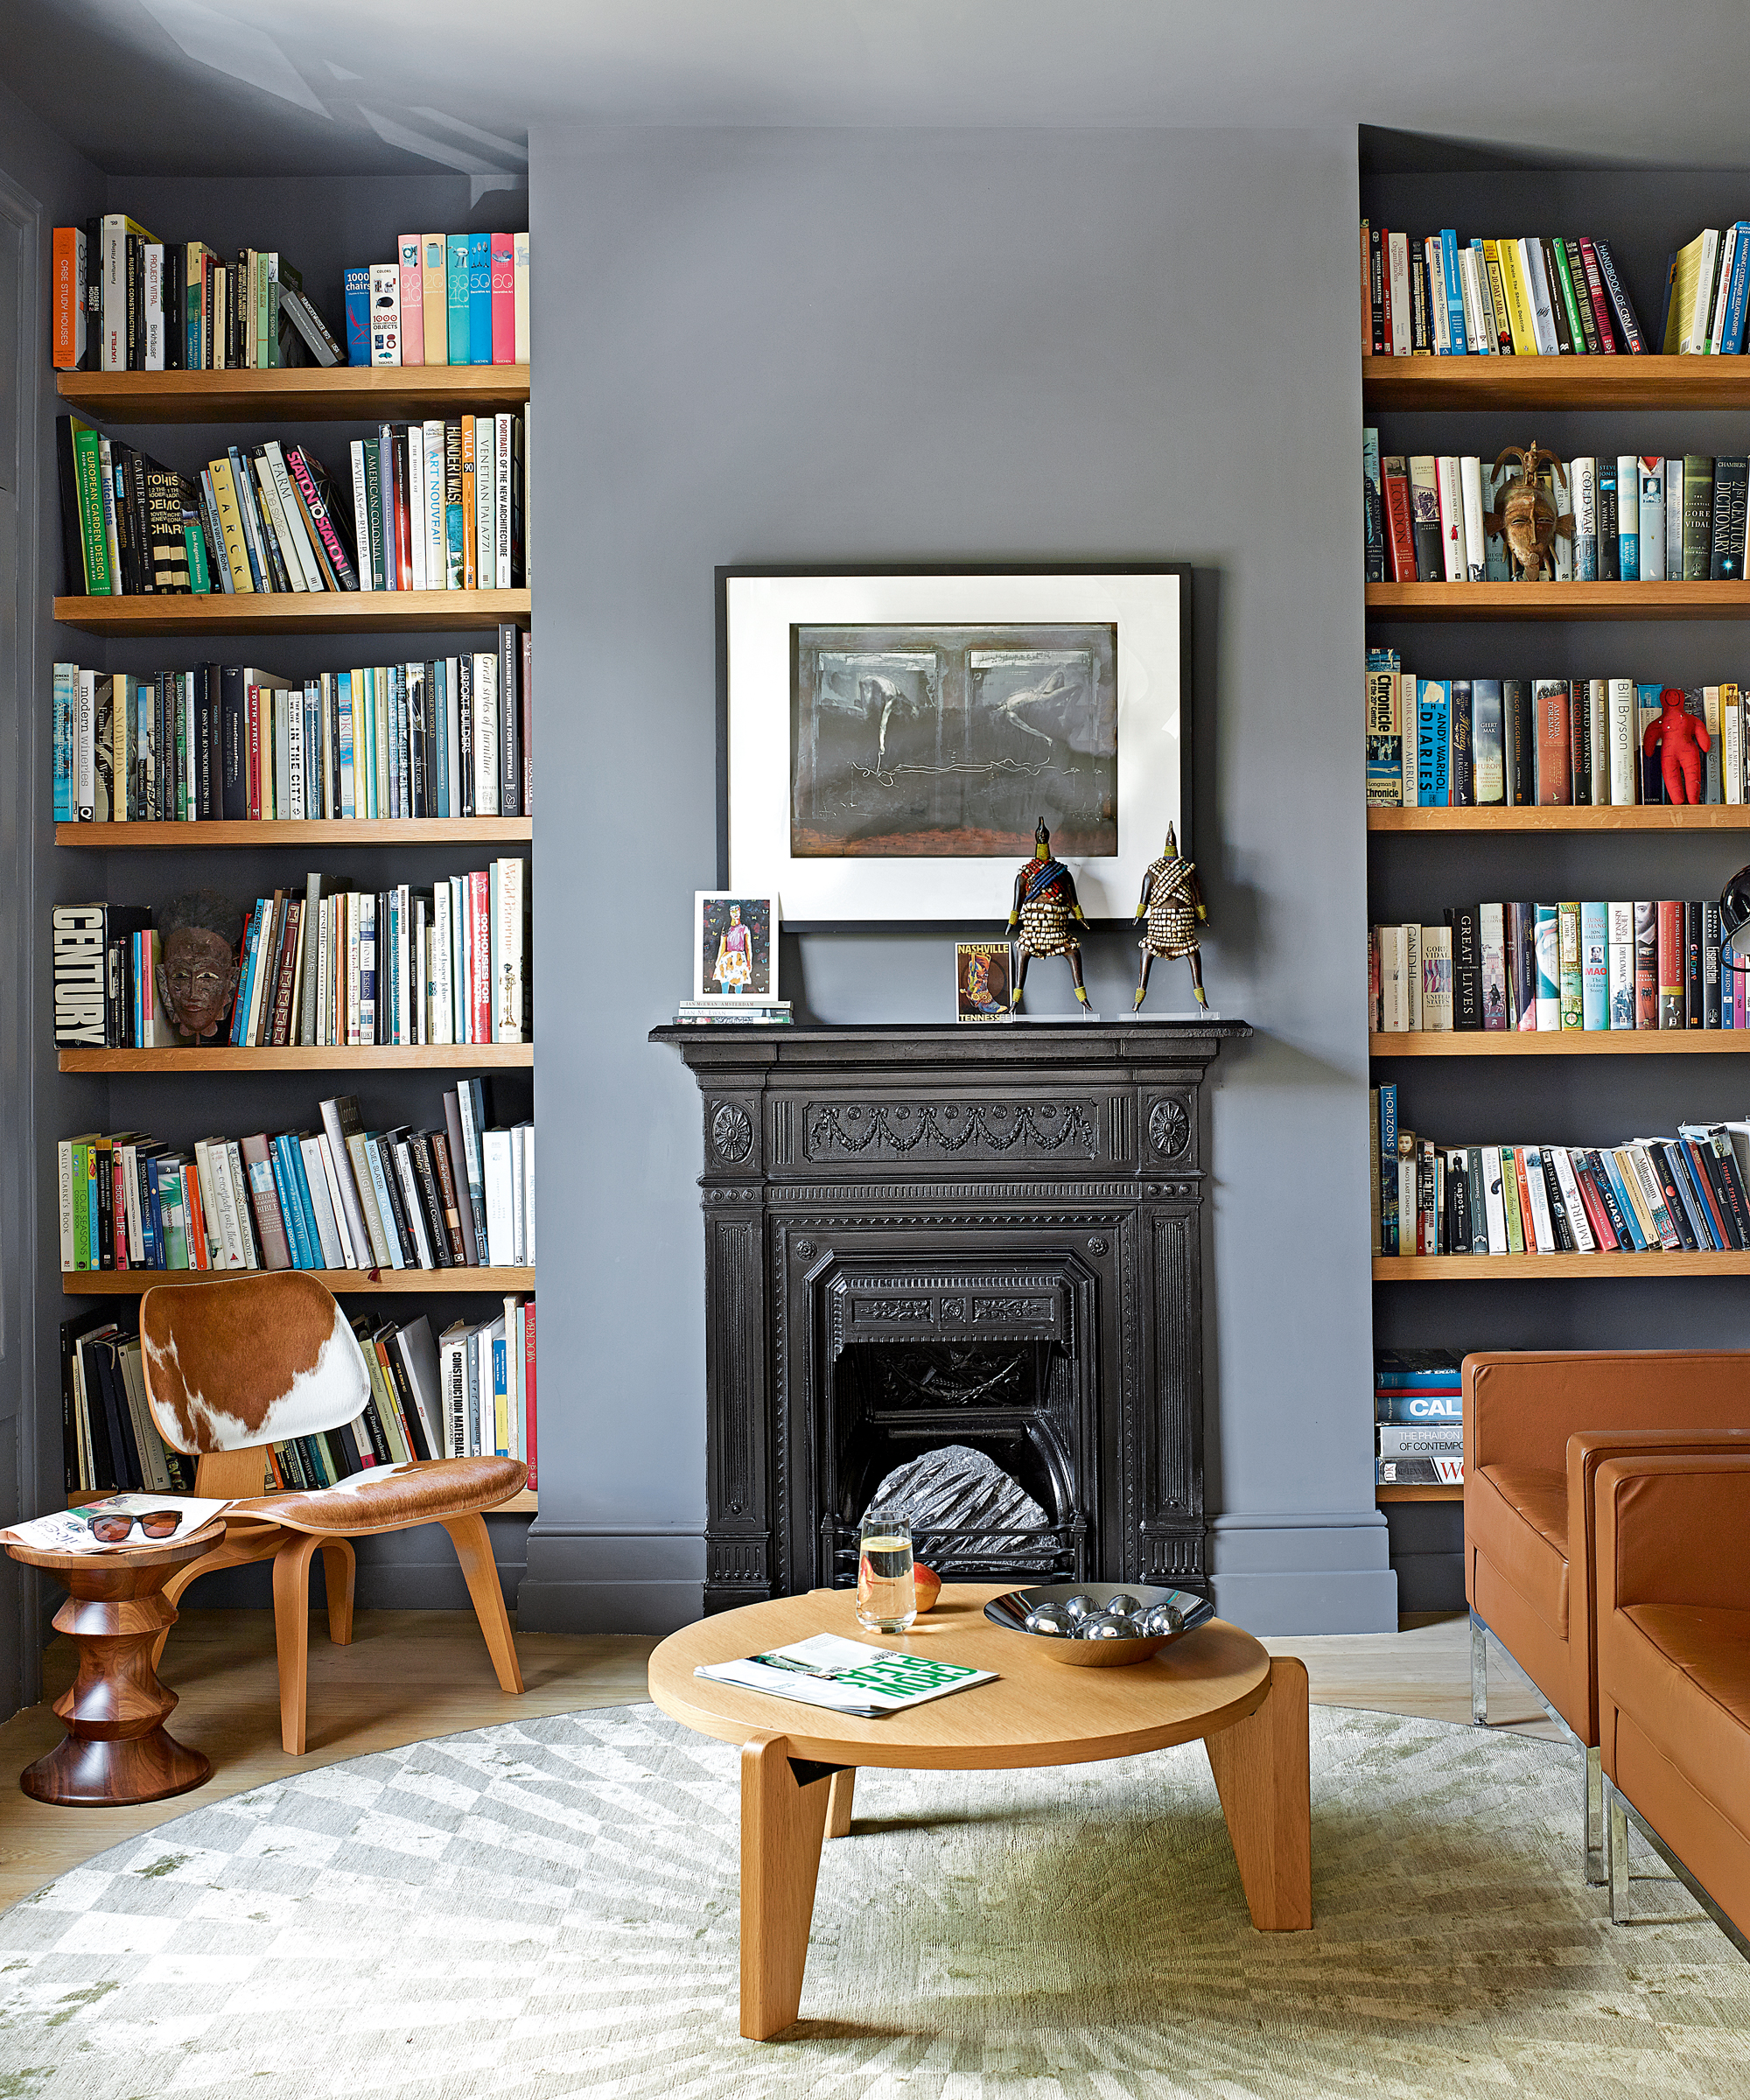
- Want to update your fireplace this weekend too? Head to our guide to how to paint a fireplace
How to put up a bracket shelf
Step 1: Marking out the brackets
Once you know where in your wall it is safe to drill, hold your shelf up to the wall and use a pencil to mark out approximately where you want it to sit.
Hold your first bracket against the wall and mark the top, bottom, and screw holes with a pencil. Using a spirit level, mark where the second bracket should sit, lining up each mark you have made. Then hold the second bracket up to the marks and check that they all match – adjust if you need to.
Step 2: Drilling your holes in the wall
Measure your wall plugs against your drill bit, and mark their length with a piece of tape. If you are drilling into a stud wall, you do not need wall plugs, so should mark on your drill bit the depth of the screws you will use to attach the bracket.
Wearing protective goggles, drill holes in the wall where you marked them in pencil. If you are drilling into a masonry wall, you will need to be in hammer mode. Drill only as deep as the length of your wall plugs marked with tape.
Step 3: Insert the wall plugs
Place your wall plugs into the holes you have drilled. Tap gently with a hammer to ensure they sit flush with the wall.
Step 4: Fix the bracket in place
Using screws and a screwdriver, fix the brackets in place. Using a spirit level, check again that the brackets are completely level.
Step 5: Positioning the shelf
Sit the shelf board on the brackets, making sure that it is centred.
Mark on the underside of the shelf where the bracket fixing holes line up.
Remove the shelf, and drill pilot holes into the shelf board where you made the pencil marks. Make sure you do not drill all the way through the shelf board.
Step 6: Fix the shelf in place
Sit the shelf back on the brackets and line up the drilled holes with the bracket fixing holes. Then screw the shelf into the bracket.
Is it difficult to put up a shelf?
Putting up a shelf is a quick, easy and relatively inexpensive task, perfect for DIY newbies or anyone looking to make the most of their space. Make sure you use all of the correct equipment and materials, and ask for advice at your local hardware store if you need help picking out the right materials.
Should I use floating or bracketed shelves?
Both types of shelves have pros and cons, but the main thing to consider is the weight you need your shelf to bare, as bracketed shelves can generally carry more weight than floating shelves. Always check how much weight the shelf and its brackets can carry and compare it to how you plan to use the shelf.
How can I make sure my shelves are level?
Using a spirit level is the best way to ensure your shelves are level. When marking out the position of your shelf on the wall, use a spirit level to ensure it is straight, double and triple checking all of the marks you make if necessary.
Olivia Emily is one of the most exciting new talents in consumer lifestyle journalism. Currently finishing off a Masters in Journalism at the City University, London, she has quickly proved herself at being adept on reporting on new interiors trends. A regular contributor to Livingetc, she is brilliant at being able to decode information for our audience.