How do you pour paint from a can without drips? DIY tips for mess-free decorating
Learn how to pour paint from a can with these clever hacks that will keep your home, and your paint can, clean and free from mess


It might sound simple, but knowing how to pour paint from a can to minimize mess can save you precious time, money and effort. Decorating your house with brand new paint is exciting, but clearing up spillages isn't - and there's nothing more frustrating than drippy tins with lids that no longer fit due to dried paint around the seal.
Pouring your colors into a paint tray is an important part of the decorating process. Not only will this step extend the life of your paint can, but it means you can use a roller that will ensure a smooth and simple application on your walls. However, the process of pouring the paint into the tray isn't always as easy. Thanks to the consistency of paint and the shape of paint tins, drips are inevitable.
Luckily there are some handy DIY tips out there to ensure you have a mess-free decorating experience while also preventing wasted paint. Here we've gathered up the best pouring paint ideas from expert painters and decorators to make this job as simple as possible.

Lilith is an expert at following news and trends across the world of interior design. She's committed to helping readers make the best choices in their homes through sharing practical tips and innovative solutions for all their DIY needs. For this piece she asked painters and decorators for their tips on how to pour paint from a can to minimize mess.
How to pour paint from a can
When pouring paint out of a can by itself, no matter your technique, it's likely that paint will end up on the outside of your can. Yes, this can drip down, which is annoying, but worse is that it dries around the rim of the can, meaning your lid doesn't close properly and flaky dry paint goes into your tray the next time you go to use it.
So how do you pour paint from a can without causing this mess?
1. Consider purchasing a pouring spout
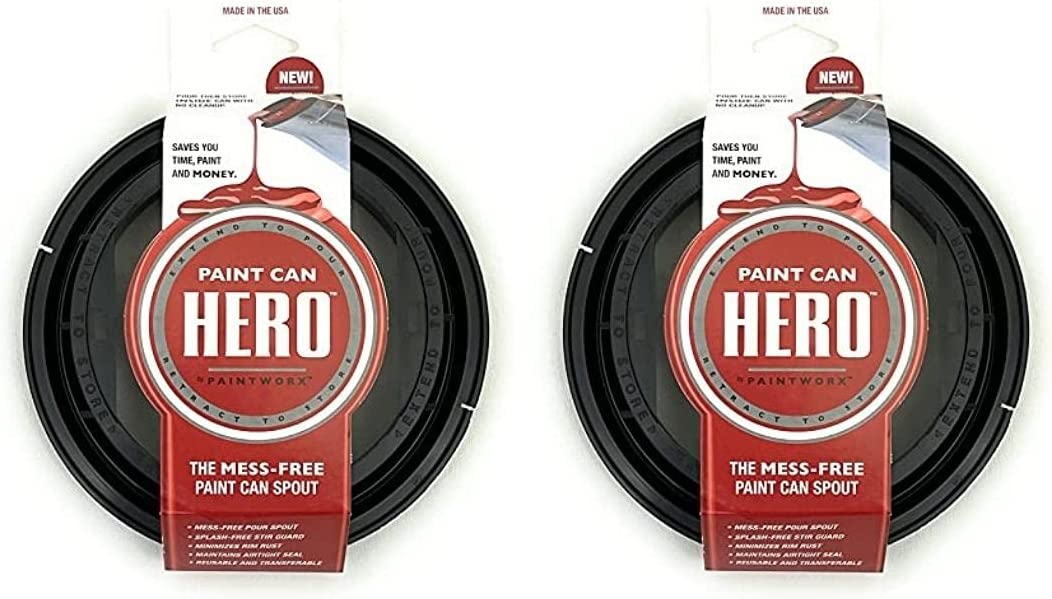
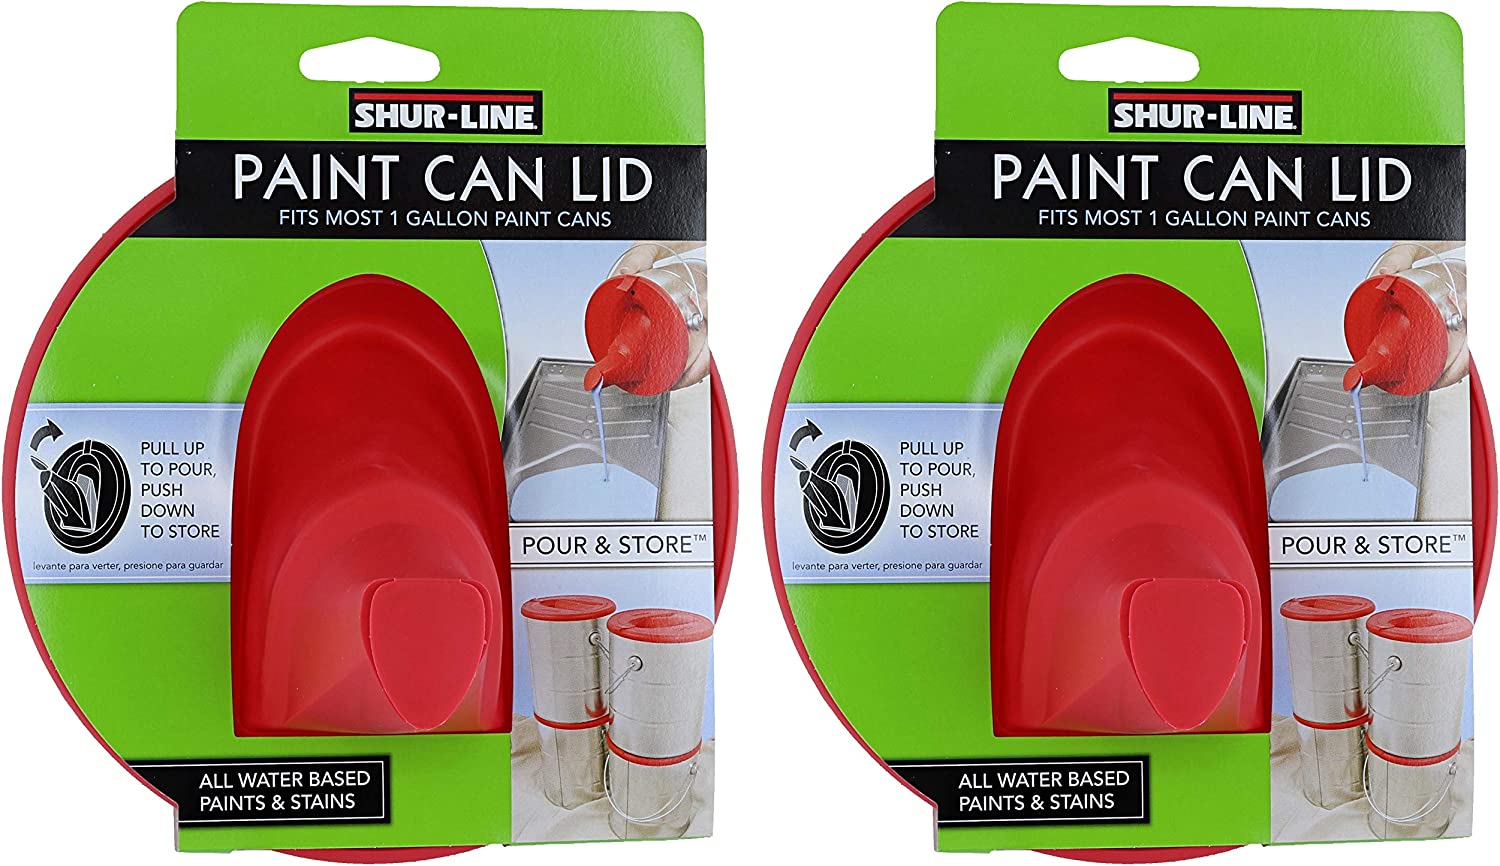
Spouts are a revolutionary piece of kit. Whether it's a spout on a watering can, a teapot, or a tin of paint, they promise to make pouring easy and mess-free, and you can purchase pouring spouts that fit to most standard sized paint cans to make decorating easier.
Although you can attempt to free pour your paint, using a spout will save you lots of hassle. 'If you have many different paint can sizes, go for a one-size-fits-all spout,' says Mia Knezevic from home styling blog, Room Crush. 'These flexible spouts are both affordable and reusable, and they help keep the paint can grooves clean, making resealing and reopening much easier.'
The Livingetc newsletters are your inside source for what’s shaping interiors now - and what’s next. Discover trend forecasts, smart style ideas, and curated shopping inspiration that brings design to life. Subscribe today and stay ahead of the curve.
These plastic spouts tend to work by attaching to the inside of your paint can so that you can then pour the paint into your roller tray with ease and control. If you find it hard to judge how much paint you need, most detachable spouts don't have a lid meaning you can see exactly how much paint you're using. What's more, the durable material makes them easy to clean and reuse with other paints.
2. Try the DIY tape spout hack
If you're hesitant to buy another piece of plastic kit when it comes to how to paint a room, there's a DIY spout alternative you can try at home.
'All you need is some painter's tape (or any roll of one inch masking tape),' explains Adrian Martinez, of Painting Contractors of San Bernardino. 'Cut two pieces of tape, which you will be taping to the sides of the rim of the can. The length of both pieces should be longer than the rim of the can.'
Next, Adrian says you should place the two pieces of tape on the rim of the can so that they overlap right on the rim where you plan to pour, creating an X shape. 'You can then either fold or not fold the tip of the tape to make it serve like a spout or funnel where the paint can flow without spilling or dripping,' he continues.
'Cleaning afterwards is just as simple since you can just rip the tapes off the can, and there should be no trace of paint after.'
3. Pour slowly and carefully
We shouldn't need to tell you this one, but pouring your paint slowly and carefully will help you to save lots of mess, spout or no spout.
'Pouring paint too quickly is a sure fire way to make a mess,' explains Steven Hill, founder of DIY Gazette. 'Instead, pour slowly and steadily to avoid any mishaps.' Any mess you do make should be cleared up quickly to save paint stains or dried paint collecting around your can's rim.' As Steven notes, the longer it sits, the harder it will be to remove, so don't put it off!
The best paint spouts to try

Lilith Hudson is a freelance writer and regular contributor to Livingetc. She holds an MA in Magazine Journalism from City, University of London, and has written for various titles including Homes & Gardens, House Beautiful, Advnture, the Saturday Times Magazine, Evening Standard, DJ Mag, Metro, and The Simple Things Magazine.
Prior to going freelance, Lilith was the News and Trends Editor at Livingetc. It was a role that helped her develop a keen eye for spotting all the latest micro-trends, interior hacks, and viral decor must-haves you need in your home. With a constant ear to the ground on the design scene, she's ahead of the curve when it comes to the latest color that's sweeping interiors or the hot new style to decorate our homes.


