How to paint a wooden fence – a 5-step guide and one magic application trick that promises smooth finishes every time
Painting a fence properly will boost your home's curb appeal, and these experts share an insider's trick for a professional-worthy finish


Painting a fence might seem like a mundane task, but if you want the best results it's important to do the job properly. A scruffy-looking fence - whether from old peeling paint or from shoddy new paintwork - will give passersby a bad impression, not to mention act as an unsightly greeting every time you return home. If a job's worth doing, it's worth doing properly, and we're here to tell you how.
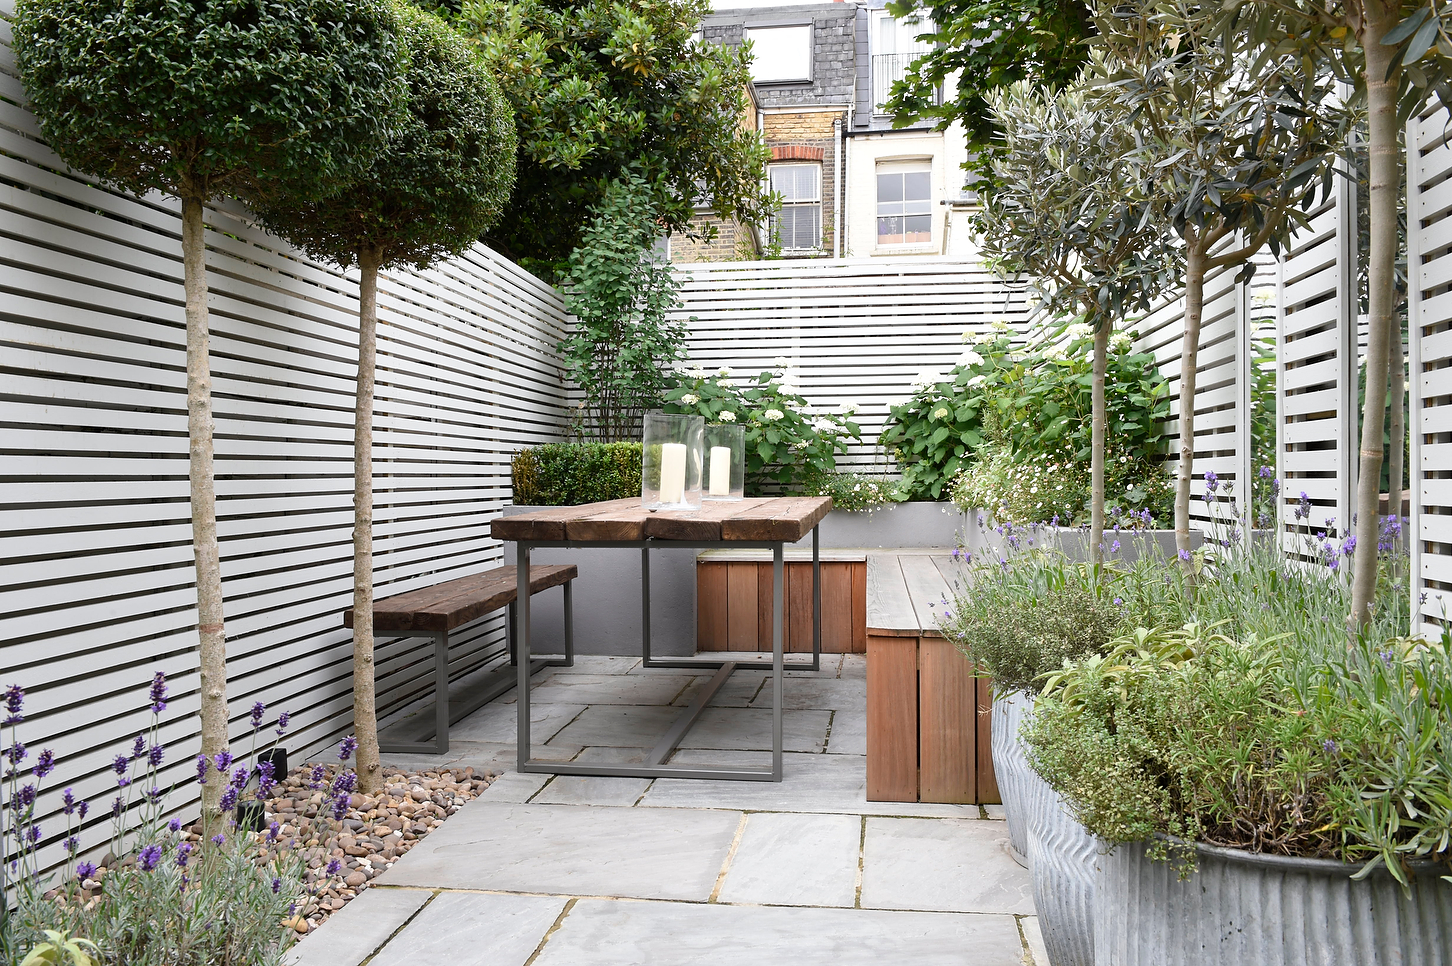
A pleasing perimeter around your home is more significant than you might think. Taking the time to ensure the exterior of your property is just as appealing as your interior shows you take pride in your space and helps to boost curb appeal, too. Your fence also helps frame your boundary, so picking the perfect color and applying it properly is a great opportunity to mark your personality.
Before you put those creative paint ideas into practice, however, you'll want to know how to paint a wooden fence properly for professional-worthy results. Luckily for you, we've asked some experts for their insider tips and combined them into this handy practical guide for all your fence painting needs. Here's what they had to say.
1. Start by washing your fence
When it comes to how to paint a wall, a vital part of preparation is cleaning the surfaces you plan to paint. The same goes for your fence. 'Lightly pressure wash both sides with an anti-mildew cleaner and water to remove any dirt and mildew,' explains Matt Kunz, President of Five Star Painting. 'Where any existing paint is peeling or coming up, lightly scraped until a tight edge is achieved in those areas.'
Before you start painting, it's important you allow the fence to dry thoroughly after cleaning. 'One or two days should do it in warm weather,' Matt adds. Skipping either of these steps will make it difficult for your paint to adhere properly, leading to premature chipping, peeling, or cracking.
2. Prepare your surrounding area
Ask any professional painter and decorator and they'll tell you the same thing - half of any paint job is in the preparation. Although this stage is more important inside your home where paint splatters can easily ruin flooring and furniture, there's still a need to prepare your backyard before your paint, too. This might involve moving your outdoor furniture out of the way, reinforcing any wobbly fence posts, or repairing any holes.
'Make sure you also plan to mow your lawn and do the strimming prior to painting your fence,' says Tila Lee, professional painter at Pretty in Paint School. 'It’s so helpful to have things trimmed down in the area when you’re working and it saves any trimmings or debris from sticking to your fence before it's had a chance to dry.'
The Livingetc newsletters are your inside source for what’s shaping interiors now - and what’s next. Discover trend forecasts, smart style ideas, and curated shopping inspiration that brings design to life. Subscribe today and stay ahead of the curve.
3. Apply a primer (if the fence hasn't been painted before)
As with painting your walls, priming can be one of the most important steps in the entire process. If your fence hasn't been painted before, or it's painted a darker color than your newly chosen shade, it's vital that you take the time to apply a decent coat of primer.
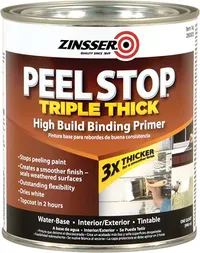
According to Matt, this is also important if you've had to scrape away chipped or flaked areas. 'Use a good bonding primer, such as Peel Bond, to spot prime the scraped areas,' he says. 'If you're painting in a similar or darker color to your existing one, there's no need to prime the fence if it was already painted, otherwise, apply a primer coat first using an acrylic multipurpose exterior primer.'
Zinsser Peel Stop Primer, Amazon
To prime peeling or worn exterior surfaces, Peel Stop is a great choice. The triple-thick formula penetrates and bonds with cracked or peeling paint to glue down edges and fill in gaps for a smooth finish. It also dries to the touch in 30 minutes.
4. Start painting from top to bottom
Once your primer has dried completely and you've chosen your new fence shade, it's time to put your brush to work. Slapping your paint on willy-nilly just won't do if you want a smooth finish, though. There's a good reason decorators' magic application trick is to work your way from top to bottom, and that's to prevent unsightly drips.
Starting from the top, apply paint to the very top of your fence posts before working your way down. If you have a slatted fence, make sure you get in between the gaps. 'You'll also want to stick with committing to just the boards within reach as you go along,' says Tila. 'This probably means focusing on three to six boards, doing all your cuts, then doing all the rolls on those boards before moving to the next section.'
For small garden fences, like a picket fence, a brush is best as it will give you more control. In the case of larger garden fences, however, using a combination of a brush and a roller will make your job quicker. You could even use spray paint if you're keen to get the job over and done with, just make sure you're clued up on the fence colors to avoid.
Once the paint is dry to the touch, you can then go in with a second coat. This is highly recommended for better coverage and improved durability.
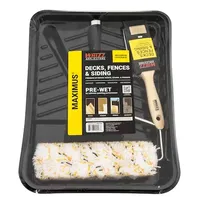
Decks, fences, and siding roller kit, Lowes
This roller kit contains everything your need for a smooth paint finish on your fence, deck, or siding. It includes a brush, roller, and a paint tray, and the 4 and a half star reviews tell us it's a pretty good deal. Just add paint!
5. Or, use a stain
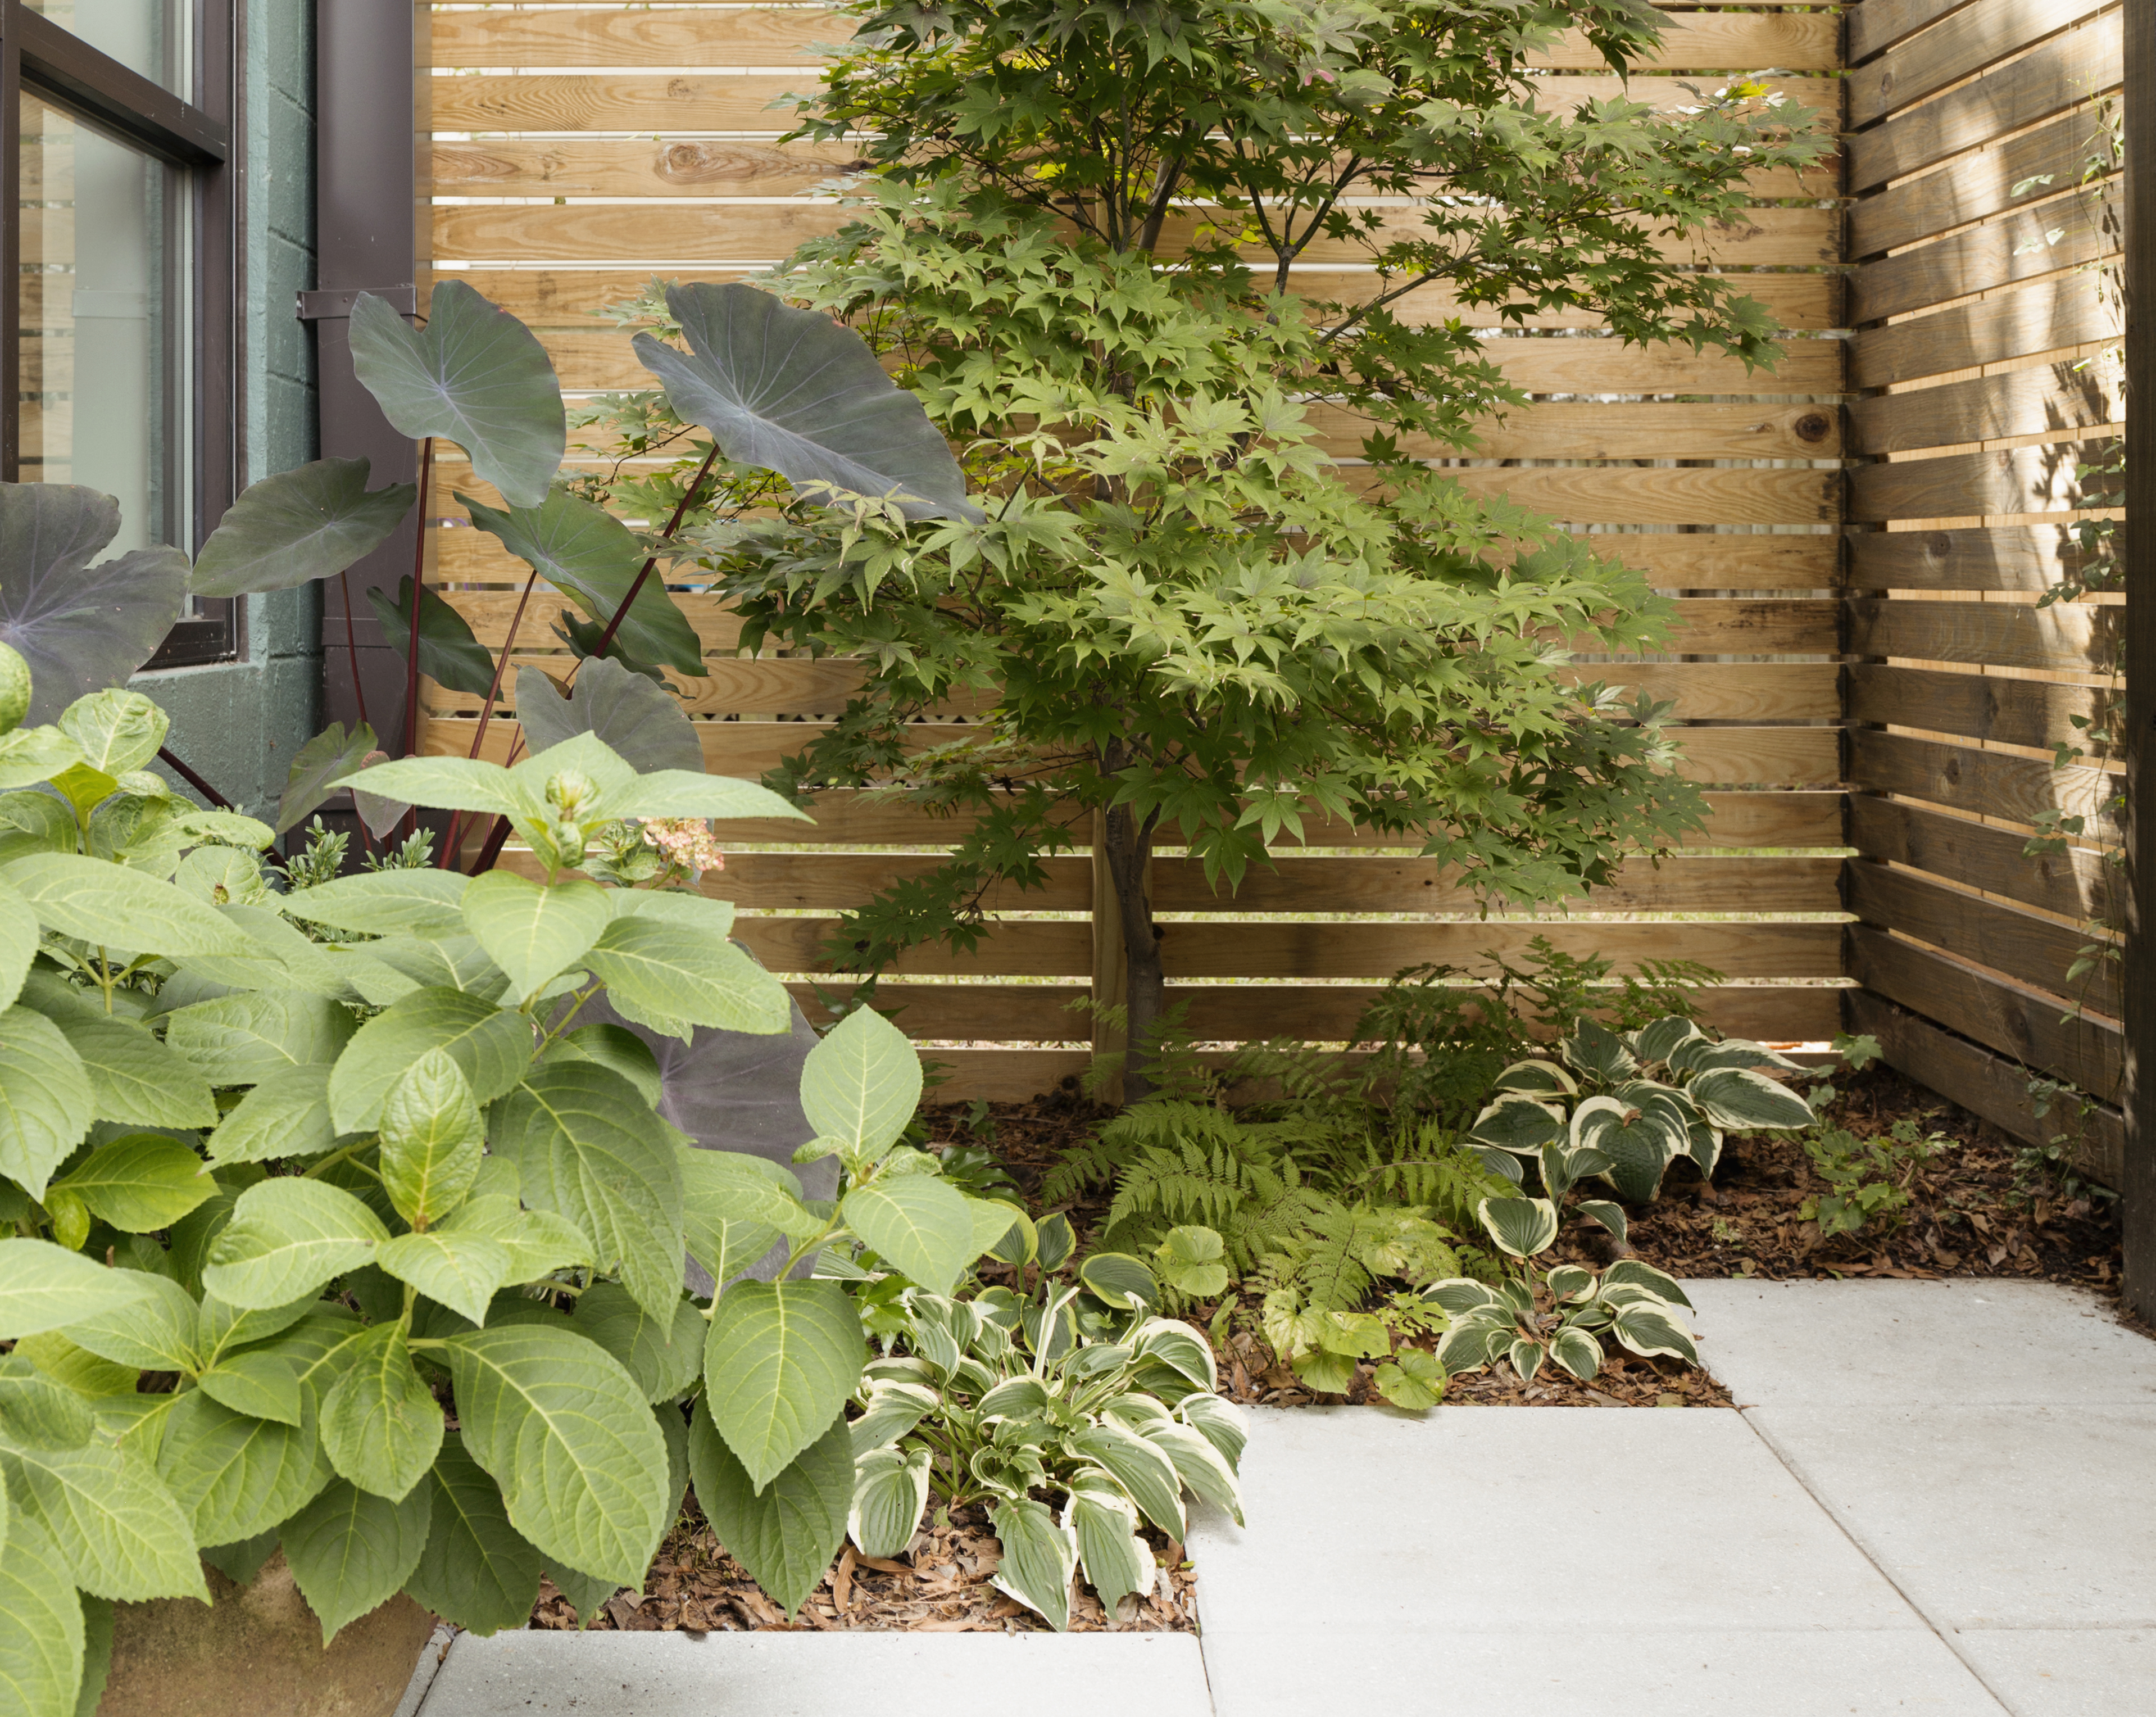
Giving your wooden fence a freshen up doesn't actually have to involve paint at all. If you want a more natural look. a stain might be the best choice. In general, stain is more forgiving than paint since it doesn't usually require a primer and it's far easier to get a complete, uniform color. If your fence is textured, a stain will also enhance the raw wood's natural beauty and texture and keep unique knots or markings visible.
'If staining, make sure to do your research on what look you’d like before you commit, and make sure to keep your old can around so you can easily purchase more for recoat time,' suggests Tila.
On the topic of recoating, Tila also has a few words of wisdom. 'So long as you stick with the same product, re-coating should be fairly easy and straightforward, but the rule with exterior decorating is to recoat before it starts failing,' she says. 'You will save a lot on prep costs, as well as extend the life of your surfaces.'
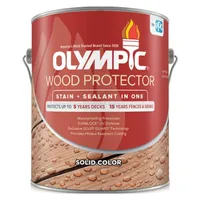
Olympic Wood Protector and Stain, Walmart
This durable stain by Olympic has a rich, opaque color that mimics cedar but still allows the texture of the wood underneath to show. It also offers your fence a layer of waterproof and UV protection, too.

Lilith Hudson is a freelance writer and regular contributor to Livingetc. She holds an MA in Magazine Journalism from City, University of London, and has written for various titles including Homes & Gardens, House Beautiful, Advnture, the Saturday Times Magazine, Evening Standard, DJ Mag, Metro, and The Simple Things Magazine.
Prior to going freelance, Lilith was the News and Trends Editor at Livingetc. It was a role that helped her develop a keen eye for spotting all the latest micro-trends, interior hacks, and viral decor must-haves you need in your home. With a constant ear to the ground on the design scene, she's ahead of the curve when it comes to the latest color that's sweeping interiors or the hot new style to decorate our homes.
