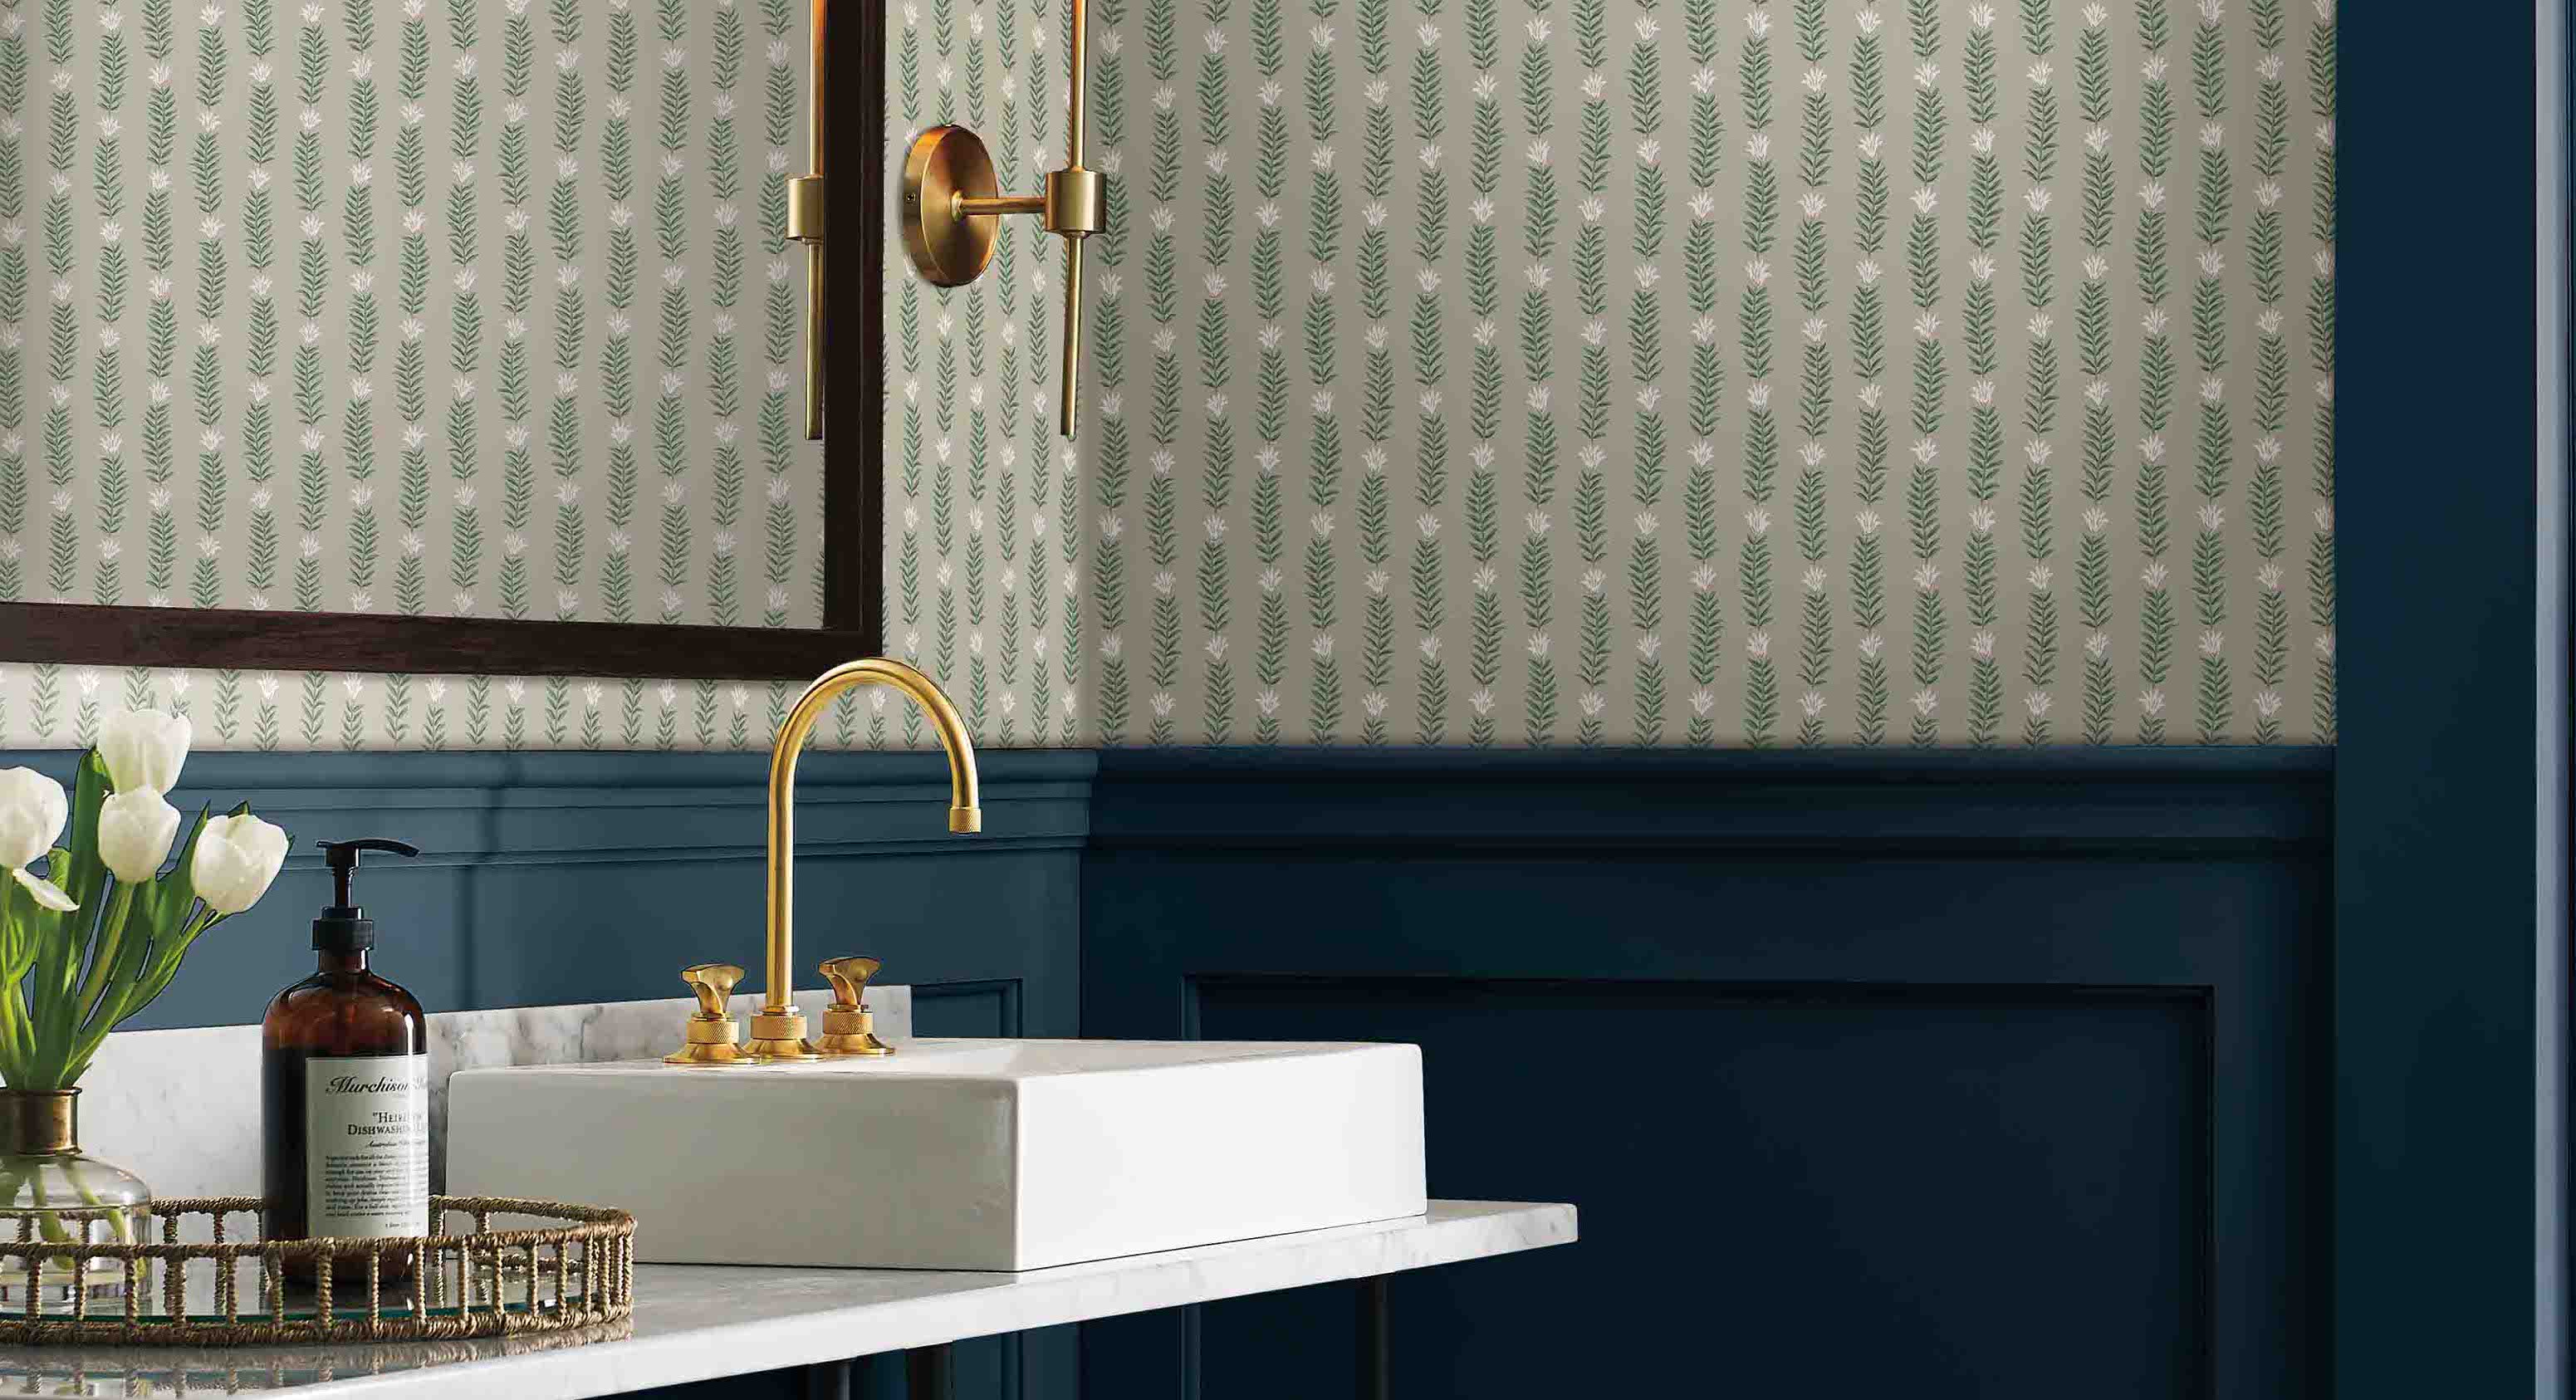
How to hang bathroom wallpaper and totally elevate your space in less than a weekend
Experts reveal the do's and don'ts for how to hang bathroom wallpaper so you can elevate your space in less than a weekend
The Livingetc newsletters are your inside source for what’s shaping interiors now - and what’s next. Discover trend forecasts, smart style ideas, and curated shopping inspiration that brings design to life. Subscribe today and stay ahead of the curve.
You are now subscribed
Your newsletter sign-up was successful
An easy way to revitalise a tired bathroom is to introduce colorful and patterned wallpaper onto the walls. Knowing how to hang bathroom wallpaper will enable you to achieve this stylish revamp in a weekend.
Yes, the standard white sanitaryware and plain walls of the classic modern bathroom can be invigorated with the latest prints and palettes. It's not even necessary to wallpaper every wall. Selected sections above tiles or panelling can be enough to invigorate your space.
A professional decorator is great but if you're looking to save money or are on a waiting list for their services, it's worth rolling up your sleeves. With advice from our experts, you'll have a personality-packed space to be proud of.
'For guest bathrooms or powder rooms, our customers often select a novel bathroom wallpaper to have some fun and treat their guests in a special way,' says Barbara Kampf, former interior designer and founder of Decorators Best.
'These rooms are for occasional use, so any wallpaper can work. For bathrooms that are used frequently like a principal bathroom or a child's bathroom I recommend vinyl wallpaper, as it can withstand a few splashes of water.'
How to hang bathroom wallpaper - a step by step guide
What you will need:
- Scissors or razor knife
The Livingetc newsletters are your inside source for what’s shaping interiors now - and what’s next. Discover trend forecasts, smart style ideas, and curated shopping inspiration that brings design to life. Subscribe today and stay ahead of the curve.
- Sponge or cloth
- Sandpaper
- Sugar soap or white vinegar
- Primer (if required with the type of wallpaper you're hanging)
- Step ladder
- Spirit level
- Steel ruler and pencil
- Your chosen wallpaper (ensure the batch numbers on the labels are the same)
- Wallpaper paste (in accordance with the type of wallpaper you're hanging - this wallpaper paste sachet from Amazon is the kind our editor used for a recent project and he said it was perfect)
- Plastic bucket (if using paste)
- Pasting table
- Pasting brush or roller (if you're not using peel and stick wallpaper - this is the cheap and effective pasting brush from Amazon that our editor used recently)
- Plastic smoother or paper hanging brush
- Dust sheet
1. Clear and set up the space
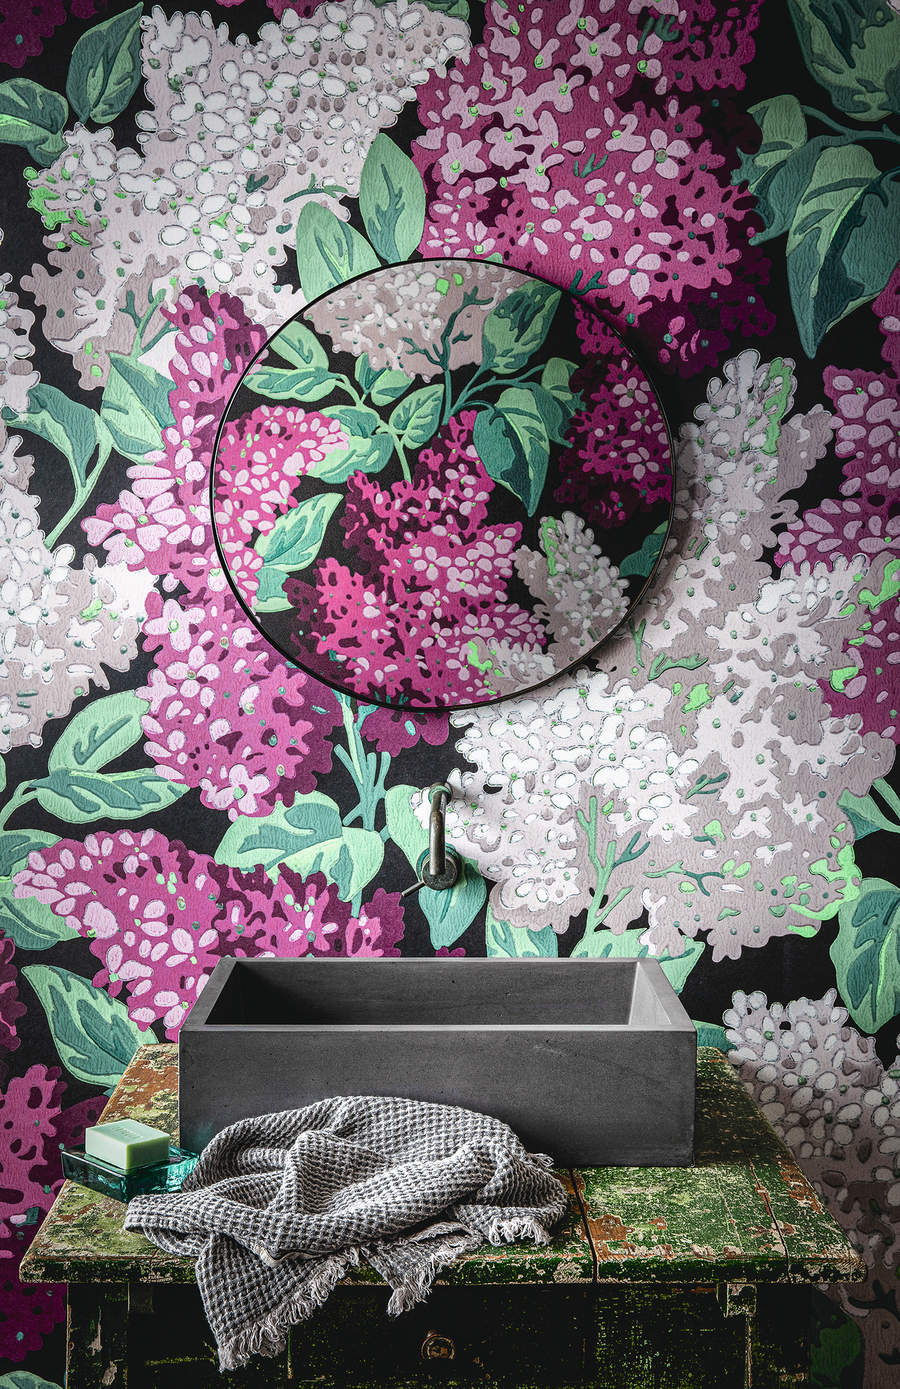
With all decorating tasks, preparation is an important part. It's imperative to work in a clear space, where there's no danger of knocking things over. So take out everything that you can and pack towels, toothbrushes and products away. Remove fixtures, socket plates and ensure electrical outlets are off, so you have a safe work area.
Lay a dust sheet and (if you need to paste the wallpaper) place your pasting table in a convenient position, outside the room if need be, but not too far from where you're hanging your wallpaper.
2. Clean and prepare your walls
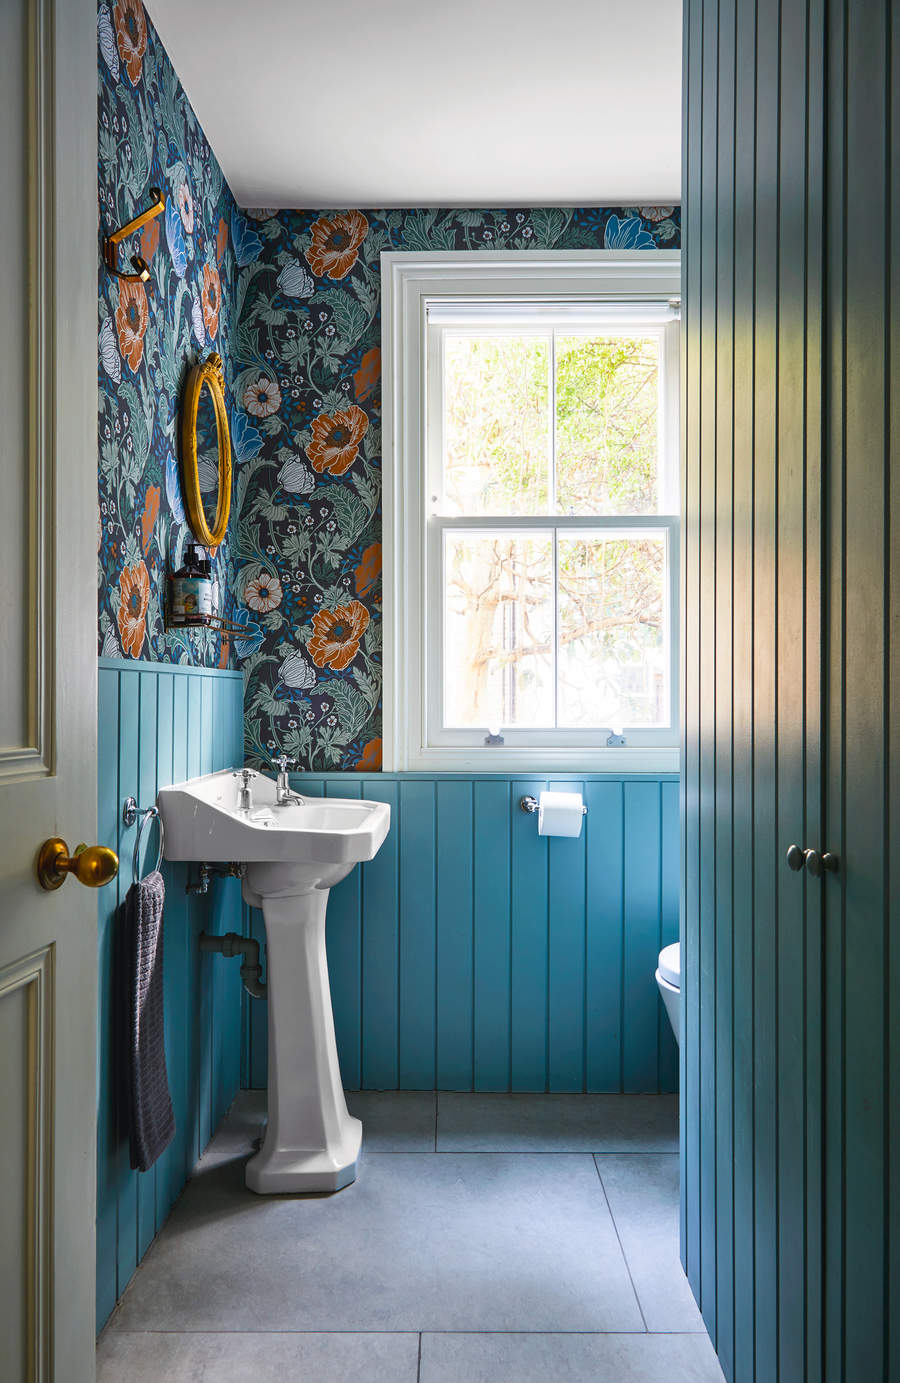
Ensure your walls are flat and smooth by removing any imperfections or flakes of paint with sandpaper. Fill any cracks, and once dry, sand again. Then wipe the walls clean with sugar soap or white vinegar and warm water and allow to dry.
'When hanging vinyl wallpaper in a bathroom, the walls to be covered must be properly prepared to insure that the wallpaper will adhere to the wall surface,' says Barbara Kampf at Decorators Best.
'Vinyl spackling paste is helpful for filling any gaps; it usually takes one or two hours to dry. Even the strongest adhesive can only work when the wall surface is clean and properly prepared.'
3. Prime the walls
This step is only necessary with certain types of wallpaper, such as non-pasted and vinyl. It's not necessary with pre-pasted or peel and stick papers.
'Non-pasted wallpaper is a paper-backed wallpaper that needs to be installed with a primer like RD-35 and a high quality paste,' says Barbara Kampf at Decorator's Best.
'With vinyl wallpaper I recommend using a hard, acrylic, pigmented, wall-protecting primer that is specifically made for wallcovering installation and wall protection. Do not be tempted to use R-35.'
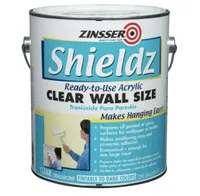
Wallcovering Primer, Acrylic, Walmart
This is just the sort of primer that Barbara says is perfect for the job - a ready-to-use acrylic that will make the rest of the work easy.
4. Measure and mark the walls
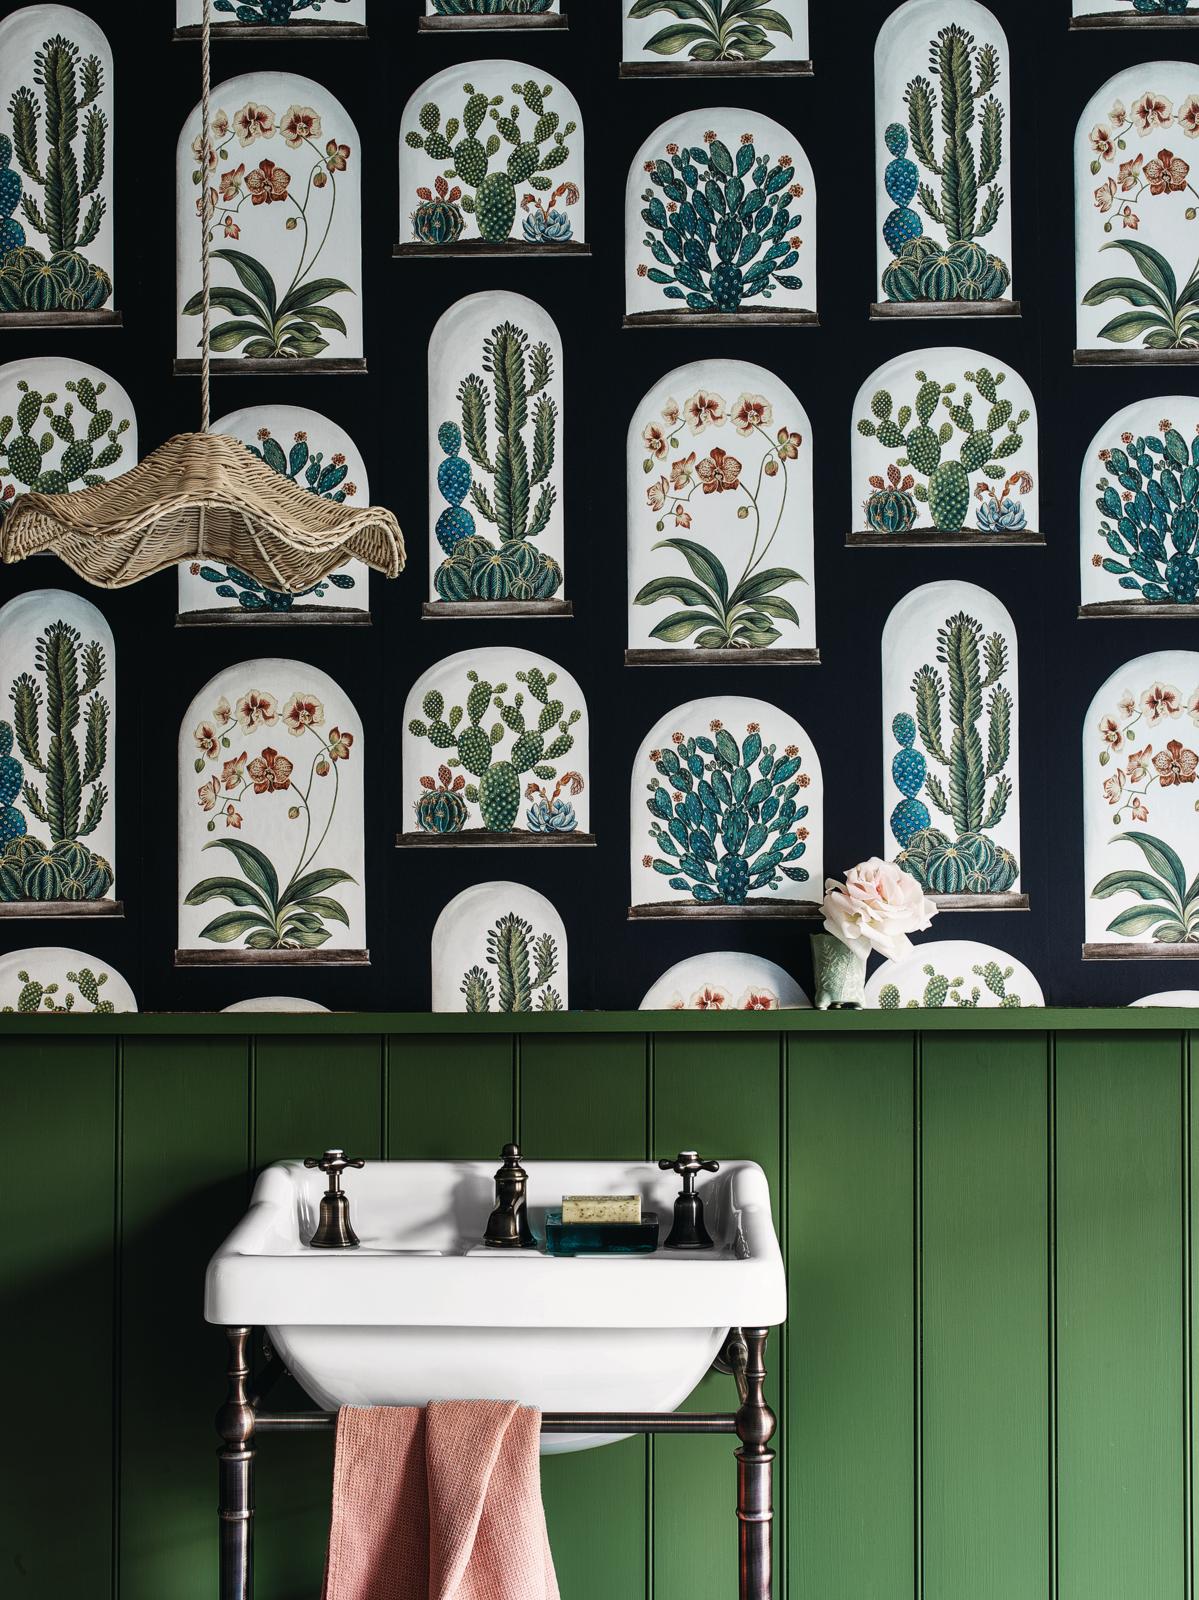
Walls aren't always as straight as they look, so placing the first piece of wallpaper in the right place is key to getting your scheme to look good. As all other pieces will line up with the first 'drop'.
'There are various methods of installing wallpaper,' says Greg Allgeyer, wallpaper expert at The Home Depot. 'Starting from the left side of your wall, use a tape measure to mark the width of the wallpaper on the wall lightly on the right with a pencil. Put your level on this mark and draw a straight vertical line.'
This is the guide for your first strip, so that your paper is hung straight. 'Depending on the pattern, some people like to lay the first strip of wallpaper in the center of the wall and work outward from there,' Greg continues. 'This can help create symmetry within the room. You’ll still want to draw an initial guideline using a level to ensure the design is straight. So if you need the design to be in the centre of a focal point, measure the width of your wall, so you can work out the midpoint and where to begin hanging it.'
'Planning your install first by placing the panels on the floor in front of the wall helps tremendously,' says Wallshoppe's co-creative director. Nathan Turner. 'When wrapping edges we recommend wrapping the corners this give a clean look without seams.'
5. Measure and cut your wallpaper
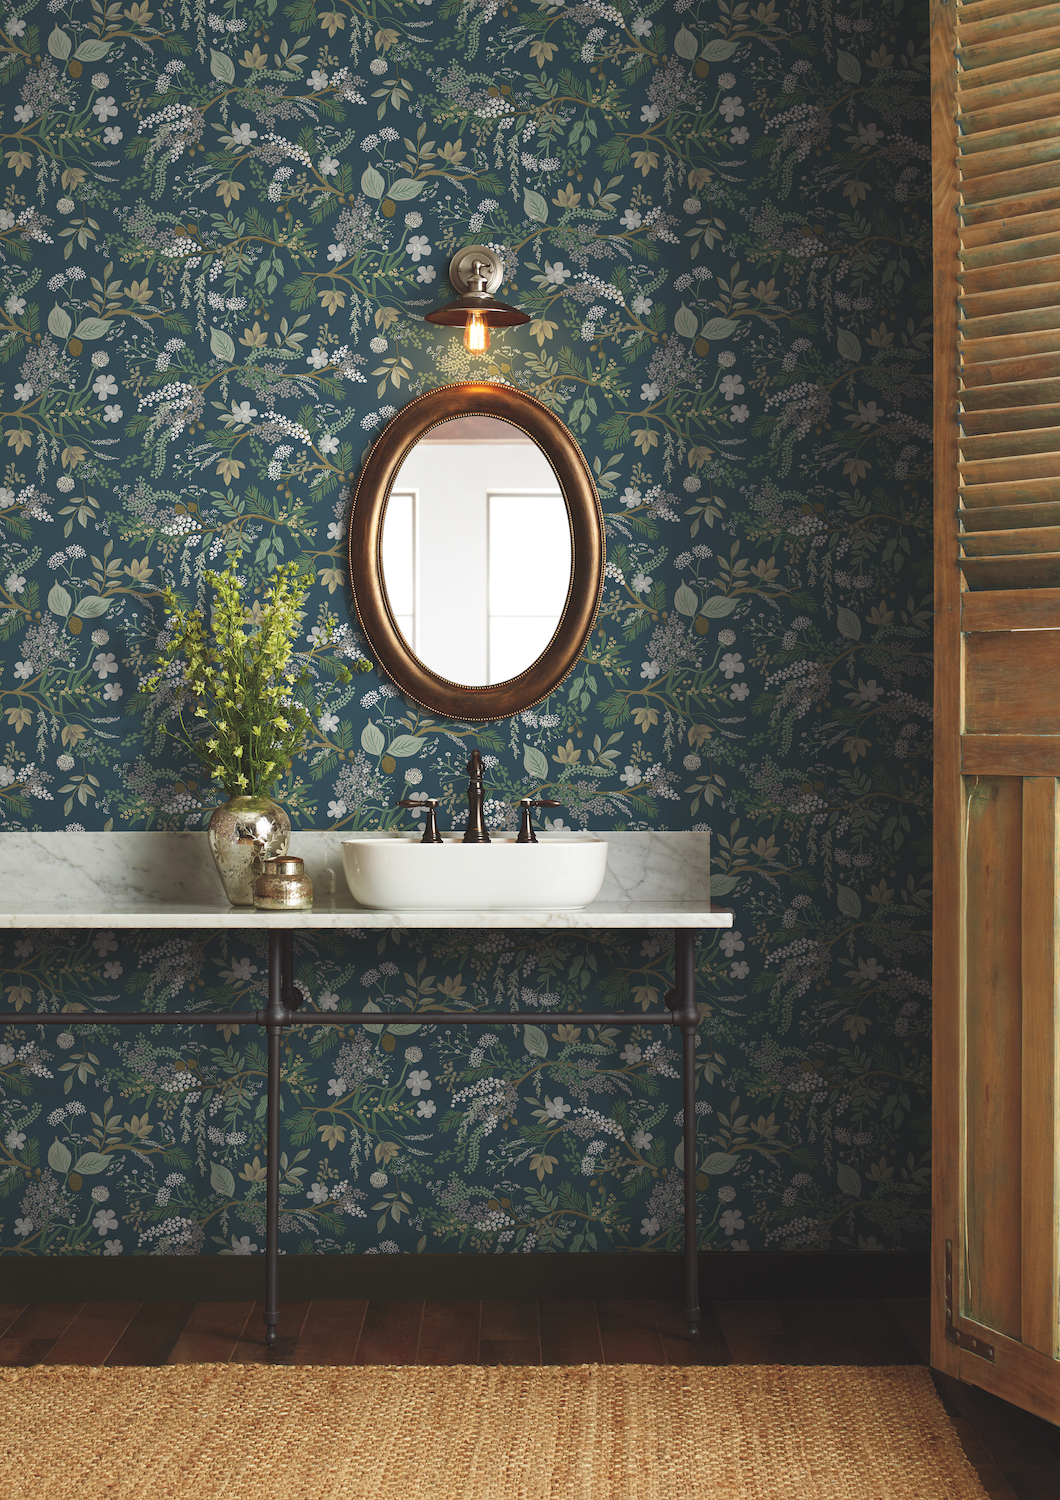
Measure the height of the wall to work out the length of paper you need. Then check where the wallpaper print starts and allow for this. (The beginning of the pattern may not be at the start of the roll).
As well as allowing for the 'pattern repeat' allow a couple of extra inches at the top and the bottom of each length, before cutting, so when your paper is on the wall you can slide it into place. 'This enables you to trim the paper where the wall and ceiling meet, and if it's uneven you can get a neat finish,' says James Hughes, in-house decorator at Graham & Brown.
Cut and apply one length at a time. However, when cutting the next piece of wallpaper, make sure you allow for the pattern repeat. So that the next 'drop' starts in the same place. For example if the wall is 7 foot, and the pattern repeat is 10 inches, you will need to cut lengths of 8 foot, 2 inches, to allow for the pattern repeat plus a couple of inches at each end.
7. Prepare the paste (if required)
This step will depend on the type of wallpaper you have chosen. Peel and stick wallpapers don't require paste. However, vinyl and other types of wallpaper do.
If you're using 'paste the wall' or 'paste the paper' wallpaper, prepare the paste according to the manufacturer's instructions and paste one section at a time. For example, paste the first strip of wallpaper, or use a roller to paste the first section of the wall.
'If you're pasting the wall, use a 2” paint brush to apply paste to the top of the wall, around sockets, or just above the skirting,' says James at Graham & Brown. 'This will ensure even coverage in difficult areas and prevent the wallpaper “lifting” once it has dried.'
If you need to paste the wallpaper, place it pattern side down on a pasting table and apply paste from the centre outwards, along the whole length of the wallpaper. Then loosely fold the ends of the paper into the middle and fold again (without getting glue on the front) to transport the wallpaper to the wall.
8. Apply the wallpaper to the wall
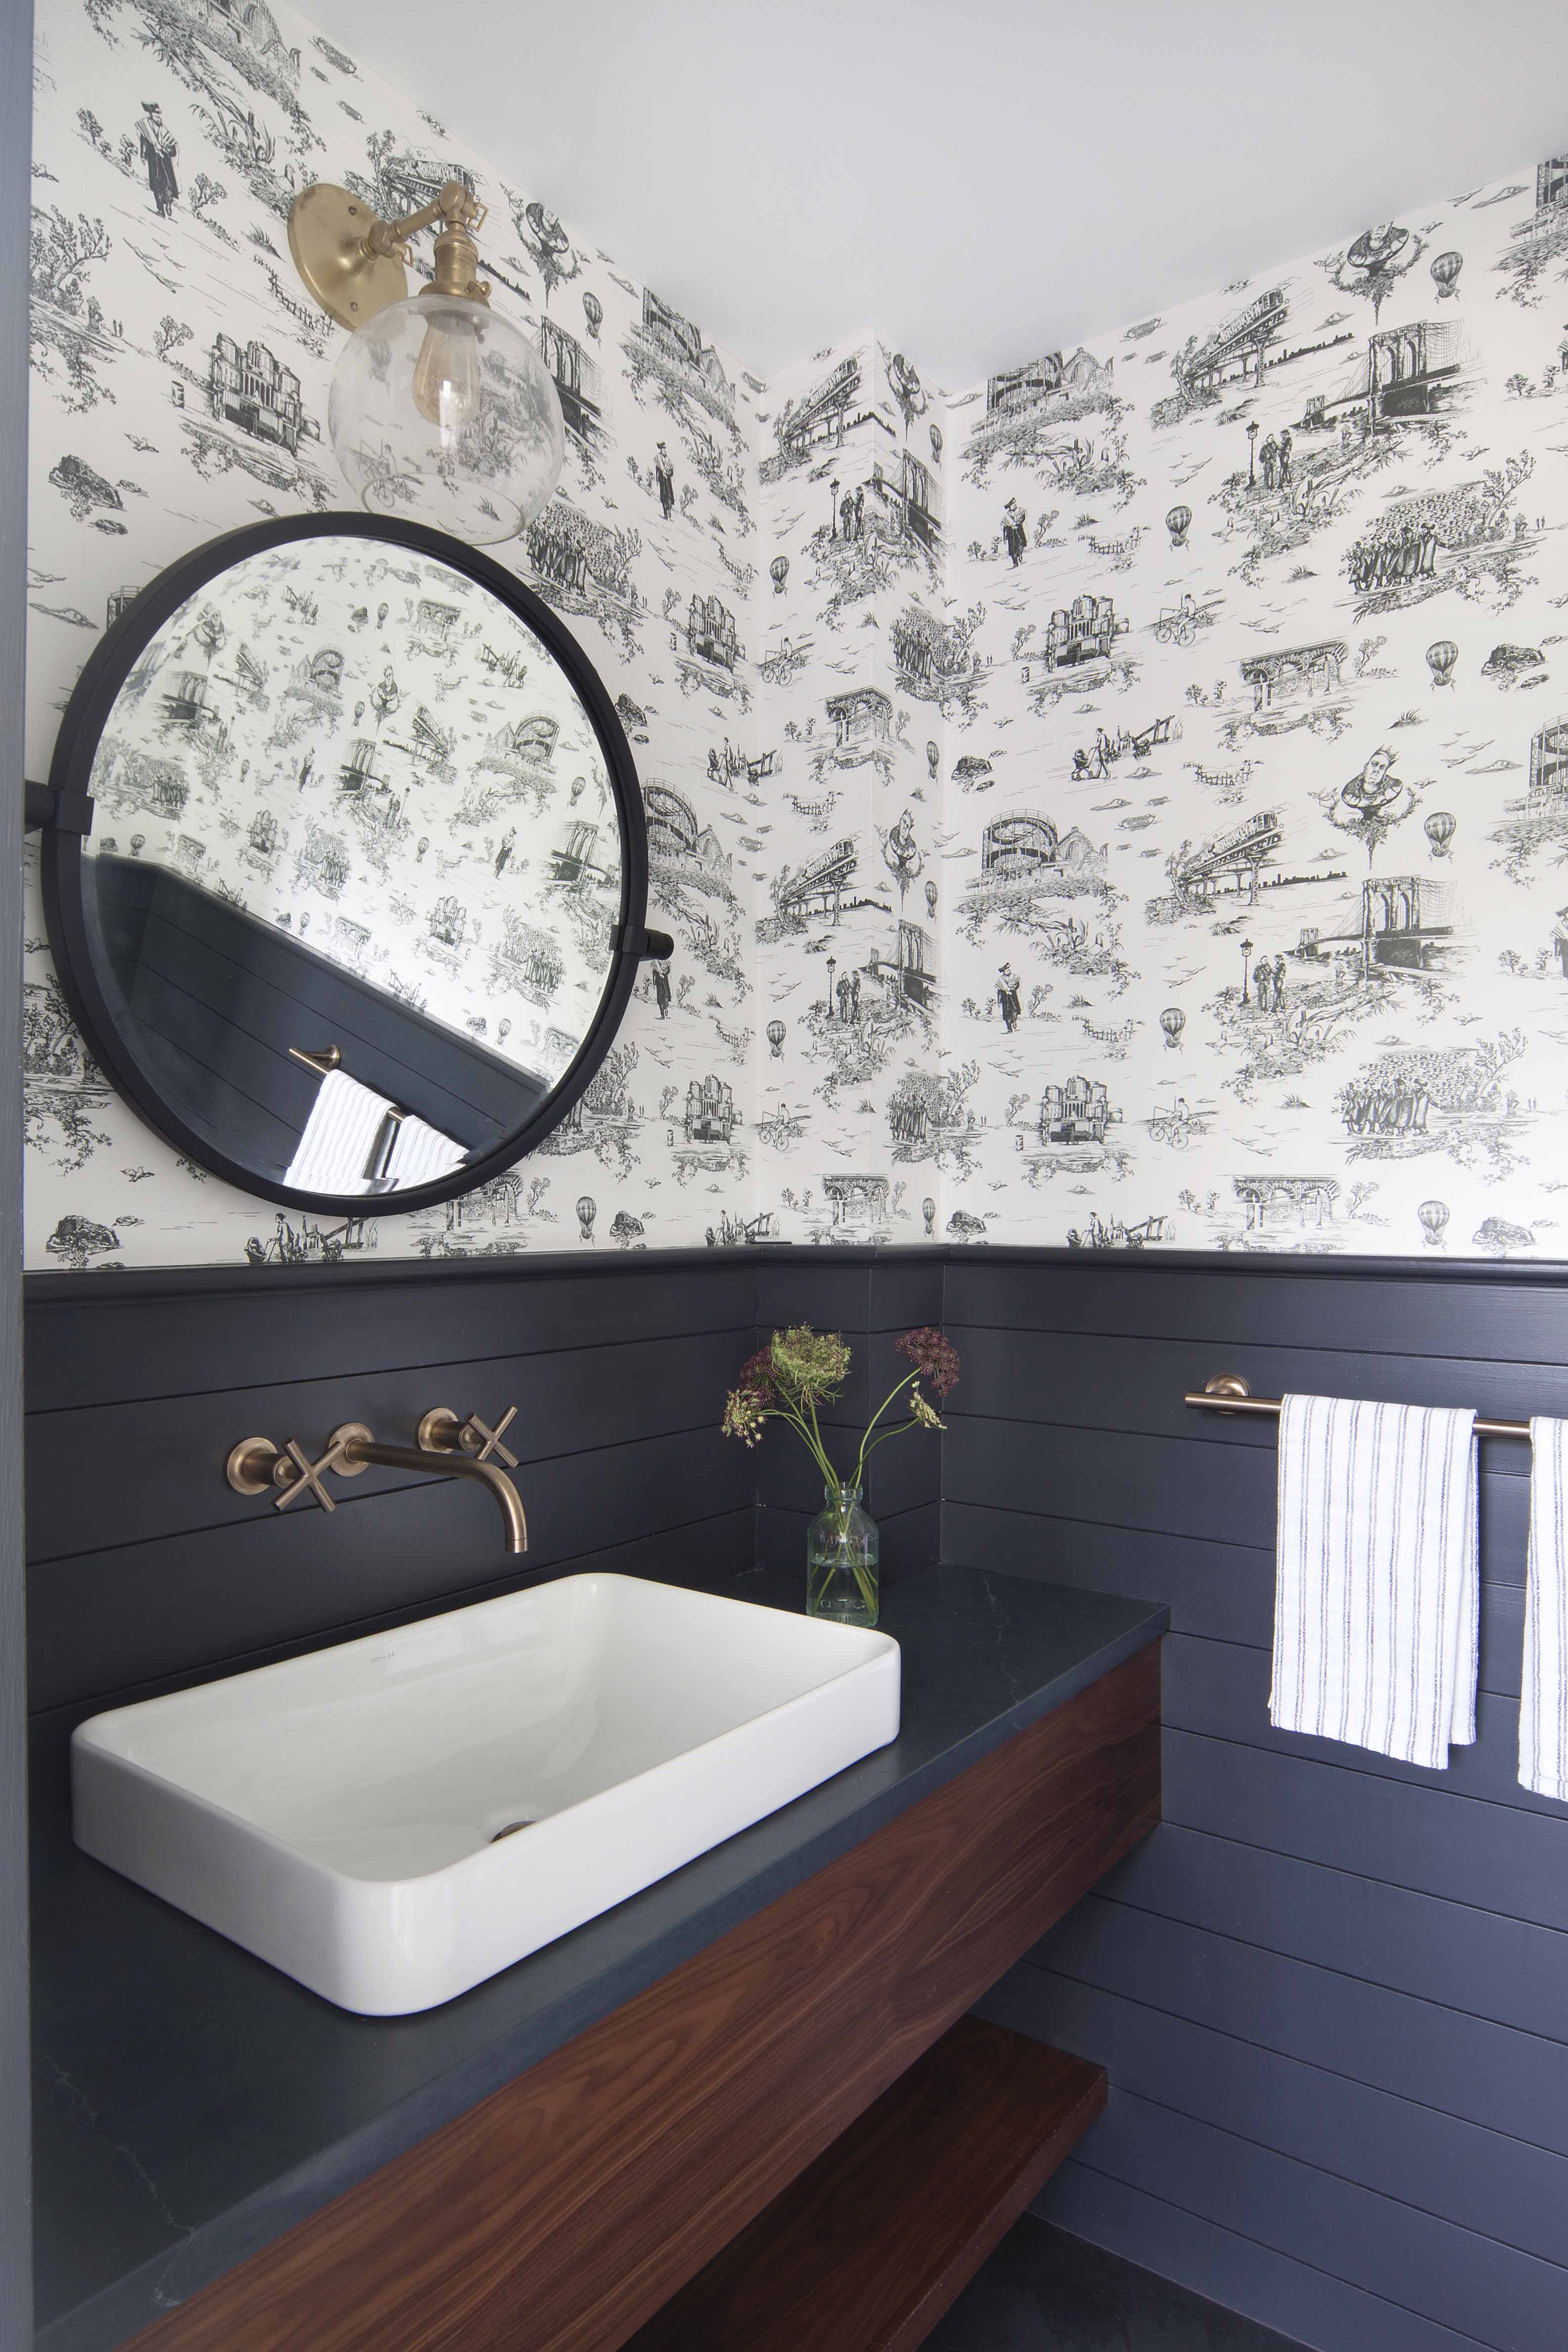
'For peel and stick wallpapers, peel back about 12 inches of the backing on a strip, line up the top of the paper at the ceiling, then slowly peel and stick the paper down the wall,' says Greg Allgeyer, wallpaper expert at The Home Depot.
'Use a plastic smoother to get rid of any air bubbles and create an even look. Repeat down the wall and edges, making sure not to press the plastic smoother too hard into the wallpaper to avoid tearing.
'If working around windows, line the wallpaper up along the top and side of the window. Cut along the edge using a utility knife and then smooth the wallpaper down.'
Pasted wallpapers require gentle handling, as they become damp, so use a paper hanging brush to smooth out creases or air bubbles. Once the first piece is up and you're happy that's it's straight, you can continue with the next piece.
'If you're wallpapering trickier spaces, apply the paper down the wall as you traditionally would and when you get to a socket or fixture mark in pencil where you will need to cut out an opening,' says James Greenwood at Graham & Brown.
'Carefully cut a small ‘X’ creating enough room to gently place the fixture through ensuring you don’t tear the wallpaper. Once through re-apply some additional paste to the wall if need be and smooth over and trim if necessary. This will then allow you to affix your socket plate or light onto the fixture, once the paste is dry.'
In a small room such as a bathroom, a wallpapering project could be completed as an easy weekend project...or in even less time than that.
Jacky Parker is a freelance lifestyle journalist and writer, producing a wide range of features for magazines and digital platforms. She has written for Livingetc and its sister titles, Homes & Gardens and Country Homes & Interiors for more than 15 years, both as a freelance contributor and as Acting Digital Editor and Acting Style Content Editor, regularly reporting on the latest interiors, gardens and wellness inspiration, speaking to experts in their respective fields, and discovering the best tips.
Jacky has also written for other publications, including Sunday Times Style, The Telegraph, Architectural Digest, House Beautiful, ELLE Decoration, Red, Grand Designs and more.
