How to Grow Christmas Cactus — The Detailed Guide to Learn Everything There Is to Know About Helping this Festive Favorite Flourish at Home
We've got you covered every step of the way with this festive houseplant — from growing to caring for, propagating, problem-solving, and beyond

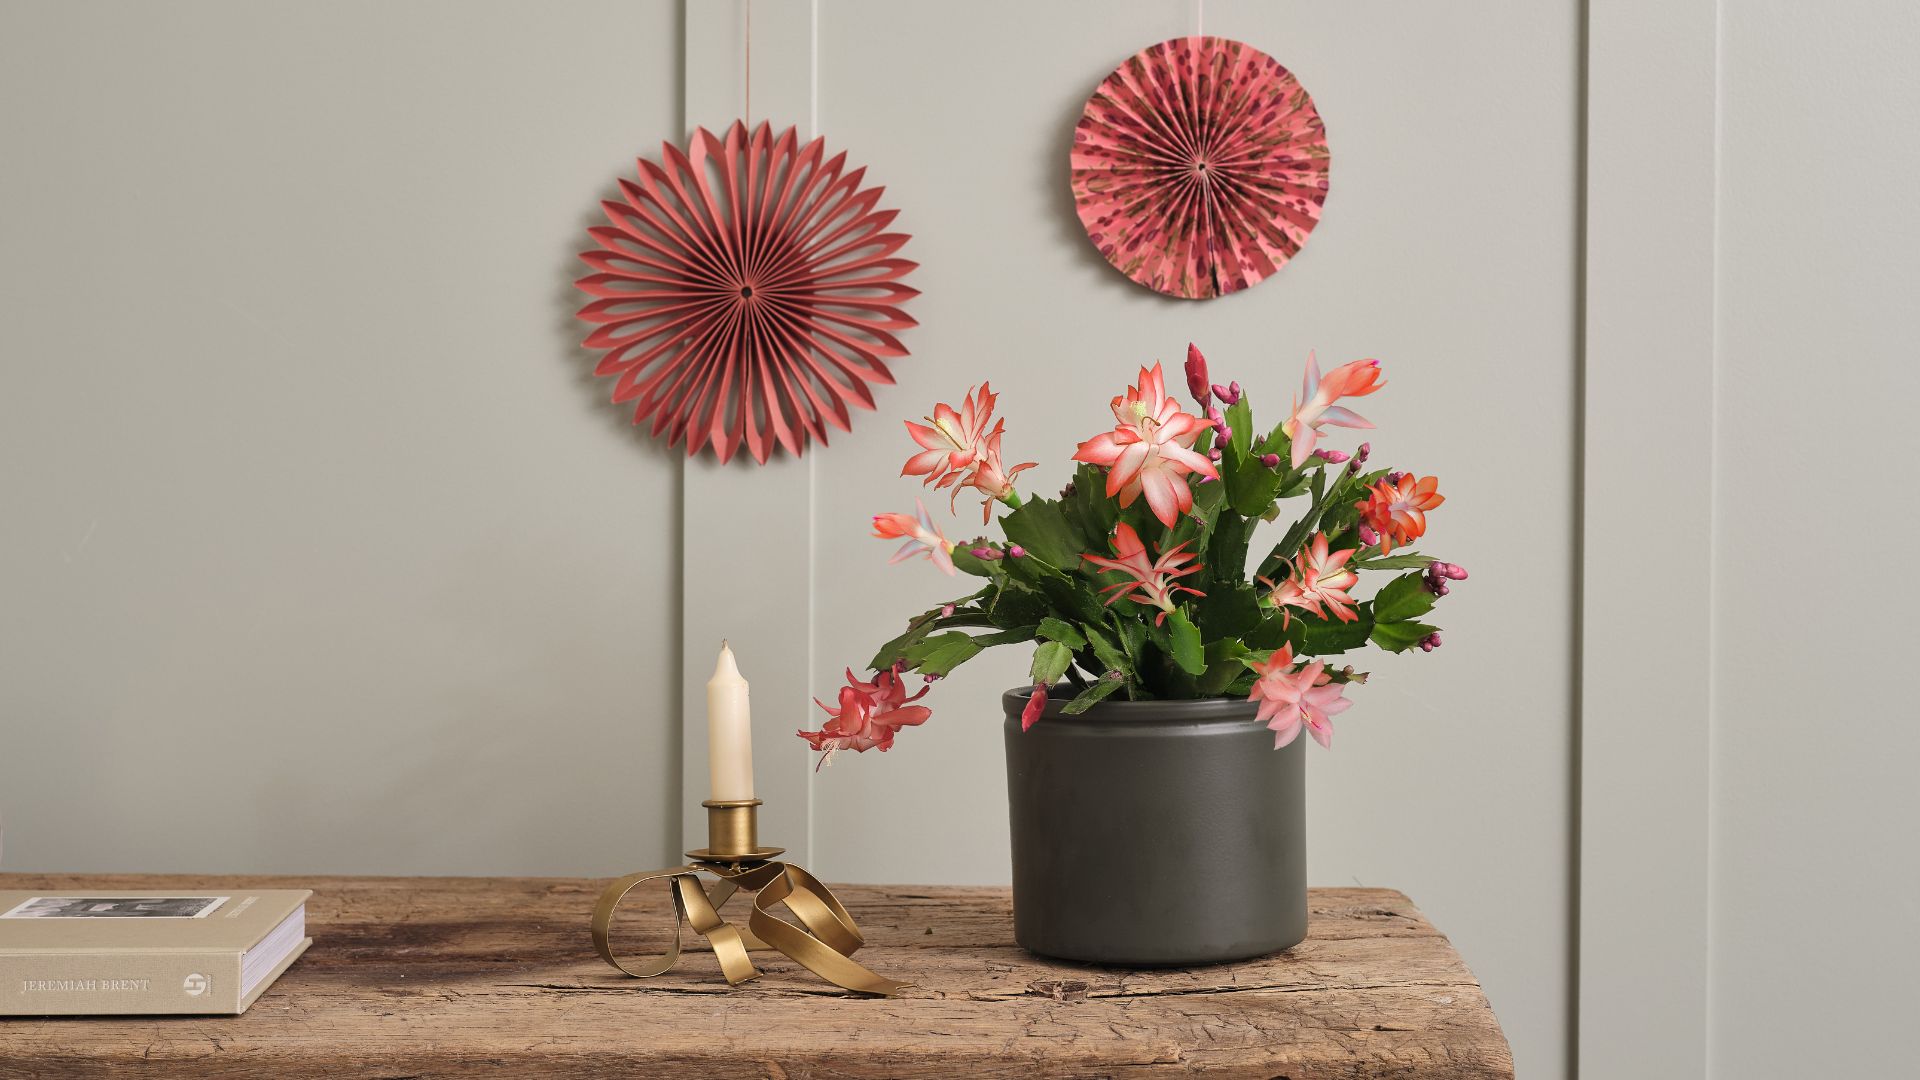
Whether you know it as the Christmas cactus, know it by its scientific name Schlumbergera x buckleyi, or have so far escaped the charms of this particular cultivar, this plant is sort of a big deal at this time of year.
Known to bloom during the holiday season, it's one of the most popular plants around and perfect if you're looking to go beyond the classic poinsettia for something festive with a little more edge. Native to southeastern Brazil, the Christmas cactus can be fairly low-maintenance but is picky with the specific minimal care it requires to thrive.
If you want to bring the spectacular festive houseplant into your home, it's important to know how to grow and care for it correctly, as well as when to start the plant for it to bloom in time for the holidays. So we have curated a thorough guide with everything you need to know about this plant and all its needs before, during, and after it flowers.
Now, let's start with the basics.
When to Start Your Christmas Cactus for Christmas?
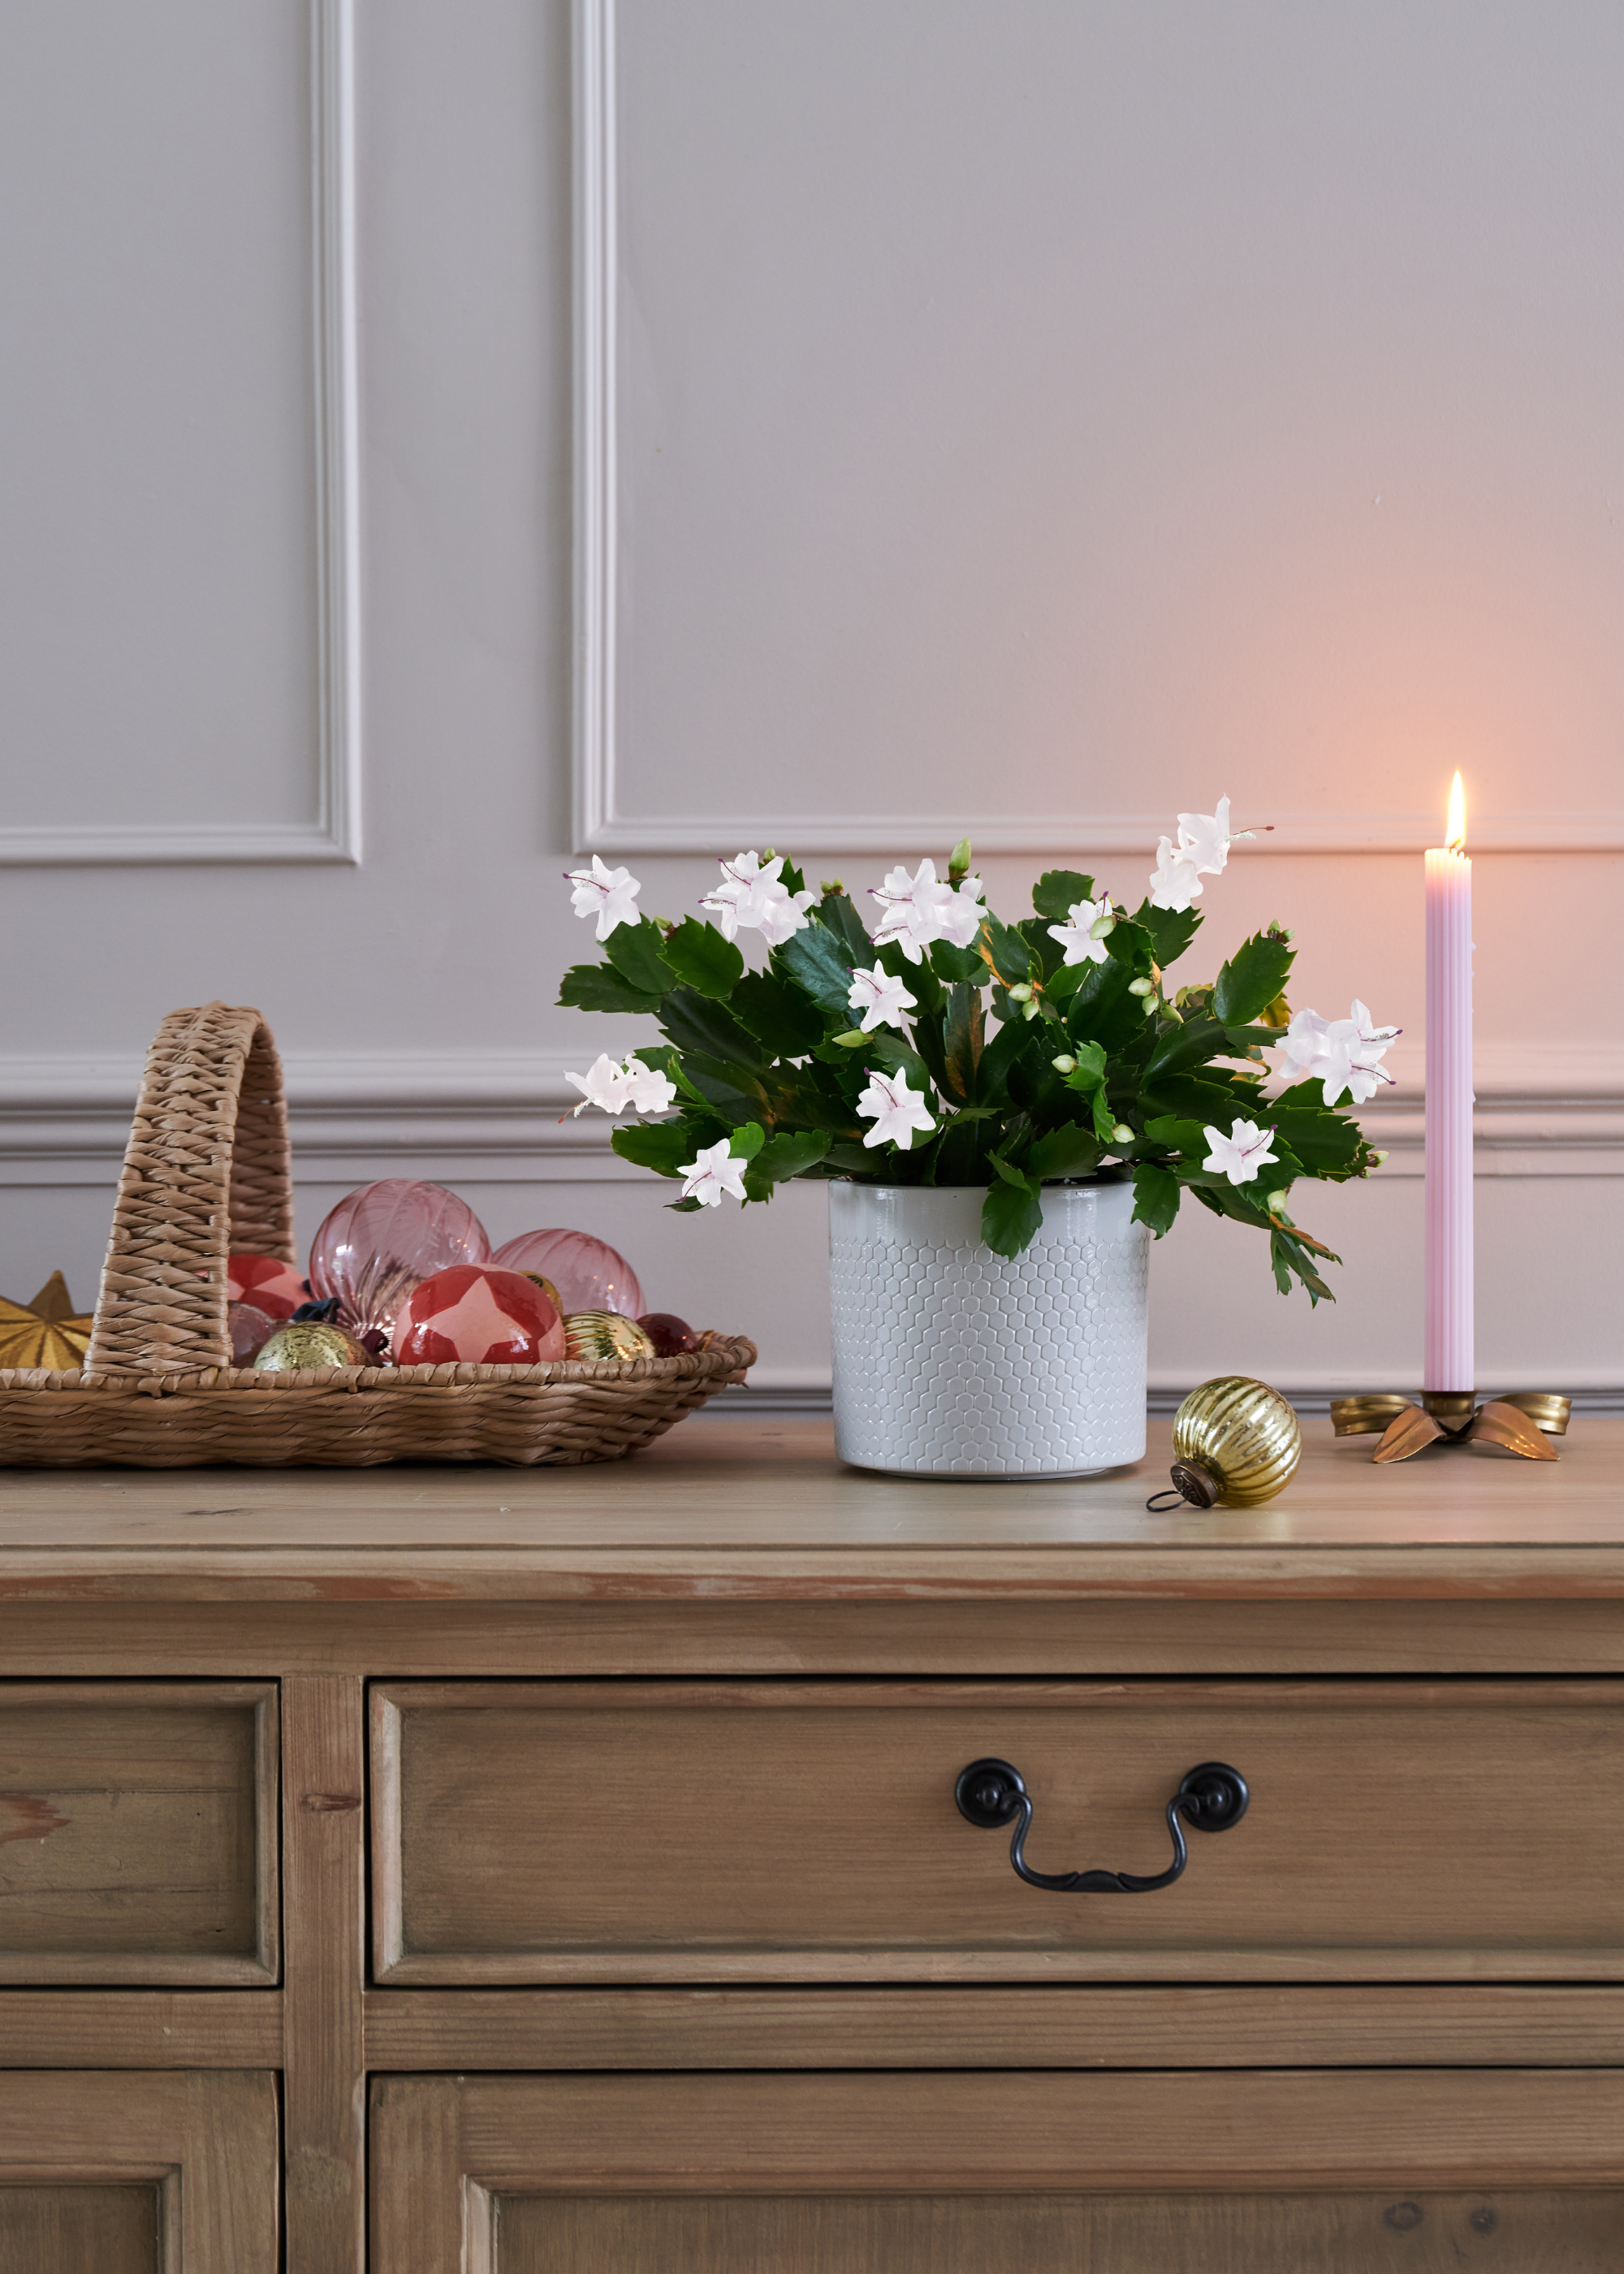
Like most Christmas plants, this cultivar takes time and patience to bloom from seed. Typically, it takes around two to three years to mature from the time of sowing. So if you're keen to grow it yourself in time for a future Christmas, it's best to plant your seeds in spring.
However, if you already have this houseplant in your collection, or you're looking to get a head-start on the process with a pre-grown version, like this White Christmas Cactus from Crocus, then all you need is some preparation to help it flower.
The best time to begin assisting your festive cactus is late September and early October, to give it enough time to bloom by the holidays.
The Livingetc newsletters are your inside source for what’s shaping interiors now - and what’s next. Discover trend forecasts, smart style ideas, and curated shopping inspiration that brings design to life. Subscribe today and stay ahead of the curve.
How to Grow Christmas Cactus
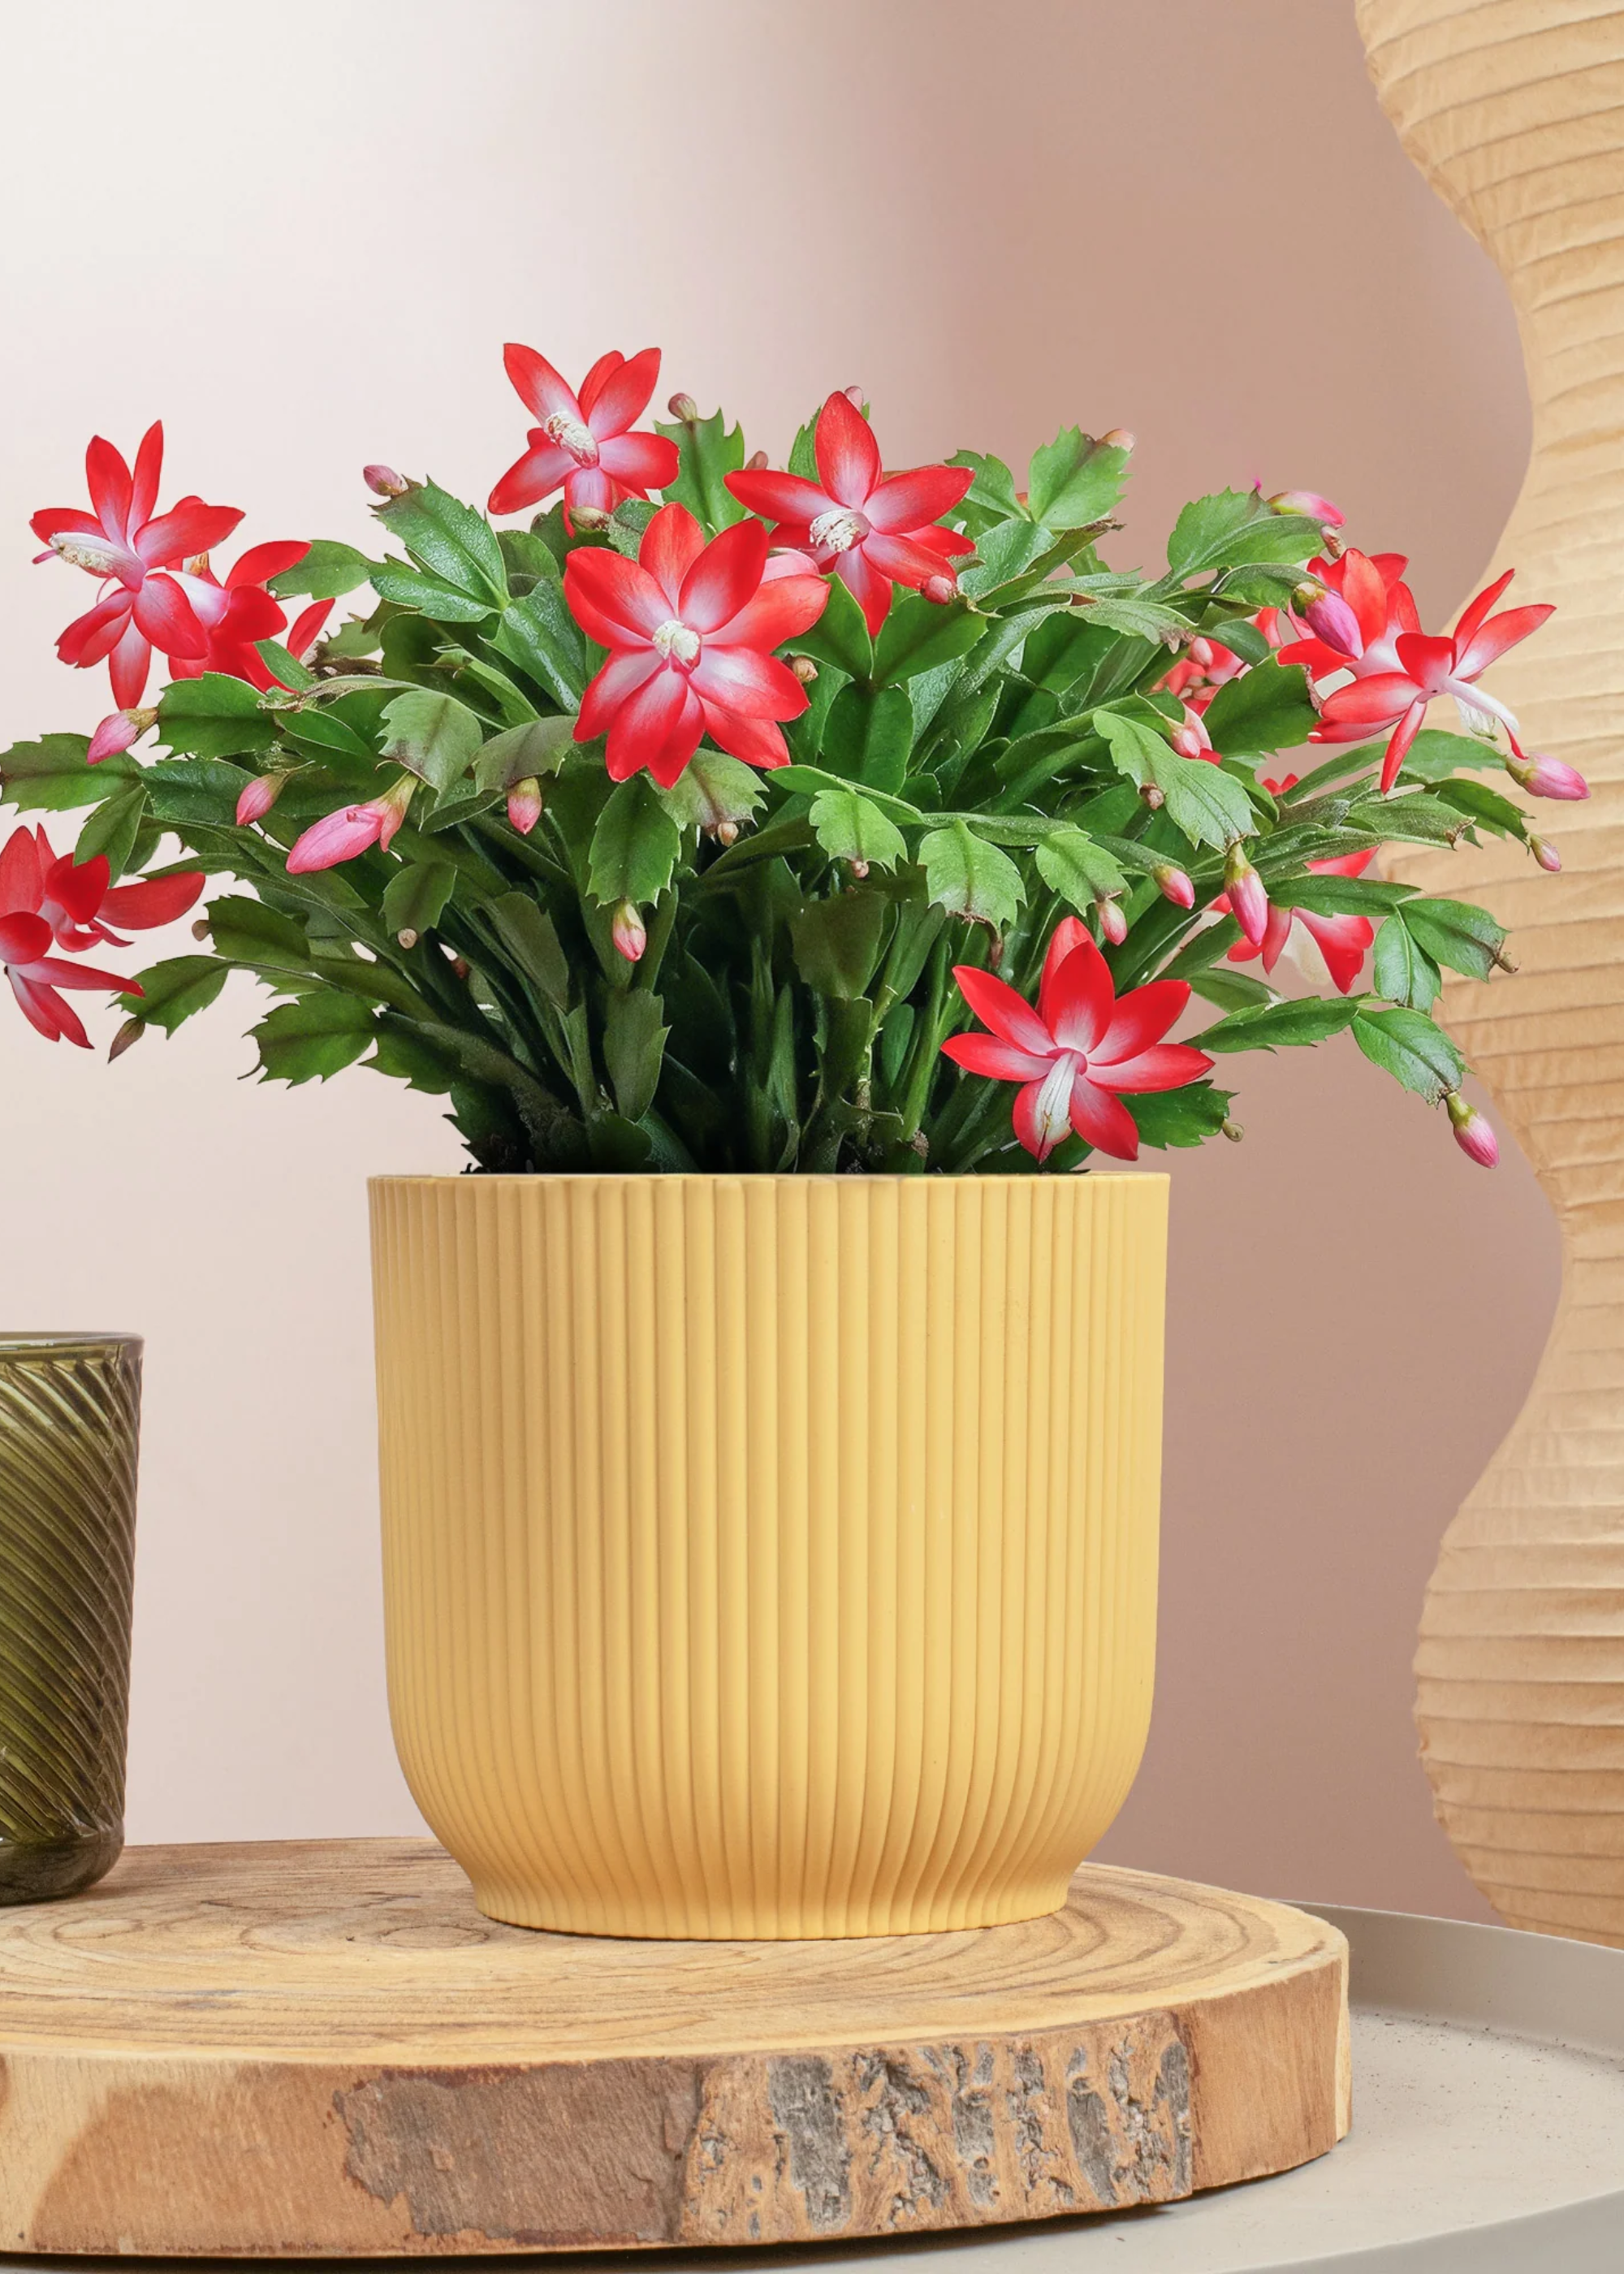
Now, if you wish to grow a Christmas cactus from seed, houseplant expert Tony O'Neill of Simplify Gardening has a six-step process that will guide you from start to finish.
Step 1: Choose a Pot — First, Tony recommends picking a well-draining pot with drainage holes to prevent water from pooling at the bottom. This Wide Terracotta Plant Pot and Saucer from H&M is a stylish choice.
Step 2: Use the Right Soil — "Next, use a cactus or succulent potting mix that's well-draining," he advises. "Choosing the right soil is essential to maintaining your plant's health." I recommend this Houseplant Potting Mix from Westland is Amazon's choice with a 4.5-star rating.
Step 3: Location — "Then place the Christmas cactus in a bright spot with indirect sunlight," says Tony. "Avoid areas with drafts or drastic temperature changes, such as near doors or heating vents."
Step 4: Watering Routine — Tony recommends watering your houseplant only when the top inch of soil feels dry to the touch. "And remember to reduce watering during the winter dormancy period after blooming," he adds.
Step 5: Fertilize — Once your plant is established, he suggests feeding your Christmas cactus with a diluted houseplant fertilizer once a month from late winter to early fall to encourage growth and flowering. This Growlands Cactus Plant Food comes in a spray bottle for easy, fuss-free fertilizing.
Step 6: Promote Blooming — "Last but not least, move the plant to a cool room with less light in the fall (around 10° to 15° C) for a few weeks, and reduce watering slightly," he says. "This will mimic its natural growing cycle and stimulate blooming."
Before you know it, your Christmas cactus will be well on its way to becoming a beautiful part of your indoor garden.

I'm Tony O'Neill, a gardening expert and best-selling author. I am an educator with a thriving YouTube channel that has 438,000 subscribers and receives over 1.4 million monthly views. Through my award-winning website, simplifygardening.com, I share my passion for gardening and sustainability. I've authored books including "Simplify Vegetable Gardening," "Composting Masterclass," and "Your First Vegetable Garden," empowering individuals to cultivate their own green spaces.
How to Care for Christmas Cactus

Growing your Christmas cactus is half the work; the rest of your efforts should be focused on regular care that will manifest in the form of a flowering festive plant. So, here's what to consider.
Sunlight: According to Tony, Christmas cacti prefer bright, indirect sunlight. "Too much direct sunlight can cause the leaves to turn yellow or get sunburned," he advises. "To prevent this from happening, place it near a window with filtered light or in a room with plenty of natural light."
Watering: He recommends watering your Christmas cactus thoroughly, while allowing the top inch of soil to dry out before watering again. "They don’t like soggy soil, so be careful not to overwater," he notes.
"Watering should be more frequent during the growing and blooming seasons. This spans from spring through fall, and should then become less frequent during the winter dormancy period." This Plum Grab Watering Can from Northern is a sleek accessory that will help you get excited about tending to your plants.
Temperature & Humidity: Thriving in a more humid environment, Tony says this plant loves to grow in average household temperatures between 15° to 20° F. "They also enjoy humidity, so occasional misting can help them stay hydrated, especially in drier indoor climates during winter," he adds.
I recommend this Lys Green Glass Plant Mister from Oliver Bonas to refresh your Christmas cactus through the end-of-year chills.
Soil: For Christmas cactus care, Tony tells me that a well-draining soil designed for cacti or succulents, like this Cactus Succulent Soil from Grow Buddha Store, is ideal. He also finds that adding a bit of organic matter, like peat moss, can help maintain moisture without making the soil too soggy. This Riare Natural Sphagnum Moss from Amazon has a 4.4-star rating, prized for its excellent quality.
Decorating with plants only shines when your cultivars are in the pink of health. So keep these needs in mind when showering your Christmas cactus with TLC.
How to Prune a Christmas Cactus

Learning how to prune plants like a pro is the key to healthy blooms in the future. And horticulturist Justin Hancock from Costa Farms explains that there are a few pruning steps you should follow to help your Christmas cactus flower successfully.
"First, identify how much you want to prune it as you’ll approach things a little differently if you want to control its size, versus just taking a few clippings for friends or family," explains Justin.
"Then identify the branches you want to trim. This is important so you don’t accidentally take too much off. It’s like a haircut — pruning too hard usually won’t hurt the plant, but you may not like the way it looks, and it can take a while to grow back out."
Then, on those branches, Justin recommends making a note of where a segment grows out of another segment. "Gently pinch or twist it off at that junction. They generally break off pretty easily," he says.
"I recommend using a sharp pair of scissors or professional pruning shears to cut your Christmas cactus, if you don’t want to break the plant with your bare hands."
I recommend these Niwaki Mainichi Secateurs from Crocus for sturdy and well-designed shears that will come in handy across most of your houseplants.

Justin Hancock is Costa Farms Horticulturist with 25+ years in the industry. A plant enthusiast and educator, he has a degree in horticultural science and has worked in garden centers and botanical gardens, as a garden designer, and in garden publishing. He has experience gardening across the country, from Minnesota to Oregon to Miami.
How to Get a Christmas Cactus to Flower
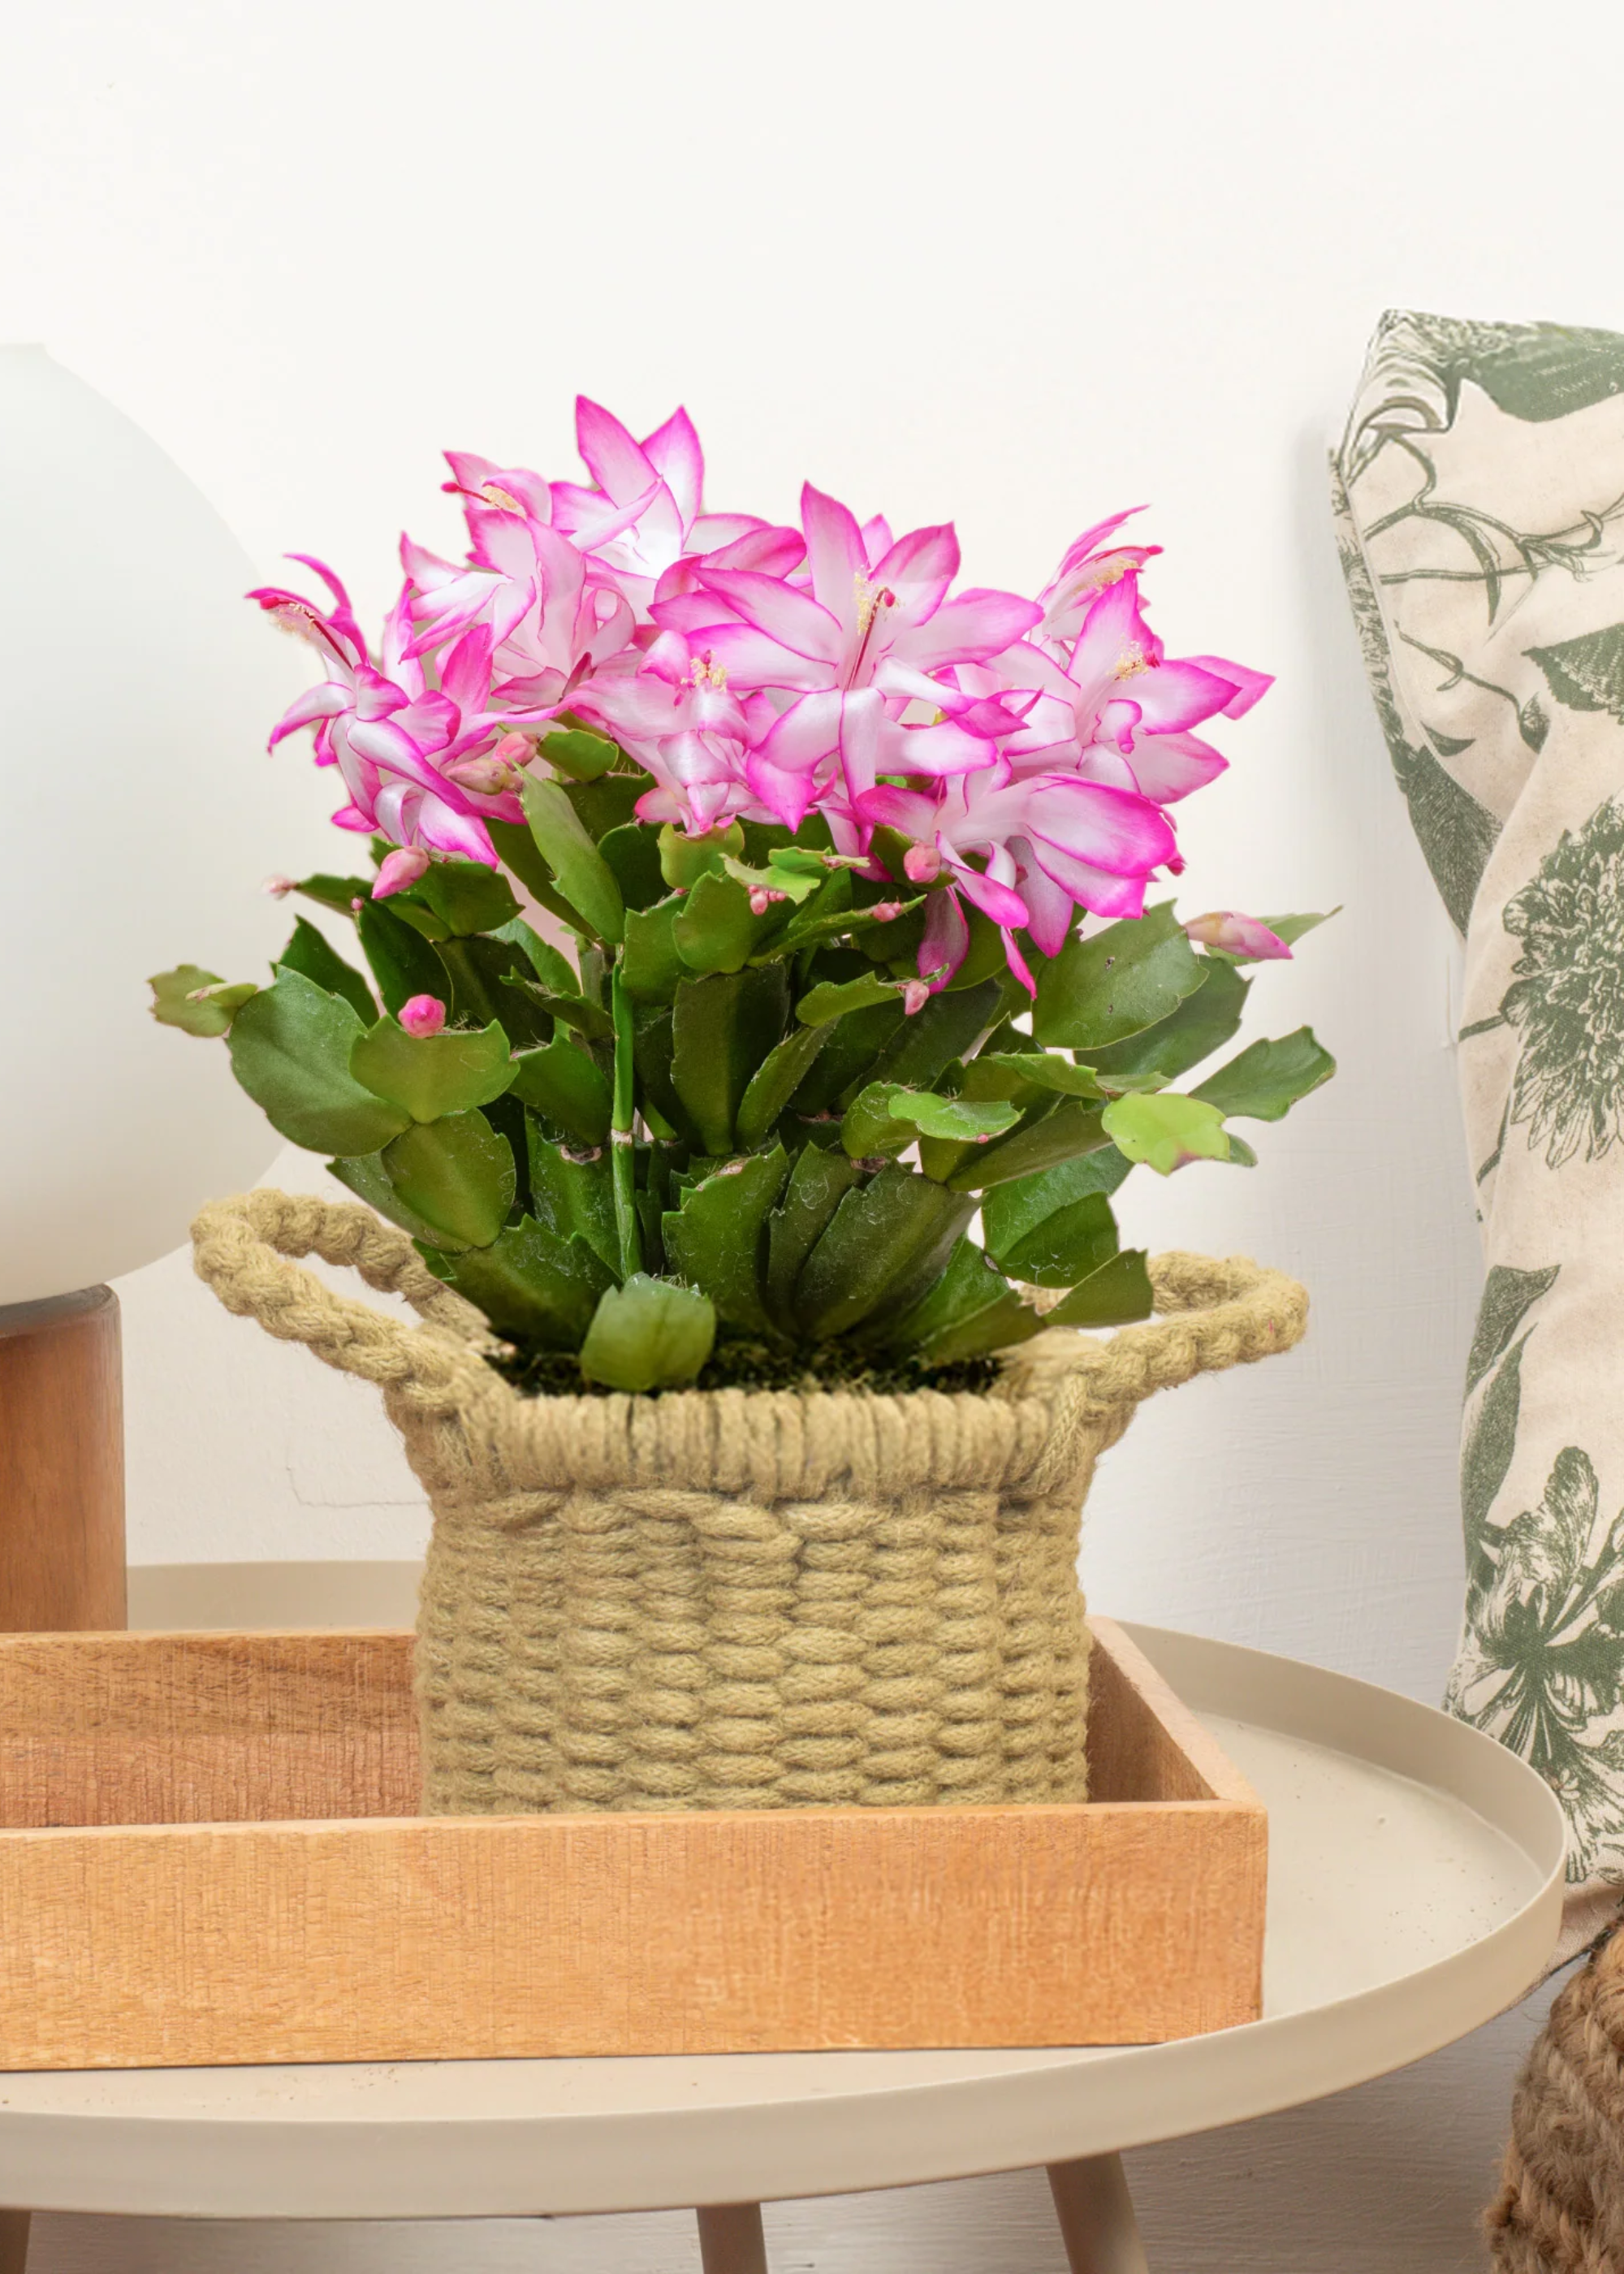
Understanding your Christmas cacti's needs is key to their flowering success. But what exactly does this entail? Justin explains that these four steps will help you nourish your houseplant with everything it needs to bloom comfortably.
Step 1: Manage Watering — "Since this plant is from the rainforest rather than a desert, you don’t want to let it thoroughly dry out," he notes. "Depending on the amount of water you use, the type of potting mix it’s in, and other factors, watering once a week should do."
Step 2: Regulate Light Exposure — "One quirky thing about Christmas cacti is that they respond to changes in photoperiod to help induce blooms. So giving it bright light for 11 hours or less during the day and then darkness at night for at least 13 hours is key," he advises.
"If you grow it in a spot where there’s a lot of artificial light at night, then covering it with a dark cloth from dusk until dawn can help. It takes about eight to ten weeks of long nights to bud up."
Step 3: Consider Temperatures — Aside from dark conditions, he finds that housing your Christmas cactus in cool night temperatures also helps to induce blooms. "It can go as low as about 13° C at night — but it still wants to be warm during the day," he says.
But if night temperatures don’t drop significantly, Justin says that this is not cause to worry and won't necessarily keep your plant from blooming, so long as it's healthy and consistently looked after.
Step 4: Fertilize Appropriately — "When it comes to inducing blooms, fertilizing these houseplants with a general-purpose feed in the spring and summer months is very helpful," Justin adds. "It’s not super fussy about the type of fertilizer, but personally, I’m fond of time-release fertilizers."
He explains that feed, like this Organic Slow Release Fertilizer from Amazon, gently delivers nutrients to the plant over the course of weeks, so it’s a more natural process for the plant.
"Plus, there’s less of a chance of accidentally over-fertilizing compared to the products you mix with water," he explains. "And since it releases nutrients over time, you can get away with doing it as little as once or twice a year."
By carefully setting the stage for stable growth, your Christmas cactus won't be far from producing some beautiful blooms of its own.
How to Fix a Limp Christmas Cactus

The first thing to do when you come across any plant problems is to identify the cause. And there are several common winter houseplant care mistakes that slip into indoor gardens around this time of year. So, it's time to ask yourself: "Why is my Christmas cactus limp?"
"Limp leaves are typically an indication of a watering issue," says indoor gardening specialist from Urban Leafy, George Brown. "They need semi-frequent watering every one to two weeks as well as good drainage," says George.
Now, when it comes to fixing your limp Christmas cactus and helping it flourish again, there are some small changes to be made to your care schedule. "First, adjust your watering routine to maintain consistent soil moisture," advises gardening expert Zahid Adnan from The Plant Bible. "Water the plant when the top inch of the soil is dry, allowing excess water to drain away."
Once you have ensured the water and drainage conditions are as advised, you'll be on the path to success. Soon, the health of your plant should quickly turn around, and you'll be able to enjoy its bright foliage throughout the festive season and beyond.
How to Propagate a Christmas Cactus
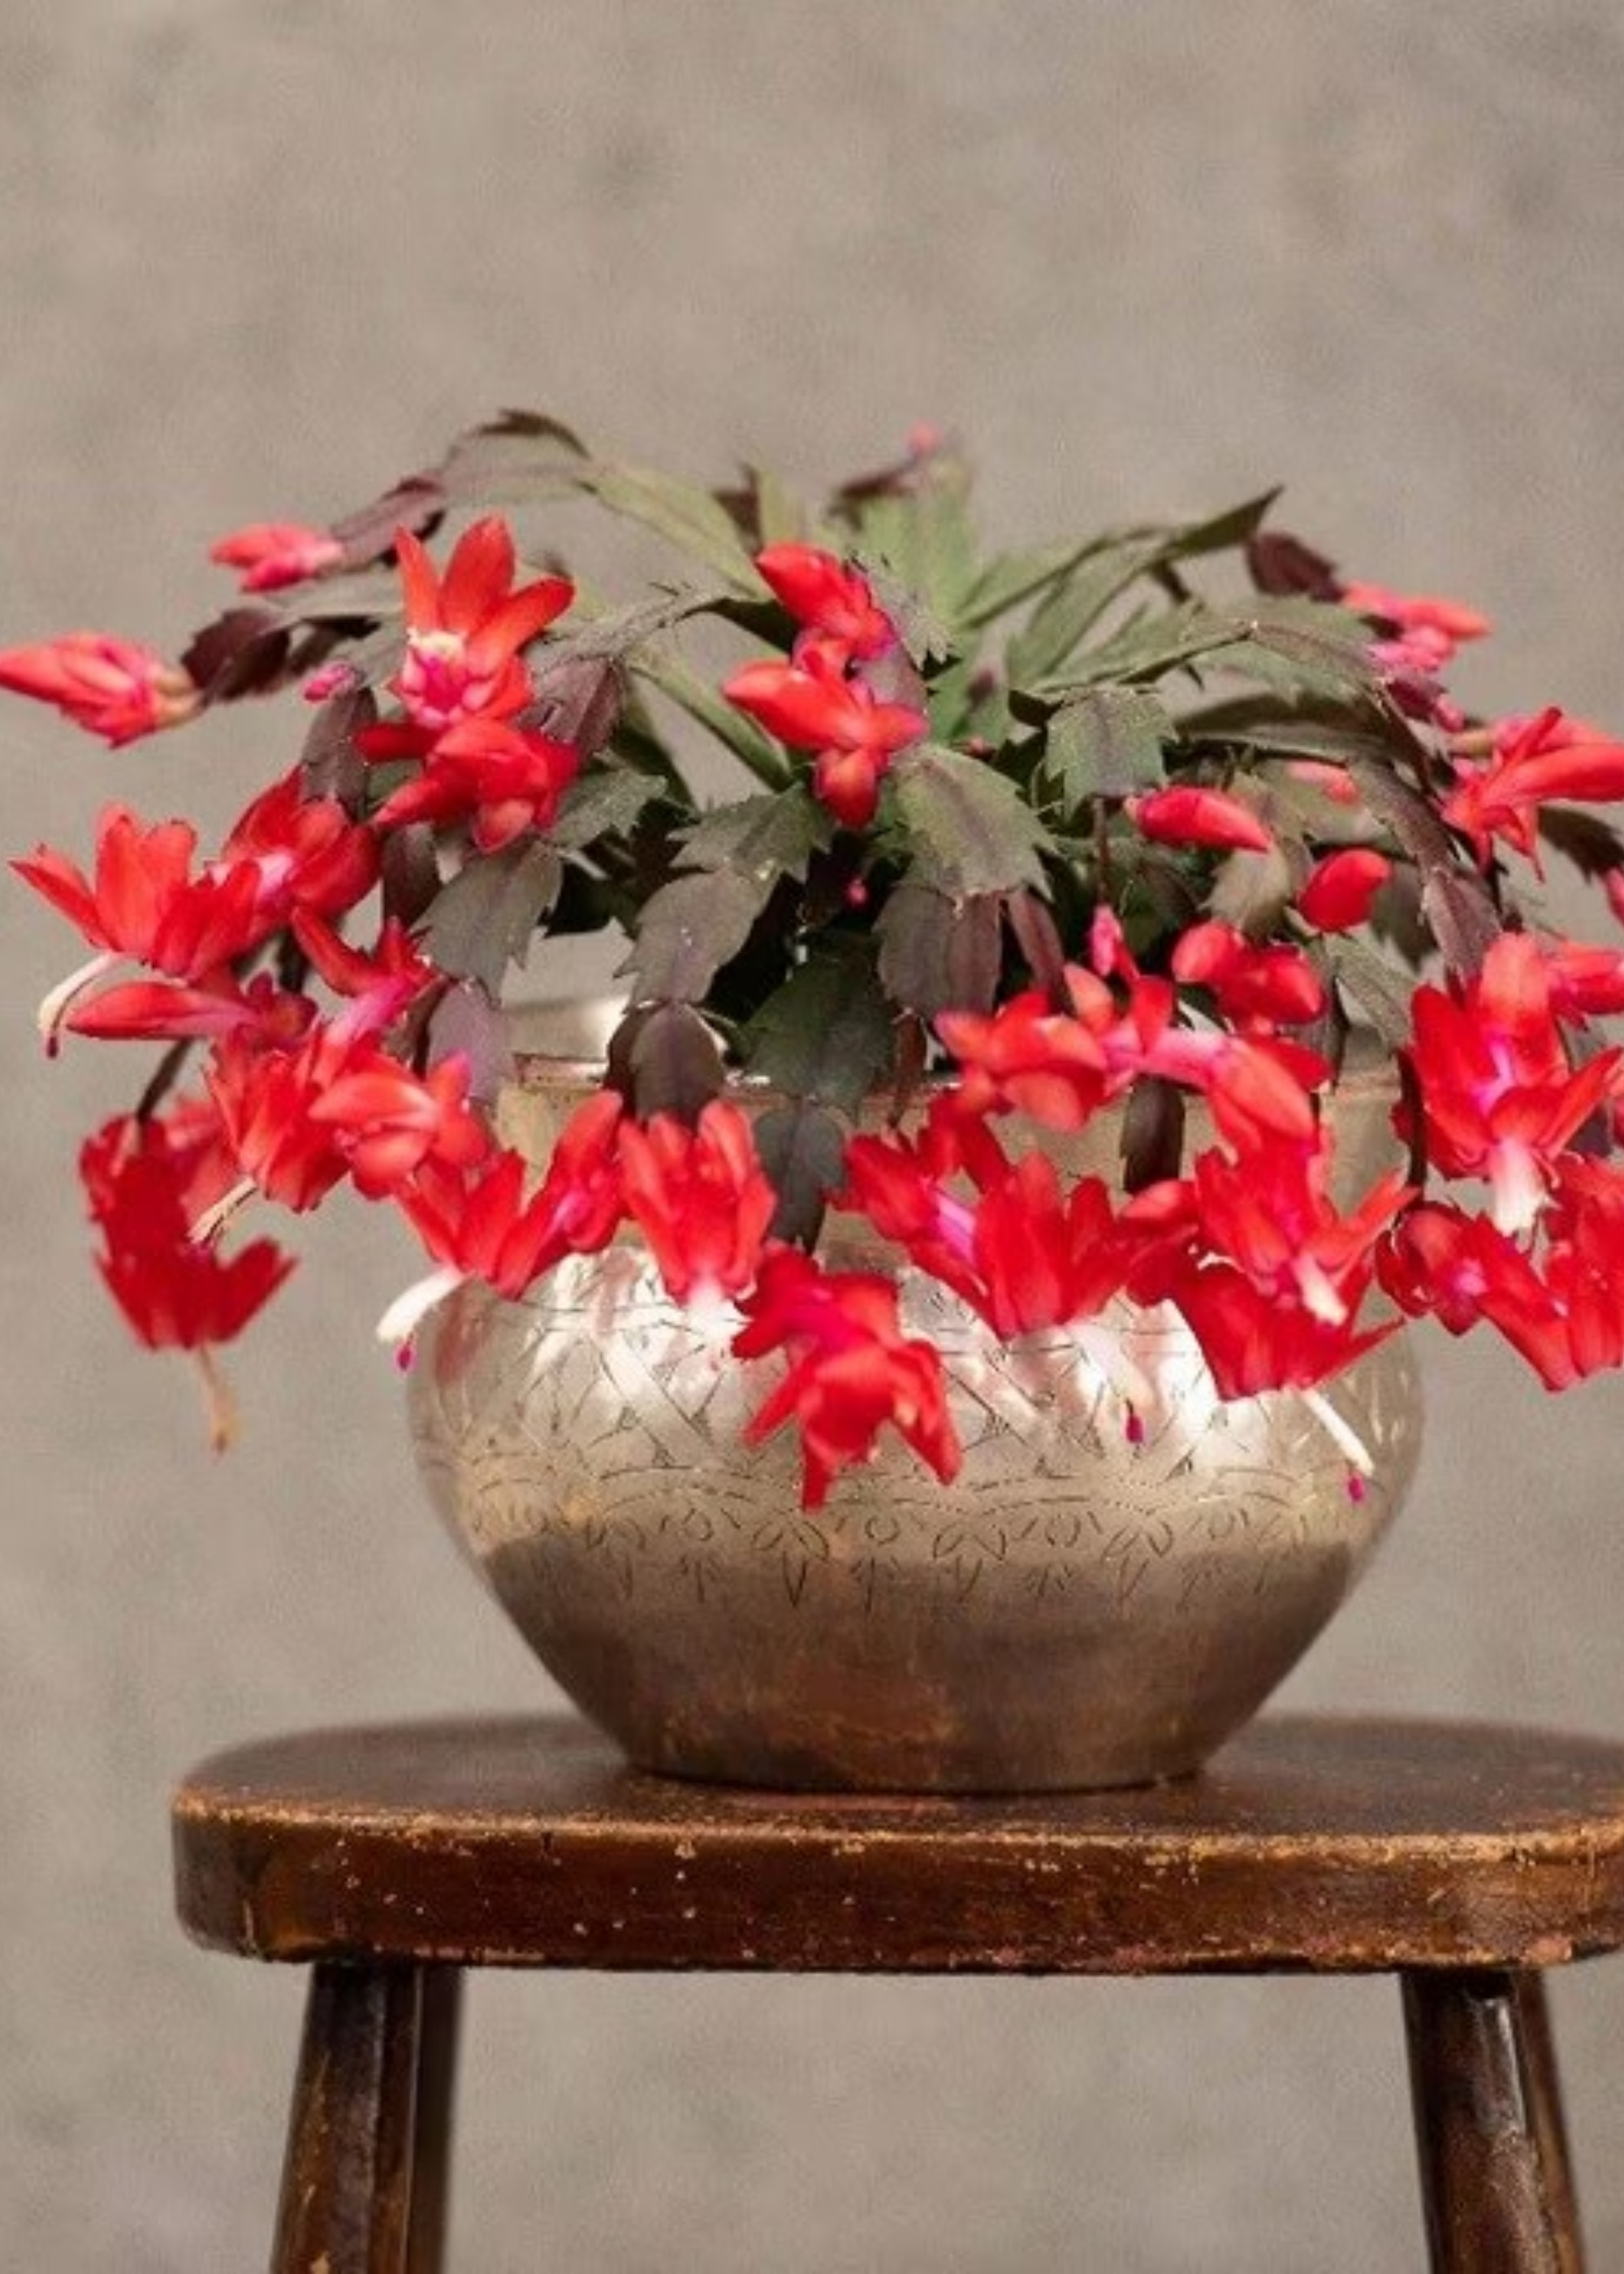
Besides being one of the best houseplants for beginners, the Christmas cactus also happens to be one of the easier cultivars to propagate. How? Luckily, this five-step expert houseplant propagation guide will walk you through every step from cutting to repotting.
Step 1: Get the Perfect Cutting — "Make sure you are taking cuttings from a mature, healthy parent plant," says Lina Cowley, master botanist at Trimmed Roots. "So, check that the Christmas cactus you are taking cuttings from isn't budding or in bloom."
Zahid explains that it's best to choose a segment with three to four leaf-like sections. Once you find a segment that's healthy and mature, he recommends pinching a section off of your Christmas cactus at a joint instead of cutting.
Attempt to twist it gently until it breaks free with ease, and be careful not to break a segment off in the middle. "Then, allow the cut ends to callus over for two to seven days in a cool, dry place before planting," he says. "This helps to prevent rot when planting."
Step 2: Directly Plant in Soil — There are two ways to propagate your Christmas cactus. Zahid explains that the first technique is to plant the dried segment in a well-draining soil mix, burying about one to two segments deep. This Miracle-Gro Premium Cactus Mix is a brilliant product labeled as 'Amazon's Choice' with a 4.5-star rating.
"Next, gently firm the soil around each cutting. Make sure to provide adequate moisture, too," he says. "Keep the soil consistently moist but not waterlogged and mist the cutting regularly."
Step 3: Or Try Water Propagation — Soil isn't the only medium you can propagate your Christmas cactus cutting in. Water is another viable, and some would say preferred, medium.
"For water propagation, suspend each cutting over a container of clean water with the cut ends submerged by piercing over a layer of cling film or storing in a propagation jar. And add just enough water to cover the bottom one or two segments," says Lina. This Plant Propagation Station from Amazon is a helpful setup.
"Replace the water weekly to prevent rotting, and once roots are one to two inches long, it's time to pot up the cuttings into a well-draining potting medium recommended for soil propagation."
Step 4: Care for Your Cutting — It's important to look after your cuttings the way you would a fully mature plant. "Remember that Christmas cacti prefer indirect light and temperatures between 15° to 20° F during the day and a bit cooler at night," says Zahid.
Step 5: Repot the Cutting — After around six to eight weeks, you should be able to spot roots that are around one inch long and ready to be placed in soil. If they aren't quite at this length, give your Christmas cactus some more time and perhaps rethink the conditions to help it thrive at a quicker pace.
During this step, carefully take your cactus cutting out of the water and place it on a piece of a kitchen towel. Make sure to be super gentle at this point, as any broken roots or snapped leaves can kill your plant entirely.
You want your ball of roots around one inch deep in a small pot at this point. And you can always place it in a plastic pot within a larger, more decorative pot to avoid messing up the aesthetics of your indoor garden. Then, continue to care for your freshly planted cutting to help it grow into another successful Christmas cactus.
How and When to Repot a Christmas Cactus
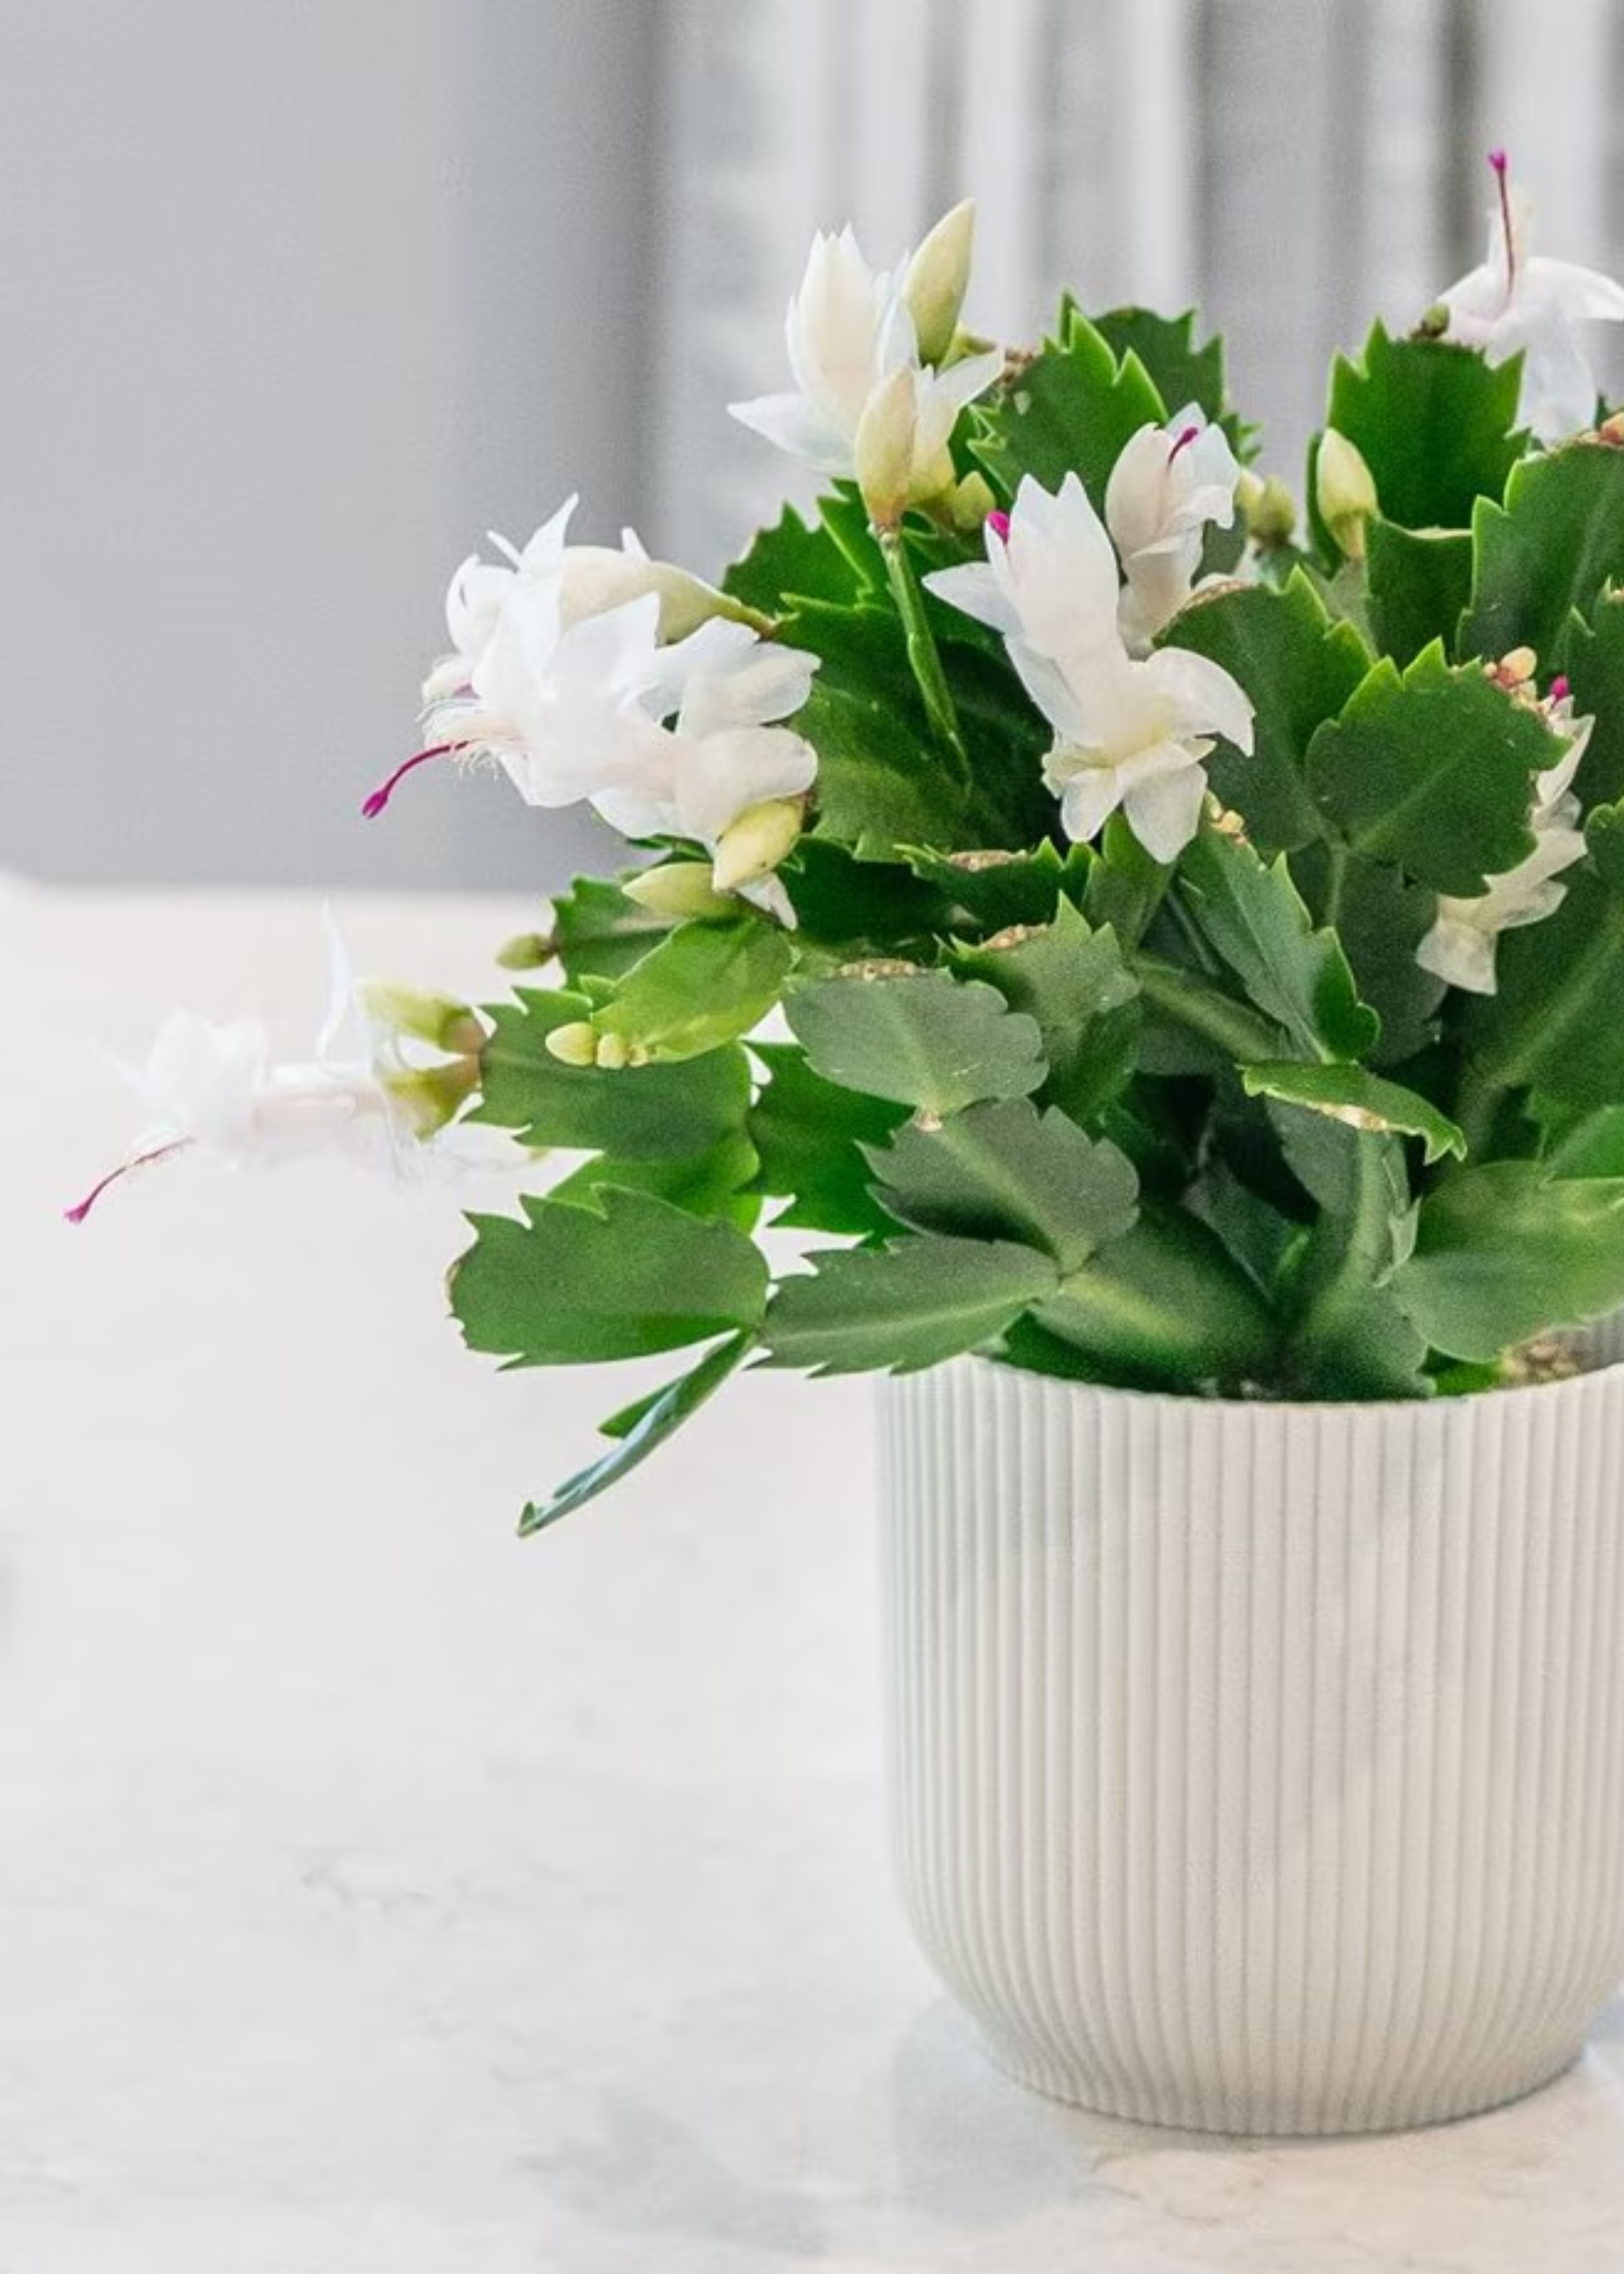
Paris Lalicata, plant expert at The Sill, explains that before you jump into repotting your Christmas cactus, it's essential to identify if it's ready for this step or not.
"If you received a Christmas cactus in a grow pot for the holiday, you’ll definitely want to hold off on repotting it until after the blooming cycle ends," notes Paris. "Once the last flower falls, you can inspect the root system. If the plant has become pot-bound, it'll be safe to repot it."
However, she points out that if your Christmas cacti's roots still have space to grow, you're better off leaving them for a few more months or even until spring. But if your festive houseplant is ready to be repotted, then here's what to do.
Step 1: Choose a Potting Mix — "First, pick any standard indoor potting mix that is well-draining," says Paris. "Since it's a jungle cactus and not a desert cactus, it’ll want more moisture and nutrients, which some traditional mixes may not provide."
This Miracle-Gro Premium Houseplant Potting Mix is said to encourage healthy root growth for seedlings, cuttings, and mature houseplants.
Step 1: Select a Planter — According to Paris, you should only repot the plant into a planter that's one or two inches bigger in diameter. "Depending on how deep the root system is, you can choose a spot that is a bit more shallow than deep, but it still needs to be large enough to house the roots and additional soil for the roots to continue to grow into," she adds.
Step 1: Gently Replant — Once your soil and planter are ready, you can then proceed to carefully repot your houseplant. "Be mindful of its delicate stems when gently removing it from its current pot," says Richa Kedia of Simplify Plants.
"Place the Christmas cactus in the new pot, ensuring the soil level remains the same, and water lightly. Allow the plant a few days to adjust to its new environment and resume normal care."
Step 1: Keep an Eye Out — Last but not least, Richa says you may notice a few leaves drop after repotting, but that is natural. "However, if you notice anything unusual, look for potential problems like damage to the roots, overwatering, or incorrect soil mix," she says.
Once your Christmas cactus has adapted to its new home, it will be ready to serve your beautiful festive foliage for many more Christmasses to come!
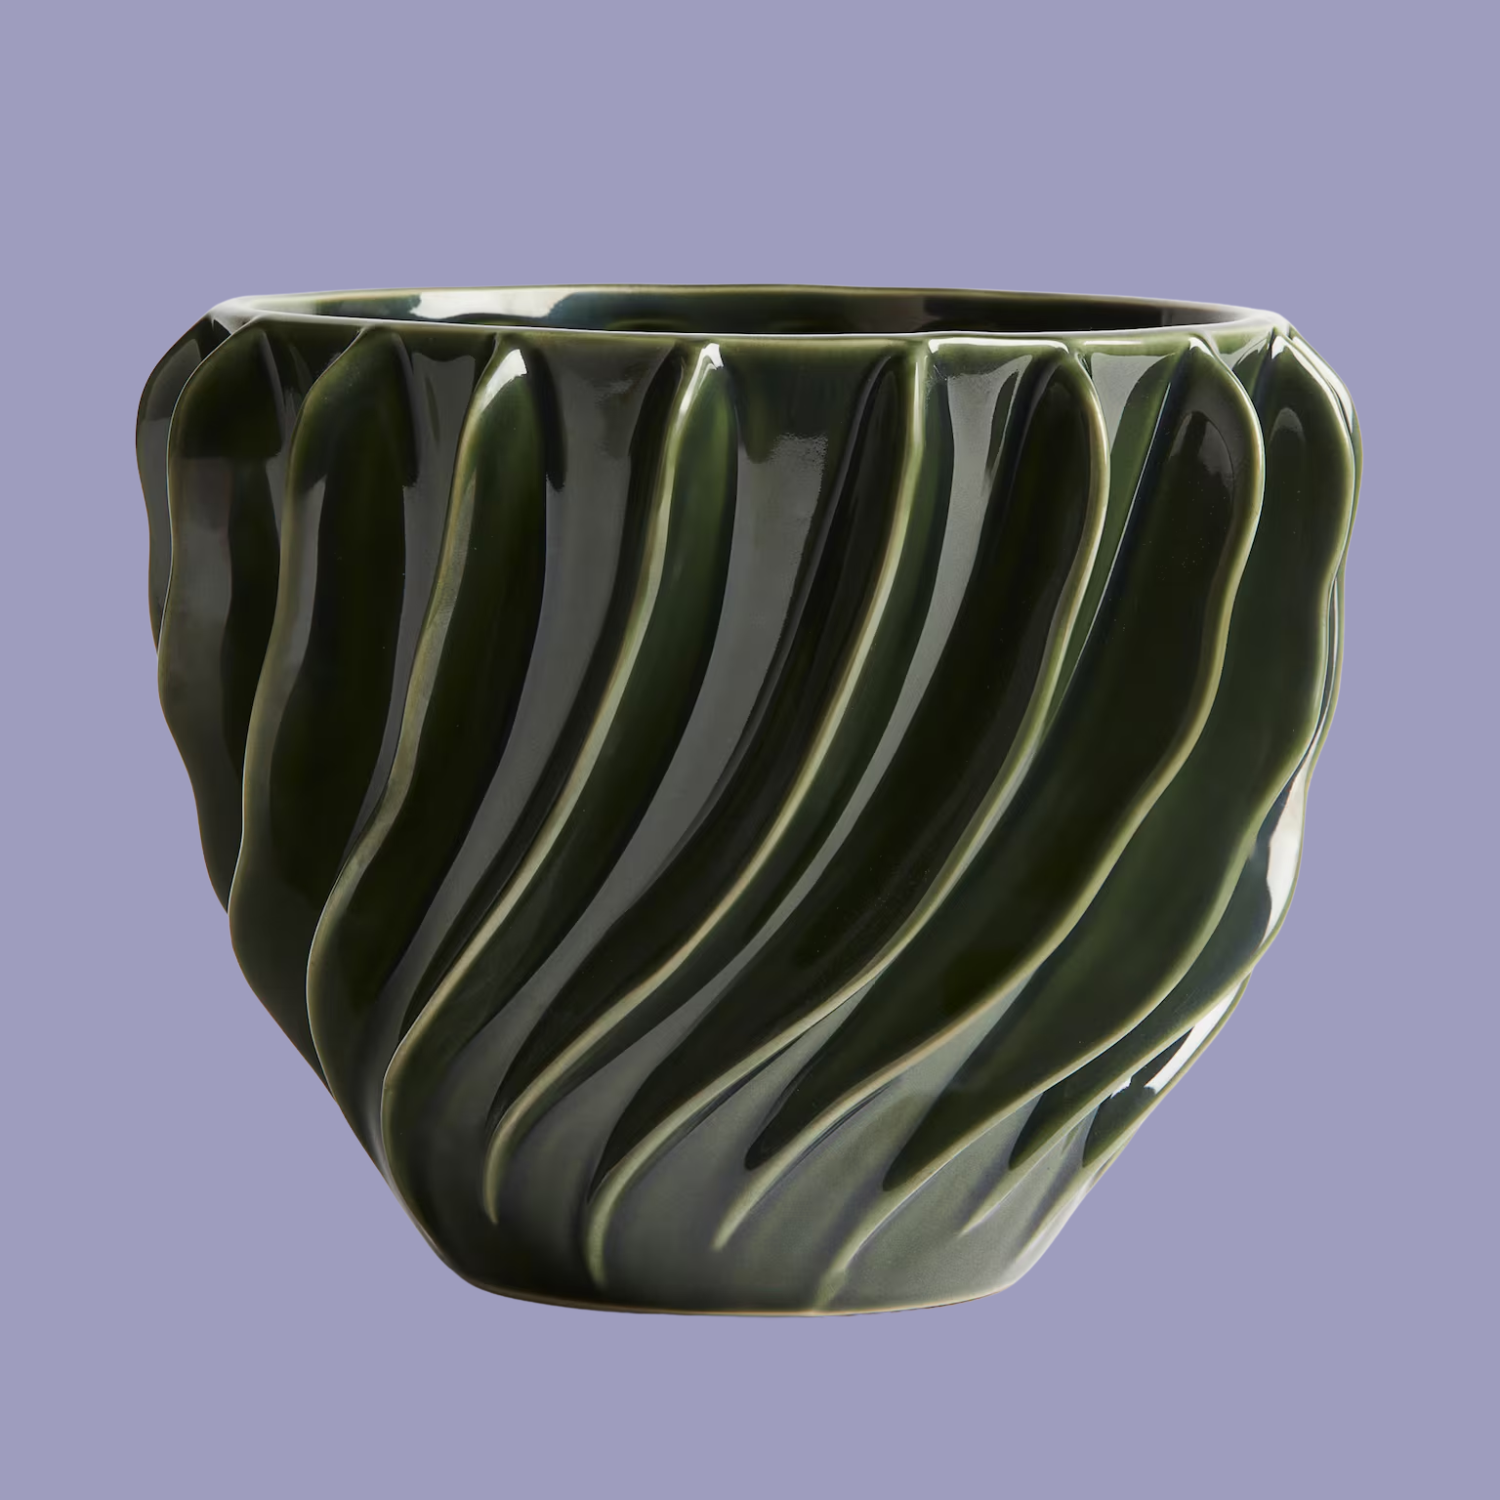
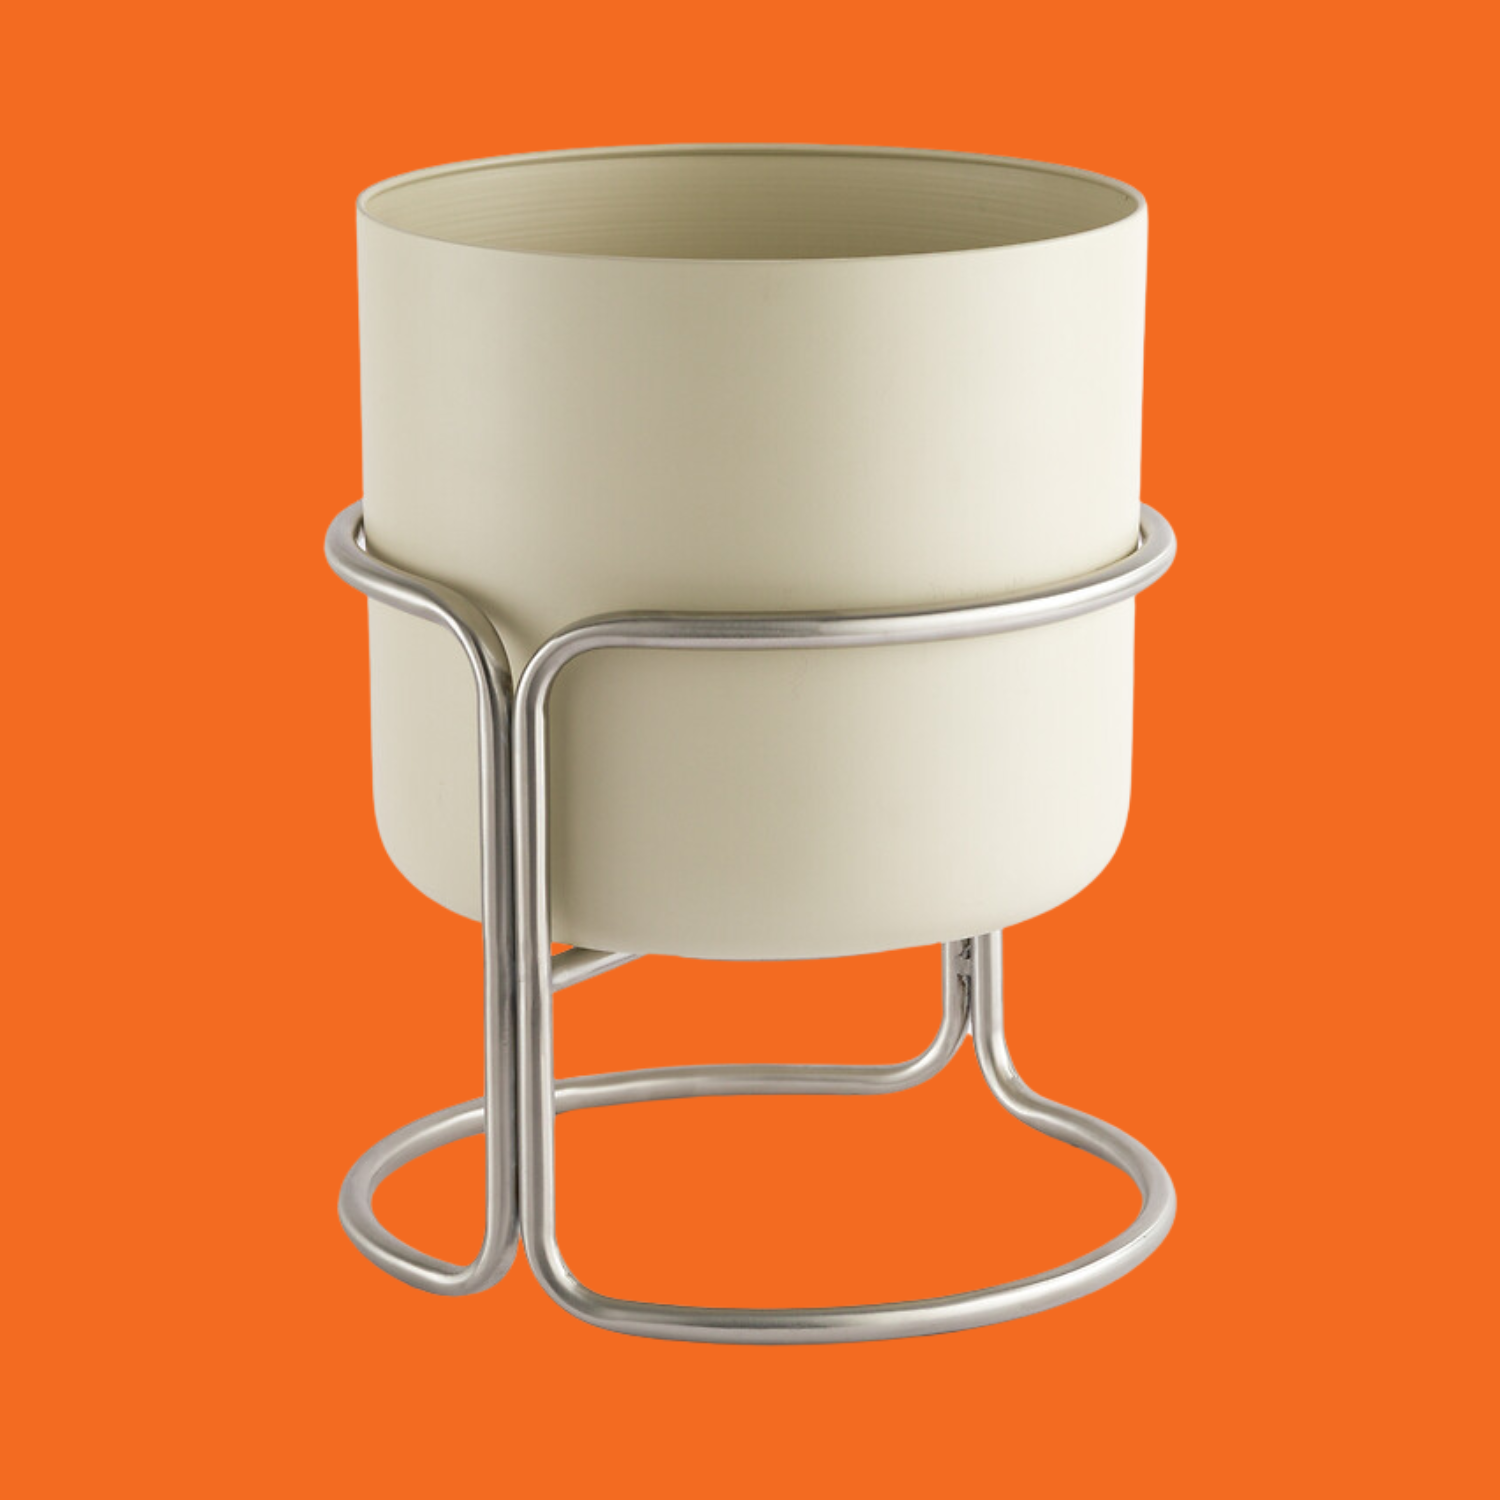
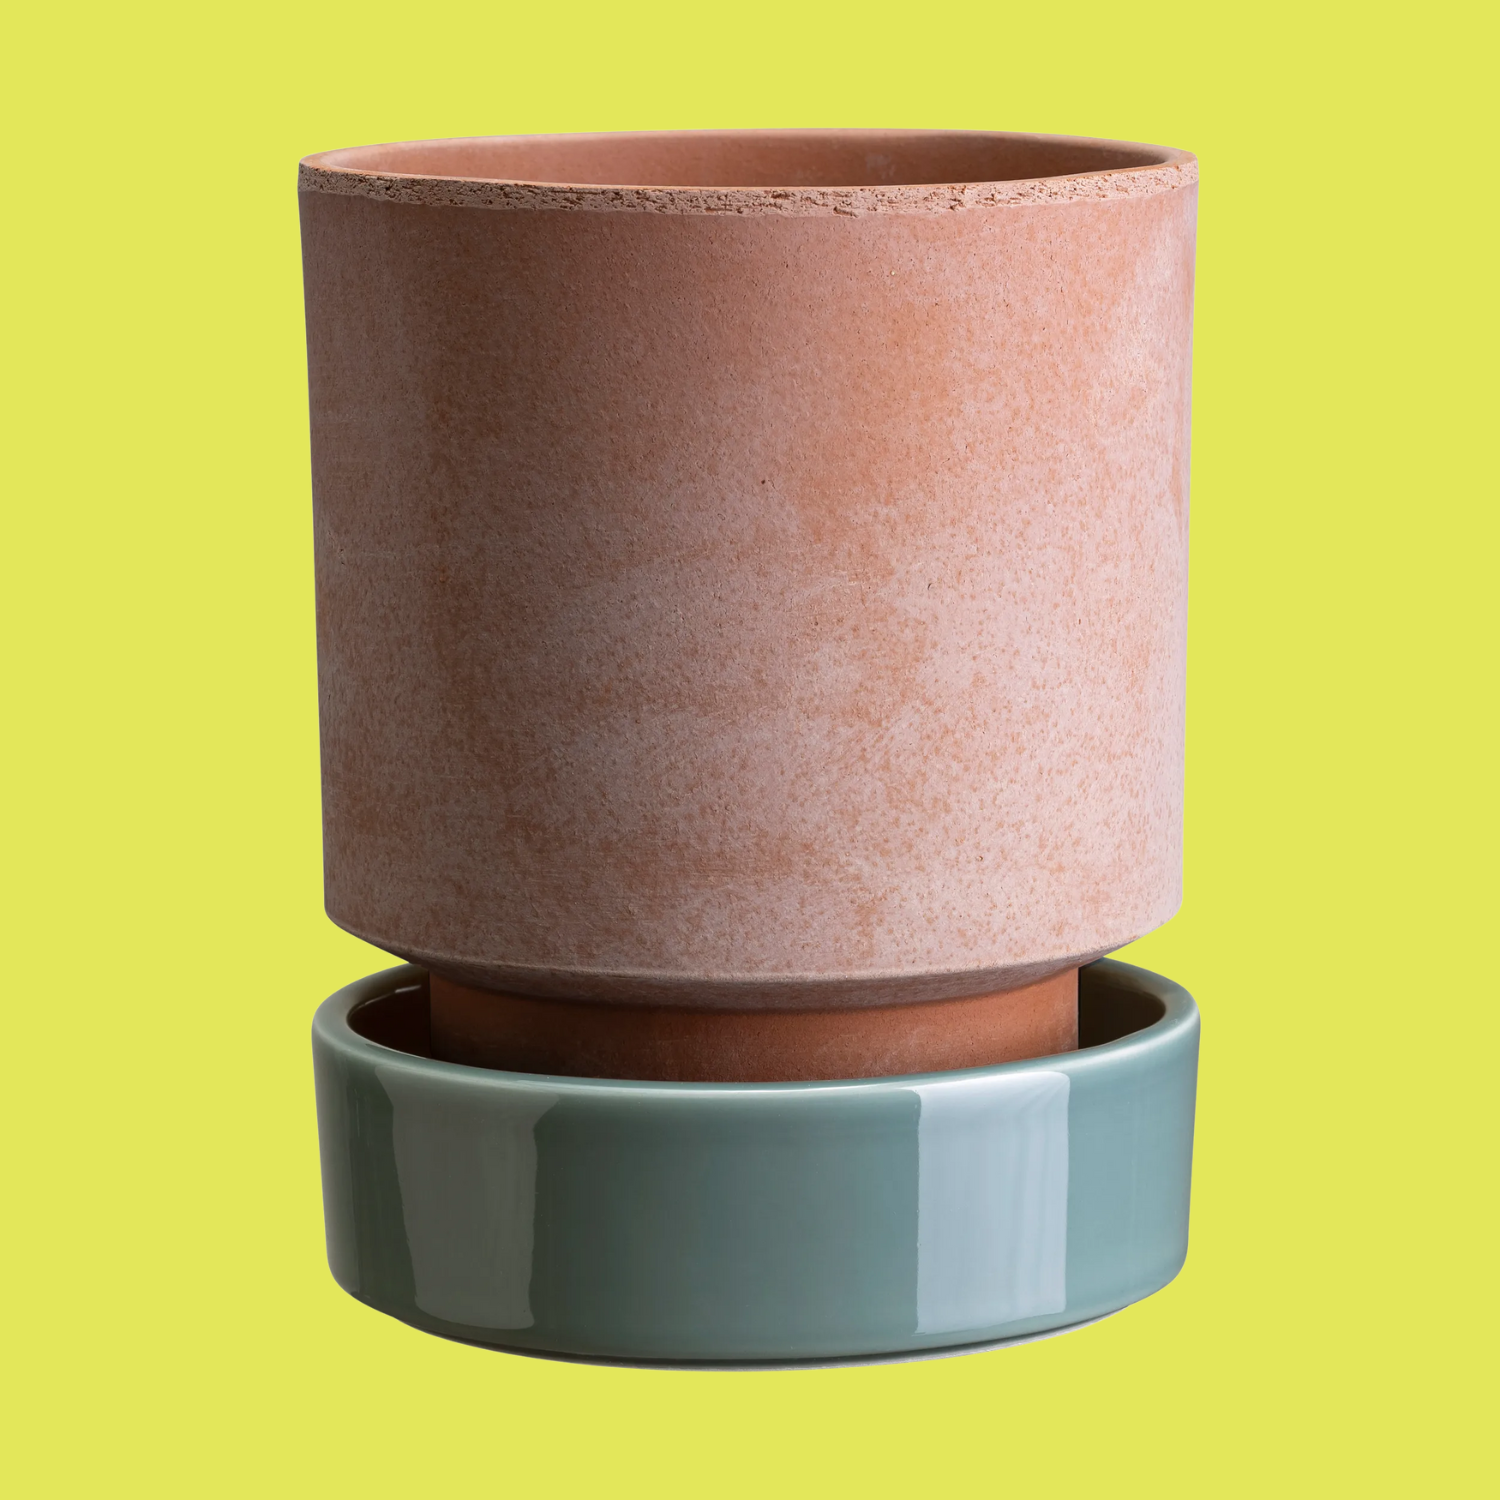
Pretty Planters for Your Christmas Cactus
FAQs
How Long Does a Christmas Cactus Live?
"A Christmas cactus can live for 20 to 30 years, and in some cases, even longer with proper care," says Tony. "These festive houseplants are quite resilient and can become treasured heirlooms passed down through generations."
When Should You Start and Stop Watering Christmas Cactus?
"As a general rule, you'll typically need to water your Christmas cactus every five to seven days in spring and summer and every 10 to 14 days in fall and winter, depending on your growing conditions," explains Andrew Gaumond, from Petals Republic.
As for when to slow hydration and let your plant, Tony says: "You should reduce watering the Christmas cactus as it enters a dormancy period post-bloom, around late winter to early spring. This helps to prepare the plant for the next blooming cycle."
When Should You Start and Stop Fertilizing Christmas Cactus?
"The best time to fertilize a Christmas cactus is during its growing season — which is often between April to September. So if you've welcomed this colorful bloom into your home, this is the time to give it some well deserved tender loving care," says Tony. "On the other hand, avoid fertilizing your Christmas cactus in late fall and during the blooming period, as this can interrupt the natural blooming cycle."
Why Is My Christmas Cactus Not Blooming?
If you're looking for blooms but can't seem to spot any on your Christmas cactus, there could be four clear reasons behind this slow growth.
Reason 1: Lack of Darkness — Mickey Hargitay, founder of Mickey's Plants, explains that the Christmas cactus requires adequate amounts of darkness through the night for it to bloom.
"Christmas cacti are long-night and short-day bloomers," he says. "The blooming process is initiated when they receive 15 hours of total darkness. Most commercially grown plants are forced to bloom for the holidays and may have a schedule of their own in subsequent years."
Reason 2: Overly Warm Nights — "In addition to long nights, the Christmas cactus also needs cooler nighttime temperatures to finish out the blooming process," says Mickey. "A spot near a window where it can get down to 13° to 16° C will help it to flower."
Reason 3: Low Light Days — "Light is also key in getting a Christmas cactus to bloom. When the plant is not in enough light during the day, the growth will stretch out, become thin and leggy, and the plant will not bloom," he adds.
"Even though schlumbergera are a cactus, they want to be treated more like a houseplant, so be careful and avoid too much direct sun."
Reason 4: Irregular Watering — Overwatering or underwatering your Christmas cactus can also lead to late or no blooming. In order to stimulate flowering, it's best to stick to a regular watering schedule and avoid either extreme.
Why Are My Christmas Cactus Buds Falling Off?
Tony explains that bud drop on a Christmas cactus can often be attributed to environmental stress.
Reason 1: Overwatering or Underwatering — "Both extremes of a watering schedule can stress the plant, thereby causing bud drop," he explains. By keeping to a regular routine, this will be a problem of the past.
Reason 2: Poor Lighting — If your Christmas cactus is seated by a sill or in a dark nook, you might want to rethink your indoor plant arrangement ideas. "Too little light can hinder the development of buds," says Tony. "On the other hand, too much direct light can scorch them, leading to drop."
Reason 3: Nutrient Deficiency — "Lack of proper nutrients, particularly phosphorus, can inhibit bud development," he points out. To resolve this issue, we recommend following our advice above on how to properly fertilize this houseplant, so you can welcome flowers in bloom.
Why Are My Christmas Cactus Leaves Turning Red?
"When your Christmas cactus leaves start turning red, it's often a sign of stress," says indoor gardening specialist from Urban Leafy, George Brown. "This is possibly due to too much sunlight or extreme temperature changes."
As for how to fix the red leaves on your Christmas cactus, Zahid recommends placing your plant in a location with bright, indirect light. "Shield it from direct sunlight to prevent leaf reddening and attempt to maintain a consistent temperature range between 15° to 24° C," he advises.
"You might also need to adjust your watering regime to reverse red leaves on your cactus, too. This is because overwatering can also contribute to stress and leaf discoloration."
Amy Enfield, senior horticulturist at Scotts Miracle-Gro, says that nutrient deficiencies might also be the culprit behind this turn of color. "If you suspect a magnesium deficiency is the cause of your Christmas cactus turning red, an application of Epsom salt (1 teaspoon in a gallon of water) can help provide needed magnesium," she suggests.
Why Is My Christmas Cactus Turning Purple?
According to Andrew, several factors can cause the Christmas cactus to turn from green to purple.
Reason 1: Overexposure to the Sun — "One of the most common causes is too much direct sunlight, which can scorch the leaves and trigger a purple hue," he notes. "While Christmas cacti love bright light, they prefer it to be indirect."
Reason 2: Nutrient Deficiencies — He goes on to explain that a lack of essential nutrients, particularly phosphorus or magnesium, can also cause leaves to turn purple. He finds that magnesium deficiency is especially common and can result in vibrant purpling on older leaves.
Reason 3: Incompatible Temperatures — "It's also worth remembering that these tropical plants aren’t fans of the cold," he points out. "Prolonged exposure to cold drafts can lead to a purplish discoloration, and high heat stress can have a similar effect, too."
Reason 4: Overwatering — Finally, he tells us that poorly draining soil or waterlogged roots can lead to poor nutrient uptake, which may also lead to purpling. "Overwatering is a sneaky culprit in many houseplant woes," he adds. Knowing when to stop watering your Christmas cactus is a crucial lesson to keep them from suffering the consequences of drowning.
By adjusting these common Christmas cactus care faux pas, you'll set your houseplant on the path for better, healthier growth.
Why Is My Christmas Cactus Turning Yellow?
Tony explains that the first cause of yellowing leaves is overwatering, which also leads to root rot. "Another factor is underwatering. Dehydration can also cause yellowing if the plant is too dry," he adds.
Knowing how to properly water your plant is the key to healthy blooms. So, if you're not paying attention while watering your plant, it could lead to the leaves fading.
But that's not all. Tony says poor drainage in your cacti's planter means the roots sit in moisture too long, exacerbating rot issues. Lastly, he explains that your plant might be suffering from a nutrient deficiency, especially a lack of magnesium or iron.
Tony says an effective way to stop your Christmas cactus from turning yellow would be to adjust watering schedules to ensure the soil is moist but not soggy. "Then, improve drainage in the pot," he advises. I'm loving this Københavner Glazed Flower Pot by Bergs Potter.
"And lastly, you can use a balanced fertilizer during the growing season," he adds. This Growth Technology Ltd Cactus and Succulent Focus from Amazon is a good option.
If you're keen on bringing a couple of other festive cultivars into the mix, then I recommend growing Amaryllis in time for Christmas. It's yet another beautiful, flowering plant that will bring your home some happiness as the year comes to an end.

Amiya is a Home Wellness Writer at Livingetc. She recently graduated with a Masters Degree in Magazine Journalism from City, University of London, and has lent her words to beauty, fashion, and health sections of lifestyle publications including Harper’s Bazaar and Women’s Health. Her experience as a research analyst has equipped her with an eye for emerging trends. When she’s off the clock, she can be found reading, listening to music, or overanalyzing her latest Co-Star update.
