How to Paint Over Dark Walls — 6 Crucial Steps Experts Always Use
Painting over dark walls can feel daunting, but with these expert tips, it doesn't have to be - even when going for lighter colors

The Livingetc newsletters are your inside source for what’s shaping interiors now - and what’s next. Discover trend forecasts, smart style ideas, and curated shopping inspiration that brings design to life. Subscribe today and stay ahead of the curve.
You are now subscribed
Your newsletter sign-up was successful
It's a clichéd romantic movie trope that we're all too familiar with: The loving couple renovating their home with a fresh lick of paint while play-fighting, flirting, and making the process look far too effortless. The reality is often a lot less idyllic – especially if you're faced with the slightly more complicated task of painting over dark walls.
But it doesn't need to be daunting. When it comes to painting over dark walls, preparation and patience are key. 'Painting over a dark wall can feel challenging,' says Julie Fisher, product manager at Dutch Boy Paints. 'However, with the right preparation and techniques, you can achieve a beautiful, even finish.'
And once you have achieved your desired outcome, it'll become clear that any added effort was well and truly worth it. Picking the right paint color for your walls is not a decision that should be taken lightly, it sets the tone for your decorating decisions and infuses personality into any room. I’ve spoken to some of the experts to get their top tips for painting over dark walls.
1. Prime the surface
Before you get carried away and start painting your walls, it’s crucial to lay the foundations. It may sound obvious, but starting with a clean and smooth base will make your job a lot easier in the long run. ‘Ensure the wall is clean and free of dust, dirt, and grease. Wash the surface and allow it to dry thoroughly,’ says Julie Fisher, product manager at Dutch Boy Paints. ‘Patch any holes, cracks, or imperfections in the wall with a suitable filler. Sand the patched areas smoothly once they are dry.’
Once you’ve ensured the wall is clean and free of imperfections, it’s time to apply a high-quality primer. According to Tina Nokes, owner of Five Star Painting of Loudoun, this is the most important step in the entire process that cannot be skipped. ‘Primers are made to hide existing colors and provide a clean work surface. If the color is very dark, such as black or dark brown, you could tint the primer with a light color close to the new color to help with the coverage.’
Artem Kropovinsky, founder of Arsight, agrees that primer is a superstar ingredient when it comes to painting over dark colors. ‘When going from dark colors to light, this is an unrecognized hero which will make sure your new color appears true and vibrant.’
2. Choose the right paint
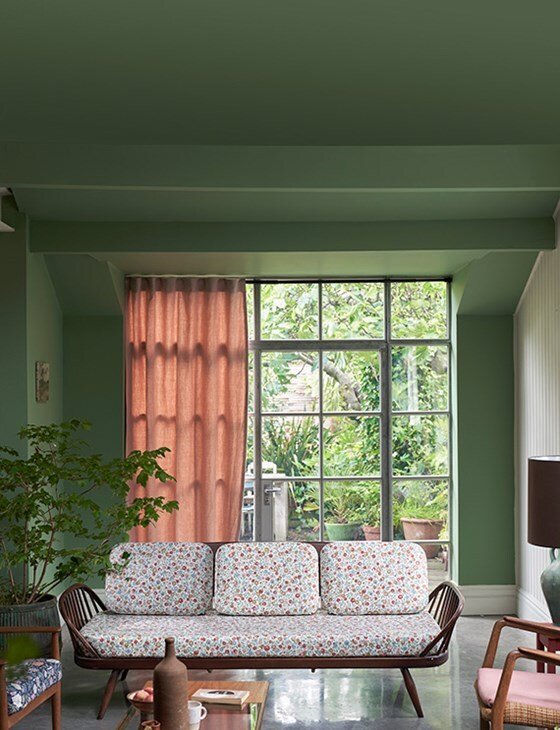
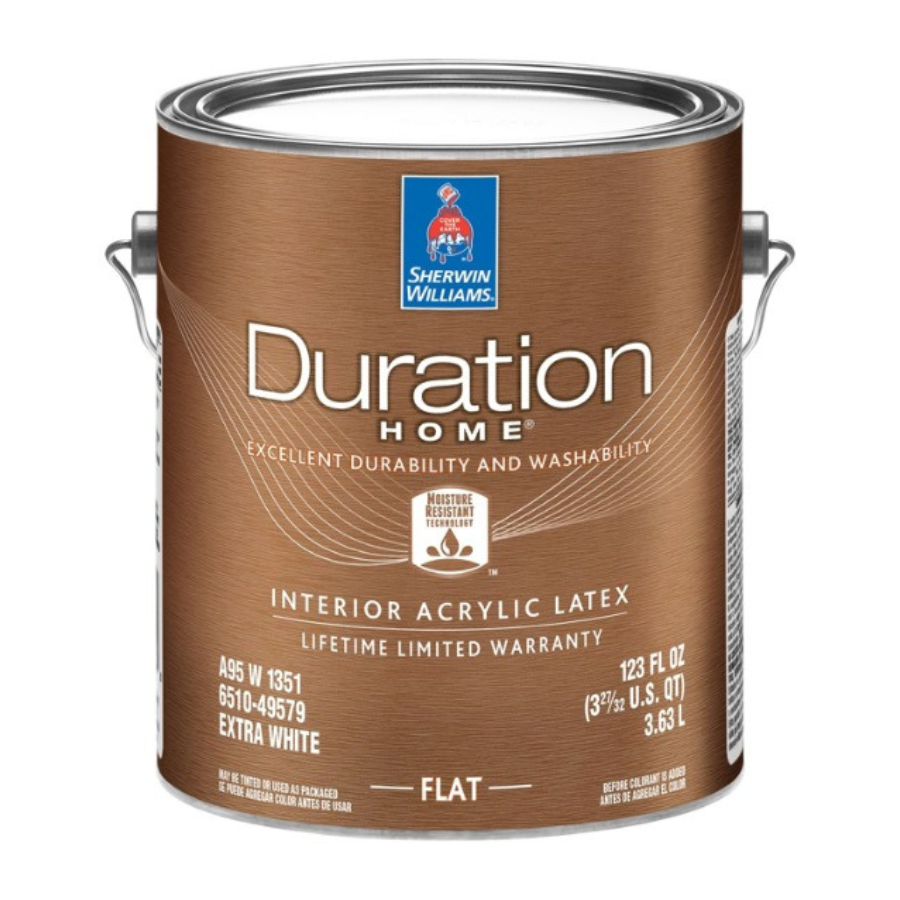
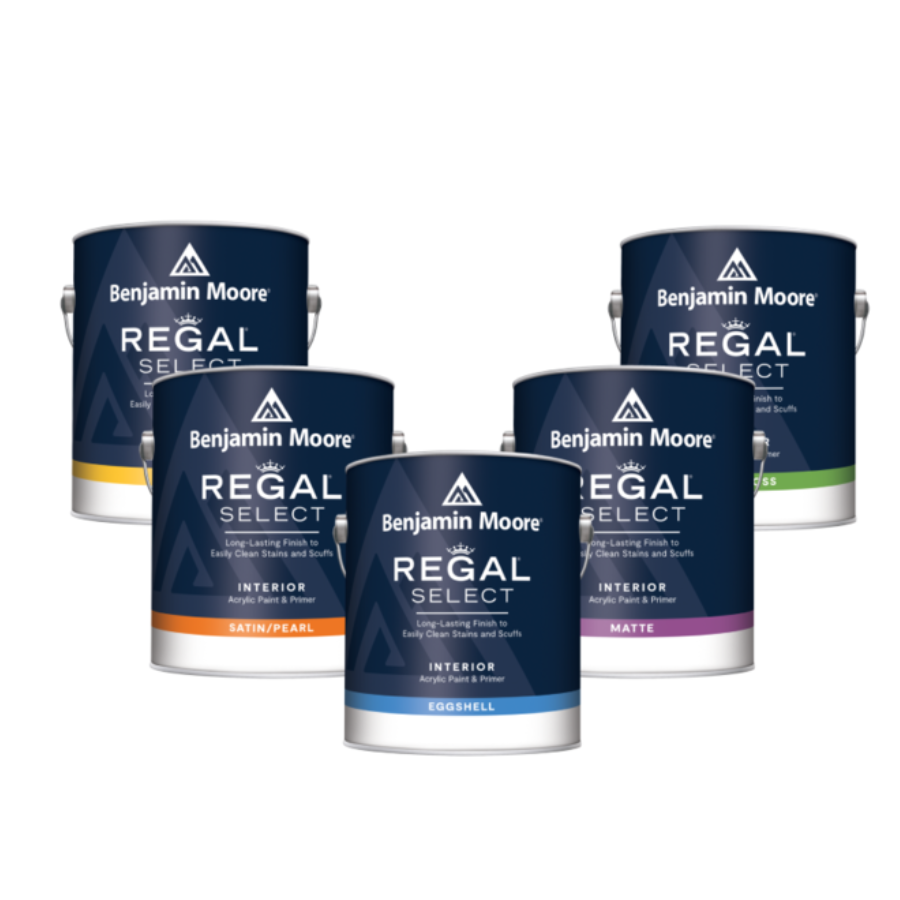
When it comes to how to paint a room, choosing the perfect paint deserves research and consideration. According to Tina, opting for high-quality paint can be a game-changer when it comes to painting over dark walls. ‘Use high-quality paint, such as Sherwin Williams Duration or Emerald, or Benjamin Moore Regal Select or Aura, to provide hiding power and good coverage. These paints are thicker than lower-quality paints and provide better coverage.’
The Livingetc newsletters are your inside source for what’s shaping interiors now - and what’s next. Discover trend forecasts, smart style ideas, and curated shopping inspiration that brings design to life. Subscribe today and stay ahead of the curve.
Julie adds that, if you’re nervous about taking a leap of faith and painting over a dark wall, high-quality paints, particularly with a built-in primer, are a worthy investment that could make all the difference. ‘Invest in high-quality paint that provides good coverage. Look for paints with built-in primers or those labeled as paint and primer in one, like Dutch Boy® Platinum Plus interior paint. Dutch Boy ® Platinum Plus offers extreme hide and can be particularly useful when covering dark colors.'
3. Layer up

Even if you're using a paint and primer in one, applying multiple layers of paint is often an unavoidable necessity when it comes to hiding darker colors beneath (particularly if you're opting for an ultra-light shade over the top).
According to Julie, if you're looking to drastically change the wall's original base color, multiple layers are most likely needed. 'After priming, start with a base coat of the new paint color,' she says. 'Depending on how dramatic your color change is, you may need multiple coats to achieve the desired result. Allow each coat to dry completely before applying the next one.'
Artem adds that patience is key when it comes to painting over dark walls, as perfection takes time. 'Do not be afraid of many coats', he advises. If you're looking for 'depth and uniform coverage,' applying multiple layers of paint is the way to go.
4. Remember that it's all about technique
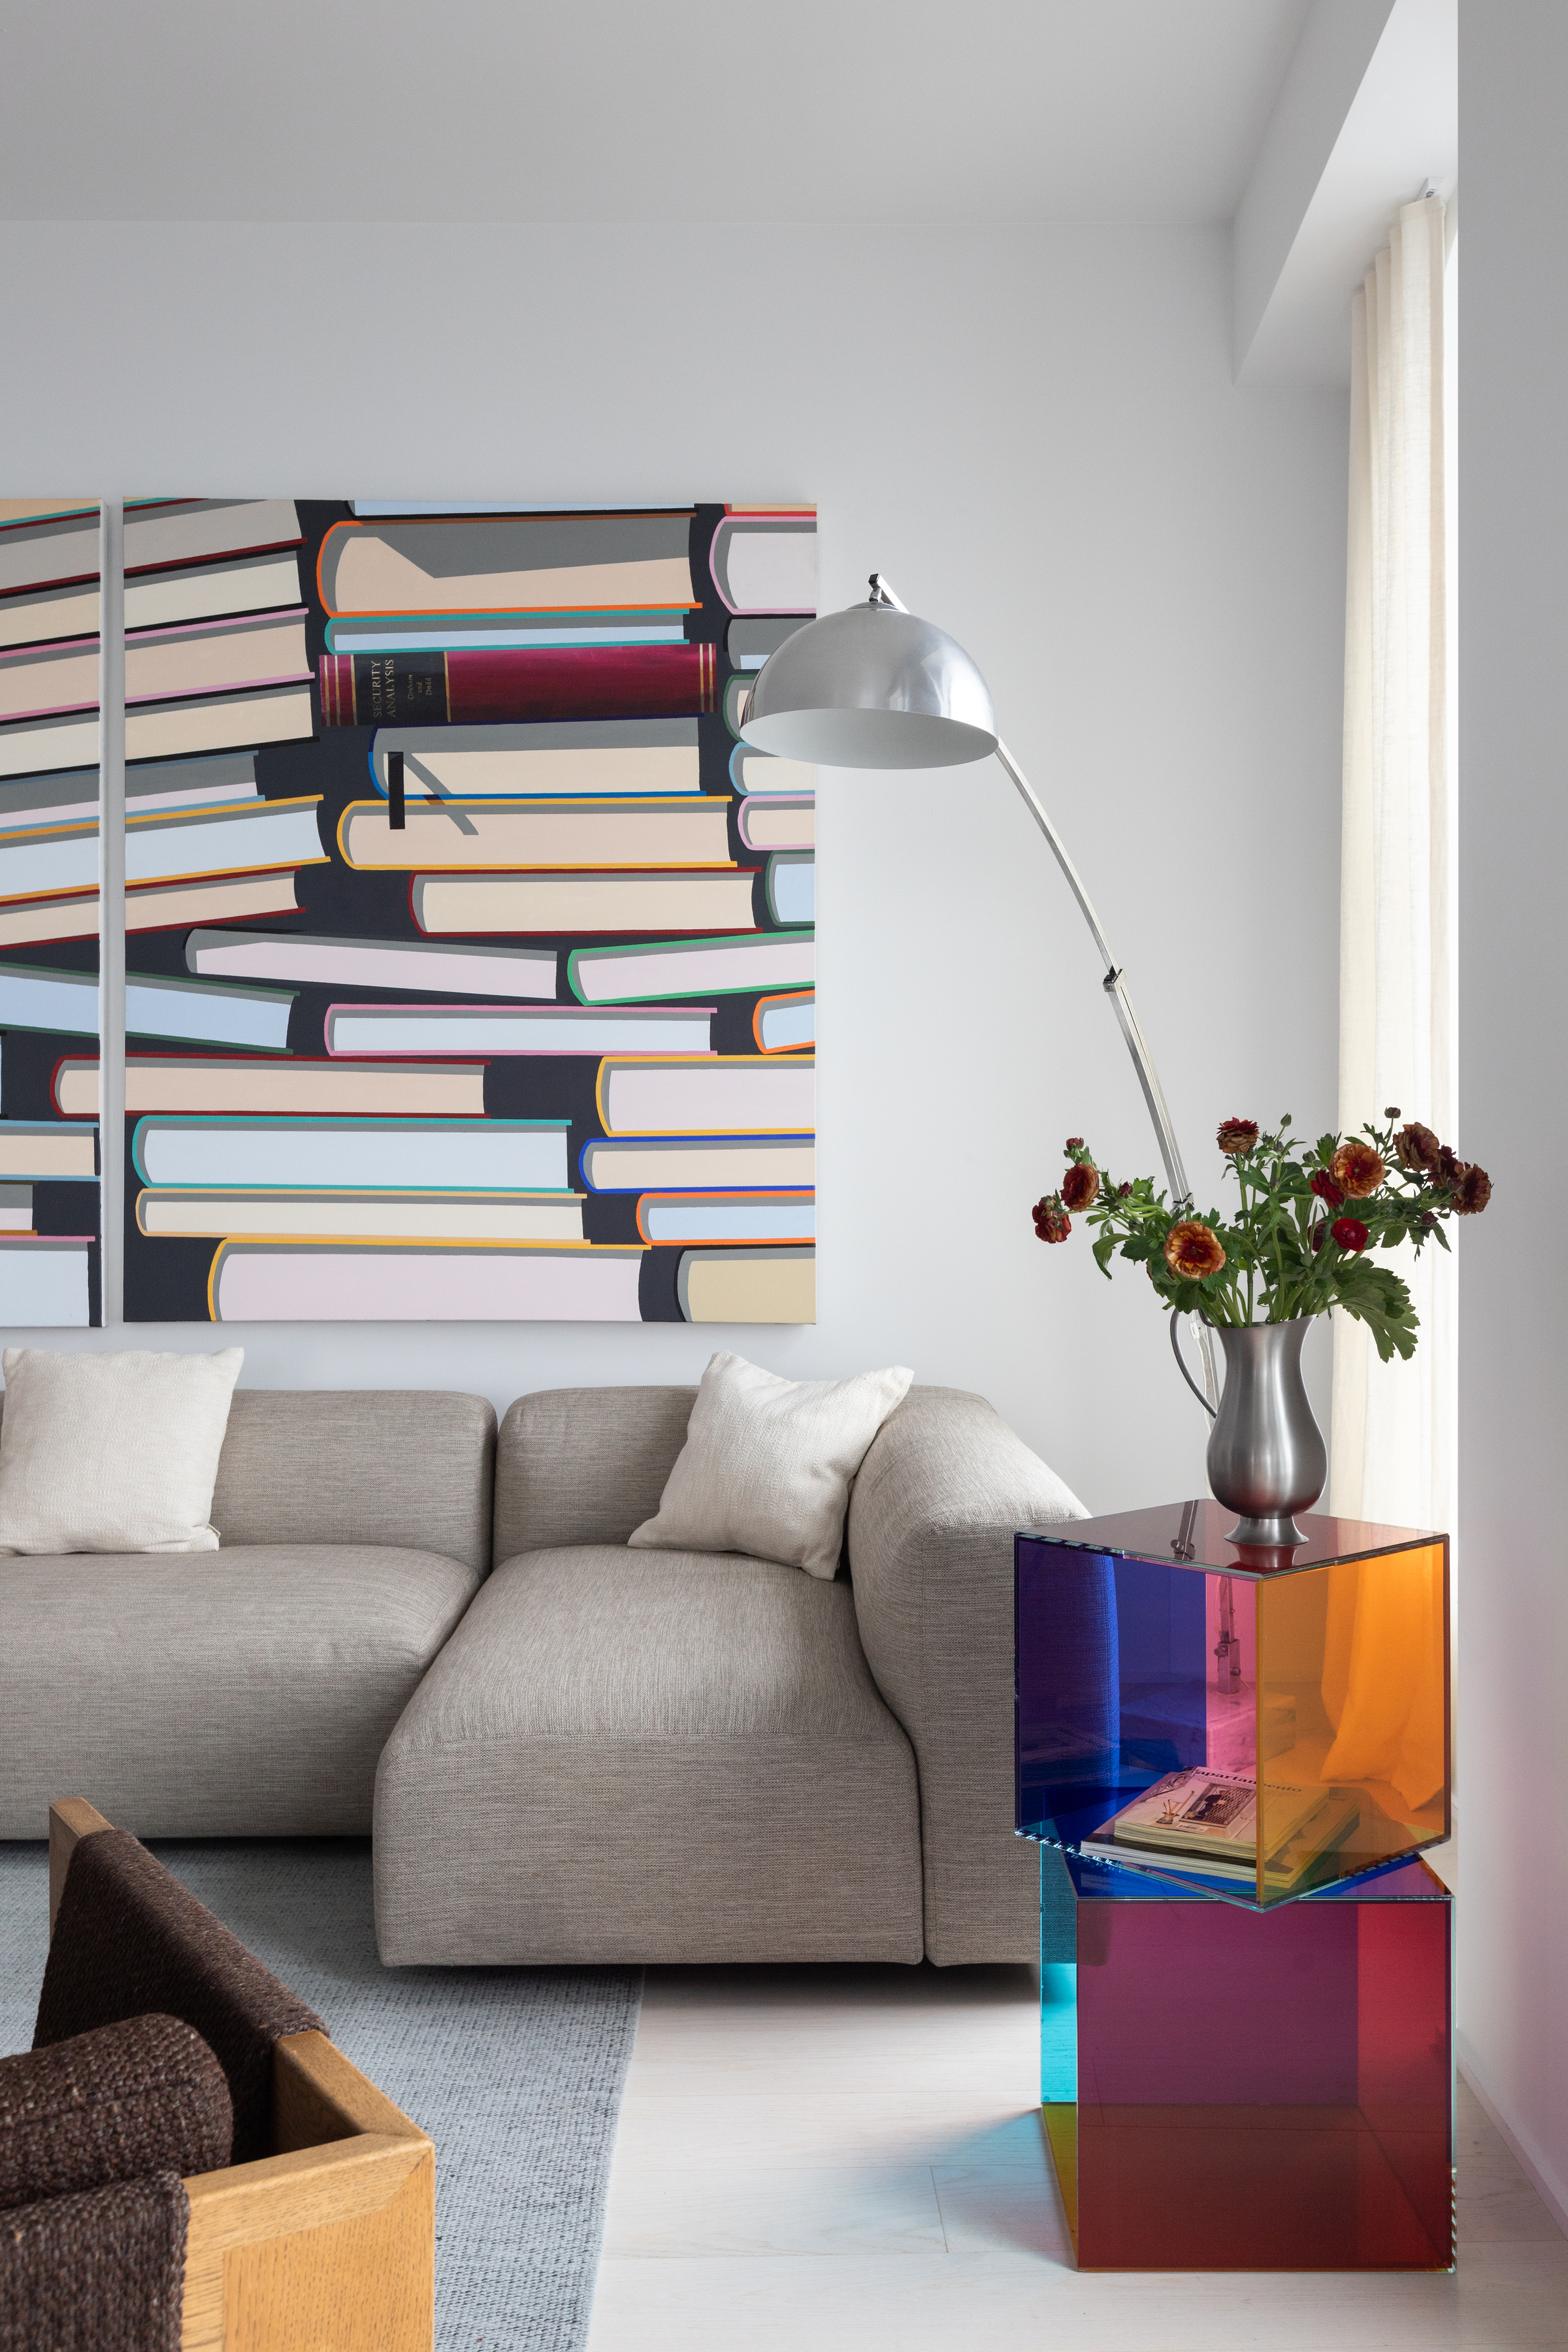
When it comes to actually getting down to the painting part of this process, it’s easy to feel overwhelmed, particularly if you're faced with a large living room that needs coating in a fresh lick of paint. But fear not: You don’t need to channel your inner Da Vinci to master the art of painting over dark walls, but having some key techniques in the back of your mind sure does help.
Julie advises using rollers rather than a brush for a more even coverage. ‘Brushes can be used for cutting in, but stick with a cooler for the main parts of the walls. For most walls, a 3/8 inch to 1/2 inch nap is ideal.’
Tila Lee, founder of Pretty In Paint School, advises taking your time when it comes to cutting, particularly if you’re going for a very light or white color. ‘After you do your cut as normal, brushing parallel to the line you are cutting, you should back brush your product with the bristles perpendicular to the line - let’s say ceiling for example. You may even have to add a bit more product if you can see any streaks in your cut line. It's a pretty good indicator that the paint will dry that way.’
She adds that having an uneven amount of cuts to rolls is an easy mistake to make, and when addressing any uneven spots, it’s important to approach them with caution. 'It is also imperative to be mindful of how much product is on your brush (or roller) when addressing these spots […] If you try to fix a "thin" coverage touchup spot but end up adding more paint than the rest of the surface, the same problem will remain - an uneven spot!’
5. Consider the finish
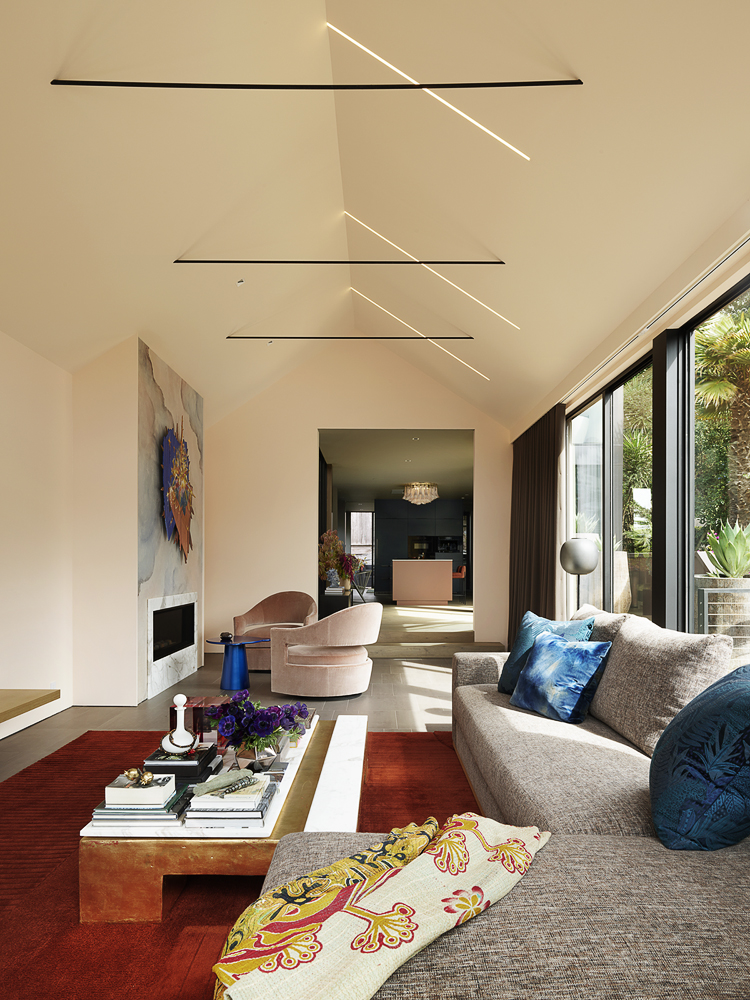
Once you've applied the very last drop of paint to your final layer and it seems that every trace of the original dark color is gone, you may be tempted to drop your brush and roller and let out a sigh of relief. But the process doesn't end there: The finish you choose is just as important as the primer and paint.
When choosing a sheen, Tina advises steering clear of a glossy finish, which tends to accentuate imperfections, in favor of a more matte option. 'Sheen plays a part in good coverage. Flat and matte sheens cover better than semi-gloss or gloss options. Semi-gloss and gloss sheens reflect light more than flat and matte finishes and sometimes allow slight bleed-through of the old color.'
Artem agrees that glossy finishes are a no-go for those looking to conceal any blemishes on your new walls. 'Using a matte finish helps hide the imperfections, while a high gloss paint finish increases the light reflected into the room enhancing it greatly.'
6. Don't disregard the lighting
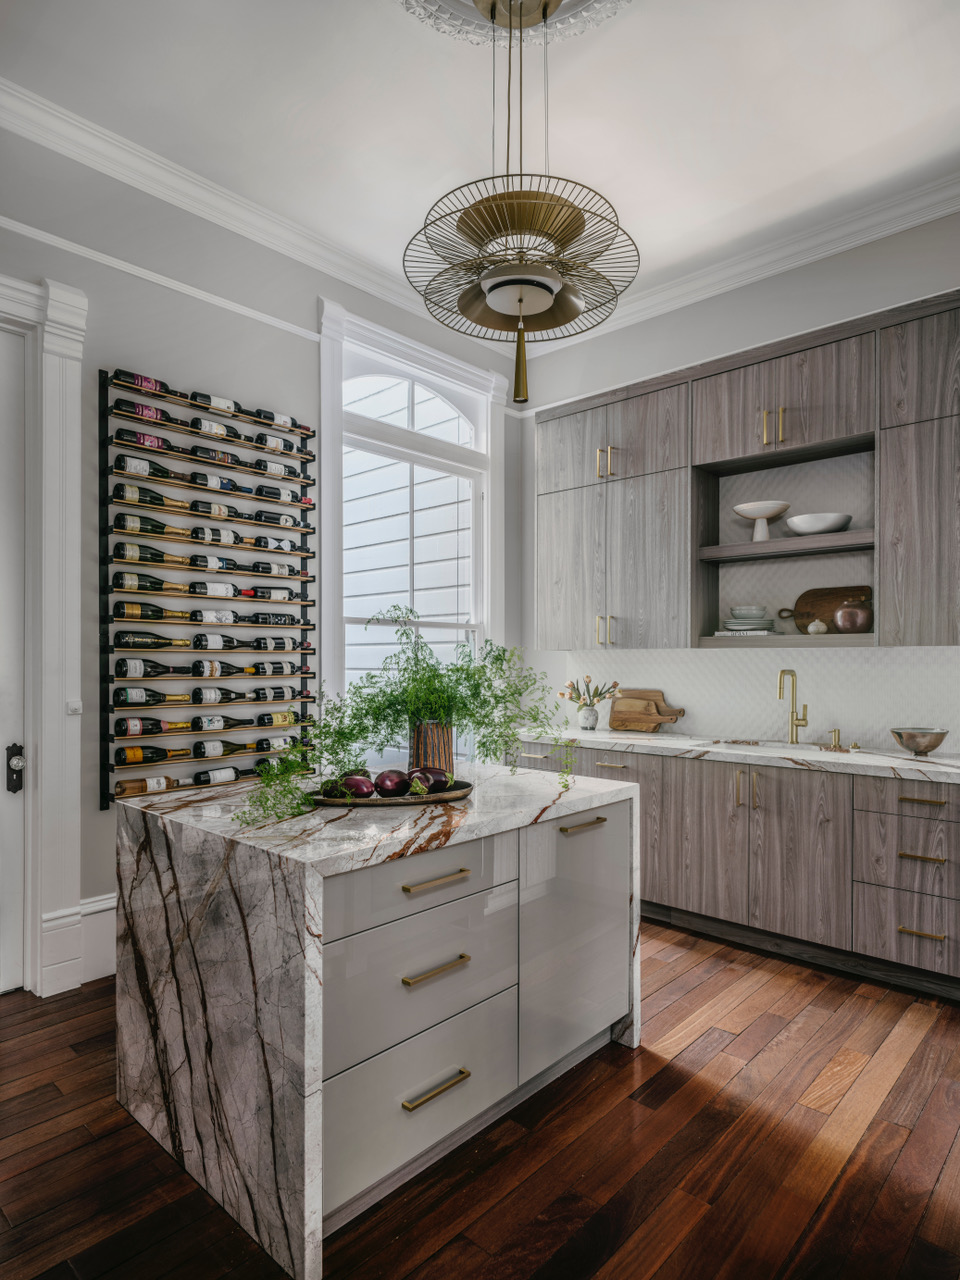
Throughout the entire process, be wary of painting exclusively in one type of light. It's important to be able to see your work in different types of lighting. Otherwise, you could be in for a nasty shock when you throw open your blinds or curtains and uncover multiple flaws in the exposing natural light of day. Having a well-lit environment ensures that you don't miss out on any potential uneven spots, and you can provide any additional coverage where it's needed.
According to Artem, if you're painting a living room, it's crucial to look at your work throughout the day, when the light catches differently, and test out your paint color in various levels of living room lighting. 'Ensure that you test the color in various illuminations. Morning light may look perfect at that time, but the situation can turn out totally different by the evening.'
Prep to Paint Over Your Dark Wall With These 3 Buys

Katie is a freelance writer and MA student at City, University of London studying Magazine Journalism. Katie discovered her passion for lifestyle journalism after finishing her BA at The University of Oxford, when she started pitching to major lifestyle publications and covering various topics from popular culture to wellness. She is a regular contributor at Well+Good, where she writes experiment-based beauty and fitness pieces.
