How do you paint a pumpkin? Tricks to get the very best finish on this fall decor favorite
Decorating a pumpkin is one of the best parts of the season, but have you ever painted one? Here's how it's done


Decorating a pumpkin is one of the most endearing Halloween traditions there is. As much as the kids would love to disagree, there really is no part of the October season better than sitting around the kitchen table with the family and crafting your own pumpkin design. While carving is the traditional method, learning how to paint a pumpkin is a far easier and safer alternative, and it permits greater creative freedom, too.
Let's be honest, how many times has carving a pumpkin gone horribly wrong in your household? It's a fiddly job that actually takes a lot of skill. Even as an adult, you often end up accidentally slicing off facial features from your poor pumpkin in true Halloween gruesomeness, only to give up completely, put a candle in and hope for the best.
This is where pumpkin painting comes in. Not only is it a far more hassle-free fall decor idea alternative to carving, but it's easier to experiment with colorful designs and get creative, making it the perfect way of decorating your home this fall.
'It's so much easier (and far less messy!) to add a touch of paint to some pumpkins over carving them,' says Jade Lisa, interior designer at Jade Lisa Interiors. 'You can also choose colors that tie in with your existing décor, adding a subtle hint of Halloween to your house.' With help from Jade, we're here to explain how it's done.
How to paint pumpkins
1. Start by cleaning your pumpkin
Prior to painting, it's important to prep the surface of your pumpkin. We shouldn't need to remind you, but your pumpkin is a real vegetable that grew from the ground - grit, dirt and even pesticides will be lying on its surface. For a smooth paint application, you should start by giving it a good clean with some warm water and mild soap. Don't forgot to pat it dry with some kitchen roll afterwards.
If you don't want the hassle of a real pumpkin, you could use a faux one instead. 'When dealing with painting faux pumpkins in comparison to carving or painting fresh pumpkins the benefits are incomparable,' says artist Pippa Goetz. 'Faux pumpkins offer a chance for longevity while fresh pumpkins have a limited life span and as we all know will eventually rot, making their impermanence less than ideal for the investment.'
Faux pumpkins on the other hand will last as long as they are cared for, 'which means that your painted pumpkin will be a repeat decor addition year after year,' adds Pippa.
The Livingetc newsletters are your inside source for what’s shaping interiors now - and what’s next. Discover trend forecasts, smart style ideas, and curated shopping inspiration that brings design to life. Subscribe today and stay ahead of the curve.
2. Choose your paints
Before we jump into this paint idea, you ought to be aware of which paints work best. If you're keen to test your hand at some elaborate designs, acrylic paints tend to work best. If, however, you're going for an all-over color to match your interior, most paints will work fine. In some cases, you might want to seal your pumpkin with a coat of spray sealer to help your paint to stick and give you a smooth base to work with. This craft sealer from Amazon is a good choice.
Jade of Jade Lisa Interiors uses a chalk paint for her base. 'I always use chalk paint for the initial base coat because this type of paint provides good adhesion and covers nicely in one coat,' she explains.

3. Paint your design
After you've laid down some newspaper or an old dust cloth, you can start painting. If you have a design in mind, it's a good idea to sketch it out first using a non-permanent marker. These are a great way to start because they'll simply wipe away if you make a mistake.
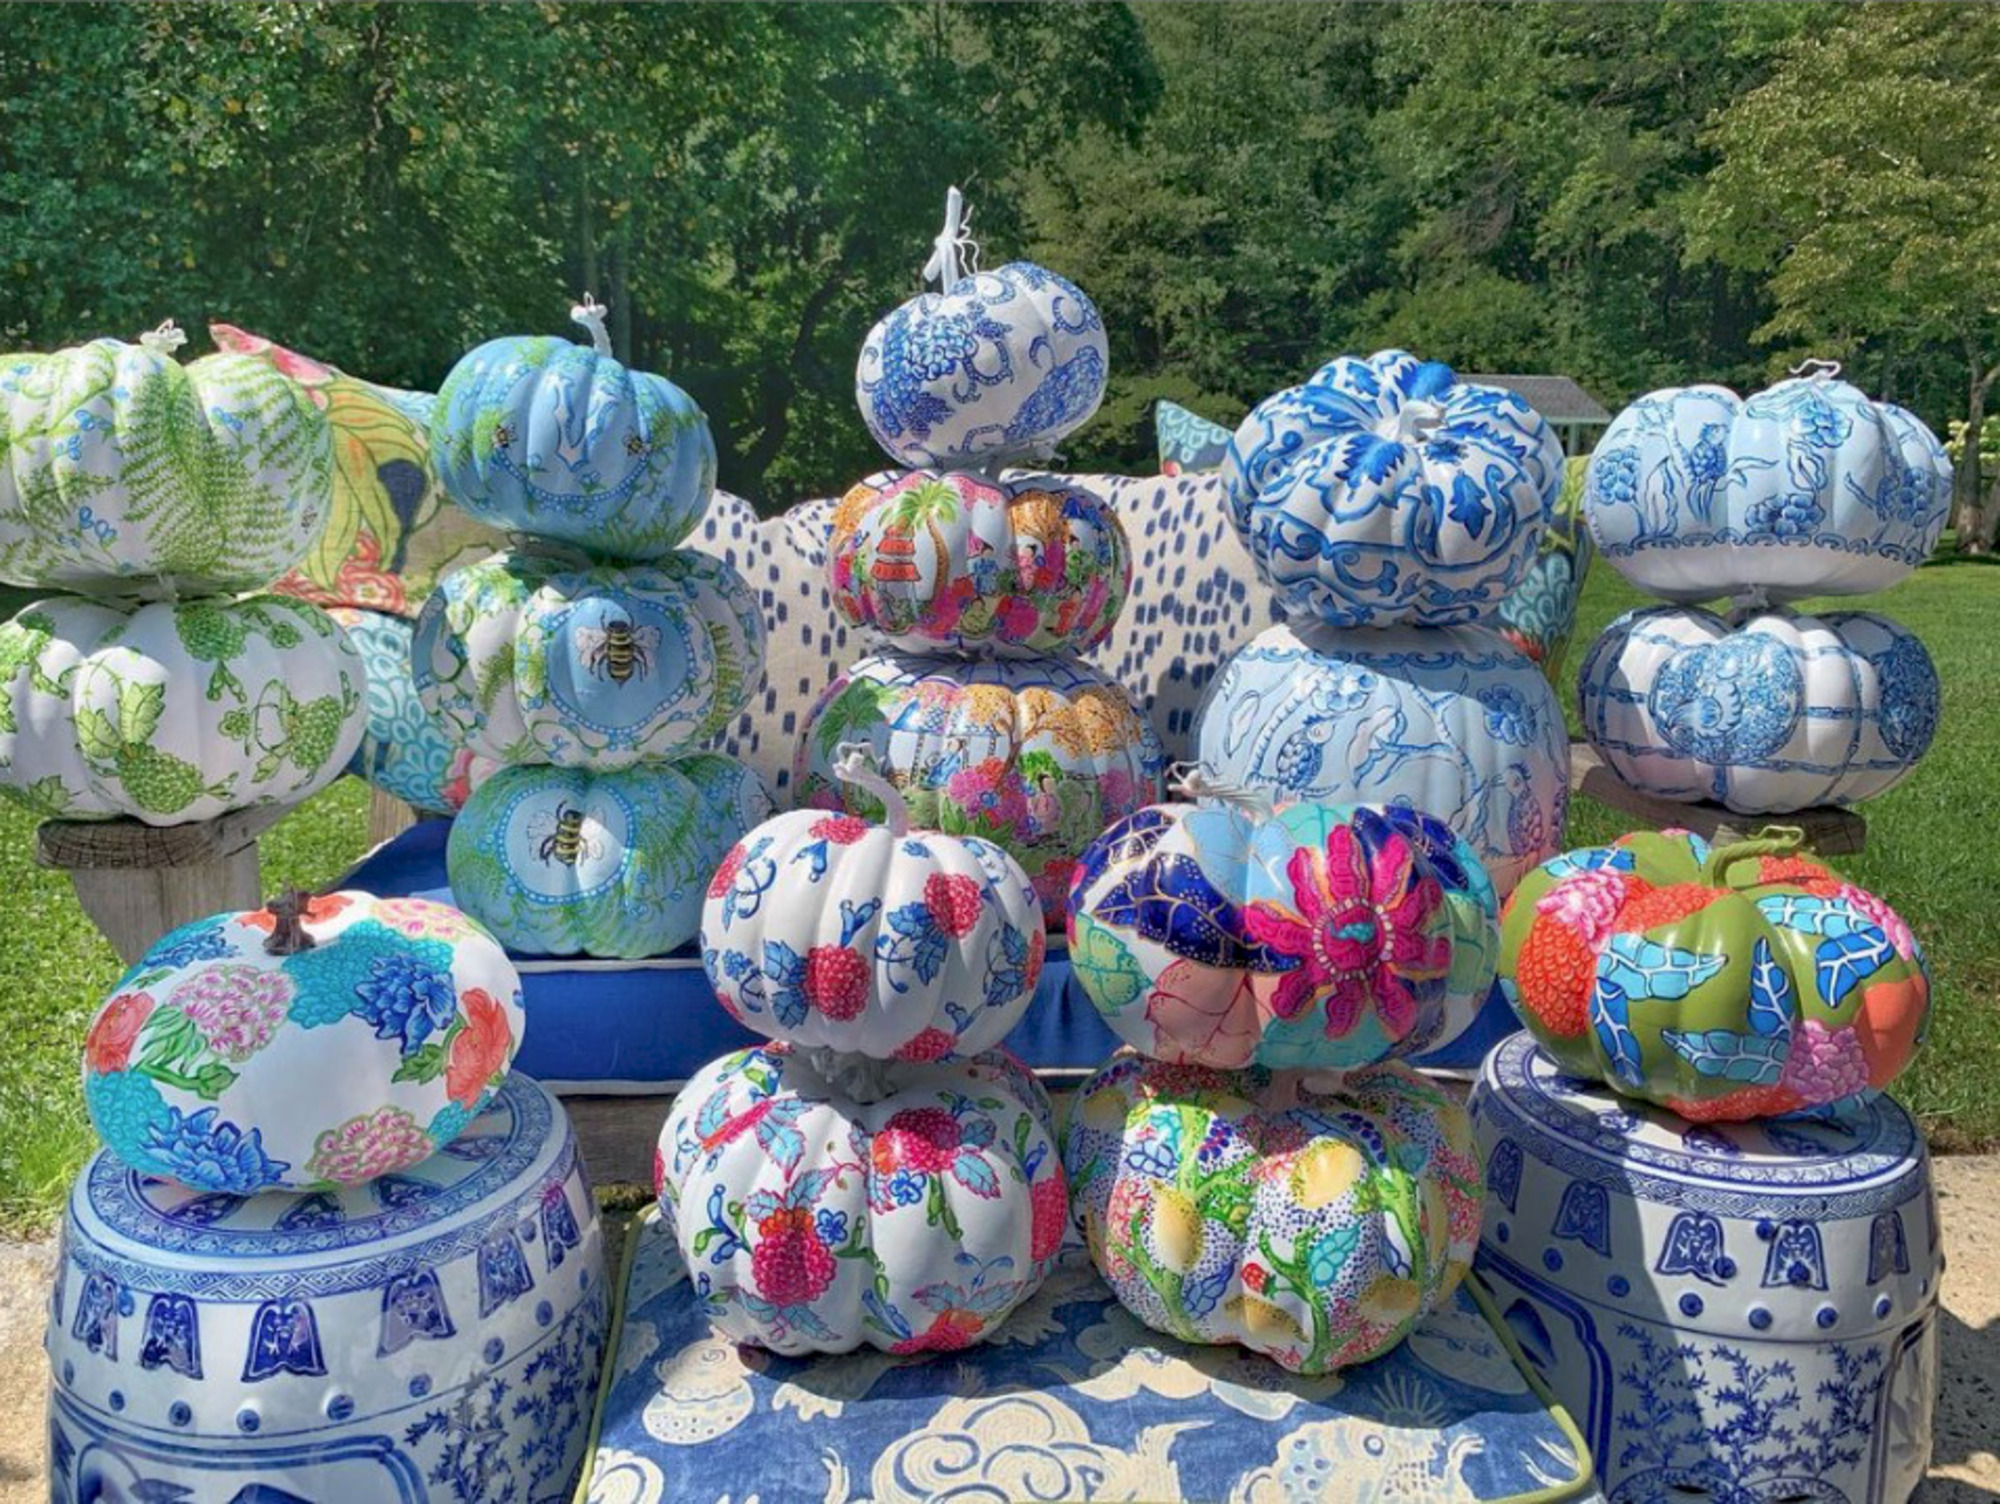
Painting a pumpkin is nothing like painting a room. For intricate designs, you'll need some detailed paintbrushes like these, from Amazon, but the rest is up to you! Unleash your creative potential and experiment on several pumpkin using colors and designs that fit the rest of your home's decor.
You might want to be traditional and go for a spooky theme, or perhaps you want to paint a prettier pumpkin that has no relation to Halloween at all. The great thing about painting a pumpkin is it will always look seasonally decorative thanks to the distinctive shape while you can tailor the design to match you interior design style and existing decor.
Due to its spherical shape, the most important thing to be aware of while painting your pumpkin is the risk of smudging your paint. 'Avoid this by holding the pumpkin at the stalk and turning it around as you paint,' says Jade. 'Don't worry about the paint on the bottom of the pumpkin sticking to the surface you're working on when - the pumpkin will lift off easily when dry.'
Don't be tempted to rush your design. As Pippa explains: 'It's really easy to want to rush the design or pattern you are painting but you will run the risk of smudging the opposite side. I usually start at the bottom half then slowly work my way around and up to the stem.'
4. Arrange them as part of your seasonal decor
Besides the Jack o' lanterns we place on the doorstep, pumpkins are a great way to add a seasonal touch to the home, even when they're not painted. The orange, green and white shades they naturally come in look unmistakably evocative of fall and great a cozy look.
However, by painting a pumpkin, you can tailor any color or design to match your interior. They make a great decorative statement when grouped in different sizes and shapes on the hearth, or you can use small pumpkins in a tablescape for a fall table decor idea.
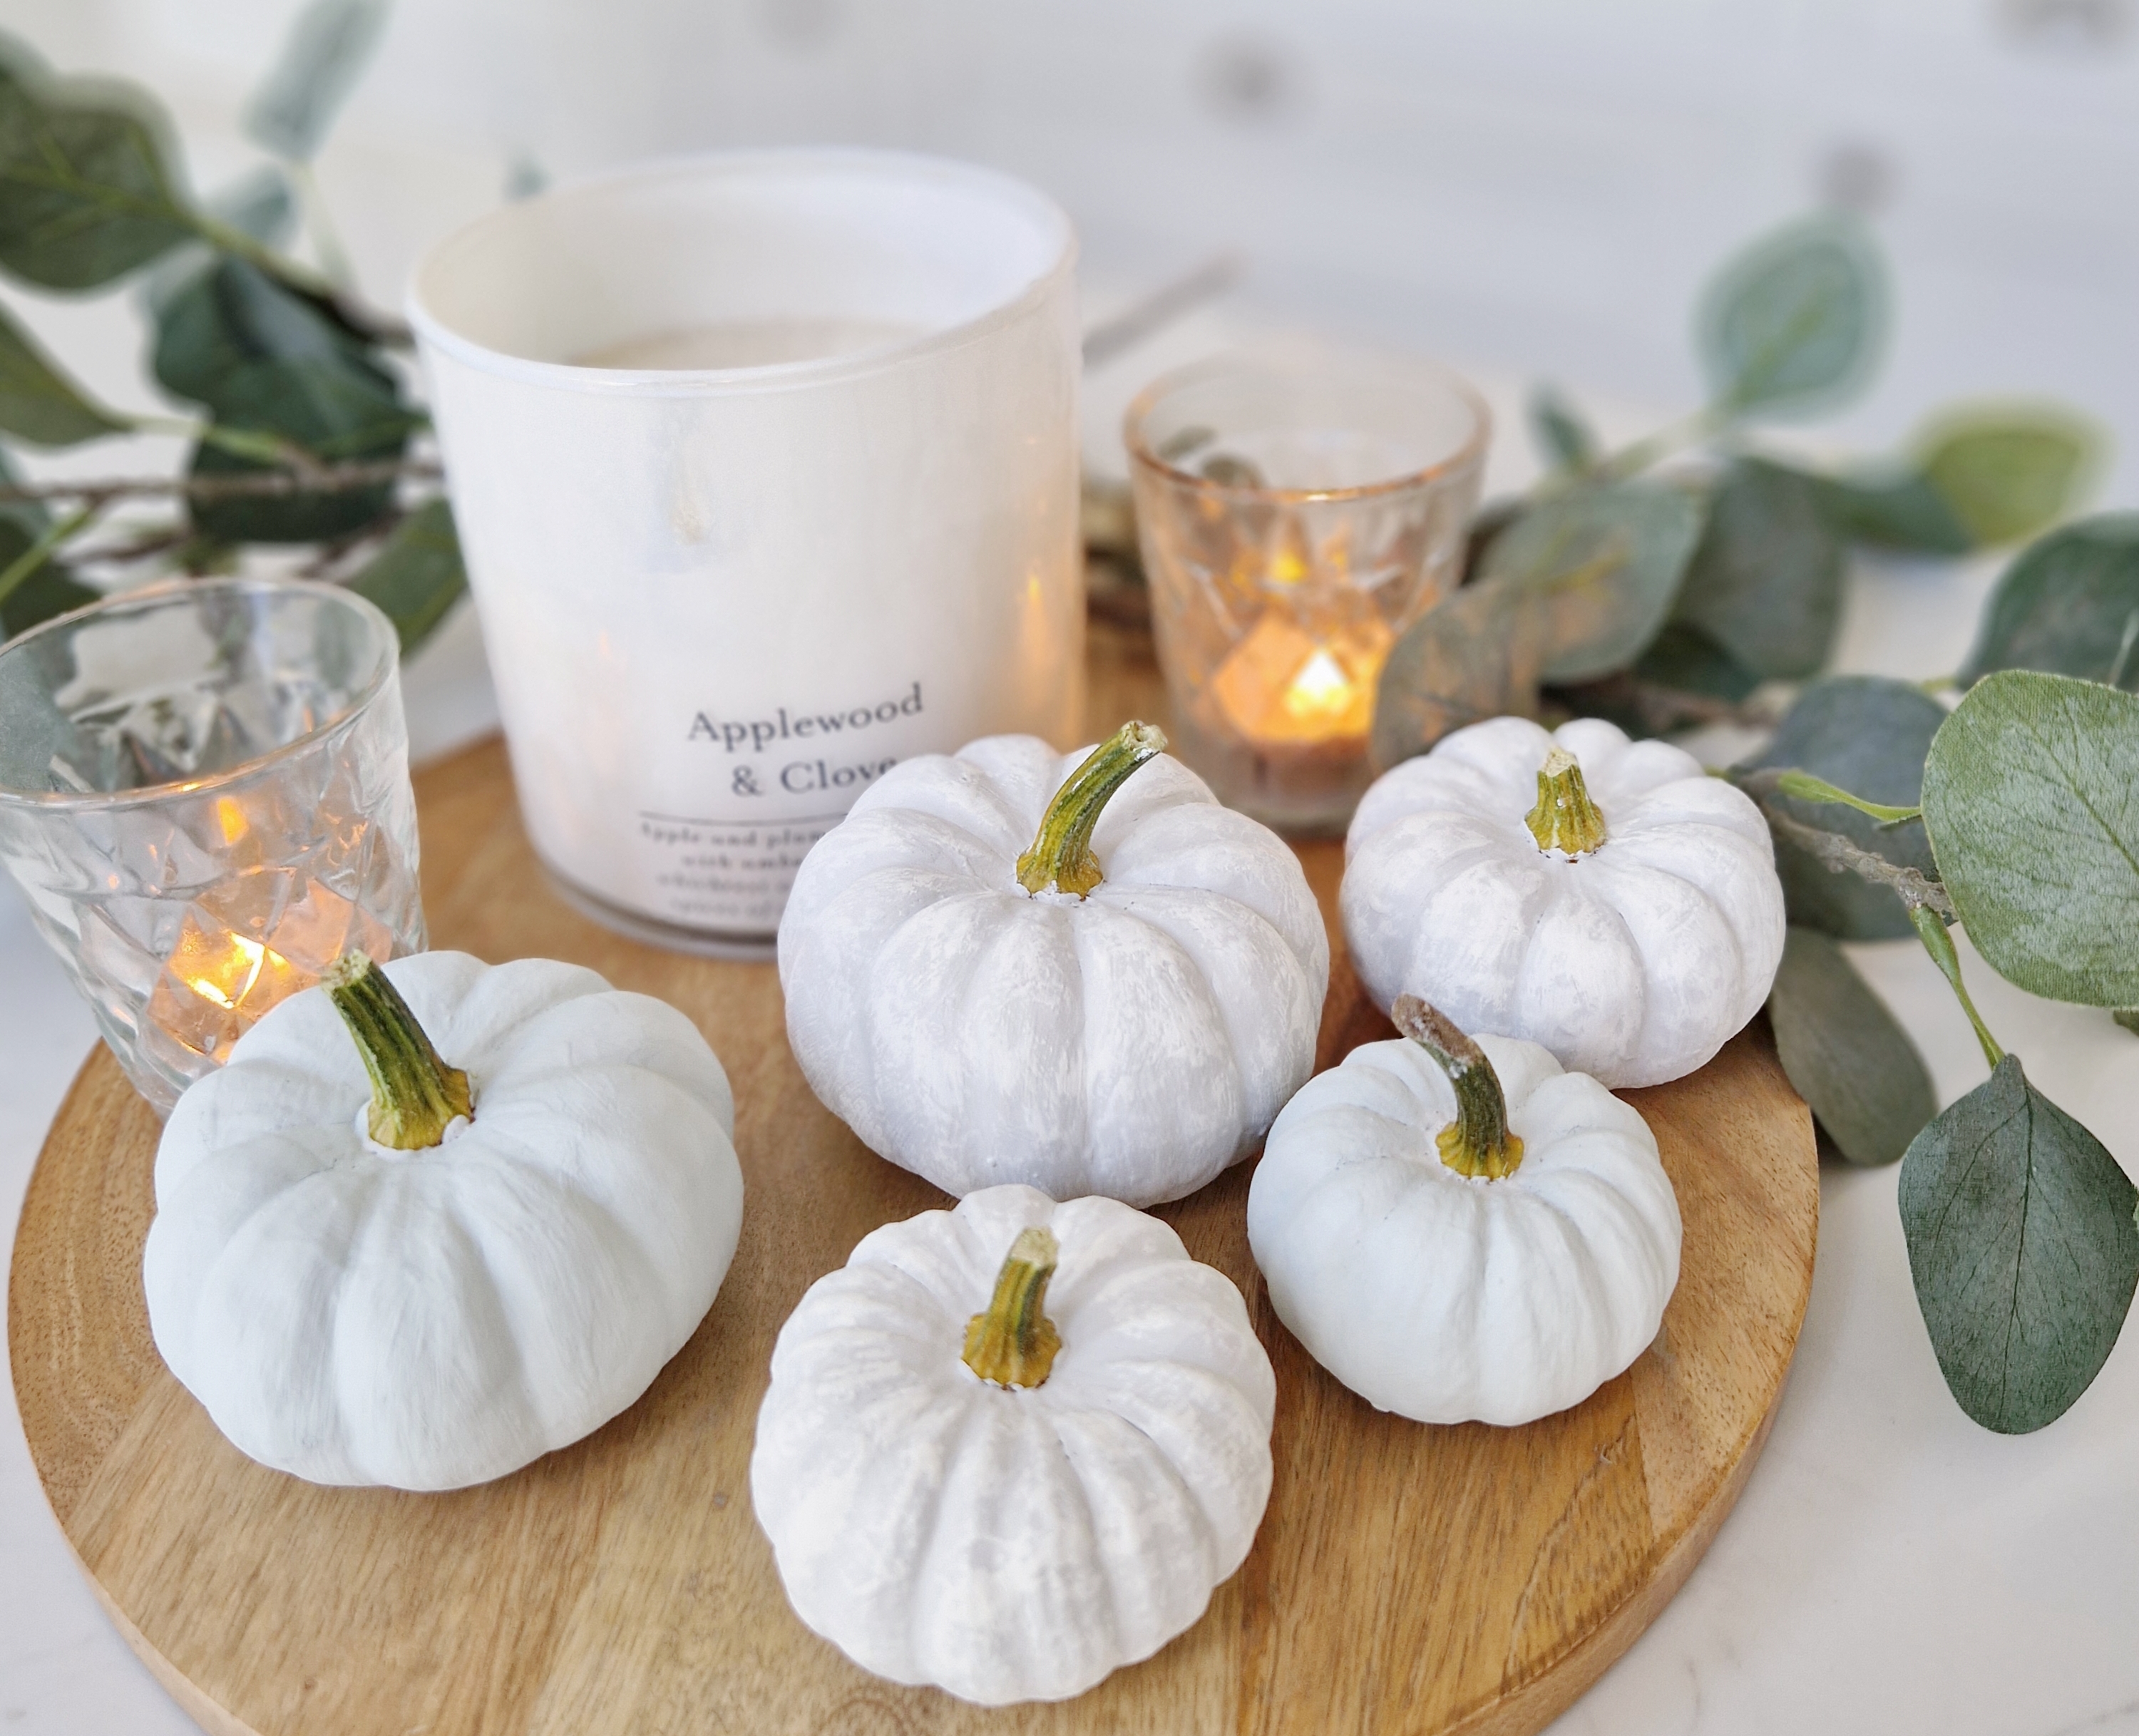
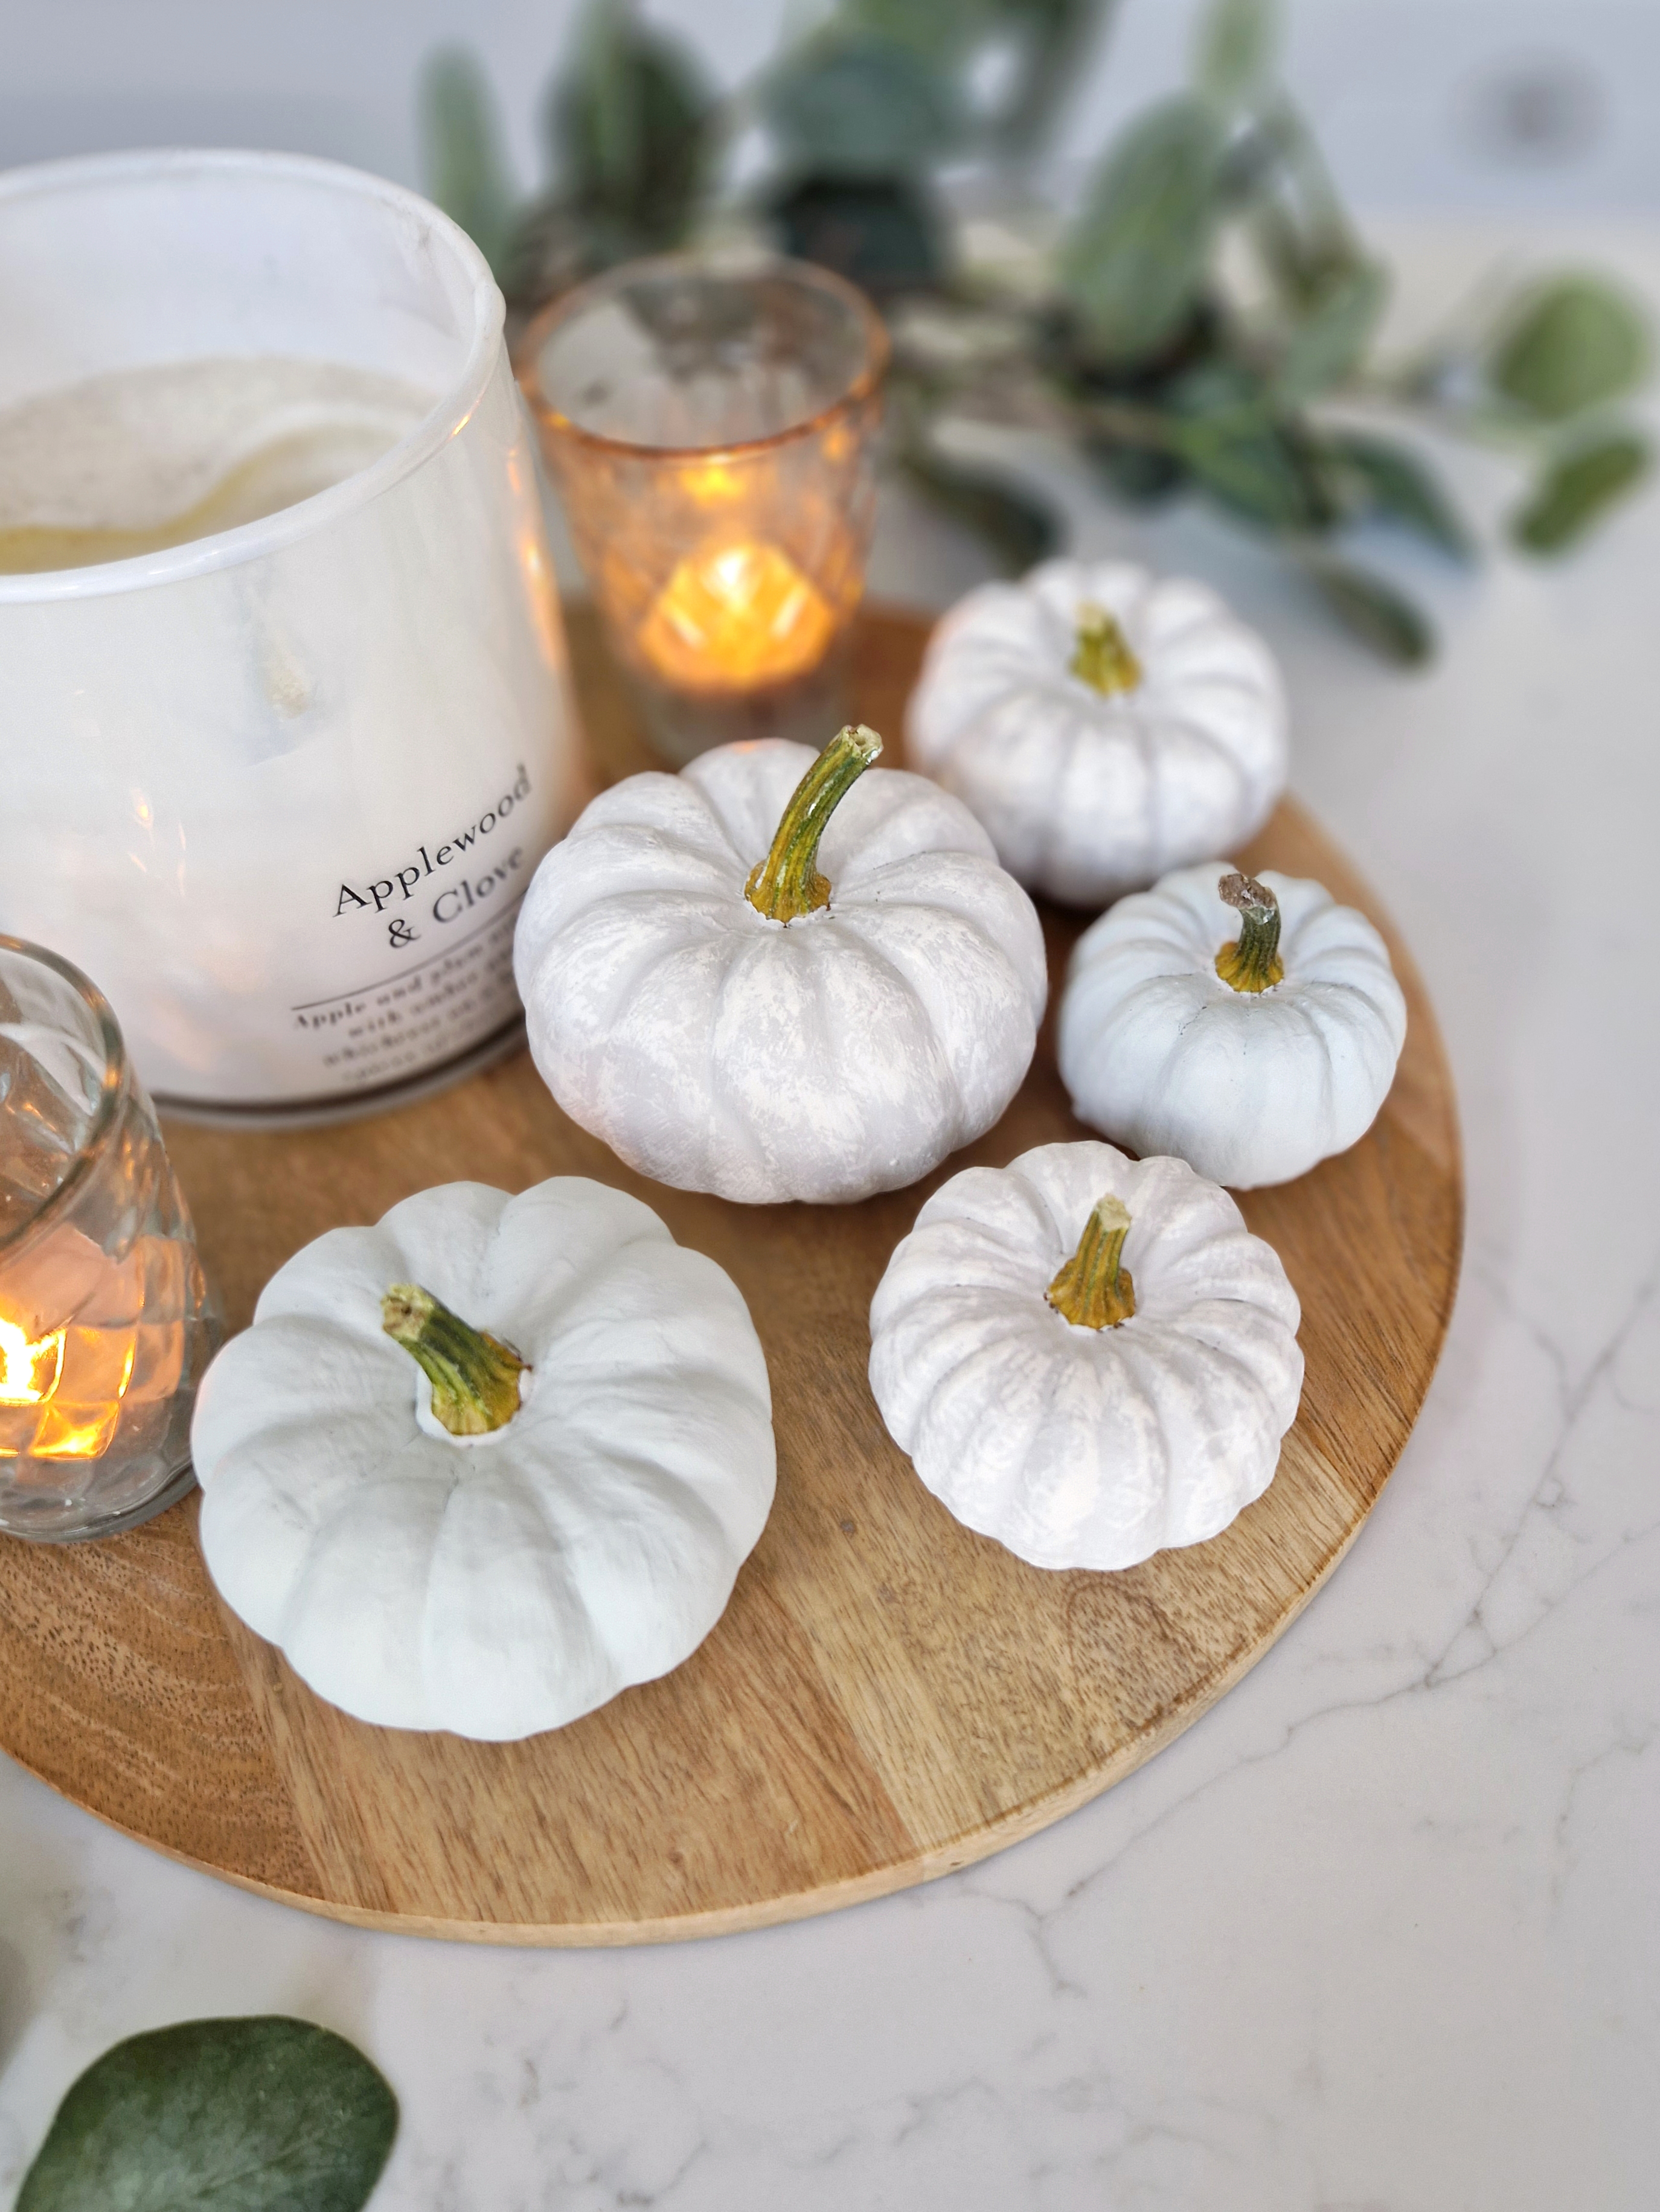
'Instead of painting a large pumpkin, I like to paint and arrange a cluster of munchkin pumpkins or mini squashes,' says Jade. 'I arrange them in threes or fives with some candles for a cute Halloween display.'
Remember that unless you've sealed your paint with a heavy duty lacquer, it won't be suitable for display outside. 'Even with high quality finish coats you run the risk of the paint washing away and losing all of your hard work,' says Pippa. 'Keep these pretties under cover or better yet, inside as a fabulous table centerpiece or on your mantle!'
Jade's tips for painting an all-over pumpkin

Jade is a personal fan of the all-over white pumpkin to suit the neutral color scheme of her home. 'First, I use a base coat to help your paint adhere to the pumpkin. White chalk paint is a good choice as it provides a base for any color,' she says.
'Once my base color is dry, I like to very lightly dry brush on some white chalk paint - this adds some texture and highlights the shape of the pumpkins,' Jade continues. 'All you need to do is dip your paintbrush in some white chalk paint, brush the paint off on some paper until there's barely any left on the brush and then lightly dab the brush all over the pumpkin.'
Once dry, you can then apply a second layer of whatever paint you have lying around. 'I use emulsion wall paint on top of the chalk paint to match the existing colors in my house,' says Jade.
For an even more elevated look, why not try using your painted pumpkin as a pumpkin planter?

Lilith Hudson is a freelance writer and regular contributor to Livingetc. She holds an MA in Magazine Journalism from City, University of London, and has written for various titles including Homes & Gardens, House Beautiful, Advnture, the Saturday Times Magazine, Evening Standard, DJ Mag, Metro, and The Simple Things Magazine.
Prior to going freelance, Lilith was the News and Trends Editor at Livingetc. It was a role that helped her develop a keen eye for spotting all the latest micro-trends, interior hacks, and viral decor must-haves you need in your home. With a constant ear to the ground on the design scene, she's ahead of the curve when it comes to the latest color that's sweeping interiors or the hot new style to decorate our homes.